
These 10 anime drawing references are most useful when you treat them as studies rather than pictures to copy line for line. Pick one goal for each attempt—face proportions, eye placement, hair shape, clothing or the full figure—and stop once you have learned that part.
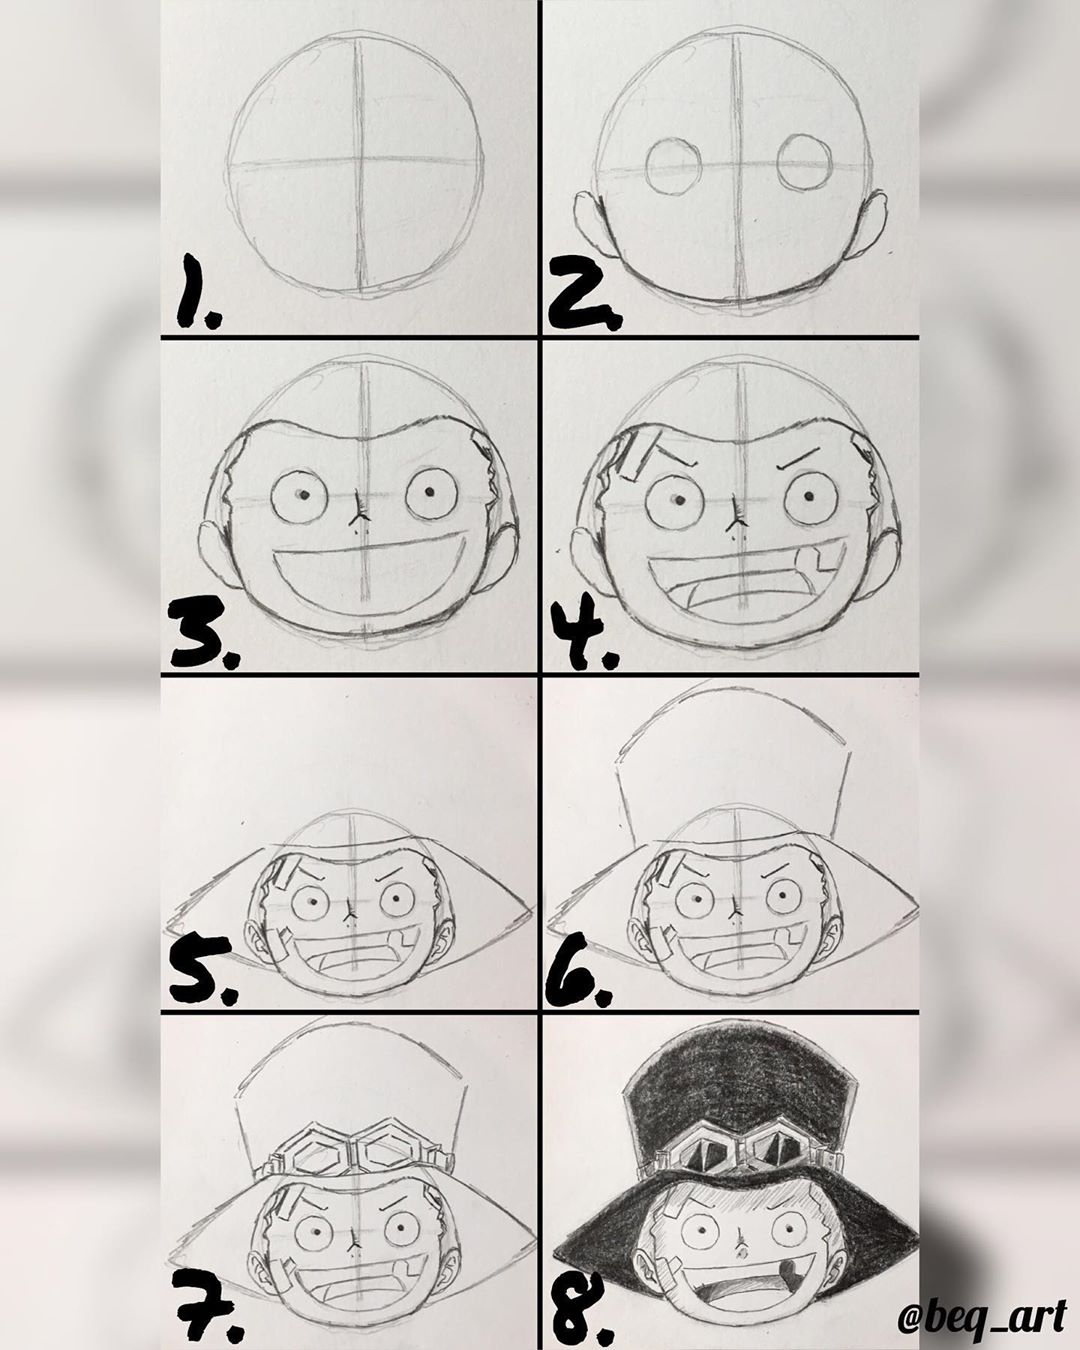
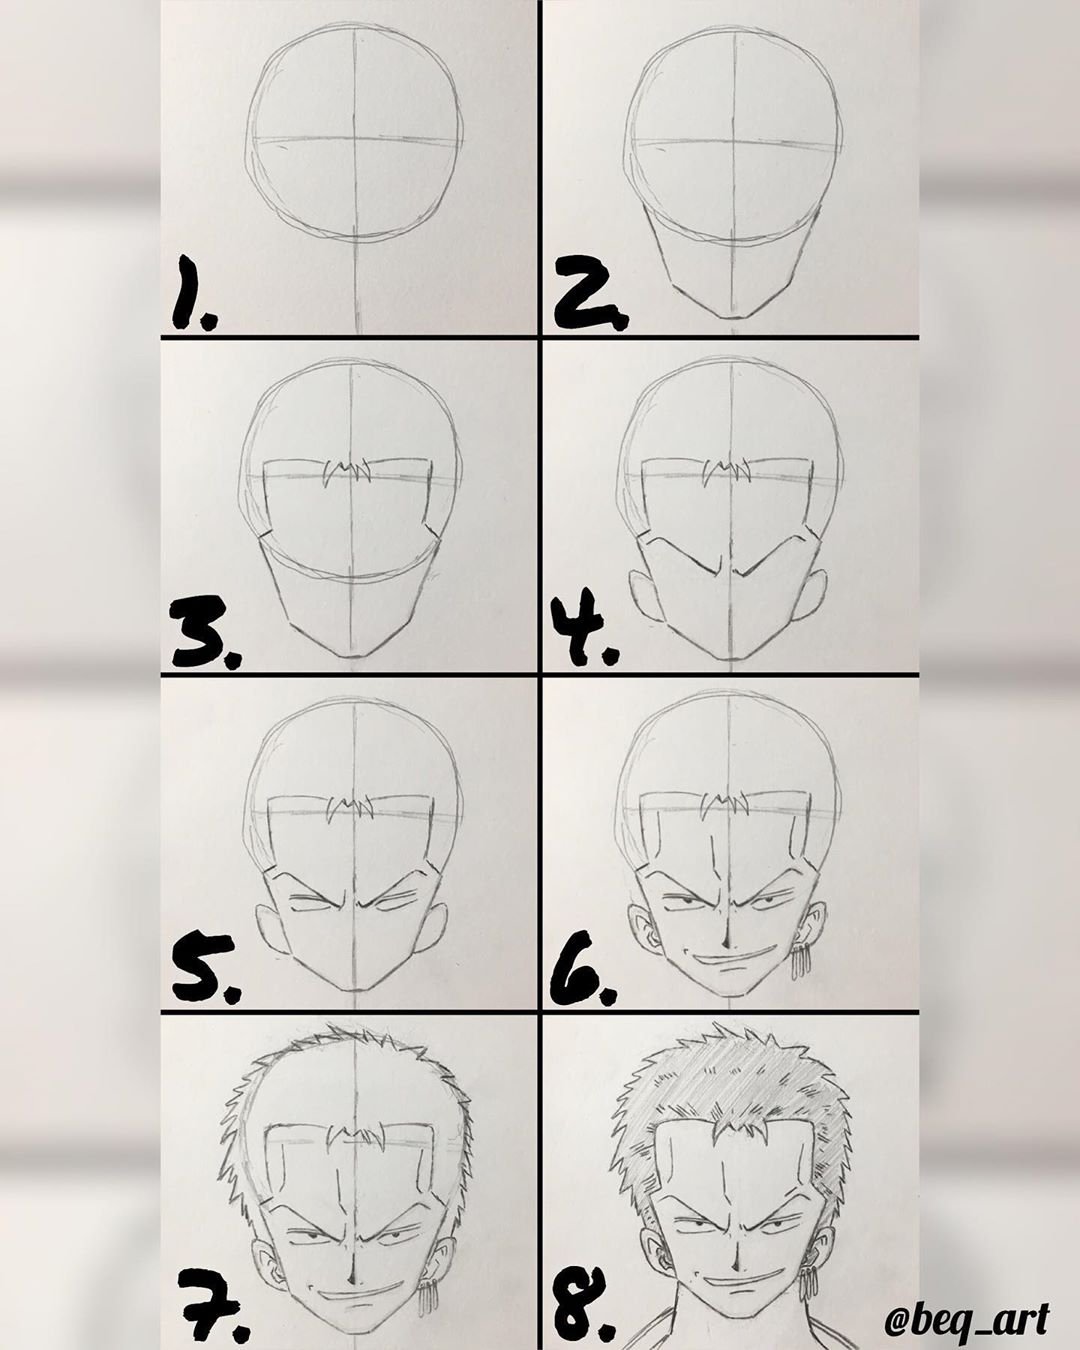
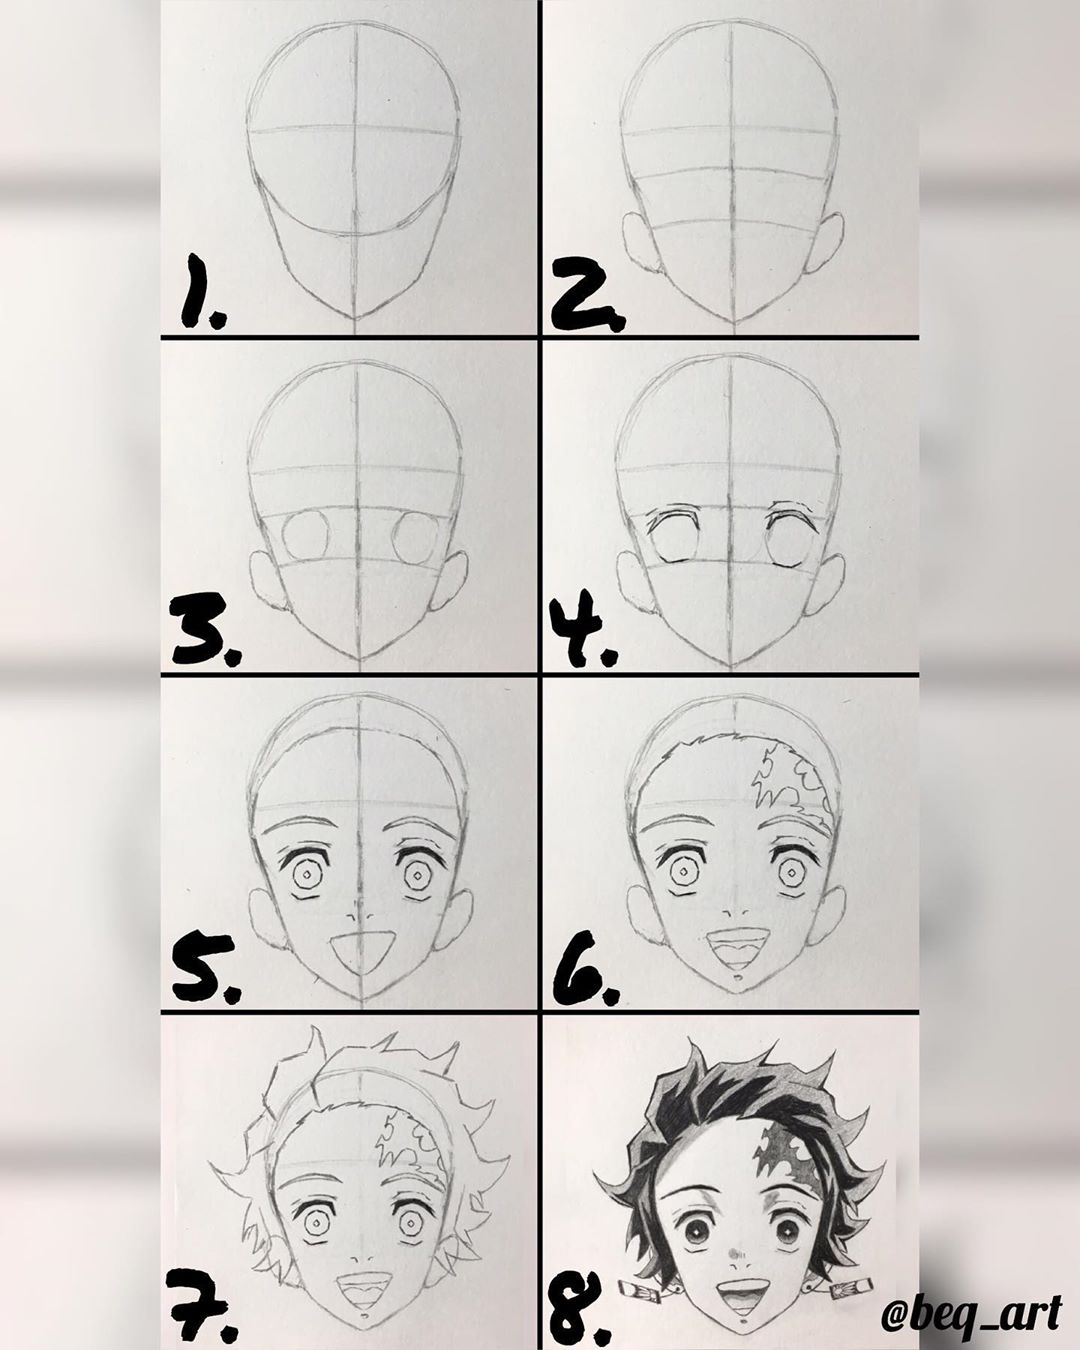
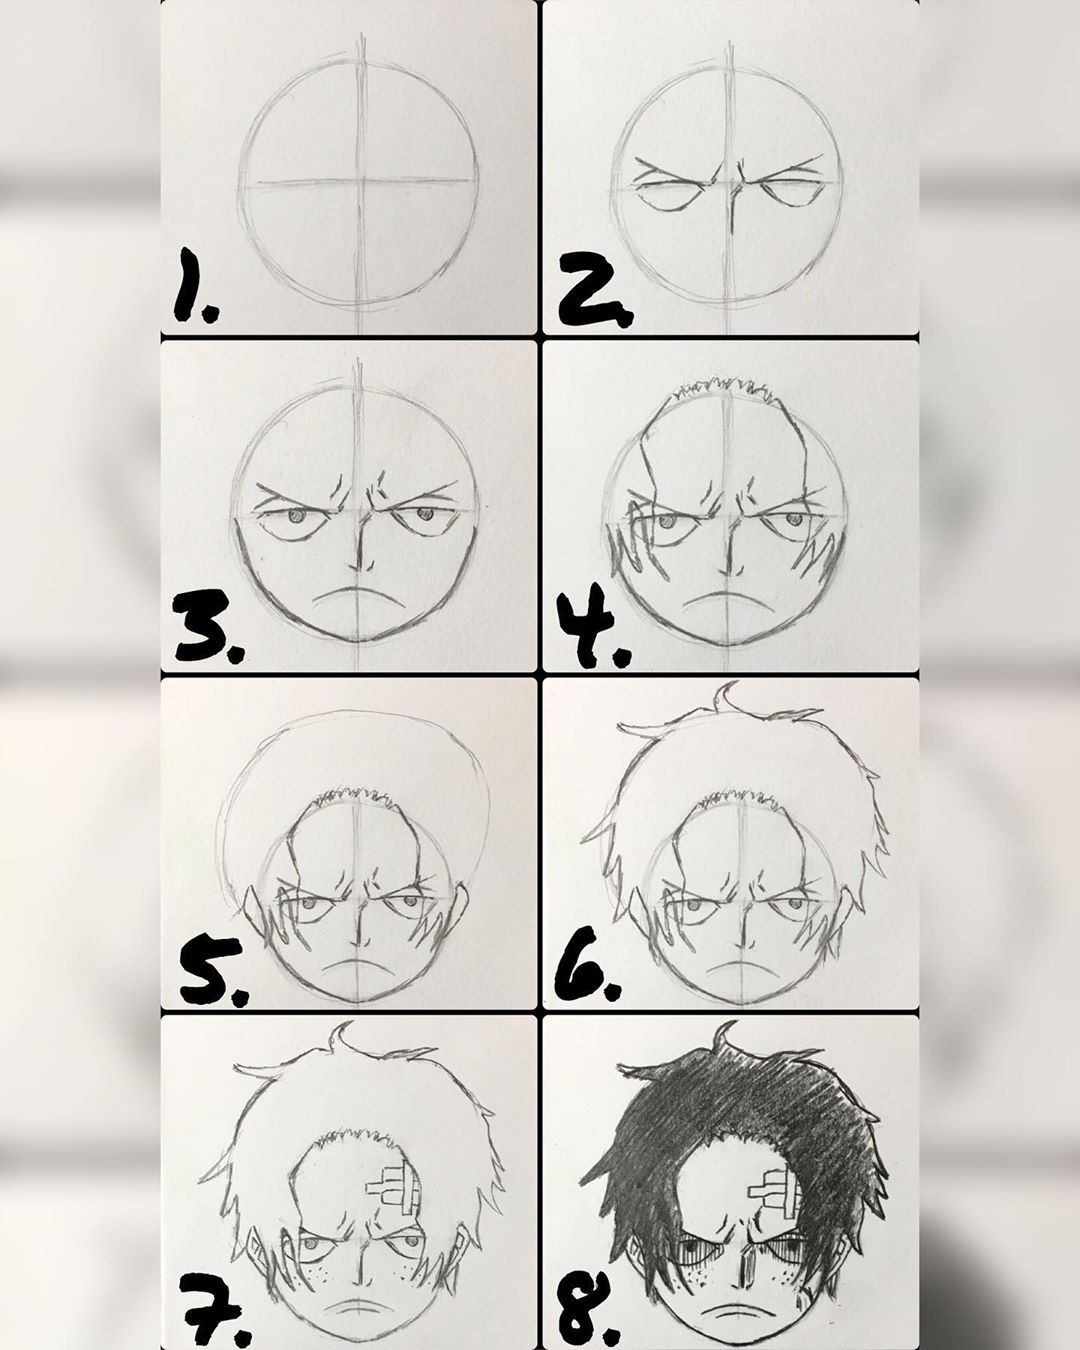
The original tutorial artwork shown on this page is credited to beq_art.
Start with the head, not the details
For a front-facing head, sketch a simple circle and add the jaw underneath it. Draw one vertical center line and one horizontal eye line before you place the features. Keep these guides light; their job is to help you compare left and right, not become part of the finished drawing.
- Eyes: place both before refining either one.
- Nose: keep it simple until the rest of the face feels balanced.
- Mouth: use its position and angle to support the expression rather than adding detail for its own sake.
- Jaw: adjust the width after the eyes and hair are in place.
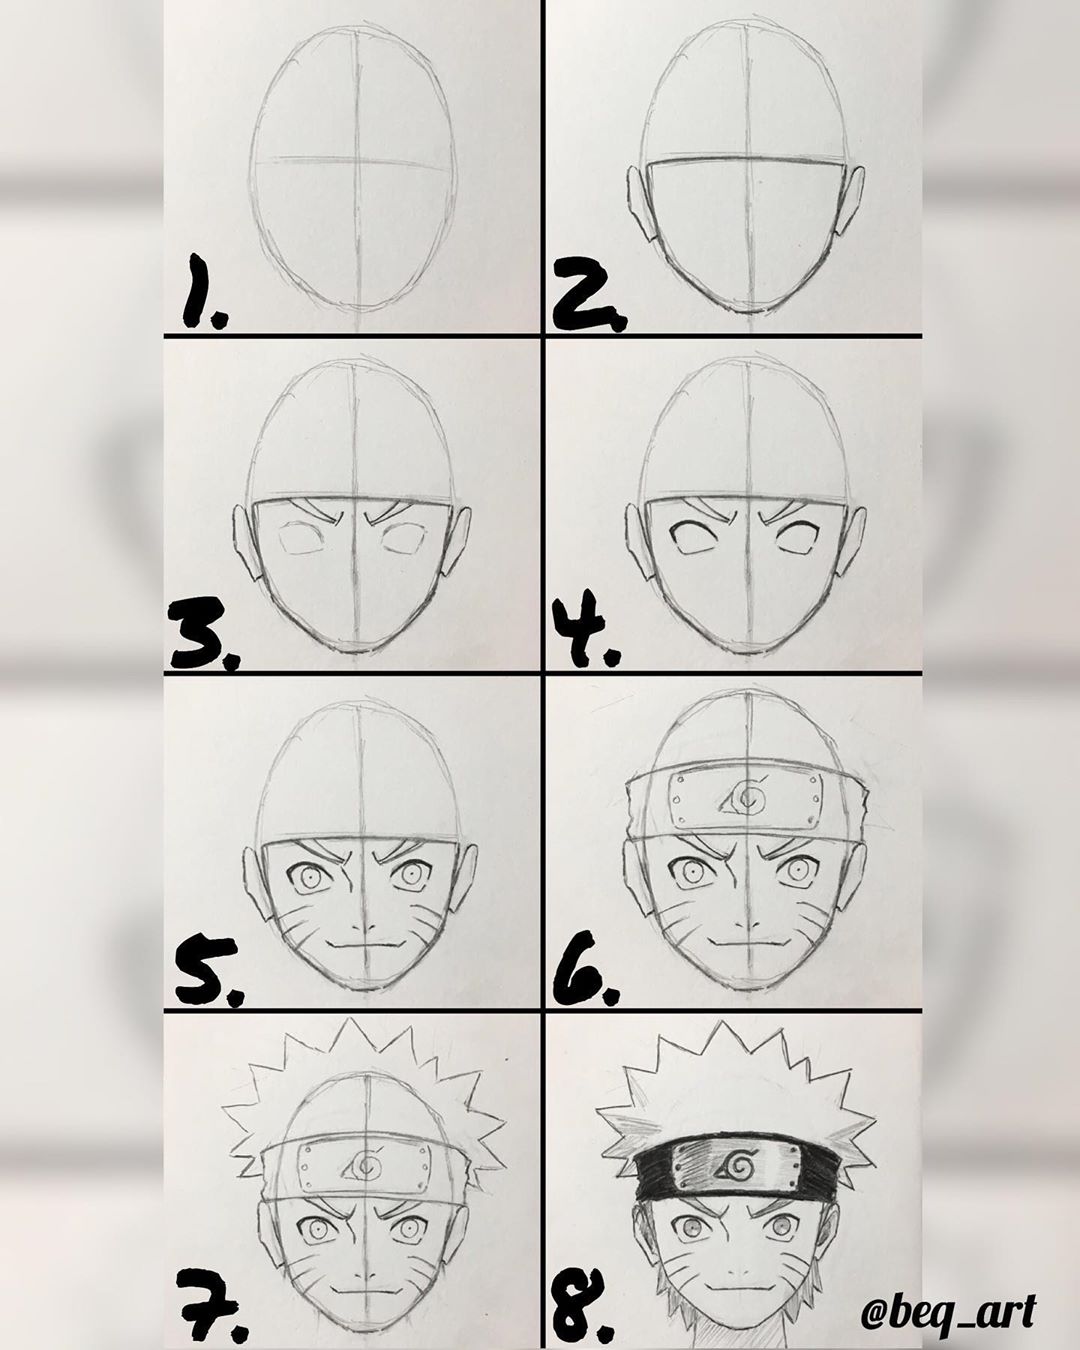
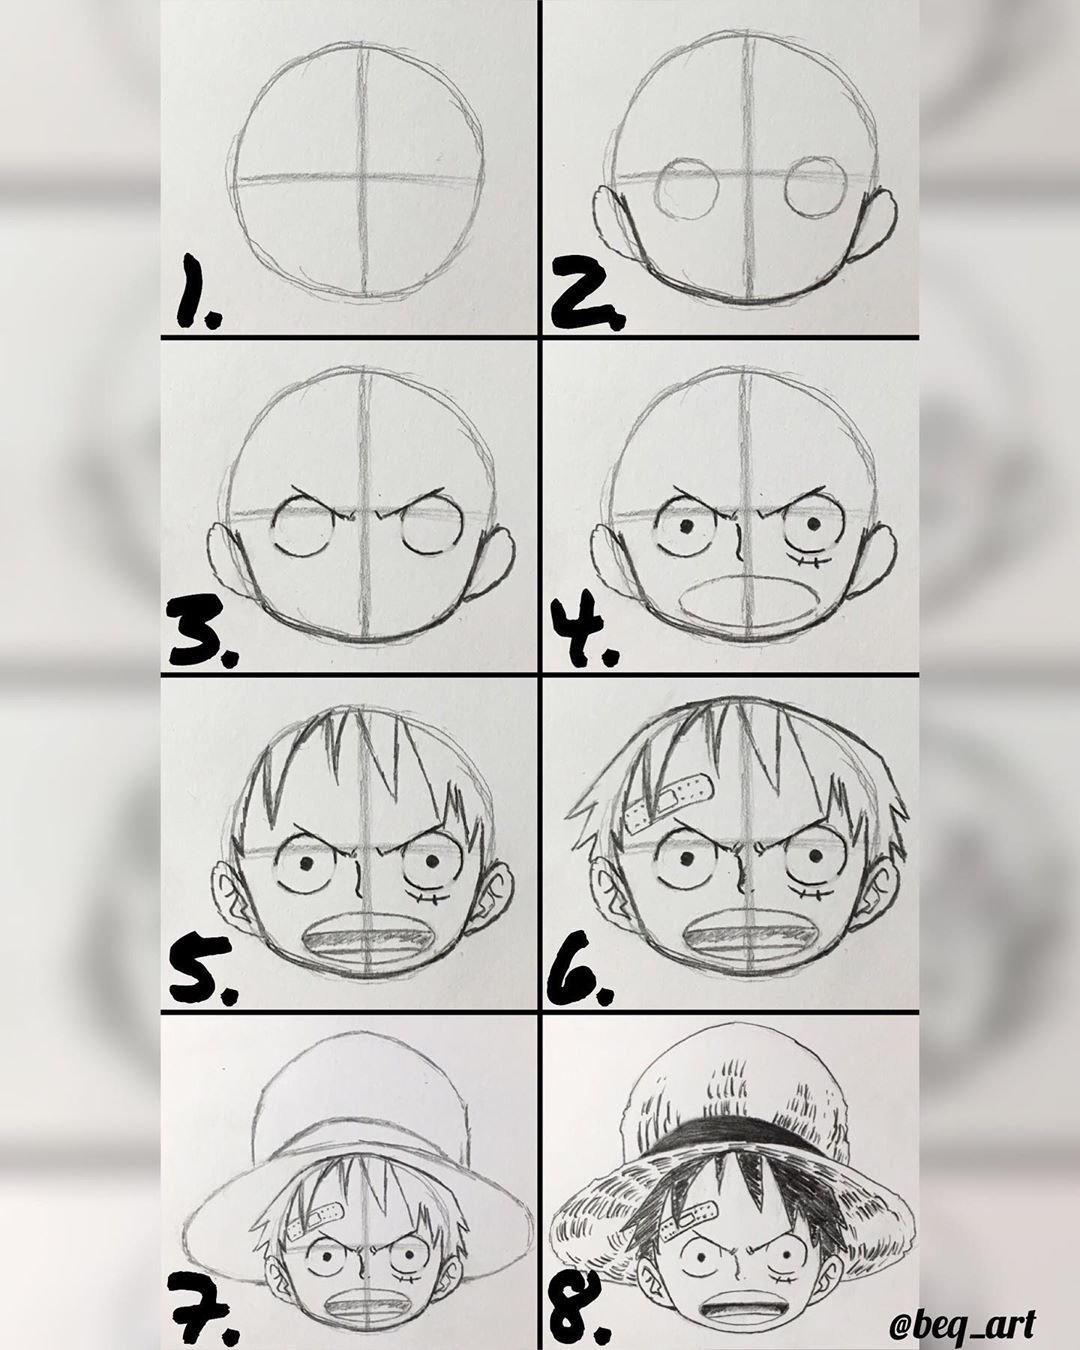
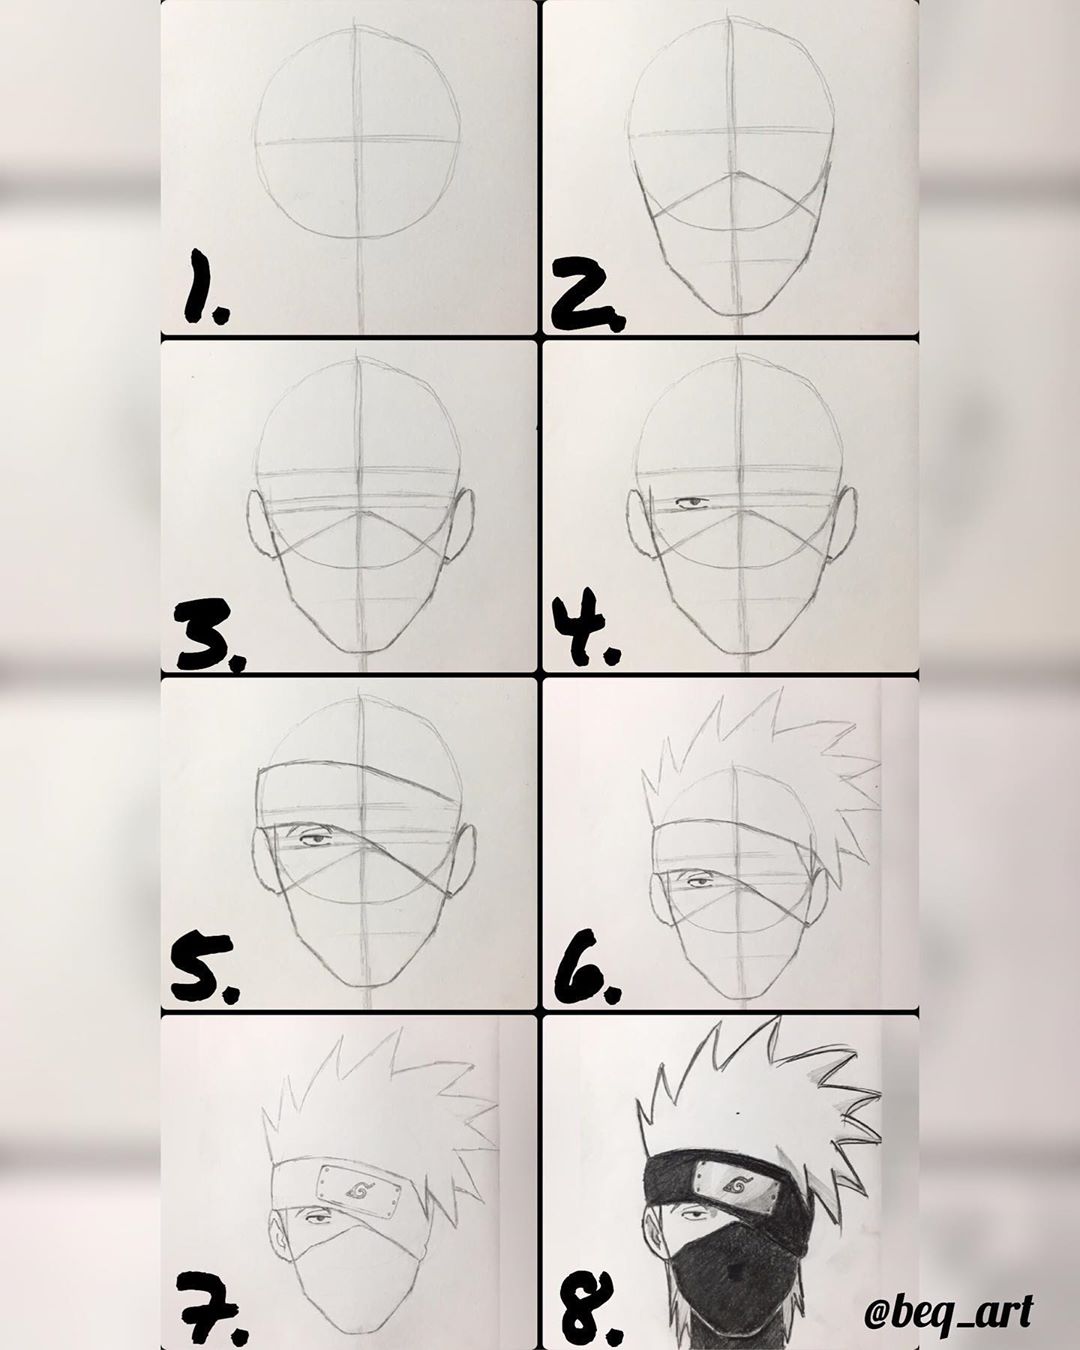
Use eye design to control the expression
Anime eyes vary enormously, so there is no single correct shape. What matters is consistency inside the character. Larger irises and more open upper lids usually read as softer or more youthful; narrower shapes can feel calmer, sharper or more serious. Before adding lashes or highlights, make sure both eyes sit on the same perspective line.
A useful drill is to draw the same pair of eyes three times and change only one thing: lid angle, iris size or eyebrow position. That teaches expression faster than inventing a completely new face every time.
Block the hair into large shapes
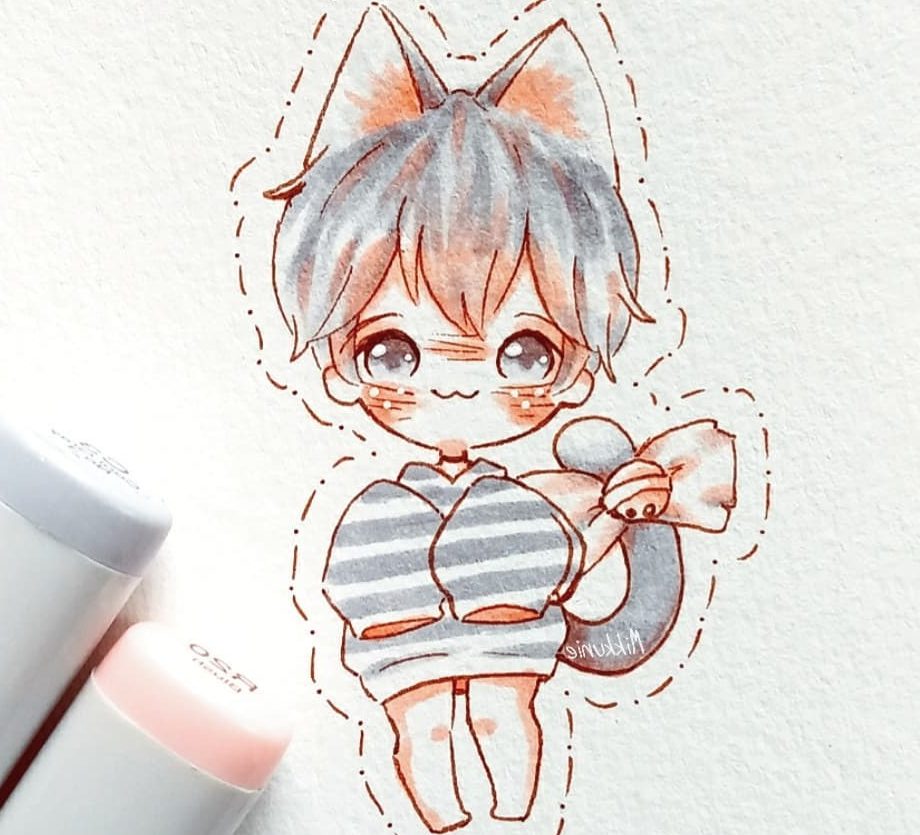
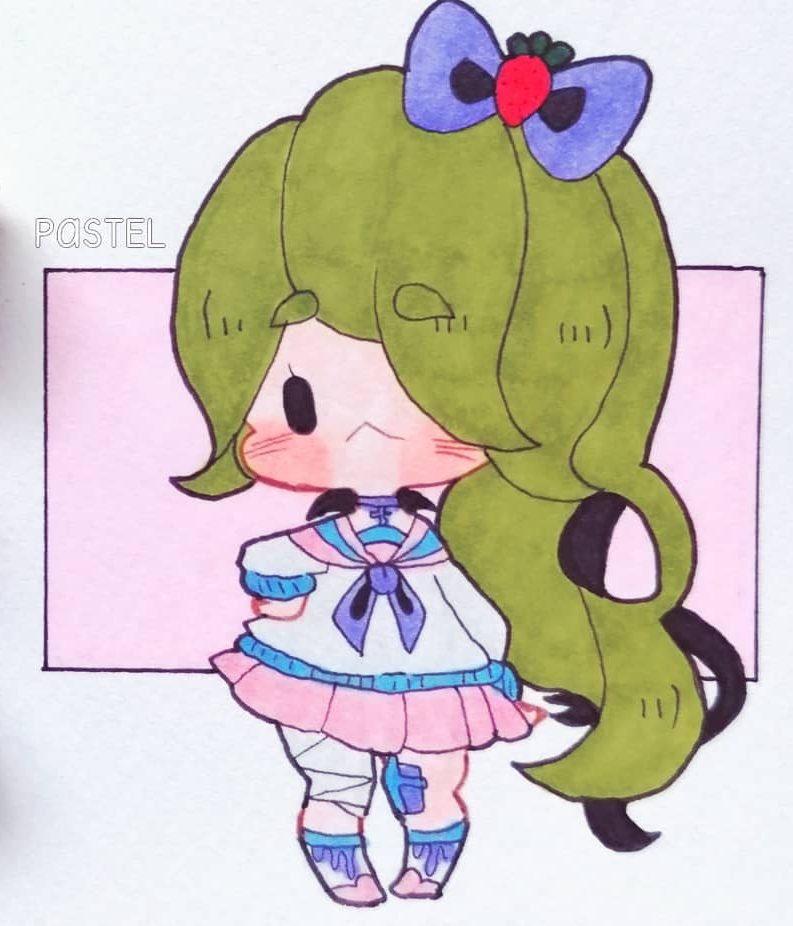
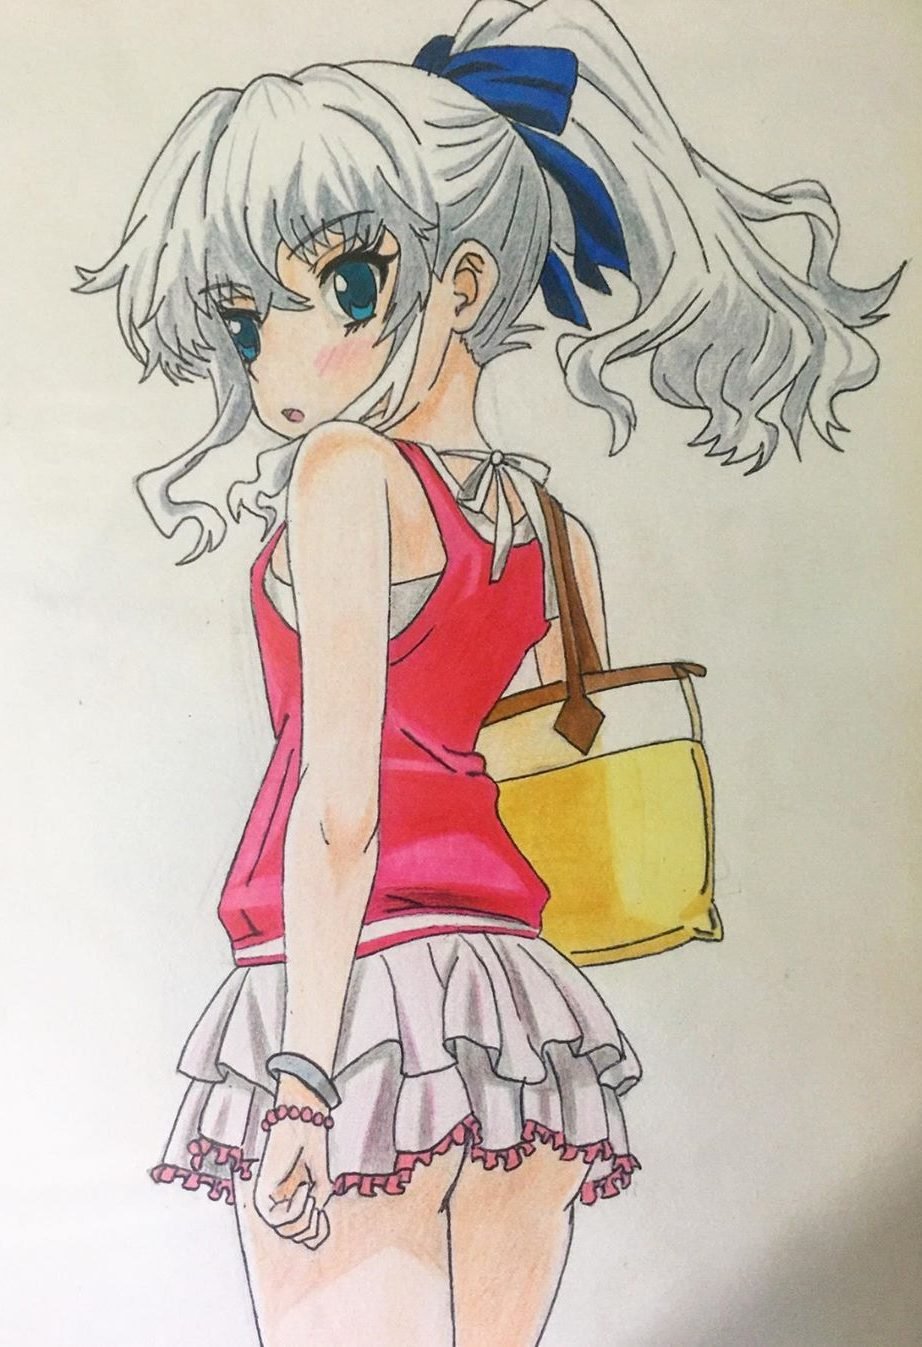
Do not start by drawing individual strands. First decide the overall silhouette, then split it into a few masses: fringe, side sections and the back of the hair. Once the hairstyle reads clearly from a distance, add selected strands where the forms overlap or change direction.
This also makes corrections easier. If the head feels too wide or the fringe sits too low, you can move one large shape instead of erasing dozens of small lines.
Build the body with a simple gesture
For a full figure, mark the head, ribcage and pelvis first, then connect them with a line of action. Add the arms and legs as simple cylinders before drawing sleeves, shoes or folds. The goal of this stage is balance: where the weight sits, which shoulder is higher, and whether the pose feels stiff or relaxed.
Do not force every drawing into the same proportions. Anime styles range from chibi to much more naturalistic figures. Pick one reference, measure the head-to-body relationship in that drawing, and stay consistent with it.
A better way to practice these tutorials
- First pass: copy one tutorial slowly and keep the construction lines visible.
- Second pass: redraw the same subject smaller and with fewer lines.
- Third pass: close the reference and draw the main shapes from memory.
- Compare: look for one specific difference—eye spacing, head width, pose angle or hair volume.
You do not need a special schedule or a fixed number of hours. A focused 15–20 minute study is enough if you know what you are practicing. When a drawing goes wrong, avoid restarting immediately; identify the first proportion that drifted and correct that on the next attempt.
Where to go next
If faces are the hardest part, continue with our anime girl drawing tutorial. For character ideas and hairstyle practice, use the cute anime guy drawing references. For a broader warm-up before character work, try easy things to draw when you are bored.


imma rat
muito bom cara, vim do brasel aprender aqui por que lá nimguém ensina assim como tu
Very cool ? get animemaker and u can do digital art. It’s an app check it out it’s 12+ and on it I’m it’s the Bunny Queen :3
Nice drawing