
Gesture drawing is about catching what a pose is doing before you worry about anatomy. These 14 references move from quieter beginner poses into weight shifts and faster action. Click or tap any image to open the full-size reference.
Jump to: easy poses · balance & weight · action poses · timed practice · fixing stiff drawings
Easy gesture drawing poses — References 1–4
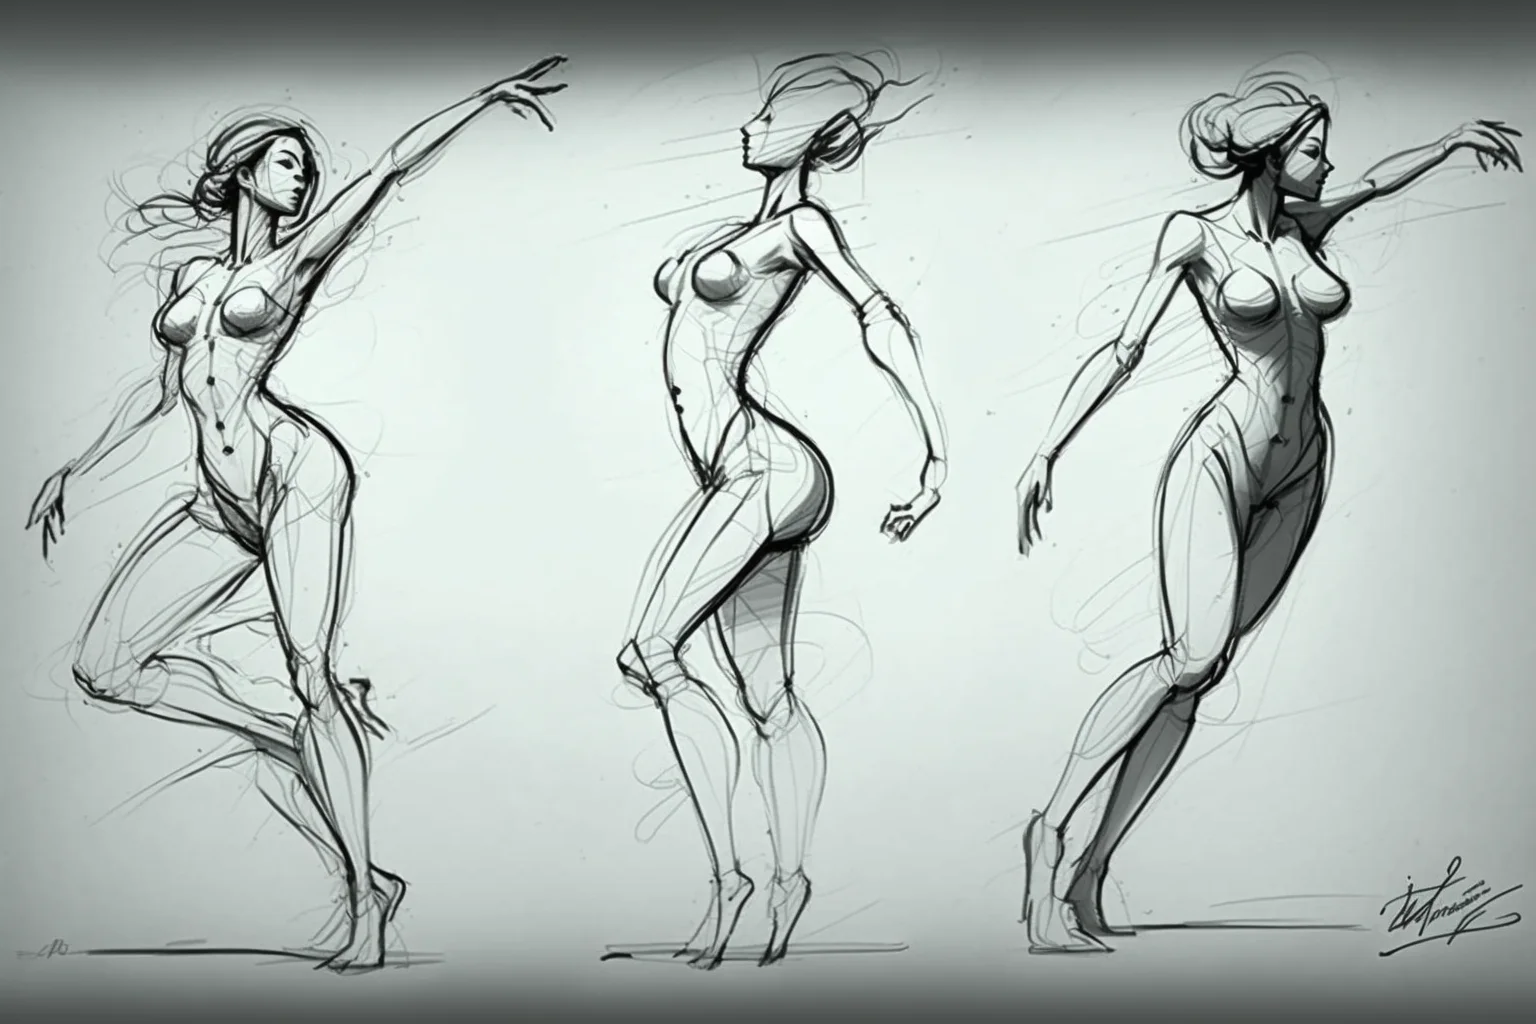
Start here. Before drawing the outline, find one long direction through the pose. It may run from the head through the spine, or from one shoulder through the supporting leg. That line matters more than the fingers, clothing or face.
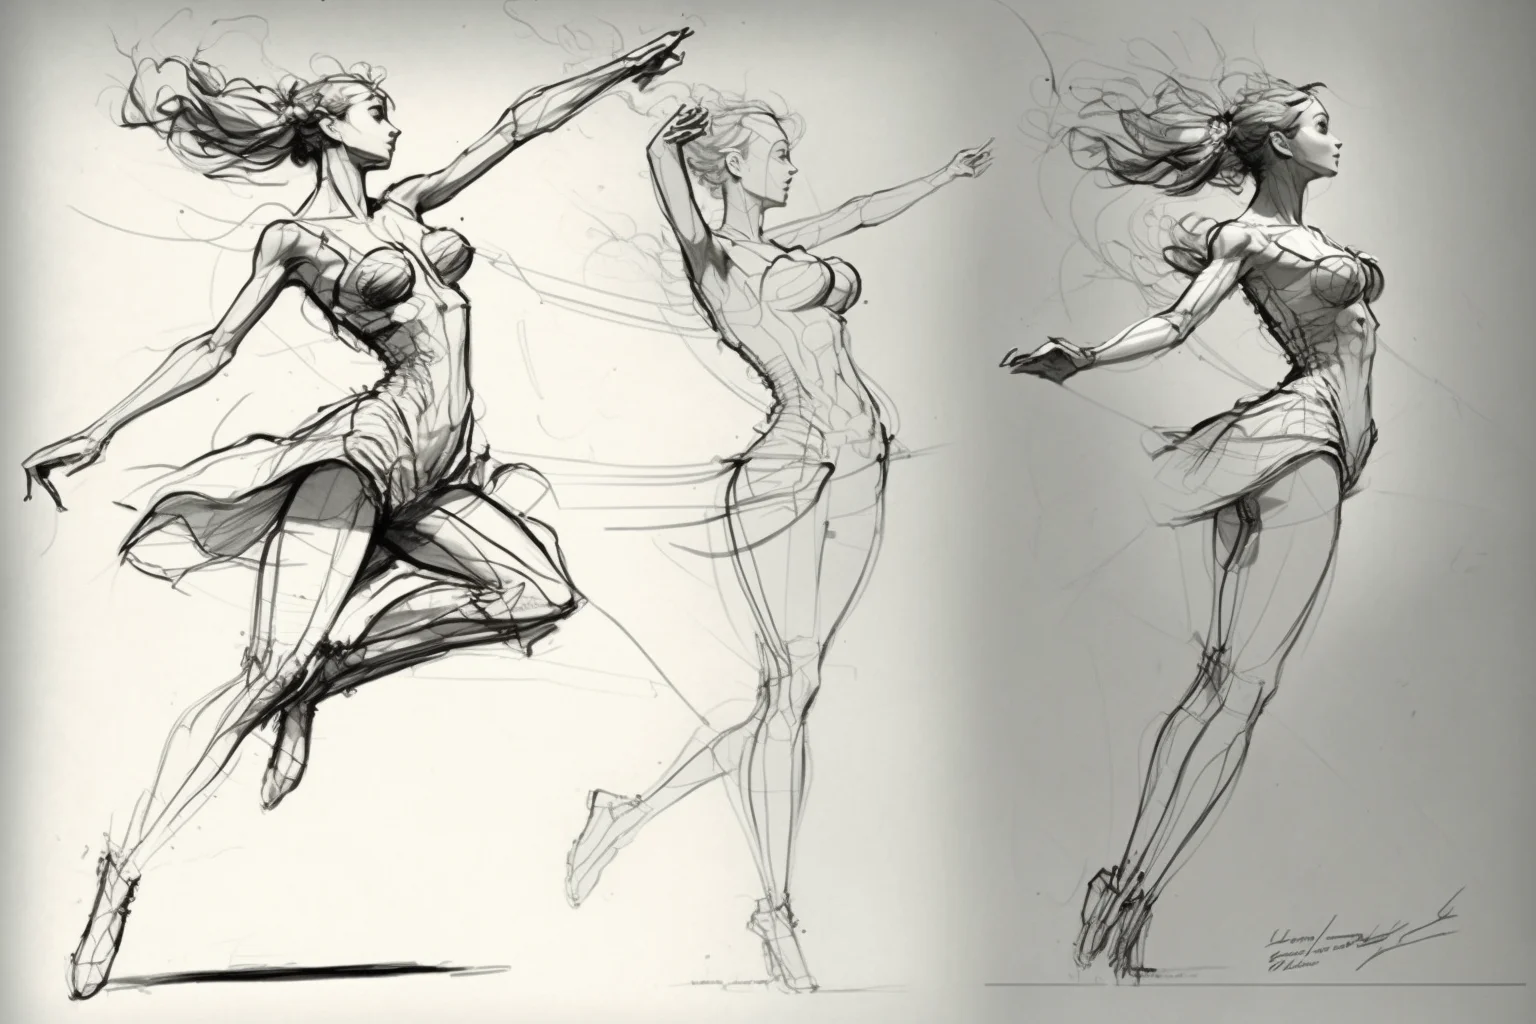
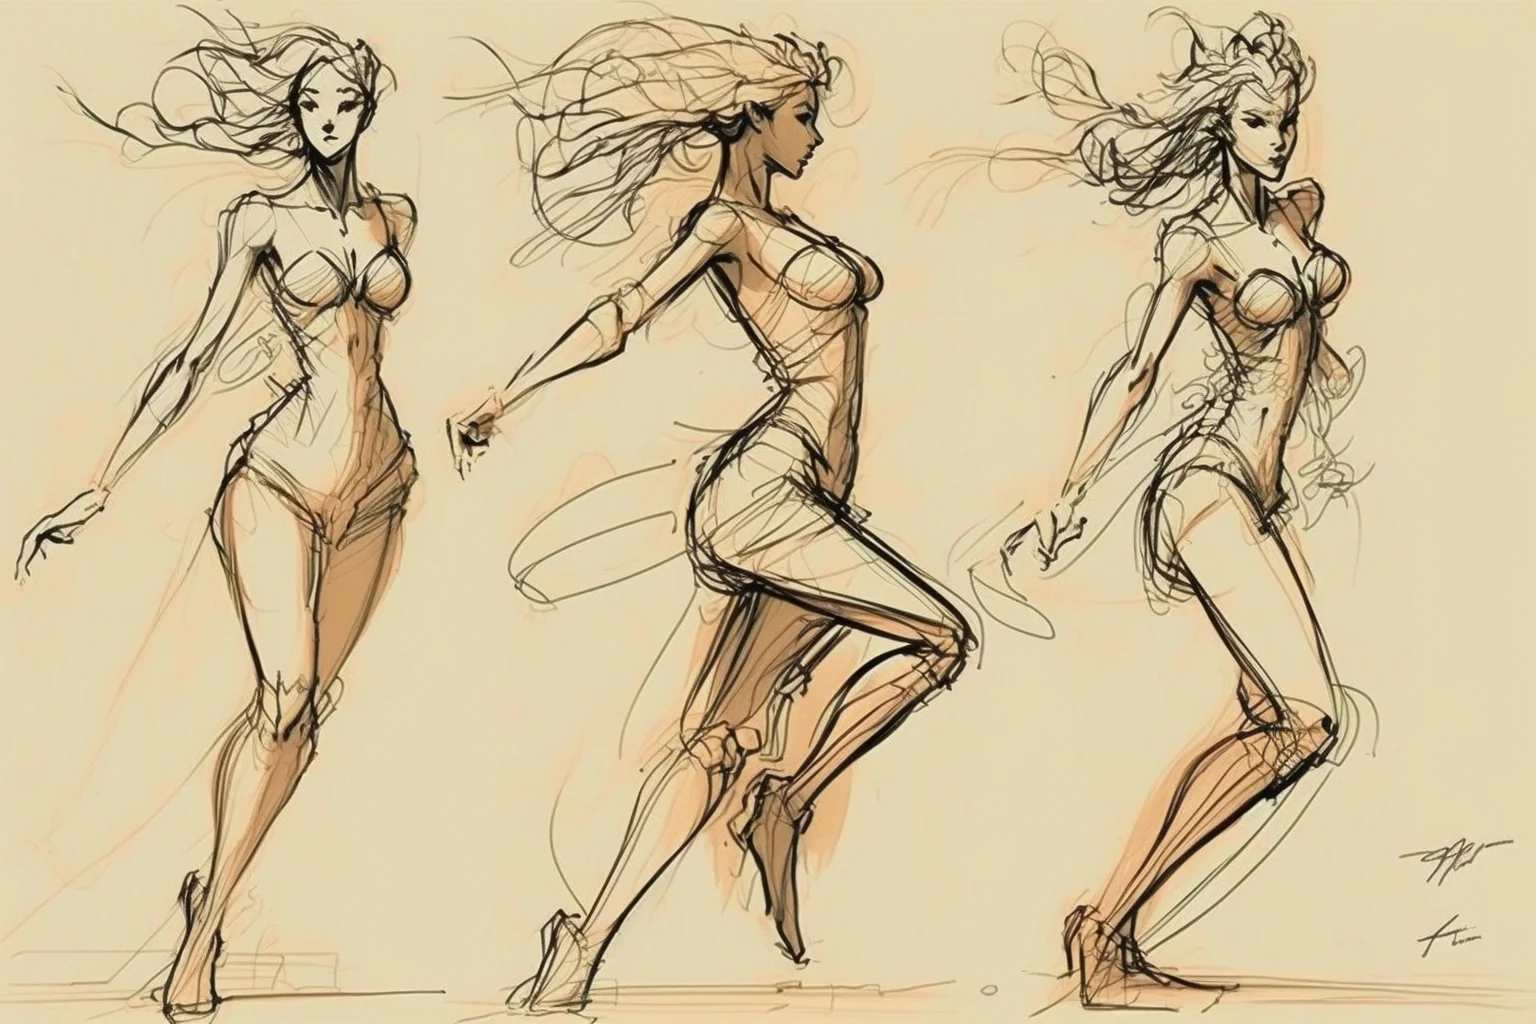
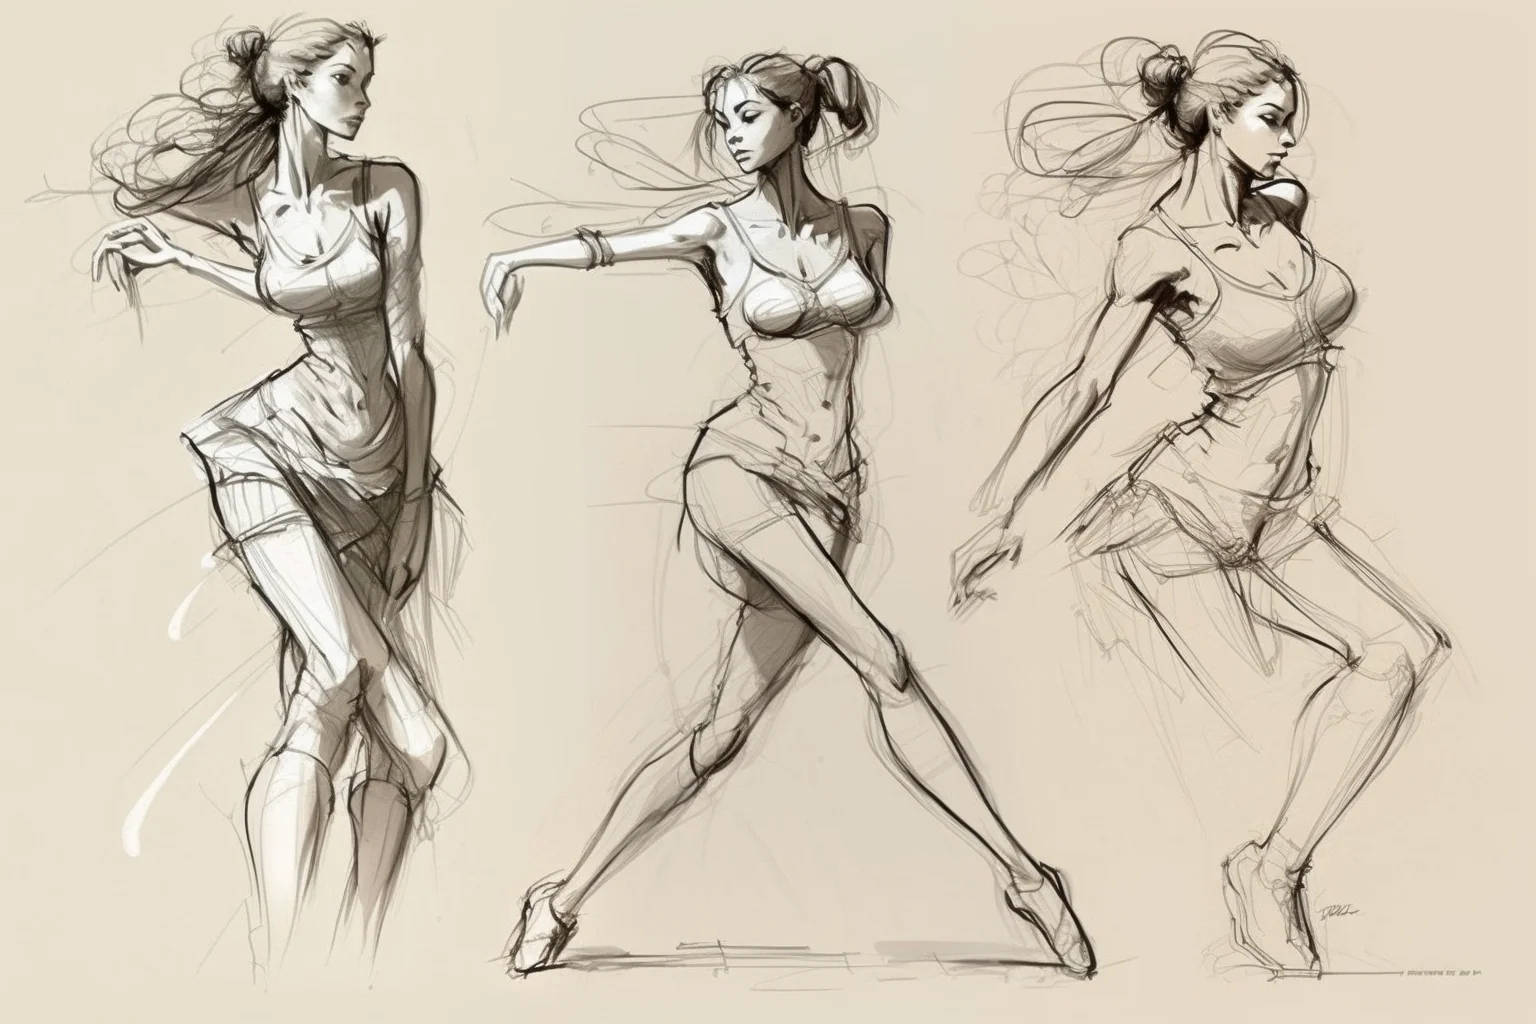
A gesture drawing method that actually preserves movement
Gesture drawing works best when each decision answers the previous one. Do not begin by tracing the outside edge of the figure. Build the pose from the movement inward:
- Find the line of action. Look for the strongest sweep through the pose. It may run from head to supporting foot, shoulder to hip, or through a reaching arm into the torso. Use one long line if possible.
- Place the rib cage and pelvis. Think of them as two simple masses hanging on the action line. Their angle matters more than their anatomy.
- Compare the shoulder and hip tilt. In many standing poses they angle against each other. In a bend or twist, the difference between them is what makes the torso feel alive.
- Find the support. Ask what is carrying the body: one leg, both feet, a hand on a table, the seat of a chair, a wall. Push the body mass toward that support.
- Send the limbs out as rhythms. Draw arms and legs with long directional strokes first. Add joints only when they help explain a change in direction.
- Add contour selectively. Use just enough outside edge to clarify the pose. Do not encase every limb in a tube if the gesture already reads.
- Stop before detail takes over. Fingers, facial features, clothing seams and muscles are optional unless they explain the action.
The important question is not “Does this look finished?” It is “Can I tell what the body is doing?” A rough drawing with clear weight and direction is a successful gesture. A polished outline with no movement is not.
One action line is not always enough
The phrase “line of action” can sound as if every pose has one perfect C-curve or S-curve hidden inside it. Real poses are messier. Start with the dominant sweep, then look for secondary rhythms: one shoulder to the opposite hip, the outside of a reaching arm, or a long curve from the torso into a leg.
Do not force a dramatic curve into a quiet pose. A standing figure may have only a slight lean. The goal is to simplify the movement that is actually there, then exaggerate it only enough to keep the drawing from becoming timid.
Balance, standing and body weight — References 5–10
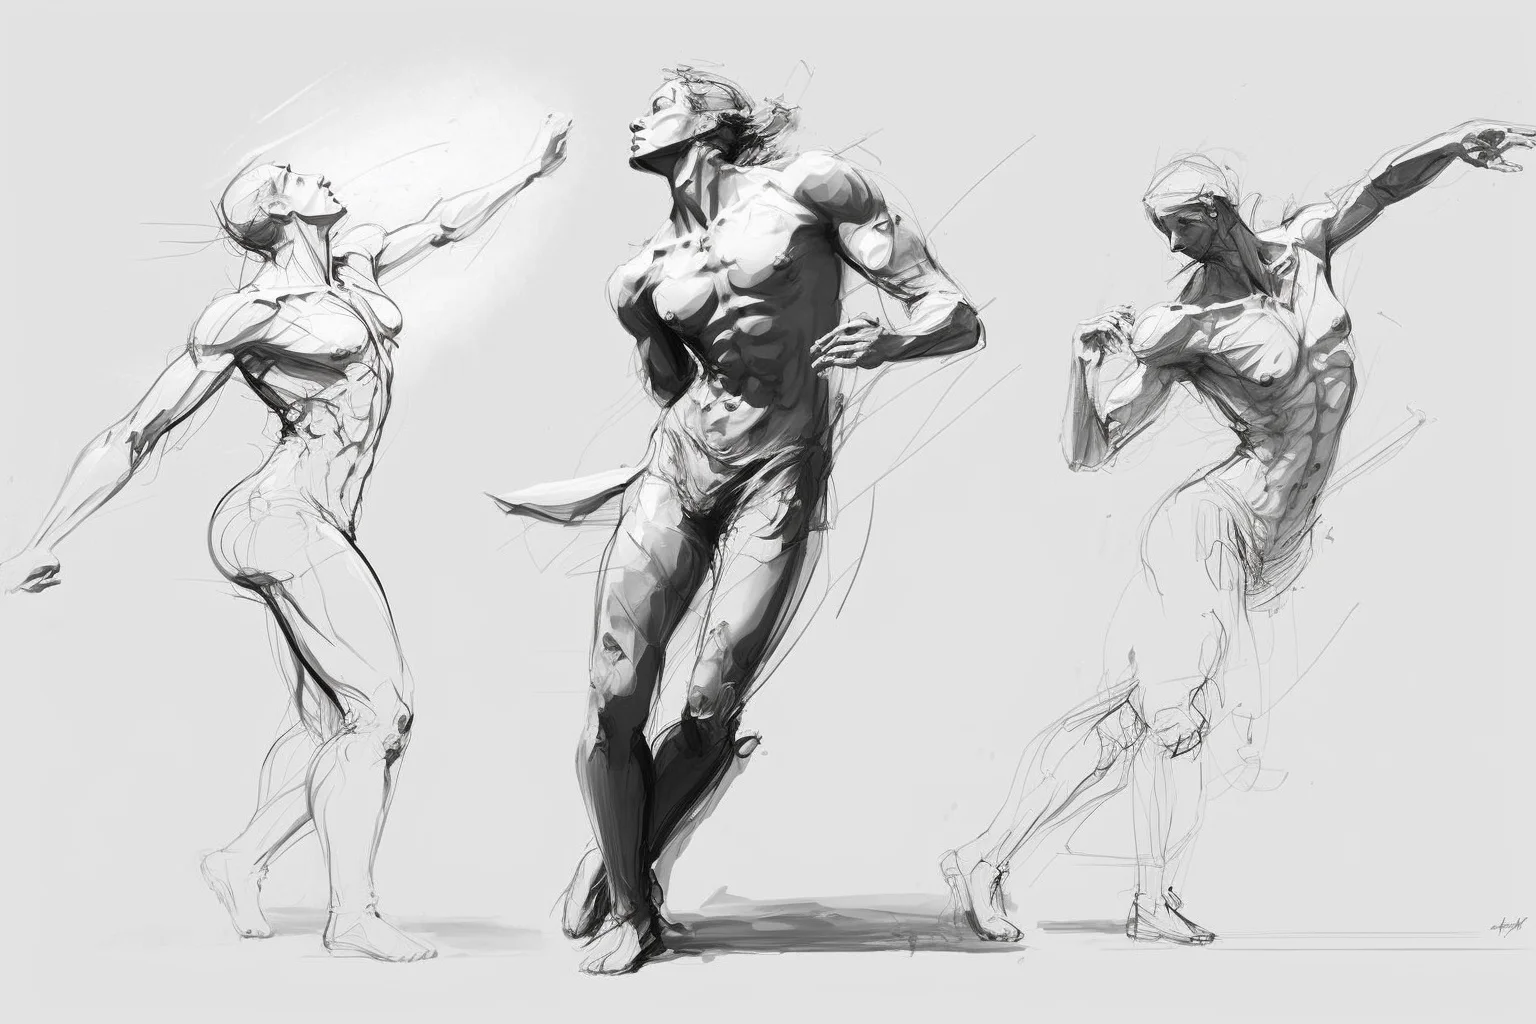
Standing poses are useful because mistakes in balance are easy to see. Drop an imaginary vertical line from the pit of the neck or center of the rib cage toward the ground. In a relaxed standing pose, that weight should arrive over the supporting foot or between the feet. If it lands far outside the base of support, the figure should look as if it is stepping, falling or being held up by something.
Do not confuse balance with symmetry. A believable standing figure is often asymmetrical: one knee locks while the other relaxes, one hip rises, one shoulder drops, and the torso bends slightly to compensate. Those oppositions are what make a pose feel weighted instead of mannequin-like.
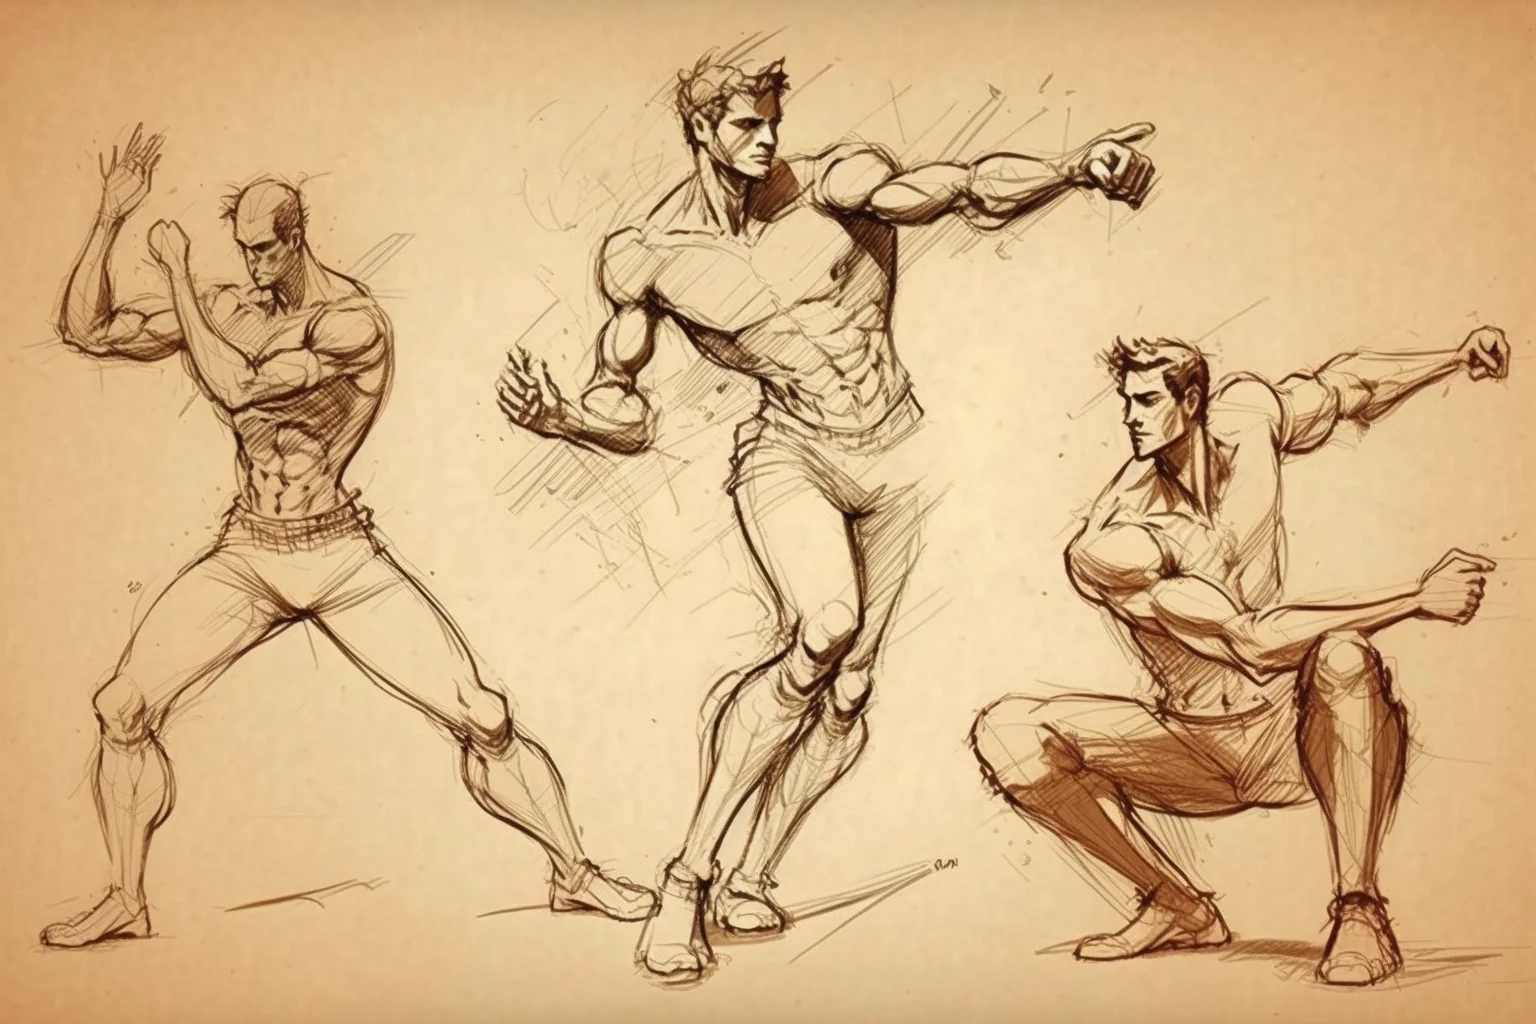
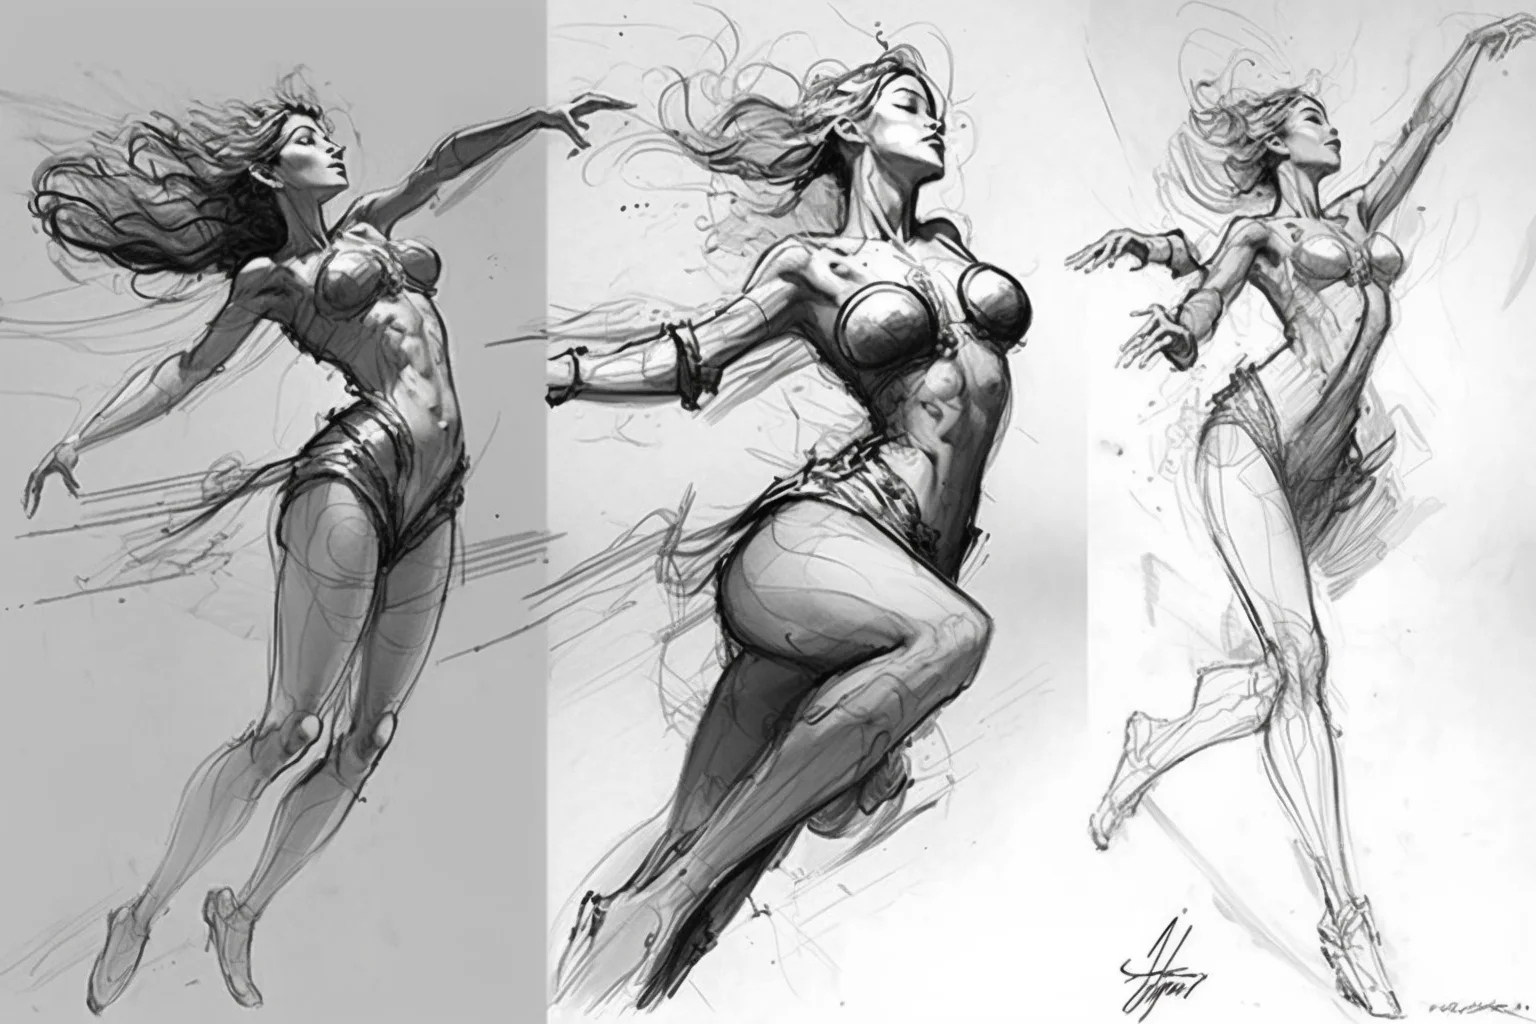
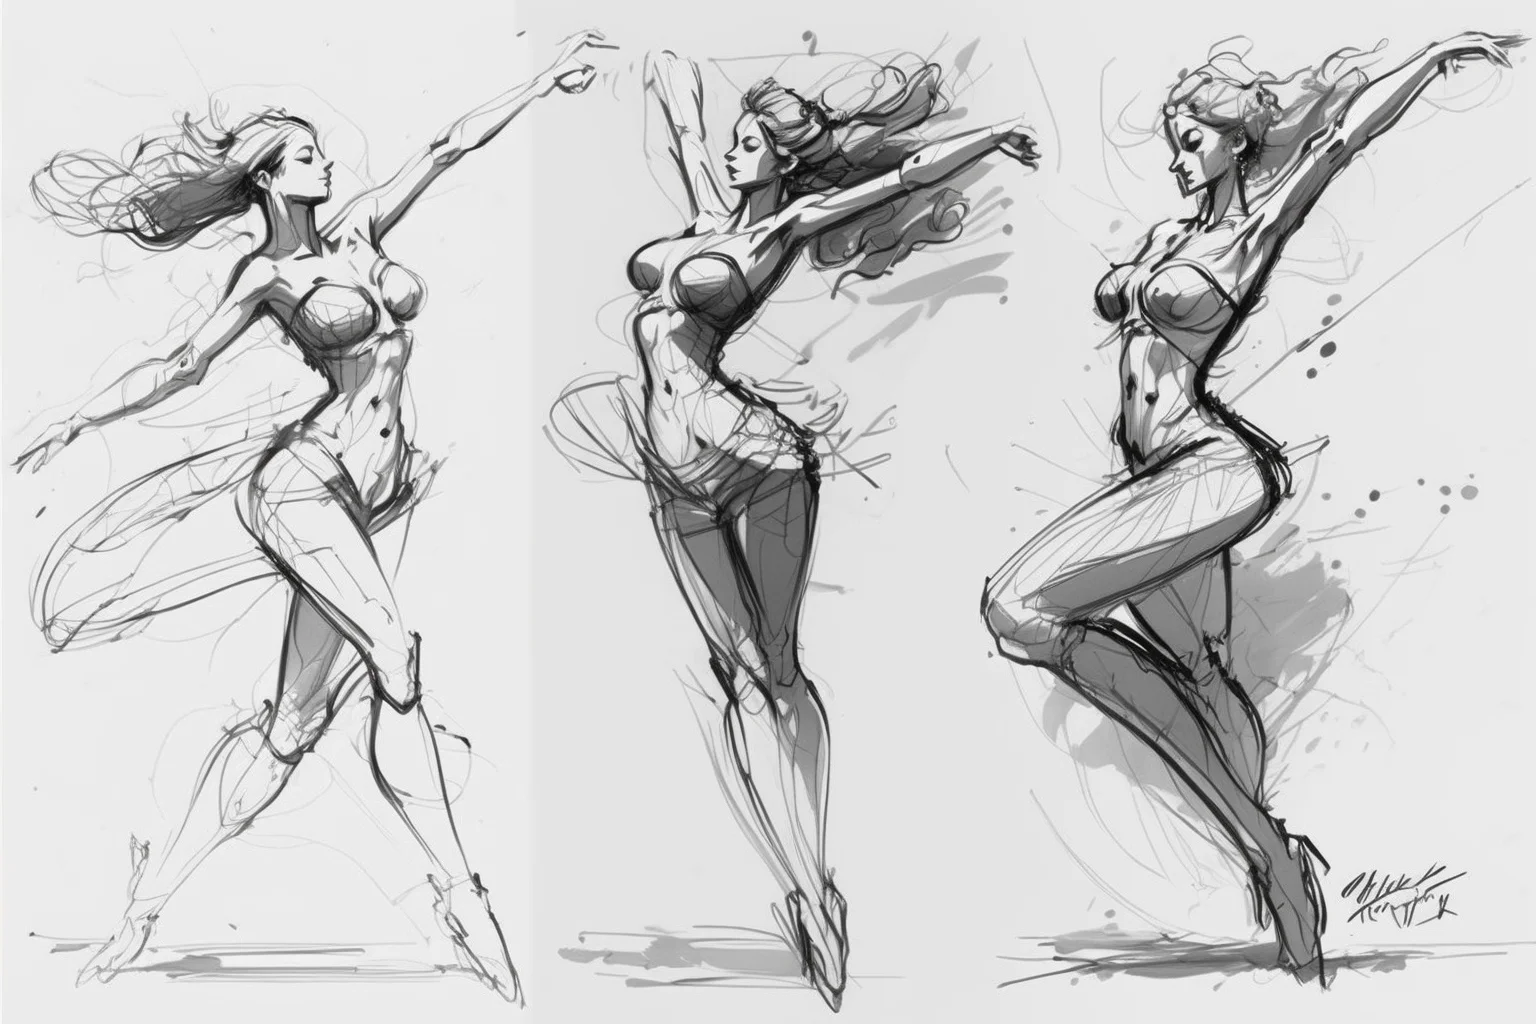
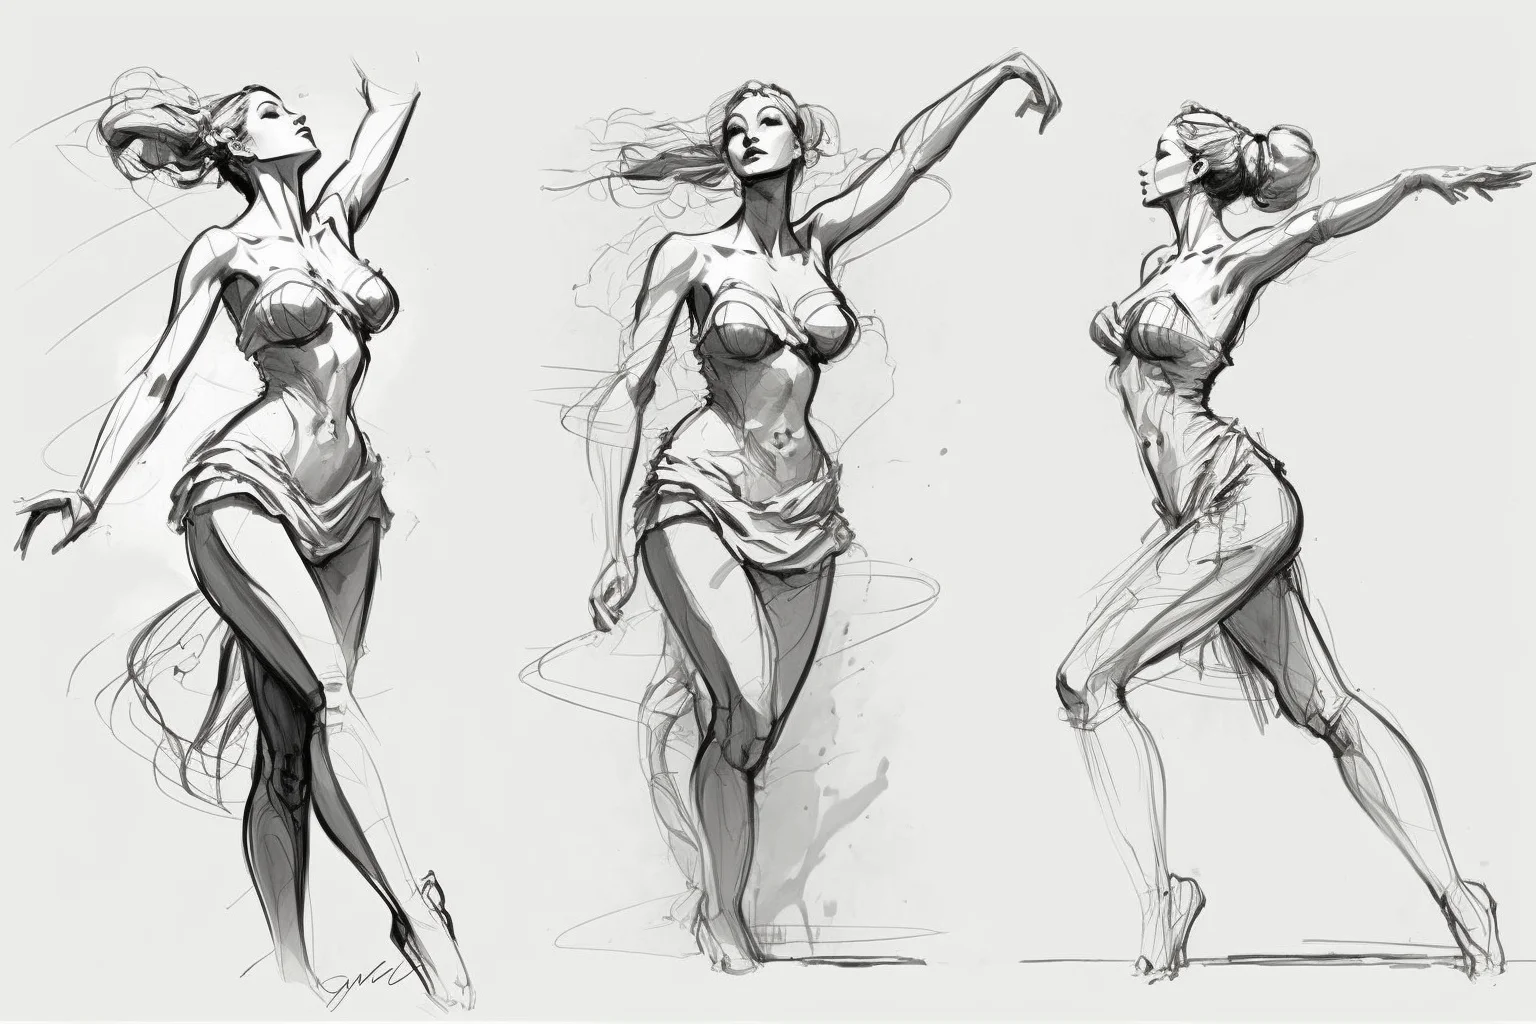
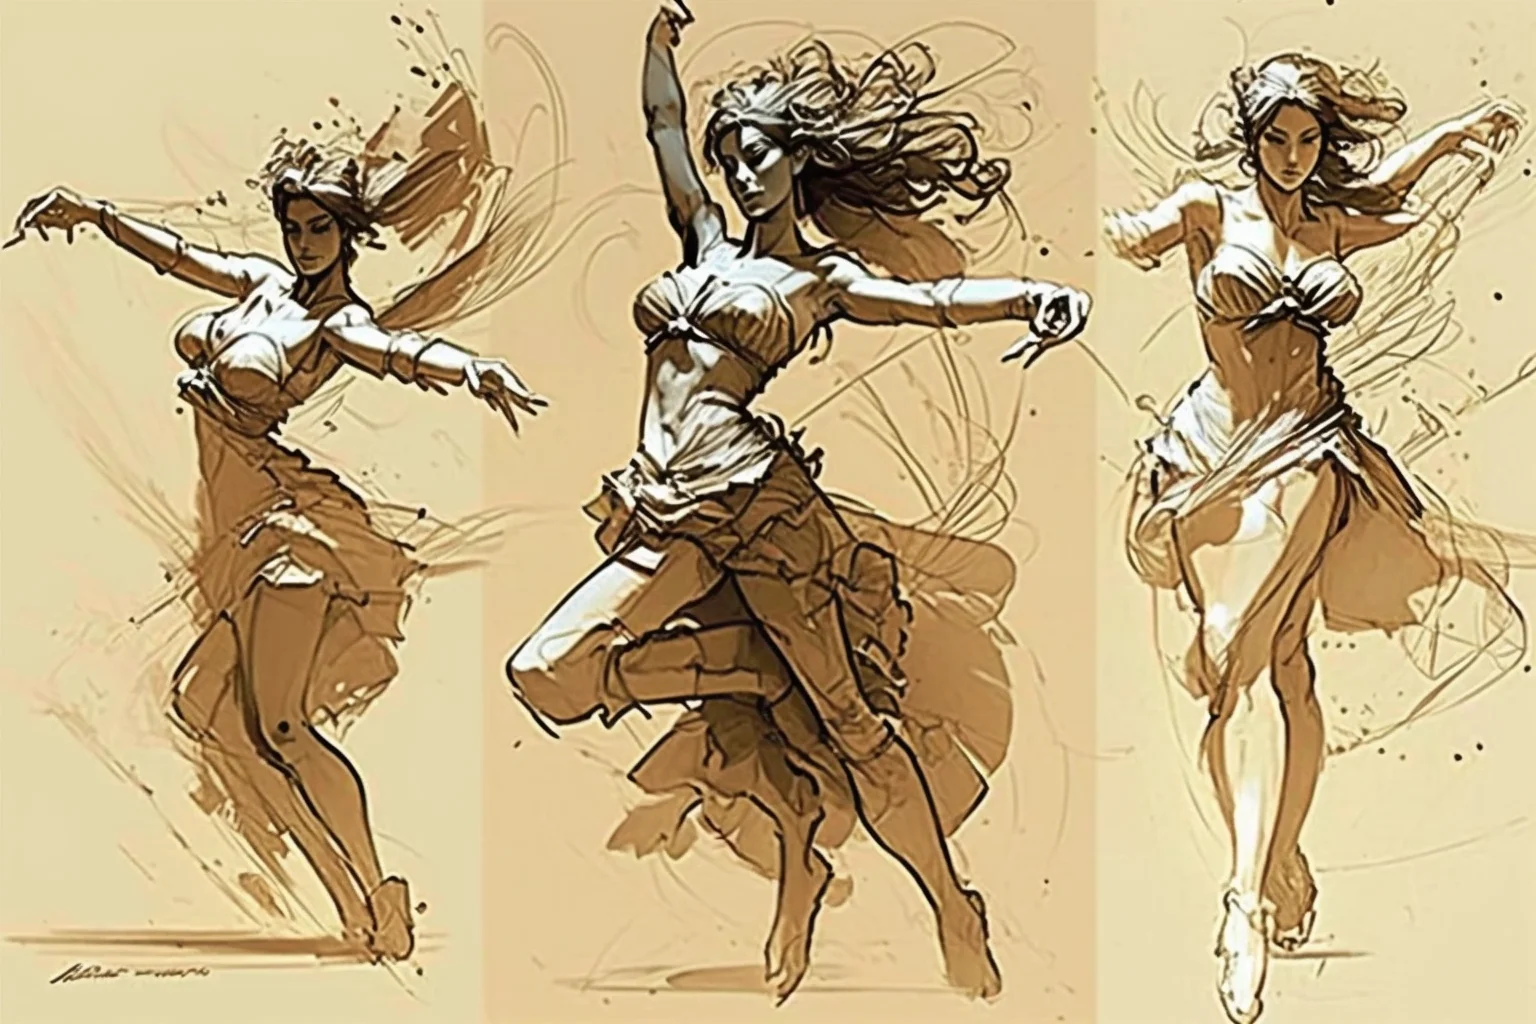
Pay attention to the shoulder line and hip line. When the weight shifts onto one leg, those angles often oppose each other. You do not need to name the anatomy to see the tilt.
Compression and stretch make the torso feel alive
When the rib cage and pelvis tilt toward each other on one side, that side of the torso compresses. The opposite side lengthens. Marking that difference is more useful for gesture than carefully drawing waist contours.
Try this on References 5–10: before adding arms or legs, draw only the head, rib cage and pelvis. Then connect the compressed side with a shorter curve and the stretched side with a longer one. If the torso suddenly feels more active, the gesture was hiding in that relationship.
Use the support side and free side differently
The supporting leg usually feels straighter, heavier or more vertical because it is carrying weight. The free leg can bend, swing or turn more easily. The same contrast appears in arms: one arm may brace against a surface while the other hangs or gestures.
If both sides are drawn with identical stiffness, the pose loses hierarchy. Ask which side is doing the work and which side is free to move.
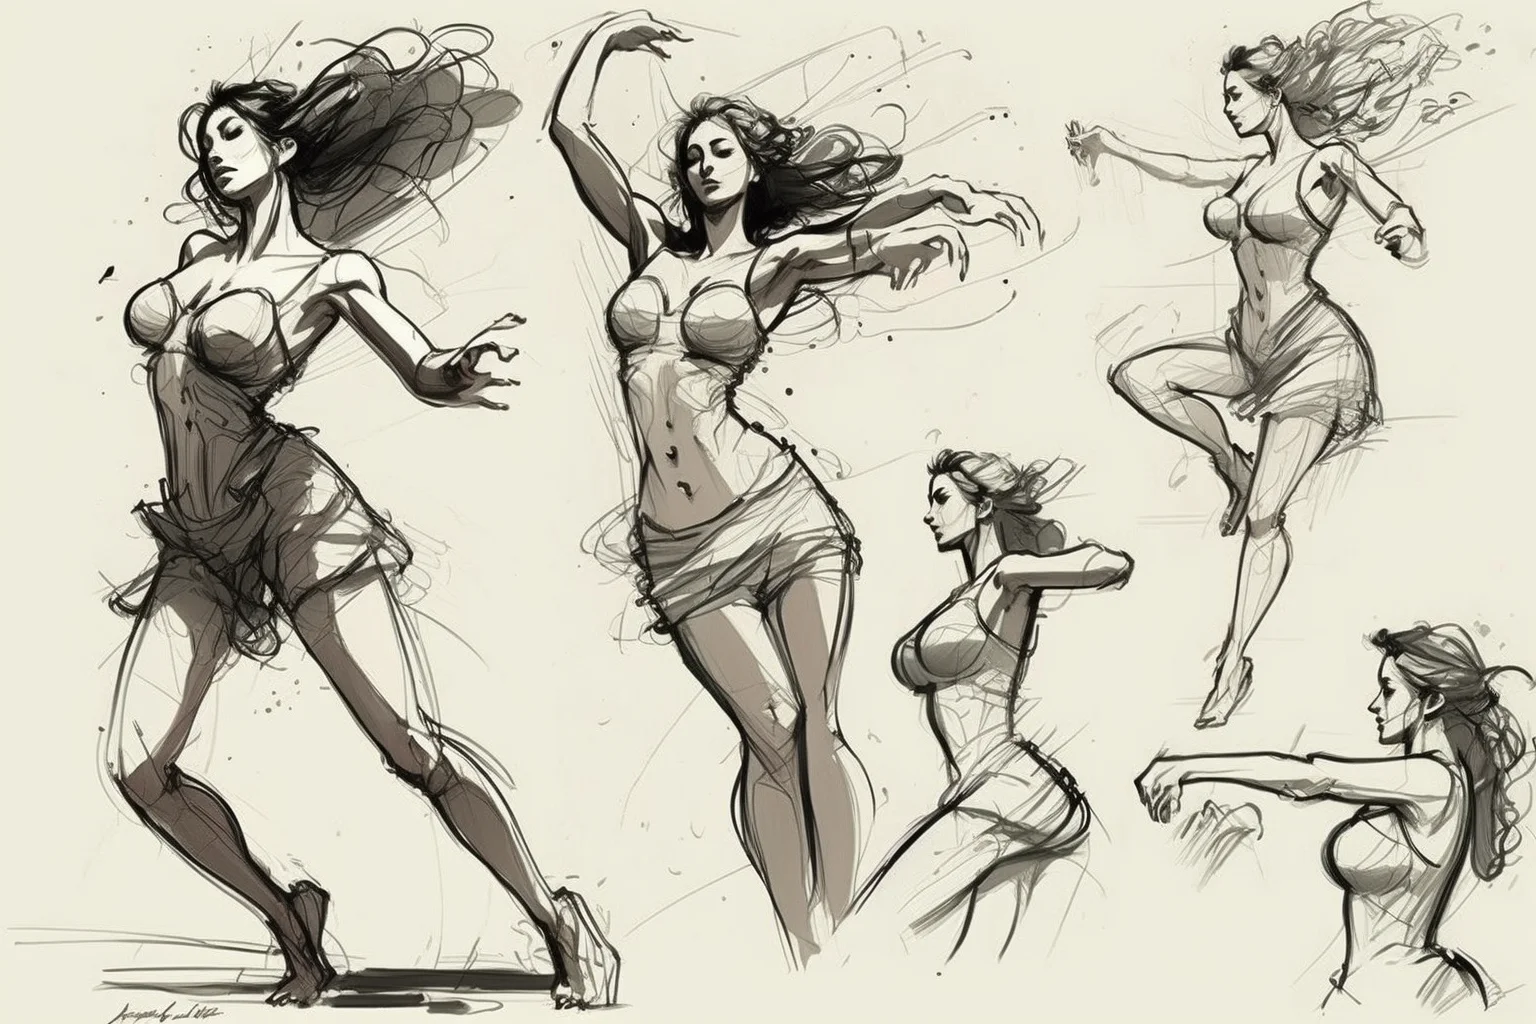
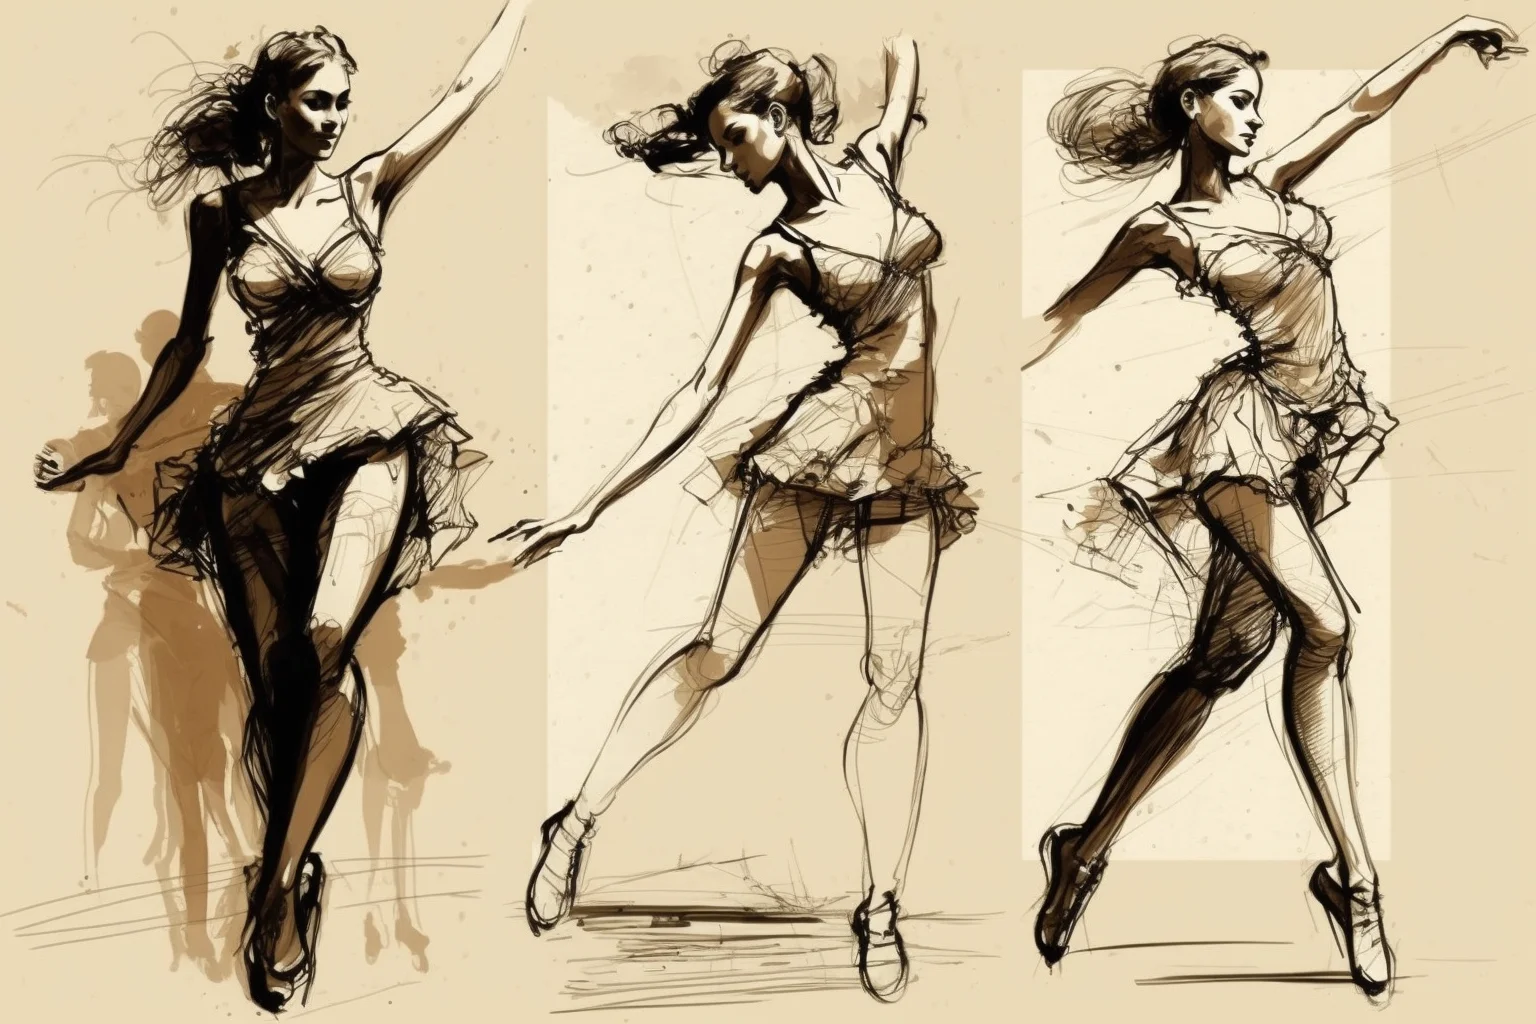
Action gesture drawing — References 11–14
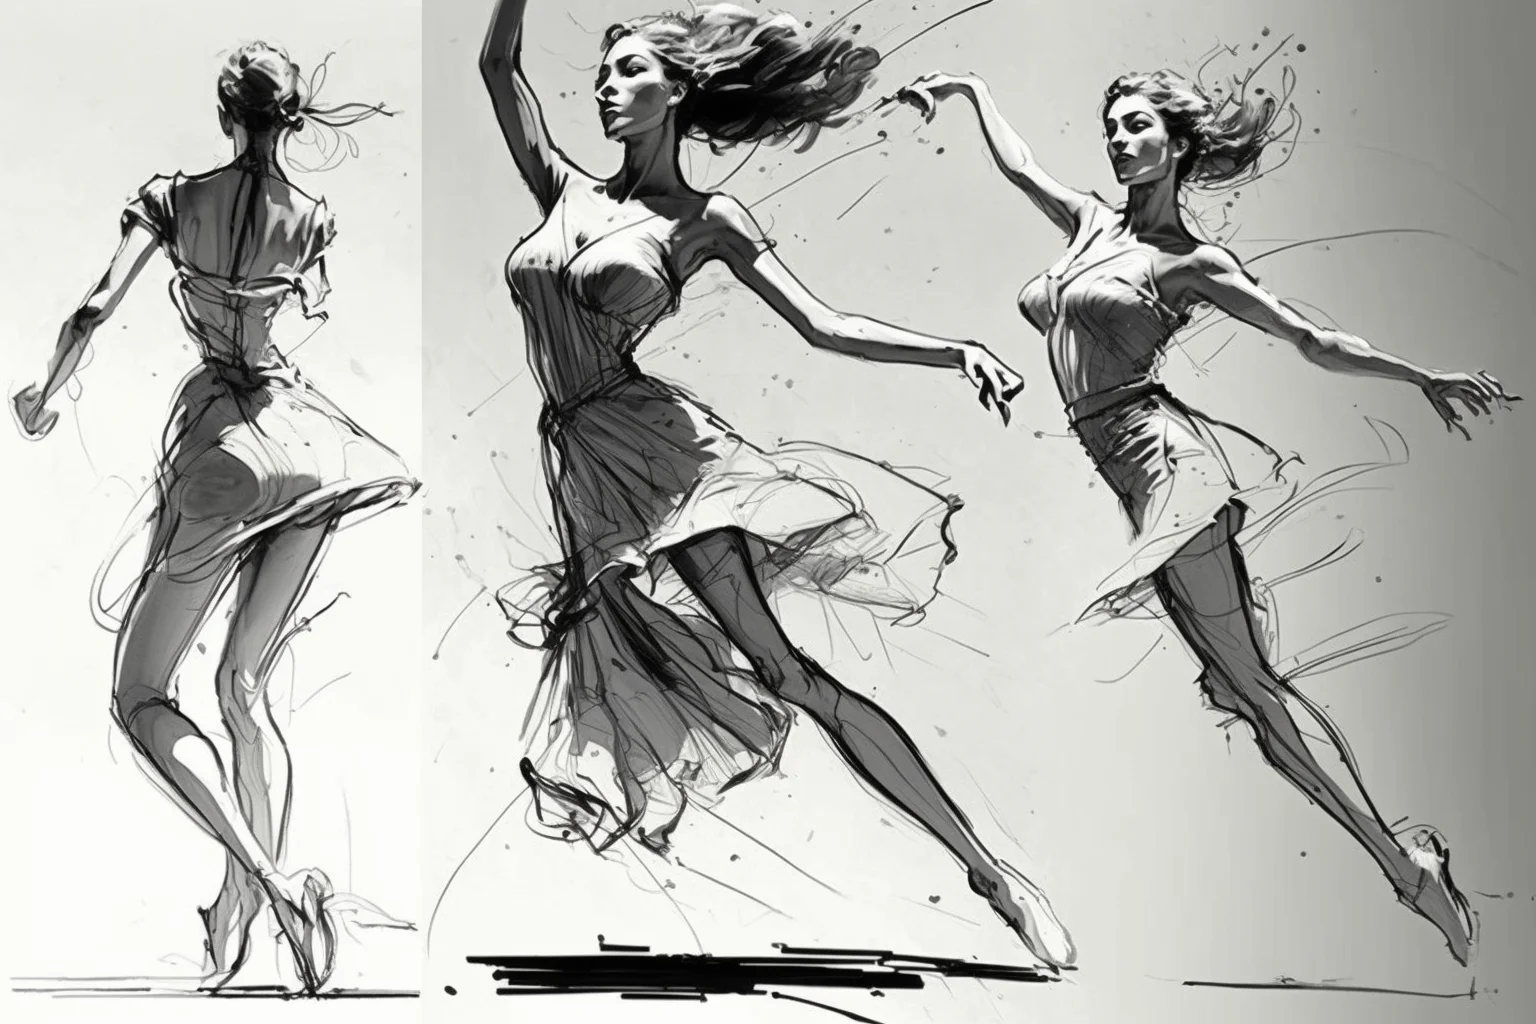
On faster poses, exaggerate the action slightly before you correct it. A timid line of action is one of the fastest ways to turn movement into a mannequin pose.
Ask what is leading the movement. In a reach it may be the hand; in a run it may be the chest or knee; in a jump it may be the head and rib cage. Let the rest of the body follow that direction instead of giving every body part equal emphasis.
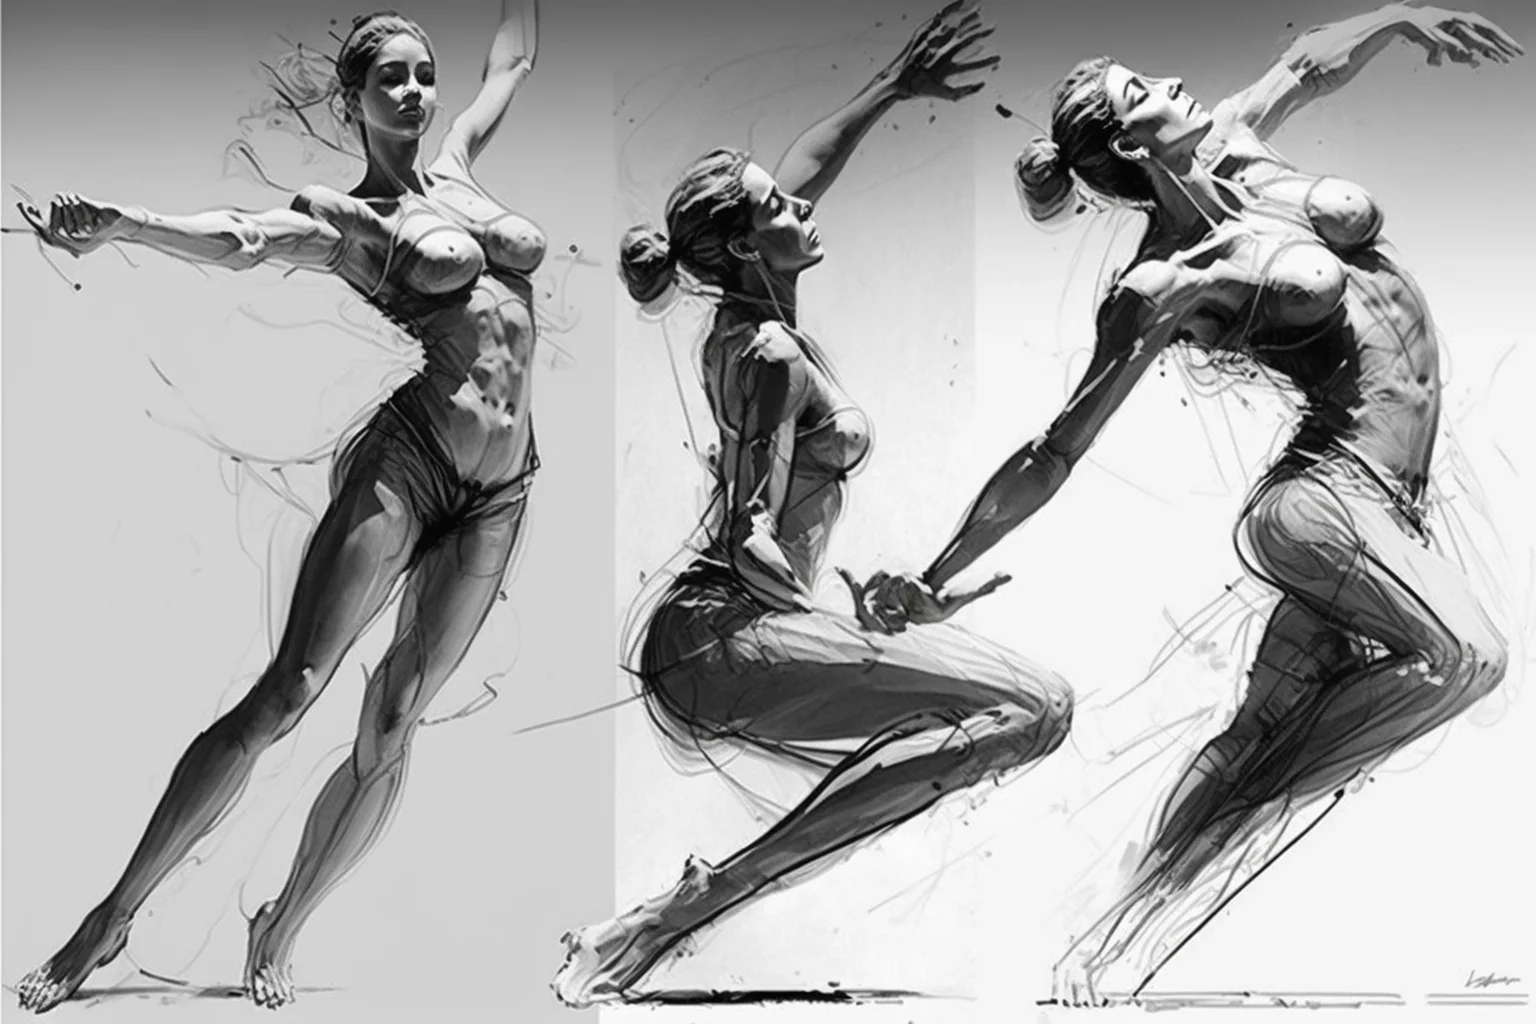
Push, pull, stretch and recoil
Fast poses become clearer when you think in forces instead of body parts. A reaching arm pulls the shoulder and rib cage toward it. A planted leg pushes against the ground. A jump stretches the body away from the floor; a landing compresses it back toward the support.
You do not need to draw literal arrows. Just ask what direction the energy seems to travel. Then let the torso and limbs reinforce that direction. If the torso leans forward but every limb points straight down, the gesture will feel contradictory.
Use fewer joints than you think
In a 30-second or one-minute study, marking every shoulder, elbow, wrist, hip, knee and ankle can break the pose into pieces. Draw the long rhythm first. Add a joint only where the limb clearly changes direction or where the joint explains the action.
A good gesture often has fewer marks than a bad one. The economy is not about being minimalist for its own sake; it keeps the main movement visible.
What each timer length is supposed to teach
More time should not simply produce more detail. Change the goal as the timer gets longer:
- 30 seconds — action: line of action, head direction and one torso mass. Ignore hands, feet and contour.
- 1 minute — rhythm: add rib cage, pelvis and long limb directions. Show which side supports the body.
- 2 minutes — weight: clarify balance, overlaps and a few contour changes. Keep the original action visible.
- 5 minutes — structure: add simple volume to the torso and limbs, but check that the drawing still feels like the first 30-second idea.
If a five-minute study becomes stiffer than the 30-second version, the extra construction is fighting the gesture. Go back and compare where the rhythm disappeared.
A 15-minute gesture practice session
- Four 30-second poses: action line + head + torso only.
- Three 1-minute poses: add pelvis, limb rhythm and support.
- Two 2-minute poses: show compression, stretch and overlap.
- One 4-minute redraw: choose the pose that felt stiffest and rebuild it from the action line.
- Final minute: put the drawings side by side and circle the one with the clearest movement—not the cleanest anatomy.
That last comparison matters. Gesture practice improves faster when you judge the drawing by movement and weight instead of by how finished it looks.
Why gesture drawings look stiff — and the fastest fix
- You outlined too early. The body became a container instead of a movement. Redraw the pose with one action line, one rib-cage mass and one pelvis mass before allowing any contour.
- Both sides of the body feel equally active. Find the support side and the free side. Make the support heavier or straighter; let the free side bend, swing or relax.
- The pose has no weight. Identify the contact point with the ground, chair, wall or prop. Shift the body mass toward that support.
- Your torso is two stacked shapes with no relationship. Compare shoulder tilt, pelvis tilt, compression and stretch. The torso should react internally to the pose.
- You used too many short strokes. Replace a chain of small marks with one longer directional stroke through the limb or torso.
- You marked every joint. Remove the joints that do not change the limb direction. Too many dots and hinges turn the figure into a mannequin.
- Your action line is timid. Redraw it slightly more strongly than the reference, then build the masses around that version. You can reduce the exaggeration afterward.
- You are copying anatomy instead of movement. Hide the reference details and redraw the same pose with five to seven lines. If the pose disappears, you were relying on surface information.
A quick self-critique before you start another pose
Do not ask only, “Does it look like the reference?” Check these in order:
- Action: is there one dominant direction I can feel immediately?
- Weight: where is the body supported, and does the mass sit over that support?
- Torso: do rib cage and pelvis have a meaningful tilt or twist relationship?
- Rhythm: do the limbs continue the movement, or do they interrupt it?
- Economy: could I remove several lines and keep the pose readable?
If the first two fail, do not spend time fixing contour or anatomy. Start the pose again. Gesture improves through repeated decisions, not through polishing a weak first structure.
Gesture drawing is not contour drawing
Contour drawing follows the visible edges and surface changes of a subject. Gesture drawing looks for the movement underneath those edges. Both are useful, but they train different attention.
If you begin a gesture by carefully tracing the shoulder, waist and outside of the leg, you may reproduce the silhouette while missing the pose. In gesture, start inside the figure with direction and weight. Add contour later only where it helps explain the movement.
Gesture drawing vs. figure drawing
Gesture is the quick study of movement, balance, weight and rhythm. Figure drawing can continue into anatomy, proportion, contour, perspective and rendering. A two-minute gesture is not an unfinished figure drawing; it has a different job.
The useful sequence is usually gesture first, structure second, anatomy third. Once the action and weight work, simple rib-cage, pelvis and limb volumes can make the pose more solid. Anatomy should explain those forms, not replace the movement with a diagram of muscles.
When should anatomy enter the drawing?
Add anatomy when it clarifies a turn, joint or weight-bearing form that the gesture alone cannot explain. In a longer study, the knee, shoulder, rib cage or pelvis may need more structure. But if you are adding muscle names before the pose reads, you are solving the wrong problem first.
A good test is to cover the internal anatomy lines with your hand. If the pose still feels alive, the anatomy is supporting the gesture. If the pose collapses without those details, go back to the action and mass relationship.
When is a gesture drawing finished?
Stop when the pose, support and main rhythms are clear. A gesture is finished when more lines would describe surface information rather than improve the movement.
That may happen at 30 seconds or five minutes. Do not use the timer as permission to fill empty space. Extra time is for correcting weight, clarifying overlap or improving the torso relationship—not for automatically adding fingers, facial features or clothing folds.
A 7-day gesture drawing practice plan
- Day 1 — action only: ten 30-second poses. Draw the head and one dominant sweep.
- Day 2 — torso rhythm: eight 1-minute poses. Add rib cage and pelvis with clear tilt.
- Day 3 — weight: six 2-minute standing poses. Identify the supporting leg and ground contact.
- Day 4 — compression and stretch: six 2-minute bends, reaches or seated poses. Compare the short side of the torso with the long side.
- Day 5 — action: eight 1-minute dynamic poses. Exaggerate the main direction slightly.
- Day 6 — structure: four 5-minute poses. Add simple volume without losing the first gesture.
- Day 7 — redraw: choose three poses from earlier in the week and redraw them from memory for one minute each, then compare.
Keep the week’s drawings together. Progress usually shows up as fewer hesitant marks, clearer support and better torso rhythm before it shows up as cleaner anatomy.
Where to go next
For longer pose studies, use the female drawing references. For a broader range of pose ideas, use the drawing pose references. For hands specifically, use the hand drawing guide. For broader step-by-step lessons, go to the 43 beginner drawing tutorials.
Gesture drawing questions
Should I draw the skeleton first?
Not necessarily. For quick gesture, a line of action plus simple rib-cage and pelvis masses is usually enough. Use a simplified skeleton only if it helps you understand limb direction and support.
How many gesture drawings should I do in one session?
Ten to twenty short poses is more useful than one heavily polished sketch. The repetition trains faster decisions.
Should the line of action follow the spine exactly?
No. It represents the dominant movement of the pose, not a medical trace of the spine. Sometimes it follows the torso; sometimes it connects a reach, lean or support through the whole figure.
Why do my 5-minute gestures look worse than my 30-second ones?
You may be replacing the original rhythm with contour and anatomy. Keep the first action visible and add structure around it rather than redrawing the pose from the outside inward.
Reference note
Use these images for gesture and motion practice rather than as anatomy authority. Some visuals may be stylized or AI-assisted, so proportions can be imperfect. This legacy gallery also does not document original artist attribution or commercial reuse licensing for every reference.


Who is the author of this drawings?