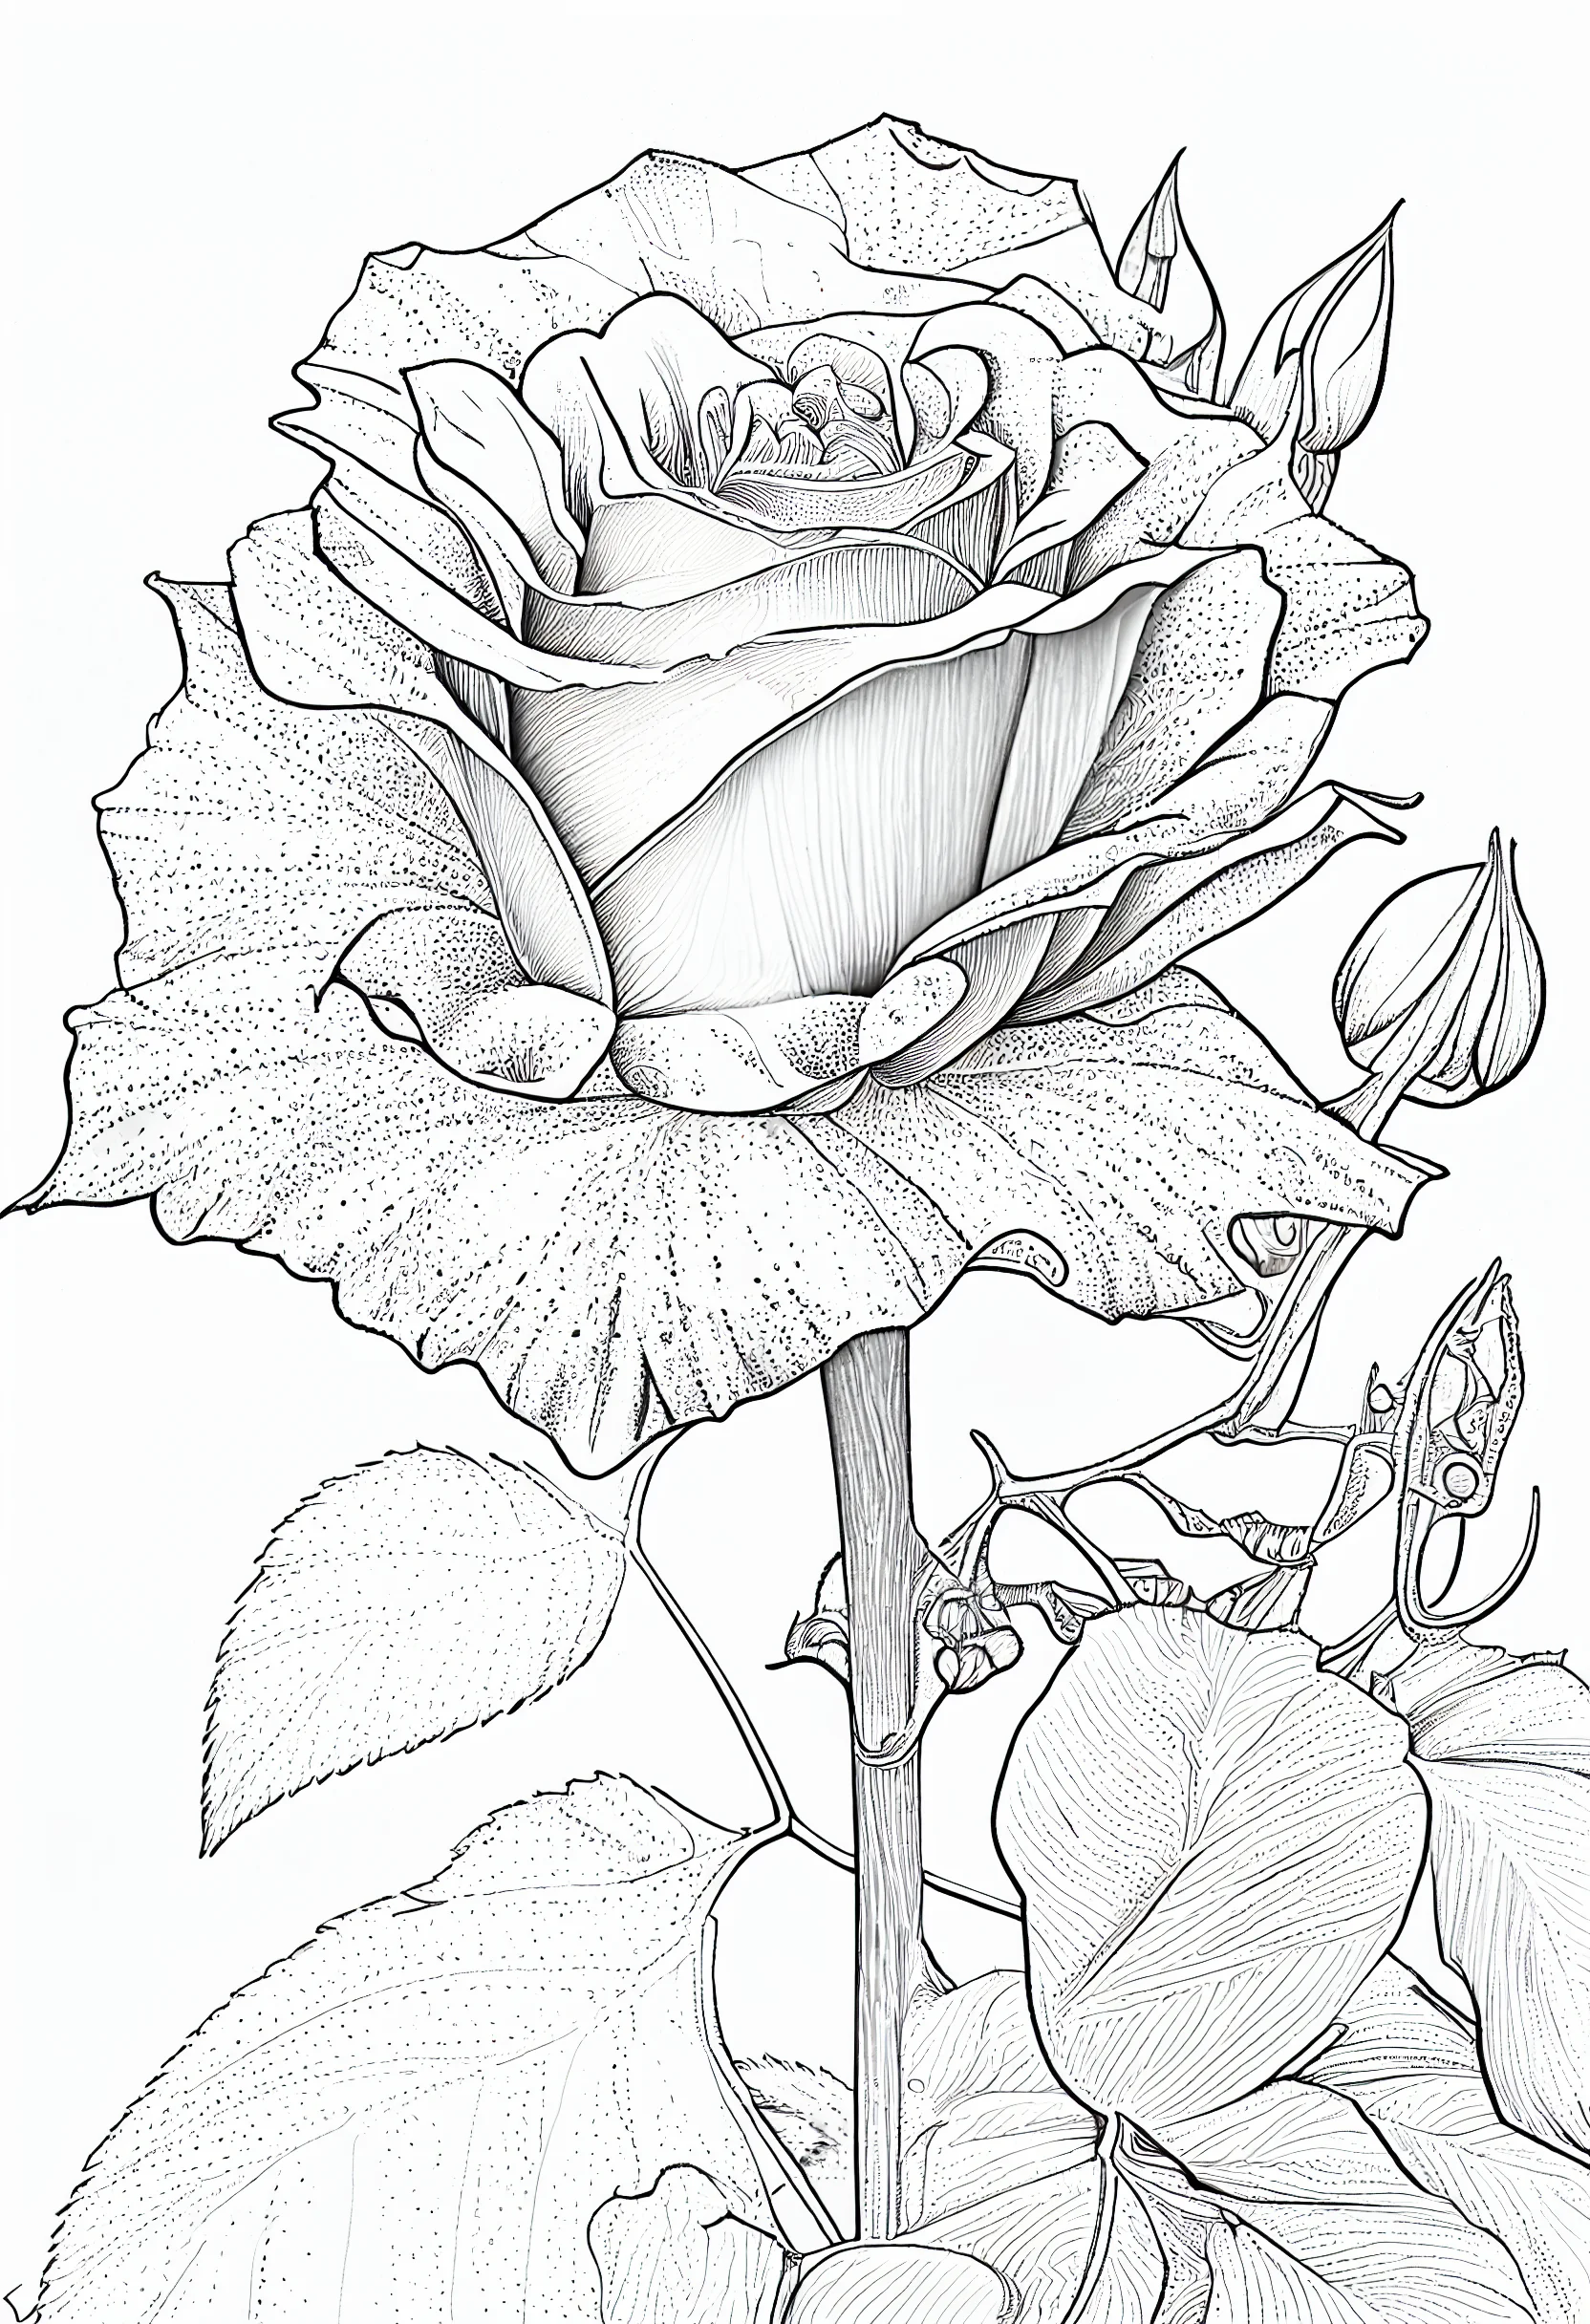
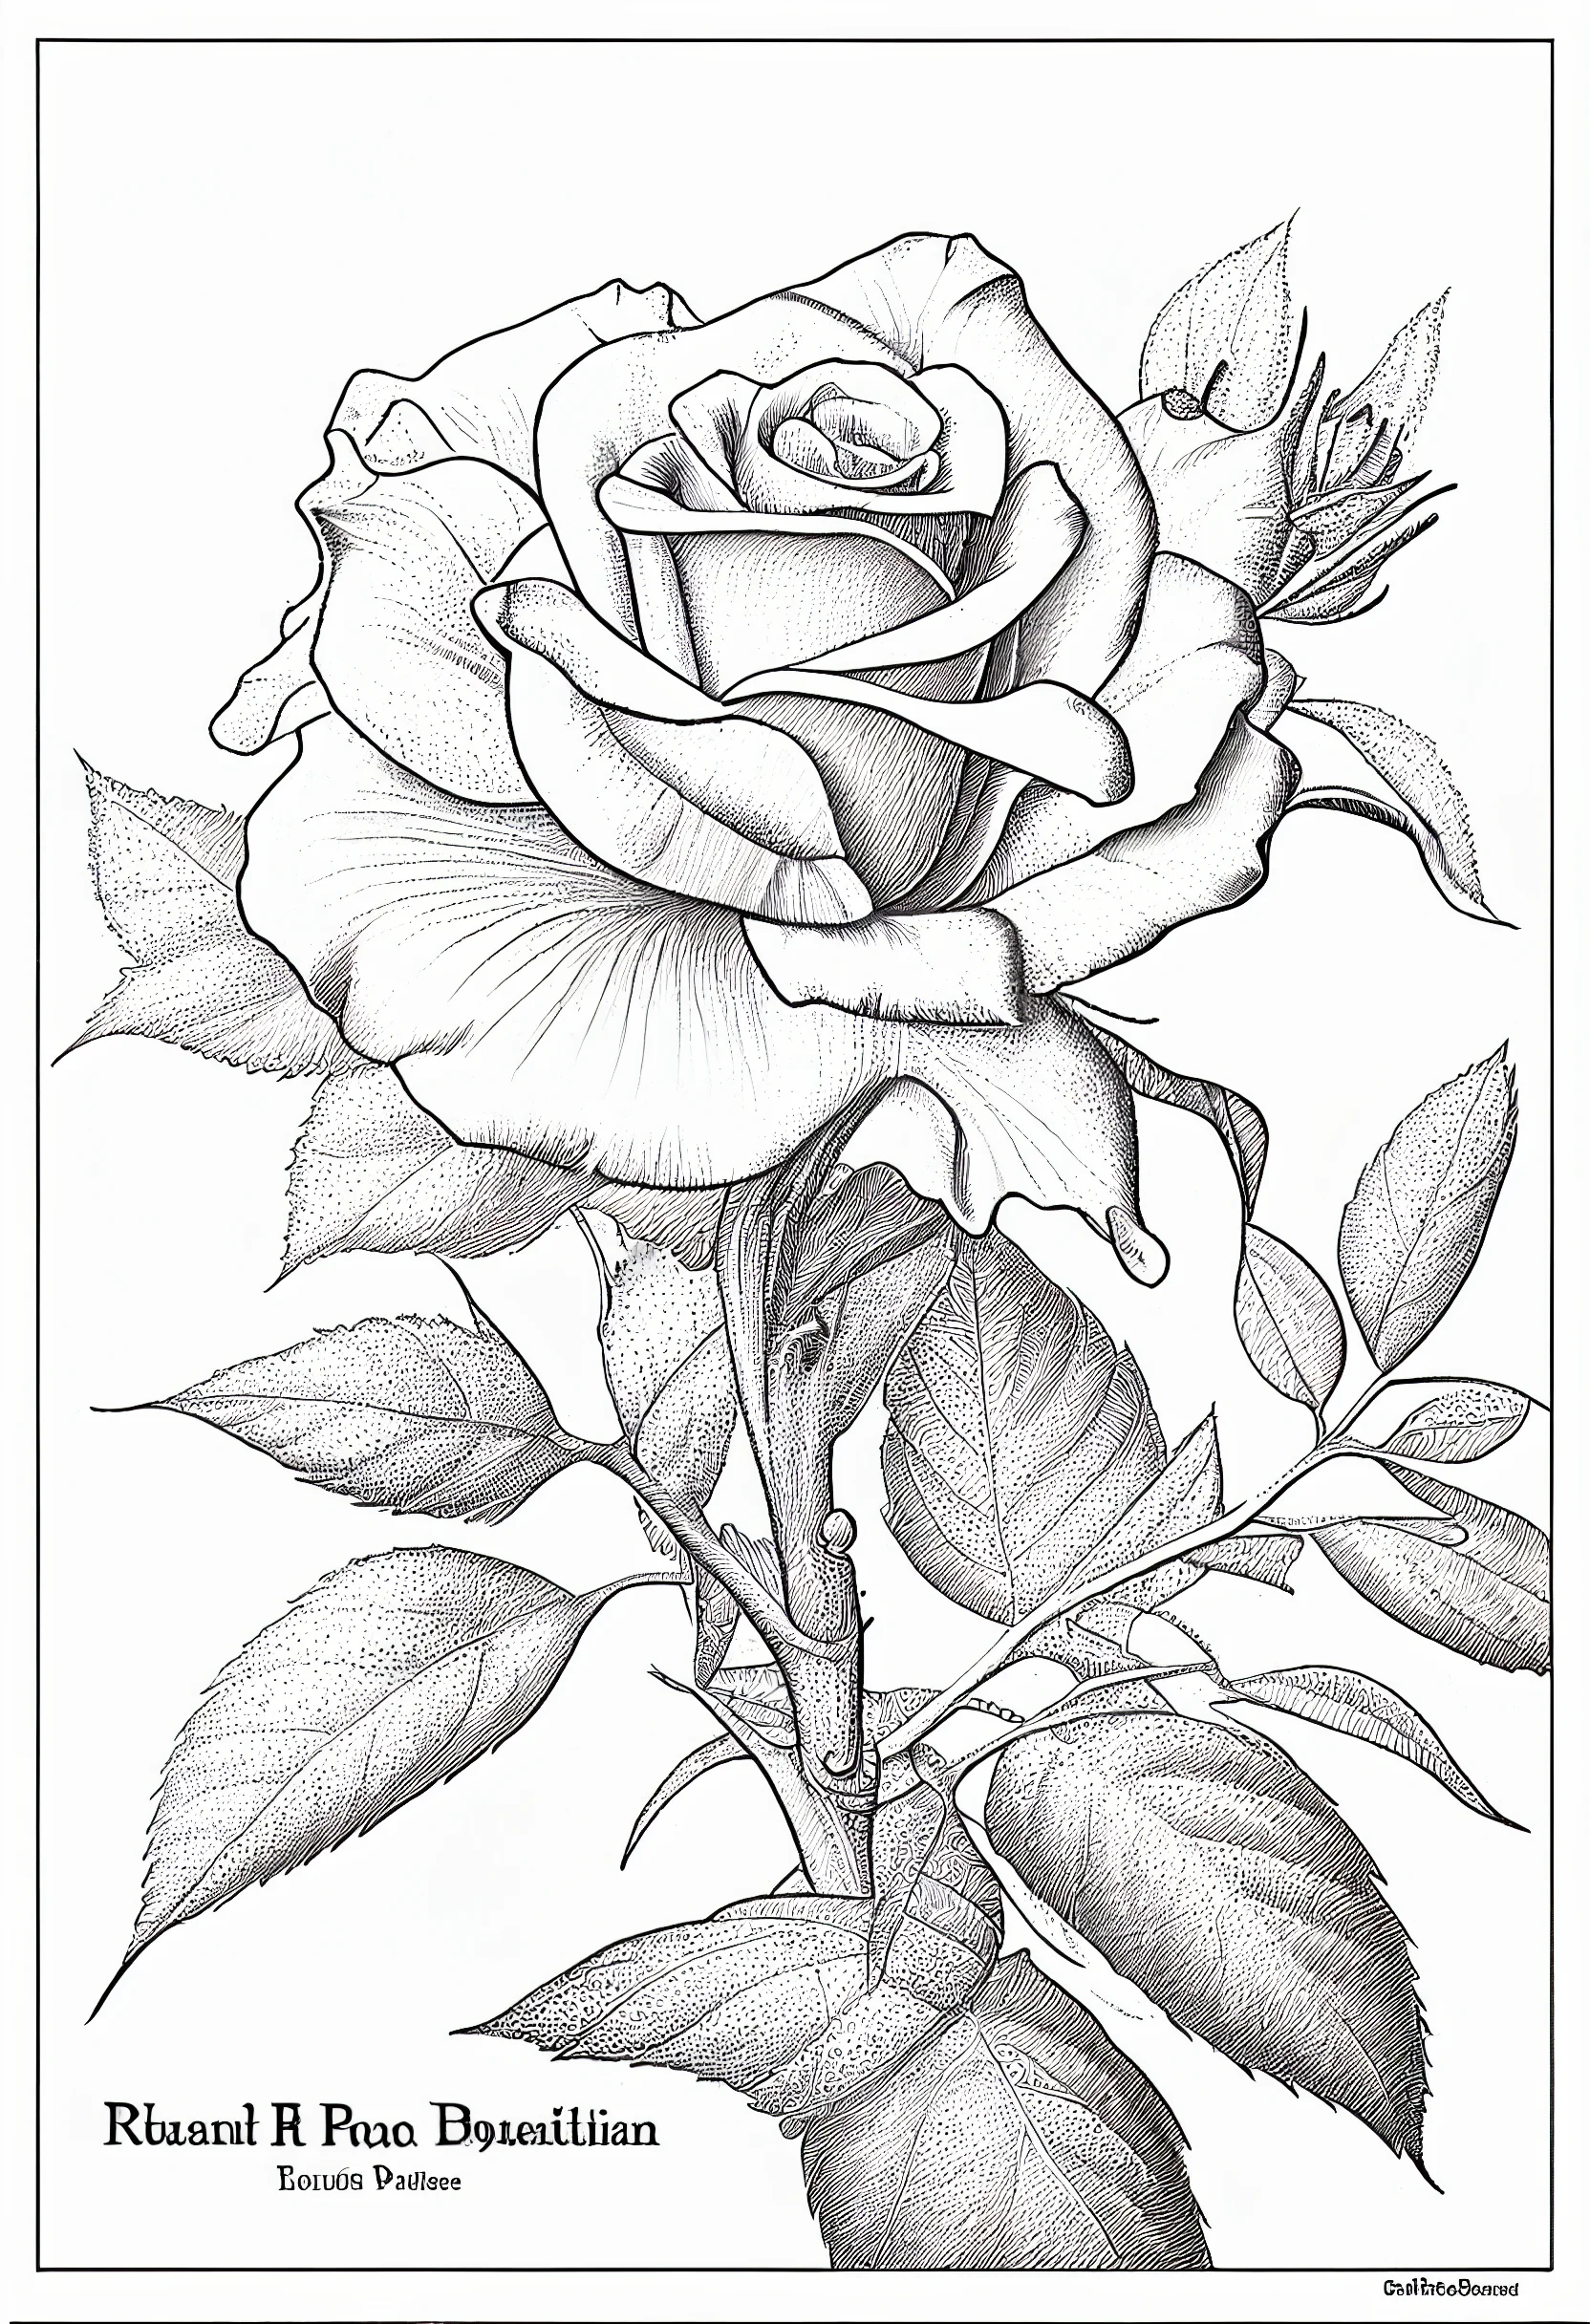
Drawing a rose may seem like a daunting task for someone who is new to art or lacks experience in sketching. However, with a bit of practice and the right techniques, anyone can create a beautiful and easy rose drawing.
To begin with, you will need a few essential tools such as a pencil, eraser, paper, and colored pencils if you choose to add color to your drawing. Once you have these materials, you can start following the steps outlined below.
Step 1: Sketch the Basic Shape of the Rose To start, you will need to draw the basic shape of the rose. Begin by drawing a small circle at the center of the page to represent the bud. From there, draw a curved line that extends from the center of the bud to the bottom of the page, forming the stem.
Step 2: Draw the Petals Next, draw a petal on each side of the bud. These petals should curve outward from the center and come to a point at the top. Draw additional petals around the first two, overlapping them slightly and varying their sizes to create depth and dimension.
Step 3: Add Details to the Petals To add more details to the petals, draw small lines on the edges of each petal, indicating the ruffles and folds in the rose petals. Use your pencil to shade the petals with light lines, starting from the bottom and moving upward.
Step 4: Draw the Leaves Once the petals are complete, draw the leaves on the stem. Start by drawing a small oval shape, then add a pointed tip at the top of the oval. Repeat this process to add two or three leaves on either side of the stem.
Step 5: Add More Details to the Rose Now it’s time to add more details to the rose. Use your pencil to add shading to the center of the rosebud and to the areas where the petals overlap. This will create depth and make the rose look more realistic.
Step 6: Add Color to the Rose If you choose to add color to your rose drawing, use colored pencils to lightly shade the petals, using different shades of red, pink, and orange to create a gradient effect. Use green for the stem and leaves, and add some shading to create a more realistic look.
Step 7: Final Touches Finally, use your eraser to remove any stray lines or smudges that may have occurred while drawing. Add any final touches or details to your rose, such as adding dew drops or thorns to the stem.
With these steps, you can draw a beautiful rose easily. Remember, practice makes perfect, and with time and dedication, you can create stunning works of art. Keep experimenting with different techniques and styles to find what works best for you and let your creativity flow.
How do you draw a perfect rose flower?
Drawing a perfect rose flower requires attention to detail and the use of proper techniques. Below are some steps to guide you in drawing a perfect rose flower:
Step 1: Sketch the Basic Shape Begin by sketching the basic shape of the rose. Draw a small circle at the center of your page to represent the bud. From there, draw a curved line that extends from the center of the bud to the bottom of the page to form the stem.
Step 2: Draw the Petals Draw one petal on each side of the bud. The petals should curve outward from the center and come to a point at the top. Draw additional petals around the first two, overlapping them slightly and varying their sizes to create depth and dimension.
Step 3: Refine the Shape of the Petals Refine the shape of the petals by adding small lines along the edges of each petal. This will give them a ruffled appearance. You can also add small curves to the base of the petals to give them a more natural look.
Step 4: Add Details to the Center of the Rose Draw the details in the center of the rose by drawing small curves and lines around the center of the bud. These lines should radiate outward from the center and resemble the look of tightly packed rose petals.
Step 5: Draw the Leaves Draw the leaves on the stem by sketching small ovals and then adding pointed tips at the top of each oval. Place these leaves along the stem, alternating sides, and angles to give them a natural appearance.
Step 6: Add Shading and Texture Add shading to your rose by using your pencil to create a gradient effect on the petals. Shade the petals lightly with different shades of pink or red to create a realistic look. You can also use your pencil to add texture to the petals by creating small lines and dots along the curves and edges of the petals.
Step 7: Erase and Refine Erase any stray lines or smudges and refine the shape of the rose and its leaves. You can add thorns or small drops of water to the stem to create an even more realistic effect.
In conclusion, drawing a perfect rose flower requires a keen eye for detail and patience. With practice and dedication, you can master this beautiful art form and create stunning works of art. Remember to have fun and let your creativity flow as you explore the world of rose drawing.
Is a Rose hard to draw?
Drawing a rose can be challenging for beginners, but with practice, it can become easier. The intricate and detailed structure of a rose can make it seem daunting to draw, but breaking down the process into manageable steps can help.
Drawing a simple rose with basic shapes and lines can be relatively easy, but creating a realistic and intricate rose with shading and texture can require more skill and patience. It’s important to remember that every artist has their style and approach to drawing, so it’s okay if your rose doesn’t look exactly like someone else’s.
The key to drawing a rose, or any subject, is to practice regularly and use references or tutorials to help guide you. Don’t be afraid to make mistakes, and take your time to learn the techniques and methods that work best for you. With dedication and perseverance, you can learn to draw a beautiful rose that will impress others and bring you joy.
Top 20 Free Printable Realistic Flower Coloring Pages for Adults