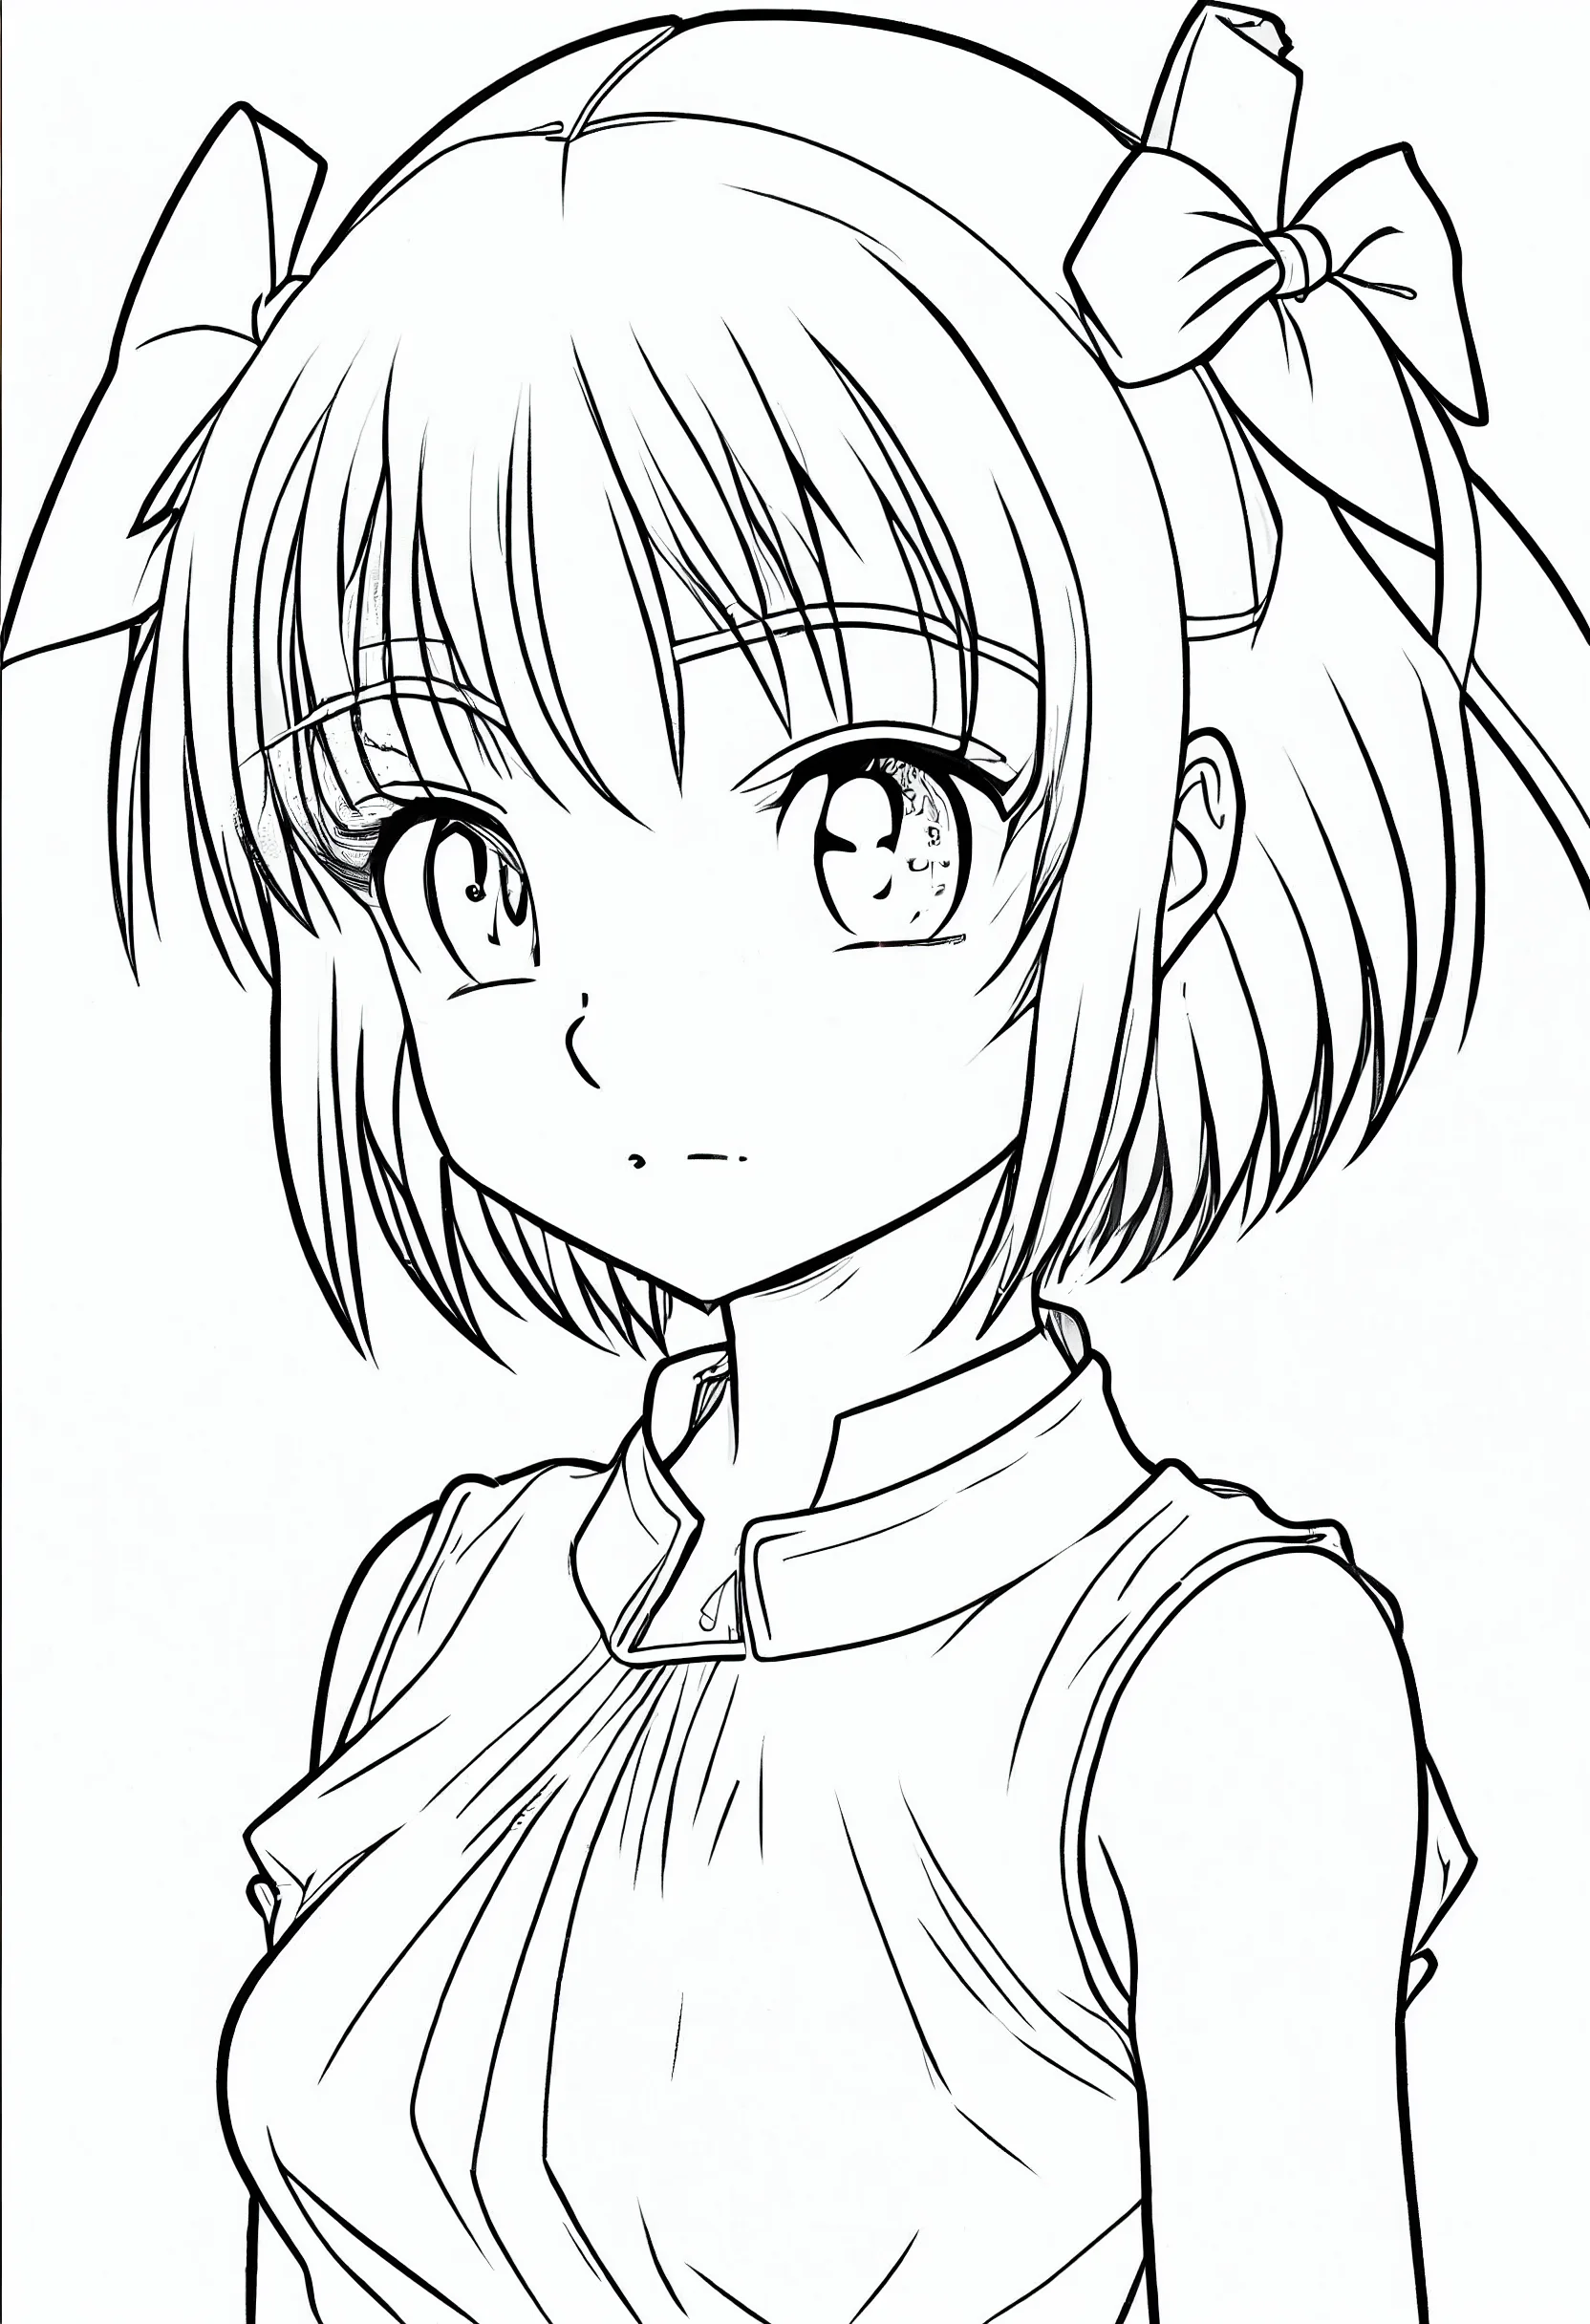
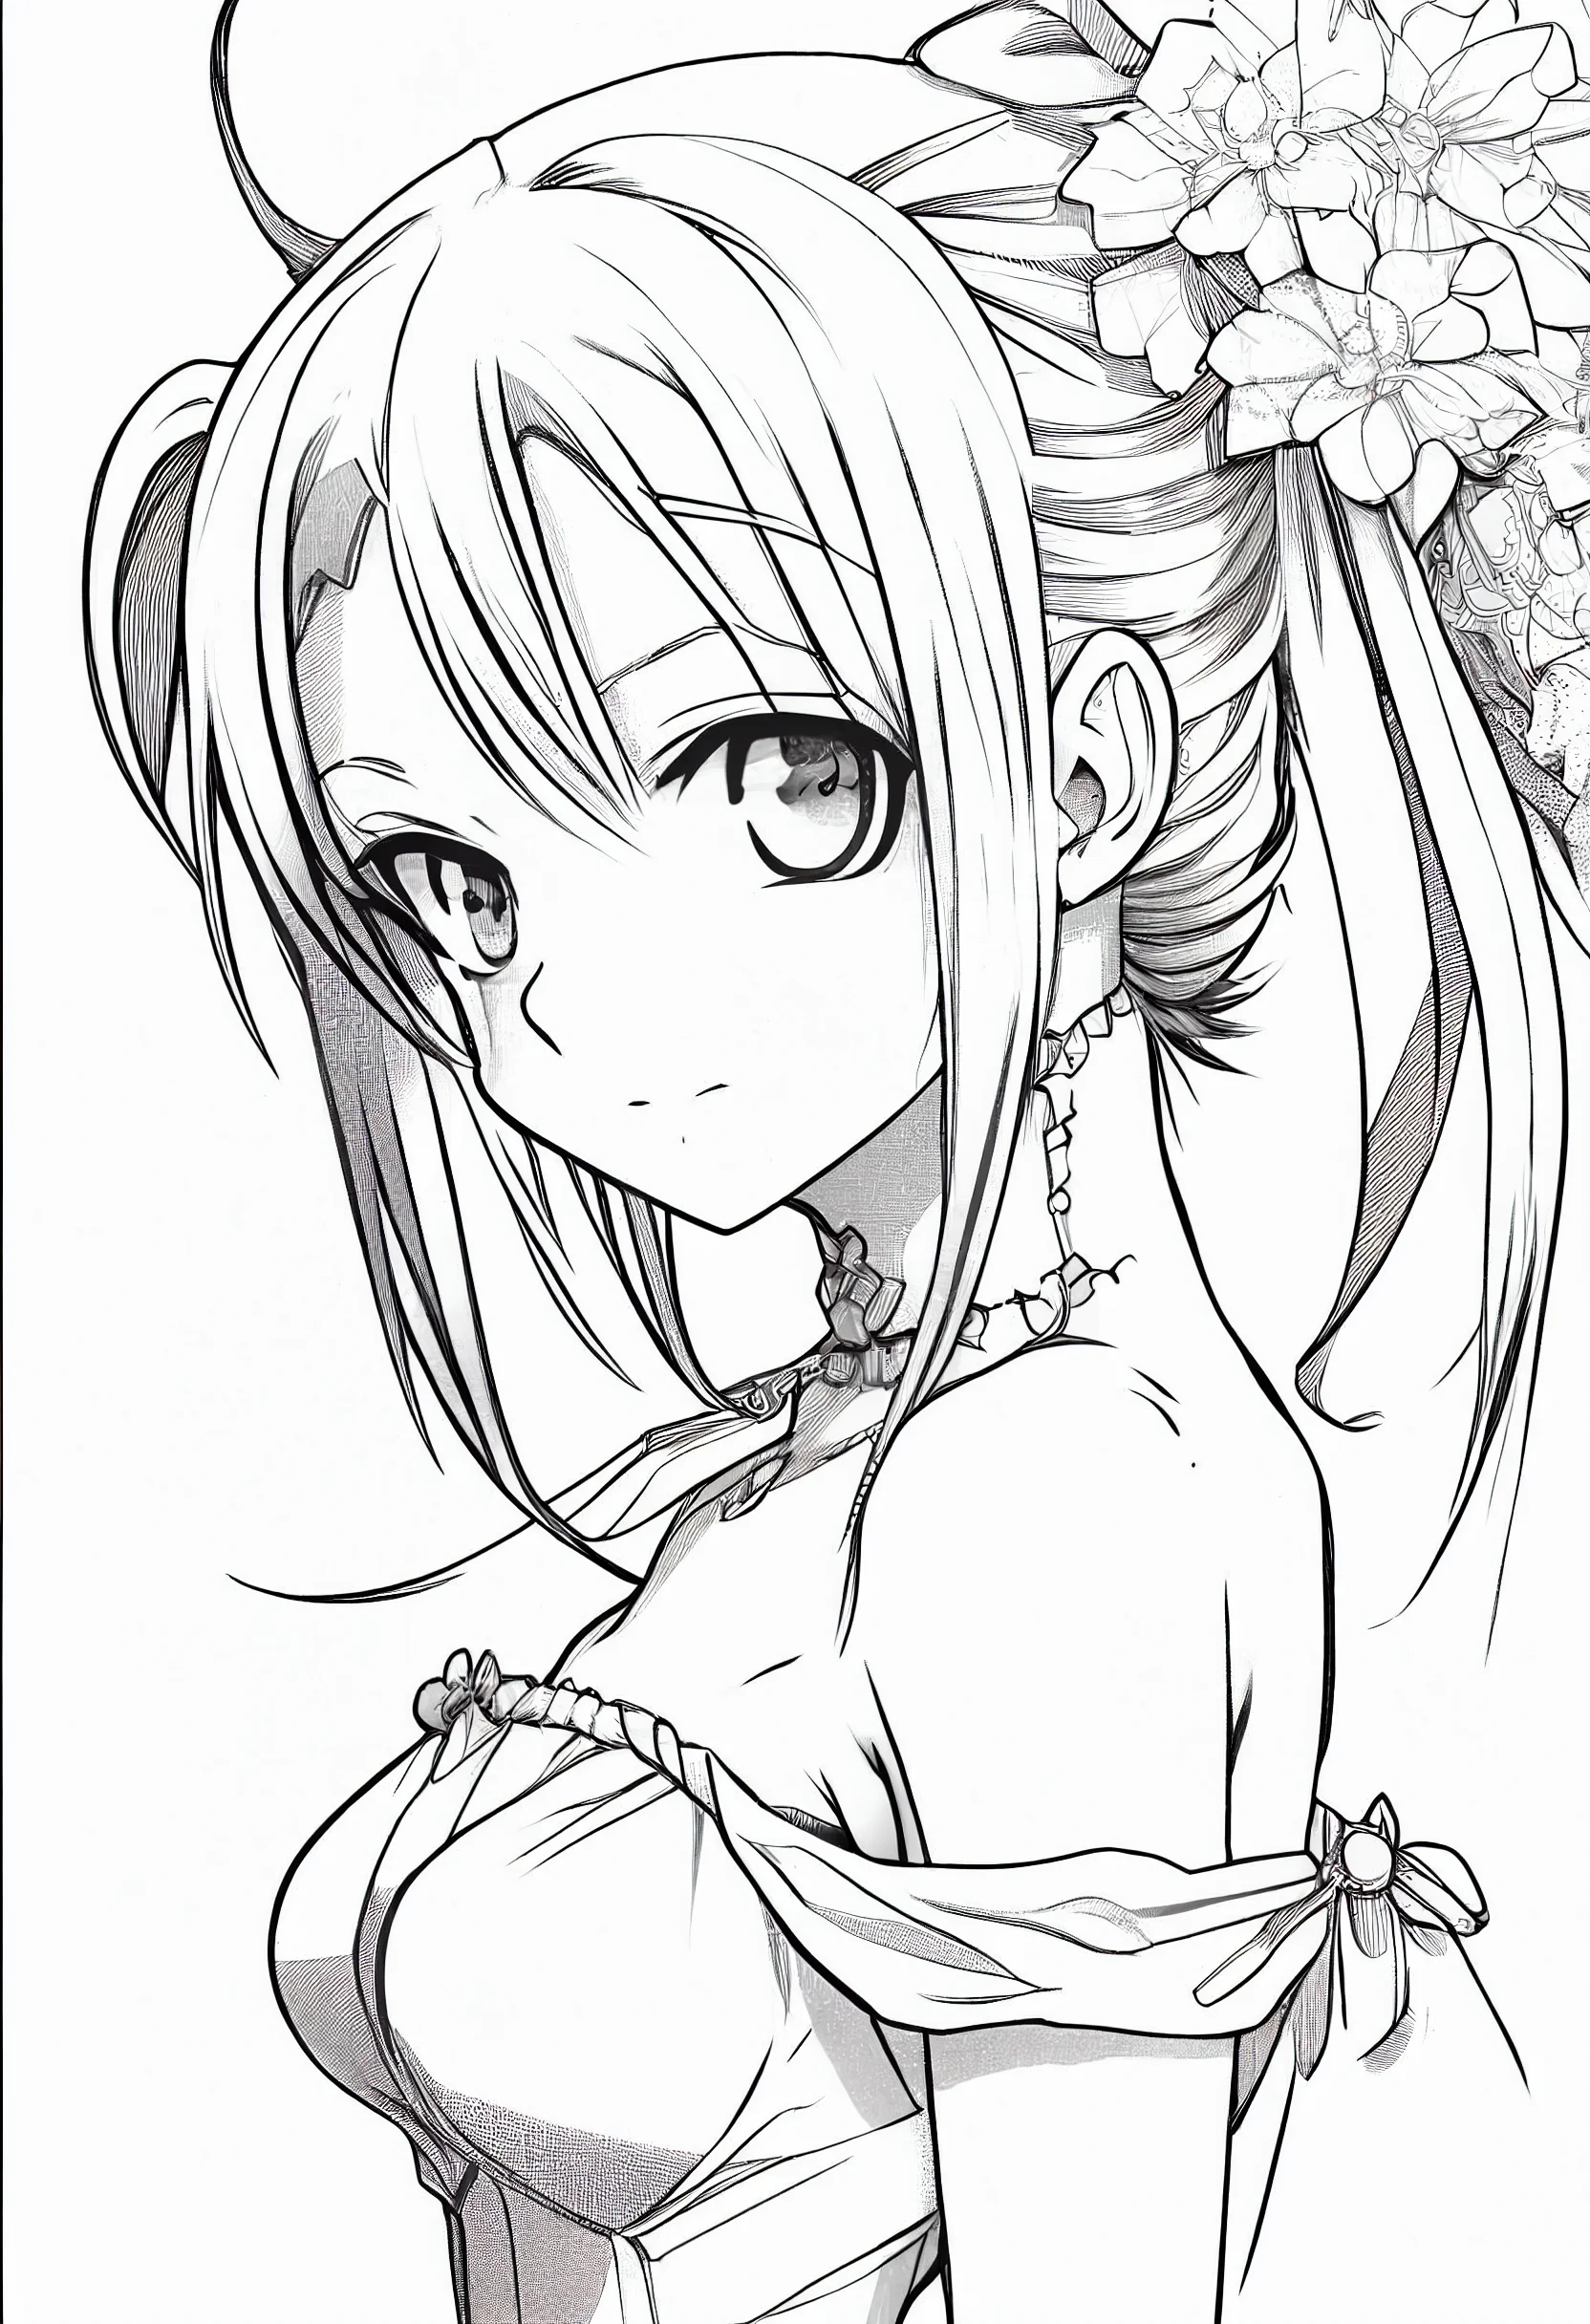
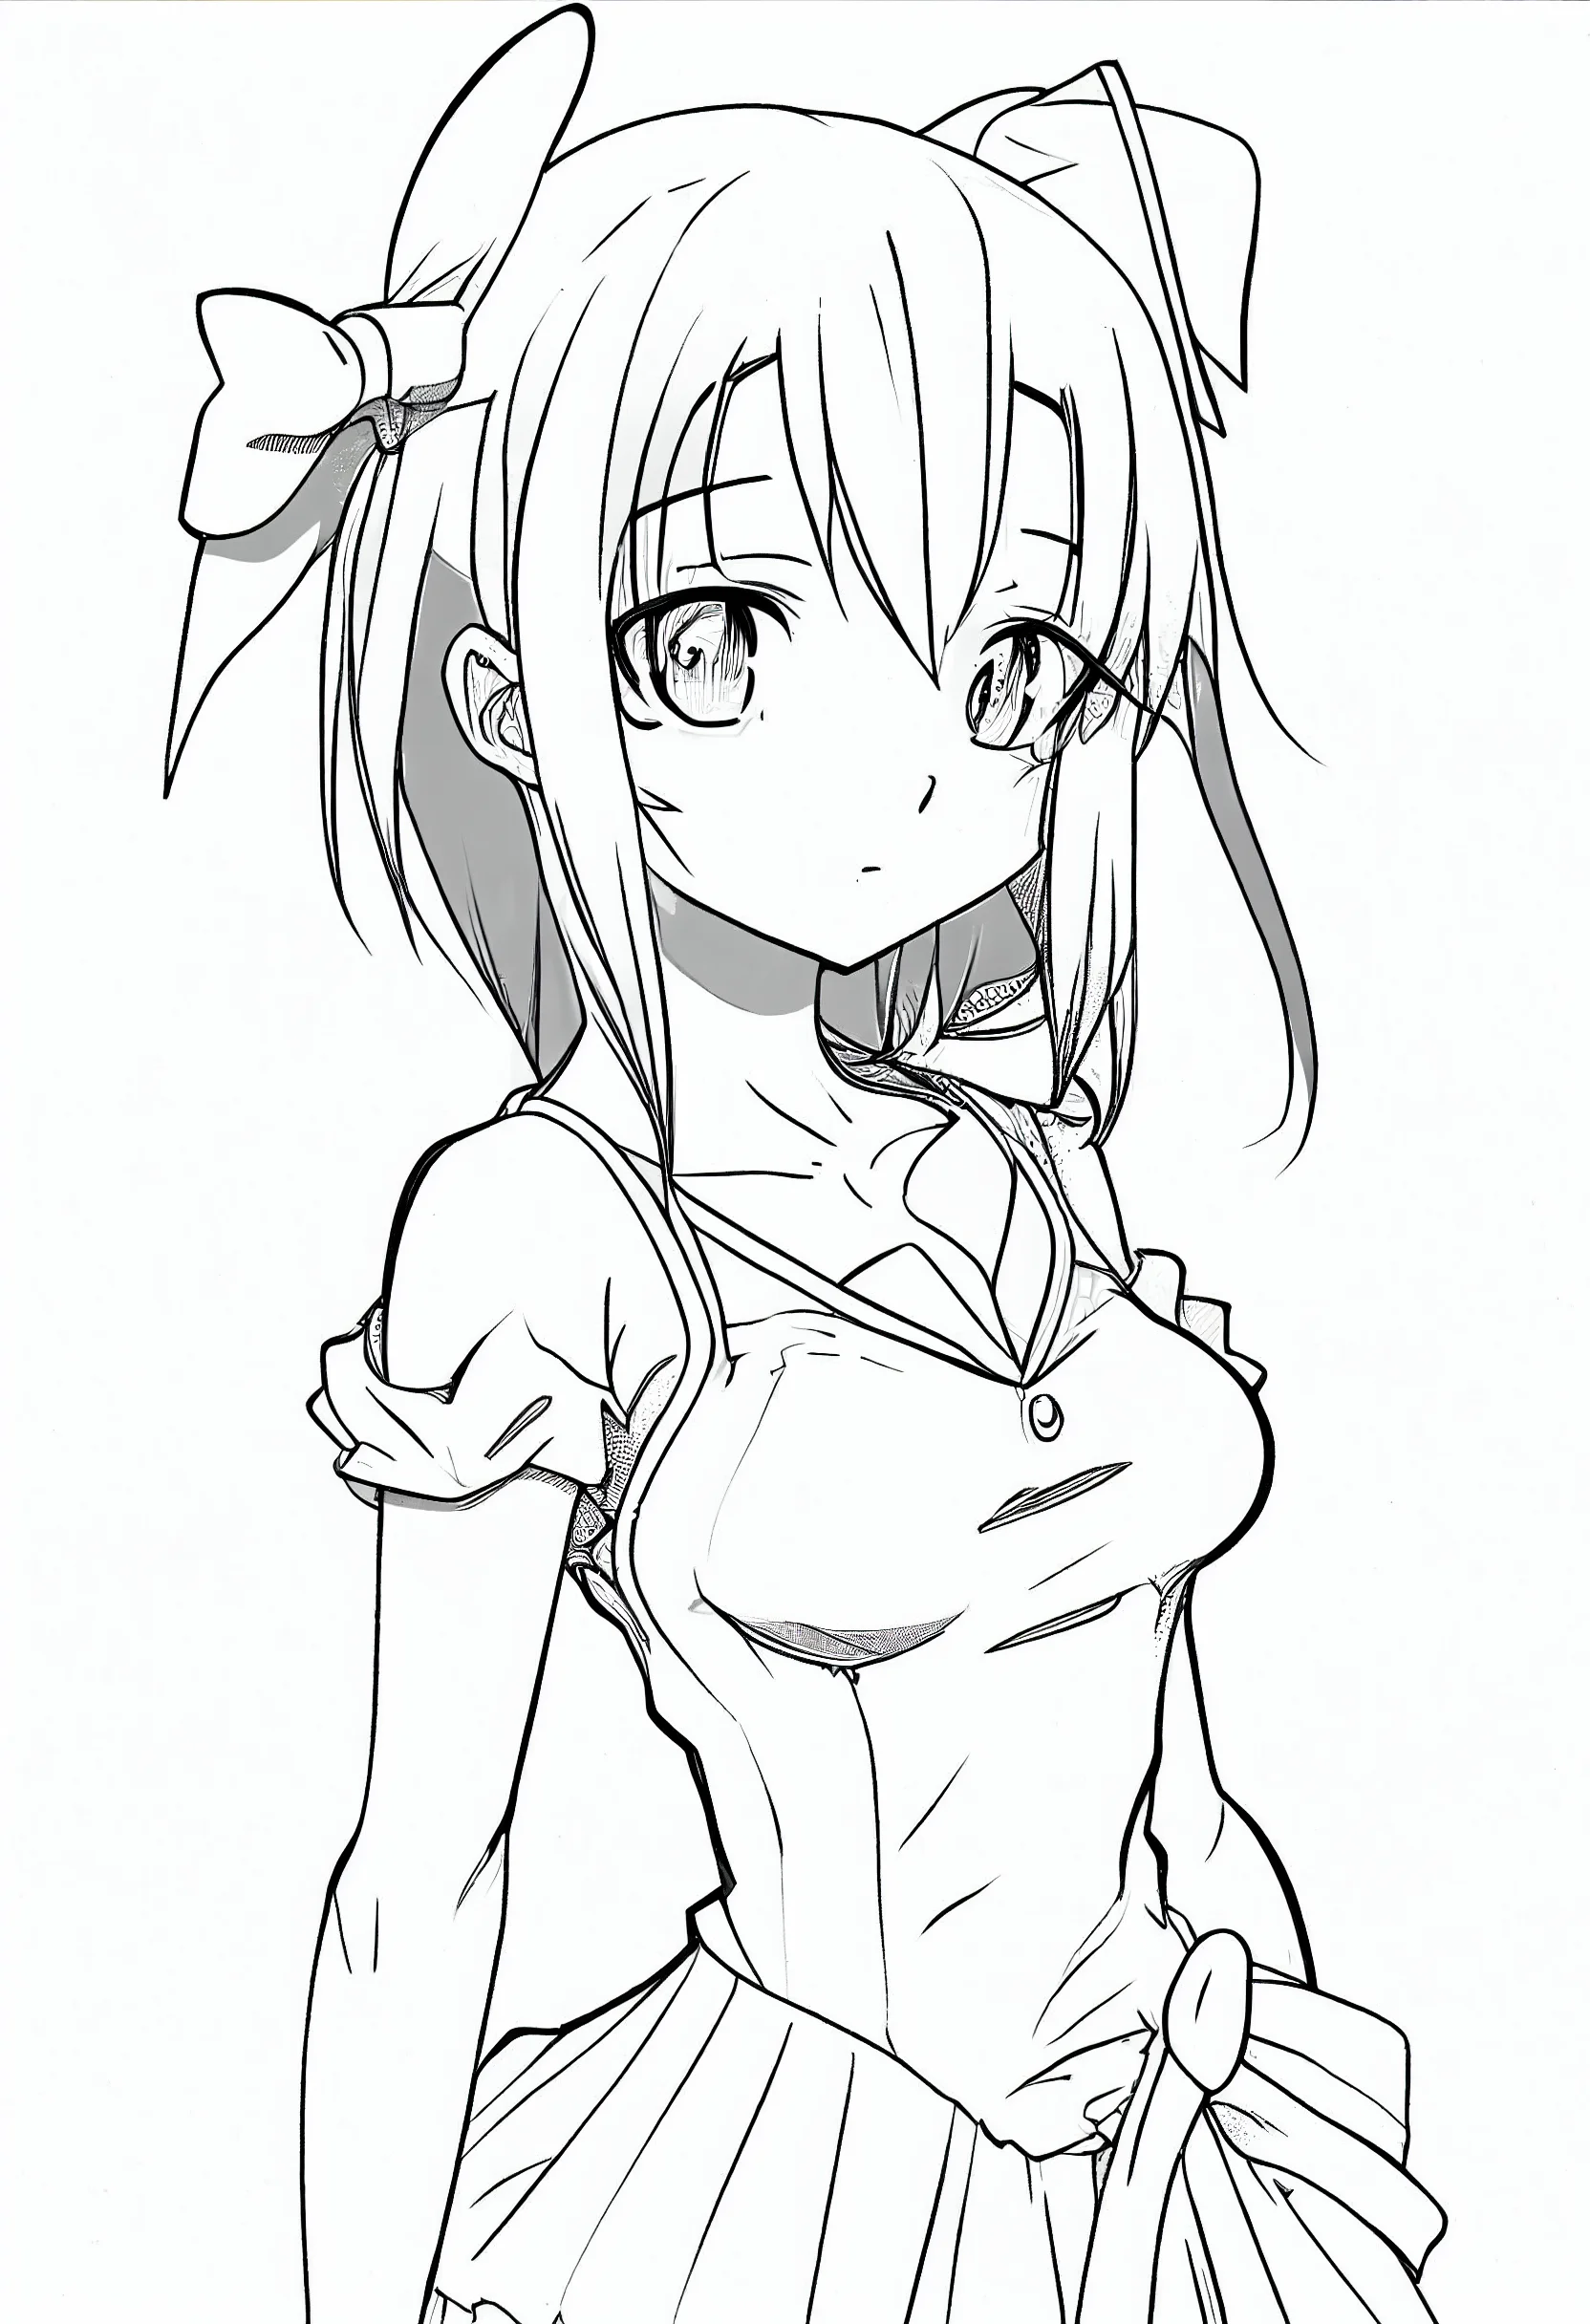
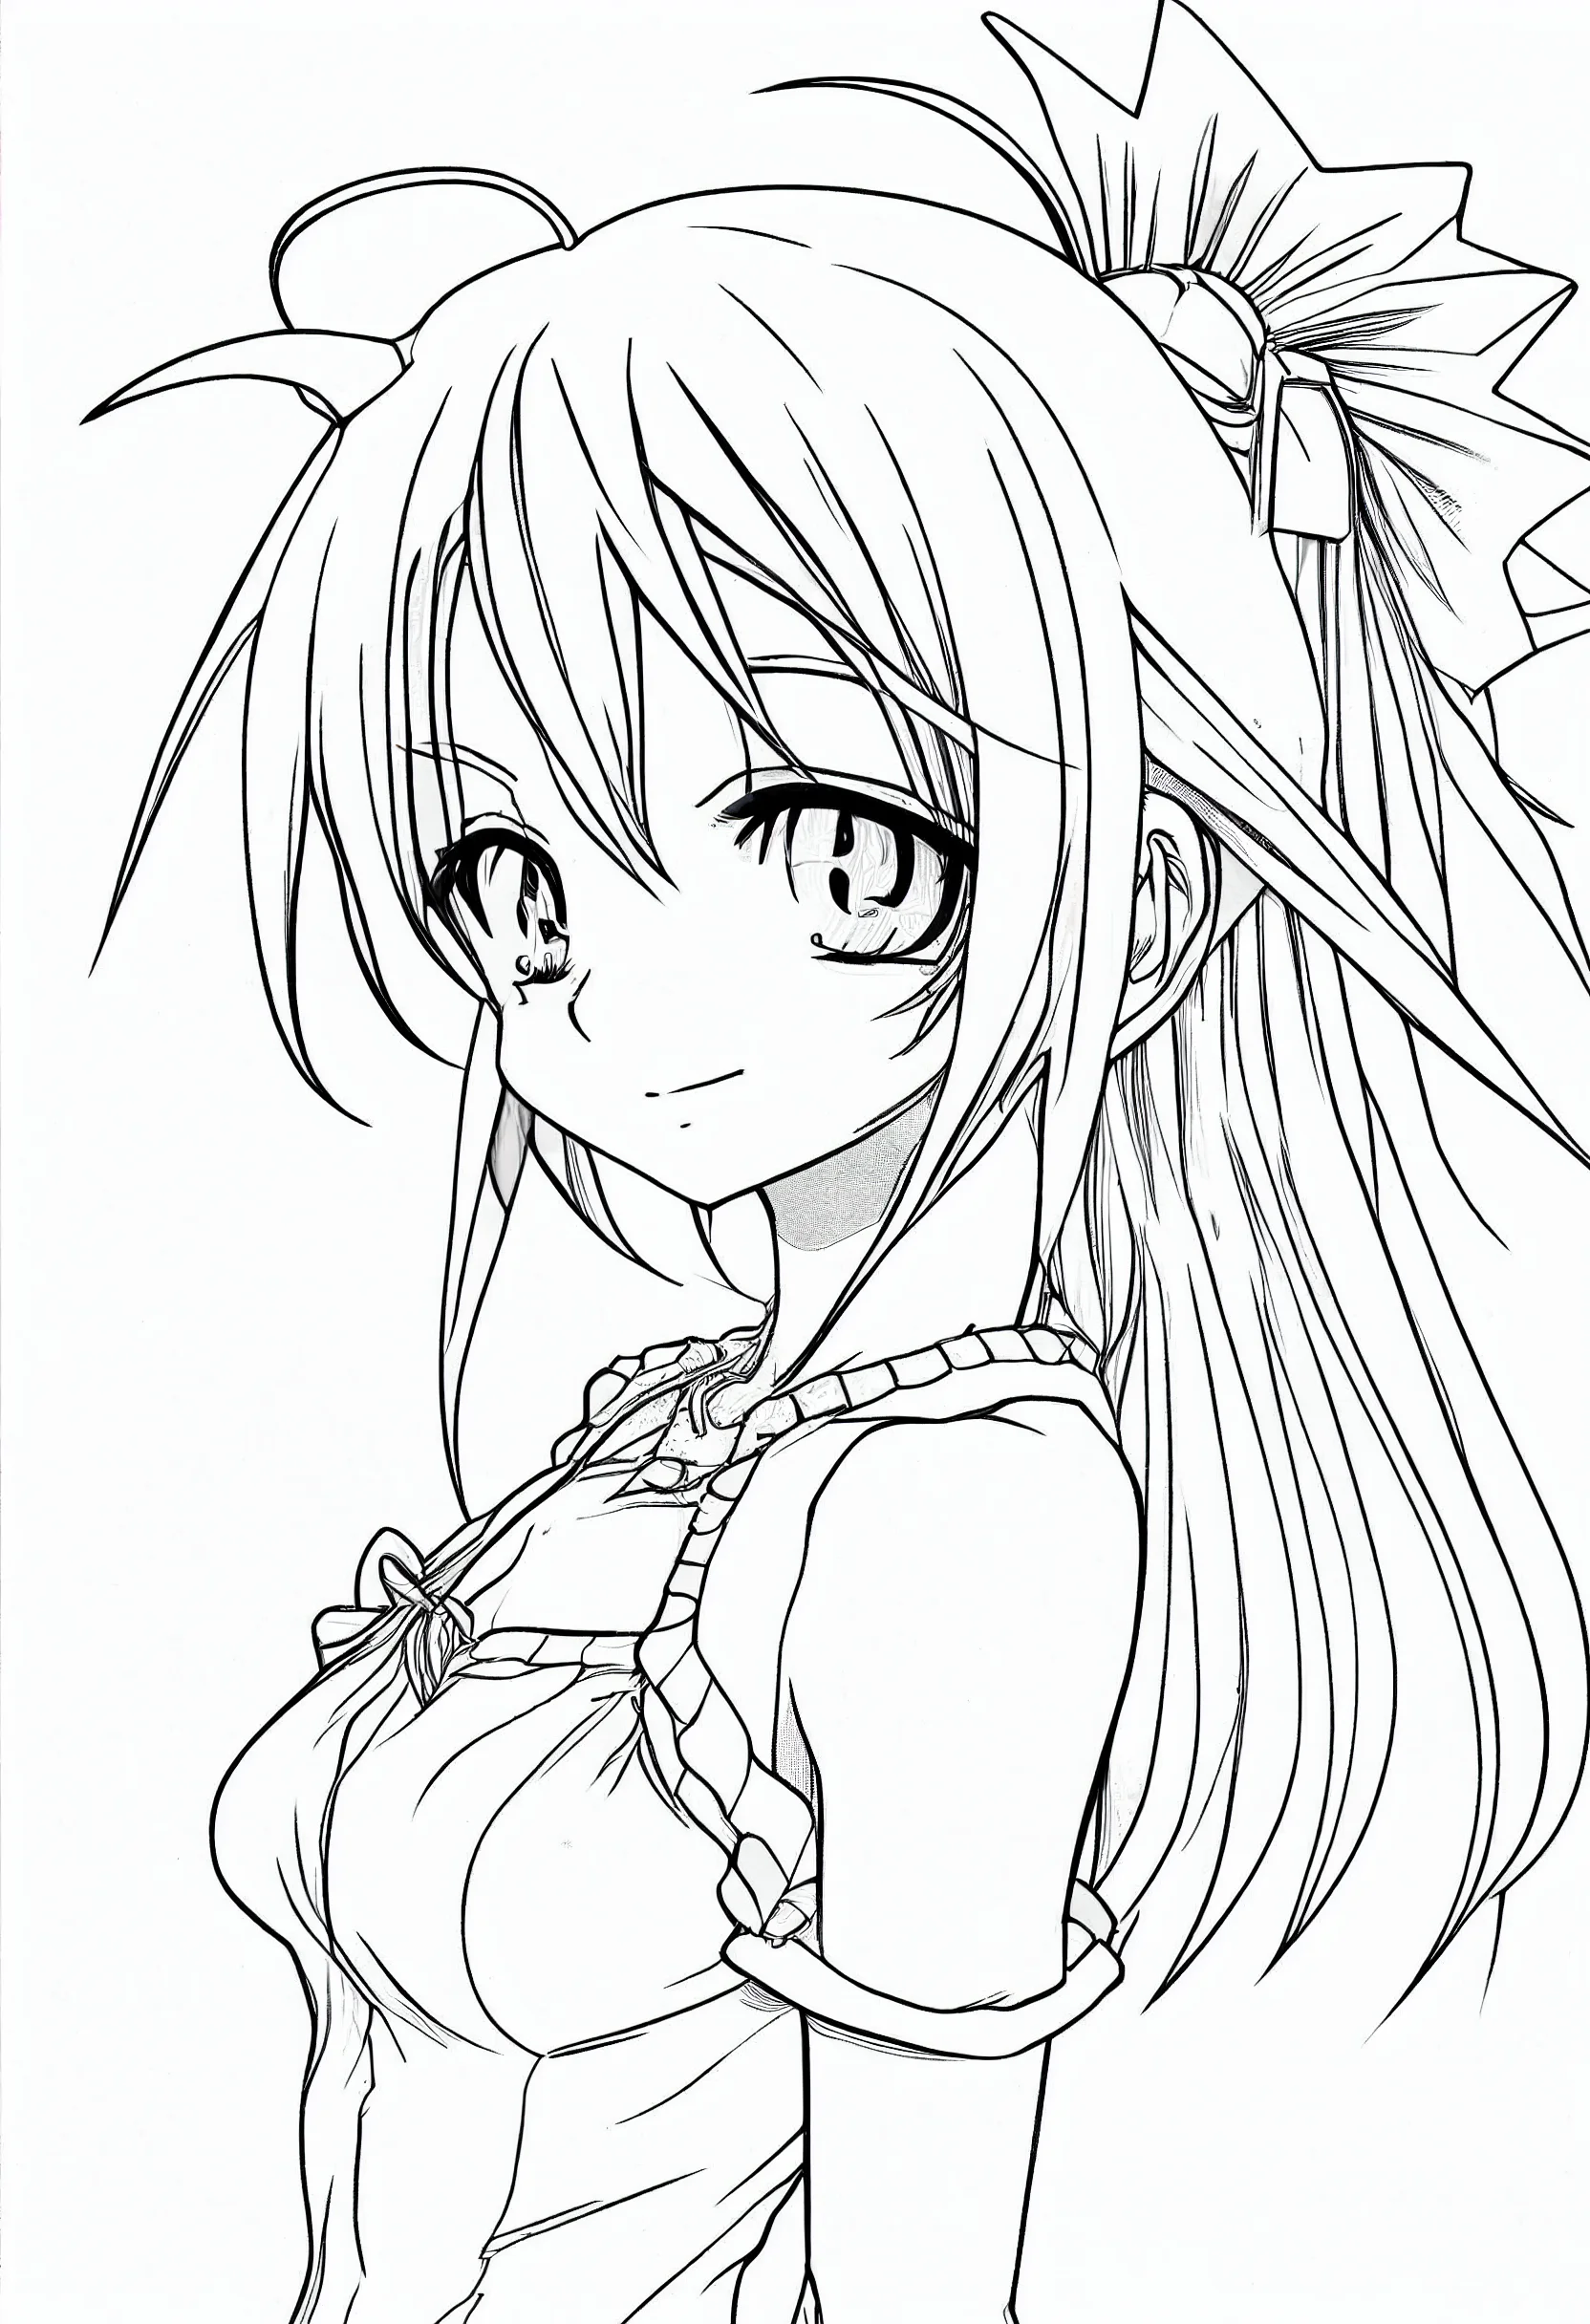
Ten anime-girl drawing references for practicing faces, hair and simple pencil shading. Start small; a head-and-shoulders sketch is much easier to judge than a full character. Click or tap any image to open the full-size reference.
Jump to: easy face studies · how to build the face · pencil & sketch studies · style variations
Style note: these are stylized character references, not realistic portrait-anatomy guides. If you are studying exact facial anatomy, compare the same features with a photo reference as well.
Easy anime-girl face studies — References 1–4
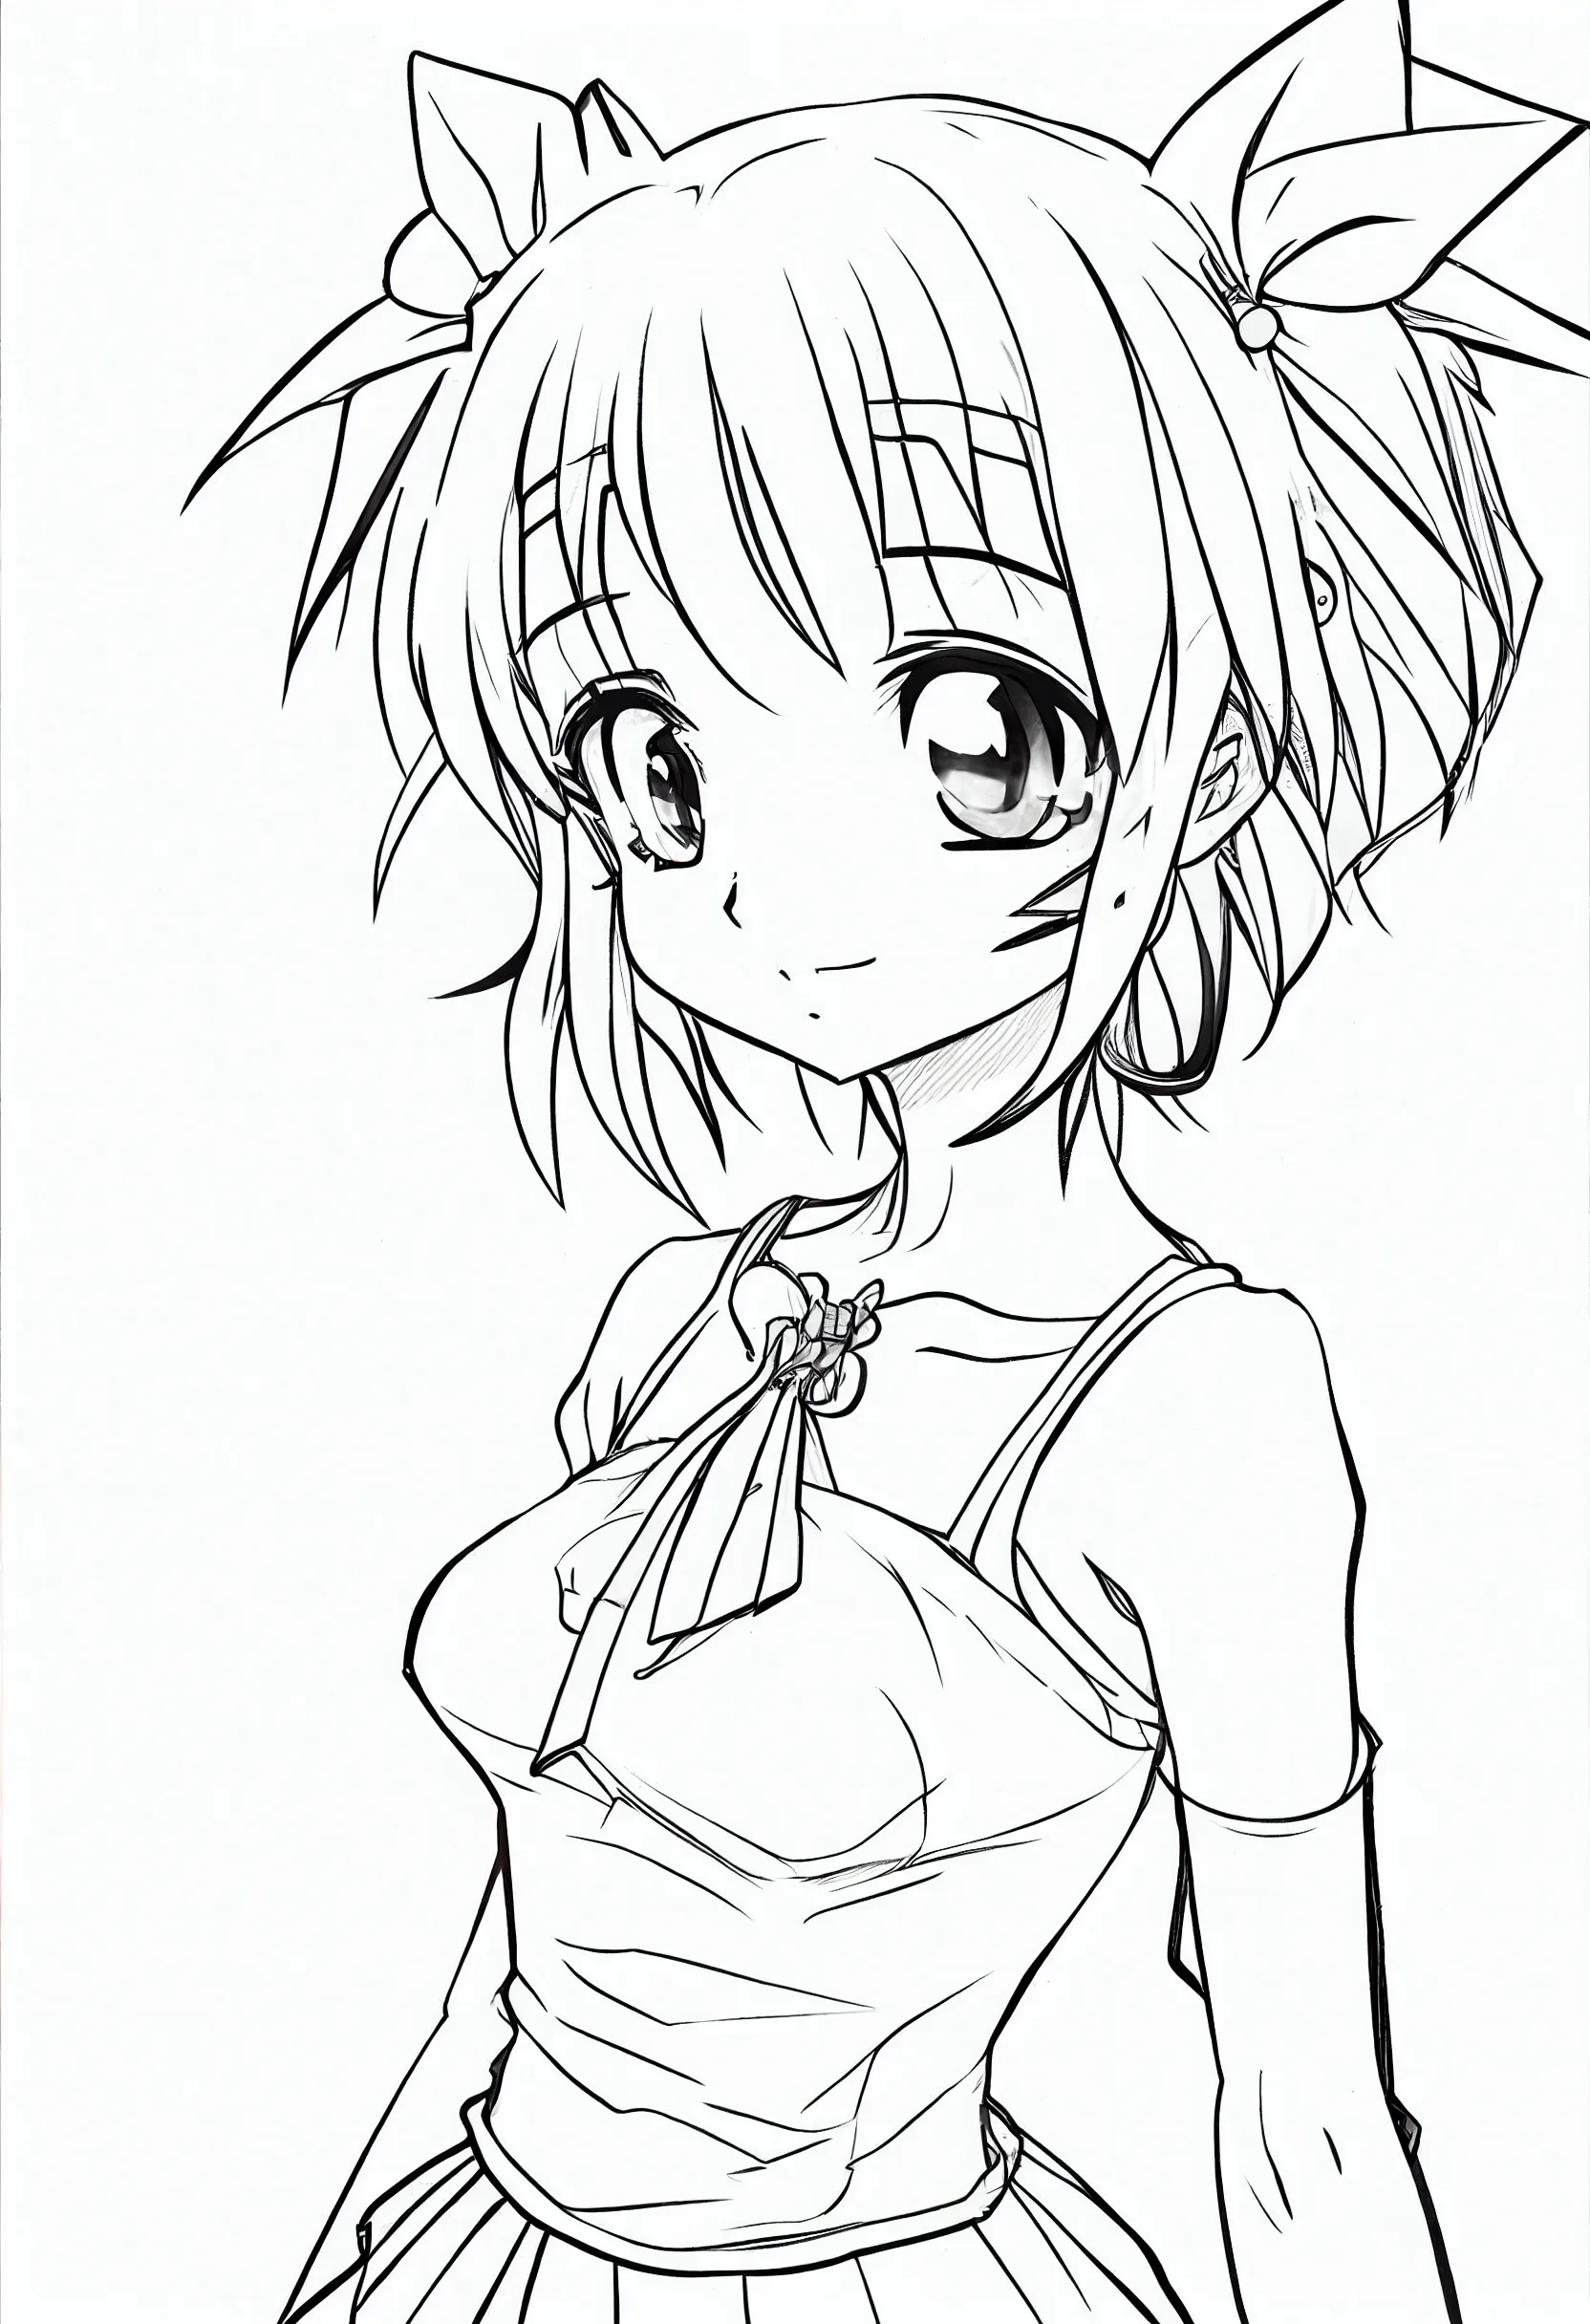

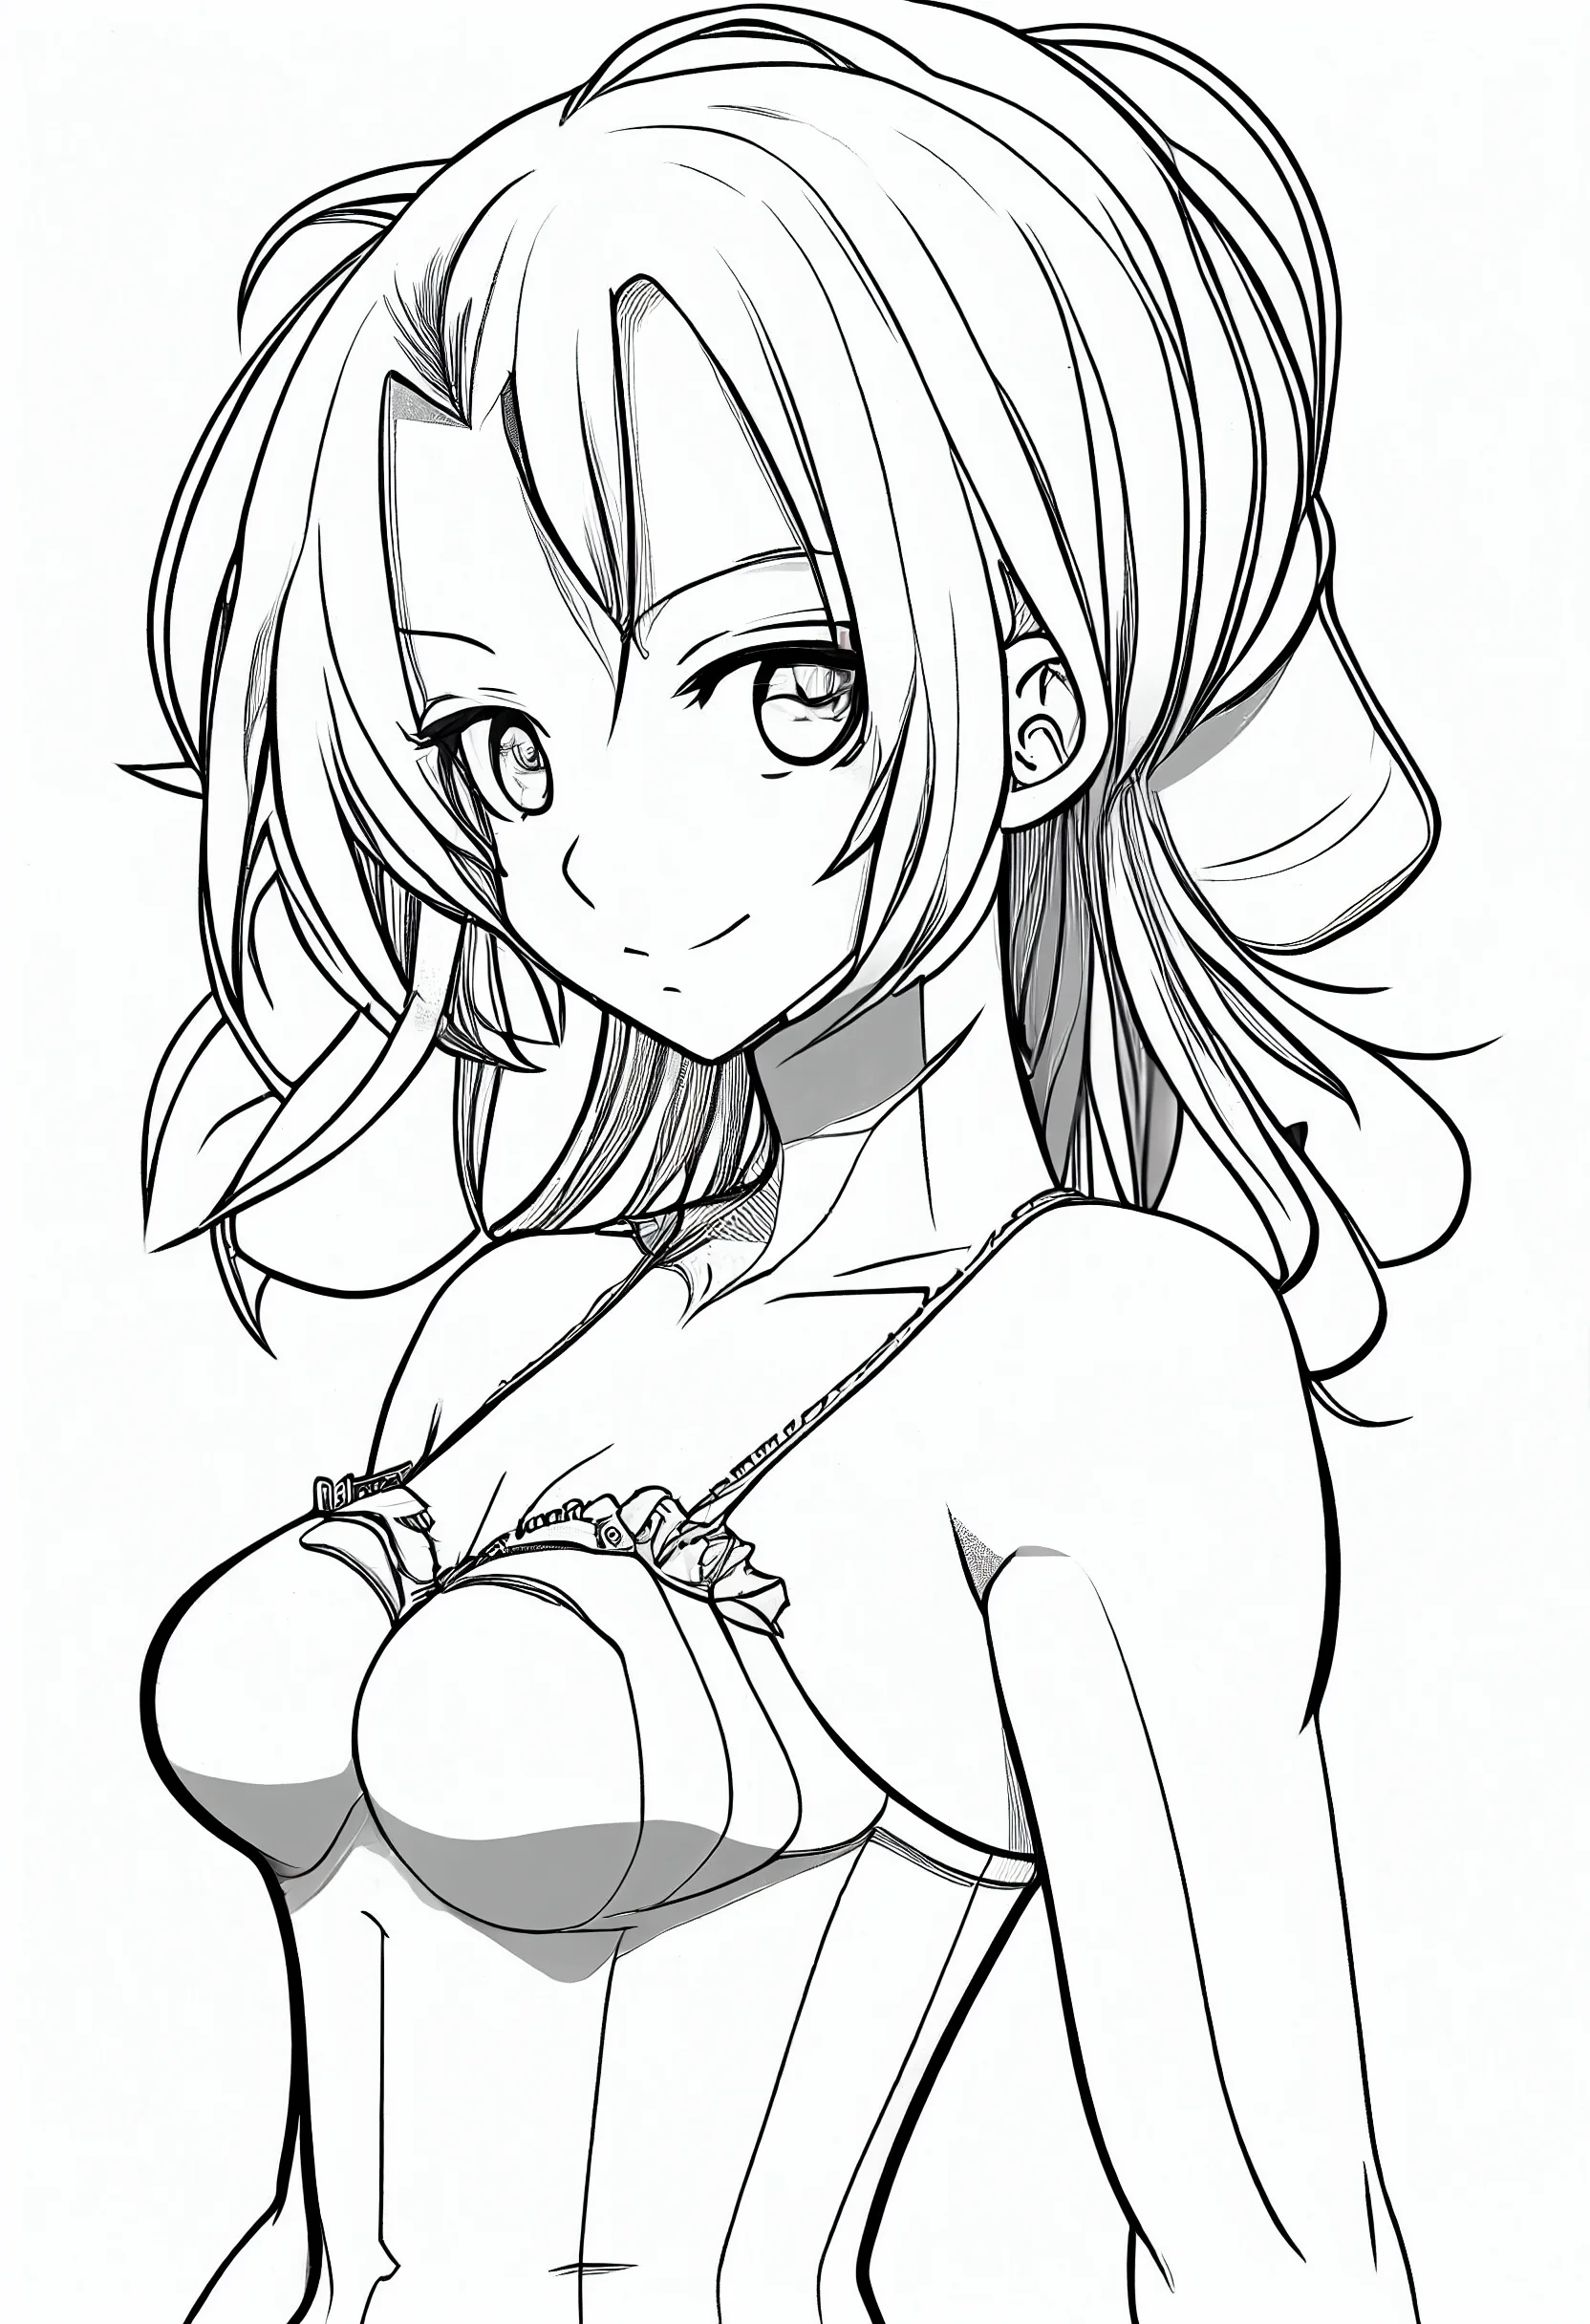
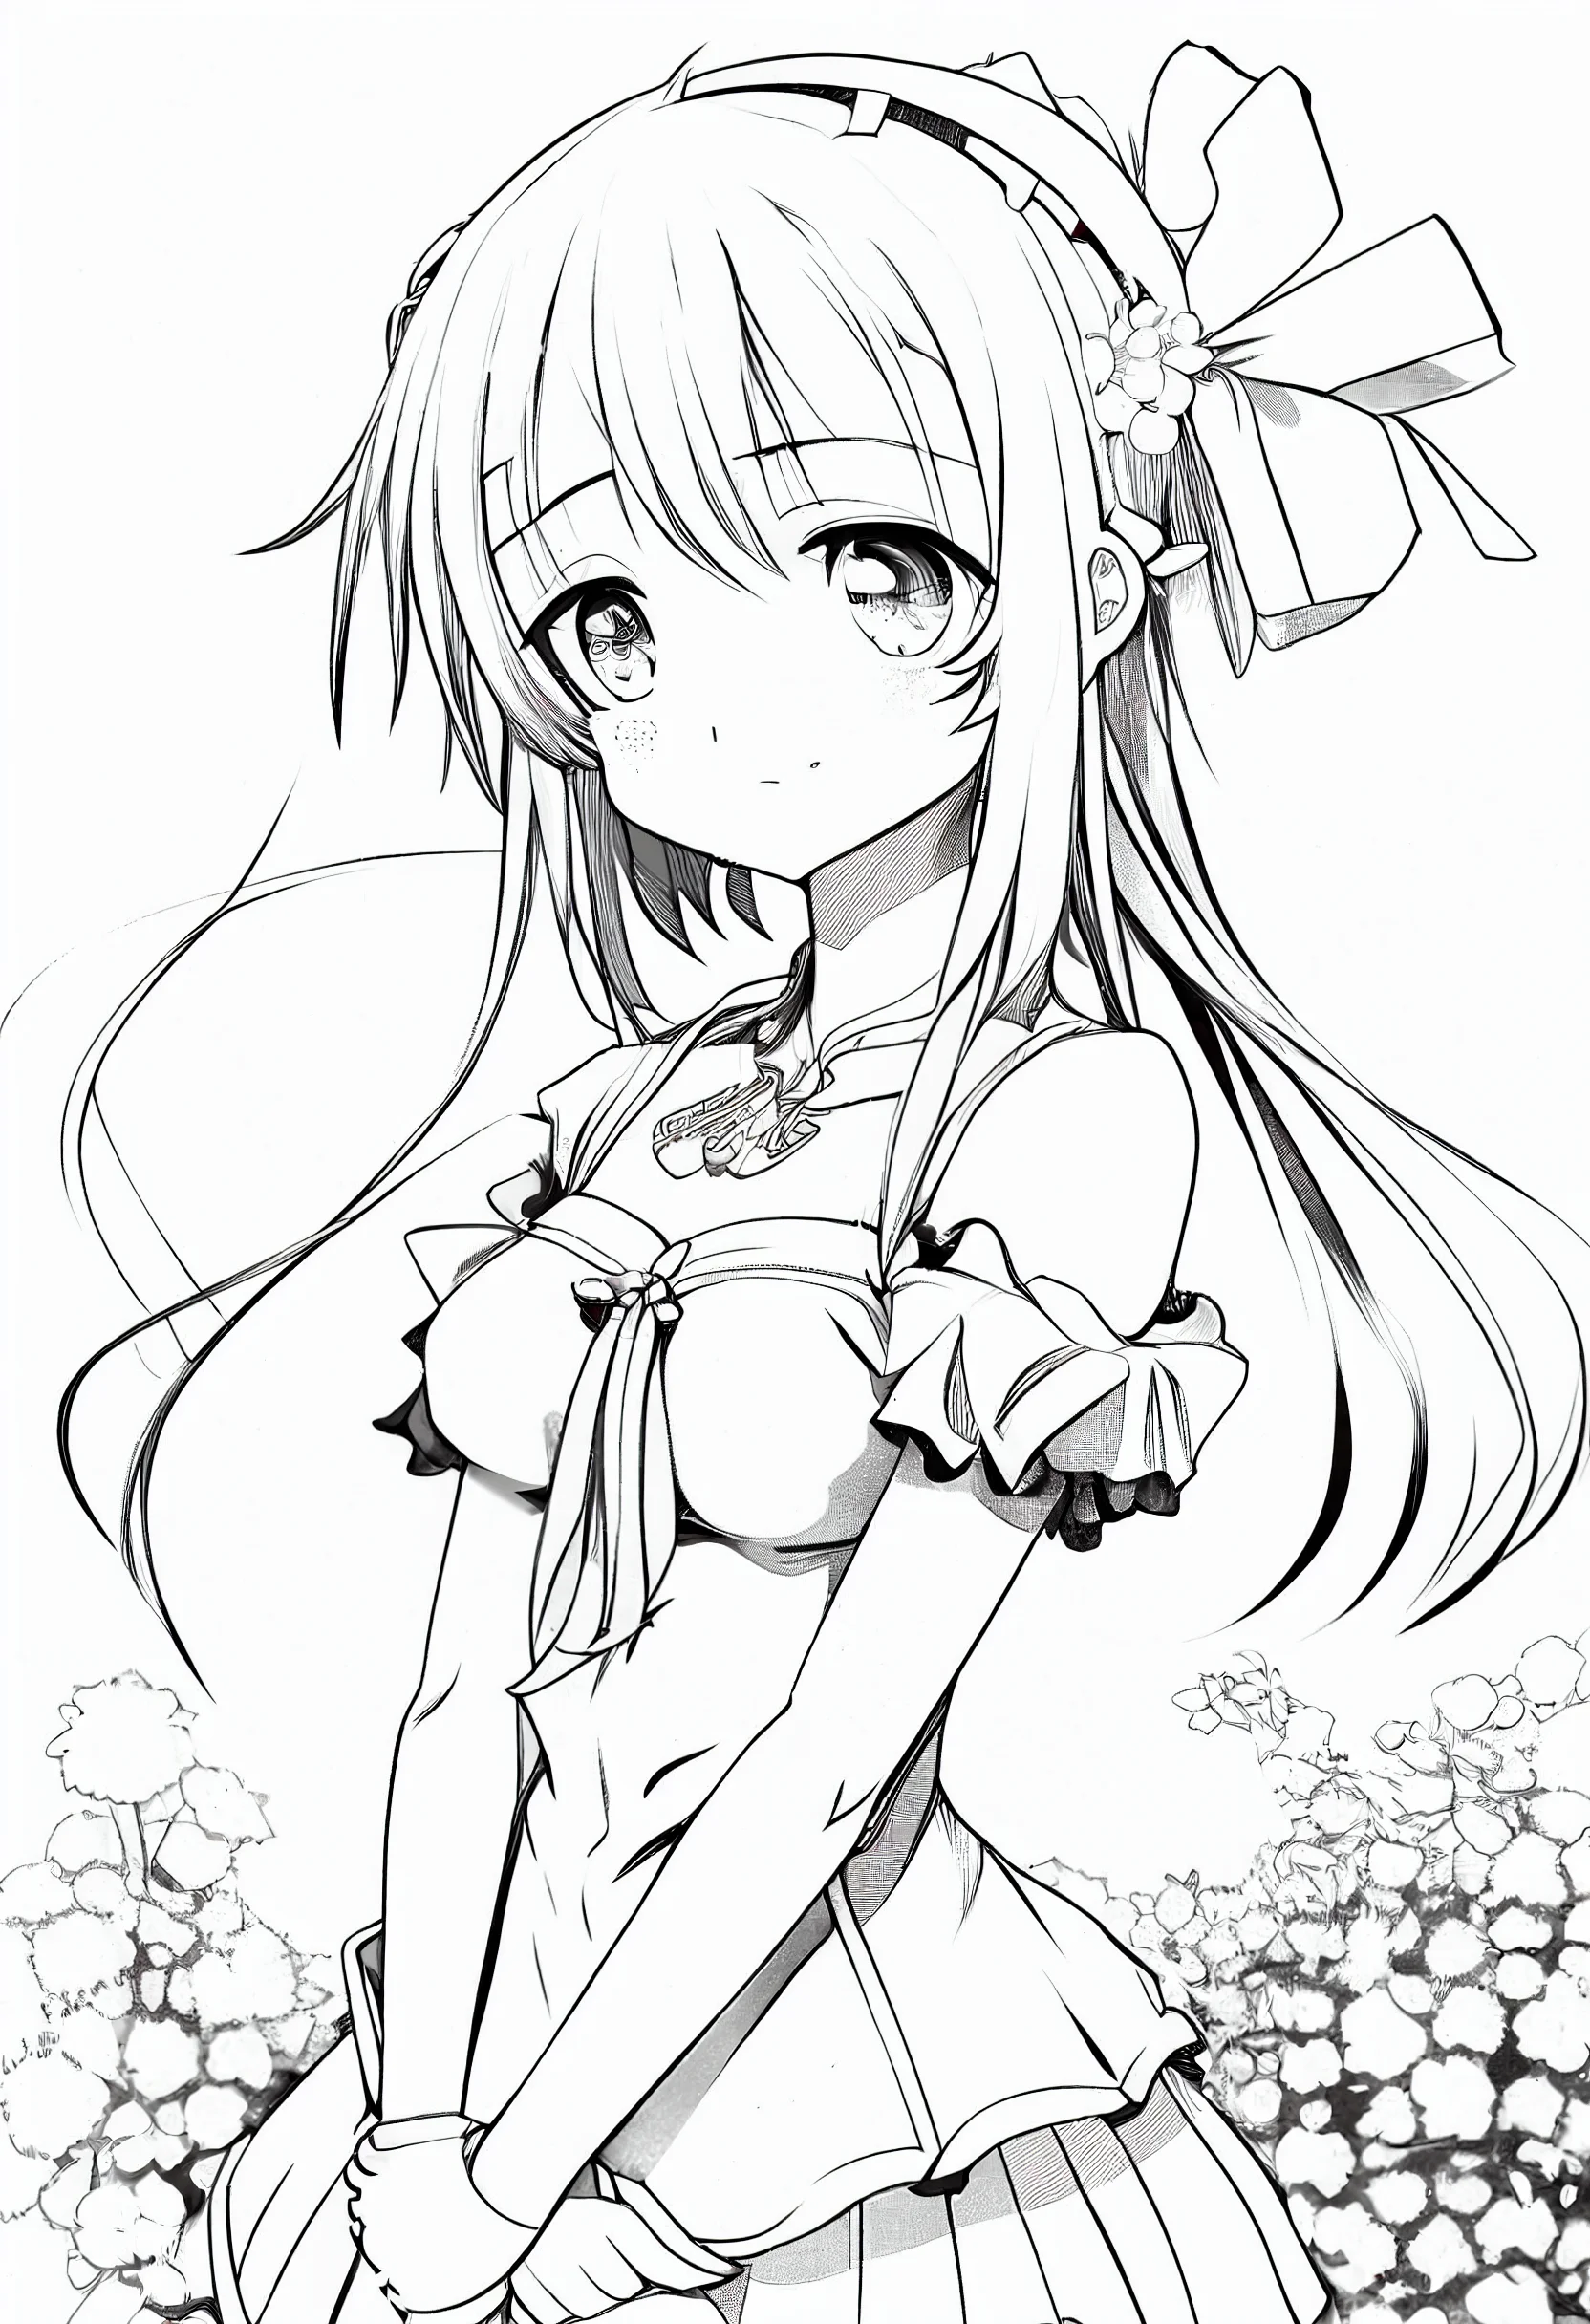
How I would build the face
- Head first. Draw the skull and jaw lightly, then add a center line. If the face already feels too long or too wide, fix it now.
- Place both eyes before finishing either one. The spacing matters more than eyelashes or highlights.
- Keep the nose and mouth quiet. In this style they do not need much information to read.
- Treat the hair as three masses. Fringe, side sections and the larger back shape come before individual strands.
- Add the neck and shoulders last. This page is about the face; there is no need to turn every study into a full character.
For a first attempt, an HB pencil and a normal eraser are enough. Use light pressure until the face is sitting correctly, then darken only the lines you actually want to keep.
Pencil and sketch studies — References 5–6
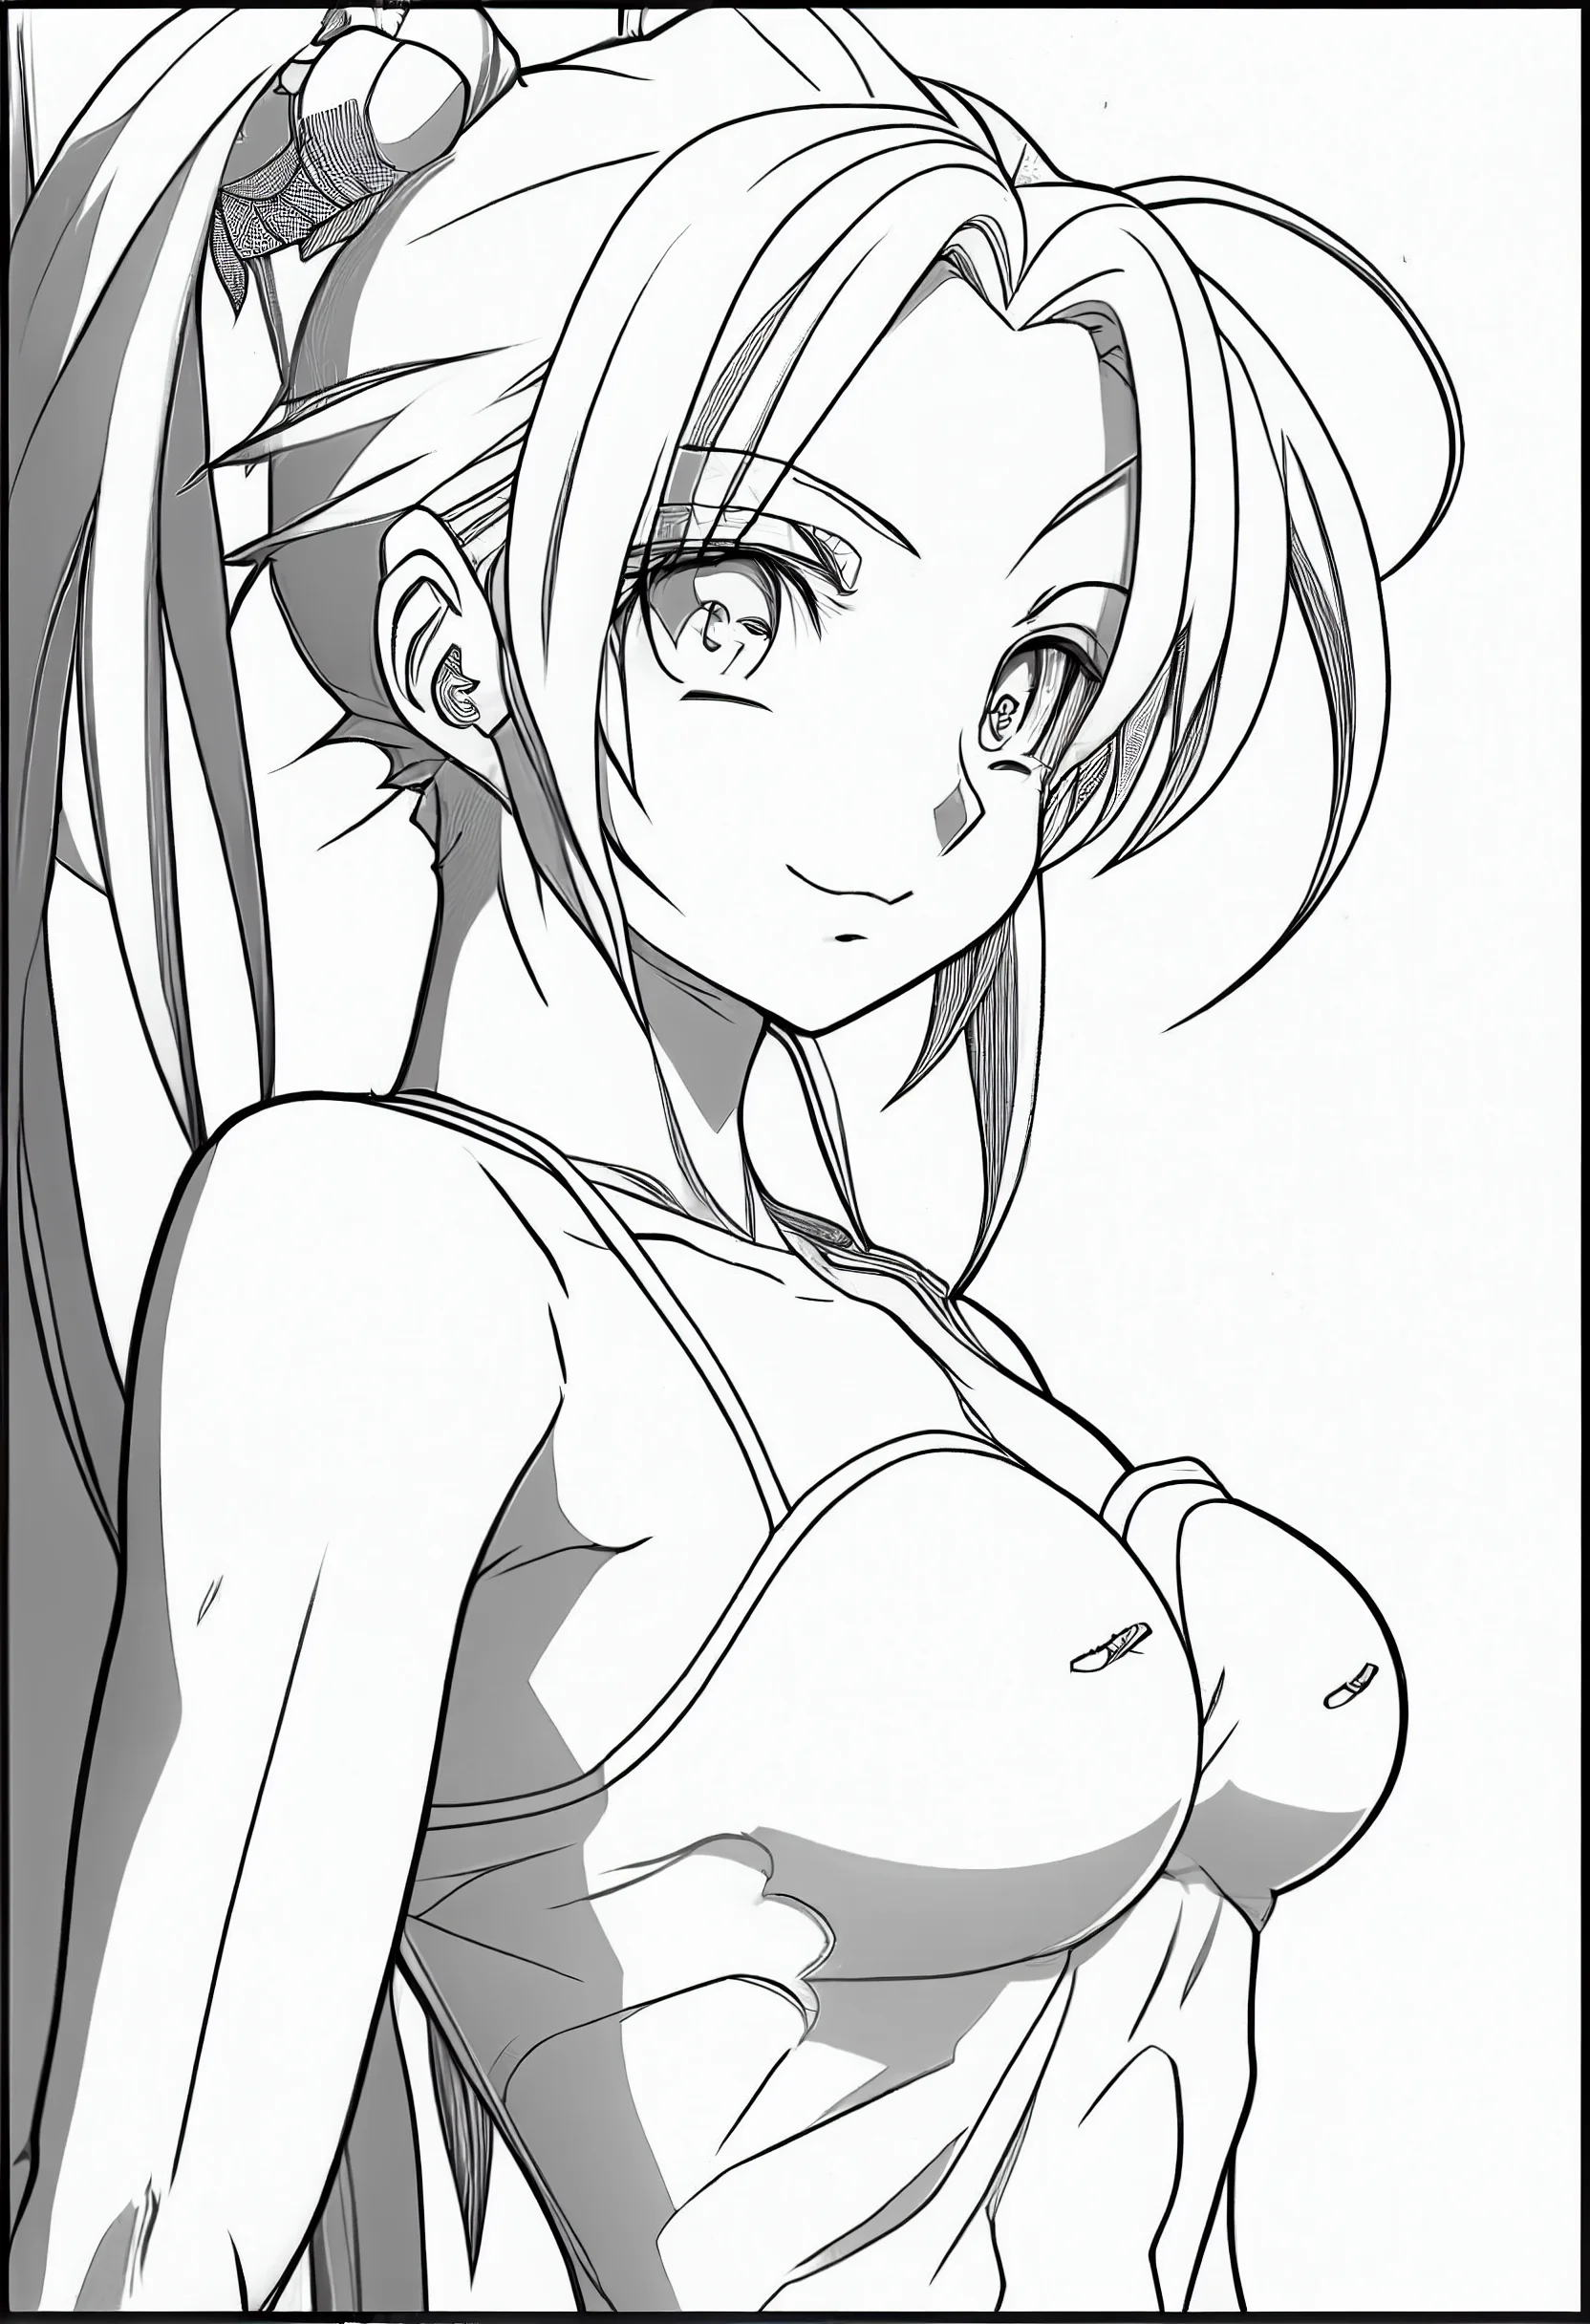
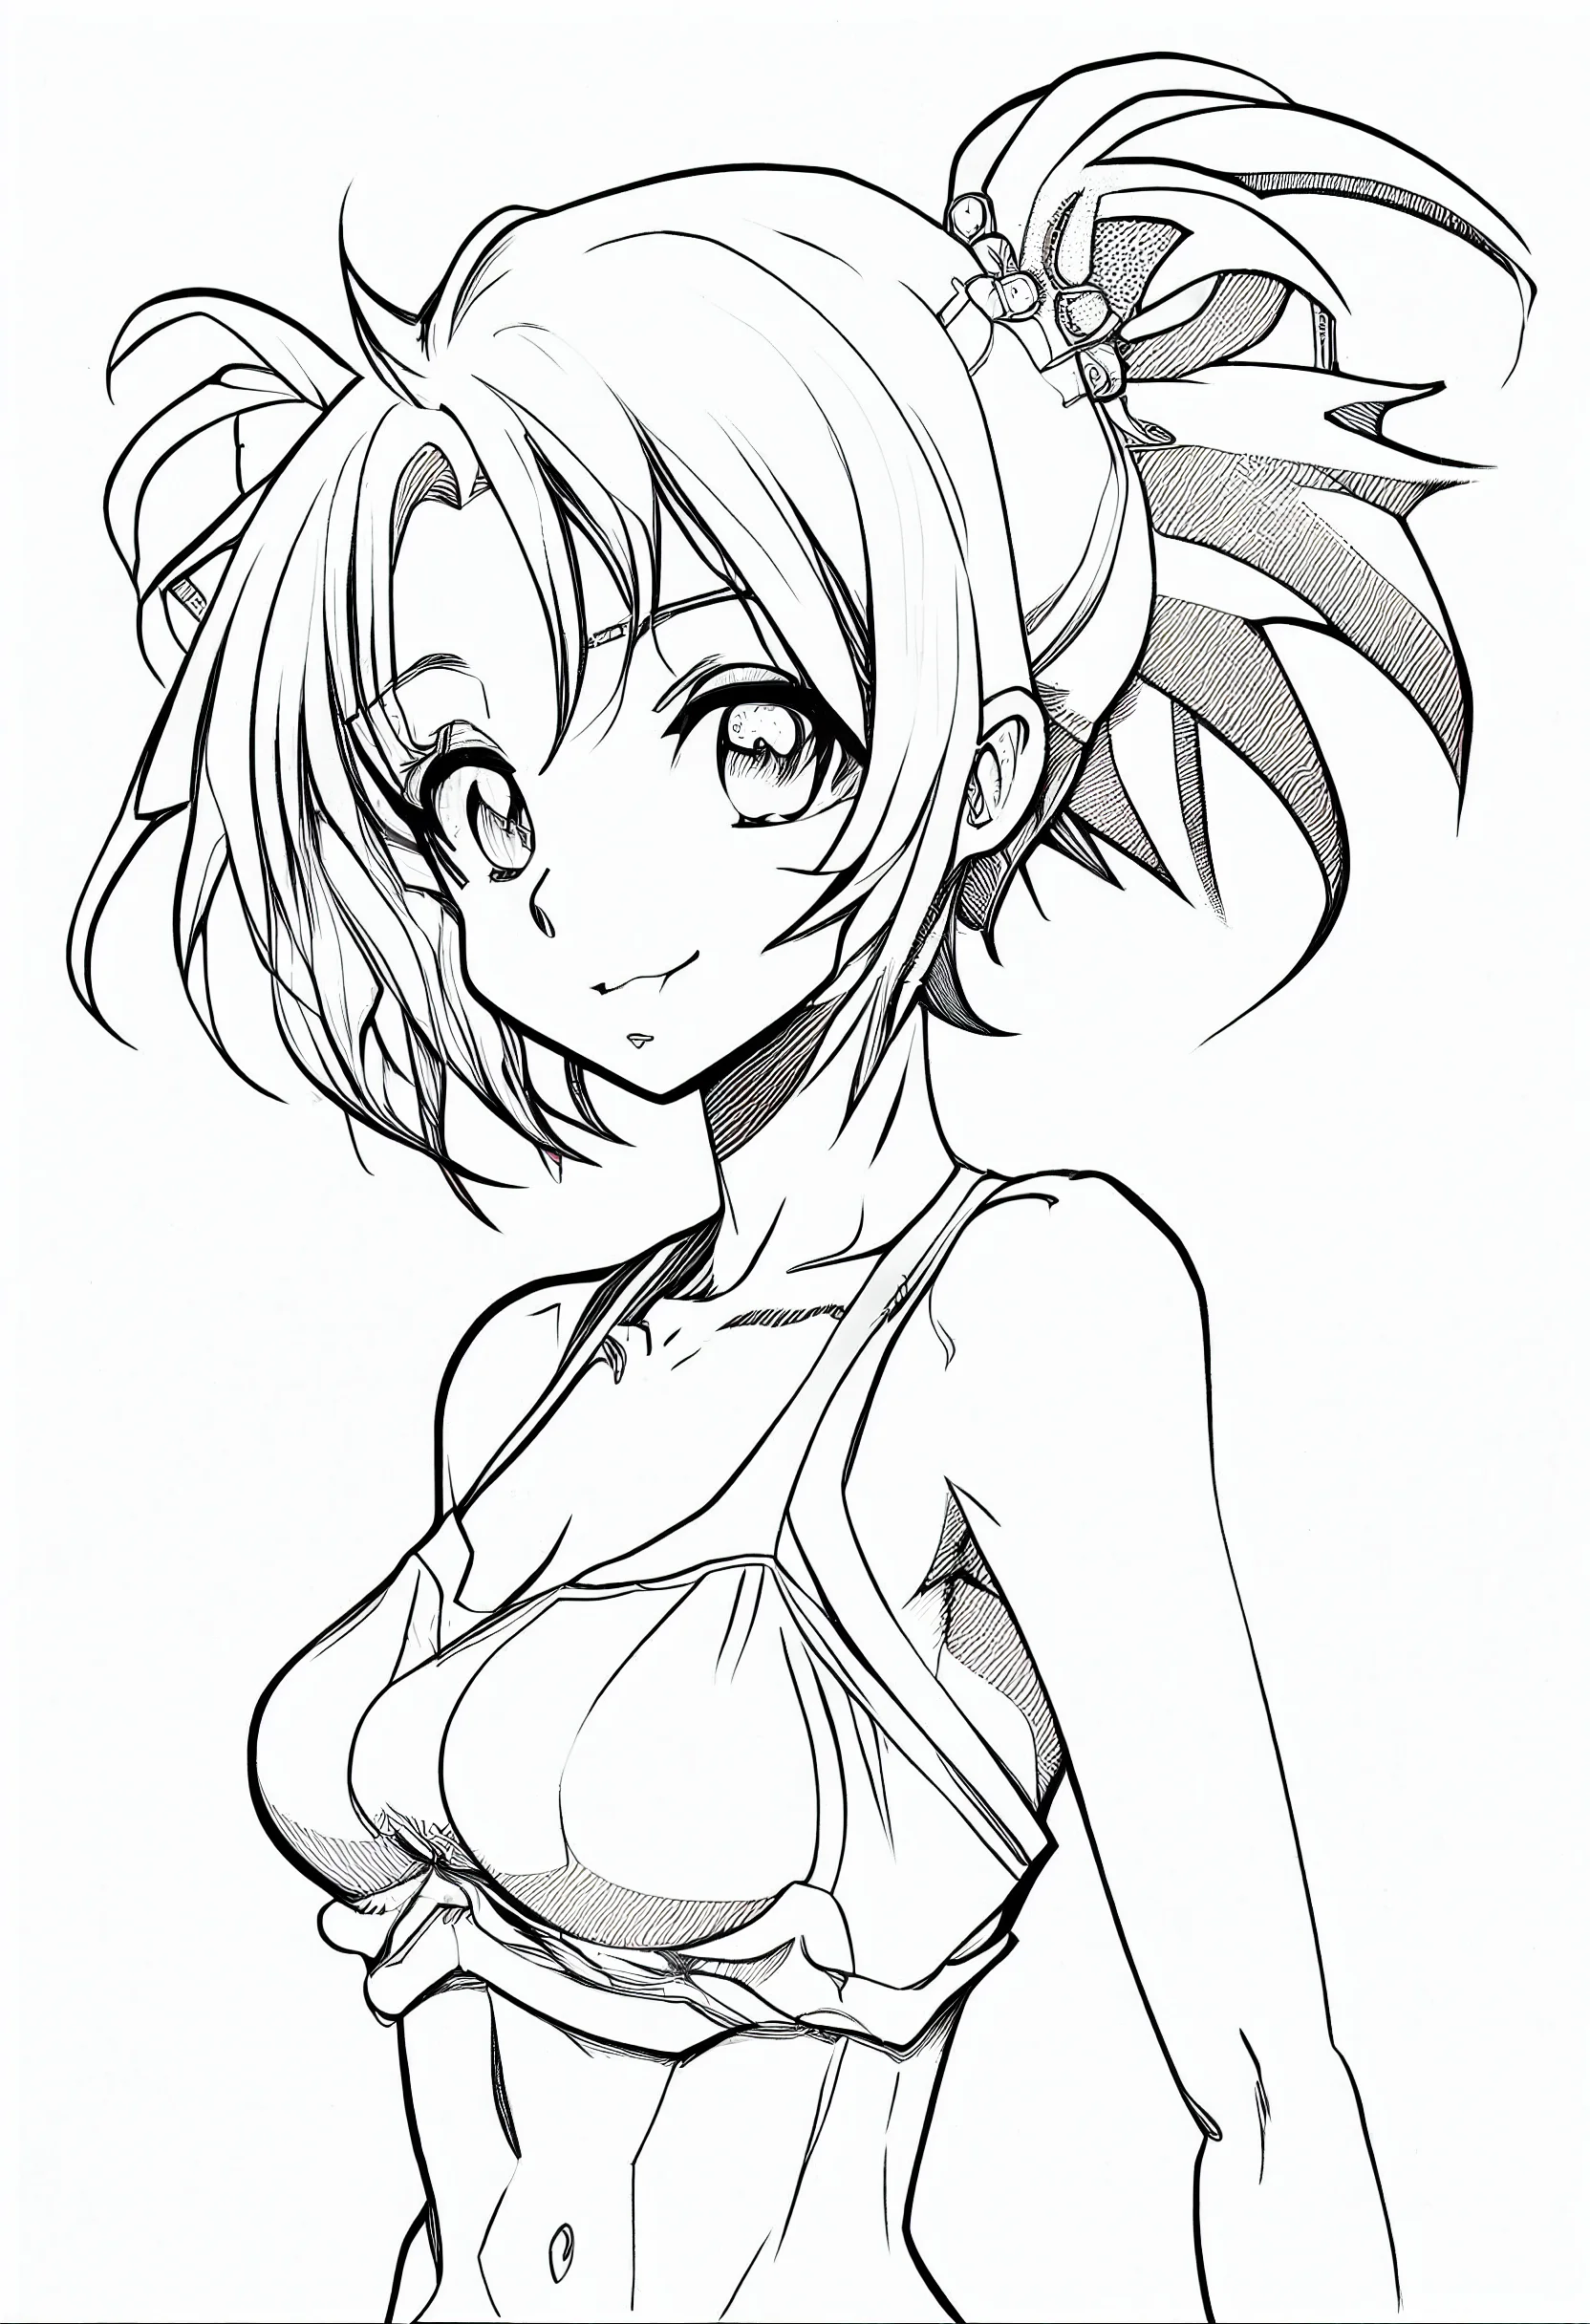
Use line weight to separate forms
Keep most construction lines light, then darken only a few places: the upper lashes, the underside of the chin, and the edges where hair overlaps the face. That small change creates depth without covering the drawing in heavy outlines.
Redraw one feature at a time
Instead of changing the entire character, vary one element: round eyes versus narrower eyes, straight bangs versus a side part, or a sweater neckline versus a simple V-neck. Drawing the same head with one controlled change makes it easier to see what that feature actually does.
Common problems
- Hair looks stringy: return to three large masses—bangs, side sections and the back of the hair—before adding individual strands.
- Eyes drift apart: keep the center guide visible until both eyes are placed.
- Face feels stiff: tilt the head slightly or vary the shoulder line rather than adding more facial detail.
- Shading gets muddy: use fewer values and leave larger light areas untouched.
For practice, redraw the same head once from memory and compare it with the first version. If you want broader character construction after this, use the anime drawing tutorials. For male character and hairstyle references, try the anime guy drawings. For non-anime practice, the 43 beginner drawing tutorials are the better next stop.
Style variations — References 7–10