
The easiest fairy pages here are genuinely simple: big wings, clear faces and plenty of open white space. Farther down the gallery, the designs get busier, with flower crowns, layered hair, small costume details and more elaborate fantasy styling. So if you are printing for a younger child, start near the simpler end rather than choosing by thumbnail alone.
There are 17 designs in total, including chibi fairies, princess-style characters, anime-inspired faces and a few more decorative fantasy fairies. The pages are individual image files, so you can save only the ones you want instead of downloading a large bundle.
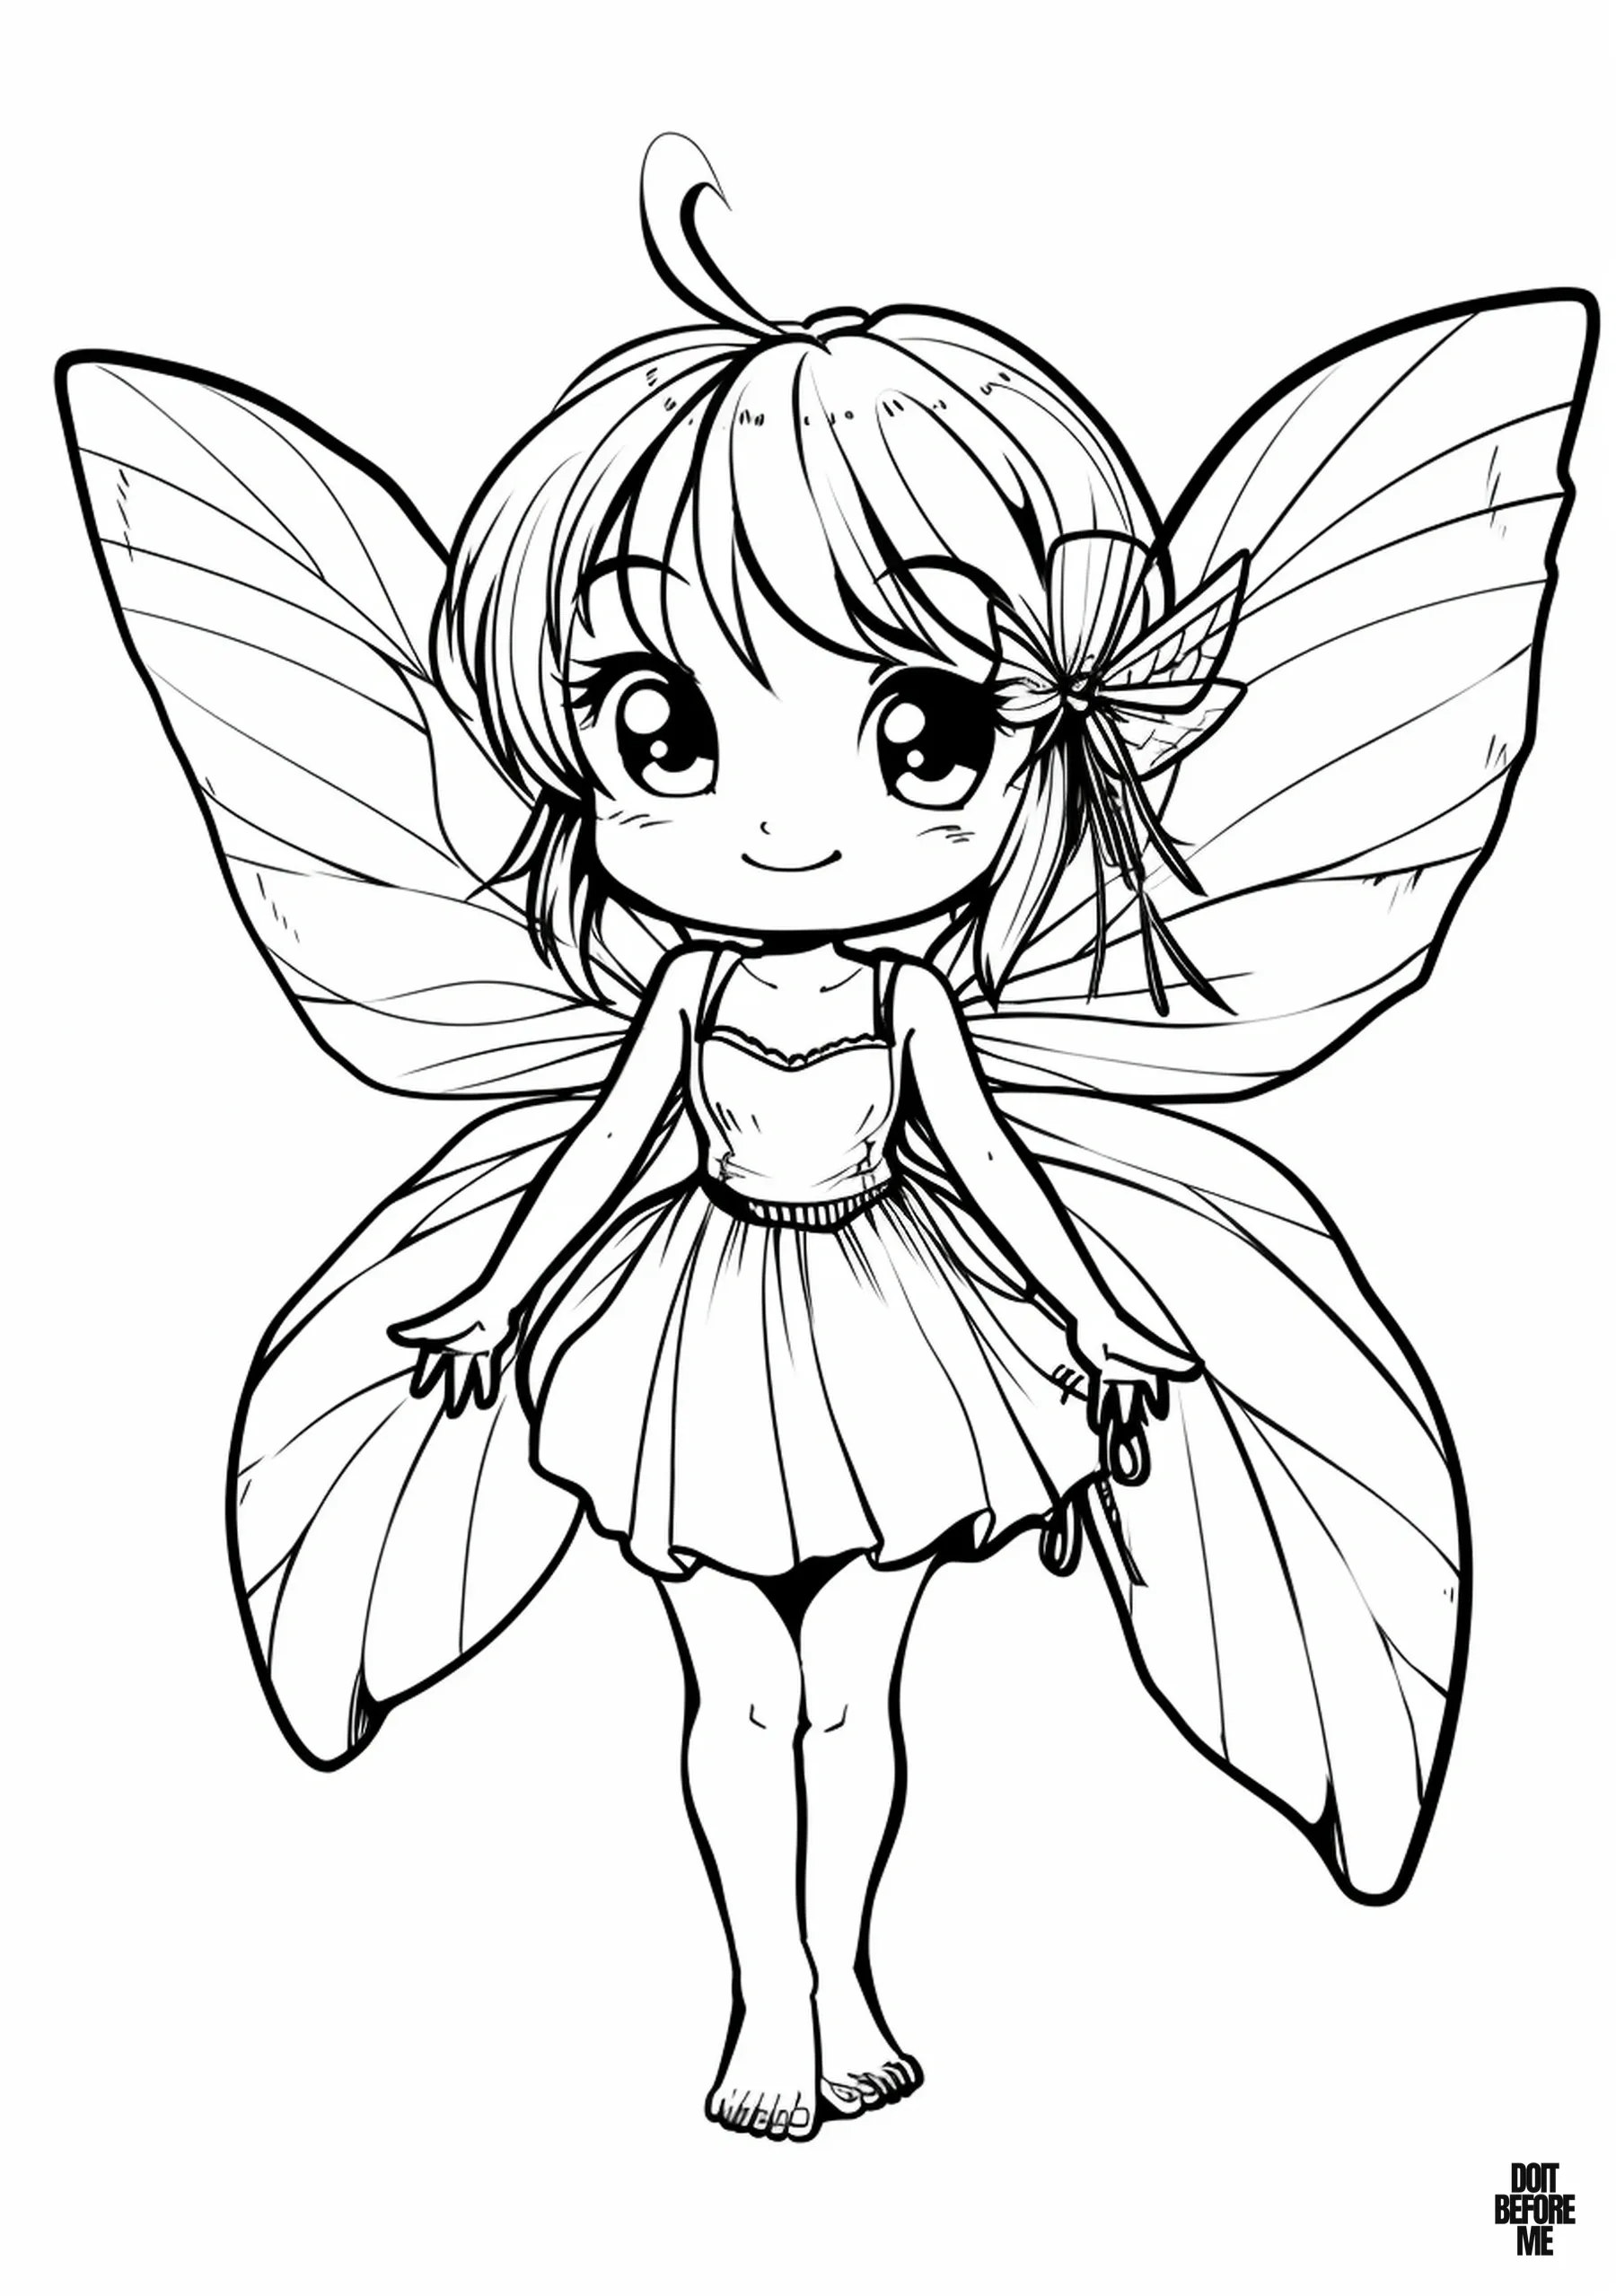
Open full-size fairy coloring sheet 1
Sheet 1: One of the easiest choices in the set. The open background and uncomplicated fairy shape make it a good page for crayons or for children who do not want to spend a long time on small details.
Do a 60-second difficulty check
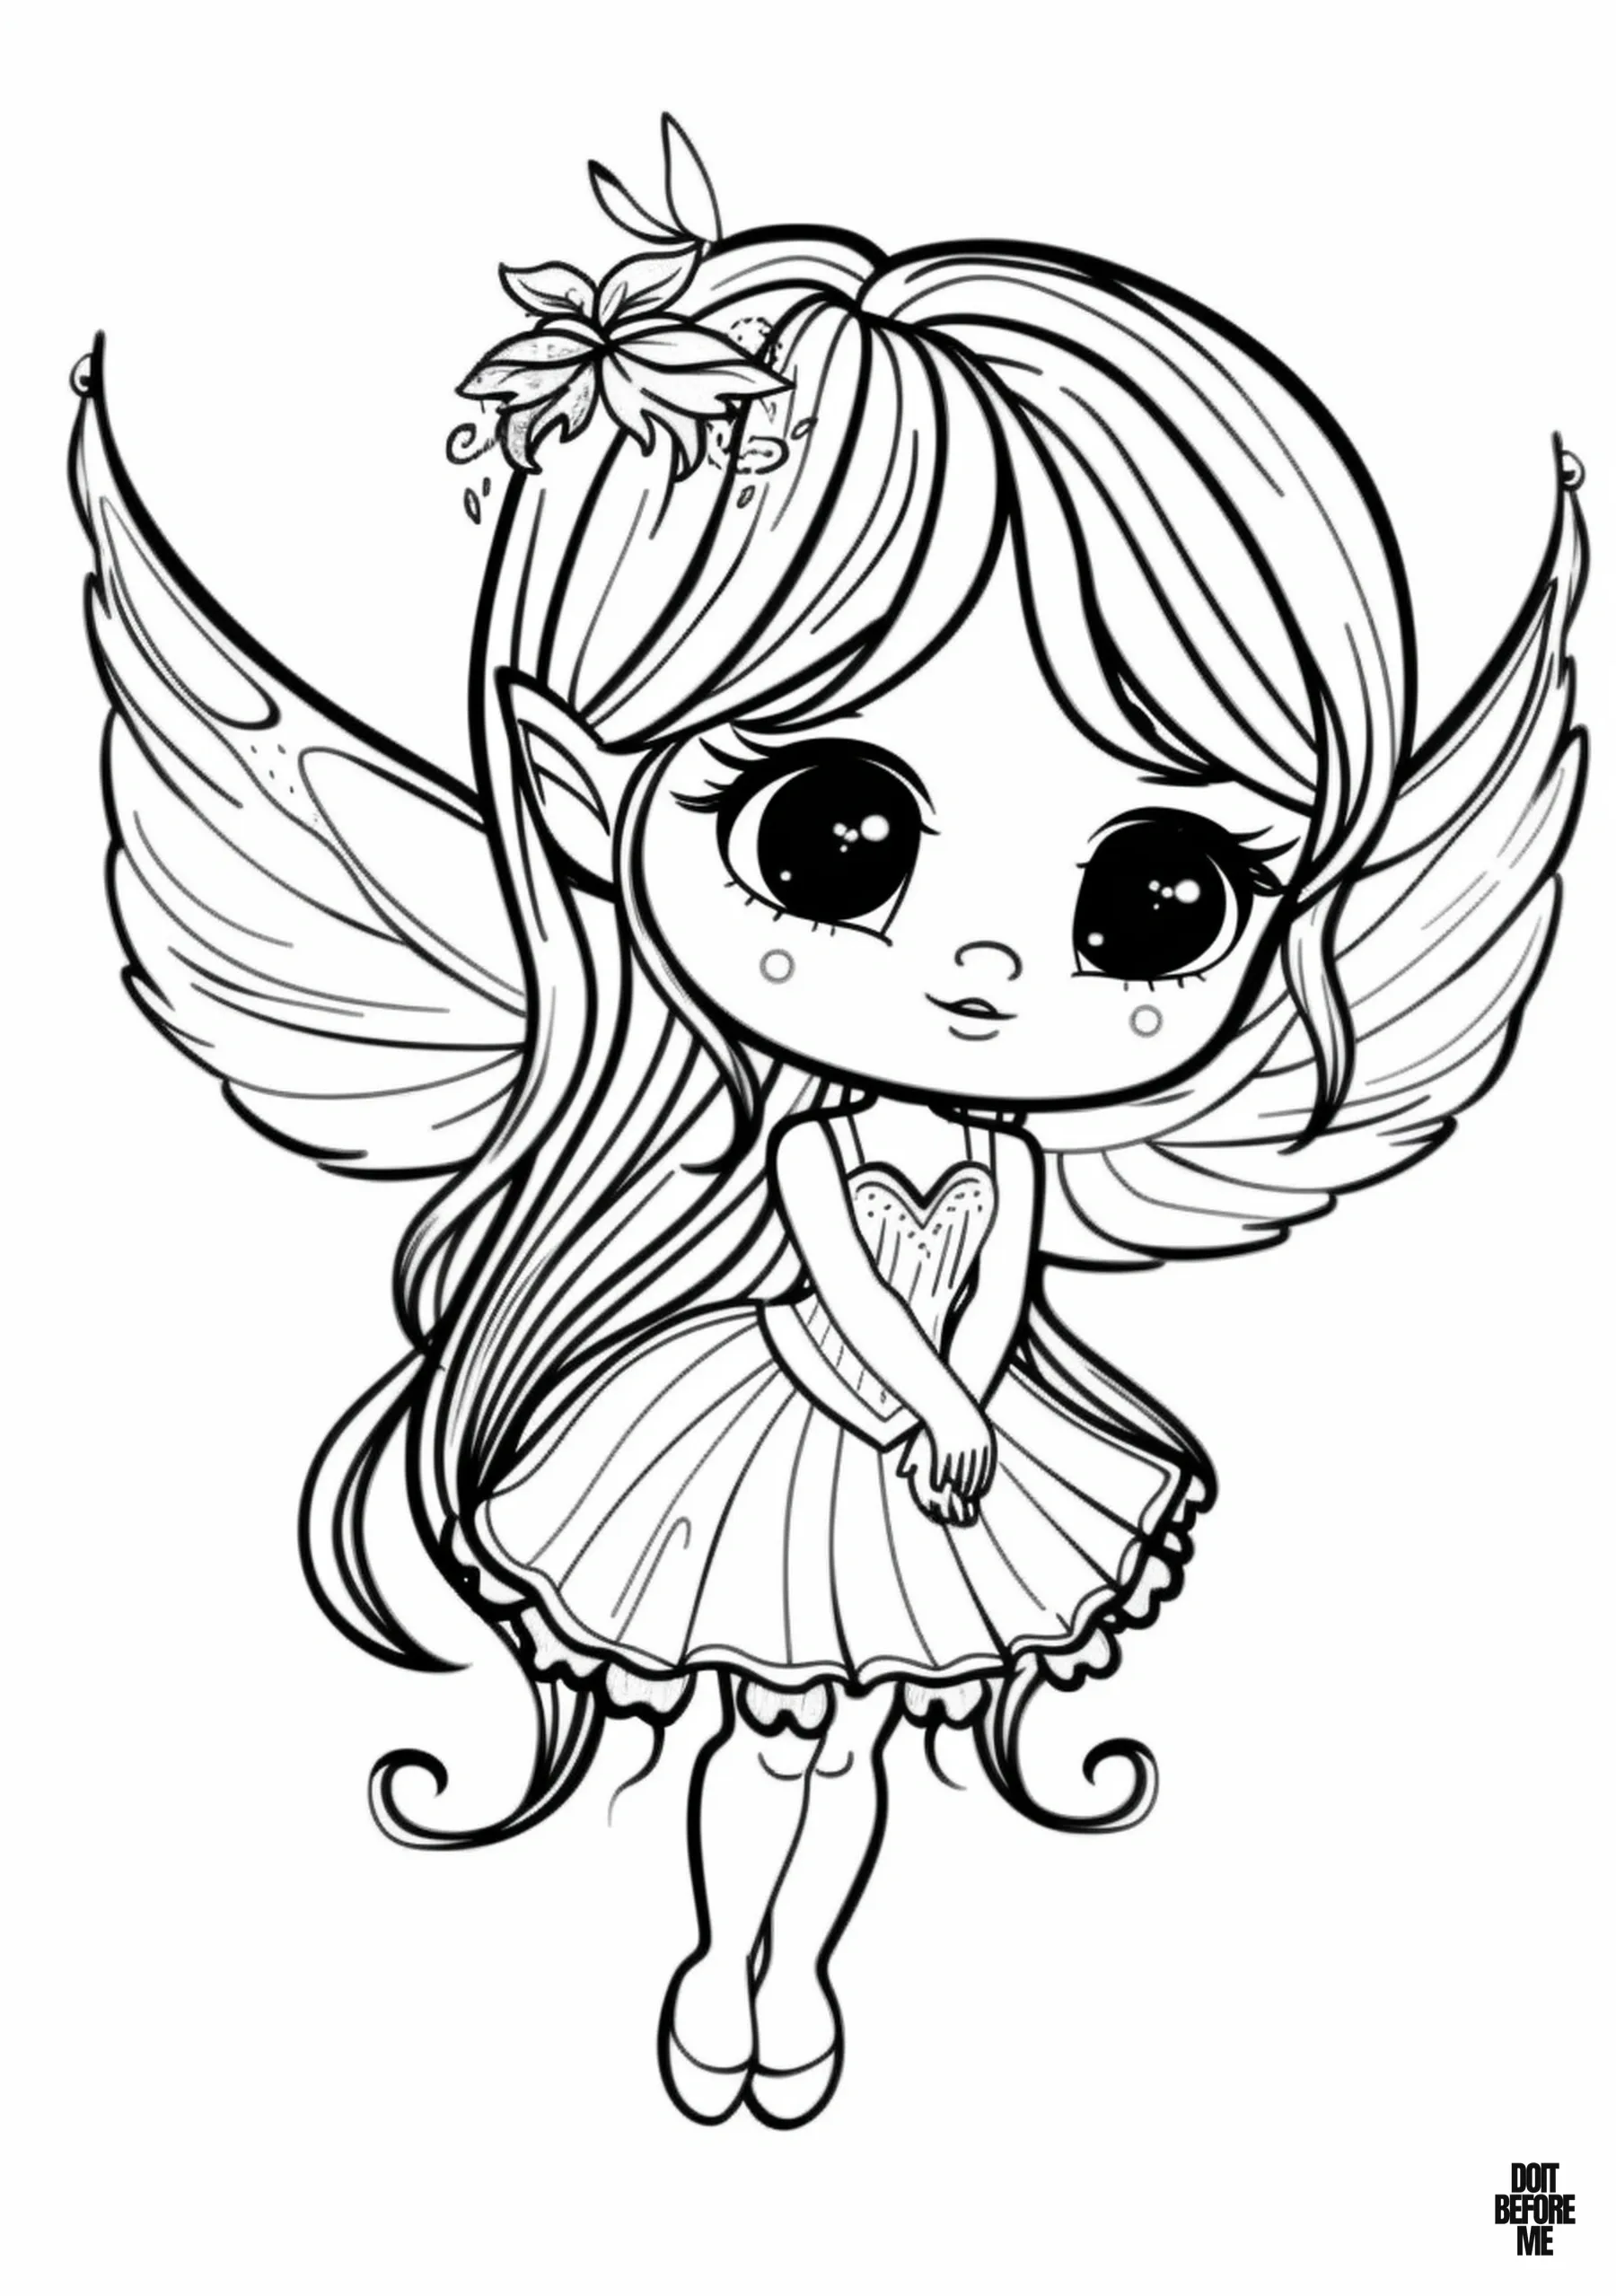
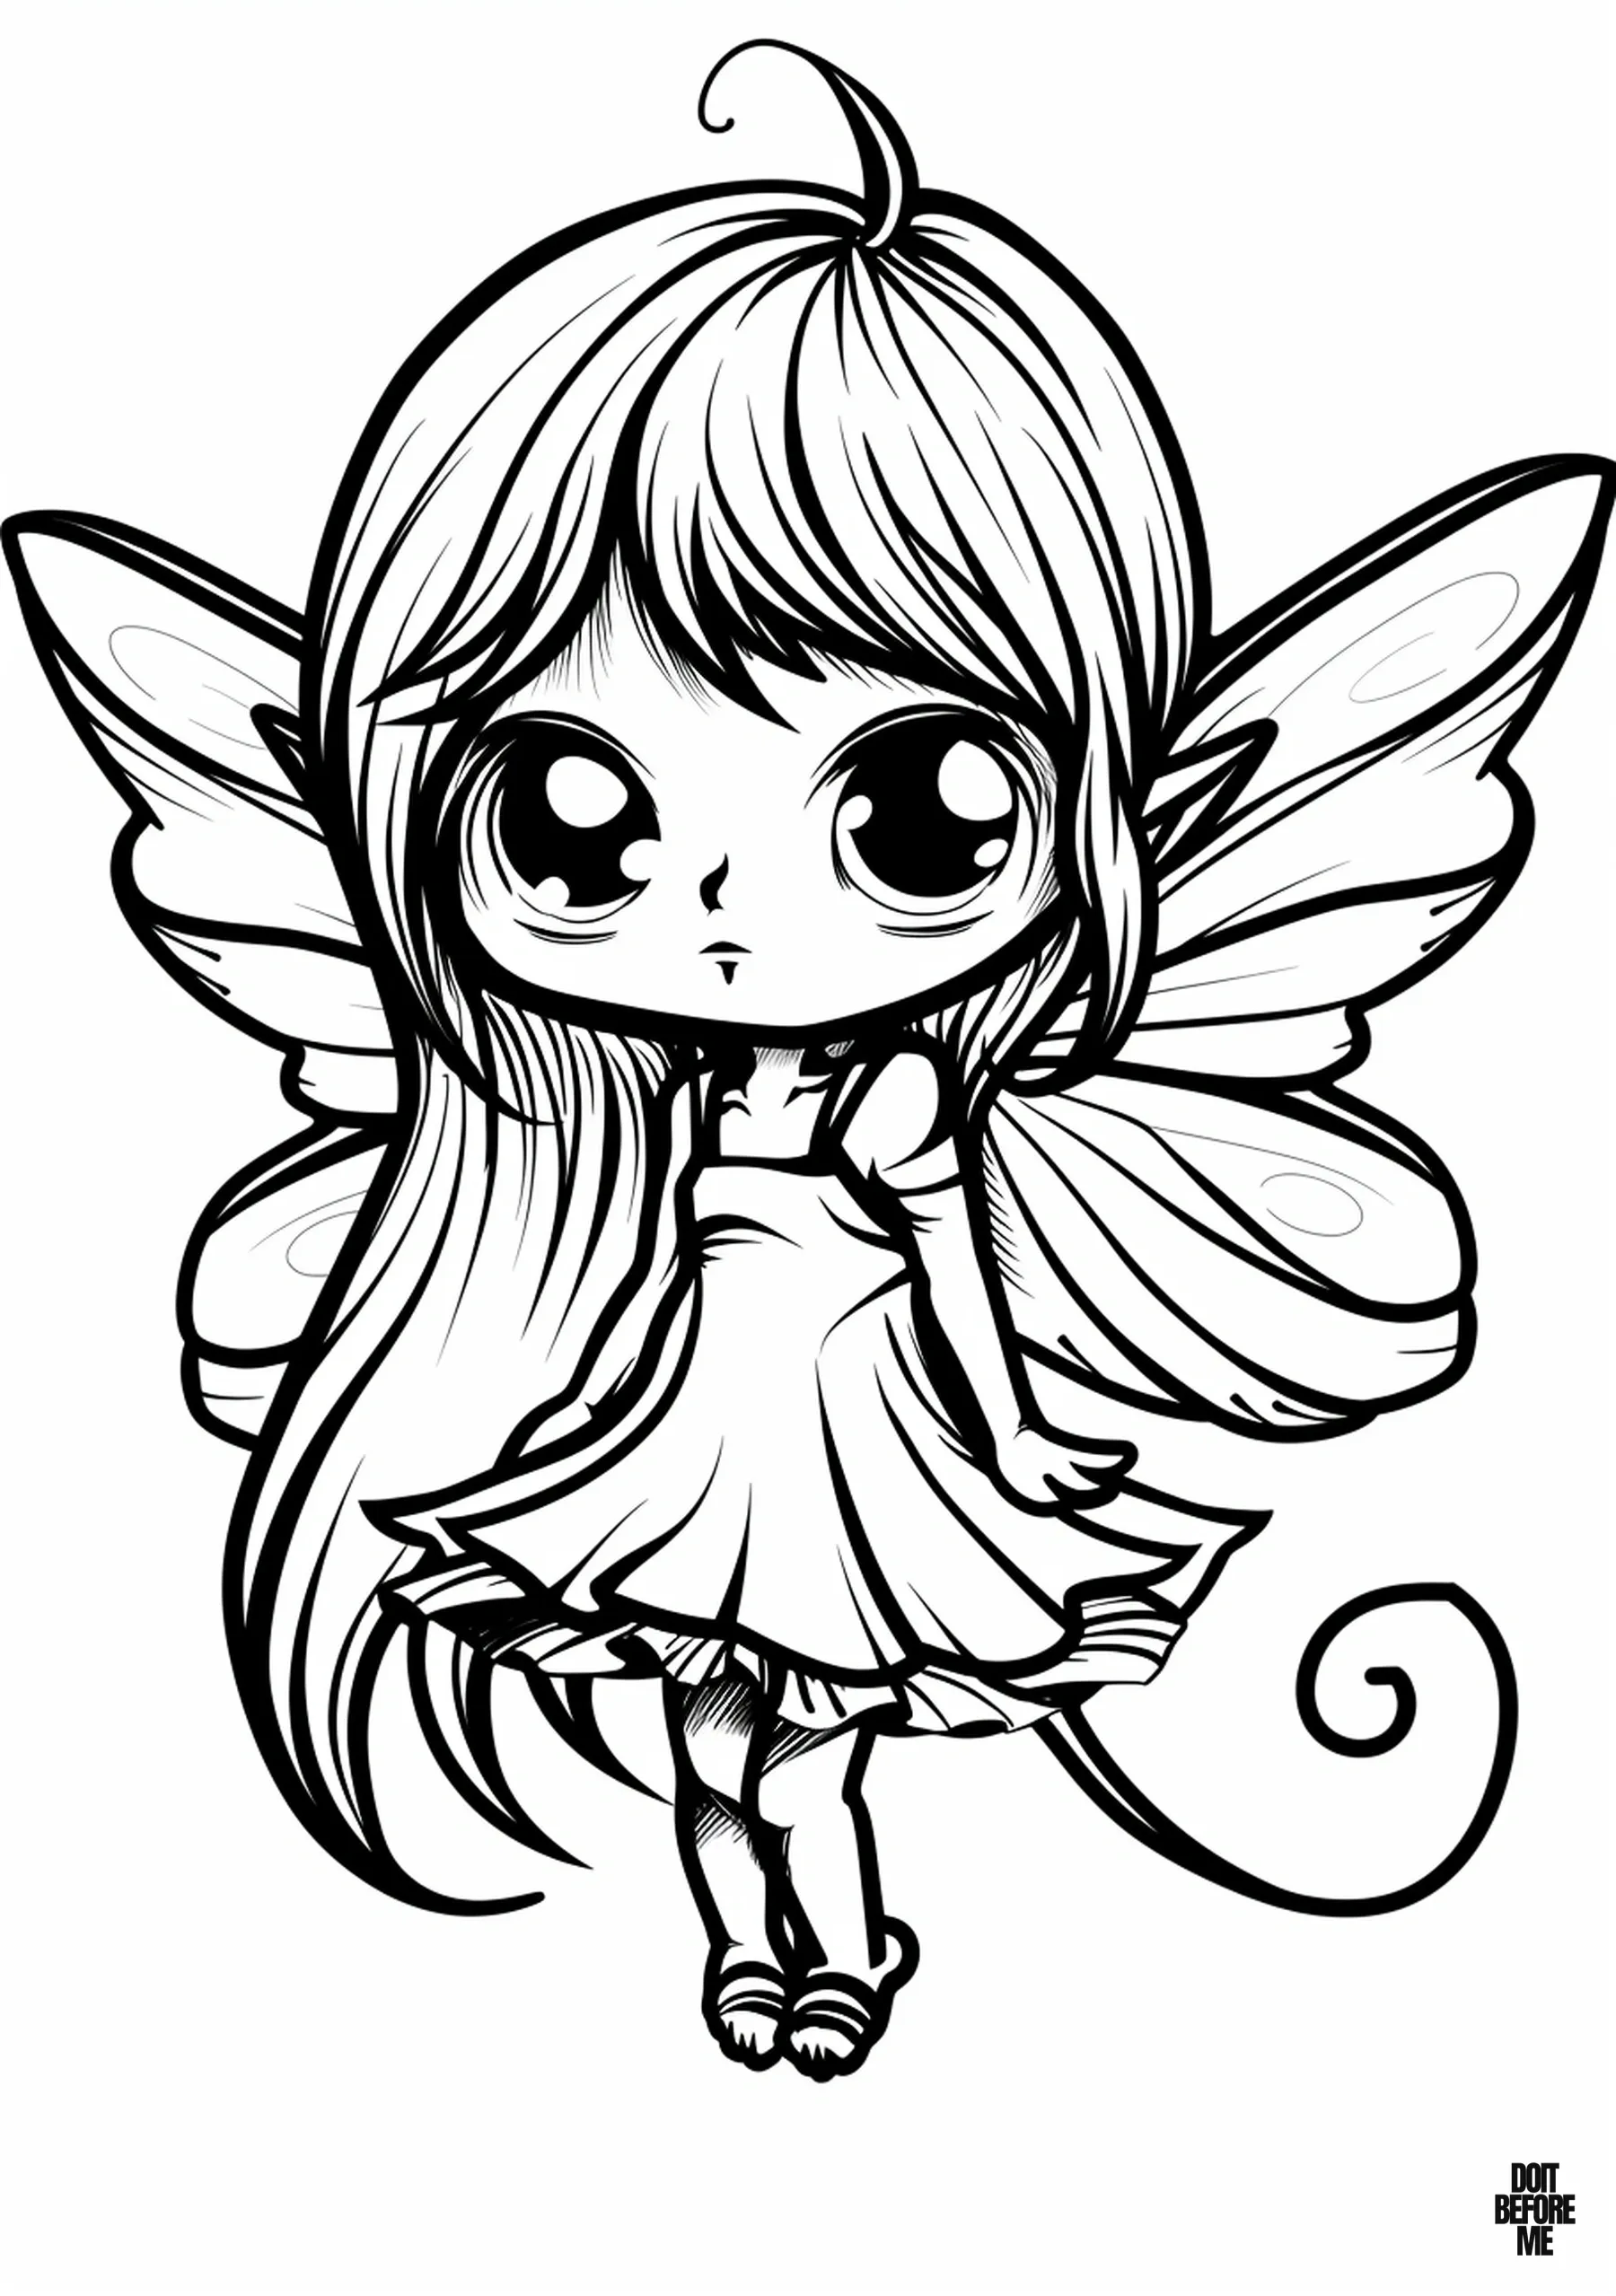
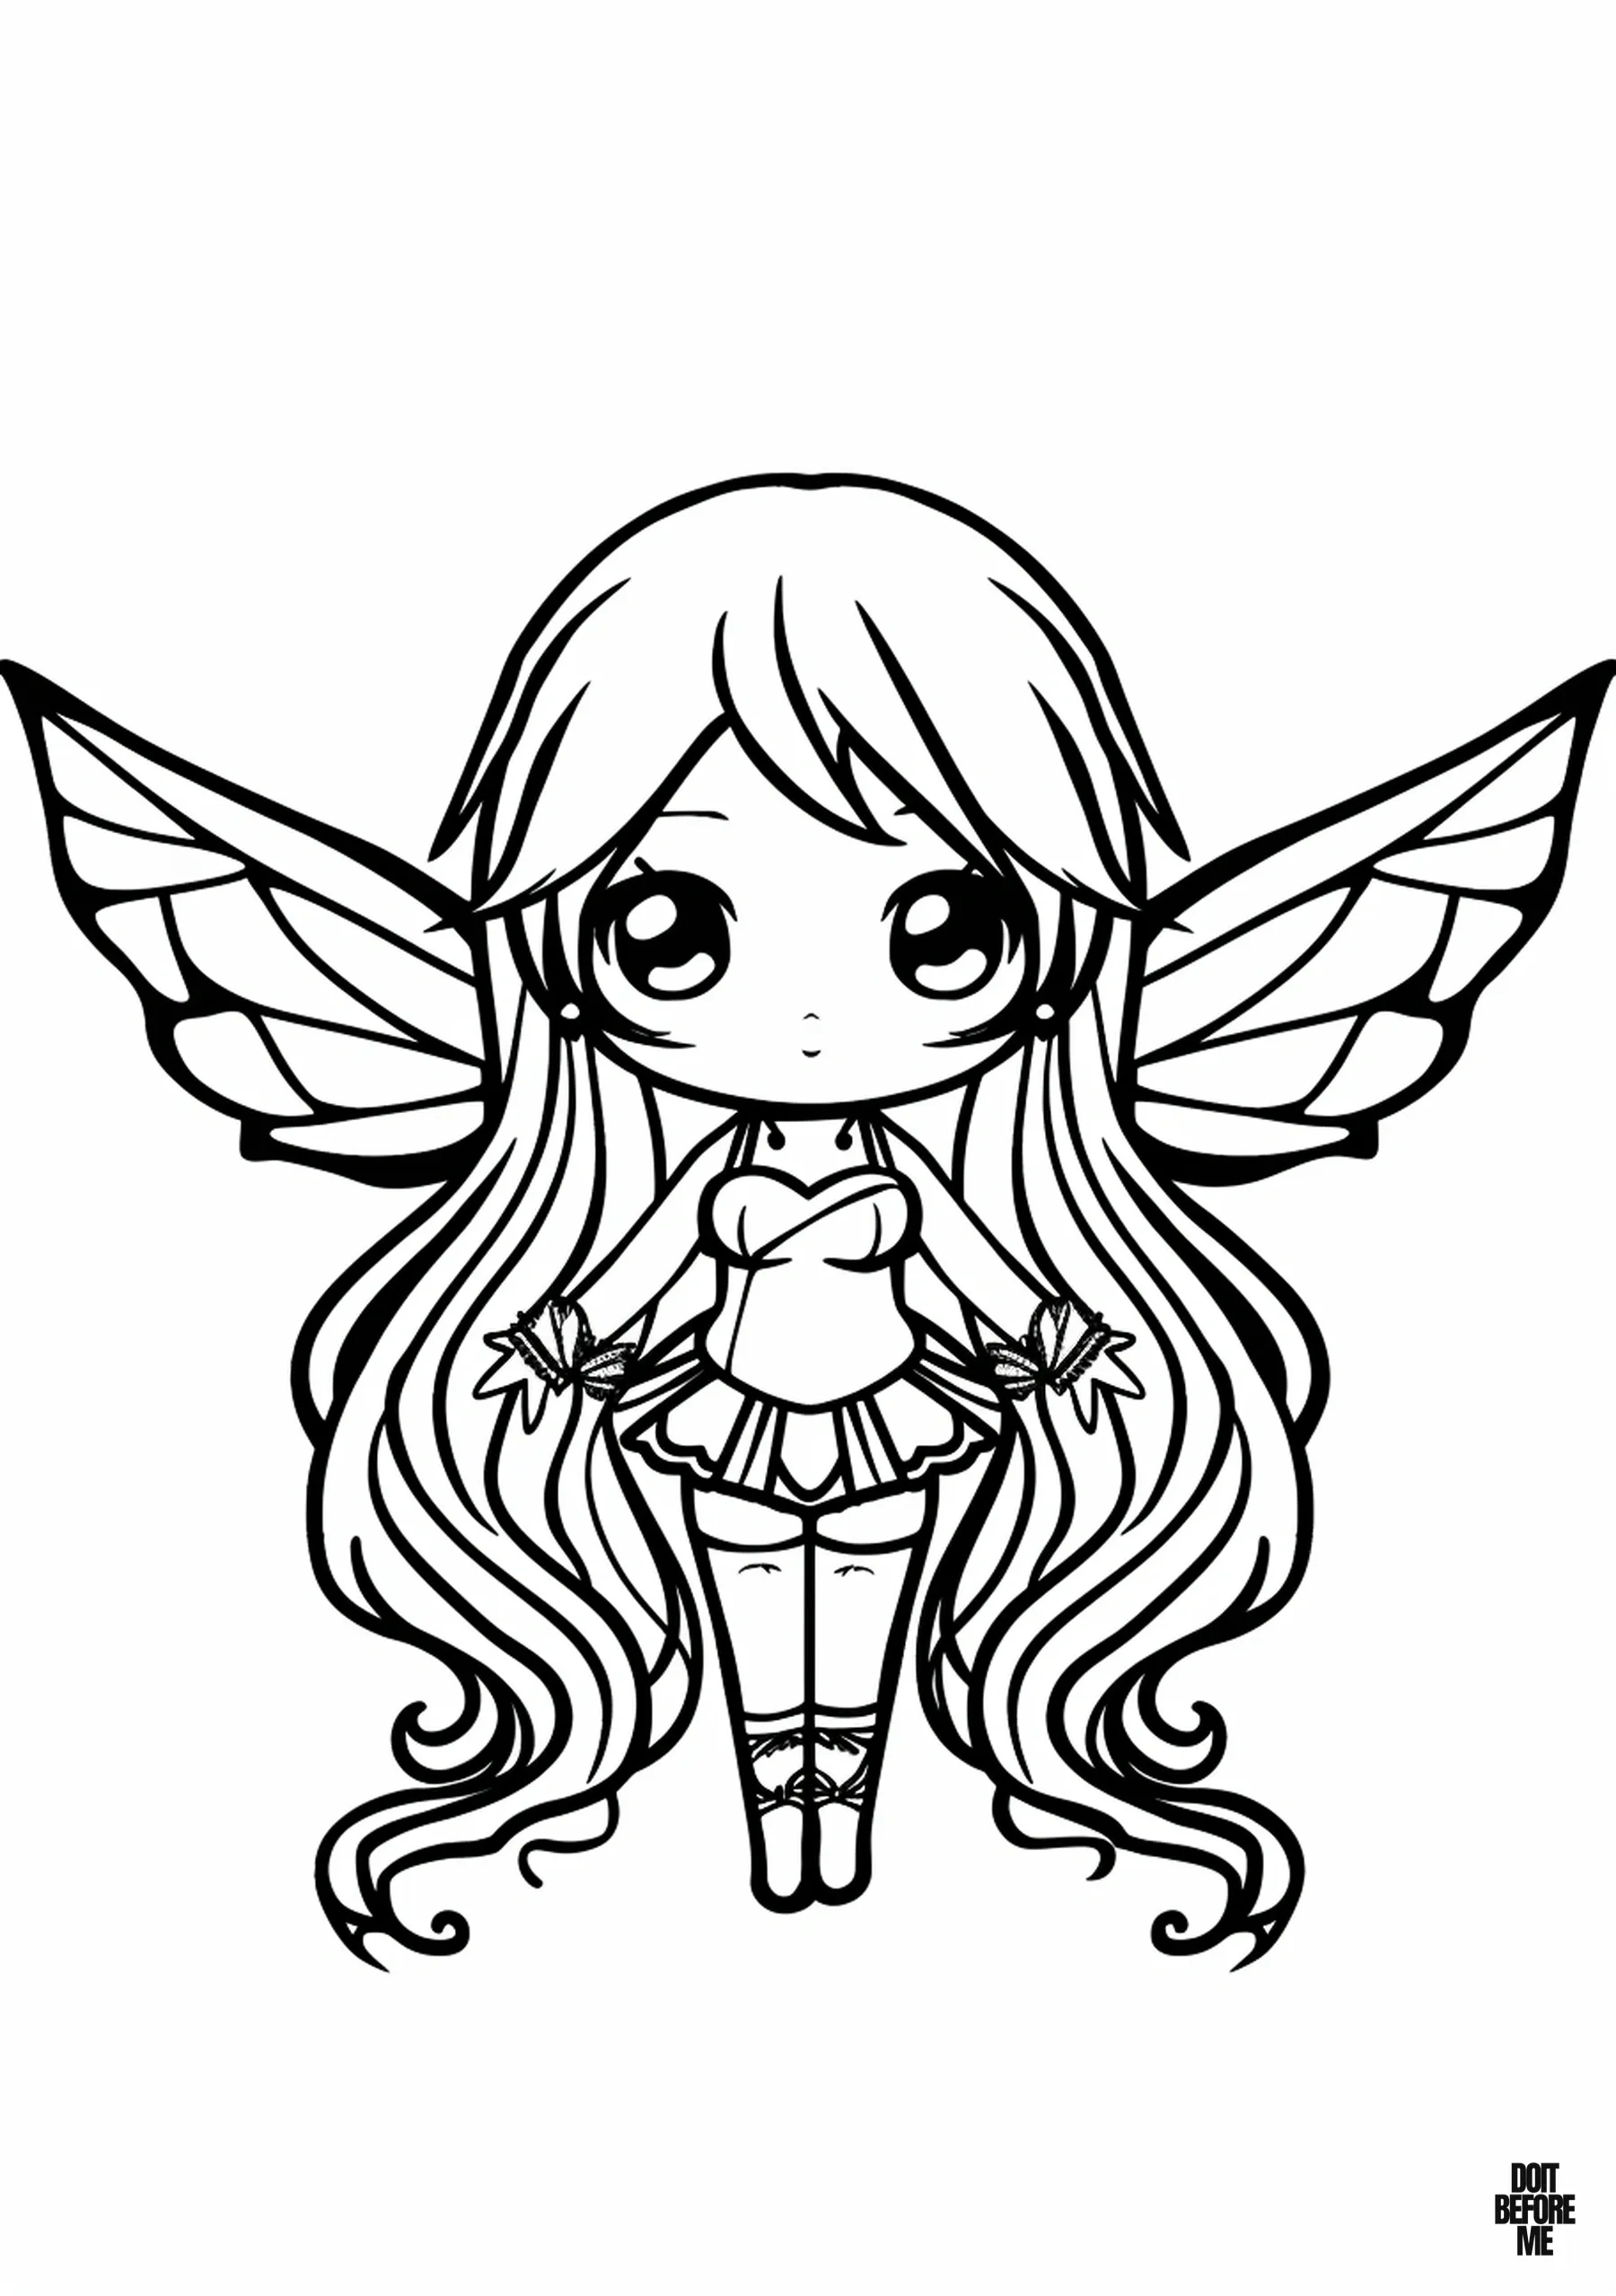
A fairy can look “easy” in the thumbnail but still have tiny eyes, fingers, flower petals or narrow wing sections. Before printing several copies, open the full-size image and check the smallest area your child will actually want to color. If that space is narrower than the crayon tip, choose a simpler sheet or switch to a colored pencil for those details.
- Check the face first. The eyes and mouth should be large enough to color without constant correction.
- Trace one wing section with your finger. If the wing is split into many narrow compartments, it requires more control than a single open wing.
- Count the “must-finish” details. Hair strands, flowers, jewelry and layered clothing add time even when the outline is cute and simple.
- Match the page to the session. For a 10-minute activity, use Sheets 1, 2, 3 or 11. Save the flower-heavy and layered designs for a child who wants a longer project.
For preschoolers: ignore shading completely. Pick three or four colors, fill the largest shapes first—dress, hair and wings—and treat tiny accessories as optional. Finishing a clean, simple page is better practice than struggling through every small shape.
Choose the fairy collection that fits
| Collection | Best for |
|---|---|
| This 17-page easy set | A curated portrait collection with clear full-size links and quick picks. |
| 10 kawaii fairy pages | A small portrait set focused on big-eyed kawaii fairies. |
| 29 mixed fairy pages | Flowers, fairy princesses and a mix of portrait and landscape formats. |
| 31 fairy coloring sheets | A larger mixed-format set with simple, floral and more detailed designs. |
| 19 fairy-tale pages | Storybook scenes with castles, princesses and magical characters rather than fairies alone. |
Pick the right page before you print
- For younger kids: choose a fairy with large shapes, a simple dress and little background detail.
- For colored pencils: the pages with hair, flowers and layered clothing give you more room for shading.
- For markers: use a spare sheet underneath the print, especially on standard copy paper.
Use the full-size link below each image rather than printing the web page itself. If your image is cropped or you are printing from a phone, see the save-and-print guide.
Quick picks
| Looking for… | Start with |
|---|---|
| The easiest pages | Sheets 1, 2, 3 or 11 |
| A princess-fairy look | Sheets 4 or 8 |
| Anime-inspired details | Sheet 5 |
| A longer coloring session | Sheets 6, 10 or 16 |
If you are printing several pages for a group, mix simple and detailed designs instead of printing the same sheet for everyone. That gives children a choice without making the activity feel like a difficulty test.
A simple 3-page fairy coloring practice
Before starting the first full sheet, use a scrap of the same printer paper for a two-minute pressure test. Make three small swatches with one colored pencil: barely touching the paper, normal pressure, then two light layers on top of each other. The layered swatch should look darker without becoming shiny or flattening the paper. Repeat with the color you plan to use for the wings. This tells you how much range the paper and pencil actually give you before you reach the tiny face and costume details.
- Start with Sheet 1 or 11: use only four or five colors. The goal is clean fills and deliberate color choices, not shading. When you finish, hold the page at arm’s length: the face and wings should still read before the small accessories.
- Move to Sheet 4: keep the dress in one color family, then use the flower crown and wings for contrasting accents. Make the wing color one value lighter than the dress before adding any darker edge detail. This teaches palette control without adding a complicated background.
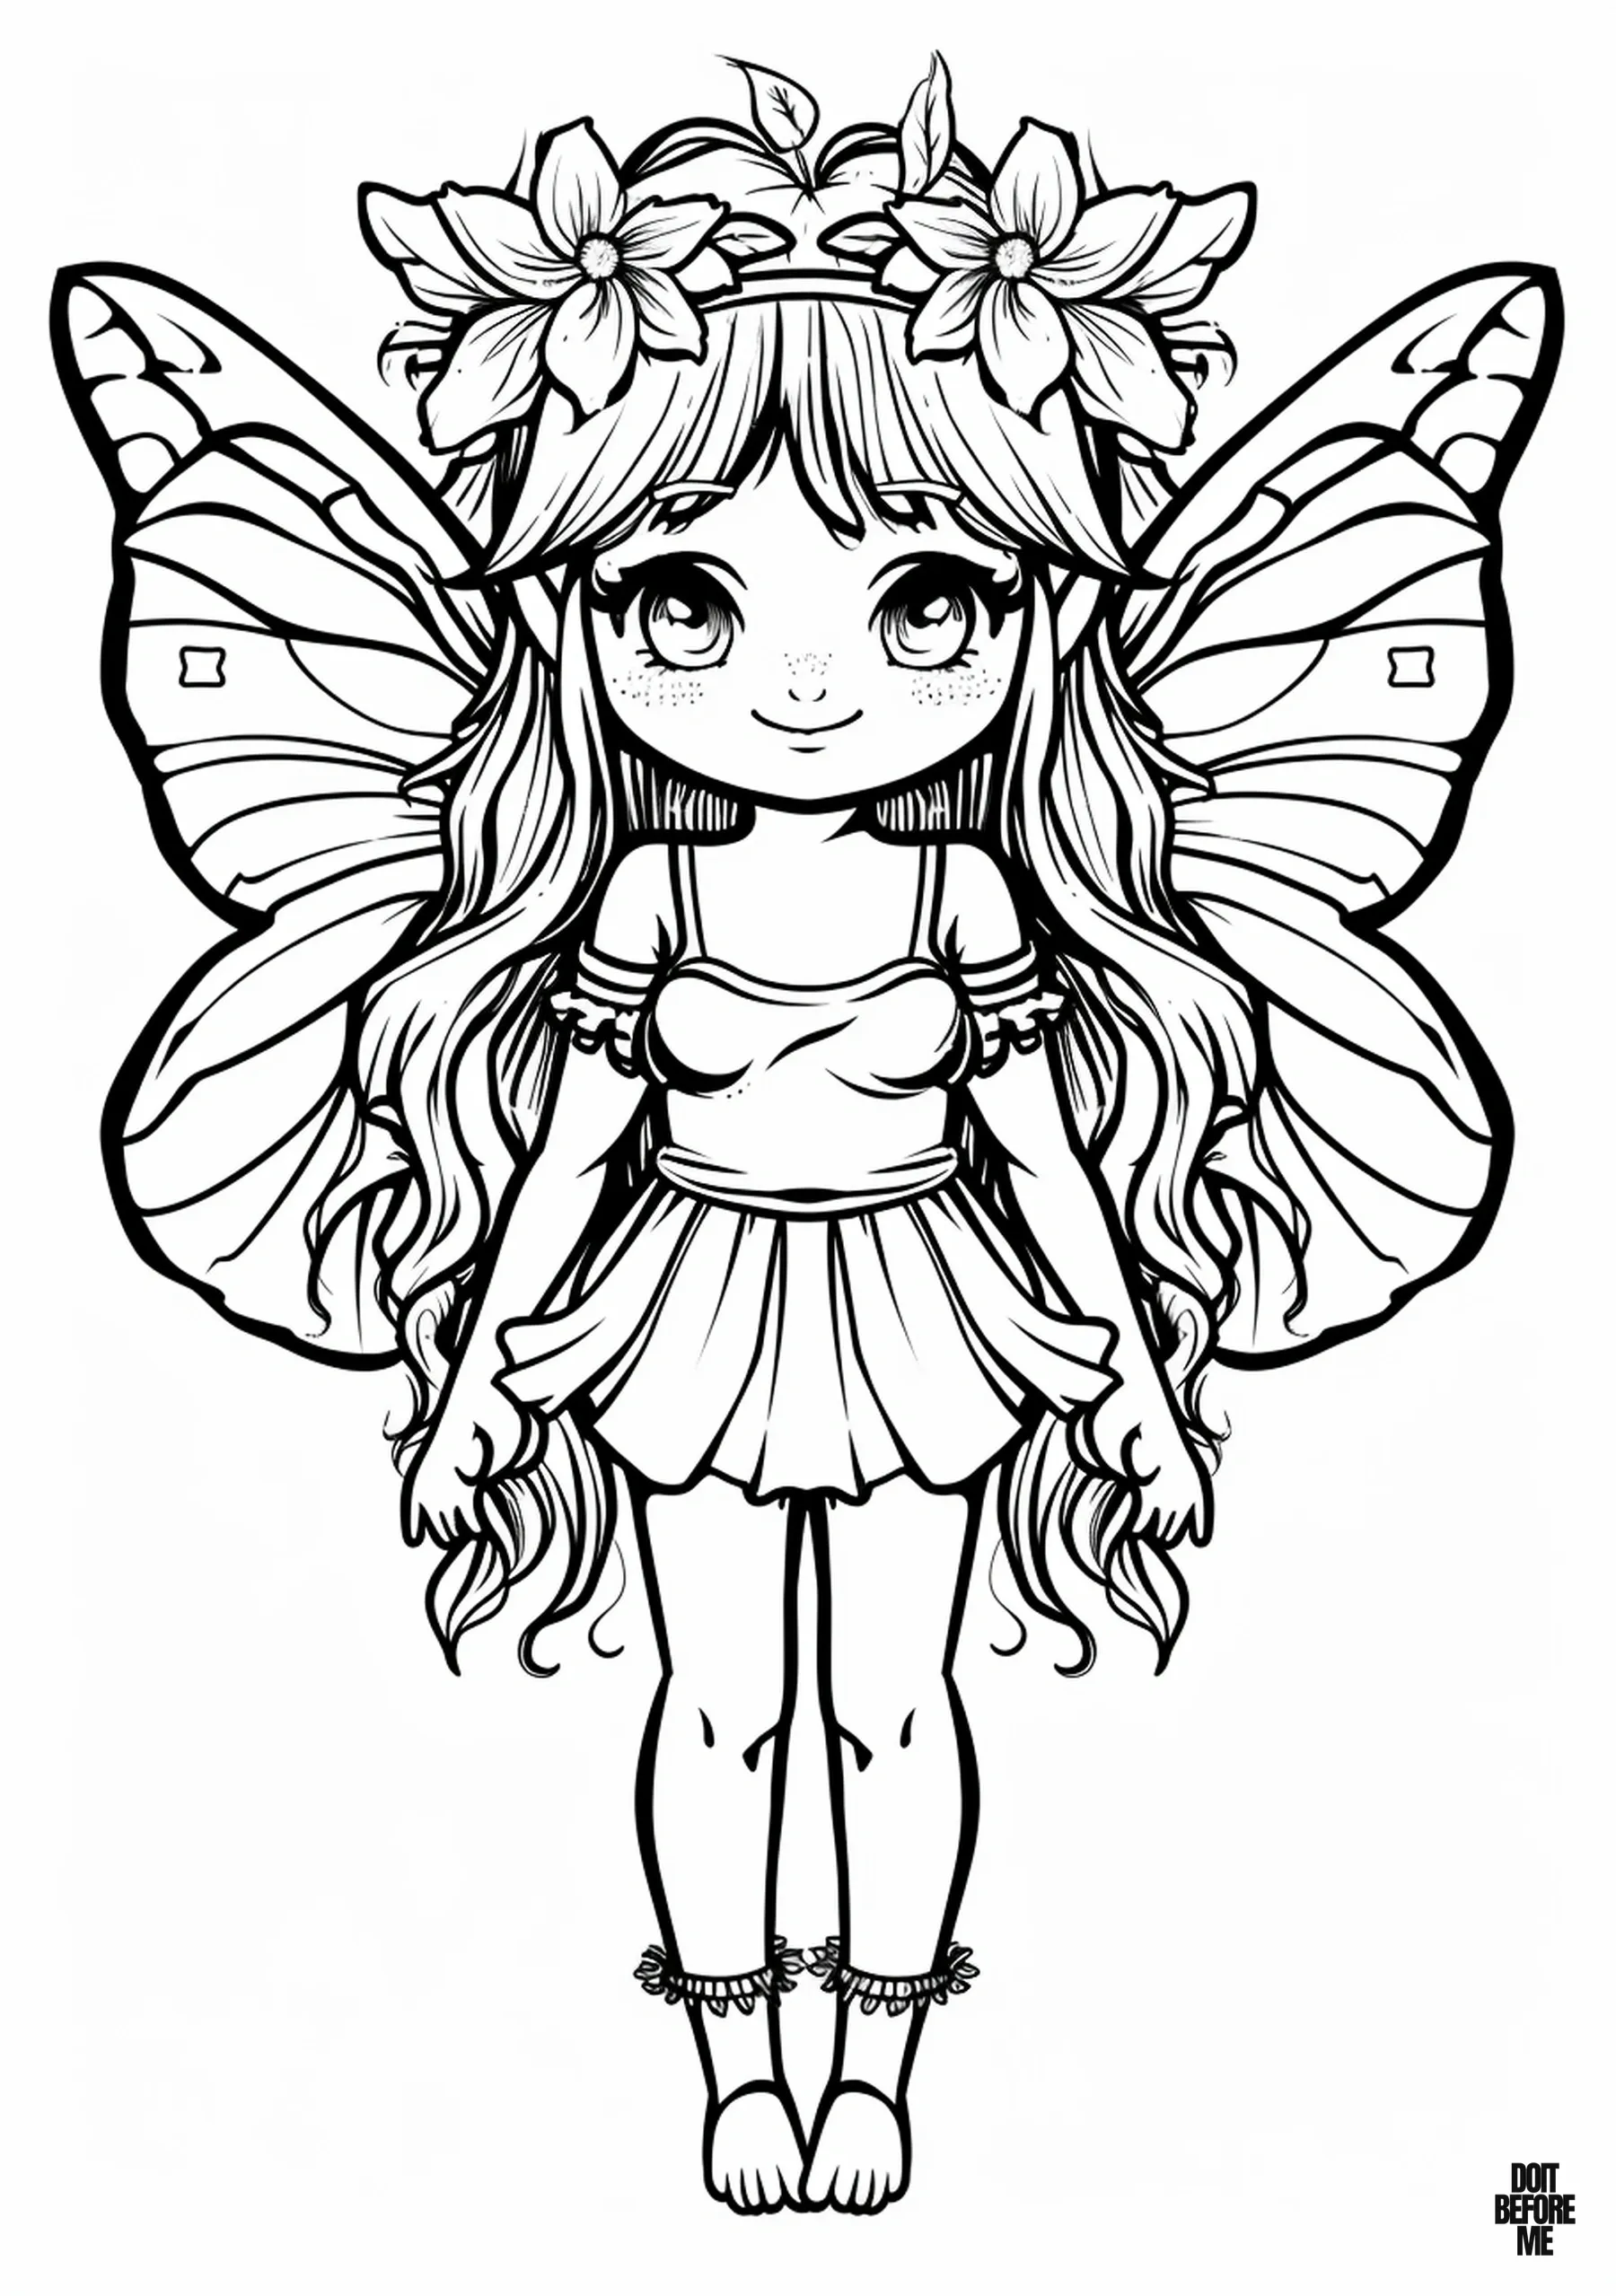
- Finish with Sheet 16: use light-to-dark pencil pressure on the hair and clothing. Work one material at a time—skin, hair, fabric, flowers, wings—rather than jumping between tiny shapes. Leave the palest areas of the wings nearly white so the character does not become one flat block of color.
Quick diagnostic: if the finished fairy looks busy from a distance, do not add more outline. Instead, choose one secondary area—usually the wings or flowers—and soften it by using lighter pressure. If the face disappears, deepen the hair immediately beside the cheeks while leaving the skin itself light. These two corrections usually restore the focal point without recoloring the whole page.
Fix common fairy-coloring problems
| If this happens | Try this |
|---|---|
| The wings disappear into the outfit | Keep the wings noticeably lighter or cooler than the dress. Pale blue, lavender or mint works well against warmer clothing colors. |
| The face looks muddy | Color the face before the hair. Use very light pressure around the eyes and cheeks, and save the darkest pencil for eyelashes, hair and small accents. |
| Every detail competes for attention | Choose one focal area—the wings, flower crown or dress—and keep secondary details quieter. You do not need a different bright color for every shape. |
| Crayon goes outside tiny shapes | Use the point or edge of the crayon for small flowers and facial details, then use the broad side for wings, hair and clothing. |
| Marker strokes look streaky | Fill one enclosed area at a time with overlapping strokes while the ink is still wet. Avoid repeatedly scrubbing over a section after it begins to dry. |
| A detailed sheet feels overwhelming | Work from the face outward: skin, hair, main clothing, wings, then accessories. Finishing one visual layer at a time makes pages such as 16 much easier to manage. |
Three easy fairy palettes to try
- Woodland: sage green, moss, warm brown, cream and muted pink.
- Moonlight: lavender, pale blue, navy, silver-gray and a small amount of pink.
- Storybook: peach, rose, butter yellow, mint and sky blue. Keep one color dominant instead of using all five equally.
17 fairy coloring pages
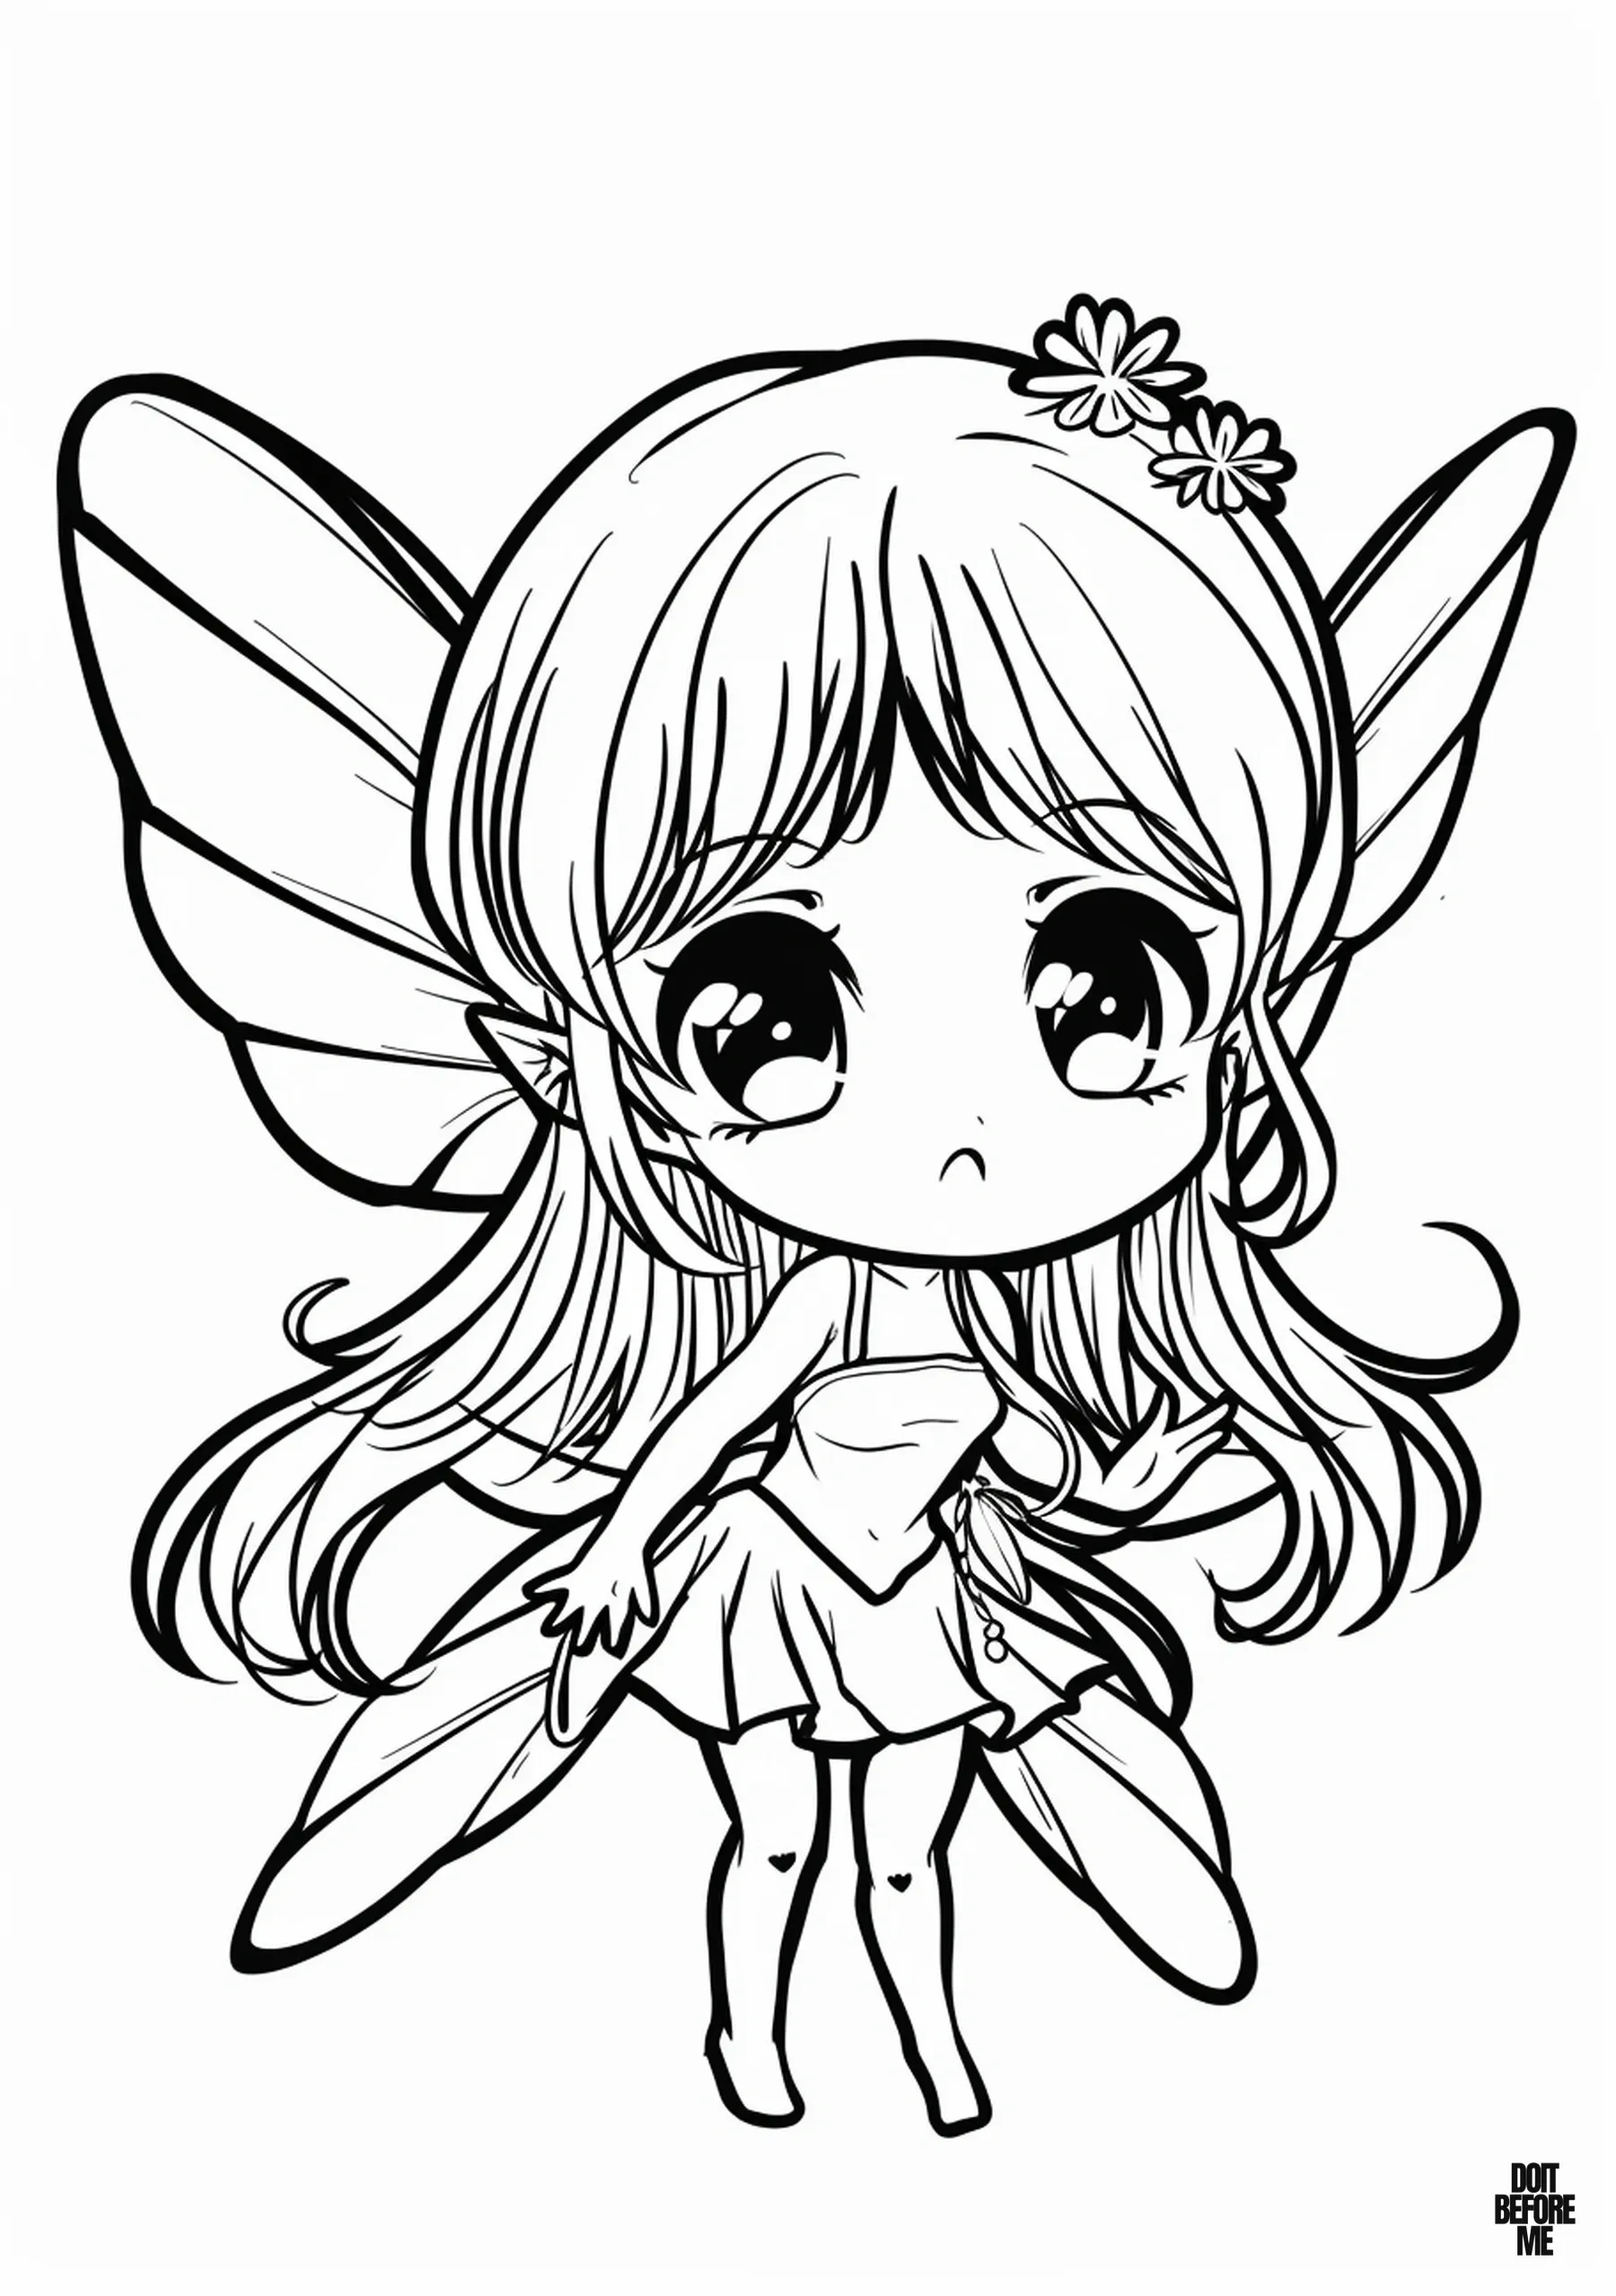
Open full-size fairy coloring sheet 2
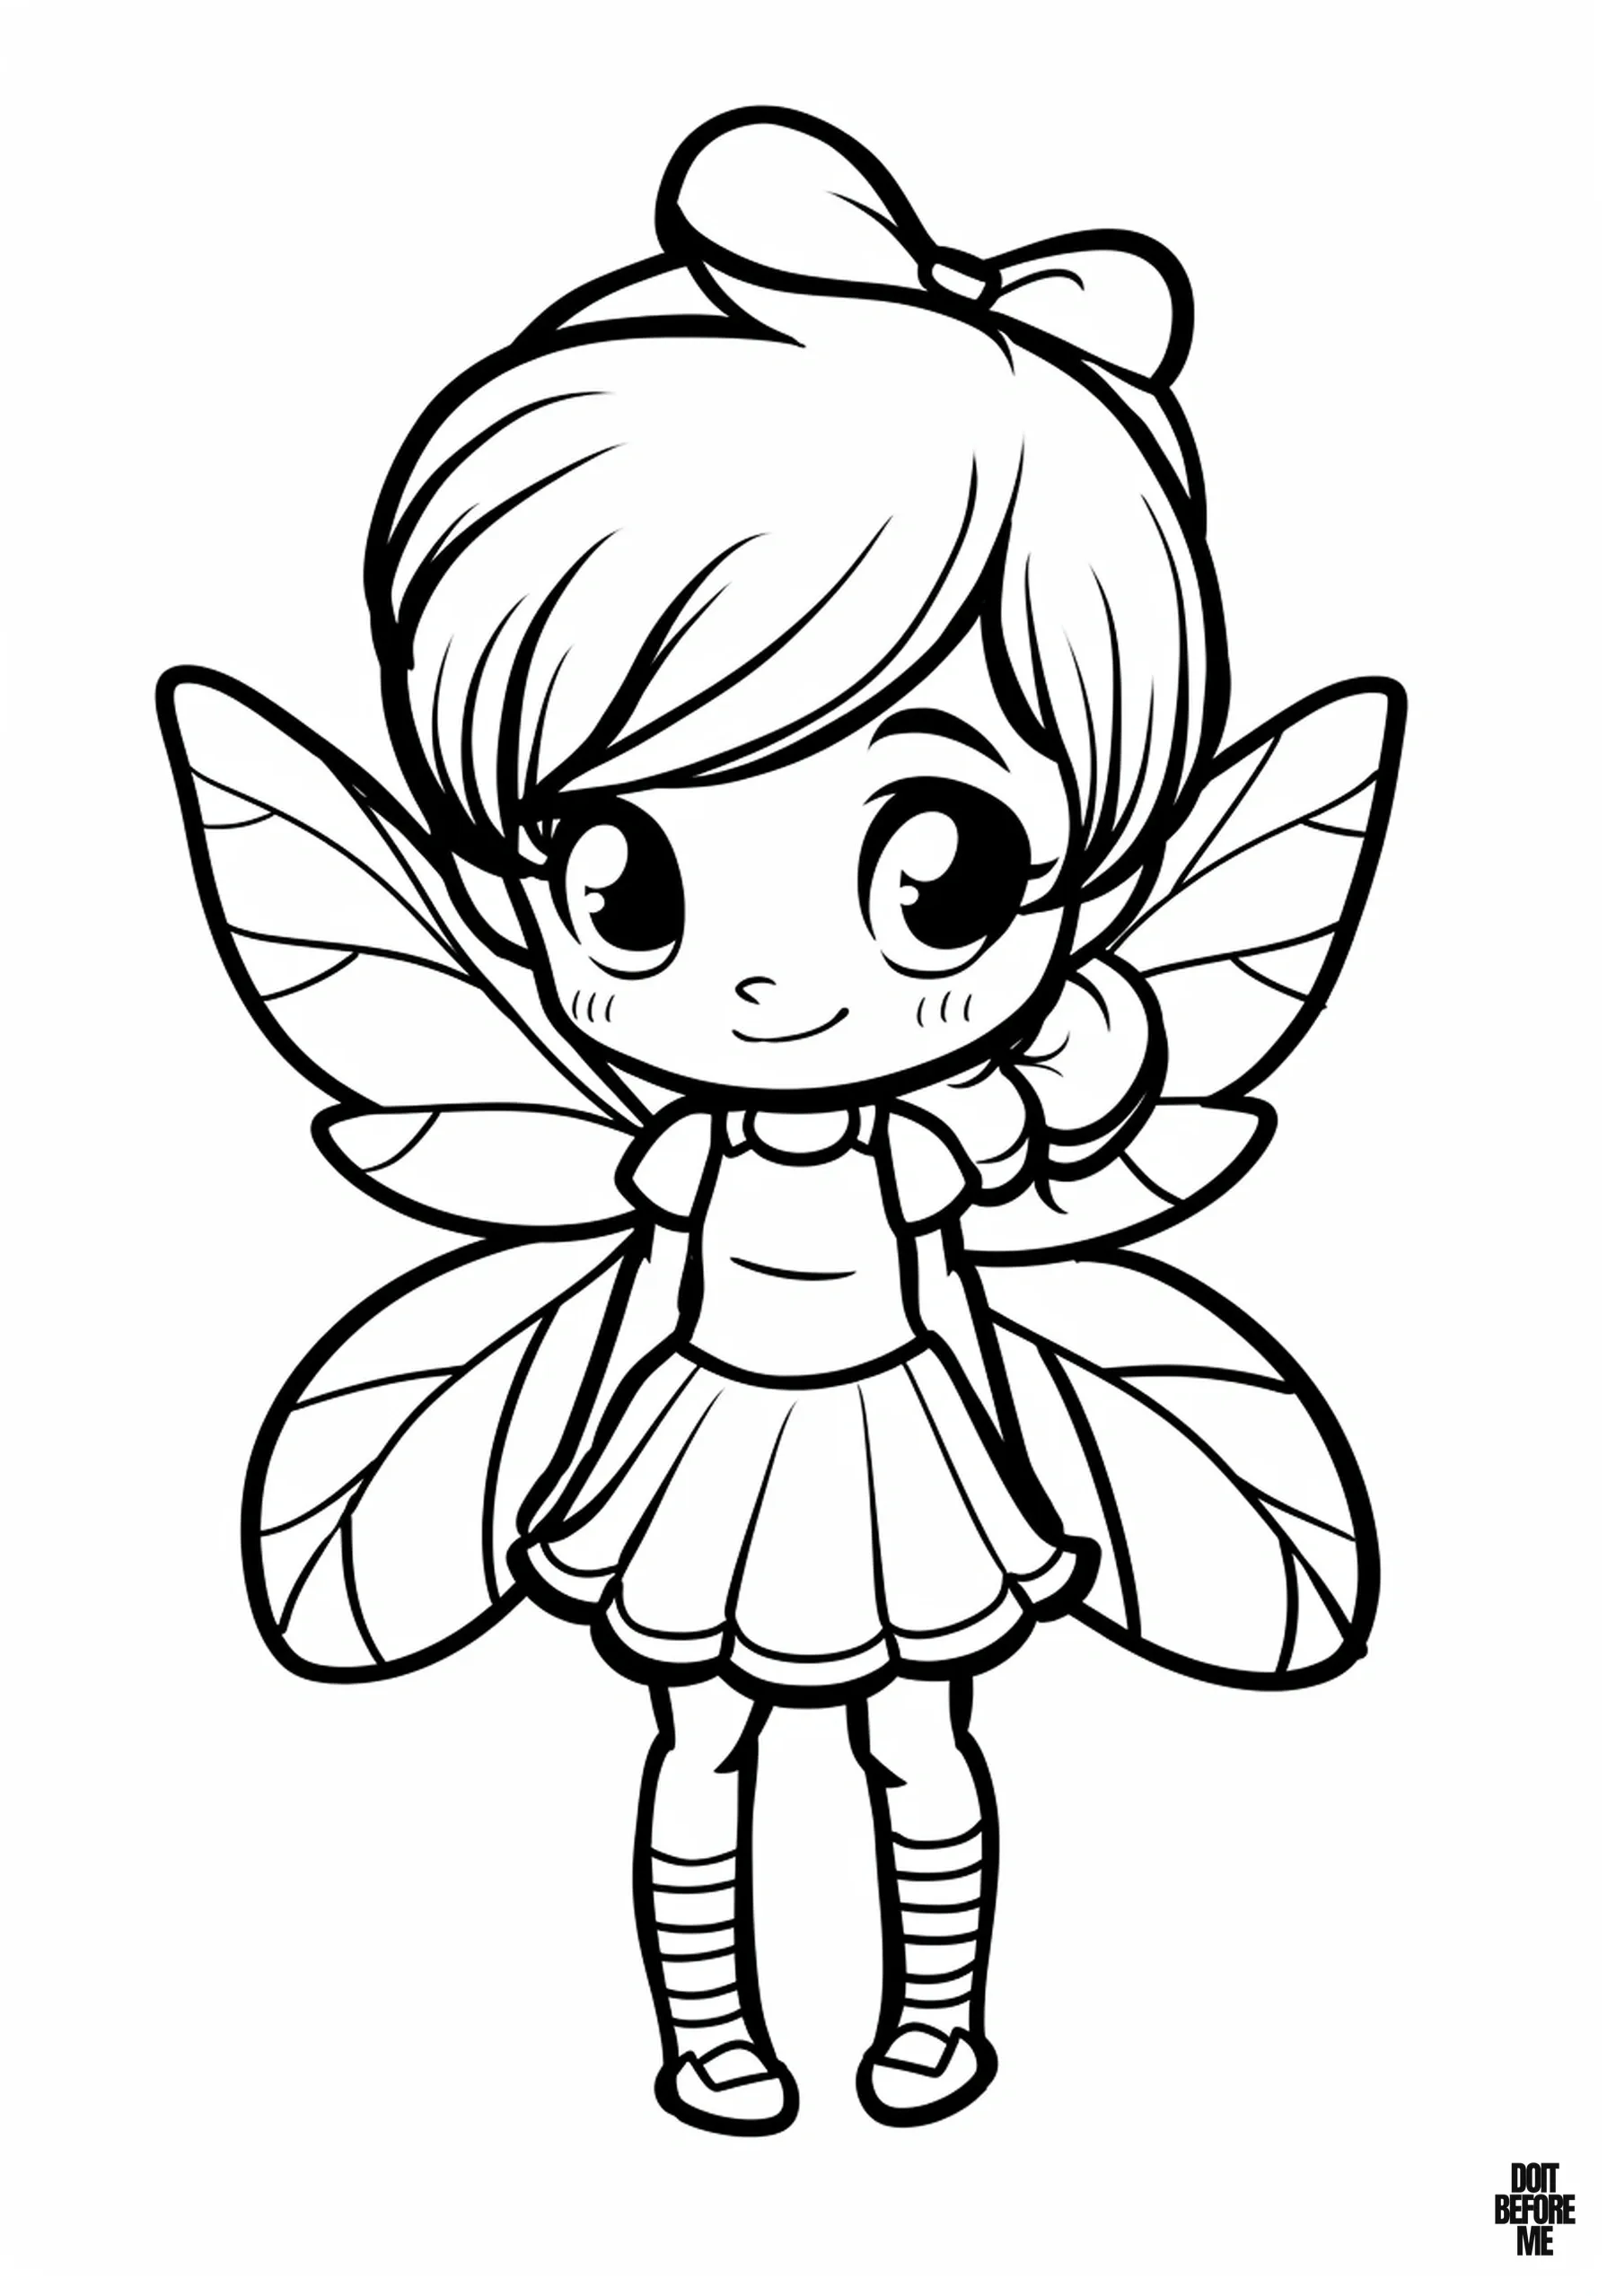
Open full-size fairy coloring sheet 3
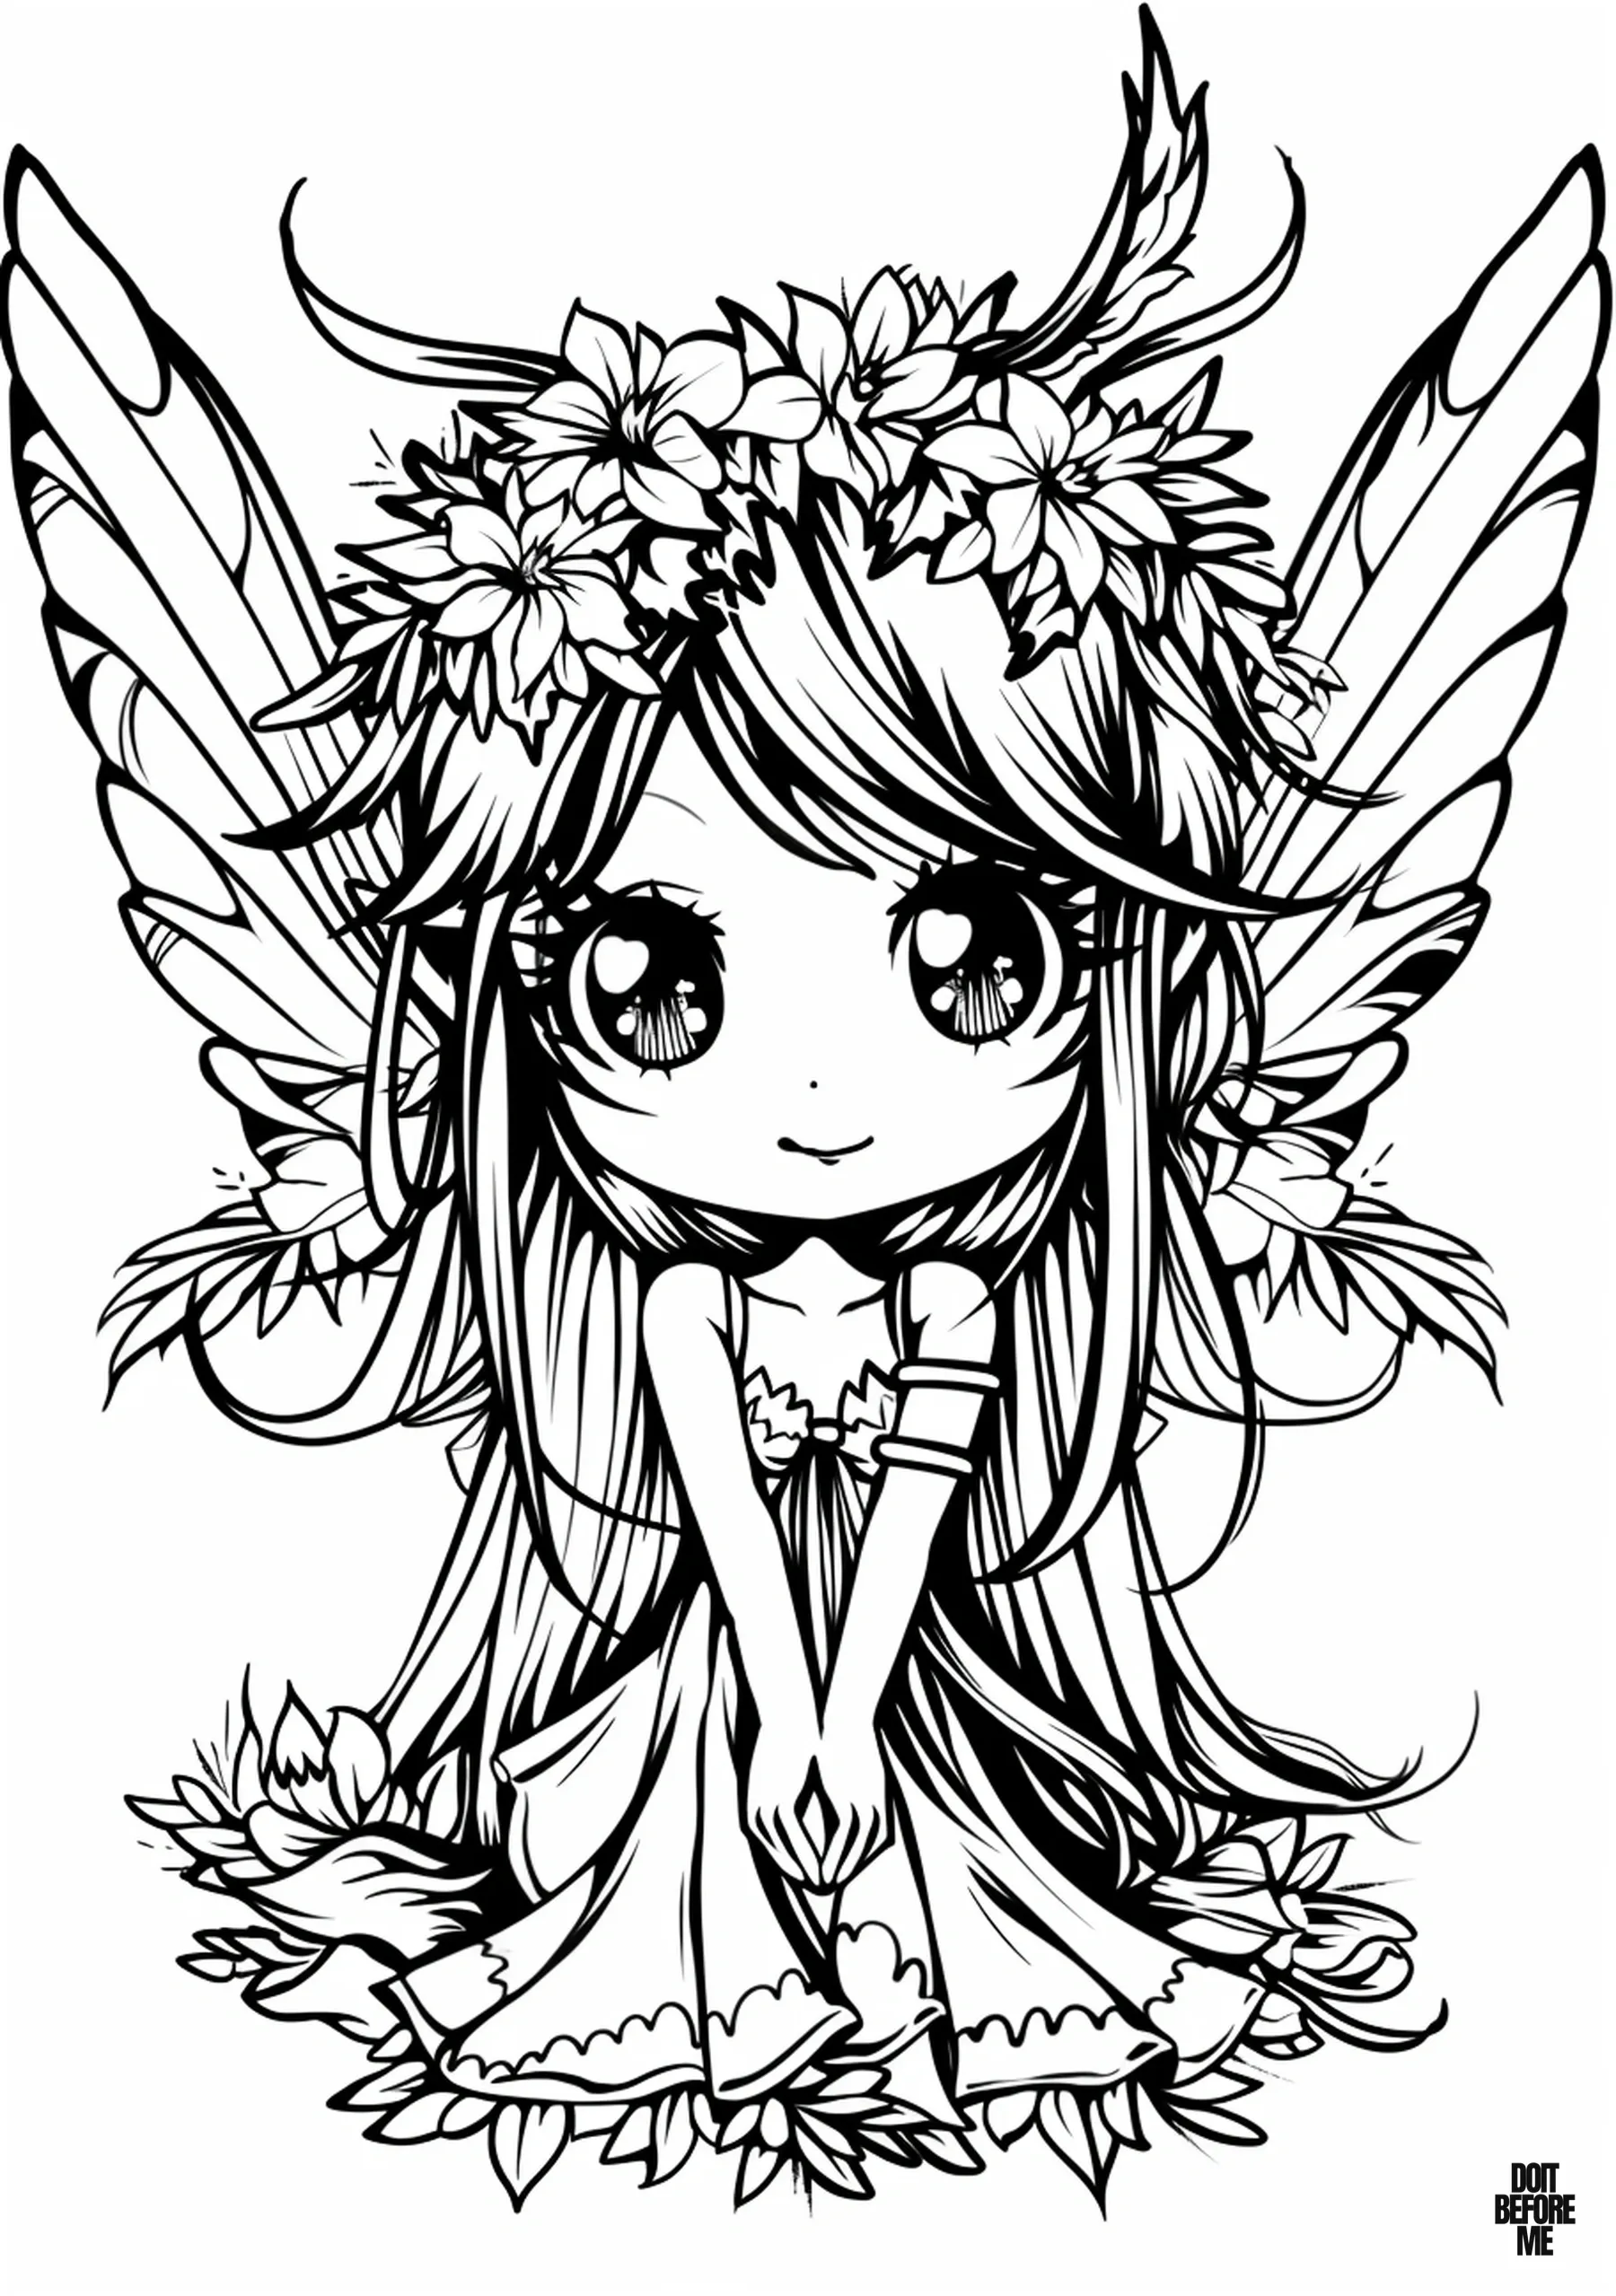
Open full-size fairy coloring sheet 4
Sheet 4: A better pick if you want the fairy to feel more like a princess character. The flower-crown detail gives colored pencils more to work with, while the large eyes and face still keep the character easy to read.
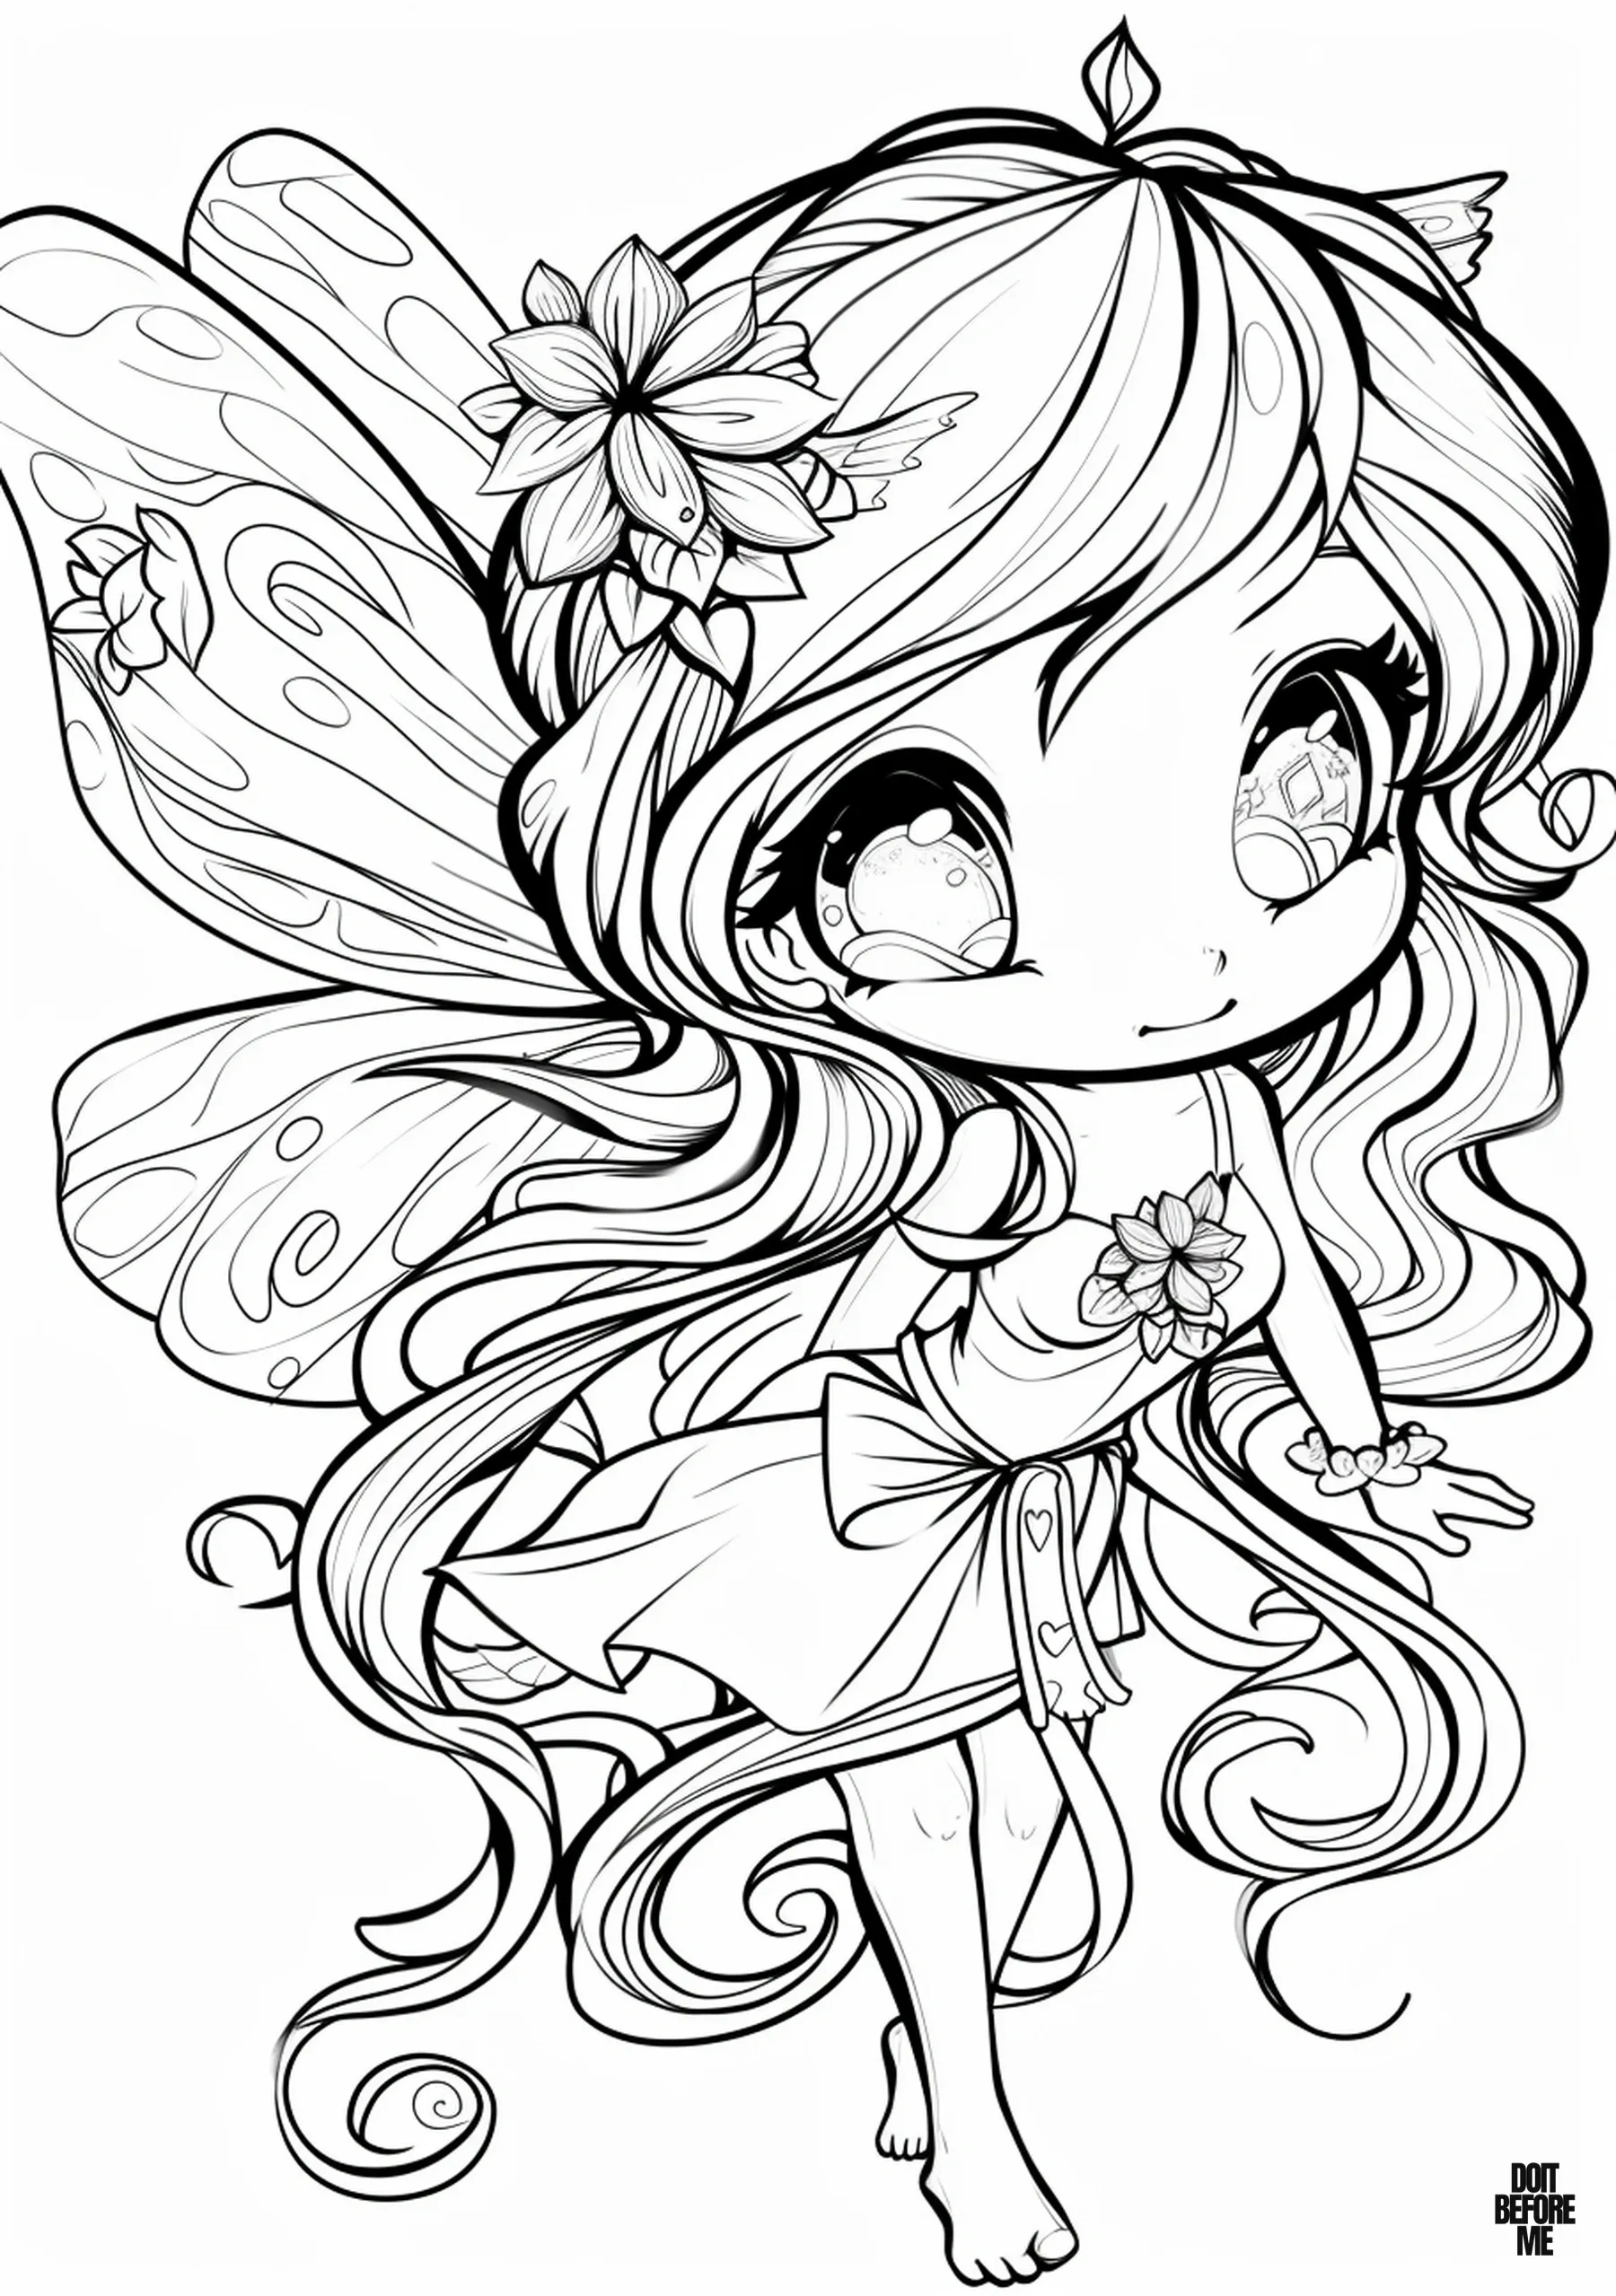
Open full-size fairy coloring sheet 5
Sheet 5: This one is more detailed and anime-inspired, so it suits a slower coloring session. Use a sharp colored pencil for the face and smaller costume details, then switch to broader strokes for the larger areas.
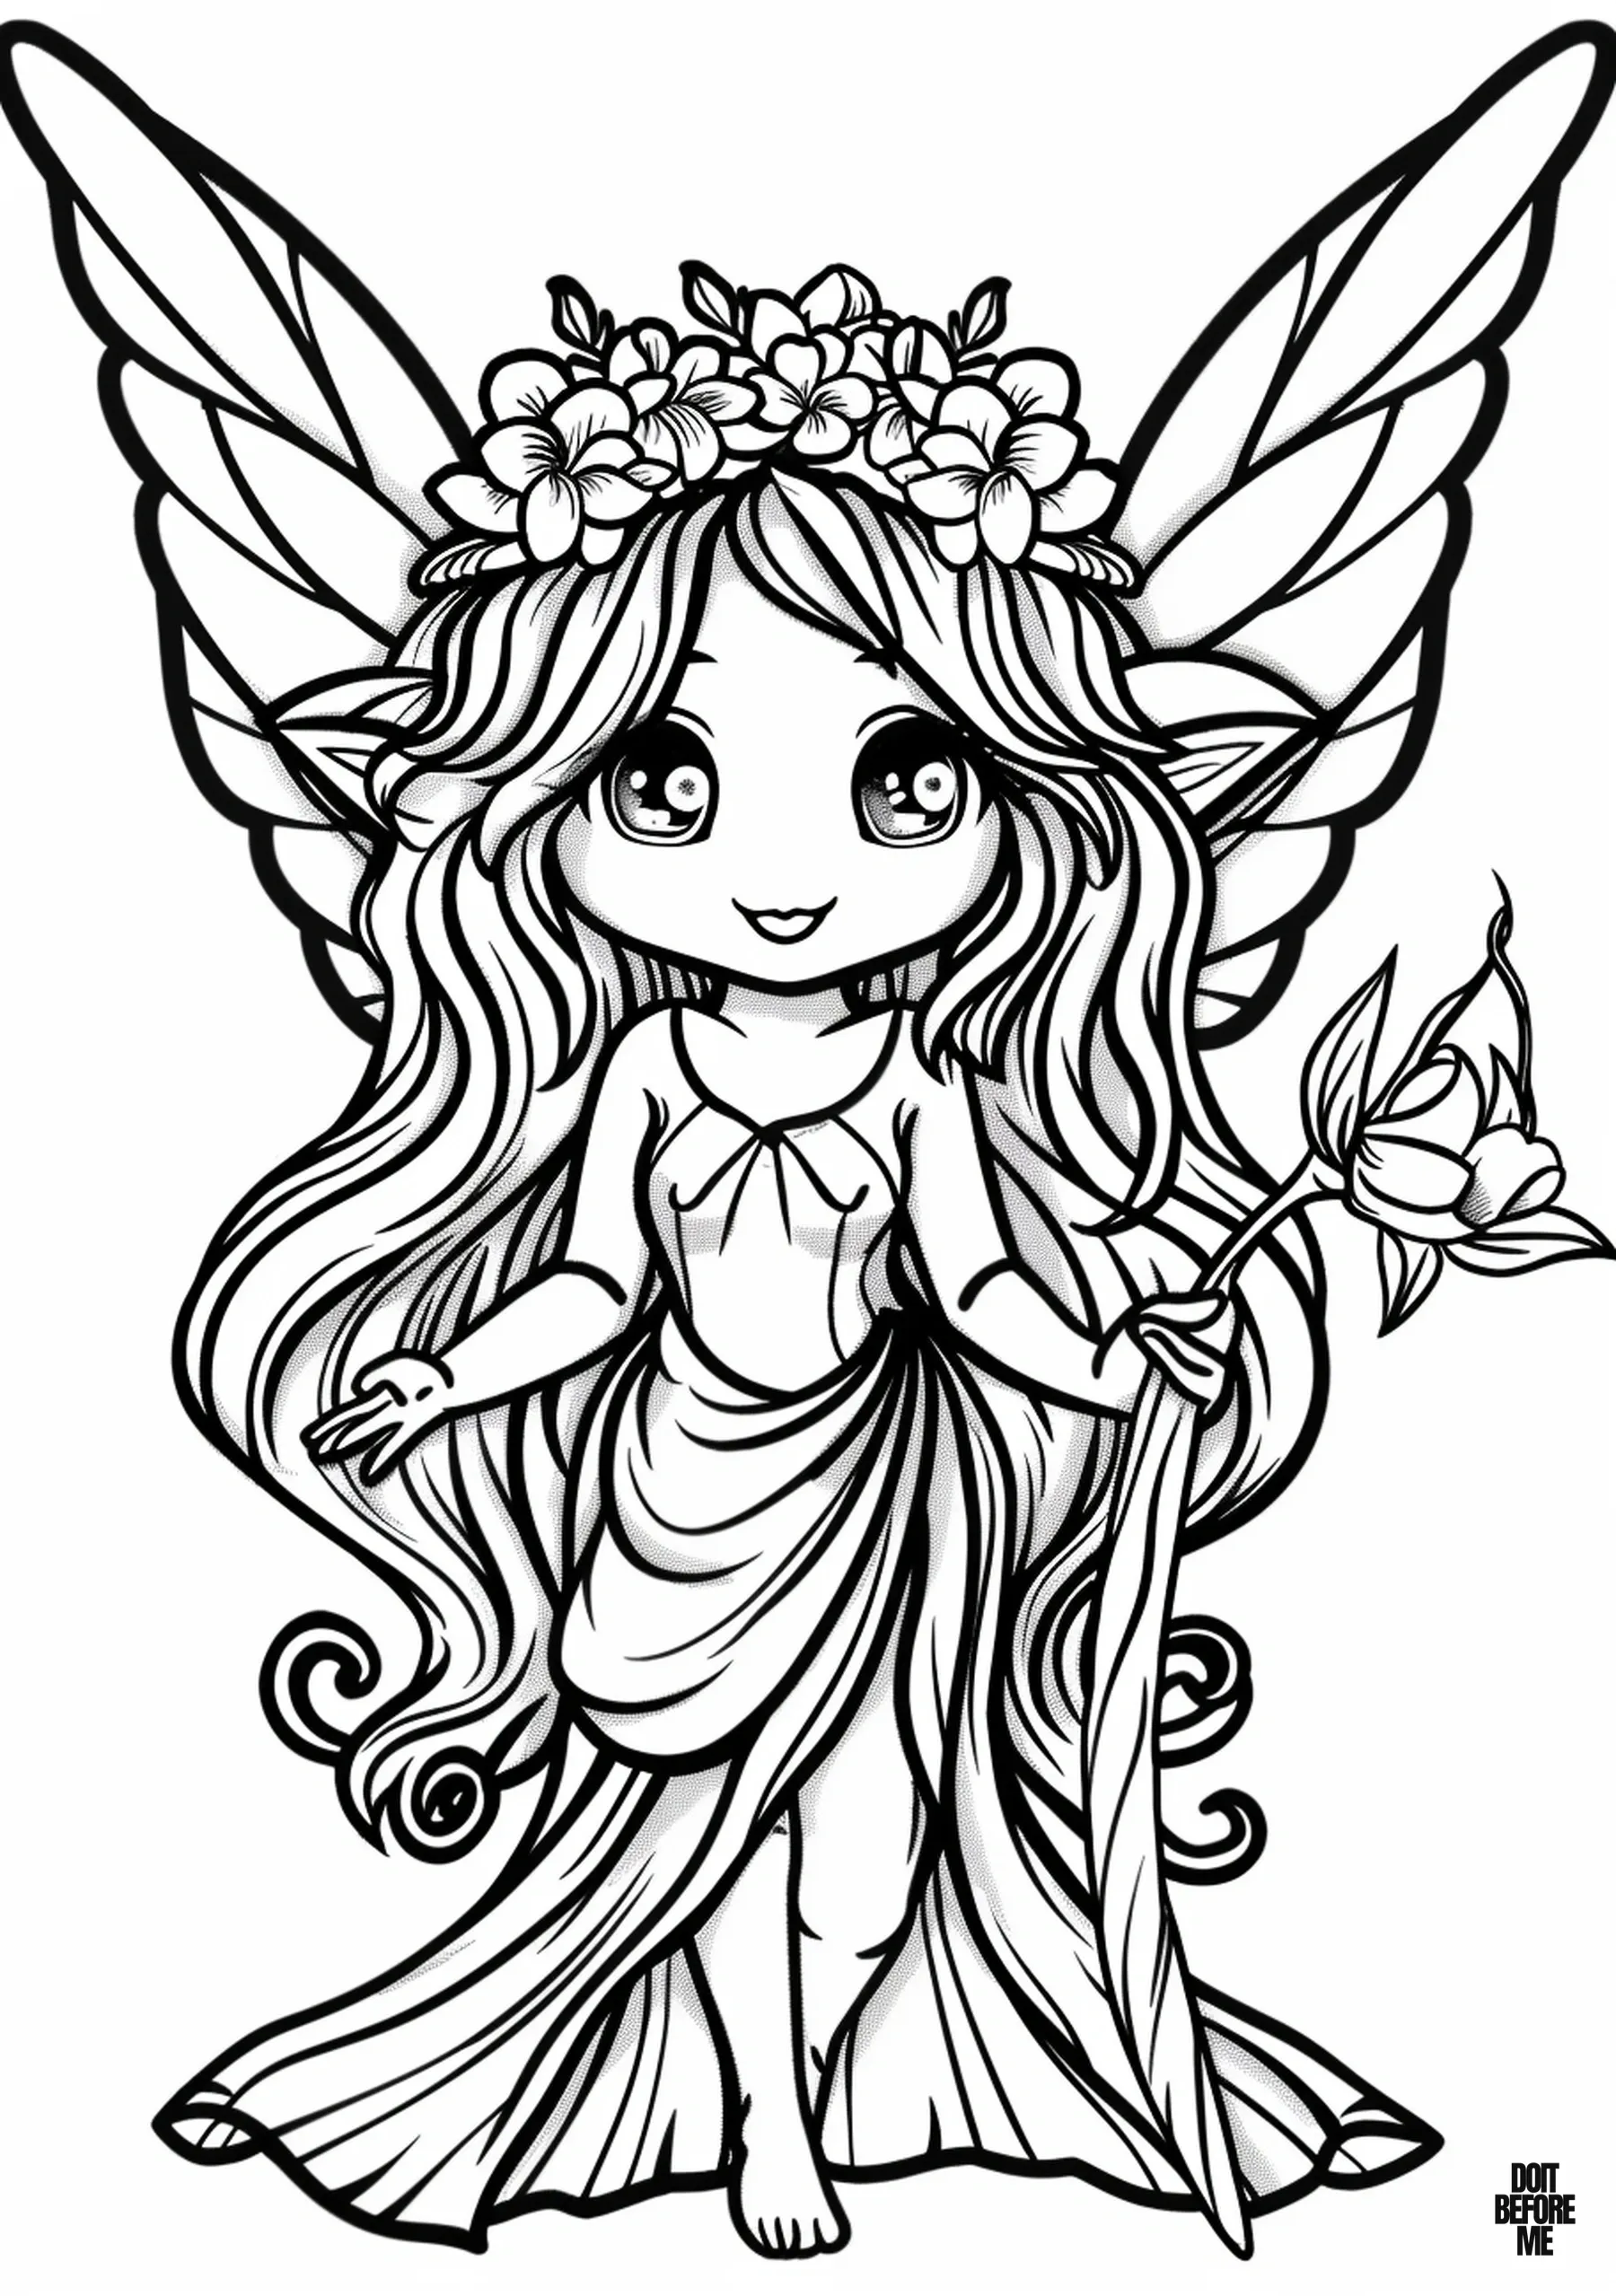
Open full-size fairy coloring sheet 6
Sheet 6: The rose and flower crown give this page more small areas than the early sheets. A limited palette—two flower colors plus one main dress color—can keep the finished page from looking overly busy.
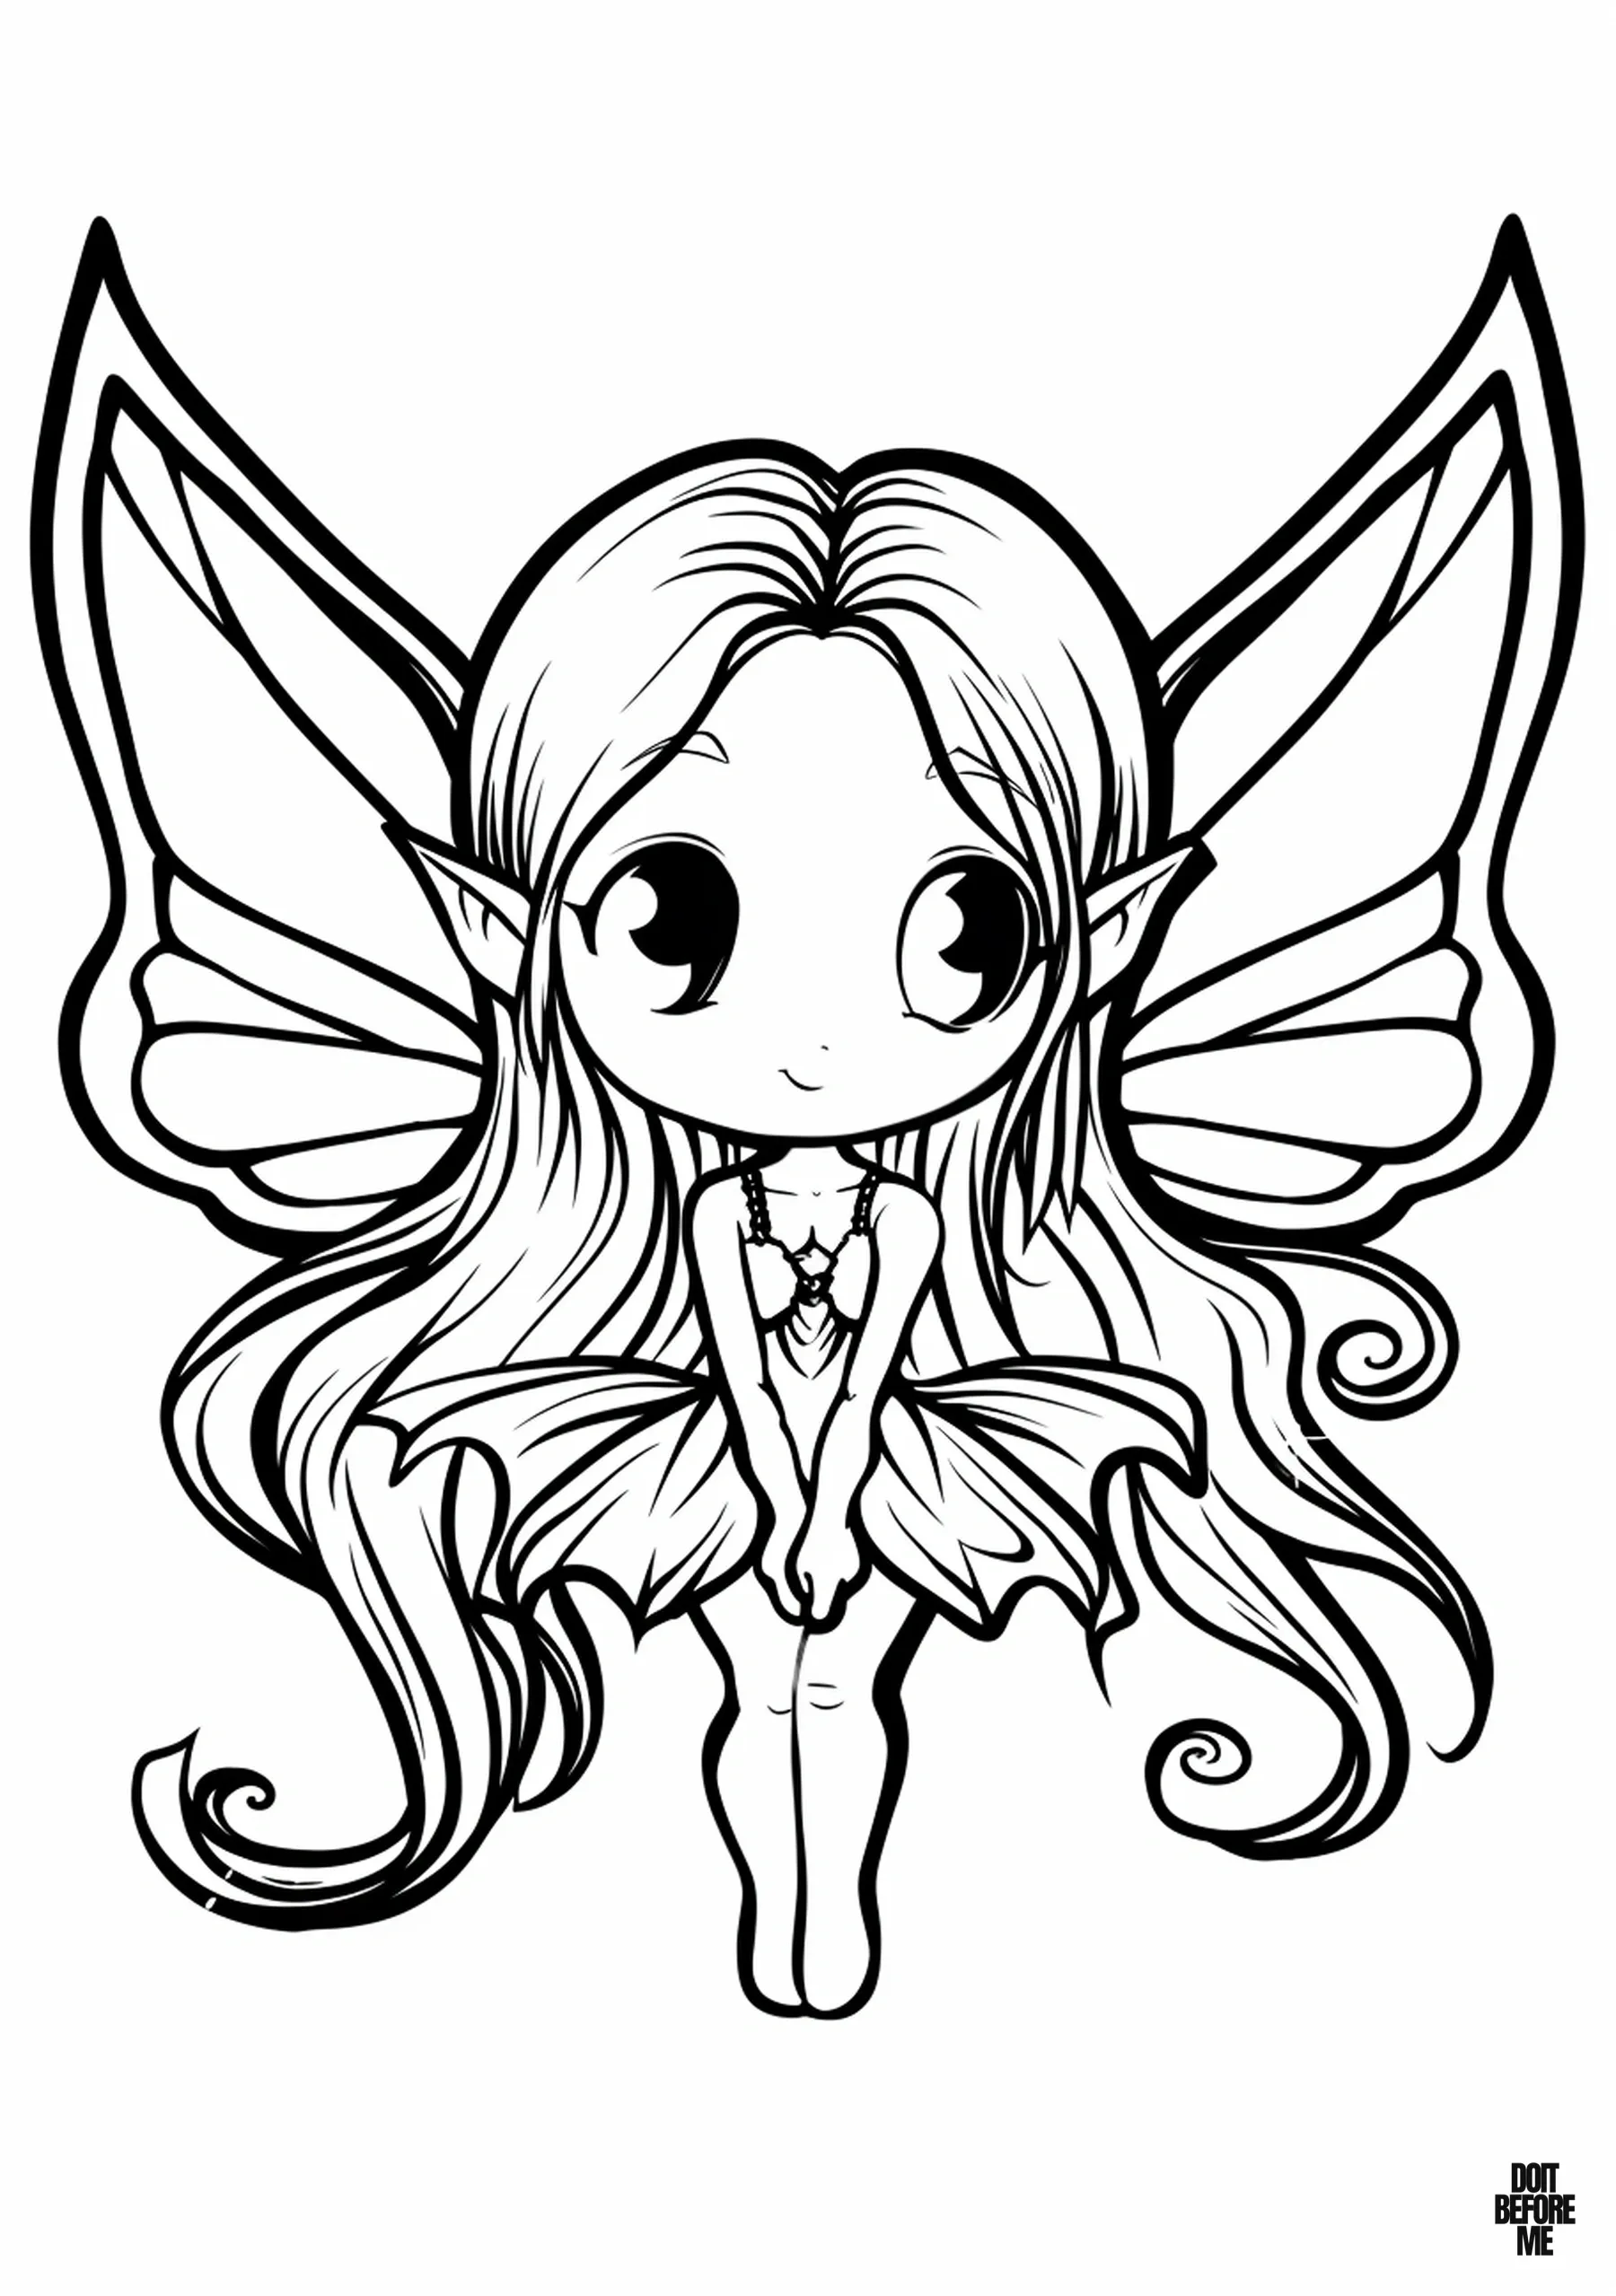
Open full-size fairy coloring sheet 7
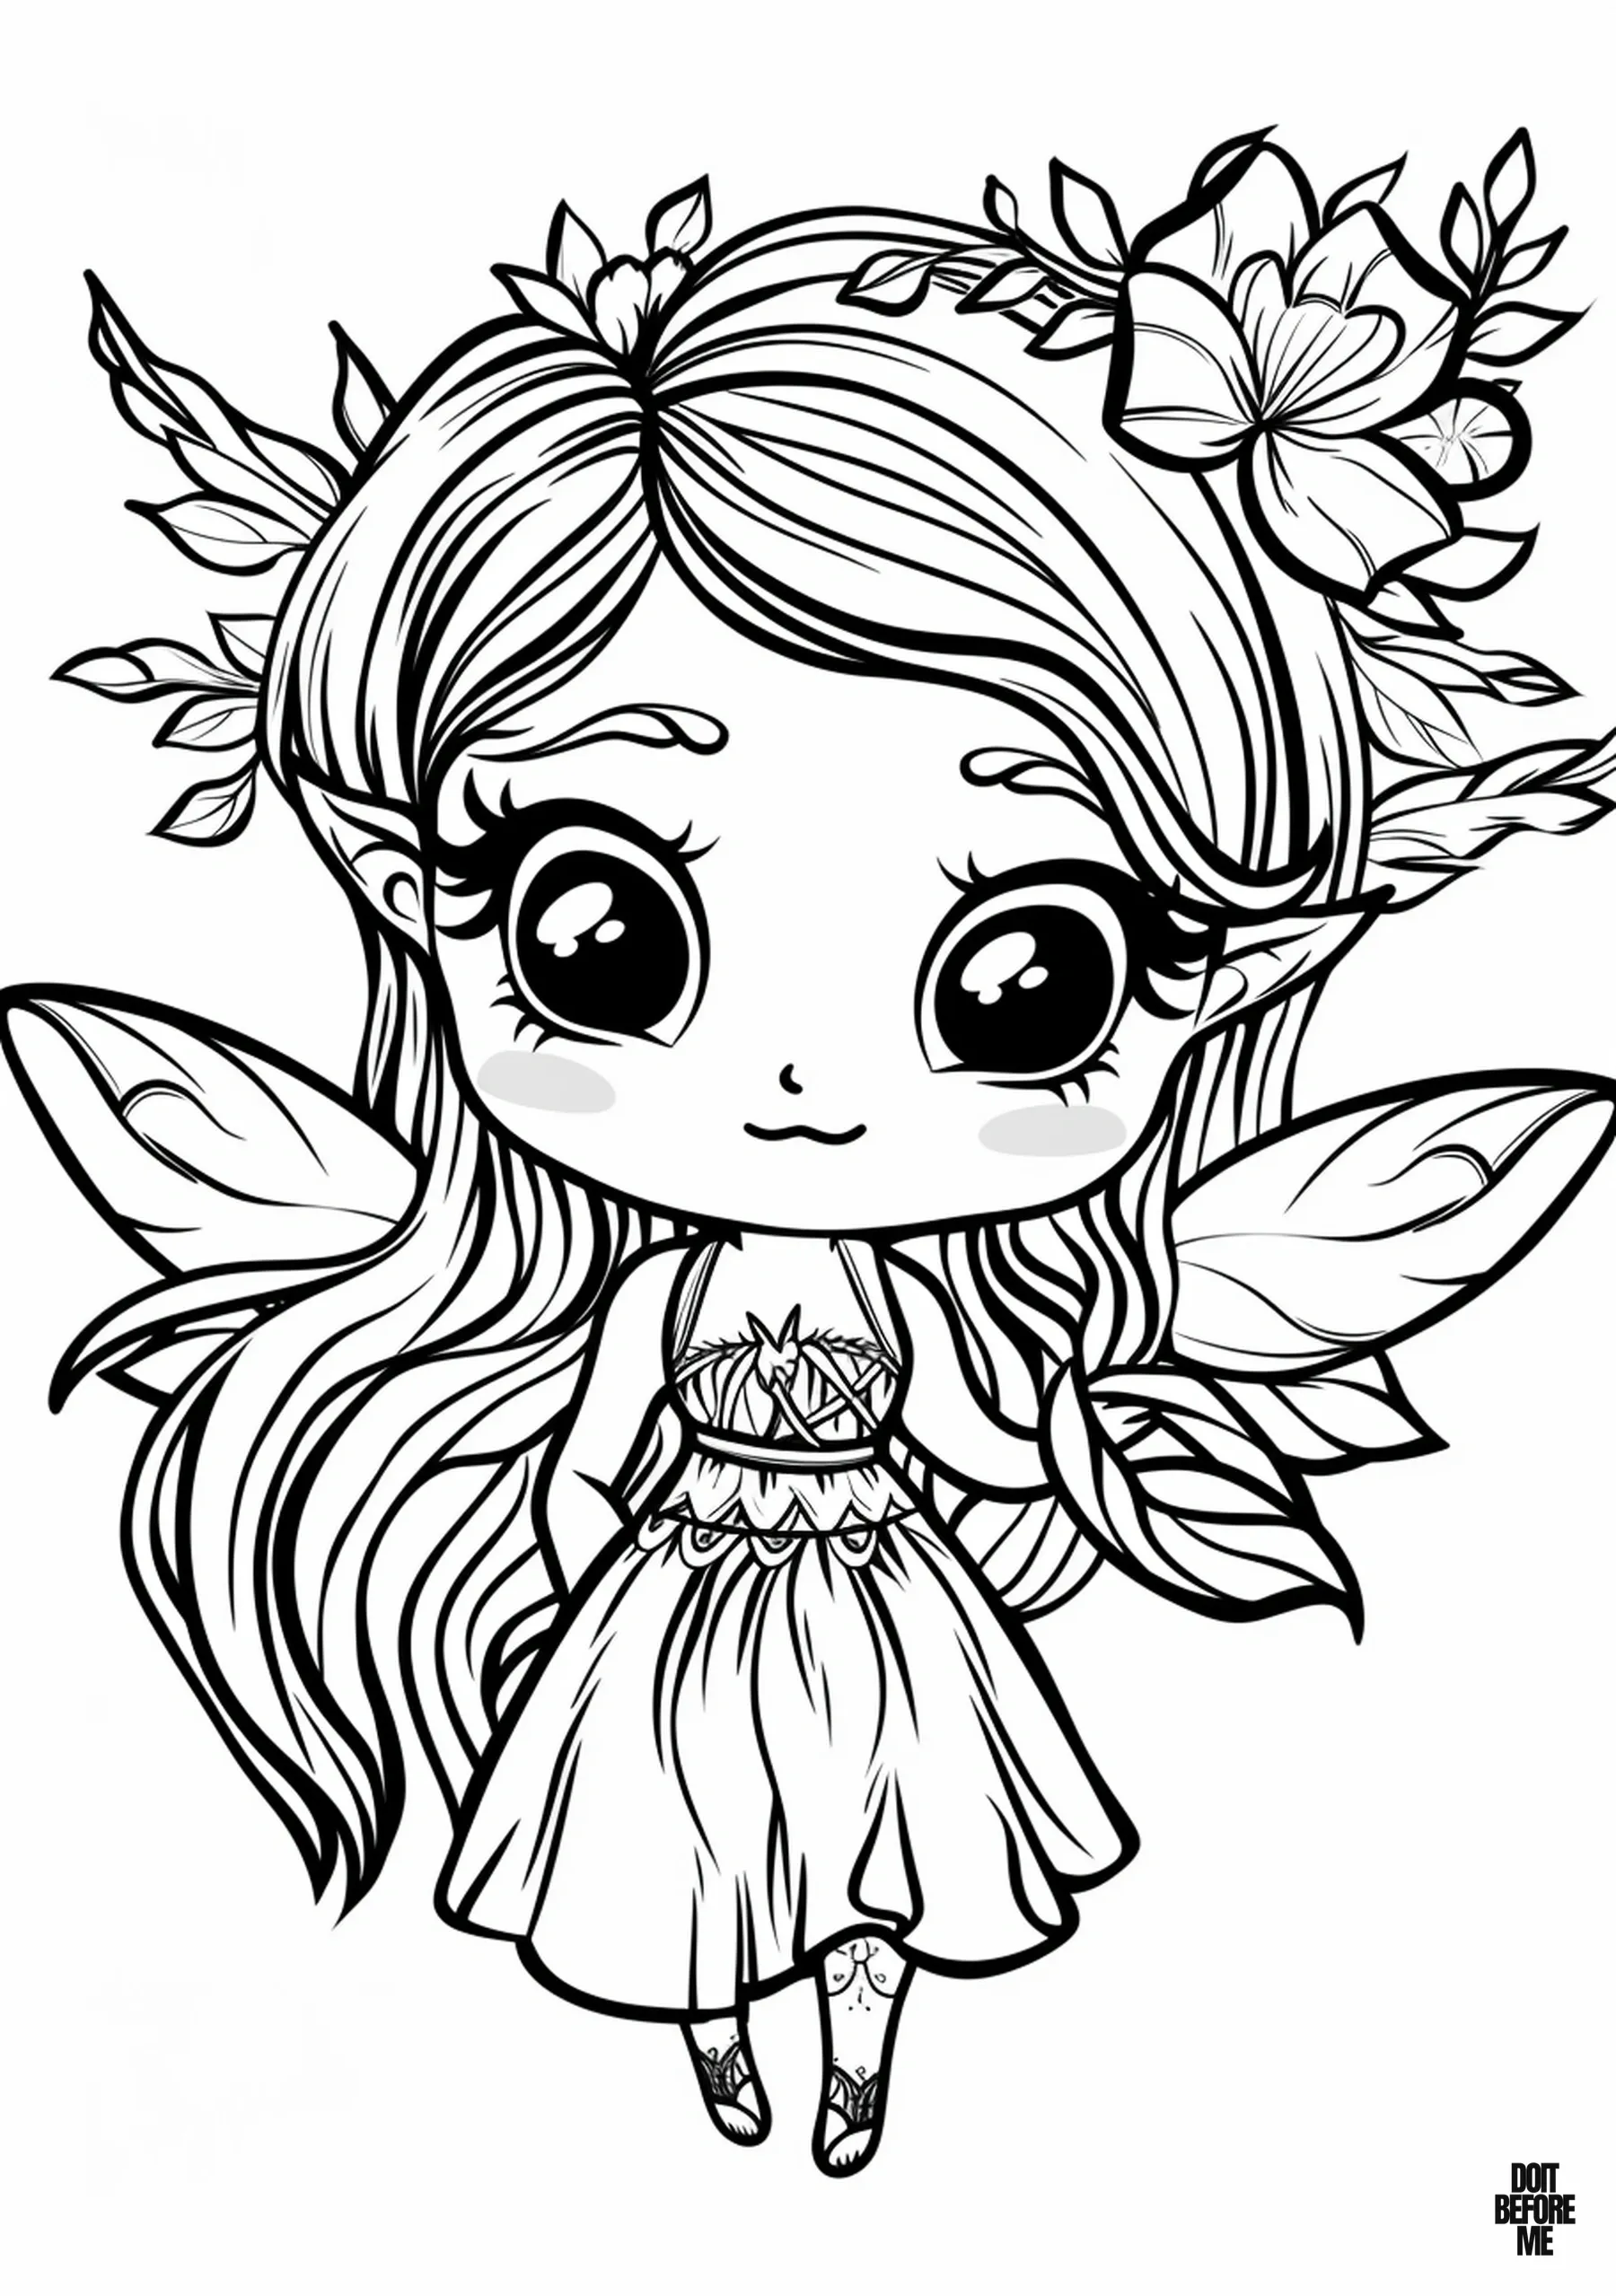
Open full-size fairy coloring sheet 8
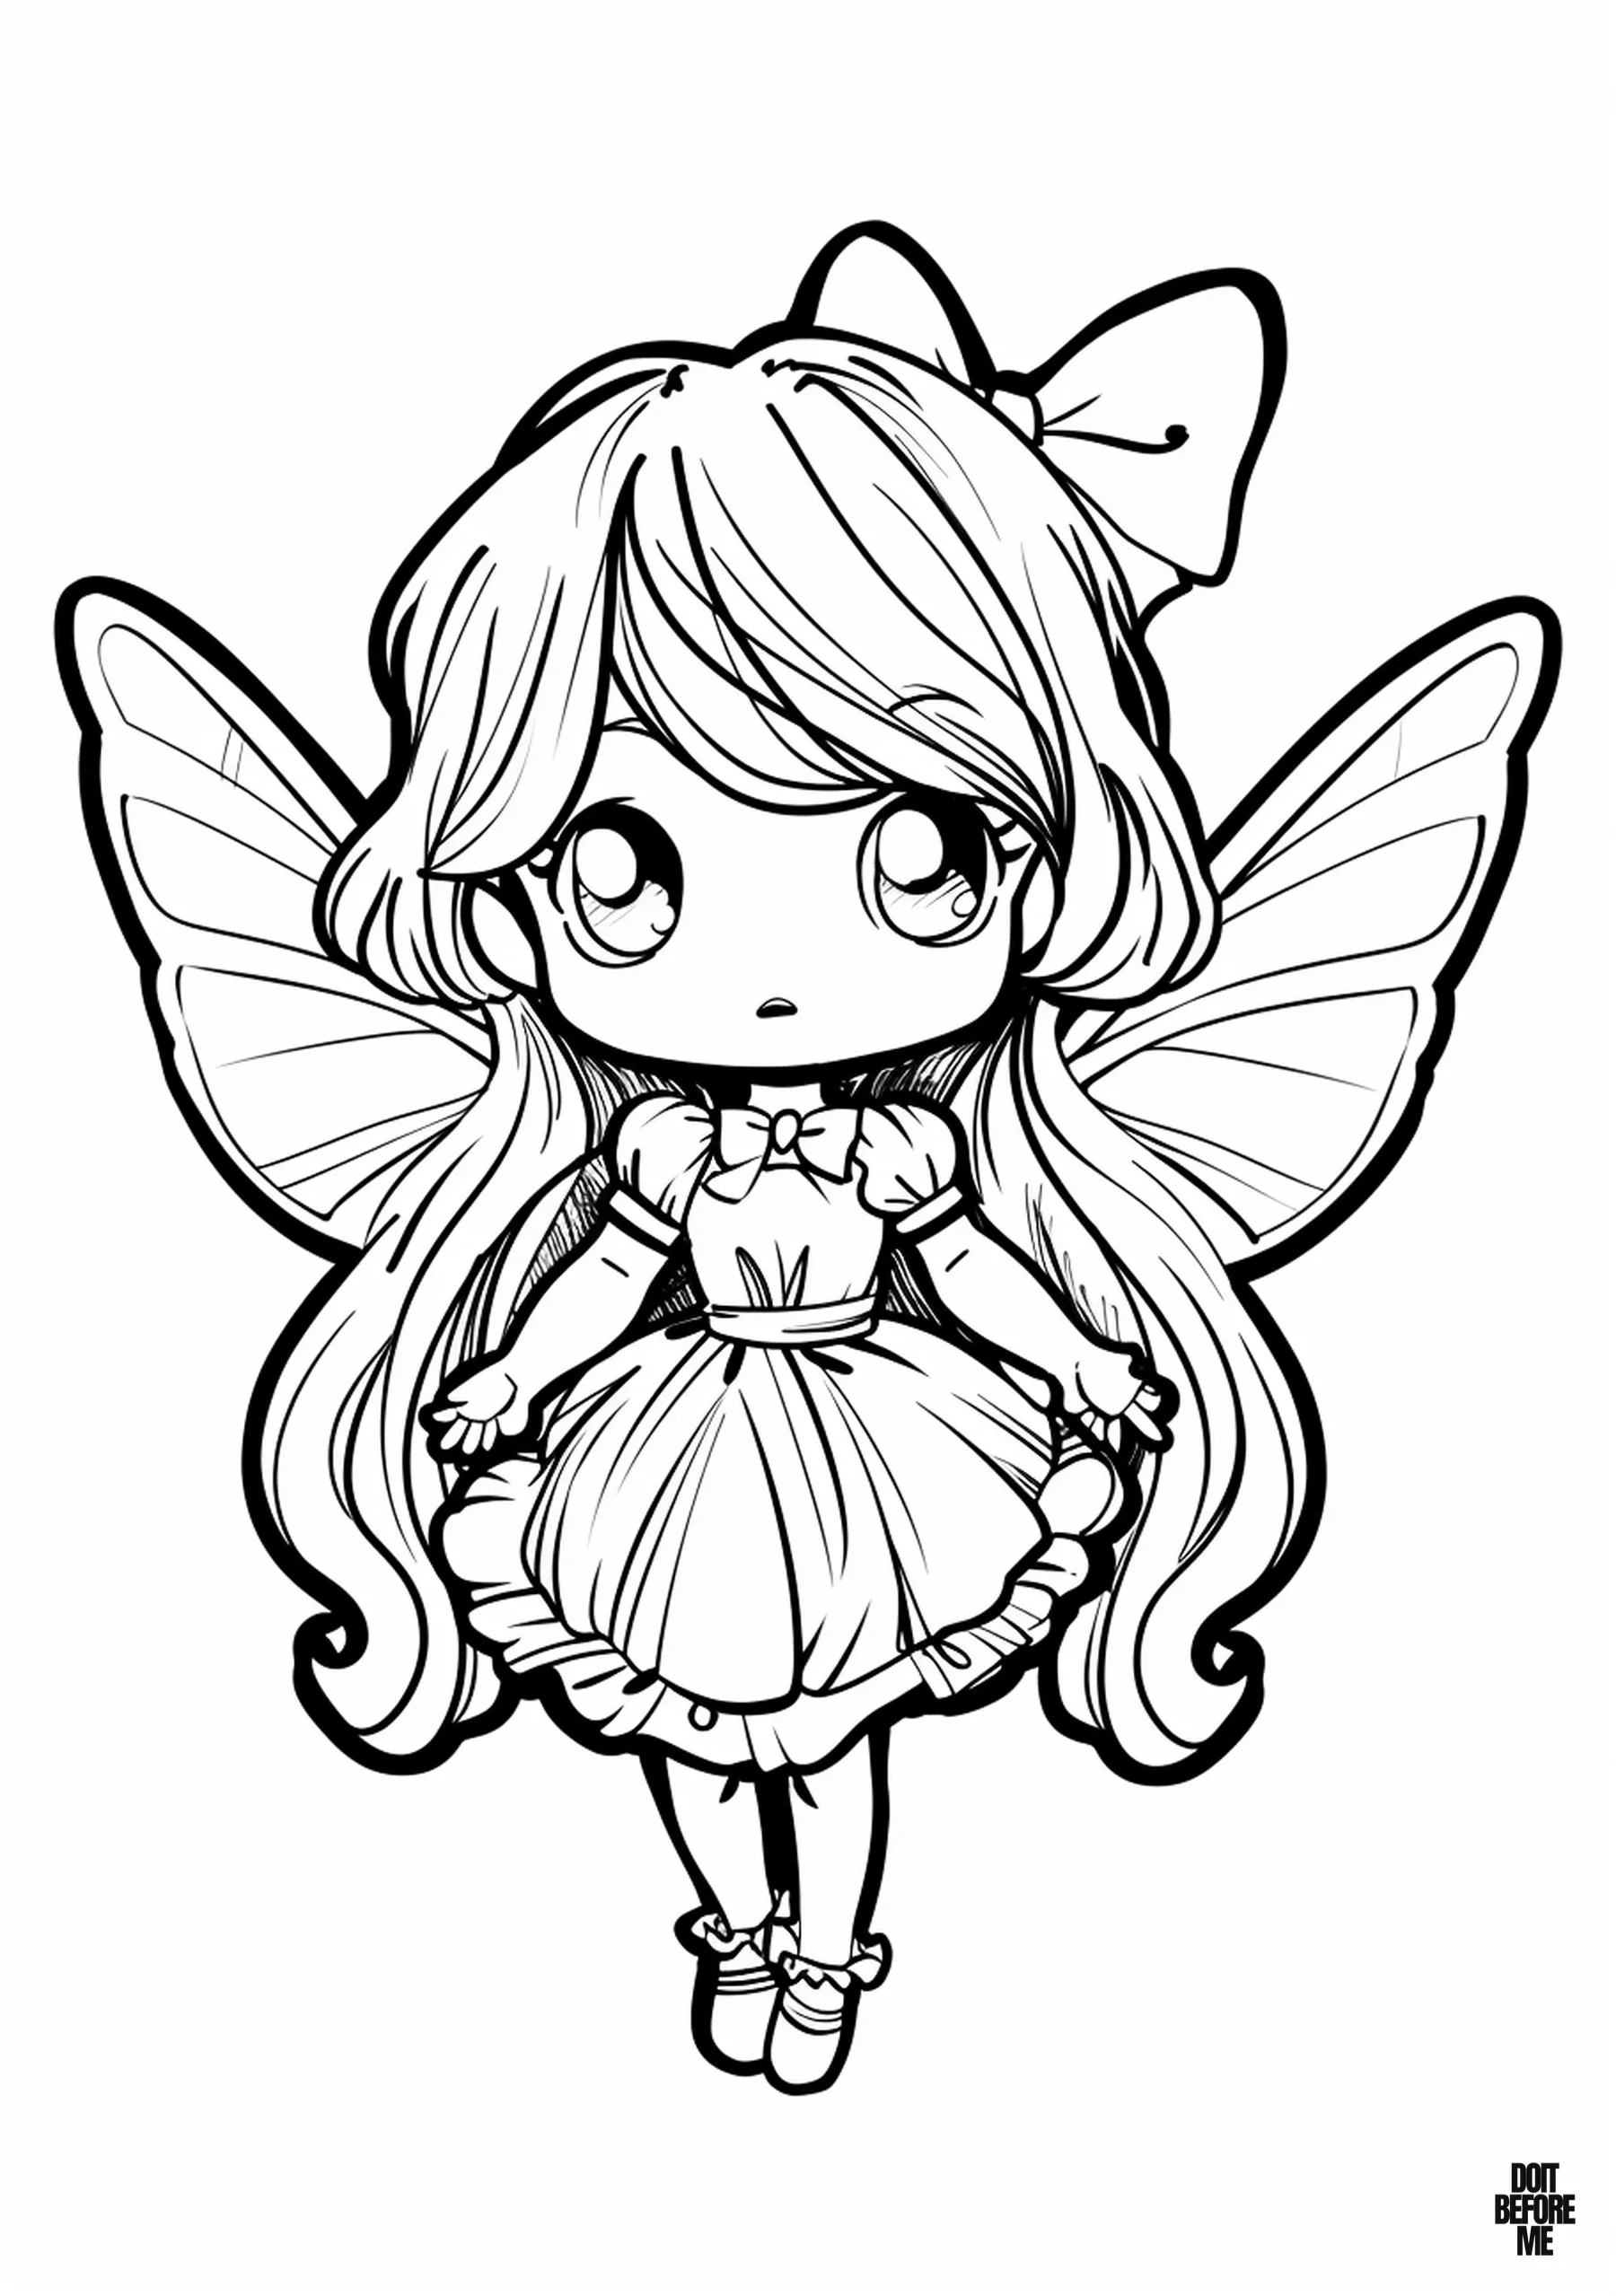
Open full-size fairy coloring sheet 9
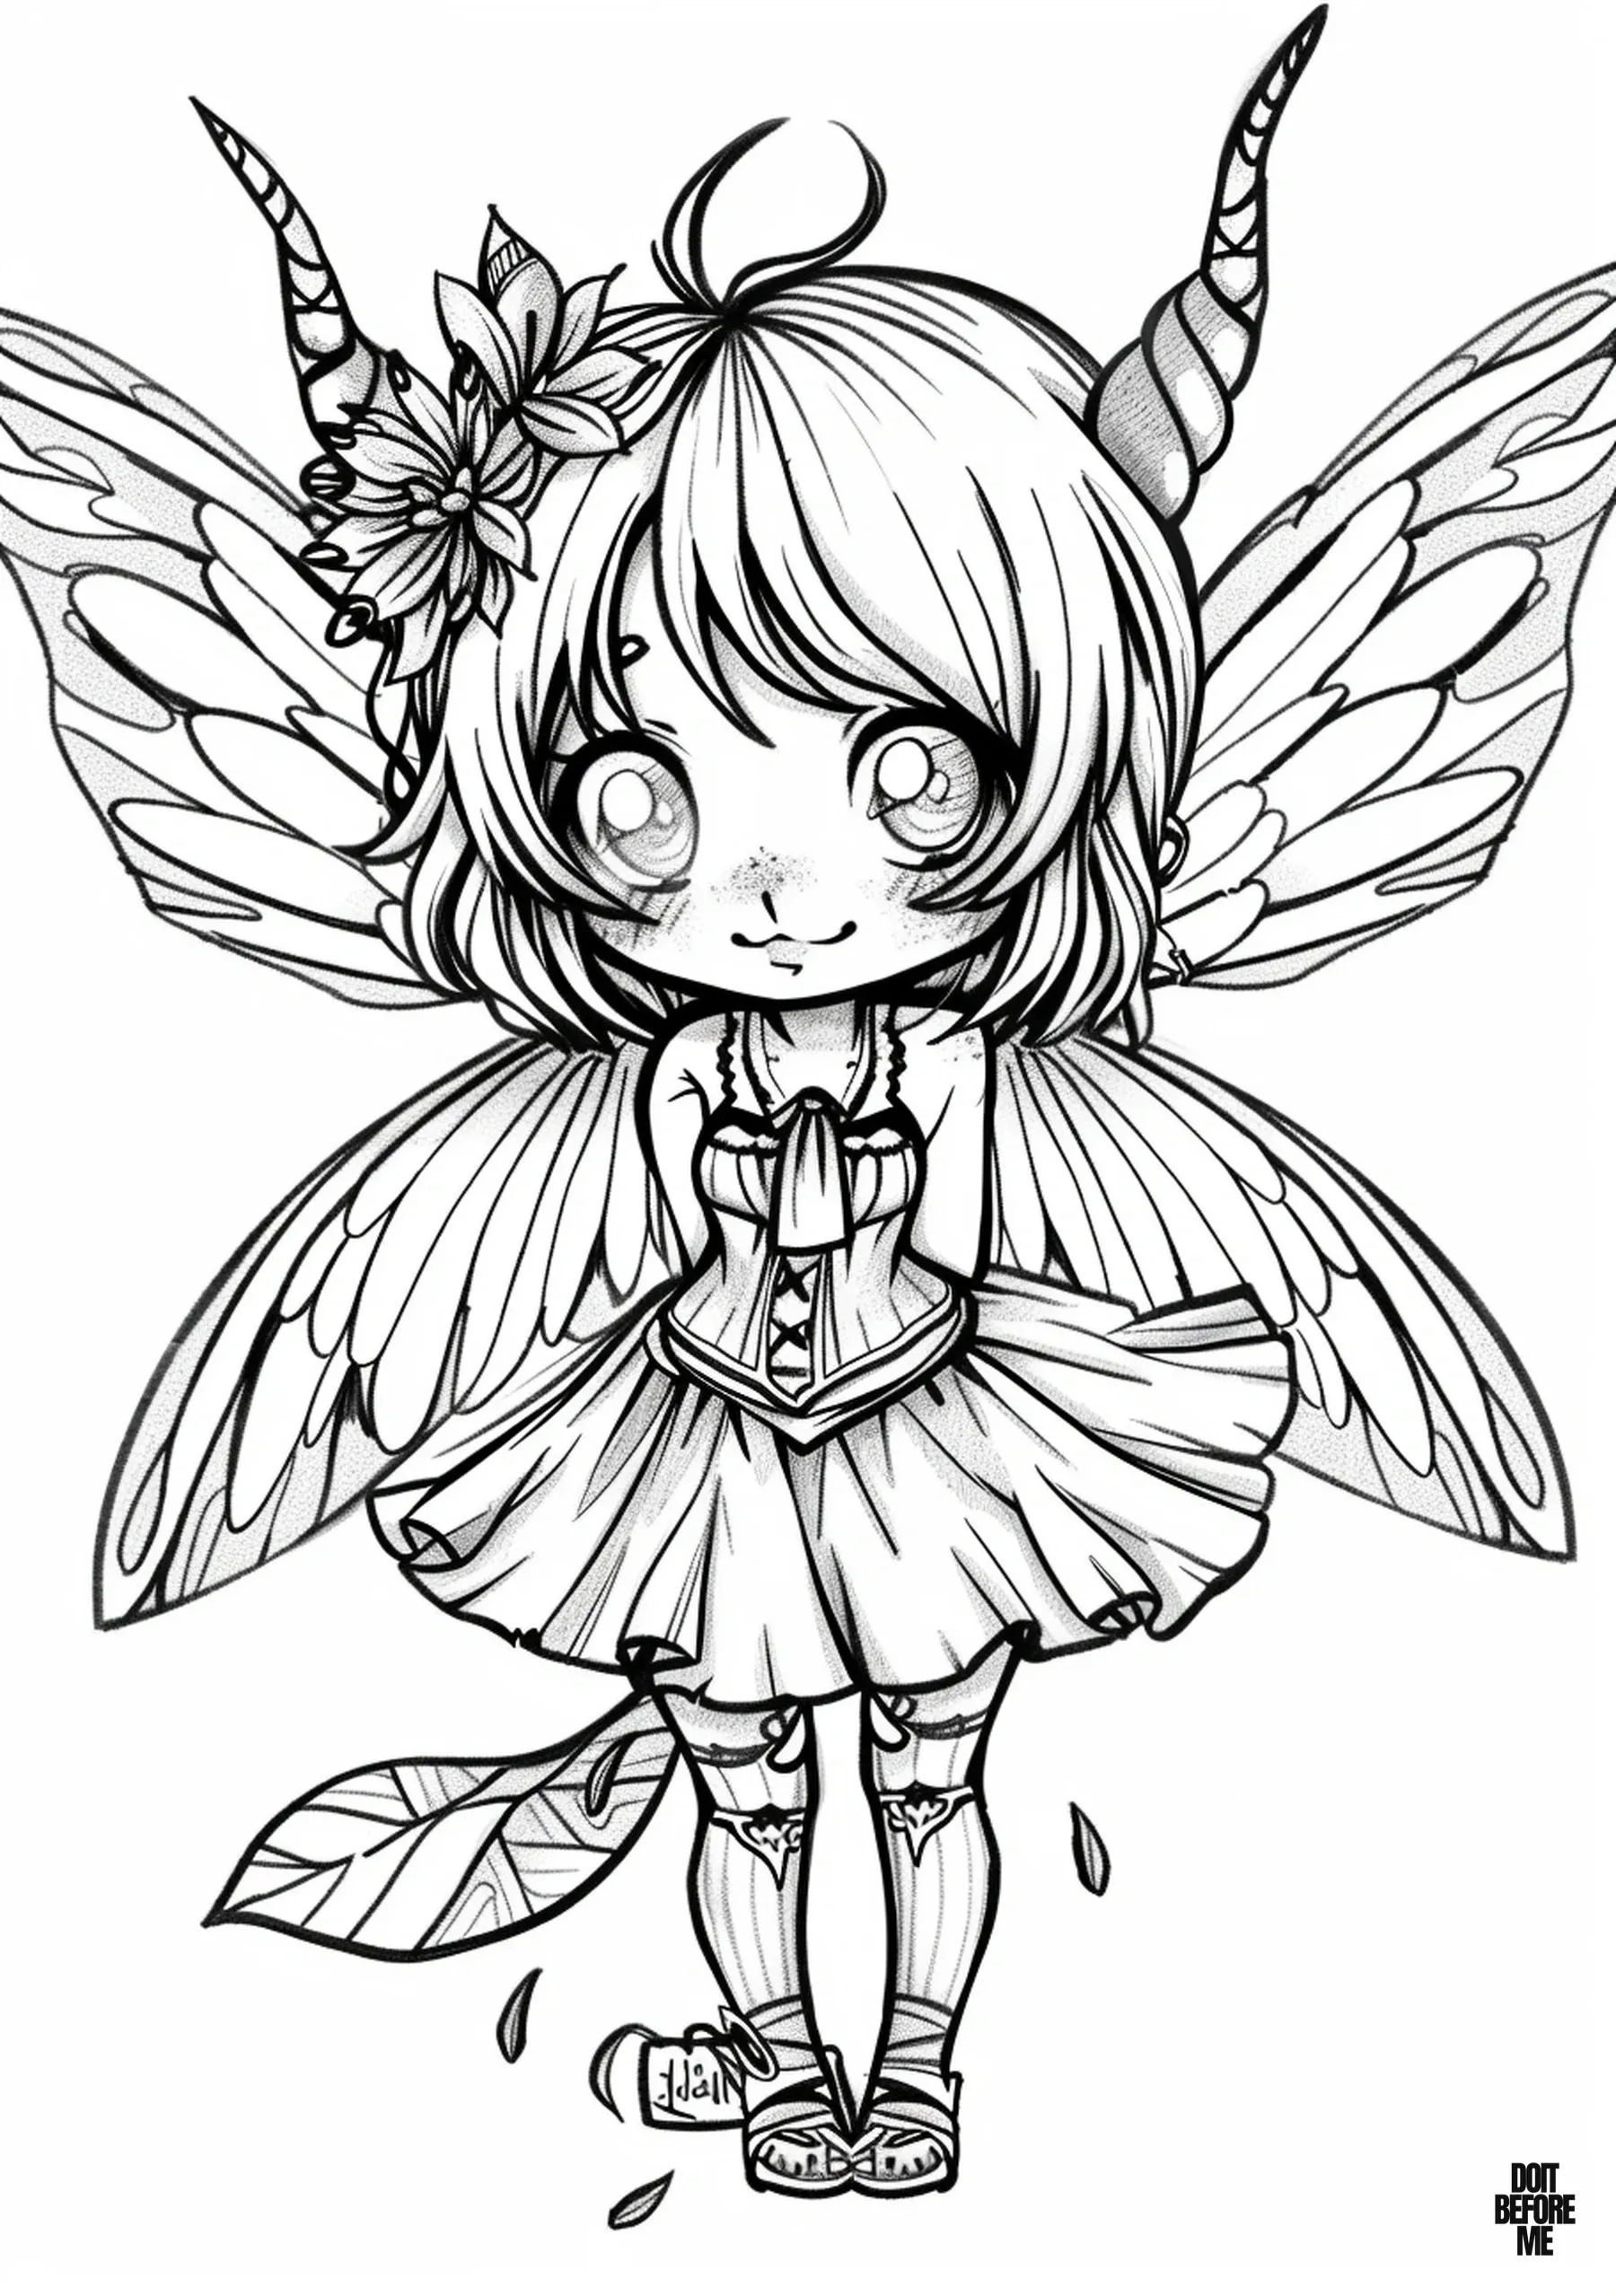
Open full-size fairy coloring sheet 10
Sheet 10: This is the more unusual fantasy option in the gallery. The horned character works well with less traditional fairy colors—deep purple, teal, charcoal or muted red—if you want something different from the pastel princess look.
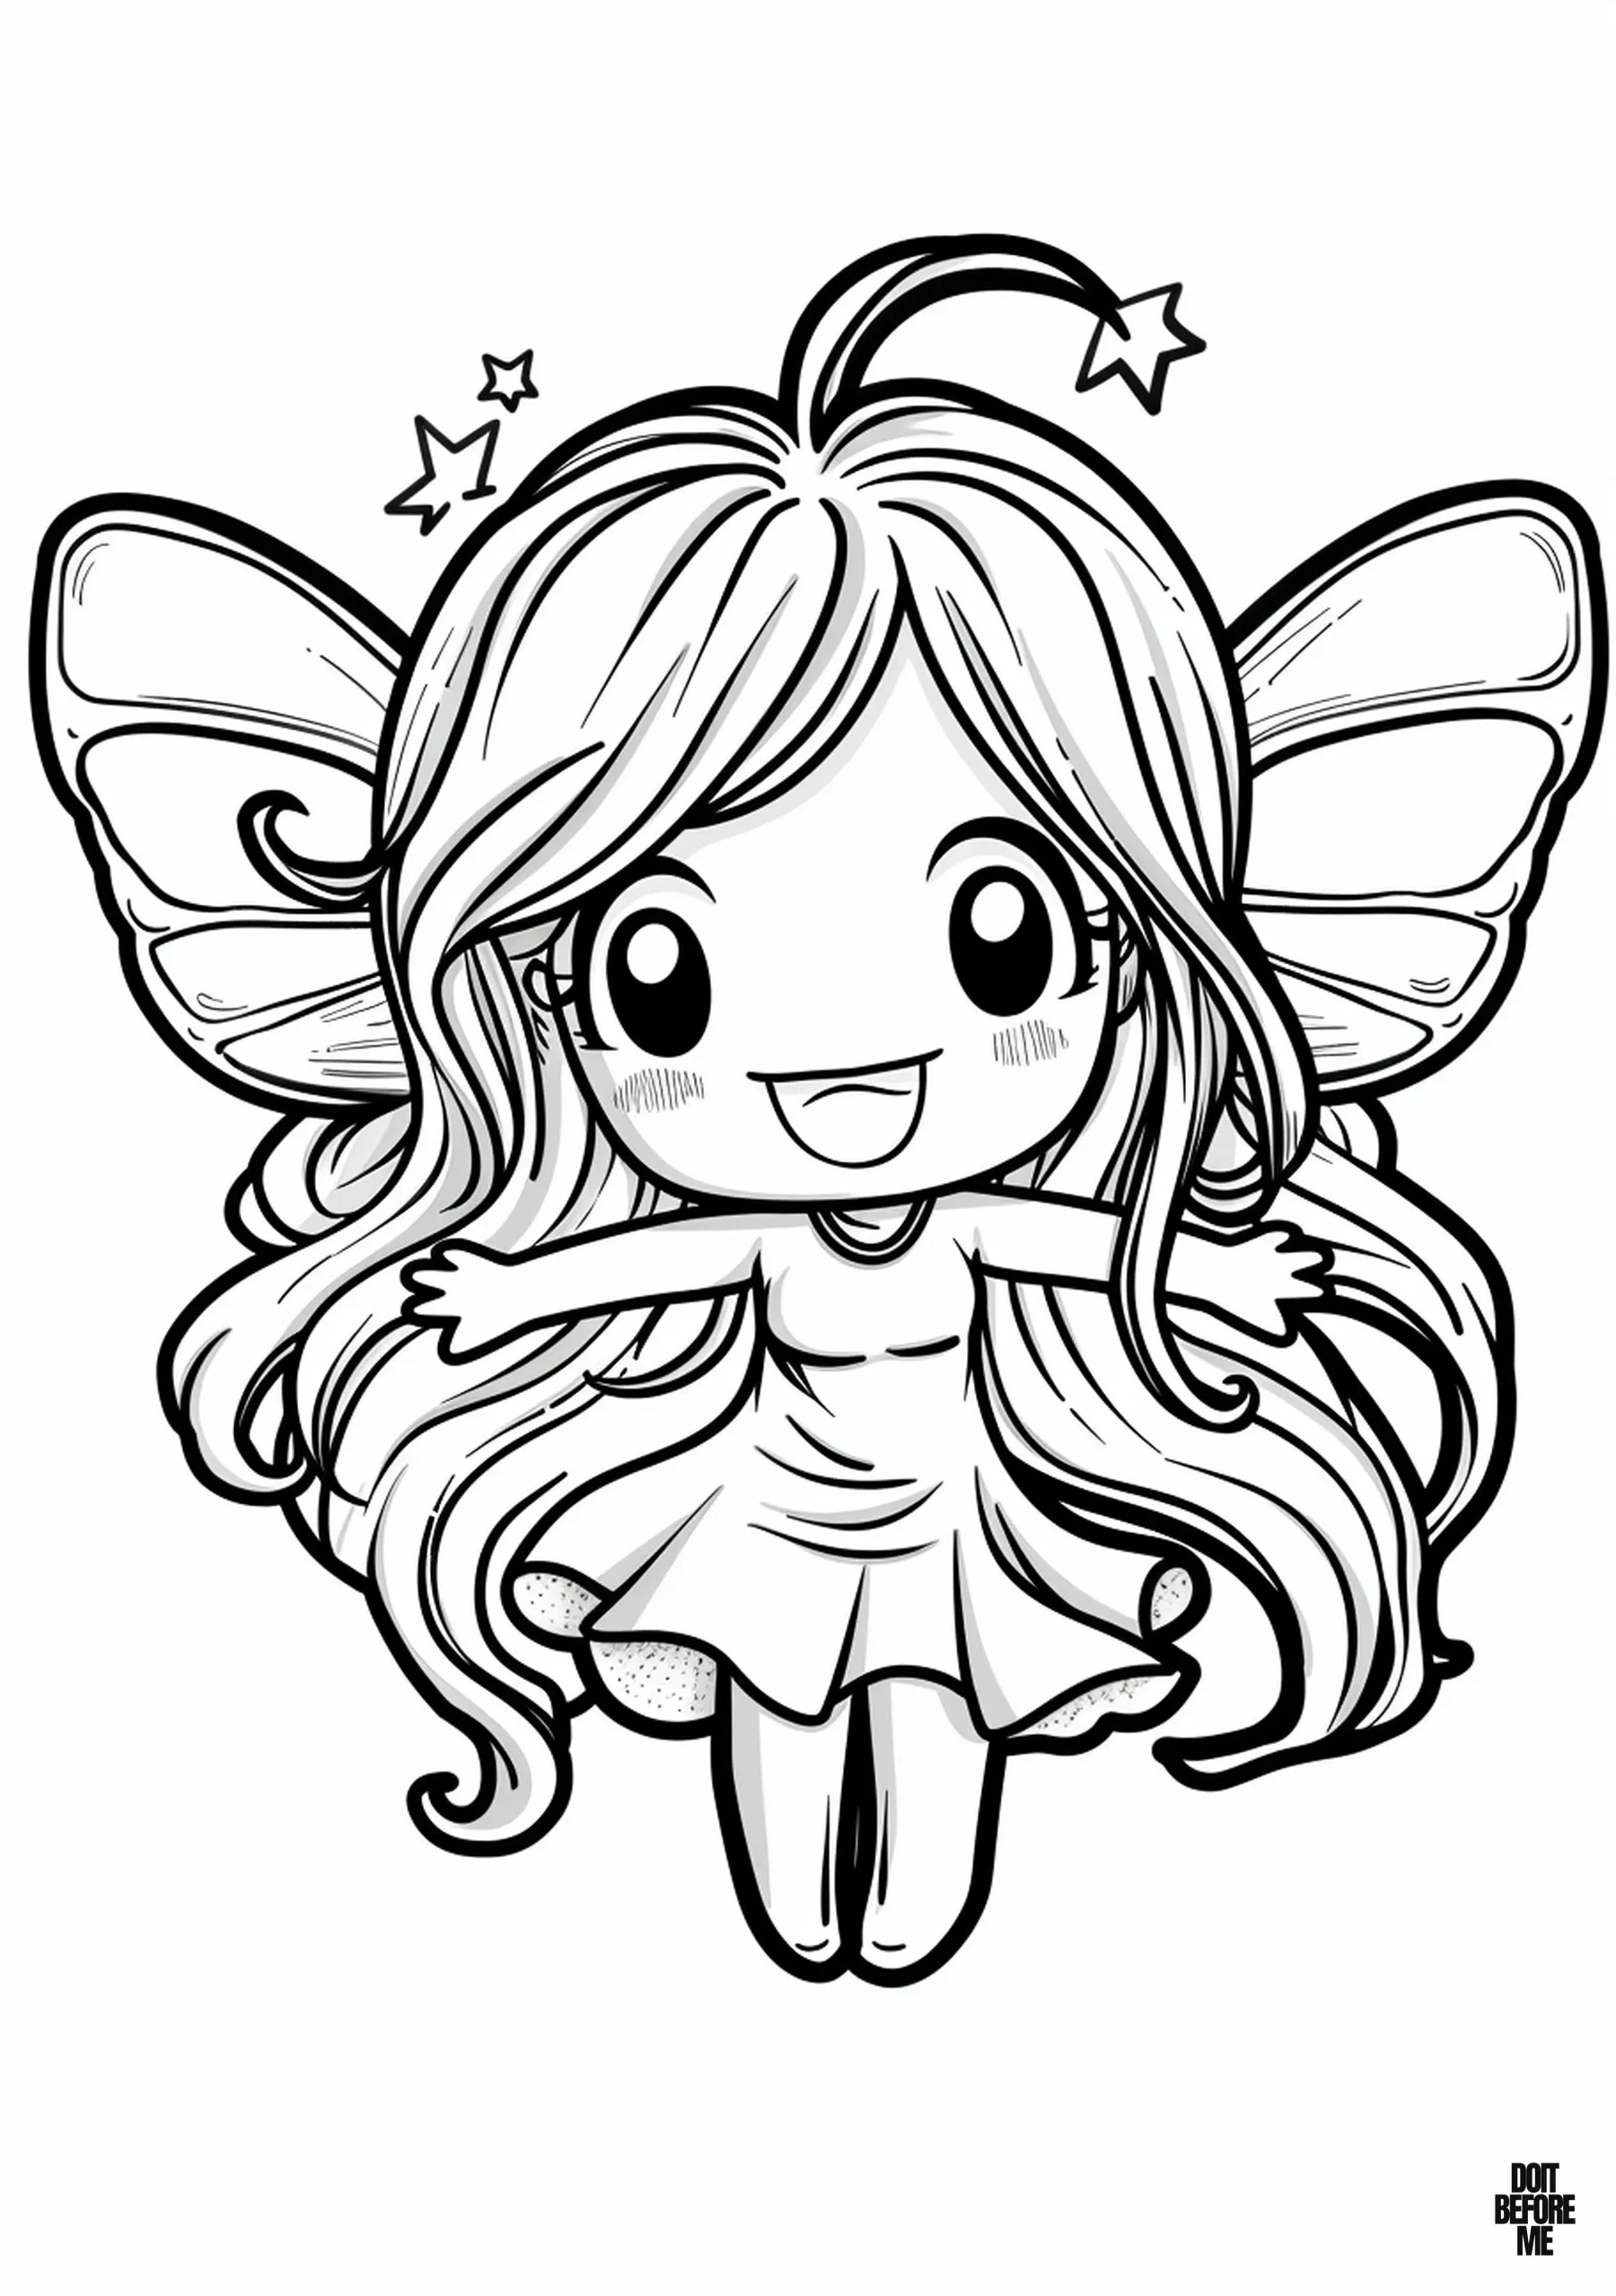
Open full-size fairy coloring sheet 11
Sheet 11: Another good choice for younger children. The smiling character and simpler body shapes leave more room for crayons, and the star detail gives them one small accent to color differently without making the page complicated.
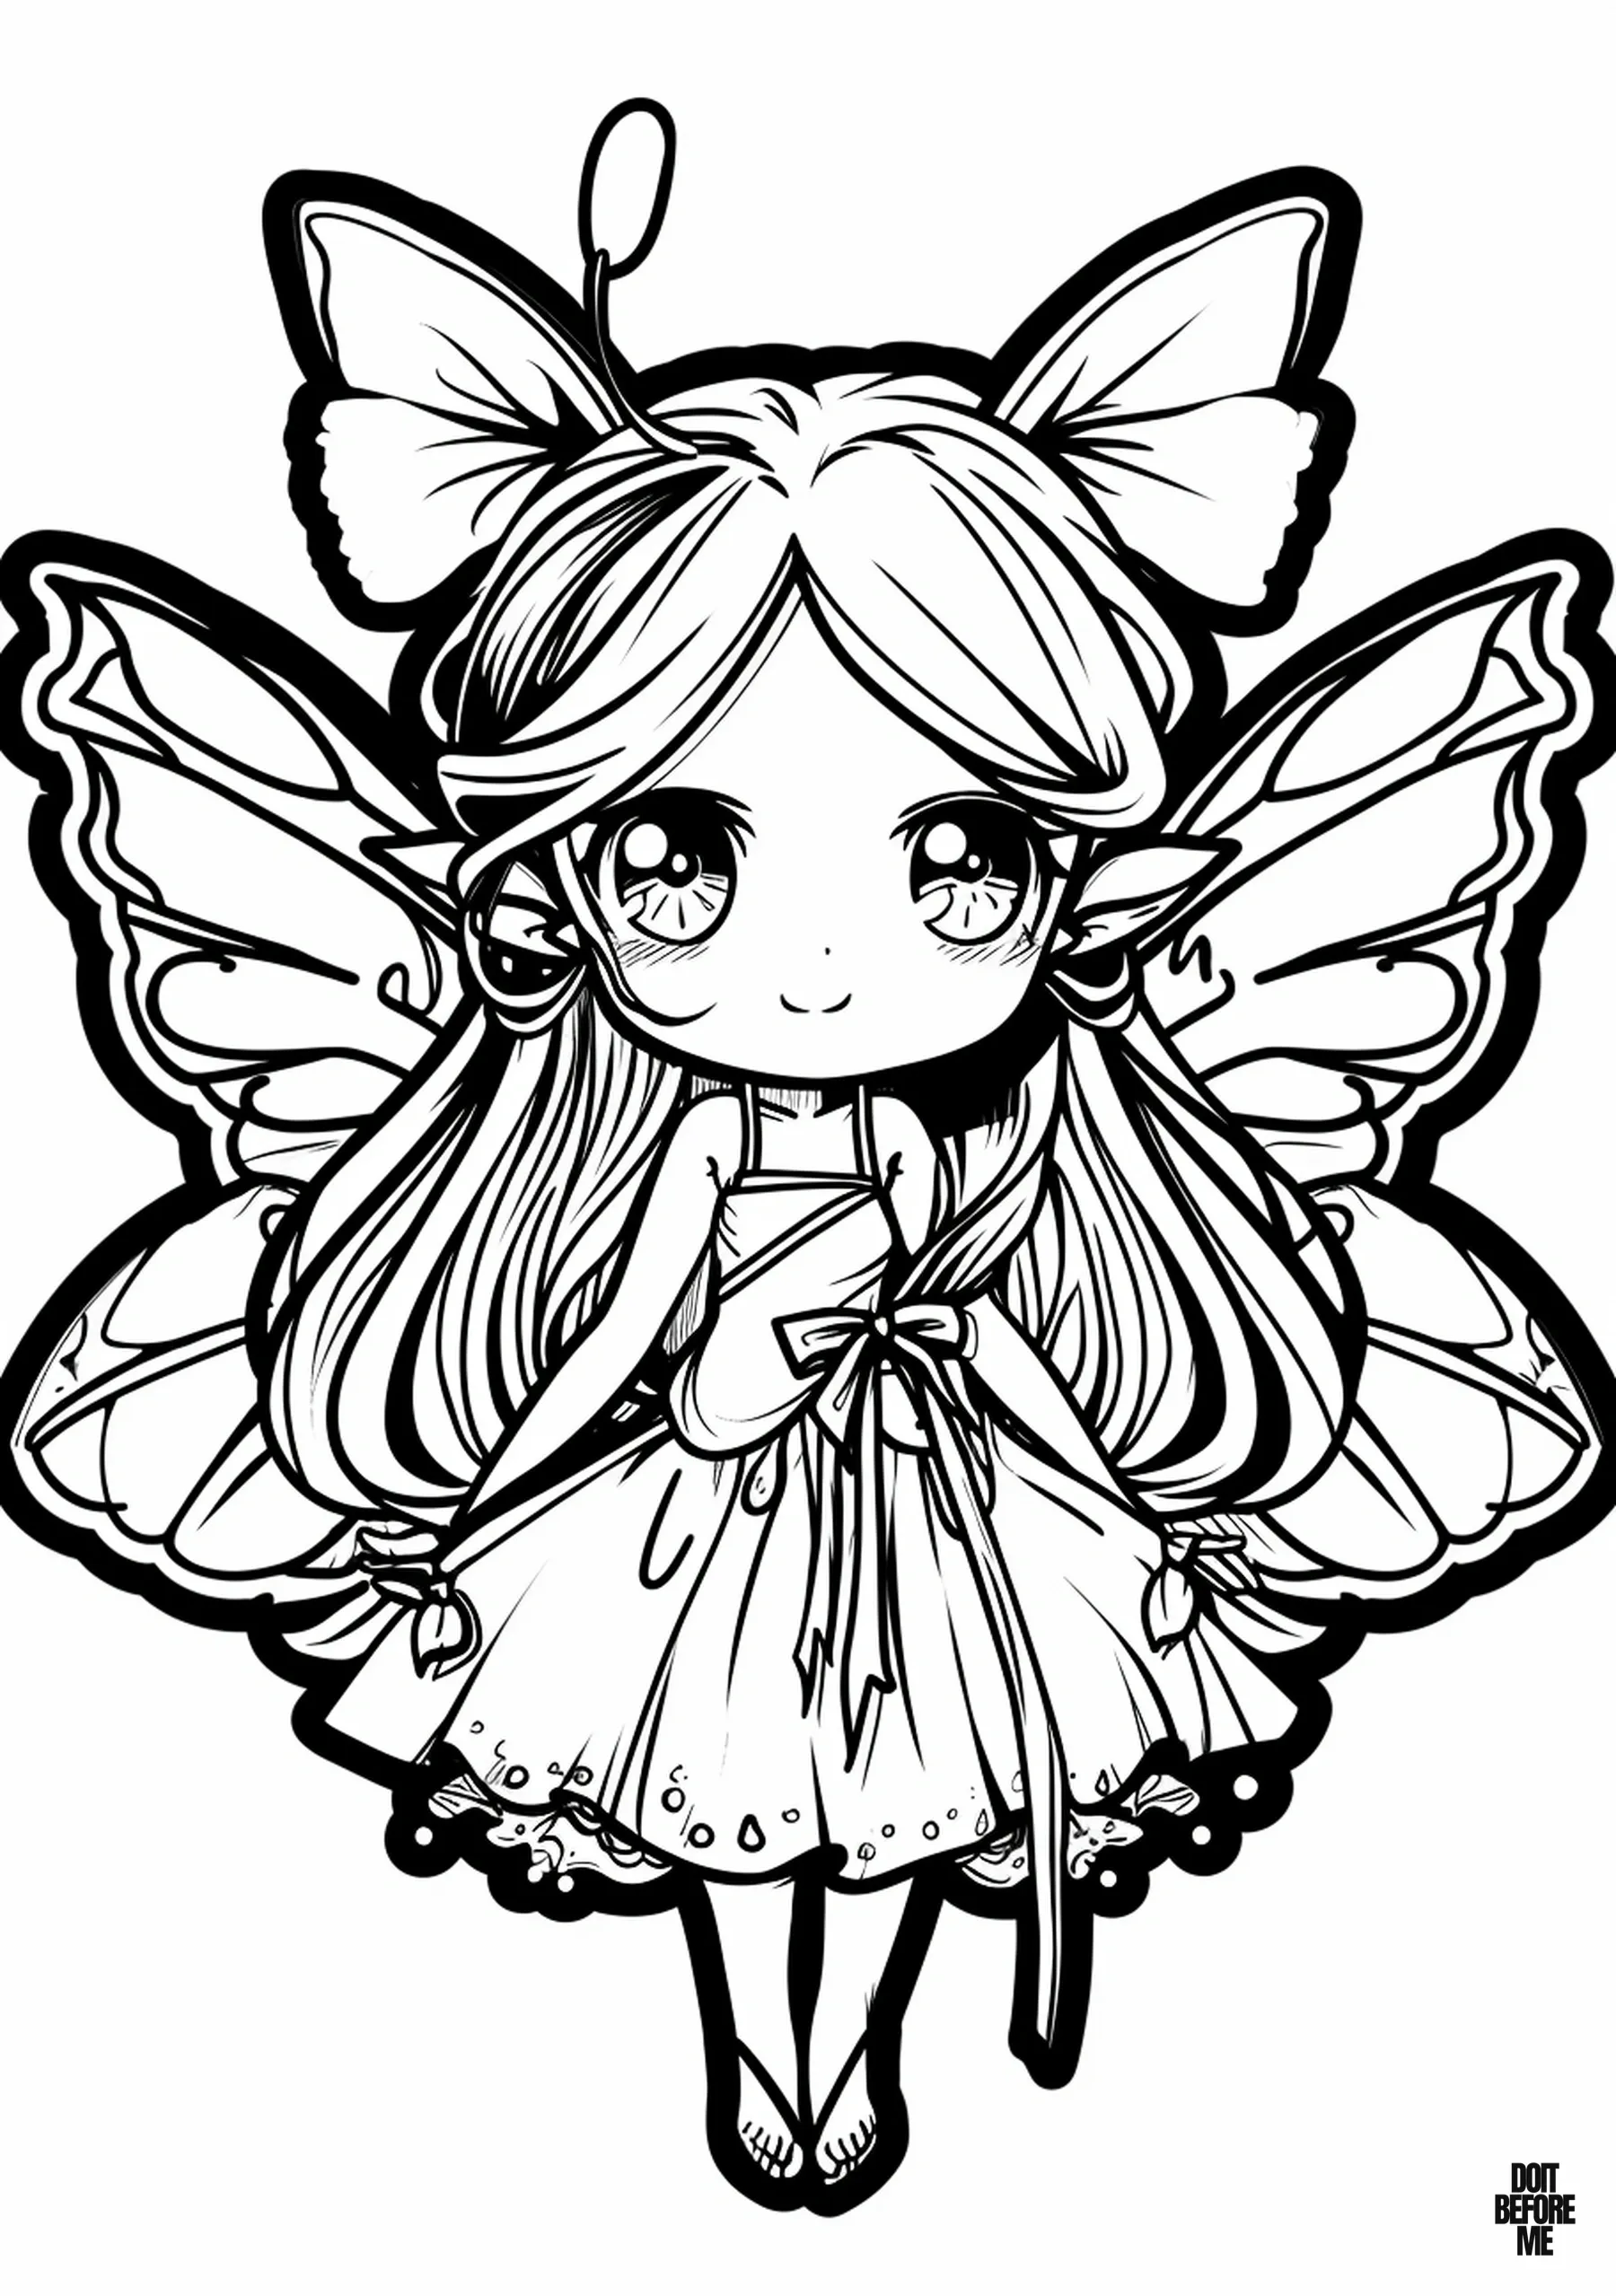
Open full-size fairy coloring sheet 12
Open full-size fairy coloring sheet 13
Open full-size fairy coloring sheet 14
Open full-size fairy coloring sheet 15
Open full-size fairy coloring sheet 16
Sheet 16: One of the most detailed pages in this collection. The flowers, ankle detail and more intricate outfit make it better for colored pencils than thick crayons. Color the face and skin first, then work outward into the hair, flowers and clothing so the character stays the focal point.
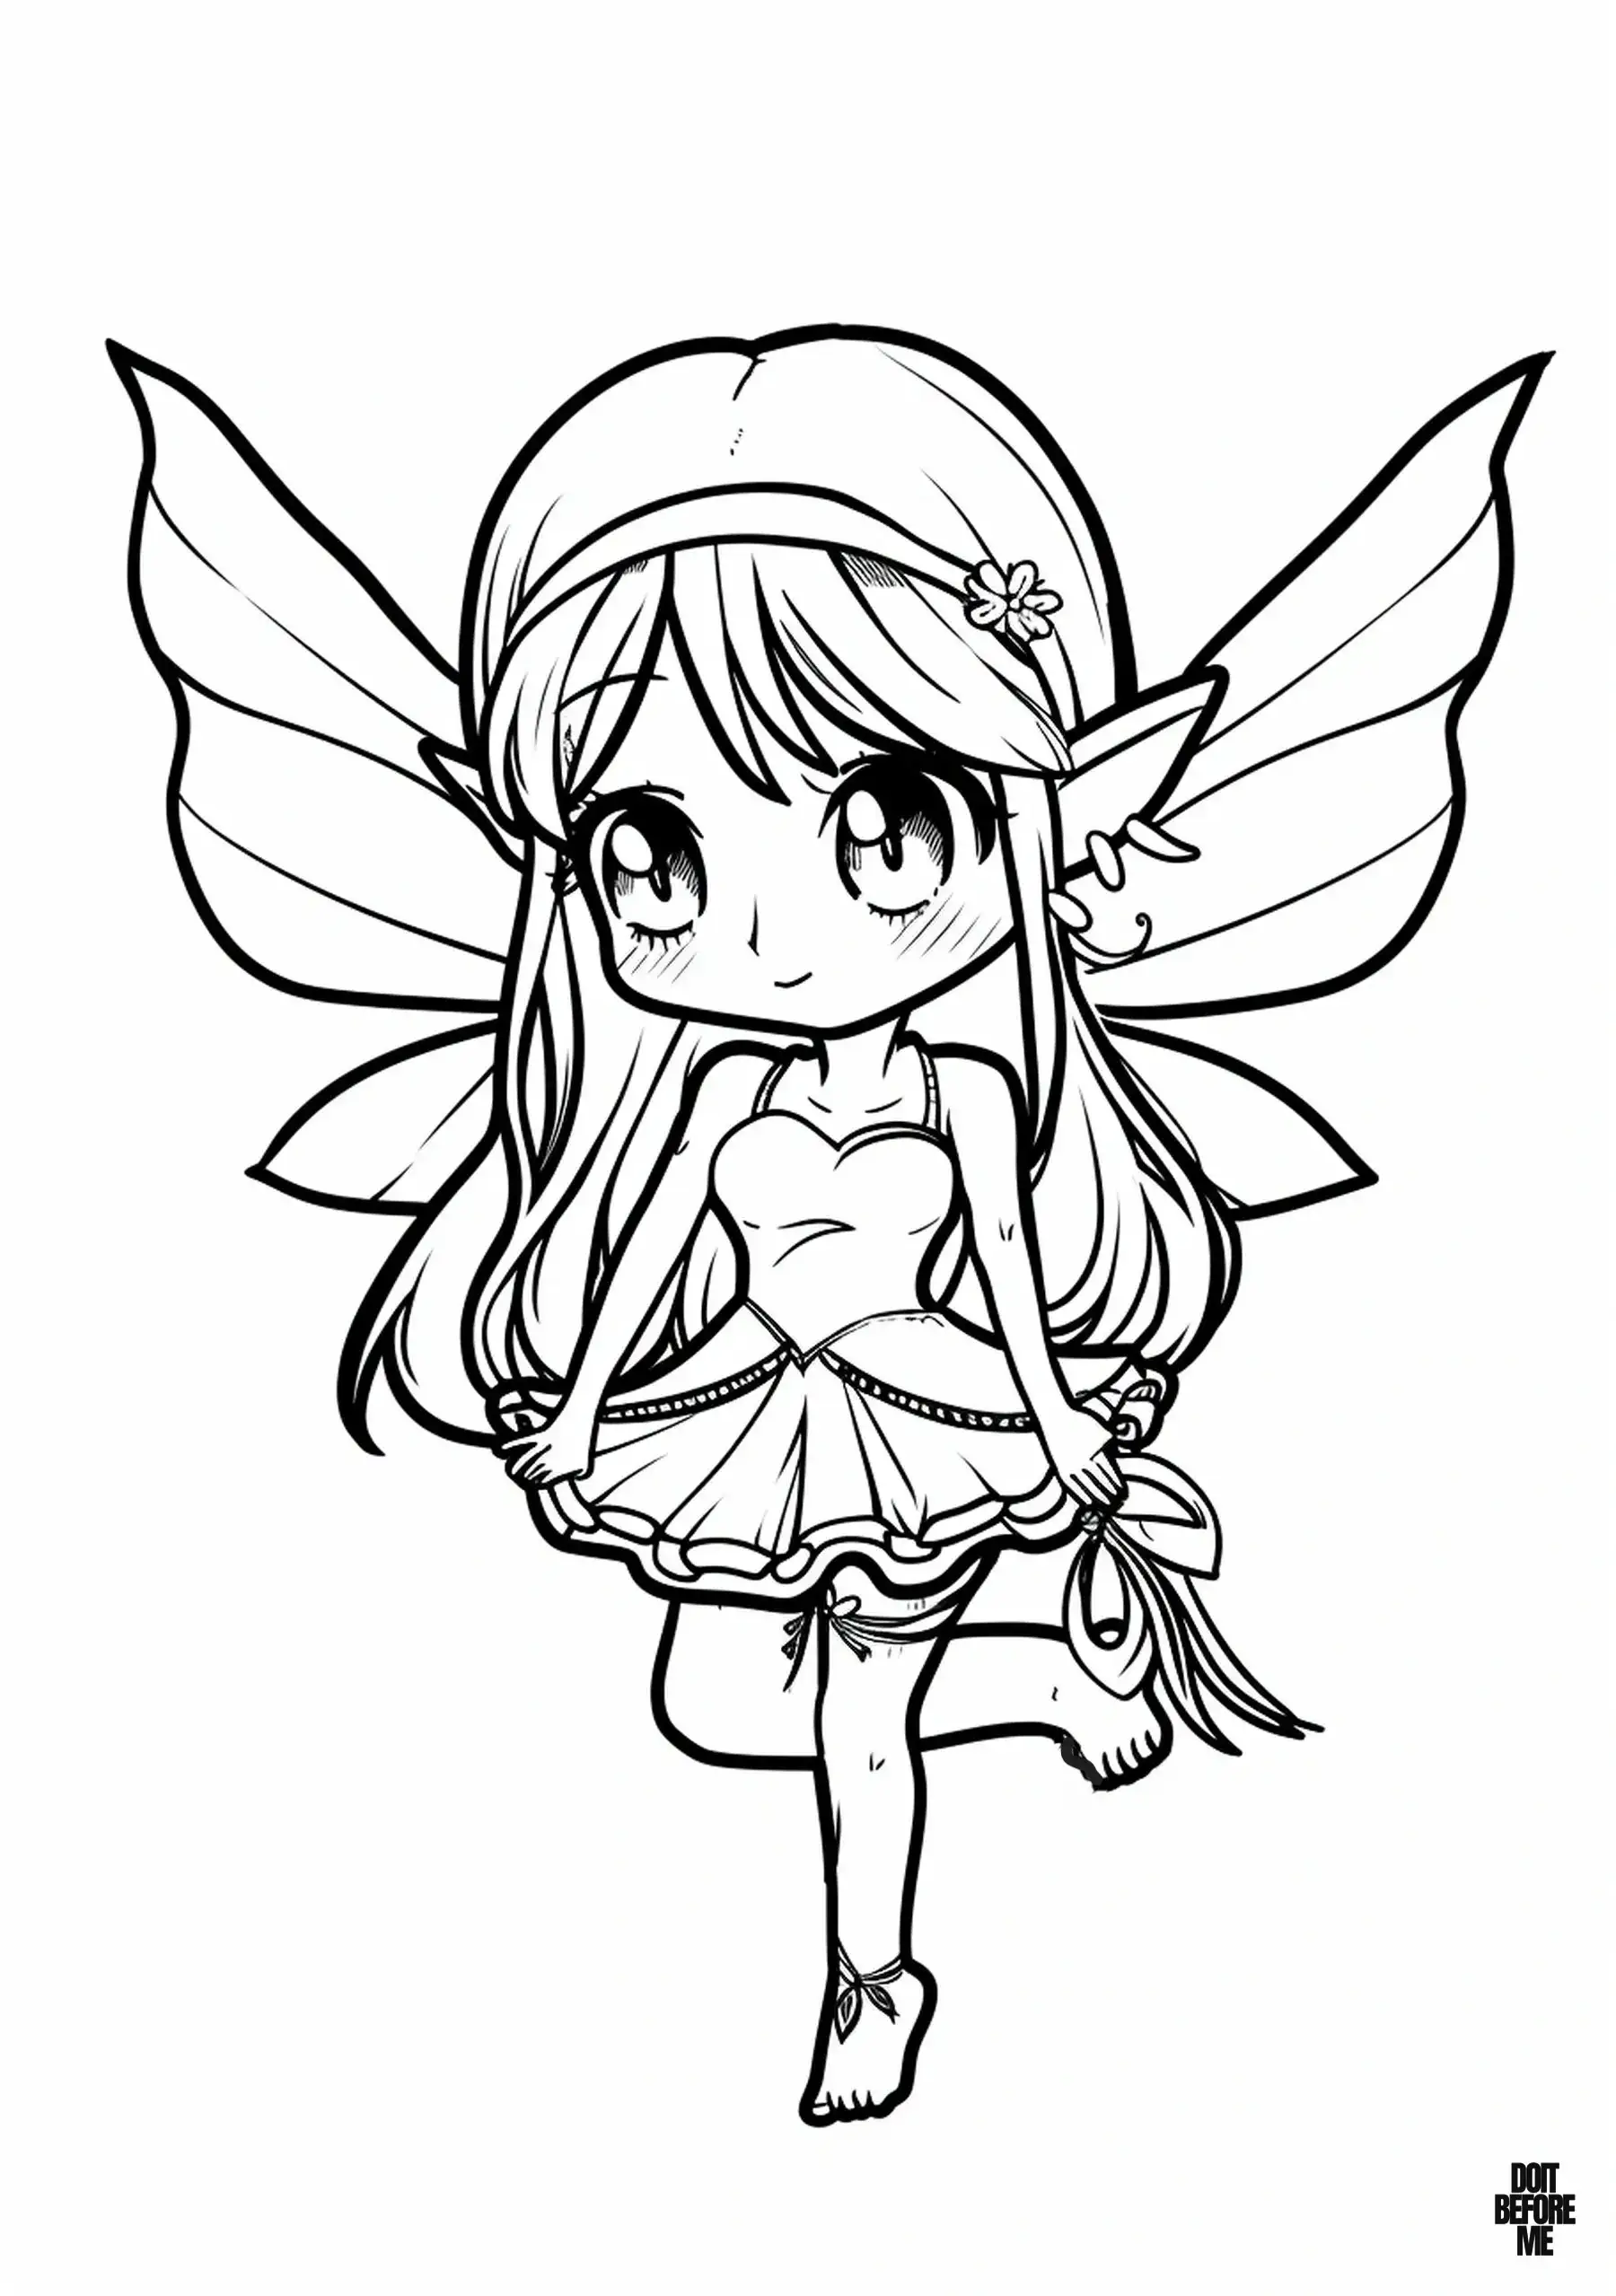
Open full-size fairy coloring sheet 17
Before you print
Standard printer paper is fine for crayons and pencils; heavier paper is a better choice for markers. For A4, US Letter, phone printing and cropping fixes, use the full printing guide. For classroom distribution, republication or other reuse questions, check the site’s Terms of Use rather than relying on a page-specific assumption.
More magical coloring pages
If you enjoyed these fairies, try our princess coloring pages, baby dragon coloring pages, and unicorn coloring pages.

