
Hands are much easier to draw once you stop treating them as five separate fingers. Start with the palm, decide what the hand is doing, then add the fingers as a group. The details come later. Click or tap any reference below to open the full-size image.
Jump to: basic construction · poses & stylized hands · holding & gripping · realistic studies · common mistakes
Start with the basic hand shape — References 1–6
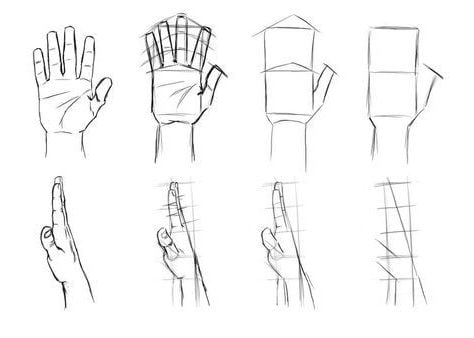
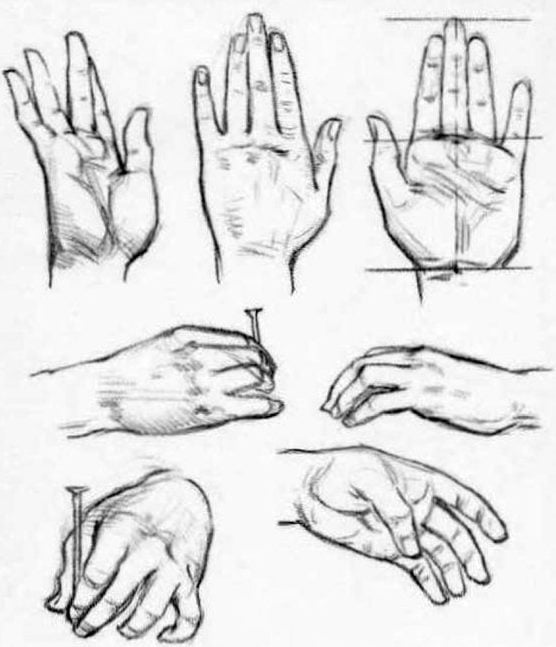
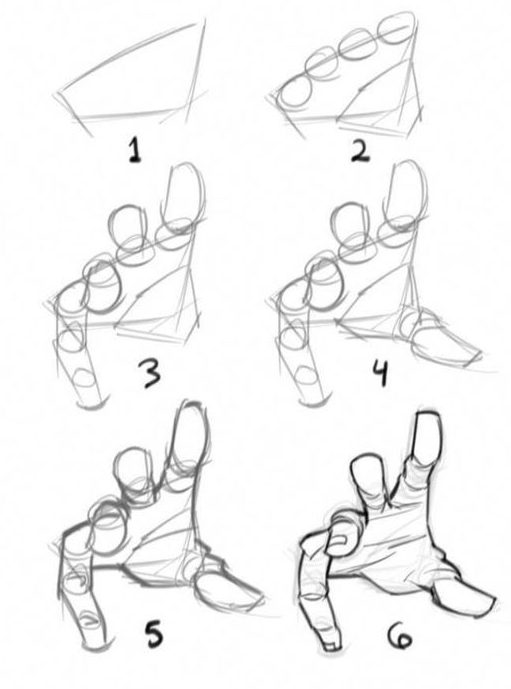
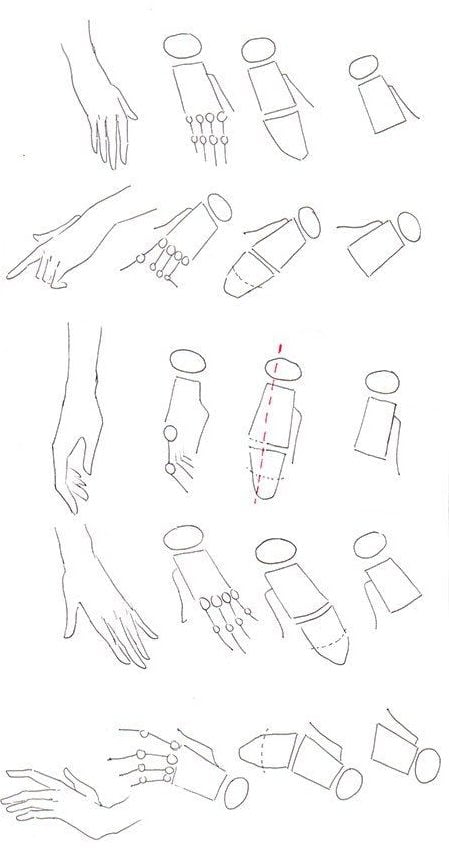
If hands keep going wrong, start here. Draw the palm as one simple block. Add the thumb separately. Then mark the finger directions with light lines before giving them thickness. Trying to draw a finished finger straight away usually makes the pose stiff.
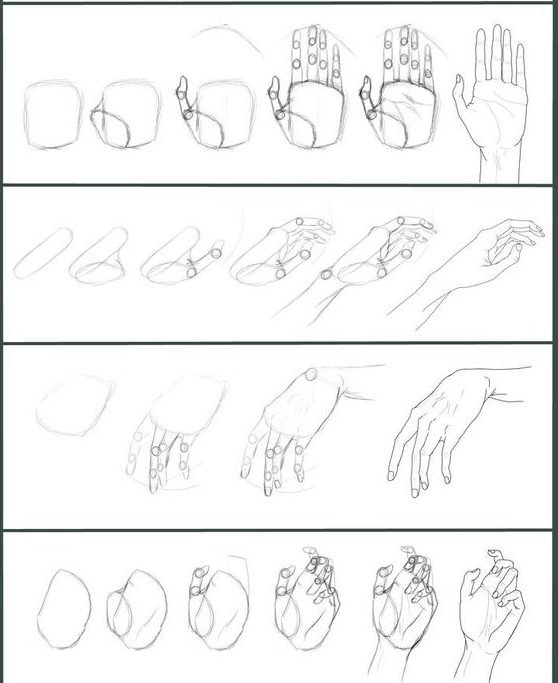
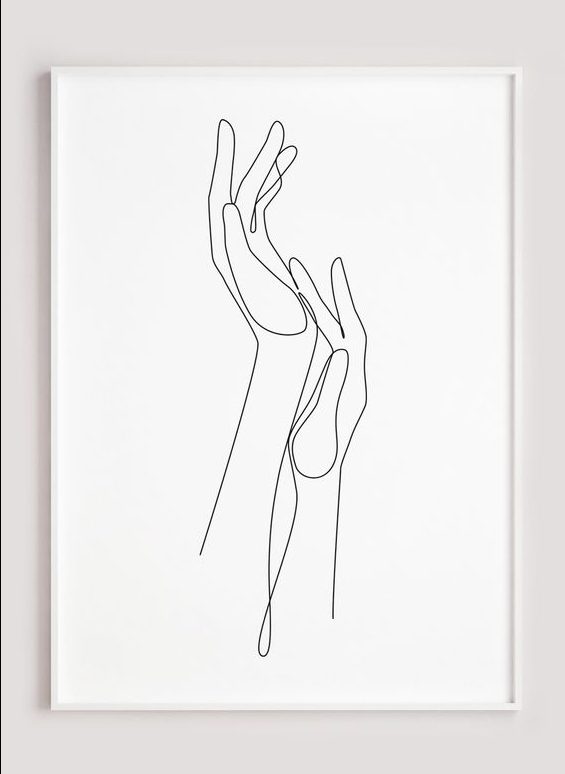
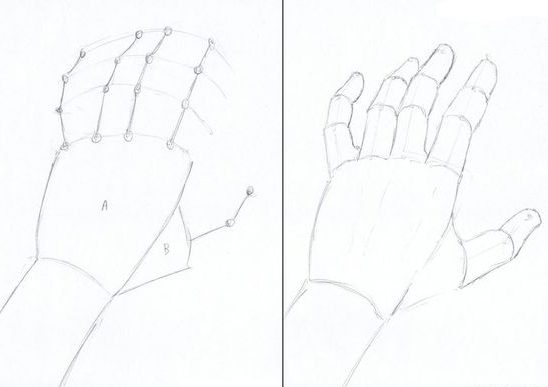
What to get right before you add detail
There are three things worth checking before you draw fingernails, wrinkles or shadows: the angle of the palm, the position of the thumb, and the rhythm of the fingers. If those three are wrong, extra detail only makes the mistake harder to fix.
The fingers do not rise from a perfectly straight line. Their bases sit on a gentle arc across the knuckles, and the fingers usually fan slightly instead of running side by side like four pencils. The thumb deserves its own shape too; attaching it as a small triangle at the edge of the palm is one of the quickest ways to make a hand look artificial.
Hand poses and stylized hands — References 7–11
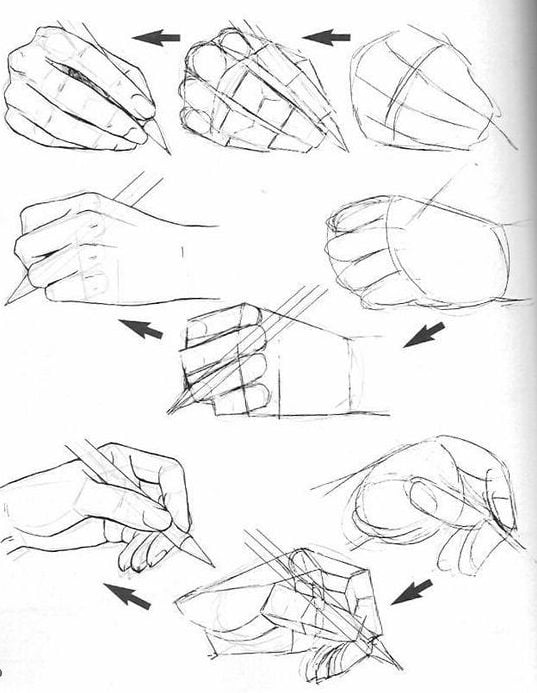
When the pose changes, resist the urge to reuse the same hand and merely bend a finger or two. Recheck the whole silhouette. A relaxed hand, a pointing hand and a clenched hand have different palm shapes as well as different finger positions.
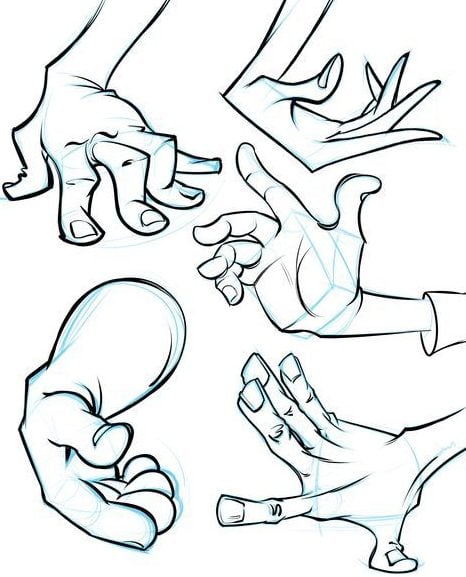
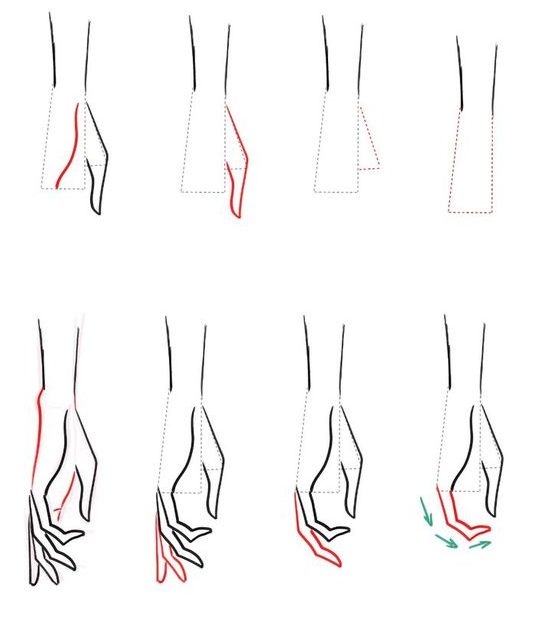
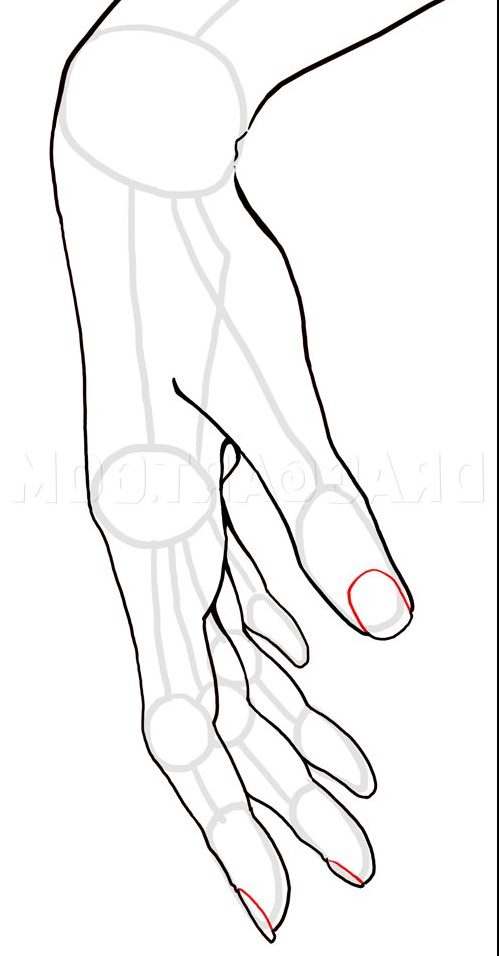
Stylized hands are useful practice because they force you to simplify. If a cartoon or anime hand still reads clearly with fewer creases and softer anatomy, the gesture is probably doing its job.
Holding and gripping poses — References 12–14
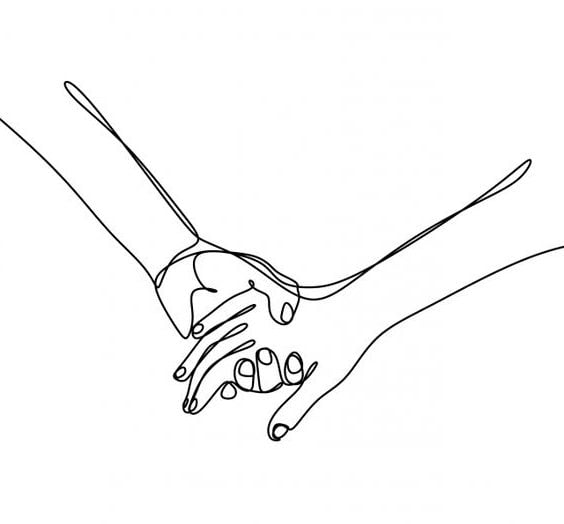
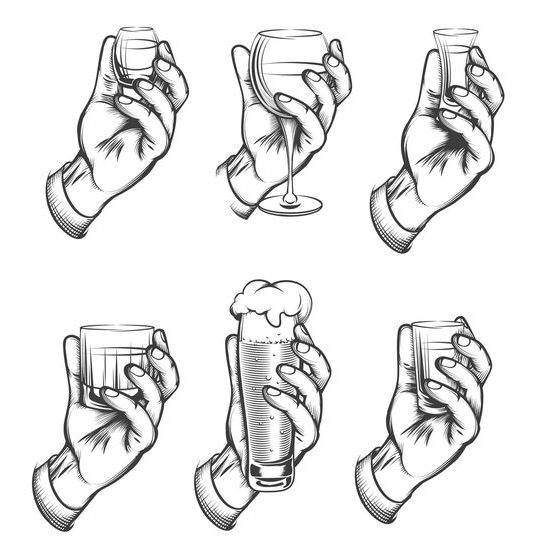
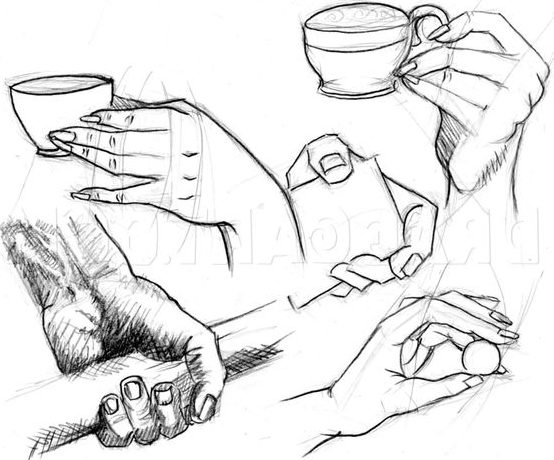
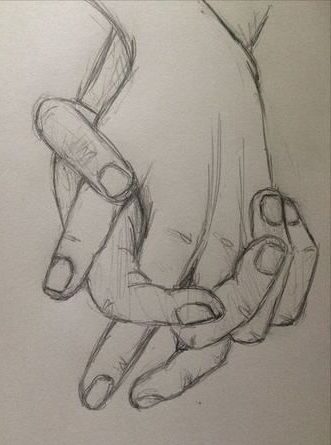
Holding poses become much easier if you look for contact points first. Where does the thumb press? Which finger disappears behind the object? Which knuckles overlap? Draw those relationships before worrying about nails or skin folds.
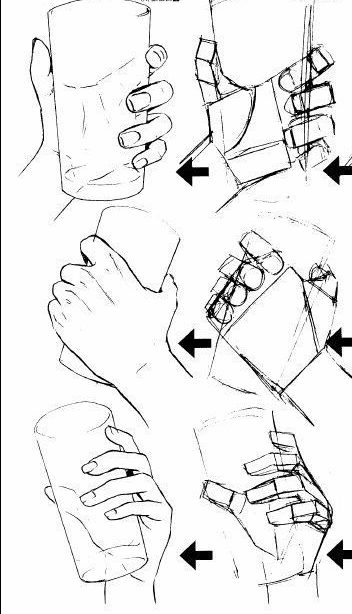
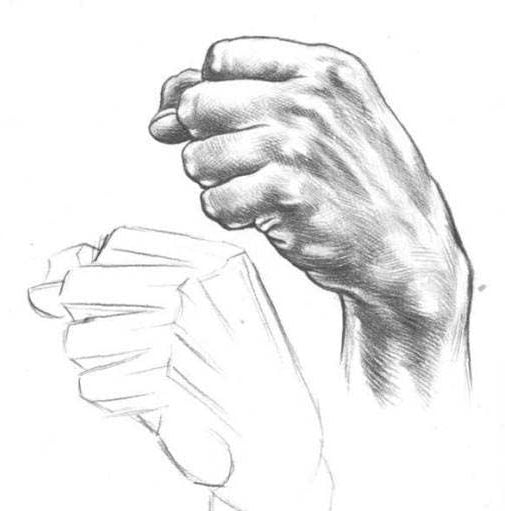
A common mistake in gripping poses is to draw every finger in full even when part of it should be hidden. Let forms overlap. A hand often looks more convincing when you draw less of it.
Foreshortening without guessing
When a finger points toward you, do not draw what you know the finger looks like from the side. Draw what is actually visible. The finger may look surprisingly short because one segment hides another.
A quick check: compare the width of the fingertip with its visible length. If the fingertip is large but the finger still looks long and stretched out, you are probably drawing the remembered shape instead of the foreshortened one. Overlap is your friend here.
Realistic hand studies — References 15–20
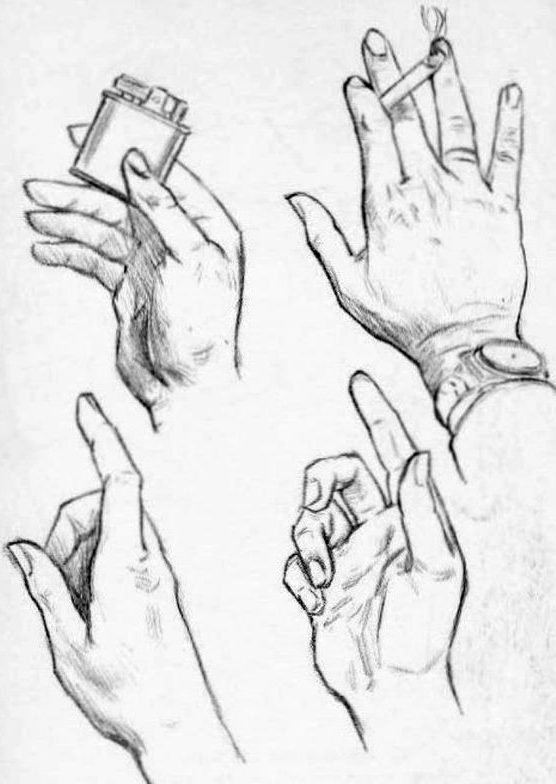
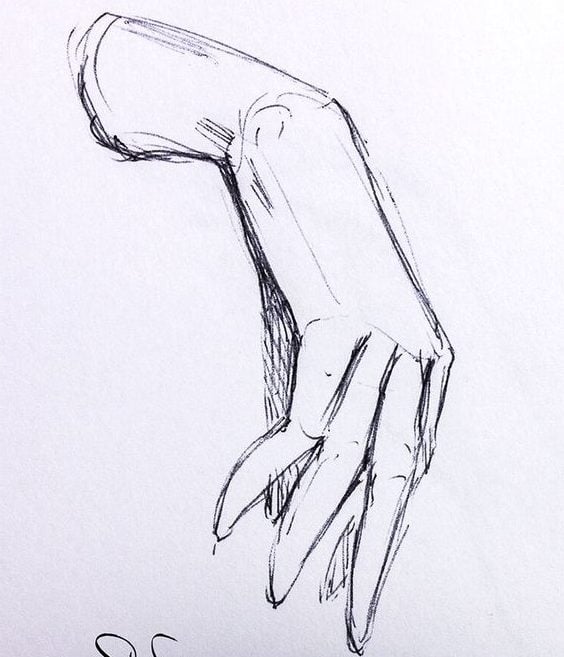
For a realistic study, compare angles more than measurements. Look at the slant of the wrist, the tilt of each finger and the negative spaces between them. Those gaps are often easier to judge than the fingers themselves.
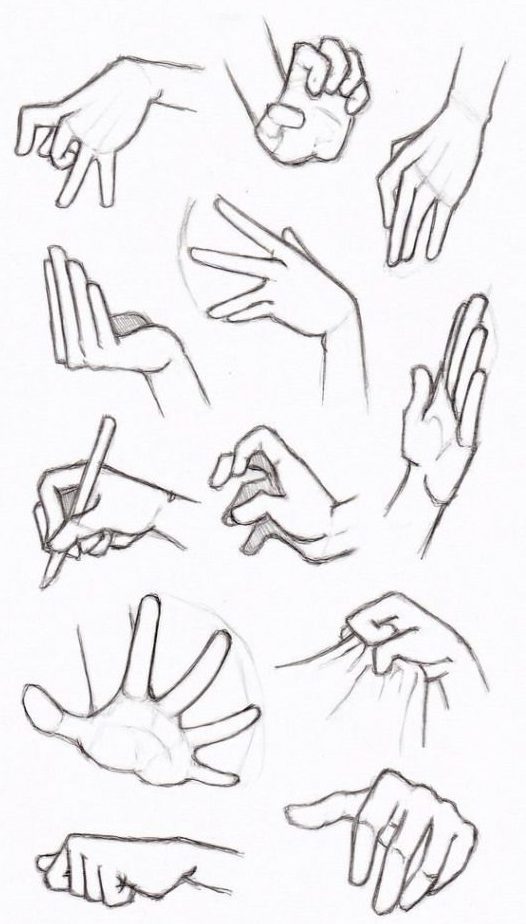
How to shade a hand without overworking it
Do not shade every crease you can see. Start with the bigger form shadows: under overlapping fingers, along the side of the palm that turns away from the light, beneath the thumb, and around the wrist where the form changes direction. The small creases can wait.
Too many dark lines across the knuckles and palm can make the hand look much older or rougher than the reference. If you are unsure, leave a crease out. You can always add it later.
Why does my hand drawing still look wrong?
- The fingers look like sausages. They are probably too parallel and too evenly rounded. Let them taper, vary their angles and show the knuckles changing direction.
- The thumb looks glued on. Give it a proper base that grows out of the palm rather than attaching a small shape to the edge.
- The hand feels stiff. Draw one gesture line through the palm and middle finger before constructing the rest.
- The fingers are all the same length. Compare them as a group. The changing lengths are a big part of the hand’s silhouette.
- The pose looks flat. Check what overlaps what. Foreshortening is often more about overlap and apparent length than about extra detail.
- The palm is too small. Beginners often spend so much attention on the fingers that the palm gets squeezed. Block it in first and protect that space.
A simple 15-minute hand practice
- 3 minutes: copy only the palm and finger directions from one reference.
- 5 minutes: draw the same pose again, this time giving the fingers thickness and showing the overlaps.
- 7 minutes: draw it once more with a cleaner contour and a little shadow.
Three quick attempts at the same pose usually teach more than spending fifteen minutes polishing one drawing that was structurally wrong from the start.
Use your own hand as a reference
You already have the best hand reference with you. Put your non-drawing hand on the table, take a quick phone photo, and draw from that instead of trying to hold the pose for ten minutes.
- Crop the photo so the hand fills most of the frame.
- Draw only the palm block, wrist and finger directions first.
- Compare the empty spaces between the fingers before adding detail.
- When the drawing is finished, place it beside the photo and check the silhouette before checking wrinkles or nails.
This is especially useful for poses that are hard to find online, and it trains you to simplify a real hand instead of memorizing one stock pose.
Hand drawing questions
Which reference should a complete beginner start with?
Start with References 1–4. They make the construction easiest to see before the poses become more complicated.
Should I learn hand anatomy before drawing hands?
You need some structure, but you do not need to memorize every bone before you begin. Learn the palm mass, thumb base, knuckle arc and finger segments first. Anatomy becomes much more useful once those simple forms make sense.
Why are hands harder than faces for many beginners?
Hands change shape dramatically with every pose. Fingers bend, overlap and point toward or away from you, so the silhouette can change in seconds. That is why gesture and construction matter more than memorizing one “correct” hand.
Is tracing useful?
It can help you notice proportions, but do not stop there. After tracing once, hide the reference and rebuild the same pose from the palm and finger guides. That is the part that actually trains you to draw it.
More figure drawing practice
For the rest of the figure, try the gesture drawing poses and figure drawing references. If you want a break from anatomy, the easy drawing ideas are a much lighter practice session.

