
These 20 car pencil drawing references range from easy construction studies to sports cars, race cars and more realistic sketches. If you want to draw a realistic car, start with wheel placement, body proportion and perspective before adding headlights, reflections or shading. Click or tap any image to open the full-size reference.
Jump to: basic construction · beginner & kids · sports & race cars · realistic sketches · more drawing tutorials
Basic car construction — References 1–6
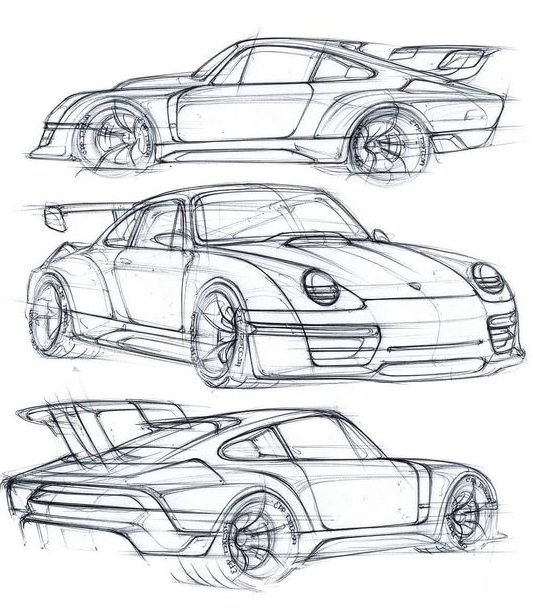
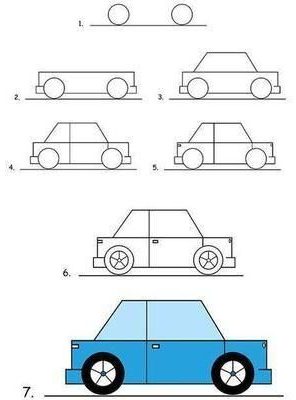
Before the windows or headlights, mark the two wheel centers and the overall body length. Those three decisions give you something solid to measure everything else against.
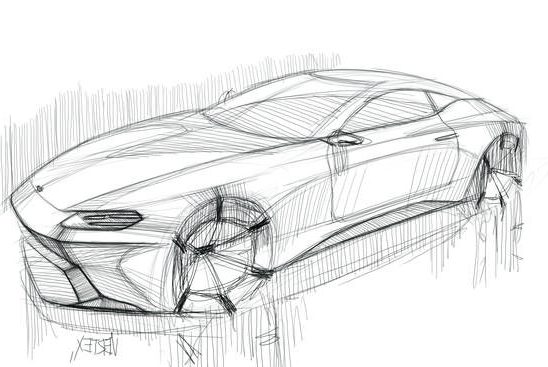
Use the wheels as your measuring system
The wheels are not decorative circles added near the end. They are the easiest fixed measurements in the whole car. Mark both wheel centers first, then compare the distance between them with the wheel diameter. That relationship gives you the wheelbase, and the wheelbase controls the car’s stance.
- Short wheelbase: makes the body feel compact and upright.
- Long wheelbase: makes the car feel lower, sleeker and more stable.
- Large wheels: can make the body feel sportier or more exaggerated.
- Small wheels: make the body feel taller and heavier unless the design supports it.
Once the wheel centers are fixed, lightly mark the front overhang, rear overhang and overall body height. Do this before the headlights, doors or grille. A convincing car usually starts with a believable relationship between wheels and body mass.
Build the car as three large masses
For a side or 3/4 view, simplify the body into three parts: the lower body, the cabin and the wheel volumes. The lower body carries the hood, doors and rear quarter. The cabin is the windshield, roof and rear glass as one connected shape sitting on top.
Do not draw the windshield, roof and rear window as three unrelated lines. First draw the whole cabin silhouette, then divide it into glass panels. This is one of the fastest ways to stop a car from looking as if the roof was pasted onto the body.
Build the roofline, hood and wheel arches
Use the wheel positions to judge the length of the hood, cabin and rear section. Draw the wheel arches around the wheels rather than placing the wheels after the body is finished. The top of the wheel arch should feel structurally related to the fender, not like a semicircle cut randomly into the side.
For a low sports-car look, keep the roofline shallow, the cabin pushed down and the body close to the wheels. For a taller family car, raise the roof and cabin while keeping the wheelbase consistent. The important point is that the design change happens through proportion, not by stretching one isolated line.
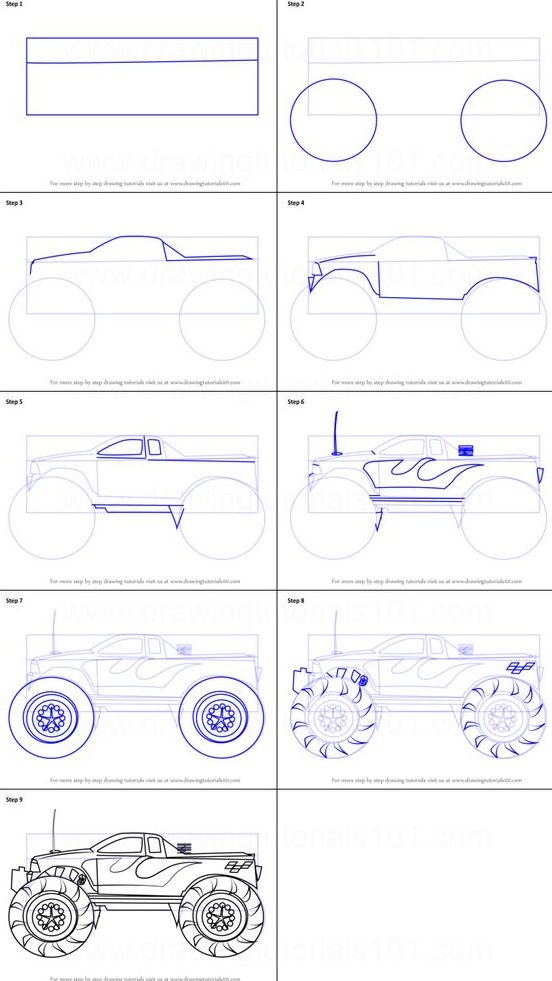
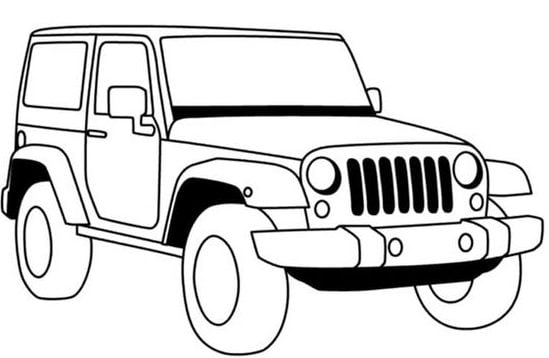
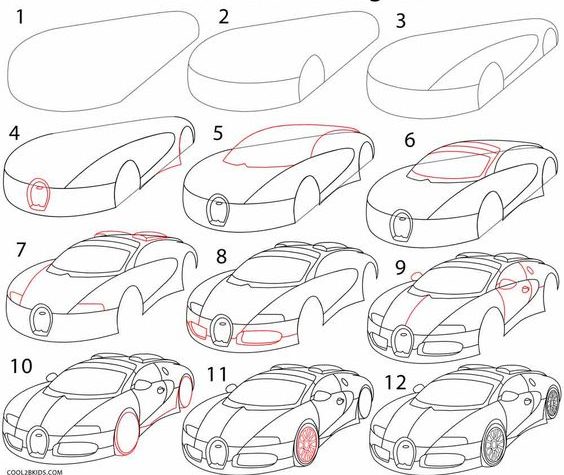
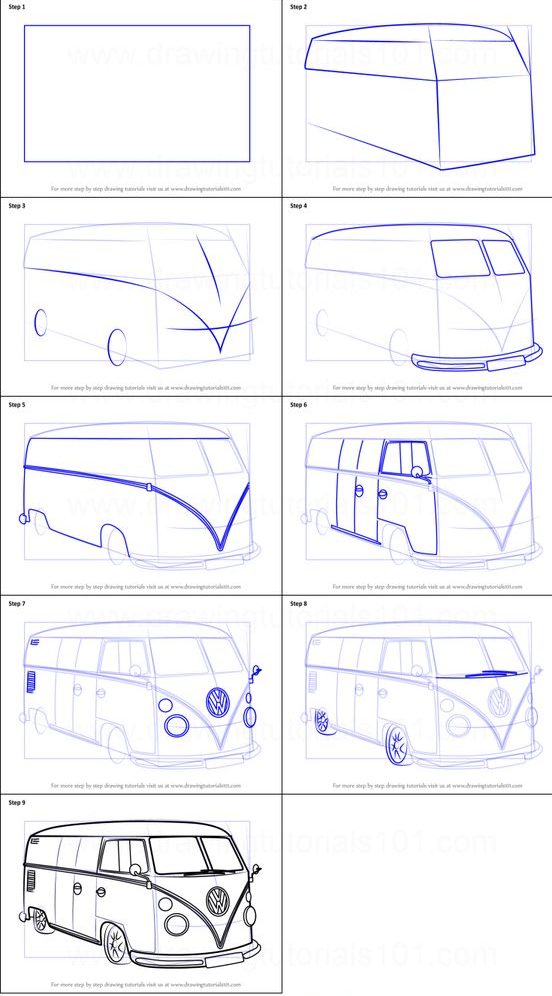
Beginner and kids’ car tutorials — References 7–9
Once the silhouette works, divide the cabin into windshield, side-window and rear-window areas. Add door seams, mirrors, headlights and taillights only after those large shapes are aligned. This keeps small details from pulling the proportions out of place.
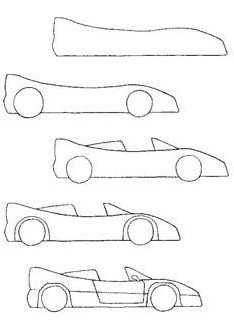
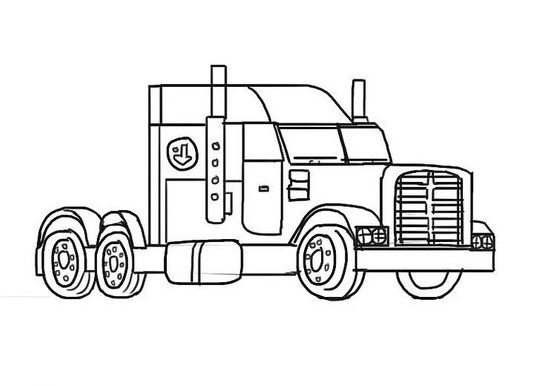
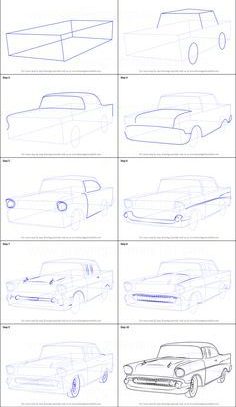
Sports and race-car studies — References 10–12
Sports cars are unforgiving because the body sits close to the wheels and the stance is obvious. Before you draw vents, spoilers or headlights, make the wheelbase, cabin and ground plane agree.
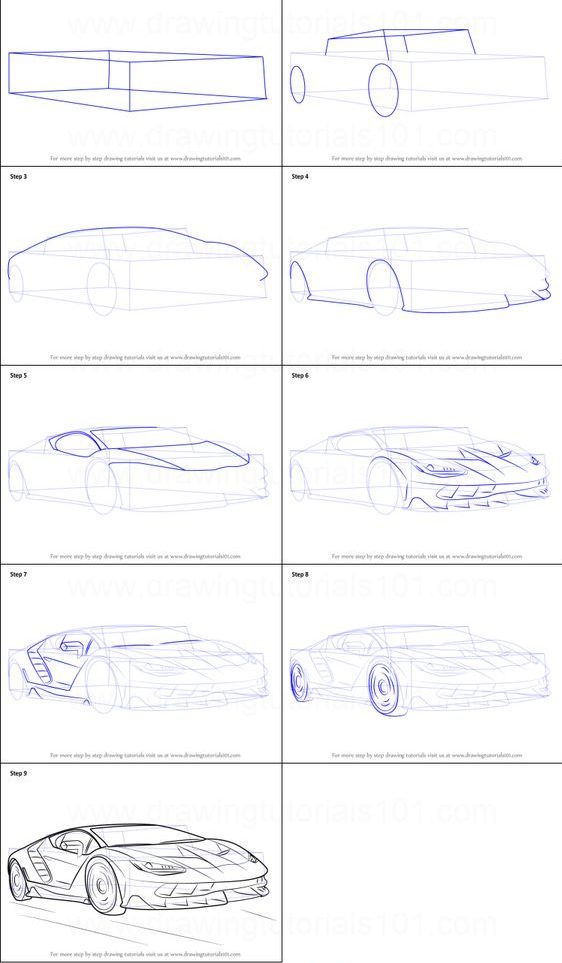
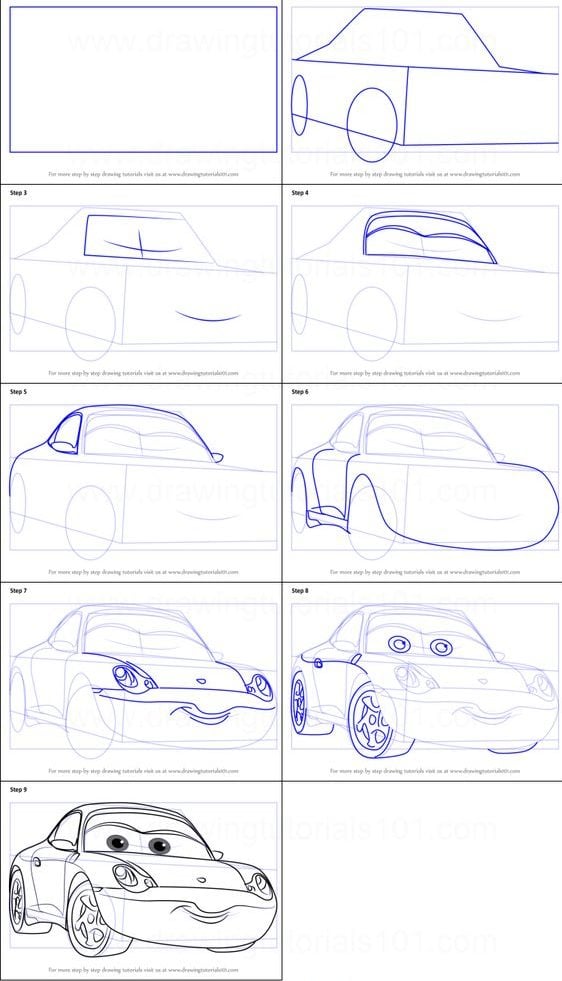
For a 3/4 car, draw the perspective box before the car
Lightly enclose the vehicle in a simple box. The box gives you the front plane, side plane, roof height and overall depth. Once that box feels believable, fit the car inside it.
- Set the ground direction. Decide how the car recedes through space.
- Place the near and far wheel centers. They should belong to the same perspective system.
- Draw the body box. Keep the front, side and roof directions consistent.
- Fit the cabin inside the box. The windshield and rear glass should follow the same spatial turn as the body.
- Carve the silhouette out of the box. Lower the hood, taper the roof, cut the wheel arches and shape the front/rear corners.
This prevents a common mistake: drawing a convincing side silhouette first, then trying to force the front end into perspective afterward.
How to draw wheels in perspective
A wheel is a circle in 3D, but when its plane turns away from you it appears as an ellipse. Draw the tire as an ellipse first, then place the rim inside it as a second ellipse sharing the same center and tilt.
- Do not flatten only one wheel. Wheels on the same side should share a coherent ellipse logic.
- Keep wheel centers aligned to the ground plane. One wheel should not float higher unless the road or suspension actually changes.
- Check axle direction. Imagine a line connecting left and right wheels through the car; it should agree with the vehicle’s perspective.
- Do not over-detail the rim early. Five perfect spokes cannot rescue a badly shaped tire ellipse.
If the car looks unstable, temporarily hide the body and inspect only the four wheel centers. If those points do not feel like they could support one rigid vehicle, fix them before continuing.
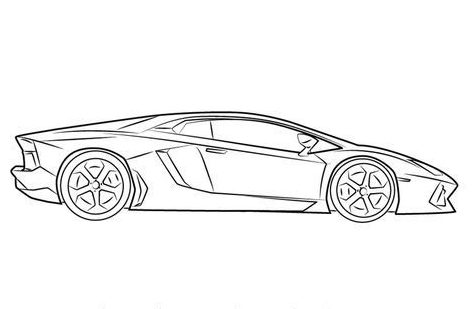
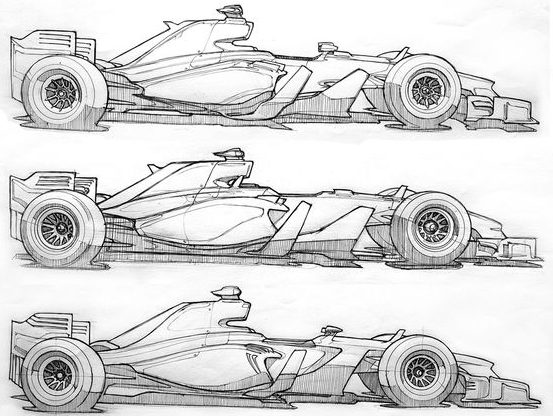
Realistic car sketches — References 13–15
For a more realistic result, refine the hood, roof, windshield and side-panel angles before increasing line weight. Realism comes from making the major surfaces turn convincingly, not from drawing every grille slot or rim spoke.
Separate the materials before you shade
A car is made of surfaces that react to light differently. Treat them differently on paper:
- Painted body: use broad value changes and long reflection shapes that follow the curvature of the panel.
- Glass: keep stronger contrast, cleaner reflected shapes and fewer muddy mid-tones.
- Tires: make them darker and softer than shiny rims, but do not fill them as featureless black circles.
- Wheel wells: these can carry some of the deepest darks because they turn away from the light.
- Ground shadow: keep it connected to the tires so the car feels planted rather than floating.
Think of reflections as shapes lying across the body surface, not as random white streaks. A reflection should bend when the panel bends. That is why even a simple highlight can describe more form than a page of tiny mechanical detail.
Use line weight to describe depth
Strengthen the closest silhouette and important overlaps slightly. Keep panel seams, reflections and far-side edges lighter. If every line has the same darkness, the car becomes diagram-like; if every line is heavy, the body loses its glossy surface.
Under the car, around wheel wells and where one body panel overlaps another, darker accents can help. Across the hood and roof, let some edges stay light or even disappear into reflected light.
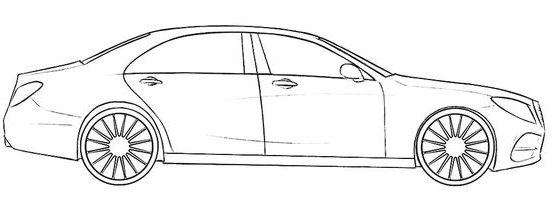
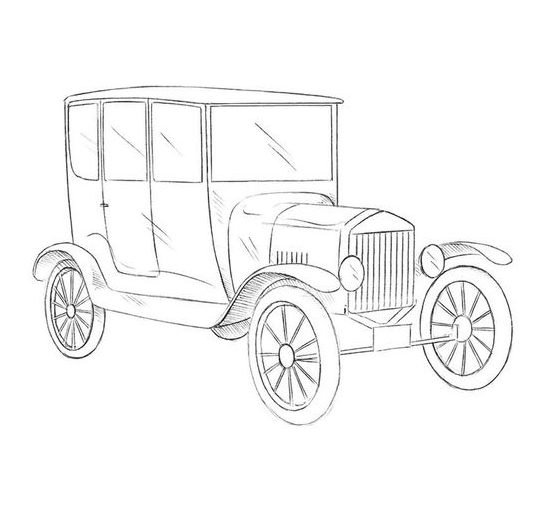
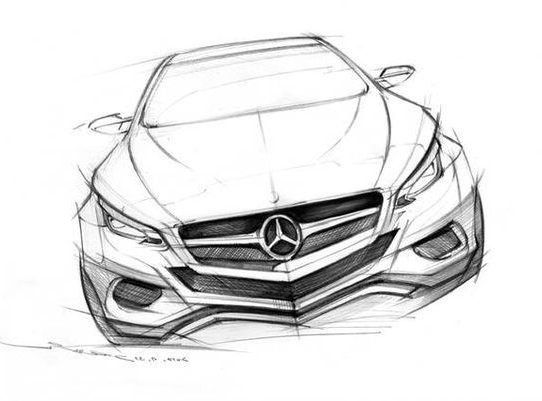
Keep headlights, grille shapes and wheel details subordinate to the main perspective. If the body looks wrong, correct the body before spending time on those smaller features.
More construction studies — References 16–18
Use these three as redraw exercises rather than detail-copying exercises. On each one, identify the wheel centers, body length, cabin mass and ground line before copying any grille, light or rim detail.
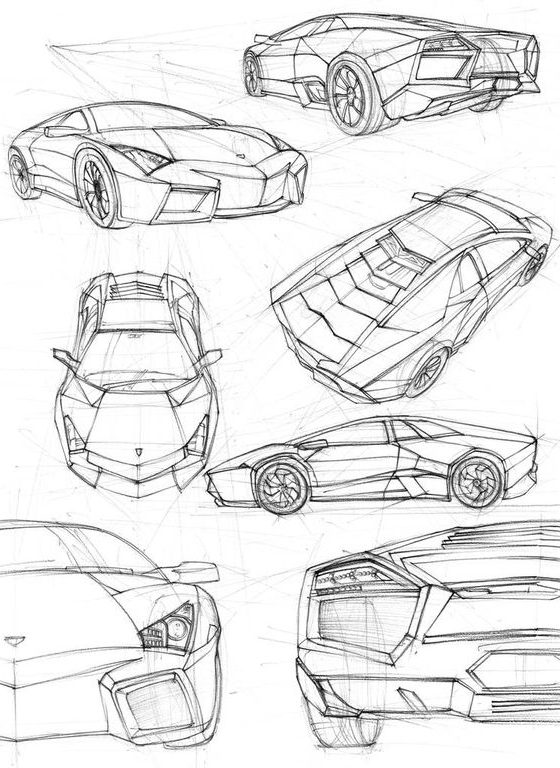
Finish with clean contours — References 19–20
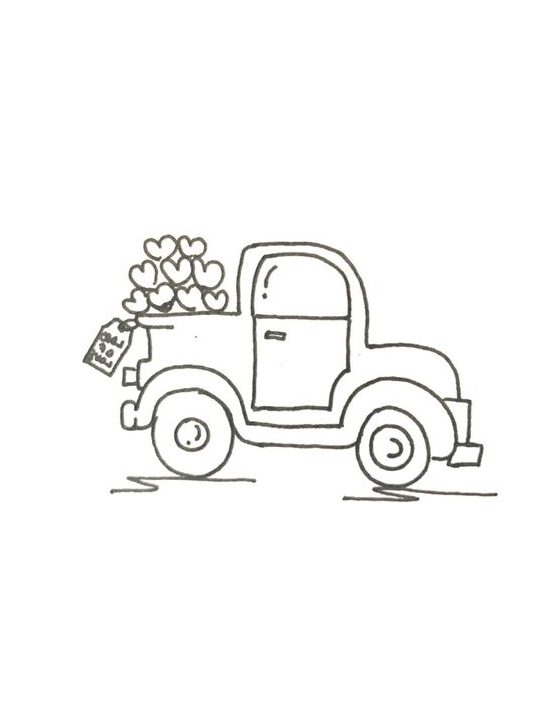
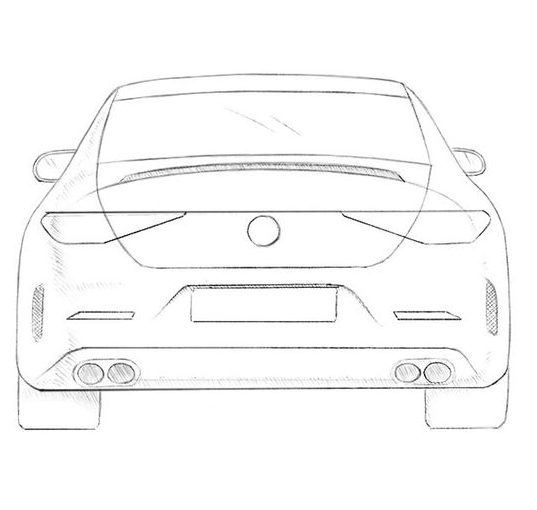
Erase unnecessary guides, strengthen the most important edges and add simple shadows beneath the wheel arches, windows and lower body. You can vary the design by changing the roofline, wheel size, grille or headlight shapes without relying on a specific car brand.
A reliable car-drawing workflow from blank page to finish
- Set the ground and viewing angle. Decide whether you are drawing a side view, front 3/4 or rear 3/4 view before placing details.
- Place the wheel centers. Check the wheelbase, wheel size and relationship to the ground.
- Block the lower body. Use a long box or wedge for the main mass. Keep the hood, doors and rear section inside this structure.
- Add the cabin as one volume. Draw the windshield, roof and rear glass as a connected mass before dividing it into windows.
- Carve the silhouette. Shape the hood, fenders, wheel arches, roof taper and front/rear corners.
- Check the perspective again. Make sure wheel ellipses, body planes and window directions still agree.
- Add design features. Headlights, grille, mirrors, door seams, intakes and spoilers come after the structure works.
- Finish with line weight and value. Separate body paint, glass, tires, wheel wells and cast shadow instead of shading everything the same way.
Do not think of these as eight boxes to tick once. A strong car sketch moves back and forth between them. If the roofline changes, recheck the cabin. If the wheelbase changes, recheck the body proportions. Construction is a feedback loop.
Seven common car-drawing problems and what actually caused them
- The car looks too short or stretched. The wheelbase and front/rear overhangs were probably guessed independently. Re-establish the two wheel centers and measure the body from them.
- The wheels look like they belong to different cars. Compare their centers, diameters and ellipse tilt before touching the rims.
- The car seems to float. Check the tire contact points and add a connected cast shadow under the chassis rather than a detached gray patch.
- The cabin looks pasted onto the body. Redraw the windshield, roof and rear glass as one connected volume.
- The 3/4 view feels twisted. Reduce the car back to its perspective box and wheel centers. One part of the body is probably using a different spatial direction.
- The drawing looks like a toy even with lots of detail. Remove the detail mentally and check the large body planes, wheel scale and cabin proportion. Realism comes from those relationships first.
- The reflections look random. Make each highlight follow the surface it sits on. A reflection across a curved fender should bend with the fender.
Three checks before you add car details
- Wheel centers: do they sit on the same ground system and make sense in perspective?
- Cabin: do the windshield, roof and rear window feel like one solid volume rather than separate shapes?
- Body length: are the hood, cabin and rear section proportioned before you start the grille, lights and rims?
If one of those is wrong, fix it before detailing. A precise headlight on a distorted front end only makes the distortion more obvious.
A 20-minute car practice that teaches more than tracing
- Minutes 1–4: choose one reference and draw only the ground line, wheel centers and a loose body box.
- Minutes 5–8: add the cabin mass, wheel arches and main silhouette. No lights, mirrors or rims yet.
- Minutes 9–12: refine the wheels and perspective. Make the tire ellipses and body planes agree.
- Minutes 13–16: add the largest design features and three broad value groups: body, glass and deep shadow.
- Minutes 17–20: hide the reference and redraw the same car at half the size using only the wheelbase, body mass and cabin silhouette.
The small redraw is the test. If you can rebuild the structure without remembering every headlight line, you learned the car. If you can only reproduce it while copying every contour, repeat the construction stage.
Turn one car into three designs without copying another brand
Take one simple side-view construction and redraw it three times. Keep the wheel centers and overall length the same. Change only the design proportions:
- Compact city car: raise the roof, shorten the hood visually and give the cabin more height.
- Sports car: lower the roof, lengthen the hood shape and reduce the gap between body and wheels.
- Grand tourer or sedan: keep a longer cabin, moderate roof height and more balanced front/rear masses.
This exercise teaches an important idea: car design is largely proportion before decoration. You can change the character of a vehicle dramatically without changing the grille, badge or rim style.
How to sketch a car from a photo instead of a tutorial
Do not trace the visible outline first. Mark the wheel centers, then draw a light box around the full car and another around the cabin. Compare the hood length, roof height and rear overhang against the wheel diameter. Only after those proportions match should you follow the actual body contour.
For a 3/4 photo, look for the direction of the front axle, side sill, window base and roof. Those lines tell you more about the car’s orientation than individual headlights or vents. If the photo has strong lens distortion, copy the visual relationships you see rather than trying to force the car into a perfectly technical perspective diagram.
Car drawing questions
Should I draw the wheels or body first?
Place the wheel centers and rough wheel size first, then build the body around them. You can refine the tire shape later.
Why do my wheels look wrong in a 3/4 view?
You may be drawing them as perfect circles or giving each wheel a different ellipse tilt. Treat them as circles turned in space and compare their centers and axes.
Do I need to know perspective to draw cars?
You need enough perspective to keep the wheels, cabin and body planes in the same space. You do not need architectural precision for every sketch, but the spatial relationships have to agree.
How do I make a car drawing look more realistic?
Improve wheel placement, body proportion, glass/body separation and ground contact before adding more detail. Then use broad reflections and a few dark accents rather than shading every panel equally.
Should I use a ruler?
A ruler can help with perspective boxes and alignment, especially while learning. Redraw the same construction freehand afterward so you also train directional control.
Where to go next
For deeper spatial construction, use the one-point perspective guide. For a different rigid-object problem, the 3D house drawing guide teaches box construction, planes and repeated details. For broader fundamentals, use the beginner drawing tutorial hub.
Reference-use note
This is a legacy drawing collection, and original creator attribution or reuse licensing is not documented for every image. Some references depict recognizable production-car designs. Use them for drawing study and construction practice; do not assume the source artwork or vehicle branding is cleared for commercial republication.

