
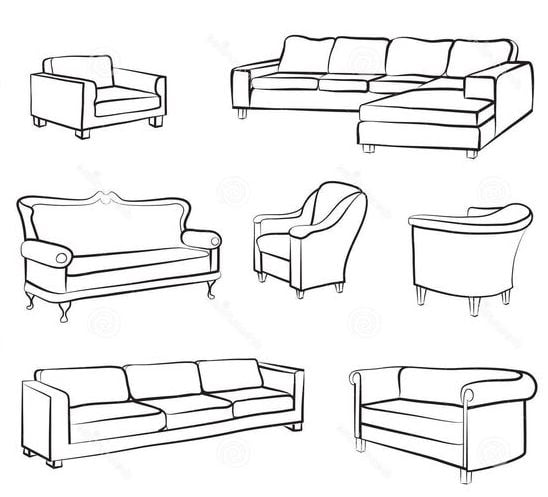
Want to know how to draw a couch or sofa without the cushions drifting out of perspective? These 20 drawing references cover simple front views, side views, three-quarter perspective and softer finished sketches. The easiest method is to build the seat, back and armrests as one simple structure first, then round the forms into cushions. Click or tap any image to open the full-size reference.
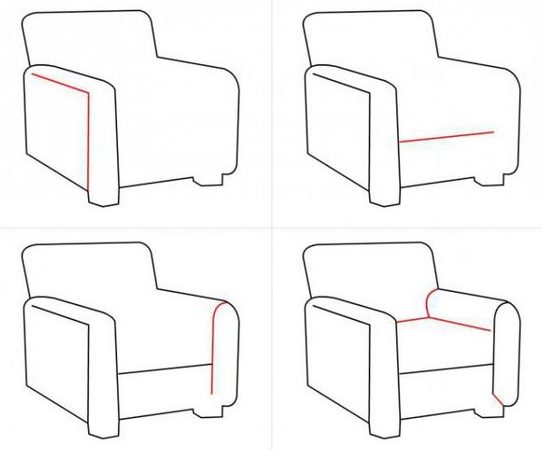
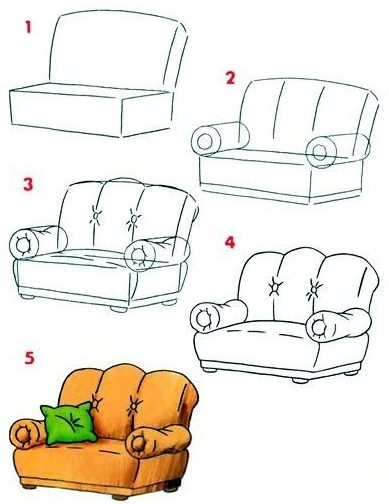
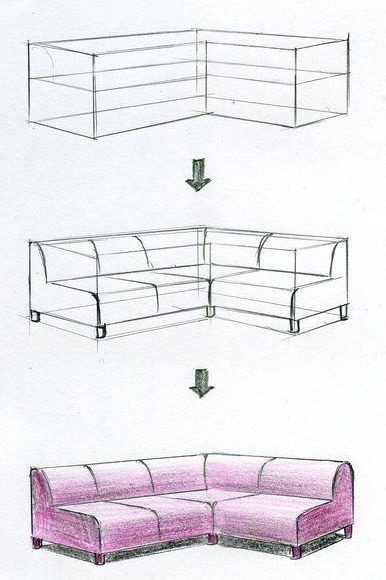
Build the sofa as a box before drawing cushions
A believable couch is easier to draw when you separate construction from upholstery. Work lightly at first; the soft edges come later.
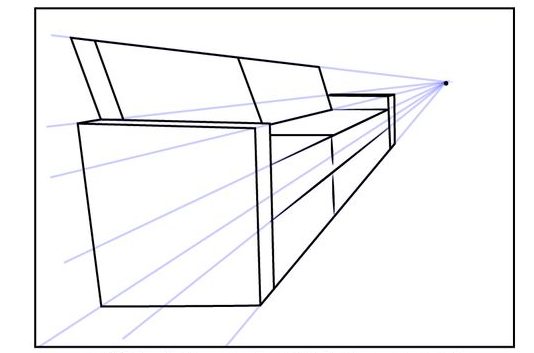
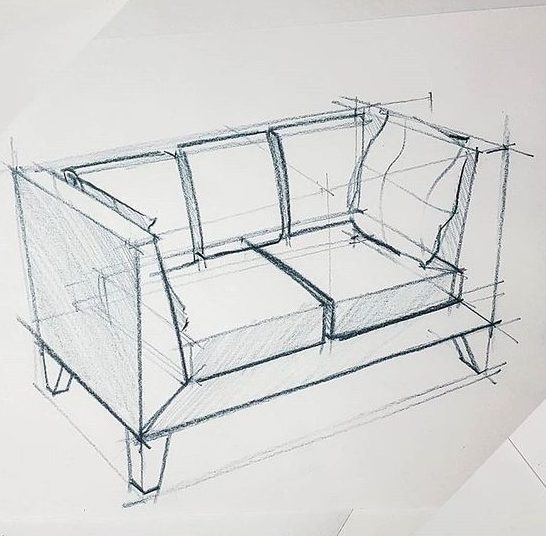
- Block the outer box. Mark the total width, height and seat depth. In a three-quarter view, send the depth edges toward the same vanishing direction.
- Place the seat plane. Draw the front edge, back edge and two side edges as one flat plane. This gives every cushion somewhere consistent to sit.
- Add arms and back. Build them as simple solids attached to the seat box. Check their thickness before rounding corners.
- Divide the cushions. Put seams on the established planes. A seam running away from you should follow the same perspective as the edge beside it.
- Soften selectively. Round cushion corners, show small compression where forms touch, then add the darkest contact shadows underneath cushions and the frame.
Fast perspective check: extend the seat front and back, arm tops and long cushion seams mentally—or with very light guide lines. Lines that represent the same direction should agree. If one cushion seam aims somewhere completely different, fix that before shading; texture will not hide twisted construction.
Jump to: front & simple views · scale & dimensions · perspective · softness & finish
Front and simple sofa studies — References 1–6
Start with the outer box: overall width, seat depth and back height. Leave cushion seams out until that frame makes sense.
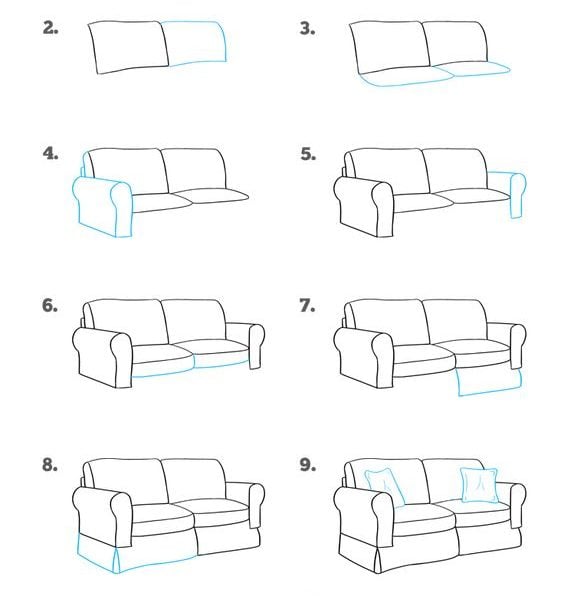
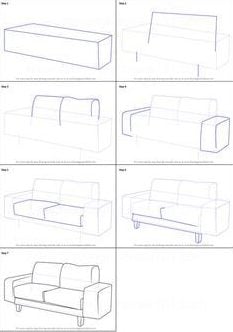
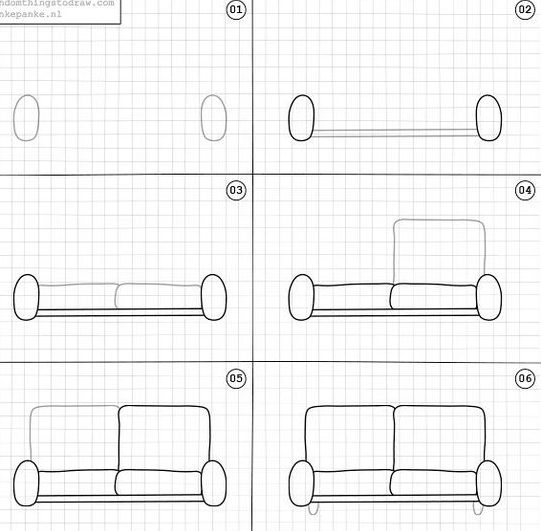
Compare arm thickness and cushion width before adding rounded corners. Those two ratios do a lot of the design work.
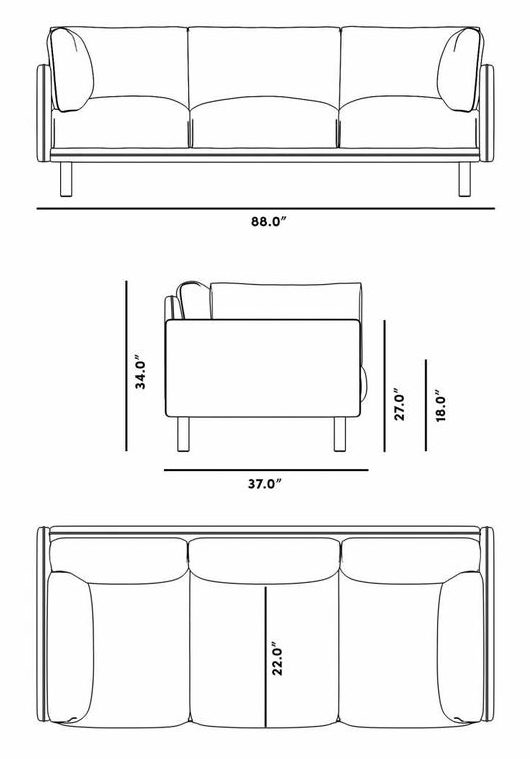
Scale, side views and dimensions — References 7–12
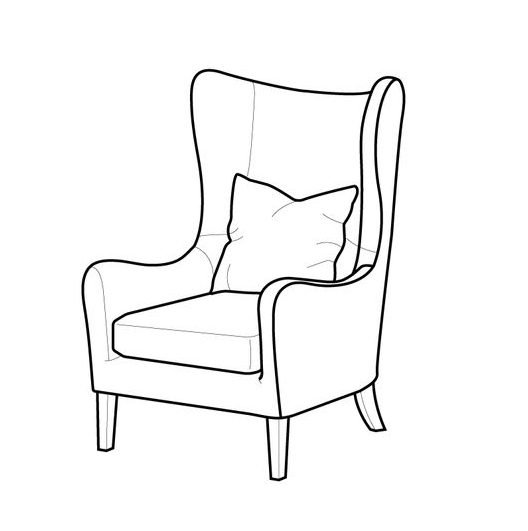
Use alignment as a checkpoint: the backrest, seat front and cushion seams should relate to one another. In a side view, the seat depth and backrest angle are easier to judge because perspective is not hiding them.
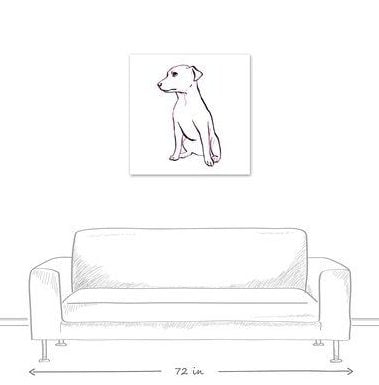
The seated figure is useful as a scale check: look at where the seat reaches the legs and how high the backrest sits behind the torso. Treat those relationships as clues, not universal furniture measurements.
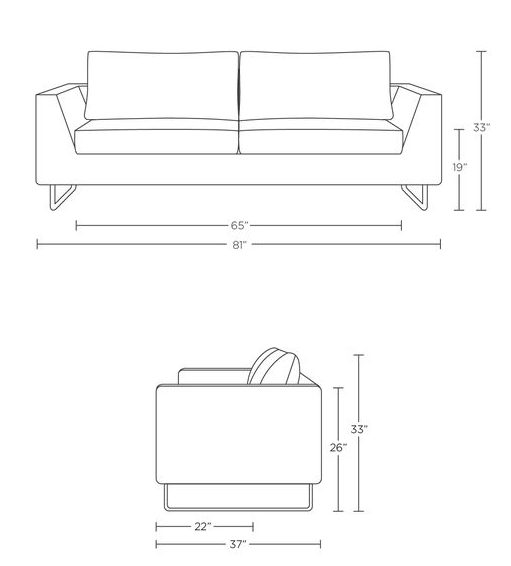
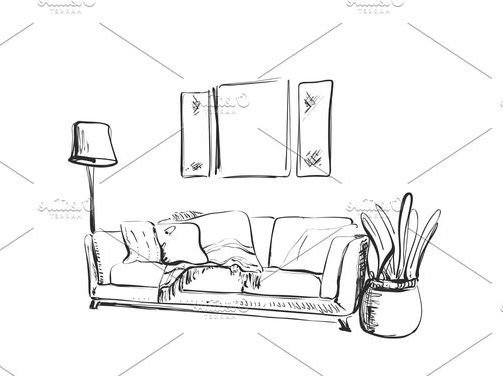
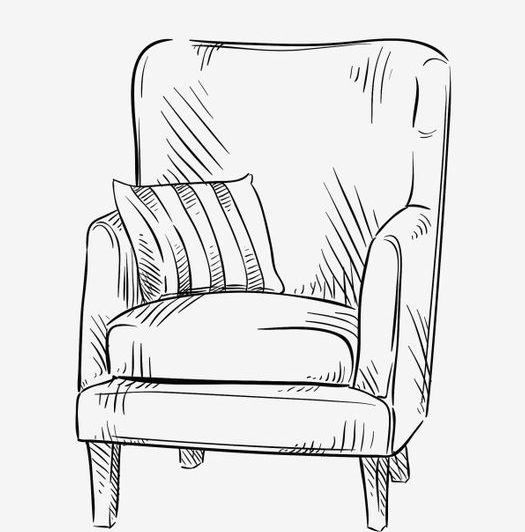
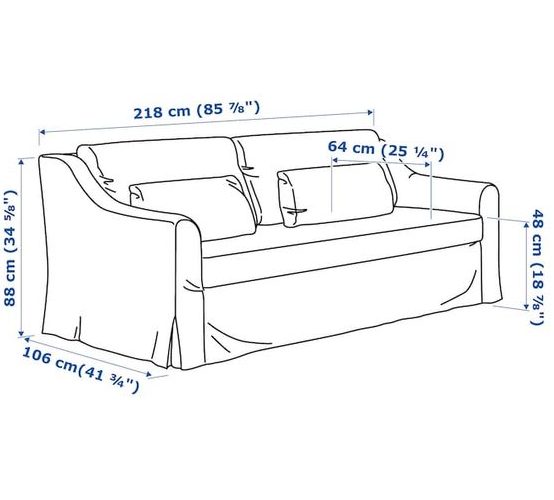
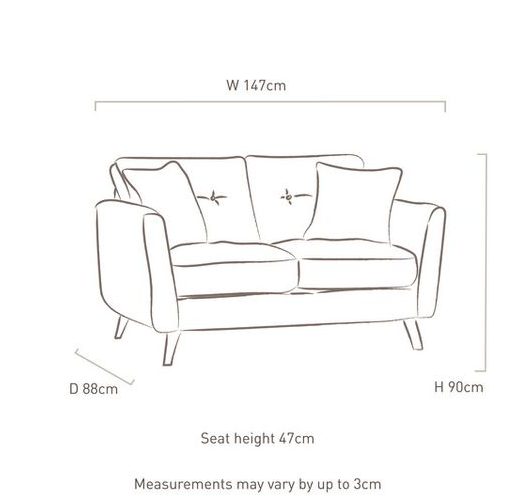
Dimension diagrams are best used for ratios—seat height to total height, depth to back height, arm thickness to cushion width—not as a single “correct” sofa size.
Practice proportions without memorizing furniture measurements
Choose one reference and measure it with your pencil at arm’s length. Treat the visible seat height as one unit. Compare the total height, seat depth, arm thickness and cushion width against that unit. Write the ratios in the margin, then redraw the sofa at a different size using the same relationships. This trains proportion without pretending every couch has standard dimensions.
Draw one sofa from three views
Pick a simple design from References 7–12. Draw it once from the front, once from the side, then invent a three-quarter view. Keep the same arm thickness, seat depth and back angle in all three. If the invented view suddenly looks like a different sofa, compare those three measurements first.
Three-quarter and perspective studies — References 13–15
This is where the drawing usually exposes itself. The seat edges can converge correctly while the cushion seams stay flat. Make the cushions obey the same perspective as the frame.
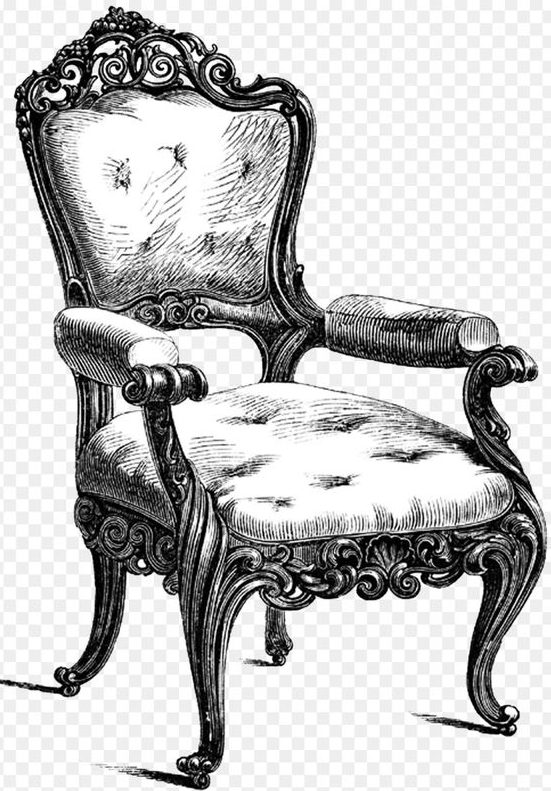
Softness and finished sofa sketches — References 16–20
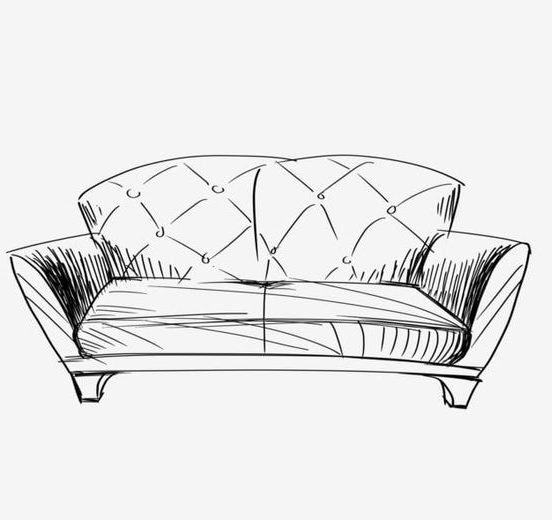
Keep the frame clear, then soften only the cushion edges. A little compression where cushions meet, a rounded front edge and a few folds are enough. If every edge becomes wavy, the sofa loses its structure.
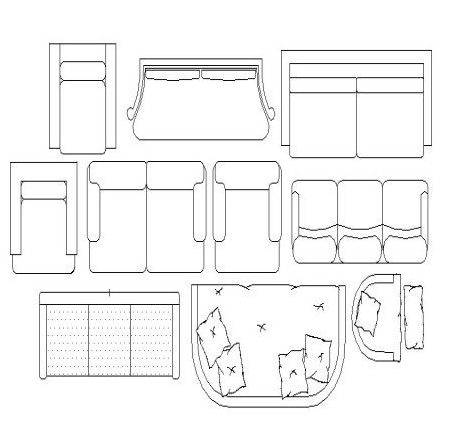
Put the darkest contact shadows under the seat, beneath overhanging cushions and where back cushions meet. Those shadows describe depth better than shading the whole sofa evenly.
Make cushions look soft without melting the frame
Softness comes from compression, not from making every contour wavy. Keep the structural frame comparatively straight. Round the exposed cushion corners, flatten them slightly where they press into an arm or neighboring cushion, and let seam lines wrap around the form rather than sitting on it like decoration.
Use a narrow dark contact shadow where one cushion overlaps another. Keep broad fabric shading lighter. A few directional folds near a compressed corner are more convincing than wrinkles spread evenly across the entire seat.
Common sofa drawing problems
- Twisted perspective: recheck the seat, arm tops and cushion seams against the same vanishing direction.
- Seat looks too shallow: compare its depth with the arm length and with a side-view reference.
- Cushions seem to float: flatten touching edges slightly and add a narrow contact shadow.
- The frame looks melted: restore straighter structural edges and reserve the softer contours for upholstery.
- The sketch feels flat: keep broad shading light and put the darkest values at overlaps, undersides and recesses.
A 10-minute sofa study
- 2 minutes: copy only the outer box and seat plane from one reference.
- 2 minutes: add the arms and back as simple solids.
- 2 minutes: divide the cushions and check every seam against the perspective.
- 2 minutes: round the cushion edges and show compression where forms touch.
- 2 minutes: add only the contact shadows that explain depth, then compare your drawing with the reference.
Repeat with a front view, a side view and then a three-quarter view. The goal is not a polished sofa each time; it is to notice which stage first causes the proportions or perspective to drift.
Three checks before you finish
- Perspective: do seat edges, arms and cushion seams agree?
- Scale: does the seat depth make sense relative to the back and arms?
- Softness: are the cushions rounded without turning the whole frame into a blob?
For room construction, continue with the one-point perspective guide. For a broader object-and-subject library, use the 43 beginner drawing tutorials.


It is hard to draw sofa because I triad one and it was not good.
Wonderful! This is great. I used it for my child’s assignment
Some were pretty hard but it was good, thanks for the step by step drawings
too easy you are so bad if you cant draw.
My classmates helped me with the tutorials and it really helped. Thank you for the tutorial.