
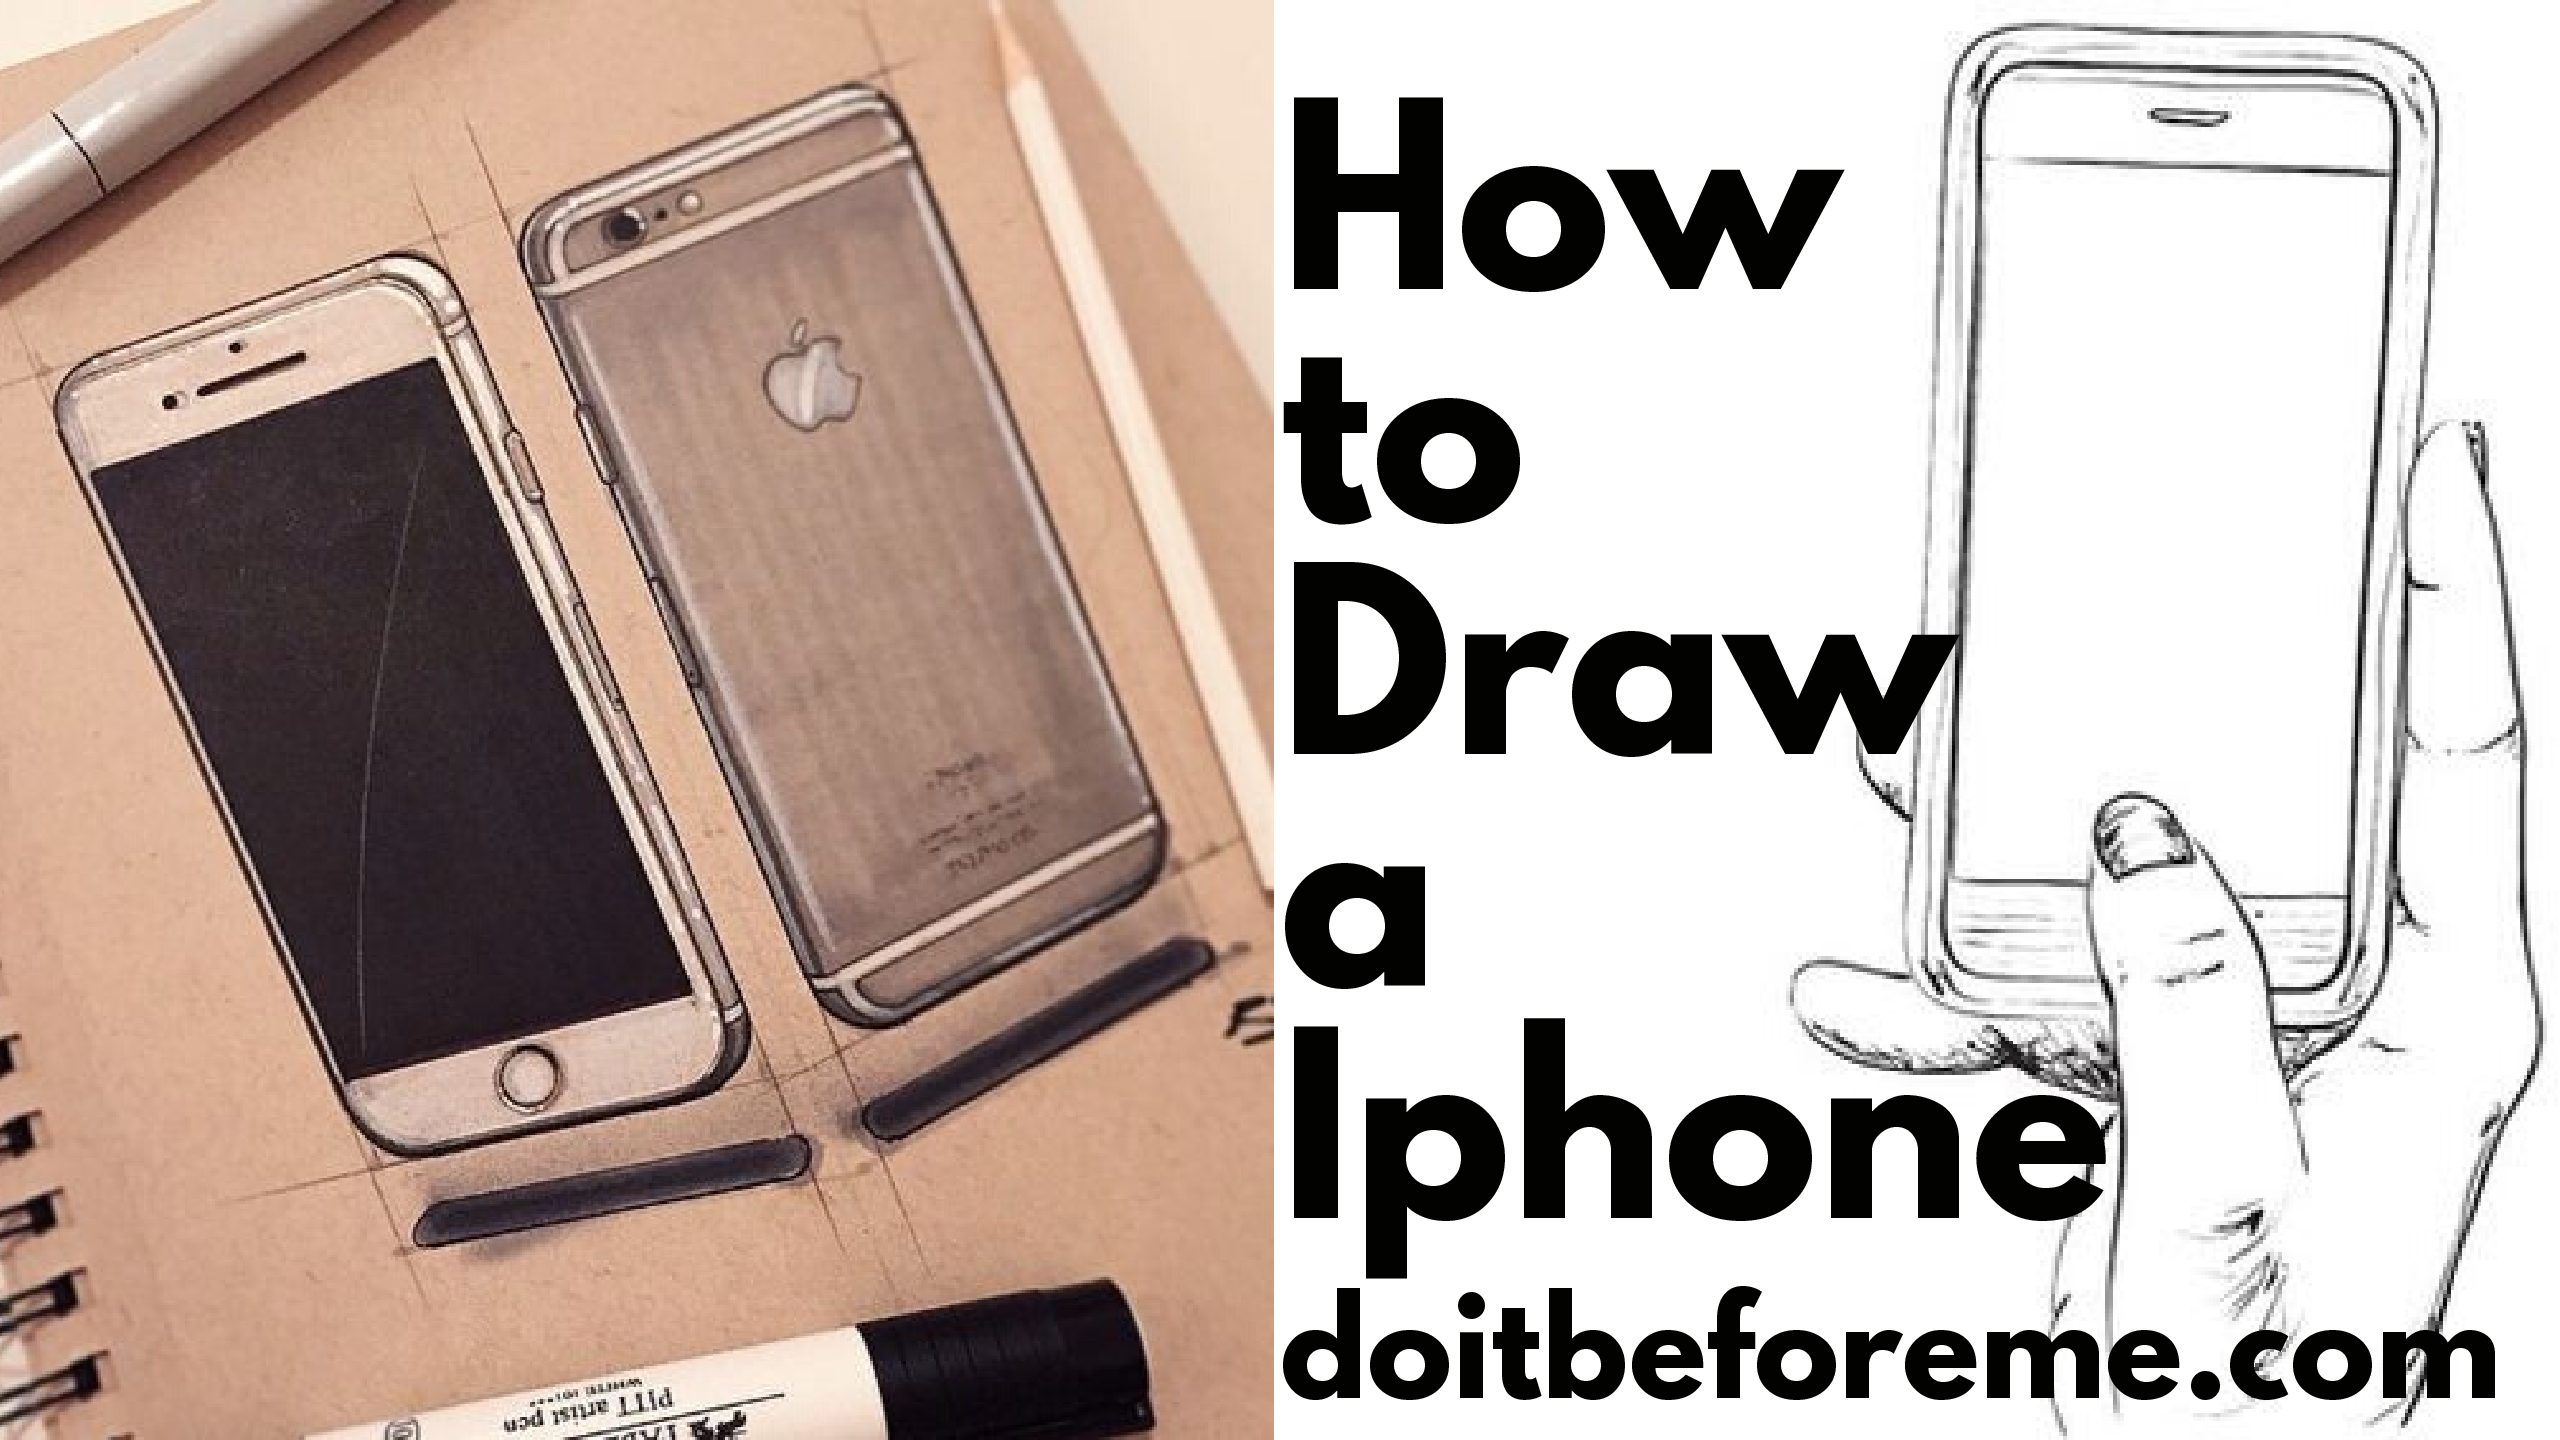
Drawing an iPhone is mostly a proportion exercise: if the outer silhouette, corner radius and screen margins are convincing, the small details become much easier. The six references below cover a straight-on phone, the back and camera area, and several hand-holding-phone poses.
For a first attempt, use a real phone beside your paper. Do not trace it. Compare height to width, notice how far the screen sits from the edge, and check where the buttons and camera shapes fall before you darken any line.
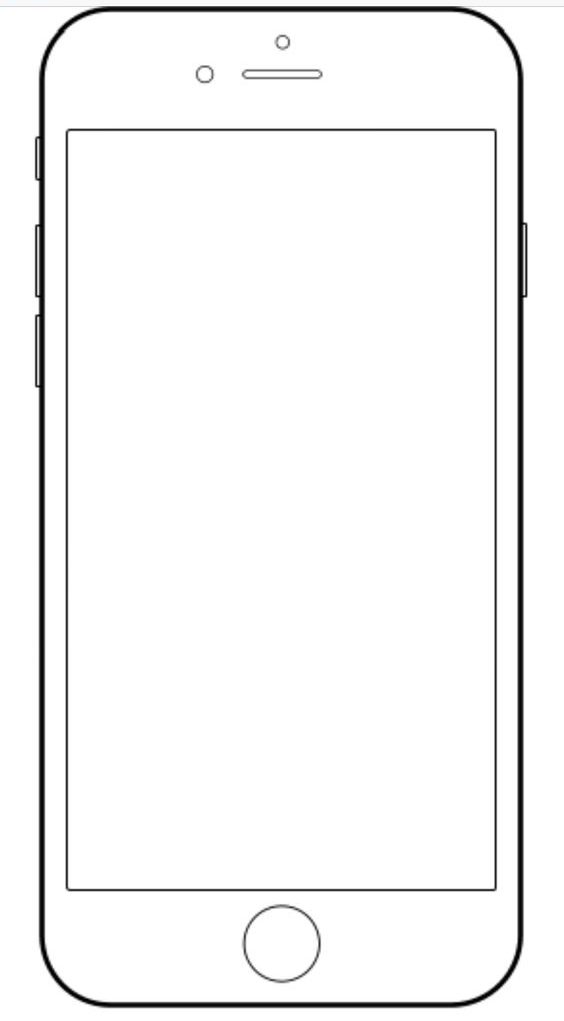
Start with the outer body and screen as two nested rounded rectangles. Keep these construction lines light until their spacing looks even. For older models, add the speaker and Home button only after the main proportions are stable; newer models need different screen details. Erase construction lines last.
Do not shade yet: first compare the phone’s height-to-width ratio and the screen margins with the reference. The references below are designed for straightforward practice: begin with the large shapes, correct the proportions, and add smaller iPhone details only after the silhouette feels right.
Materials for a clean phone sketch
For the image of the phone, you need some kind of canvas. Take a standard piece of paper. True, the pattern will look more spectacular if you choose a medium-grained appearance instead of the usual A4 sheet. It is more pleasant to draw on it and the picture will turn out brighter. Without well-sharpened pencils also can not do. For a smooth transfer of shades in the figure, you need to take pencils with different degrees of hardness.
How to Choose a Pencil
Pencil lead is made from a mixture of clay and graphite. The degree of hardness of a pencil depends on the ratio of these minerals. A soft lead is one that contains more graphite and is darker in color. Solid stylus draws thinly, lightly, it is difficult to grind and leave furrows on paper.
Indicate the hardness and softness of the pencils in ordinary letters and numbers. Marking differs depending on the country of production.
Another obligatory subject for drawing is an eraser. A stick is also needed to grind the phone’s hatching lines (a cone twisted from a regular sheet of paper is suitable for home drawing). Such a simple device will allow rubbing sketches, creating a uniform color. And also real artists recommend not to forget to begin craftsmen about a good mood.
The image of household items is much simpler, as they are always at hand. And you can see how to draw a phone at any time. Drawing something from nature is another plus. Starting an image is worth creating simple contours. The sketch is done with thin lines. Thick lines are then more difficult to correct.
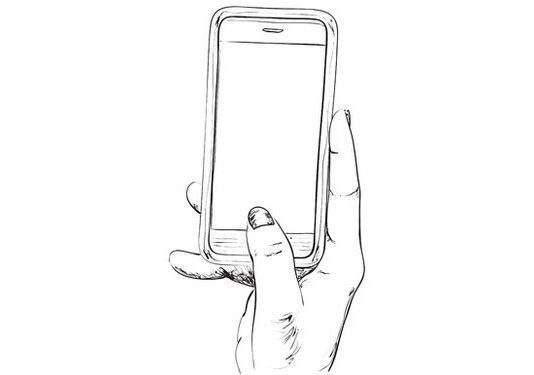
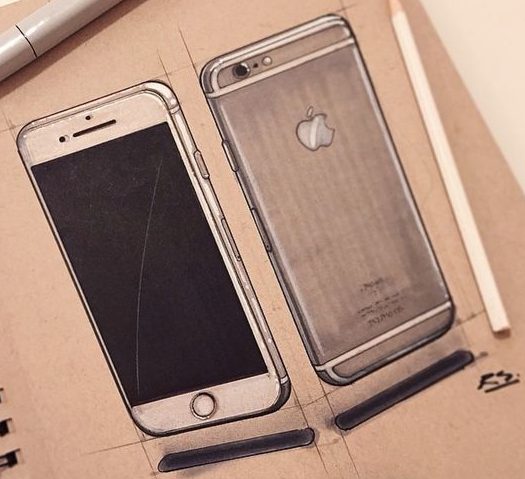
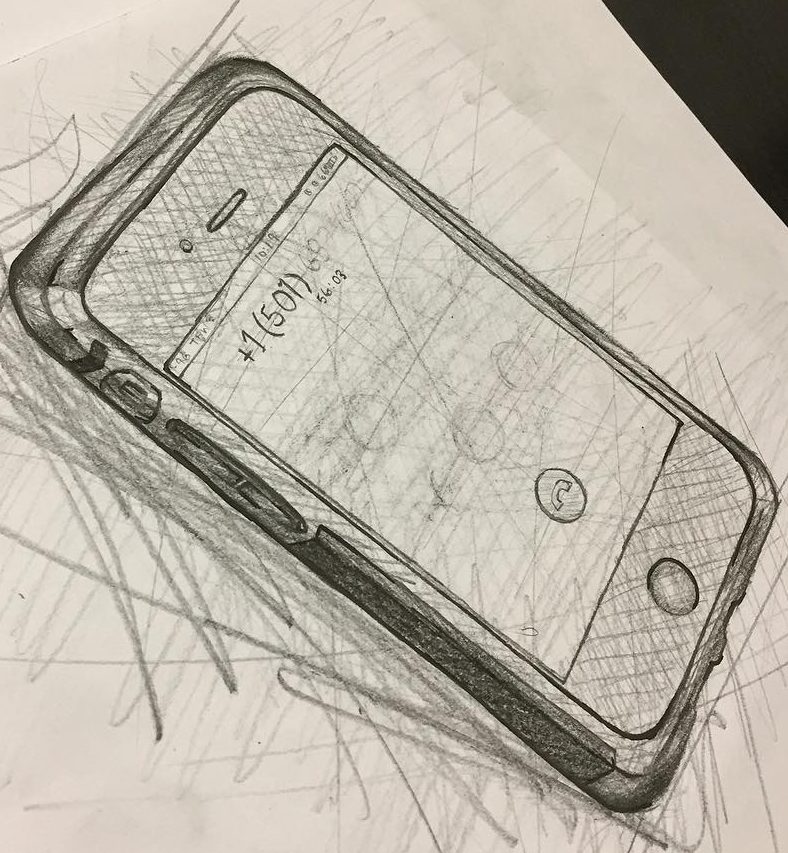
How to Draw an iPhone Step by Step
For a simple iPhone drawing, build the phone from large shapes before adding the camera, screen and small details:
- Mark the center. Lightly place the phone on the page so there is even space around it.
- Draw the body. Sketch a tall rectangle with gently rounded corners.
- Add the screen. Draw a second rounded rectangle inside the body, keeping the border even.
- Choose the model details. Older iPhones can include a circular Home button; newer models use an edge-to-edge screen with a notch or Dynamic Island.
- Add cameras and buttons. Place the rear camera lenses, side button and volume controls using your chosen iPhone model as reference.
- Clean and shade. Erase construction lines, strengthen the final contour and add light shading to give the phone depth.
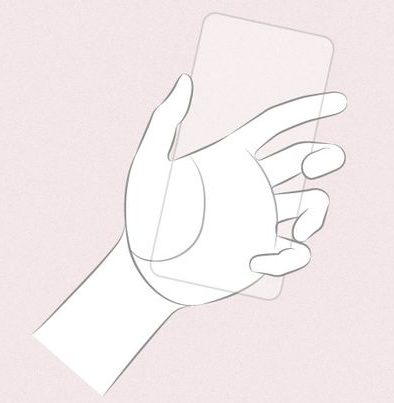
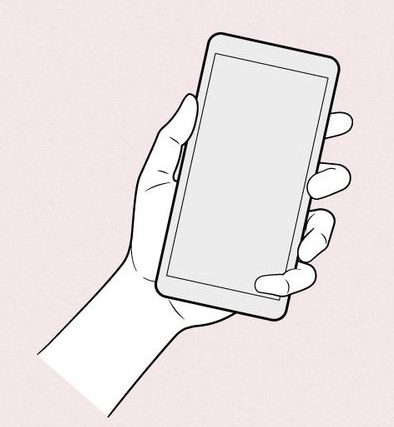
If you want to practice the hand holding the device as well, use our easy hand drawing references. For more beginner practice, see the step-by-step drawing tutorials.
Although landline phones are not so popular today, consider the option of drawing and this mechanism on the buttons.
First, draw a rectangle. Inside this figure, we draw small ovals (they are in the future the buttons of the phone). Then draw the contour of the tube and “attach” a spiral-shaped wire to it. We round off the telephone receiver, finish it. We are finalizing the panel and small details on the device. The final step is to create shadows to give the picture a 3D effect.
Check the drawing before you shade it
Before adding graphite, compare the sketch with the reference at arm’s length. Check the outer width first, then the screen margins, corner radius and camera placement. If one side feels heavier, turn the page upside down for a few seconds; asymmetry becomes easier to spot when you stop reading the object as a phone.
A 10-minute iPhone drawing practice
- 2 minutes — silhouettes: draw three phone bodies at different sizes with no details. Concentrate only on height, width and corner radius.
- 3 minutes — screen spacing: inset a screen on each body. Compare opposite margins instead of estimating them independently.
- 3 minutes — one detail: enlarge either the camera group, side buttons or a hand grip and study that part separately.
- 2 minutes — memory redraw: hide the reference, draw one simple phone again, then compare it and circle the single biggest proportion error.
Common iPhone drawing problems
The phone looks too wide
Ignore the details and compare height to width again. Correct the body before touching the camera or screen.
The rounded corners look uneven
Draw the straight sections first and stop them at matching distances from each corner. Connect those endpoints with light quarter-curves.
The hand looks stiff
Block the palm, thumb and grouped fingers before drawing individual knuckles. The phone should stay rigid while the fingers wrap around it.
iPhone drawing FAQ
What pencil should I use?
An HB pencil is enough for construction and clean line work. Add a 2B only if you want darker shadows.
Should I use a ruler?
Use one for a precise product-style study. For sketch practice, freehand the long edges first so you also train line control and proportion.
How do I draw a newer iPhone model?
Keep the same construction method, but use the exact model as reference for its camera arrangement, screen treatment and button positions. These drawings are pose and proportion references, not a specification sheet for every iPhone generation.
More iPhone Drawing Tips
On a piece of paper, draw a vertical line, as if dividing it into two halves. Further along its sides we draw a rectangle and give it roundness. Then we repeat the case of the iPhone, draw the details: on the rectangle above and below we draw horizontal lines, at the bottom draw a circle (this is a button), and inside it is a small oval. In the upper part, we draw the receiver. The phone can be painted in the end, but it will look more realistic without bright colors.


ohhh yes!