
One-point perspective is easiest to understand when you can see the vanishing point working. This page gives you 17 references, but start with the simplest examples before moving into rooms, houses and city scenes. Click or tap any image to open the full-size reference.
Jump to: beginner practice · how it works · rooms & hallways · houses · streets & cities · common mistakes
Easy one-point perspective references — Sheets 1–3
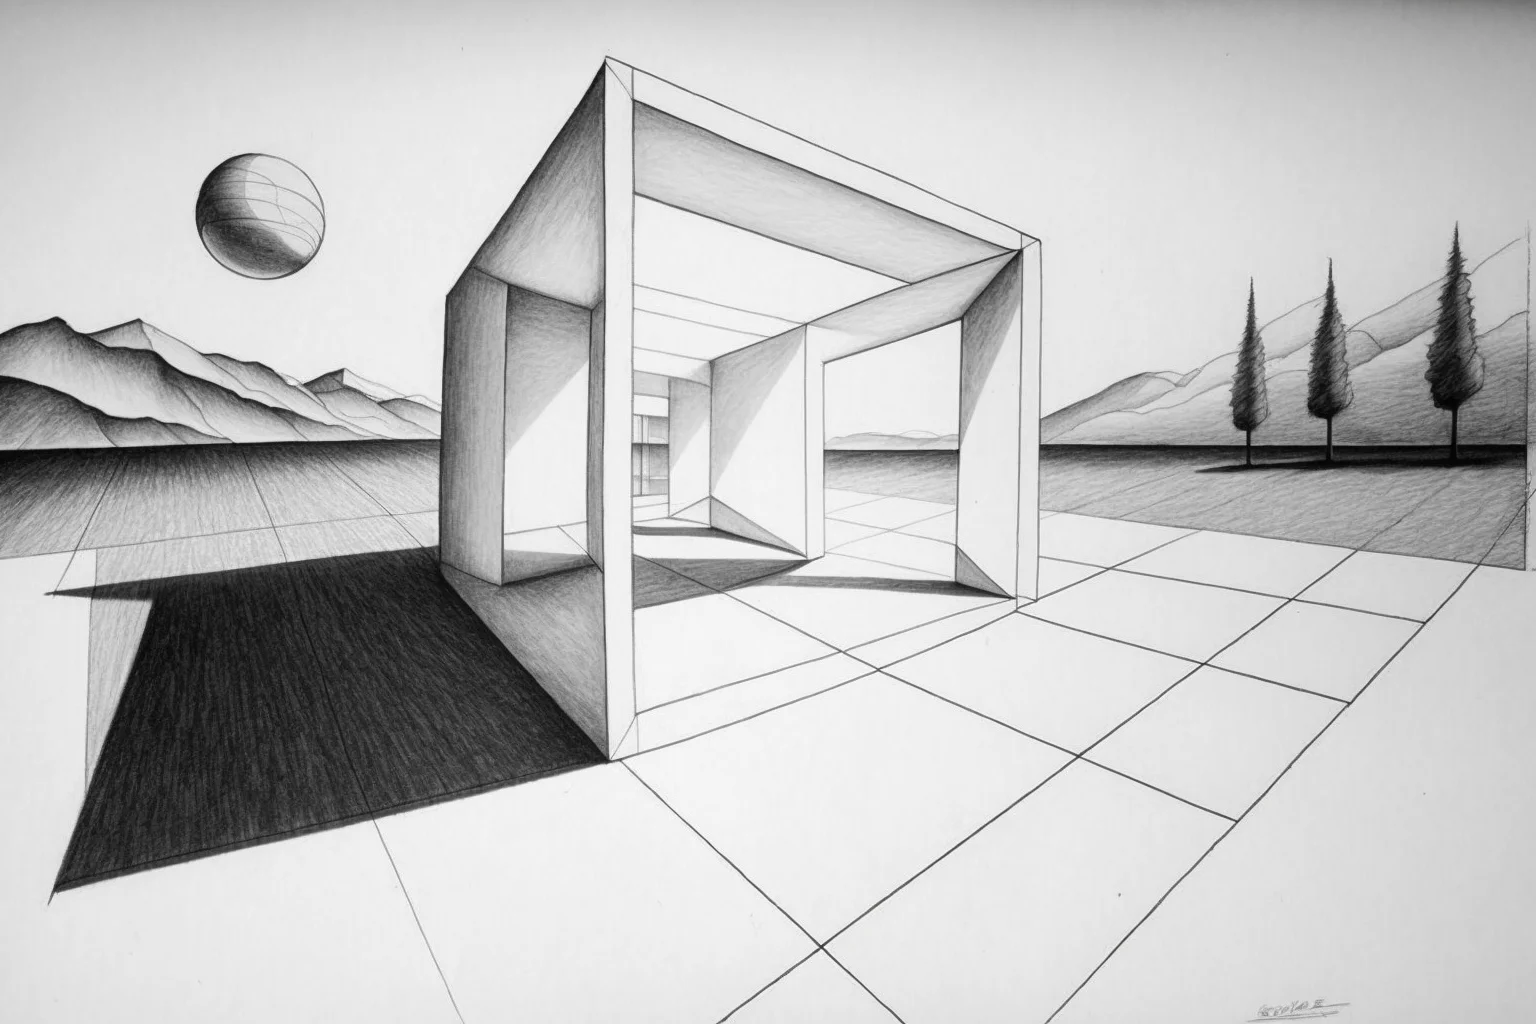
Start with Sheet 1. Before copying details, find the horizon line and the single point toward which the receding edges appear to travel. That one observation is more important than drawing neatly.
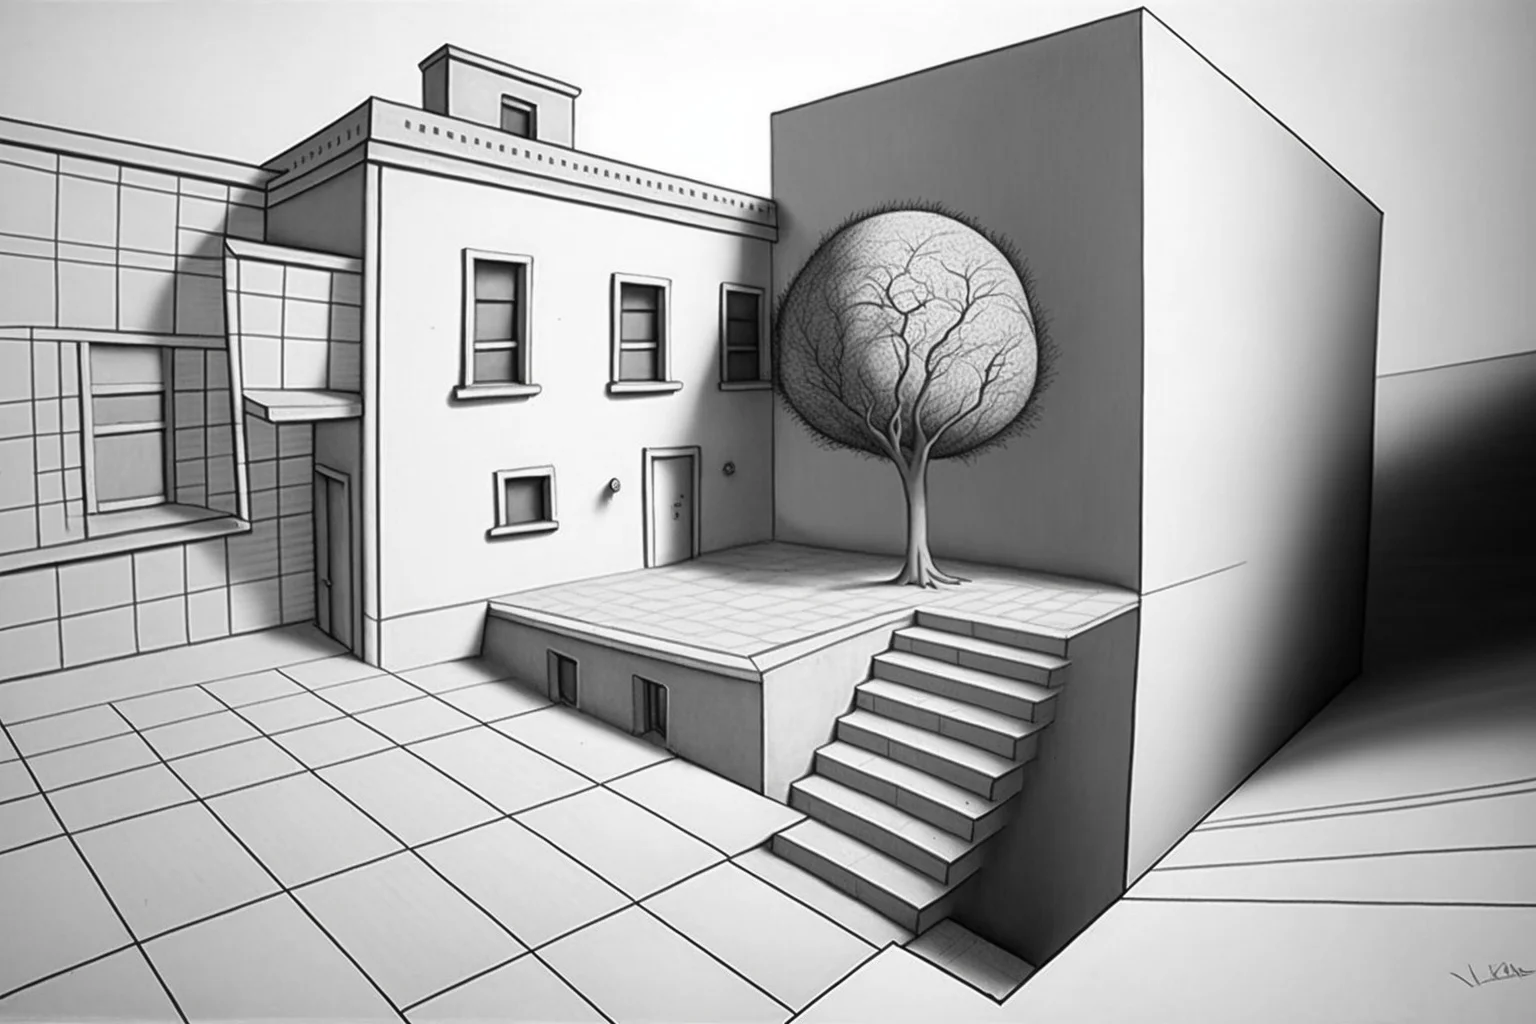
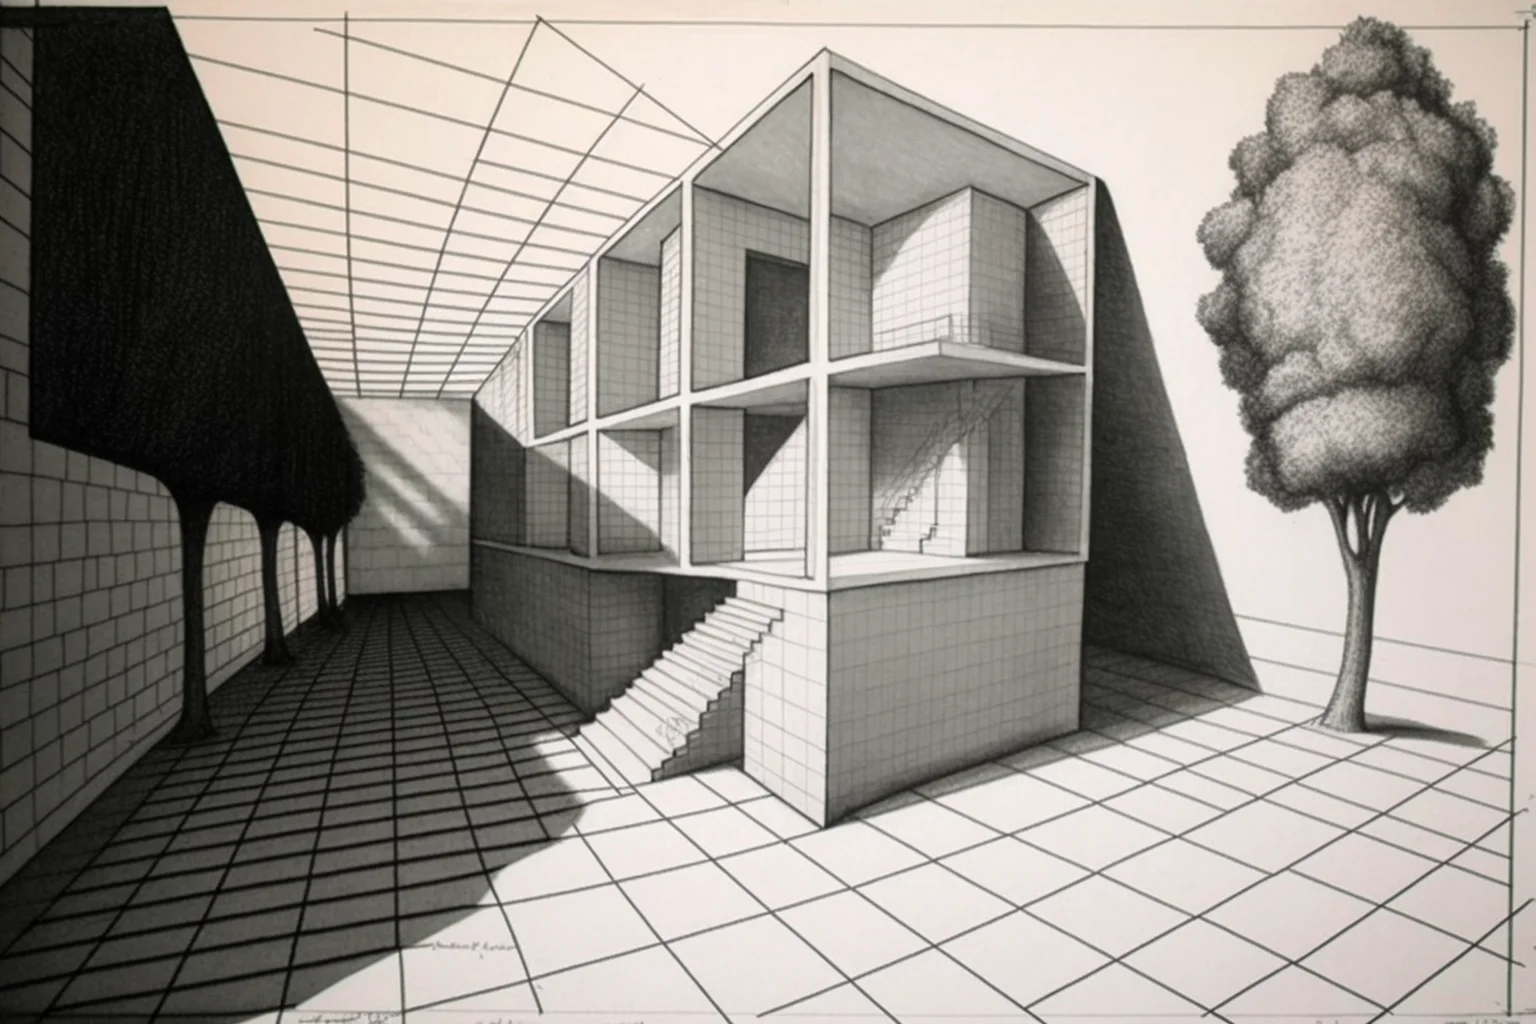
How one-point perspective actually works
In a basic one-point setup, objects that face you keep their front edges horizontal and vertical. Only the edges moving away from you aim toward the vanishing point. That is why a box can look three-dimensional even though its front face is just a rectangle.
| Part | What it does | Beginner mistake |
|---|---|---|
| Horizon line | Represents your eye level | Putting it somewhere arbitrary after the scene is already drawn |
| Vanishing point | Controls the dominant direction of depth | Using several accidental points |
| Orthogonal lines | Receding lines that travel toward the vanishing point | Eyeballing them so they almost, but not quite, converge |
| Verticals | Keep walls, doors and upright objects standing straight | Tilting them toward the vanishing point |
| Horizontals | Keep front-facing tops, bottoms and cross-lines level | Making every line diagonal because the drawing is “perspective” |
A reliable 7-step construction
- Draw the horizon line. Put it high for more floor, low for more ceiling/sky, or near the middle for a balanced view.
- Place one vanishing point. Keep it visible while you construct the scene.
- Draw a front-facing shape. A rectangle is enough for your first box, doorway or end wall.
- Send the depth edges to the vanishing point. Use very light guide lines.
- Decide how deep the object is. Close the form with new vertical or horizontal edges.
- Repeat the same logic for furniture, windows, road edges or buildings. If an edge moves away from you in the same direction, it should respect the same vanishing point.
- Erase construction lines last. Do not clean too early; the guides are what keep the scene consistent.
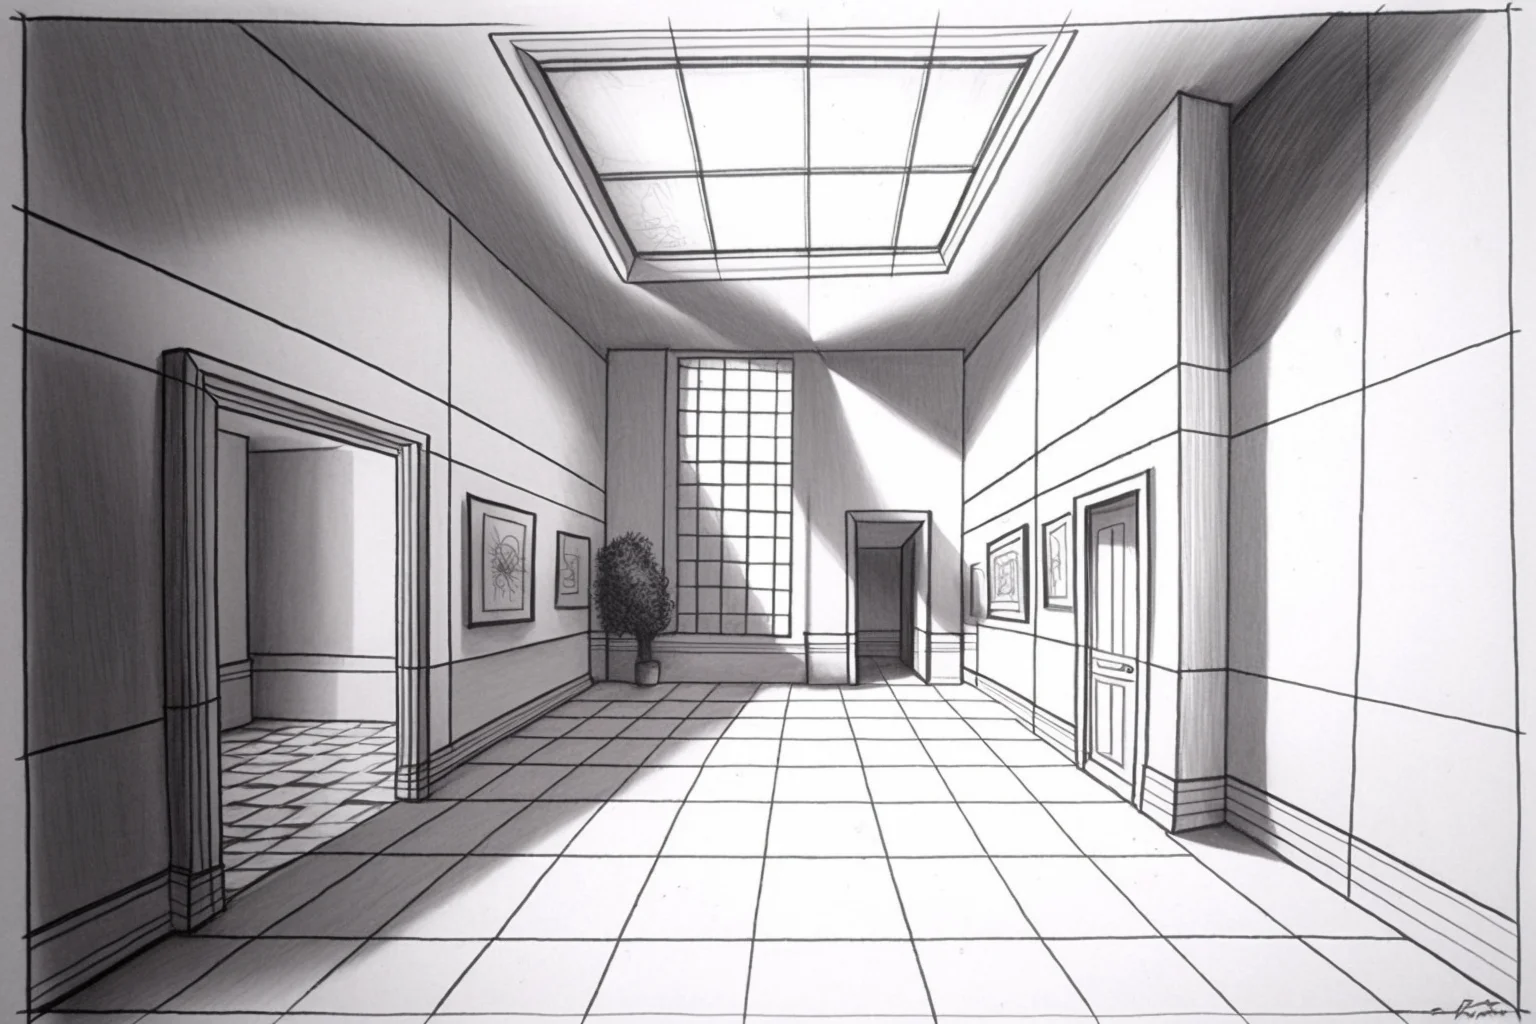
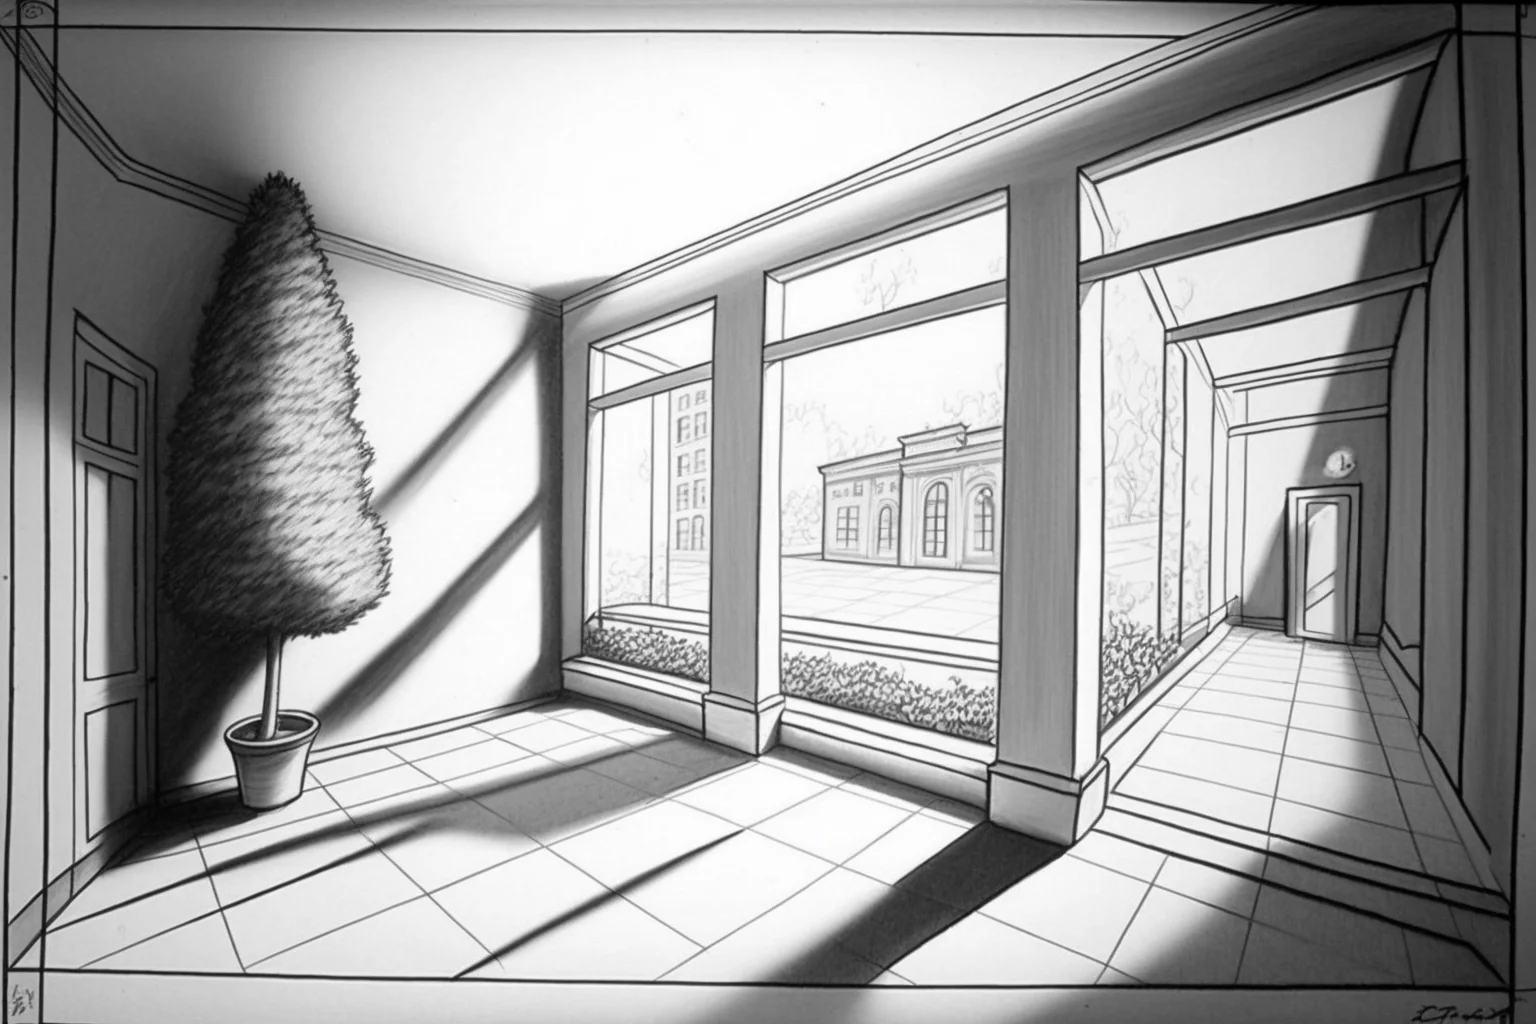
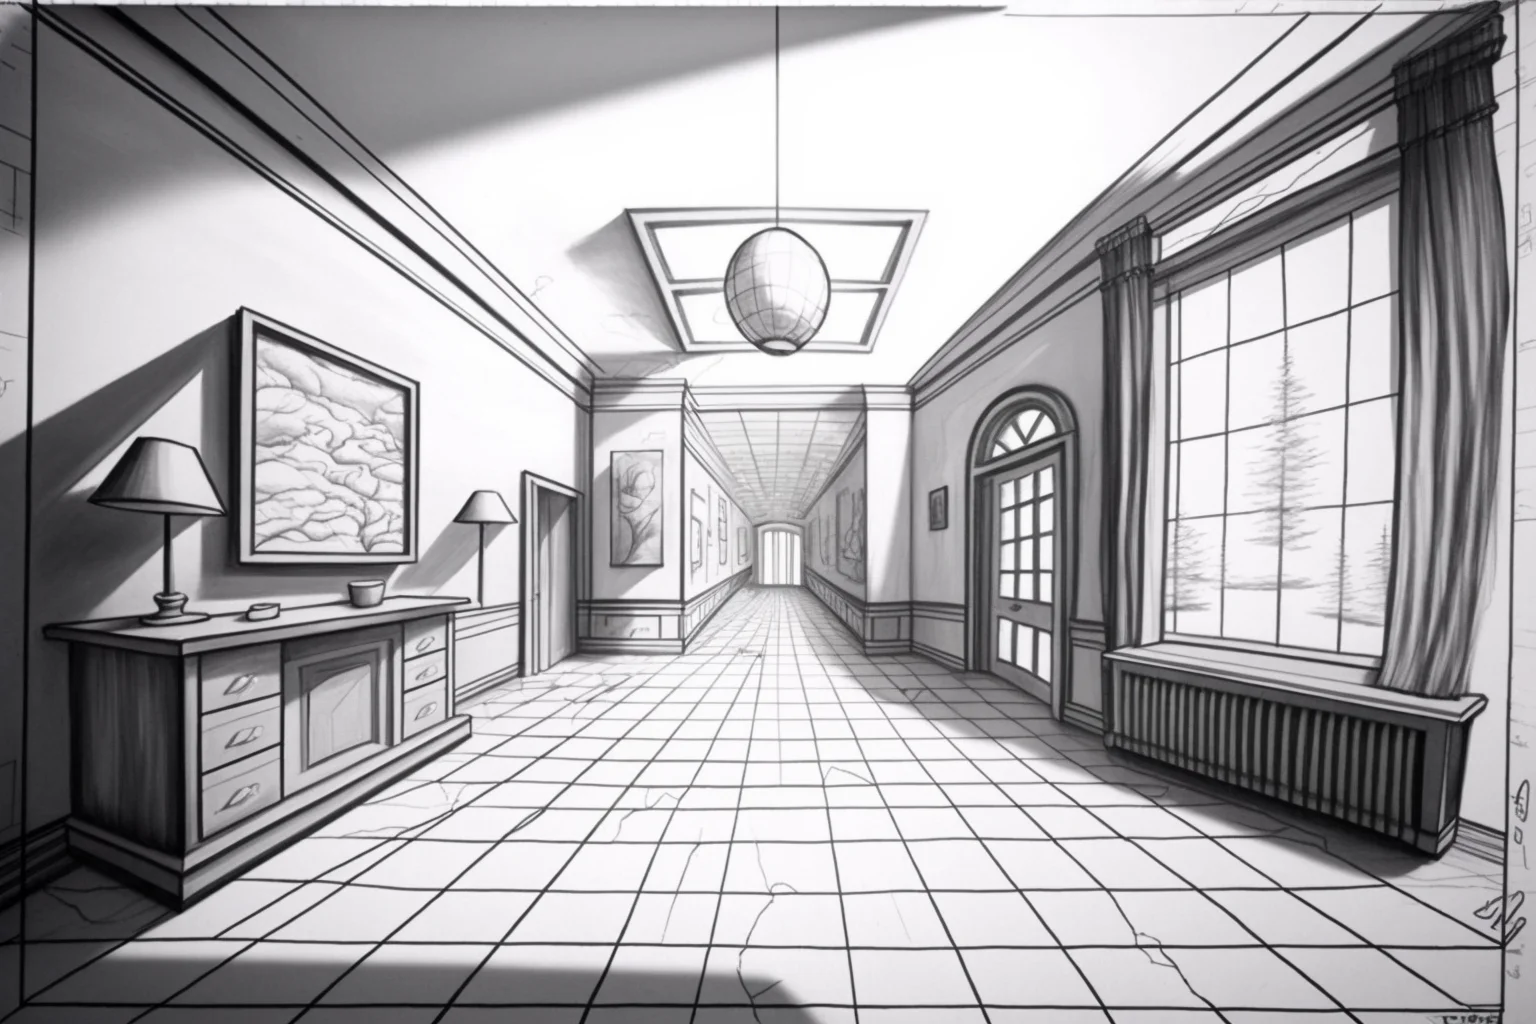
Rooms and hallways — Sheets 4–8
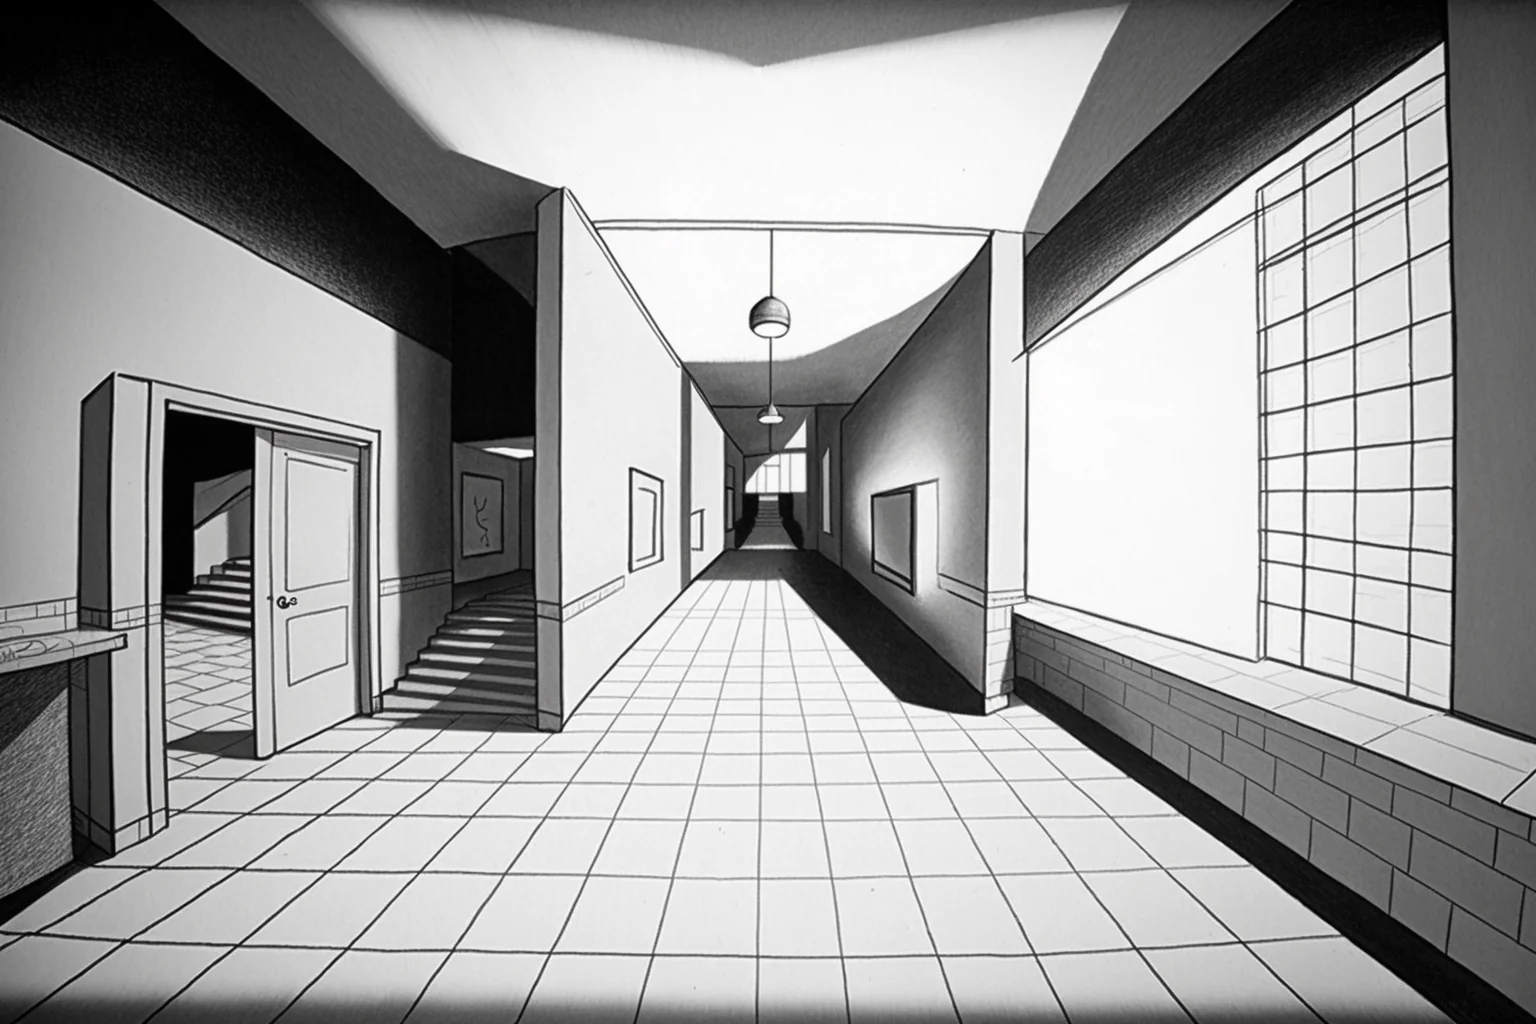
Rooms are one of the best exercises because the structure is easy to check. The floor, ceiling and side walls give you obvious lines to aim toward the vanishing point. Add furniture only after the room shell makes sense.
House perspective references — Sheets 9–12
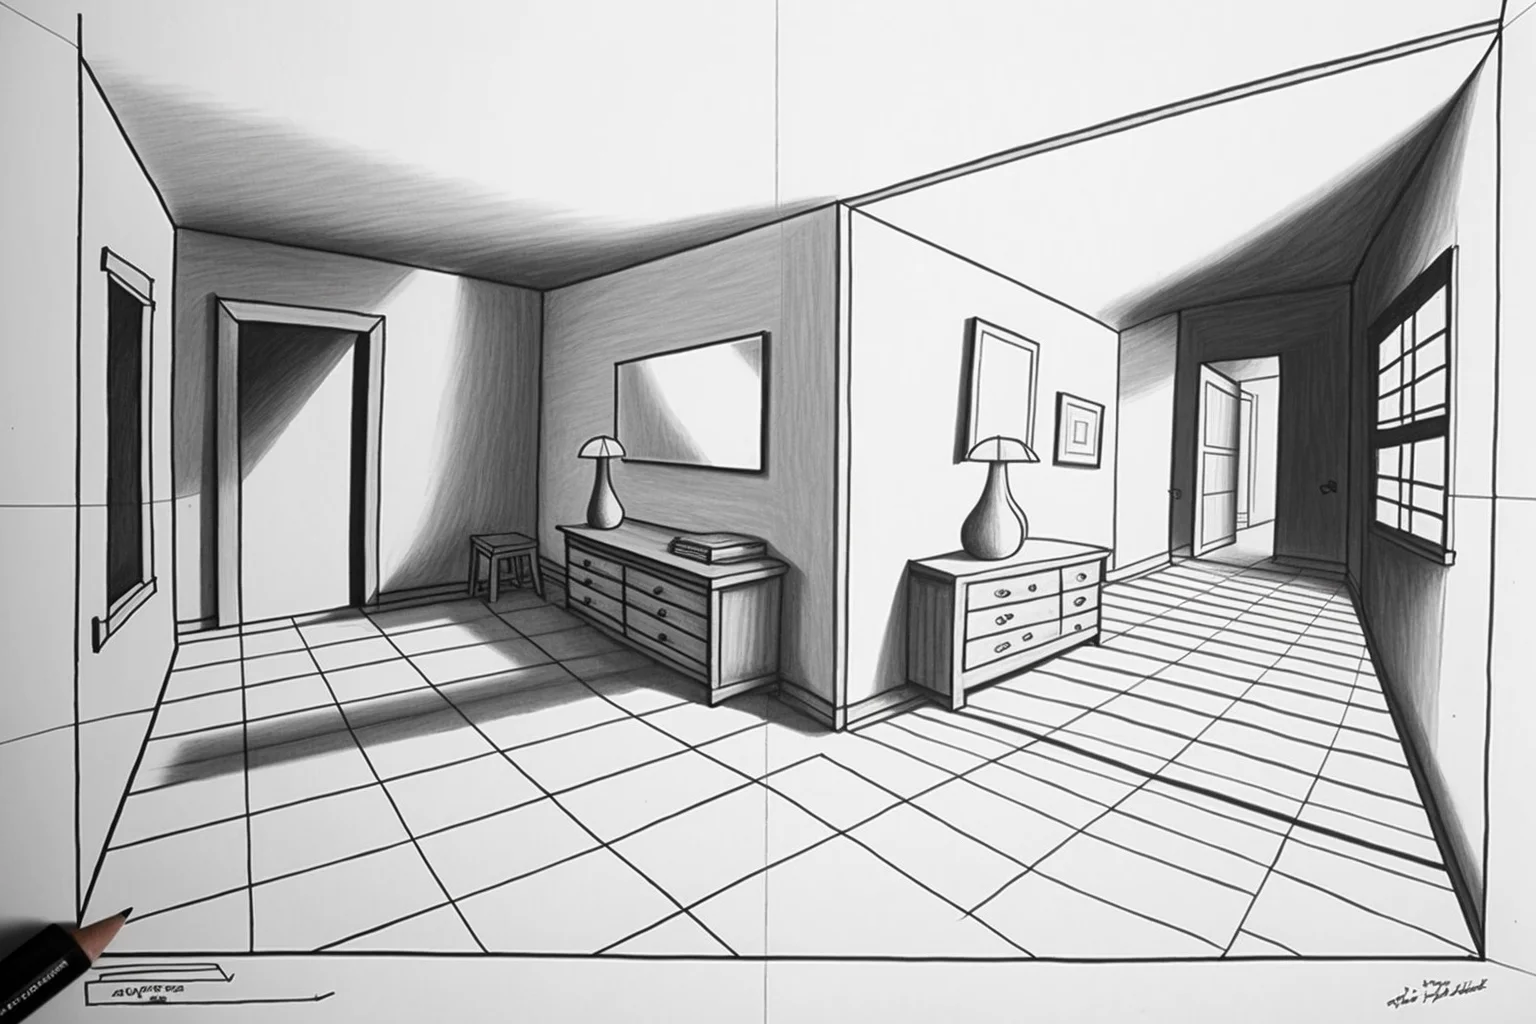
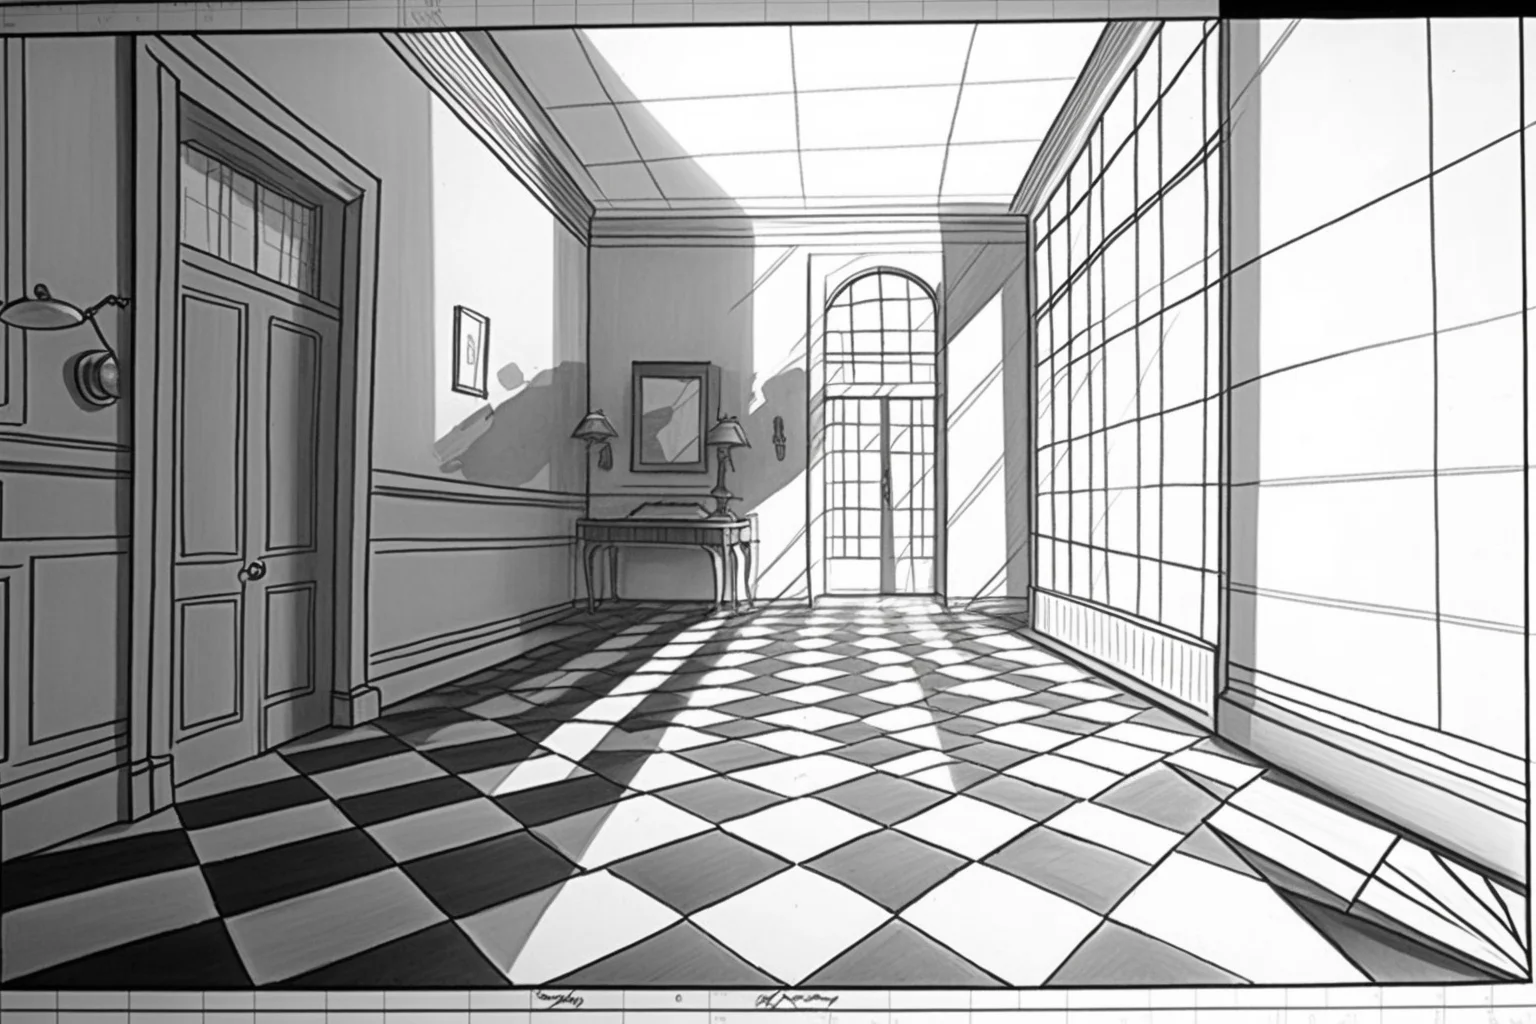
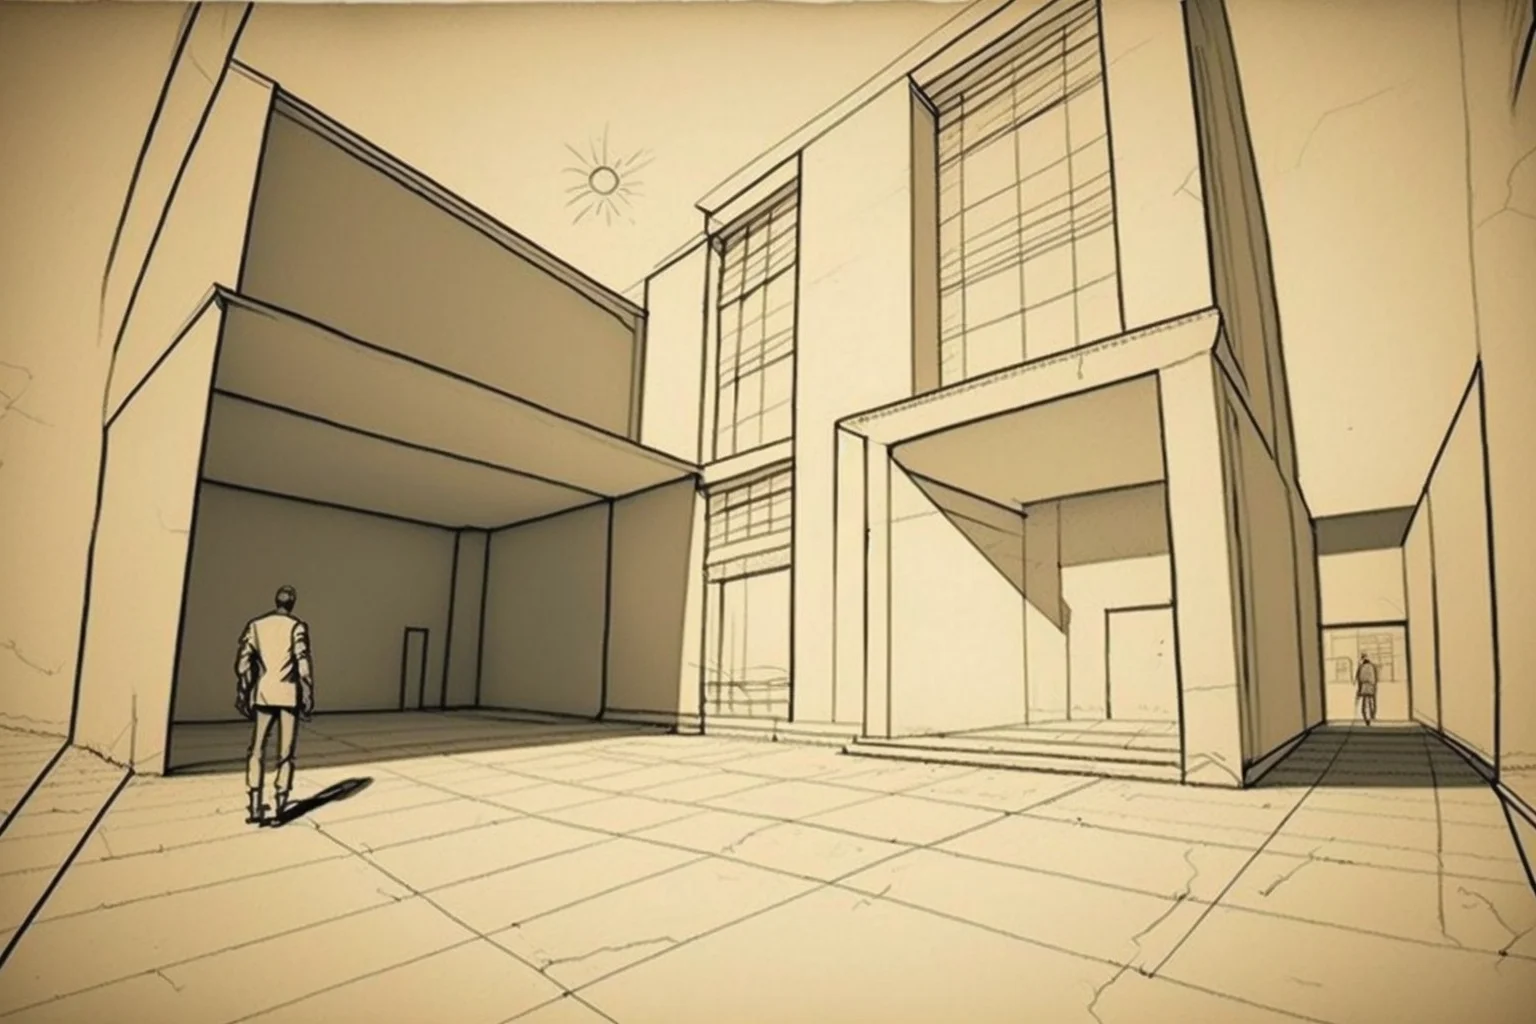
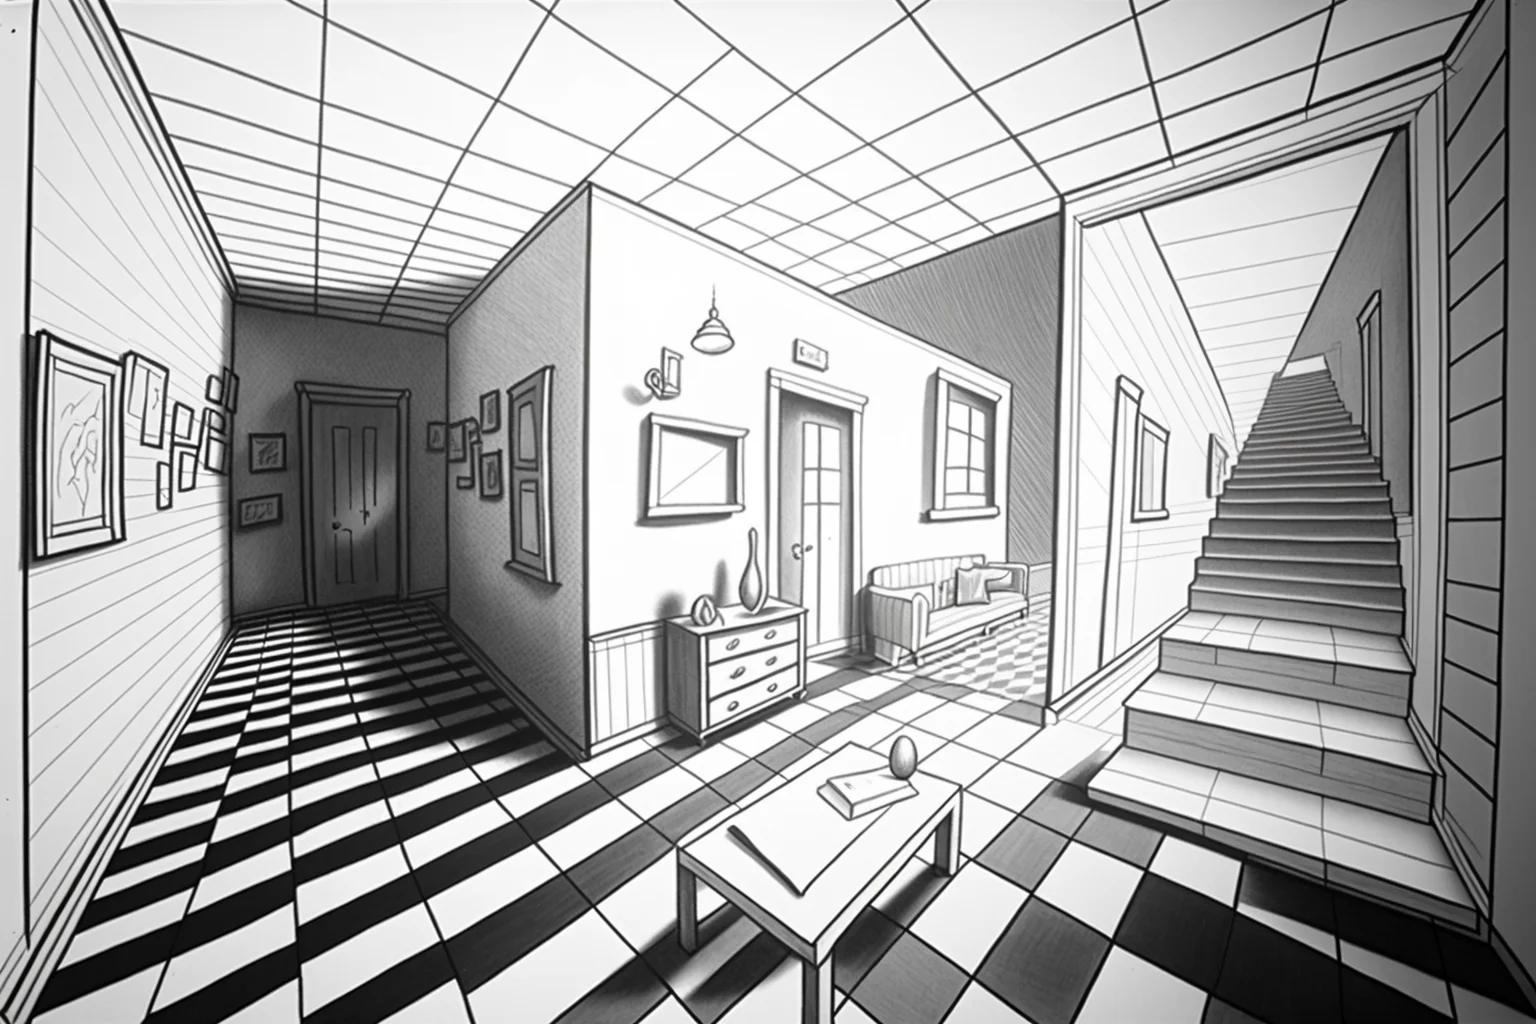
Houses are harder than rooms because roofs, porches and projecting forms can introduce extra directions. Use these as references for depth and construction, but check the receding edges before assuming every line belongs to a single vanishing point.
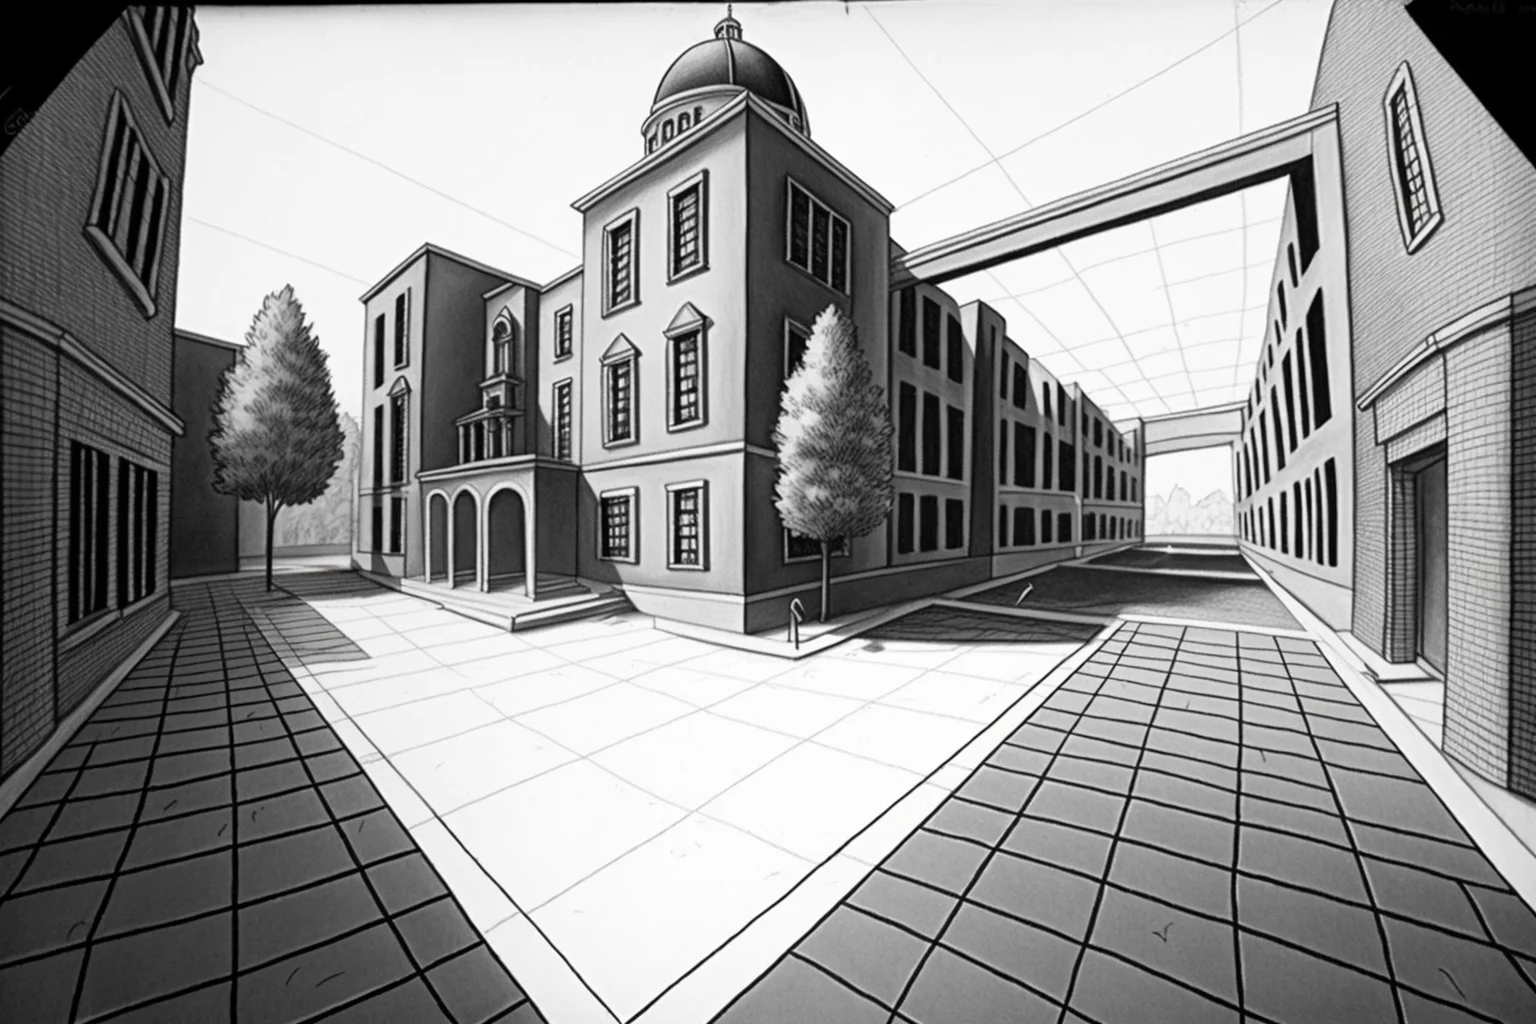
Street and city perspective — Sheets 13–15
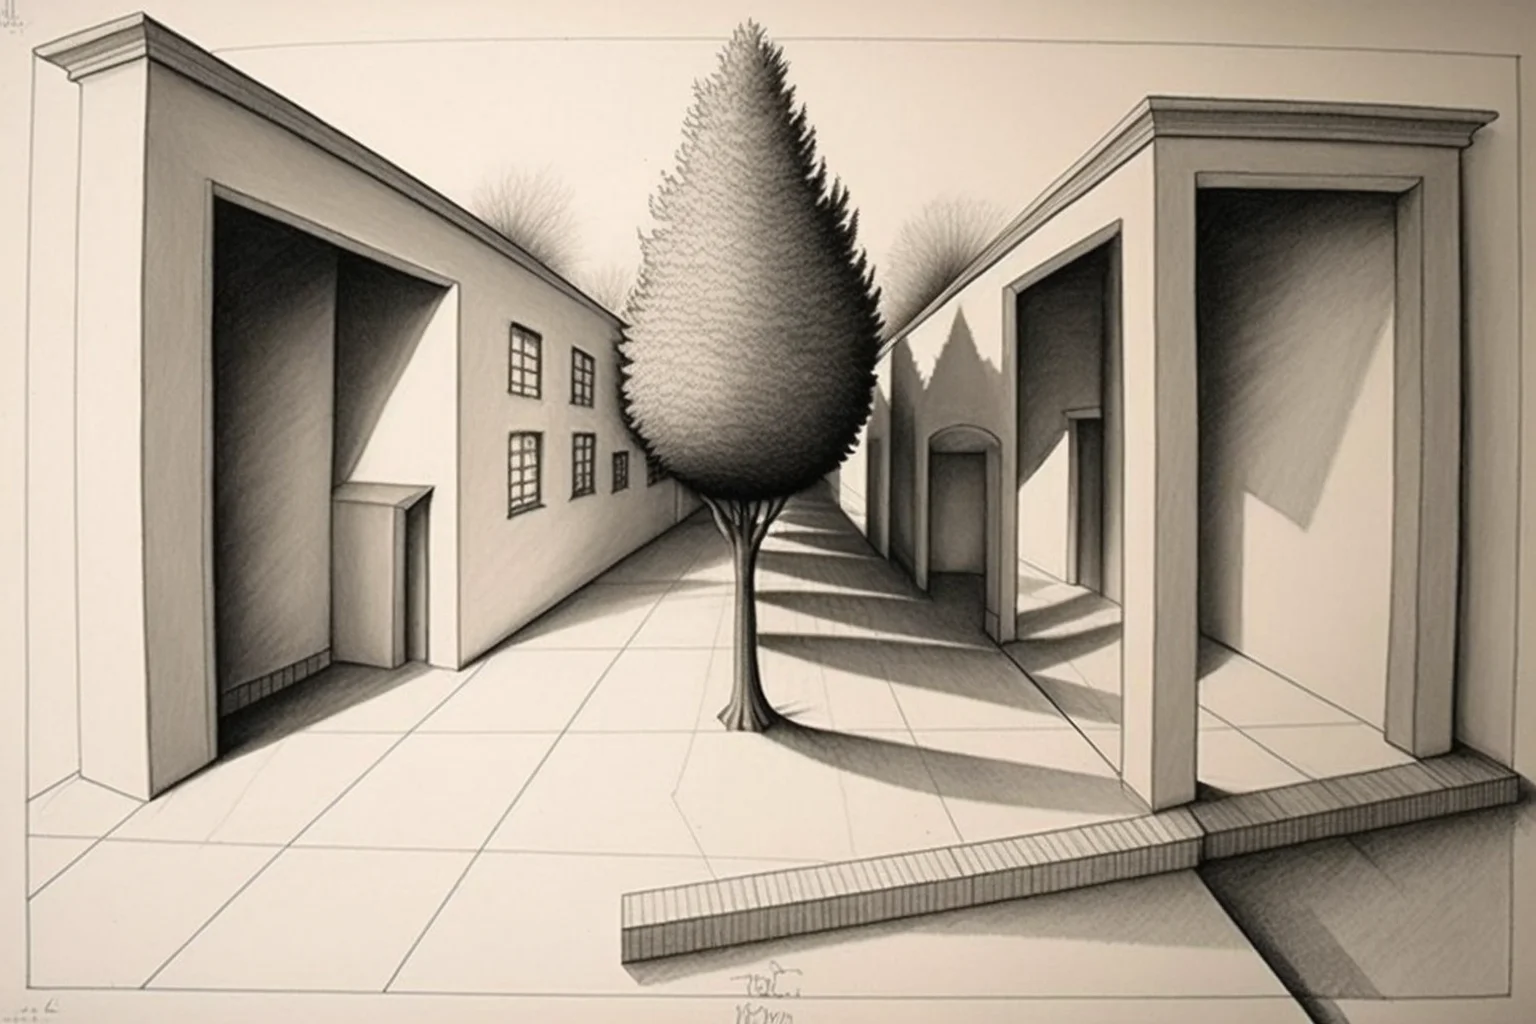
For a straight street, begin with the road edges, sidewalk edges and rooflines that recede into the distance. Place doors, windows, lamps or trees afterward. The closer objects should usually be larger and farther apart; distant objects compress toward the vanishing point.
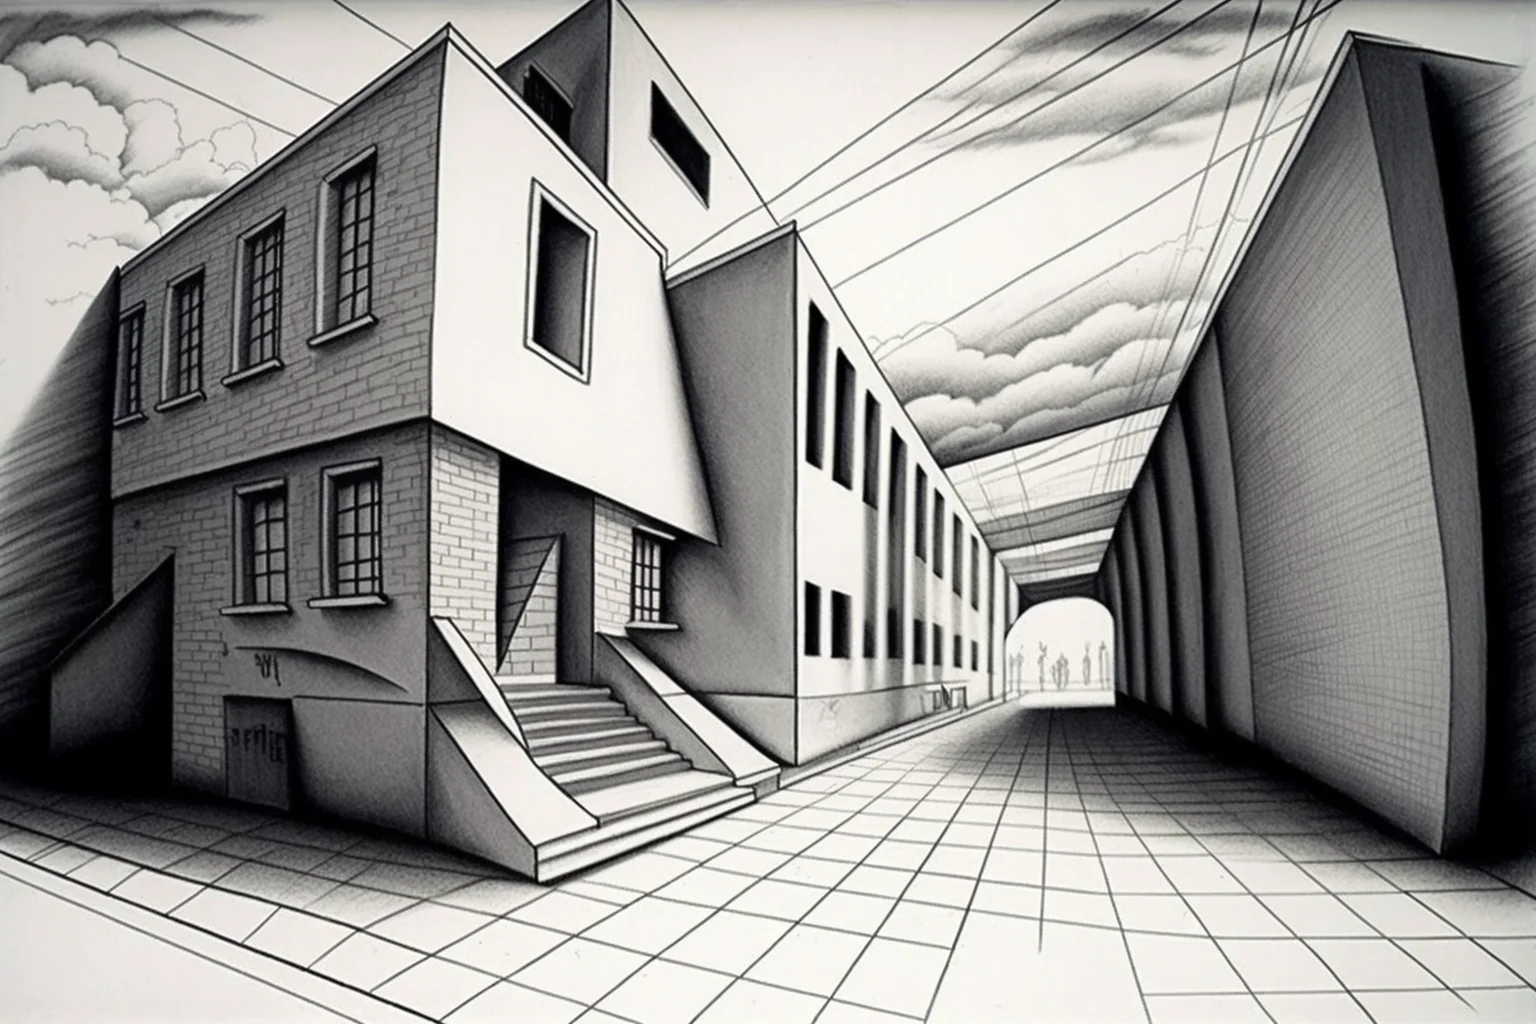
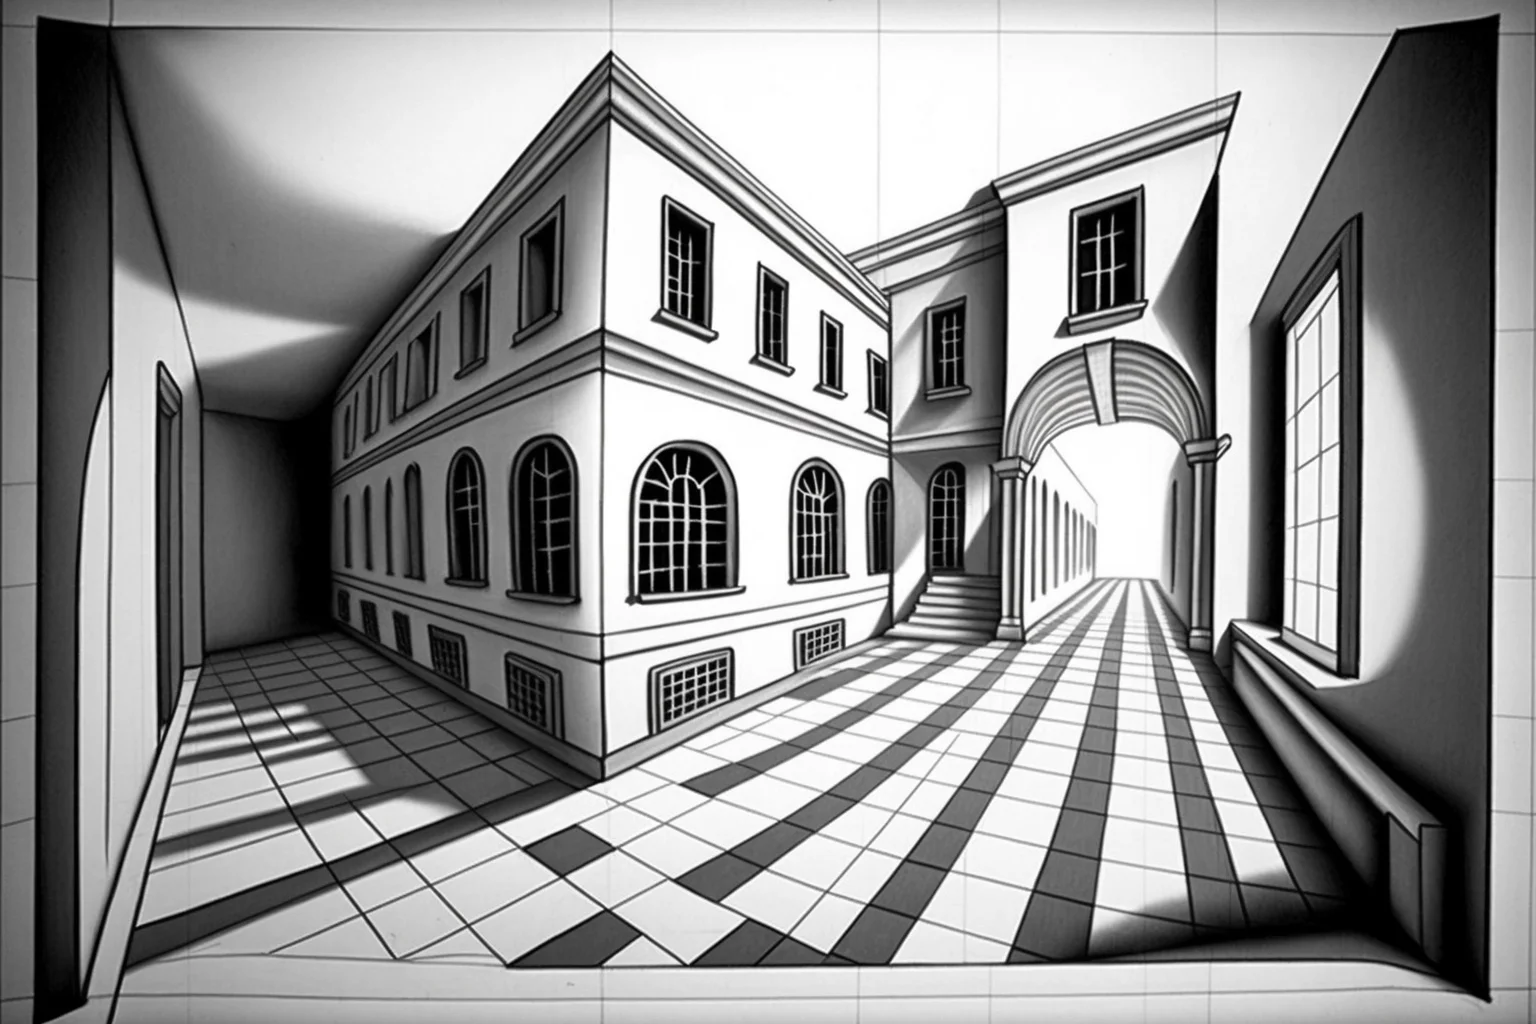
Freer perspective and composition references — Sheets 16–17
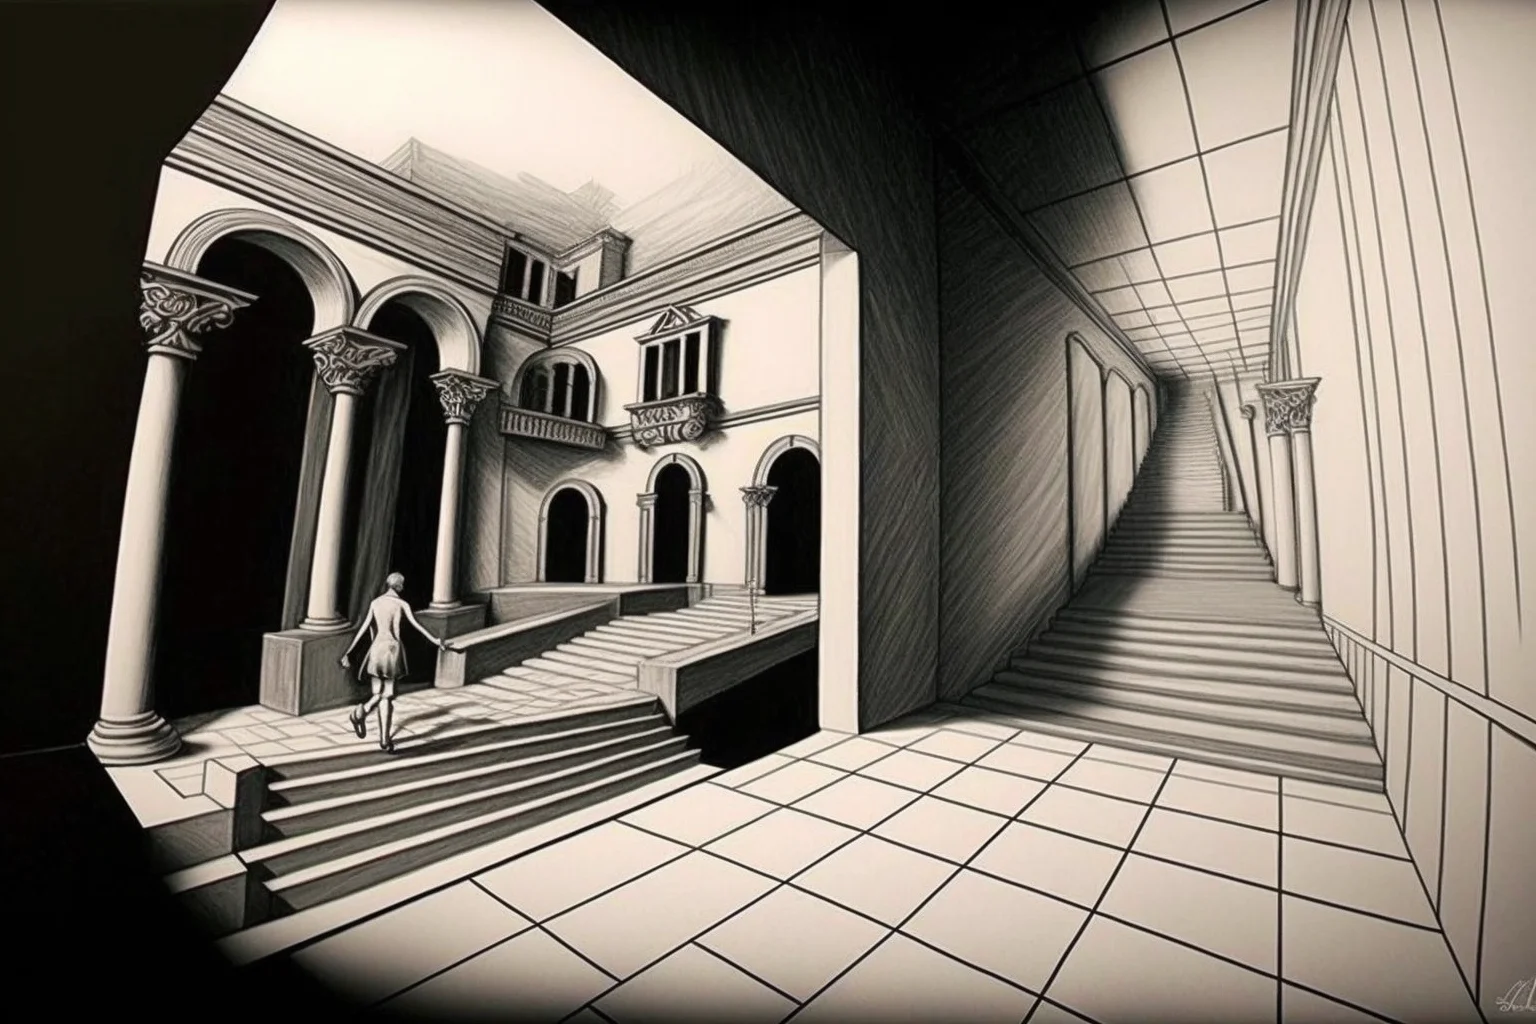
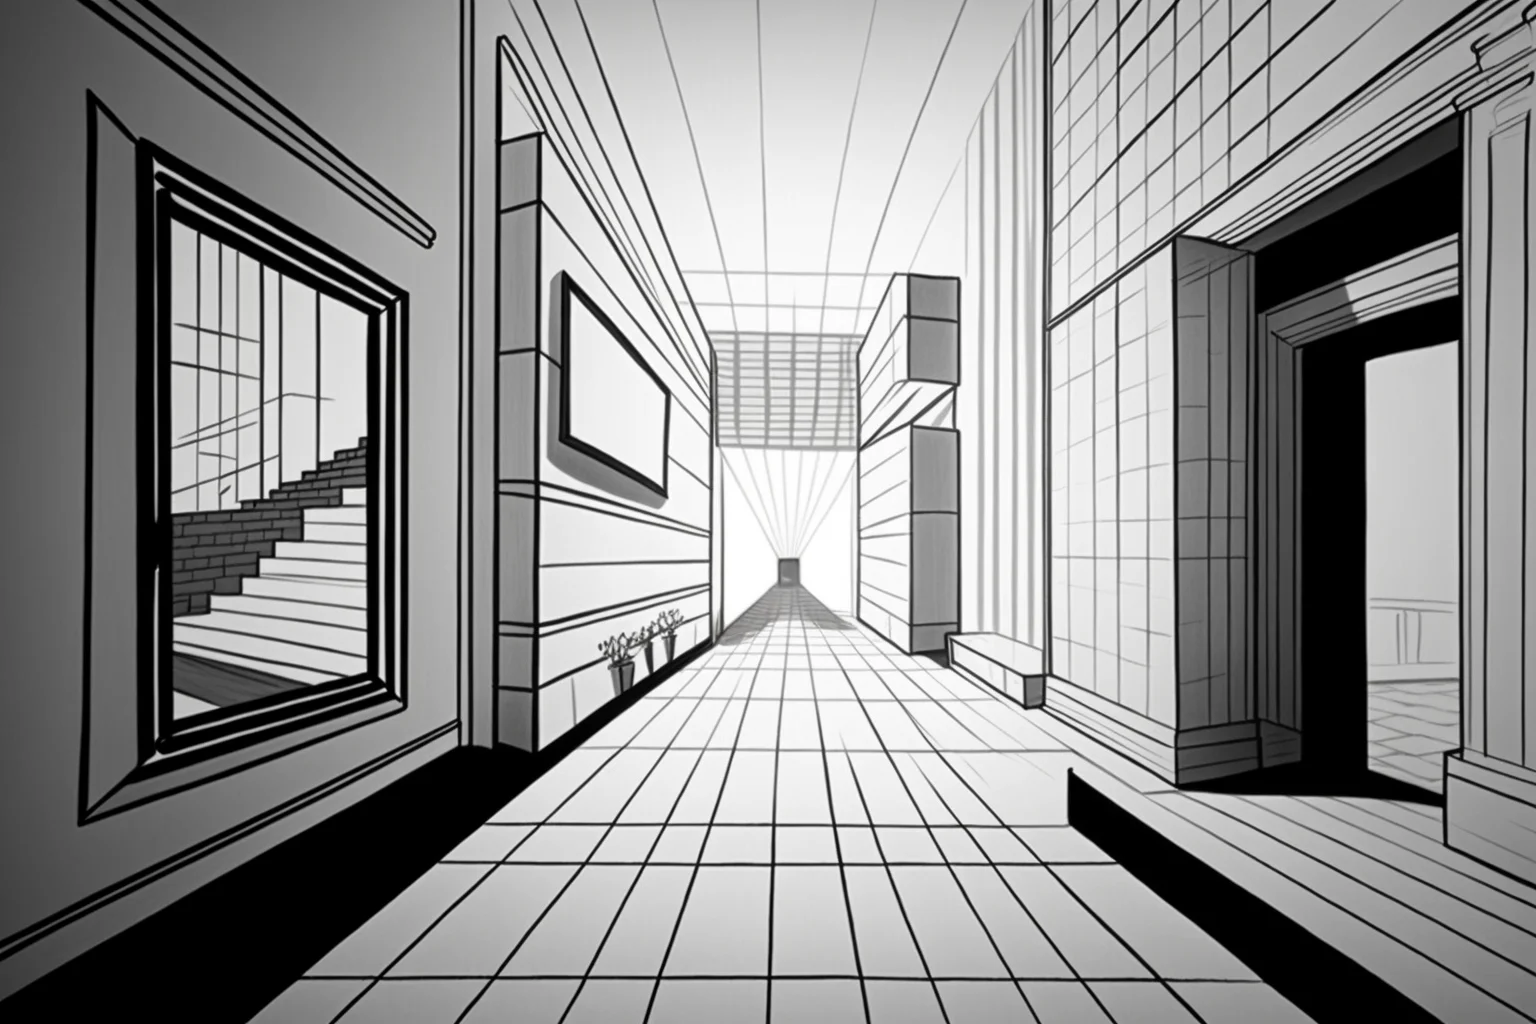
Use these last examples more for composition, depth and visual ideas than as unquestioned technical diagrams. Finished artwork can combine stylized geometry or additional vanishing directions even when one direction dominates the scene.
How to check whether a drawing is really one-point perspective
- Find the horizon line. It may not be drawn, but it still represents eye level.
- Pick several edges that move away from you. Extend them lightly with a ruler or imagine where they would continue.
- See where they meet. In a clean one-point construction, the dominant receding edges should converge on the same vanishing point.
- Check the front-facing edges. In a basic setup, verticals remain vertical and front-facing horizontals remain horizontal.
- Look for a second convergence. If another major family of receding lines travels toward a different point, the scene is no longer a strict one-point exercise.
This is why a finished illustration can look strongly one-point without every object obeying one point. Use the simple references above for technical practice and the more complex scenes for composition ideas.
Common one-point perspective mistakes
| Problem | Why it happens | Quick fix |
|---|---|---|
| The room looks crooked | Receding lines aim near the vanishing point instead of through it | Use a ruler and extend the guides all the way to the point |
| Furniture seems to float | Objects were drawn separately from the room grid | Construct the floor and main room first, then build furniture inside it |
| Everything looks stretched | The vanishing point is too close to large objects or the depth is exaggerated | Reduce the depth or move the object farther from the point |
| Doors and people lean | Vertical edges were treated like receding lines | Keep upright edges vertical in a basic one-point scene |
| The street feels flat | Objects stay the same size as they move away | Make repeated objects smaller and closer together toward the vanishing point |
| The drawing has several accidental vanishing points | Depth lines were eyeballed independently | Draw light construction guides before adding details |
A simple practice ladder
You do not need to start with a city. A much faster way to learn is to increase complexity one step at a time:
- 5 minutes: draw three boxes above, on and below the horizon line.
- 10 minutes: draw an empty room with a back wall, floor, ceiling and two side walls.
- 15 minutes: add a door, window, rug and one piece of furniture to that room.
- 20 minutes: draw a straight hallway or road with repeated doors, lights, trees or posts getting smaller into the distance.
- 30 minutes: attempt a street or interior scene with several objects while keeping every major depth line accountable to the same vanishing point.
If something goes wrong, do not redraw the details first. Go back to the horizon line, vanishing point and largest receding edges. Perspective errors usually start in the construction, not in the decoration.
One-point perspective questions
Where should I put the vanishing point?
Put it on the horizon line. A centered point gives a direct, symmetrical view down a room, hallway or street. Moving it left or right creates a less centered composition while still using one dominant point.
What is the easiest thing to draw in one-point perspective?
A box or an empty room. Both make it obvious which lines stay horizontal or vertical and which lines must travel toward the vanishing point.
Does the vanishing point have to be inside the drawing?
No. It can sit outside the visible picture area, although keeping it on the page is usually easier while you are learning because you can draw the guides directly to it.
Do all lines go to the vanishing point?
No. Only lines that recede in the dominant depth direction do. In a basic one-point setup, front-facing horizontal edges stay horizontal and vertical edges stay vertical.
What is the difference between one-point and two-point perspective?
One-point perspective has one dominant set of receding edges converging on a single point. Two-point perspective uses two vanishing points, usually when you are looking at the corner of an object rather than directly at one face.
Should I use a ruler?
For learning the construction, yes. A ruler makes it much easier to see whether the geometry is correct. Once the logic feels natural, you can deliberately loosen the lines for a more hand-drawn look.
More drawing practice
If you want another construction-based exercise, try drawing a 3D house. For broader beginner practice, use the easy drawing tutorials, easy things to draw or drawing ideas that look impressive.


Awesome! A like your perspective design in terms of shade and shadow, smoothness and graphics. you are professional 💯🔥
Though I think all of the examples are lovely, most of them are views based on two or even three vanishing points, and very few just rely on one.