
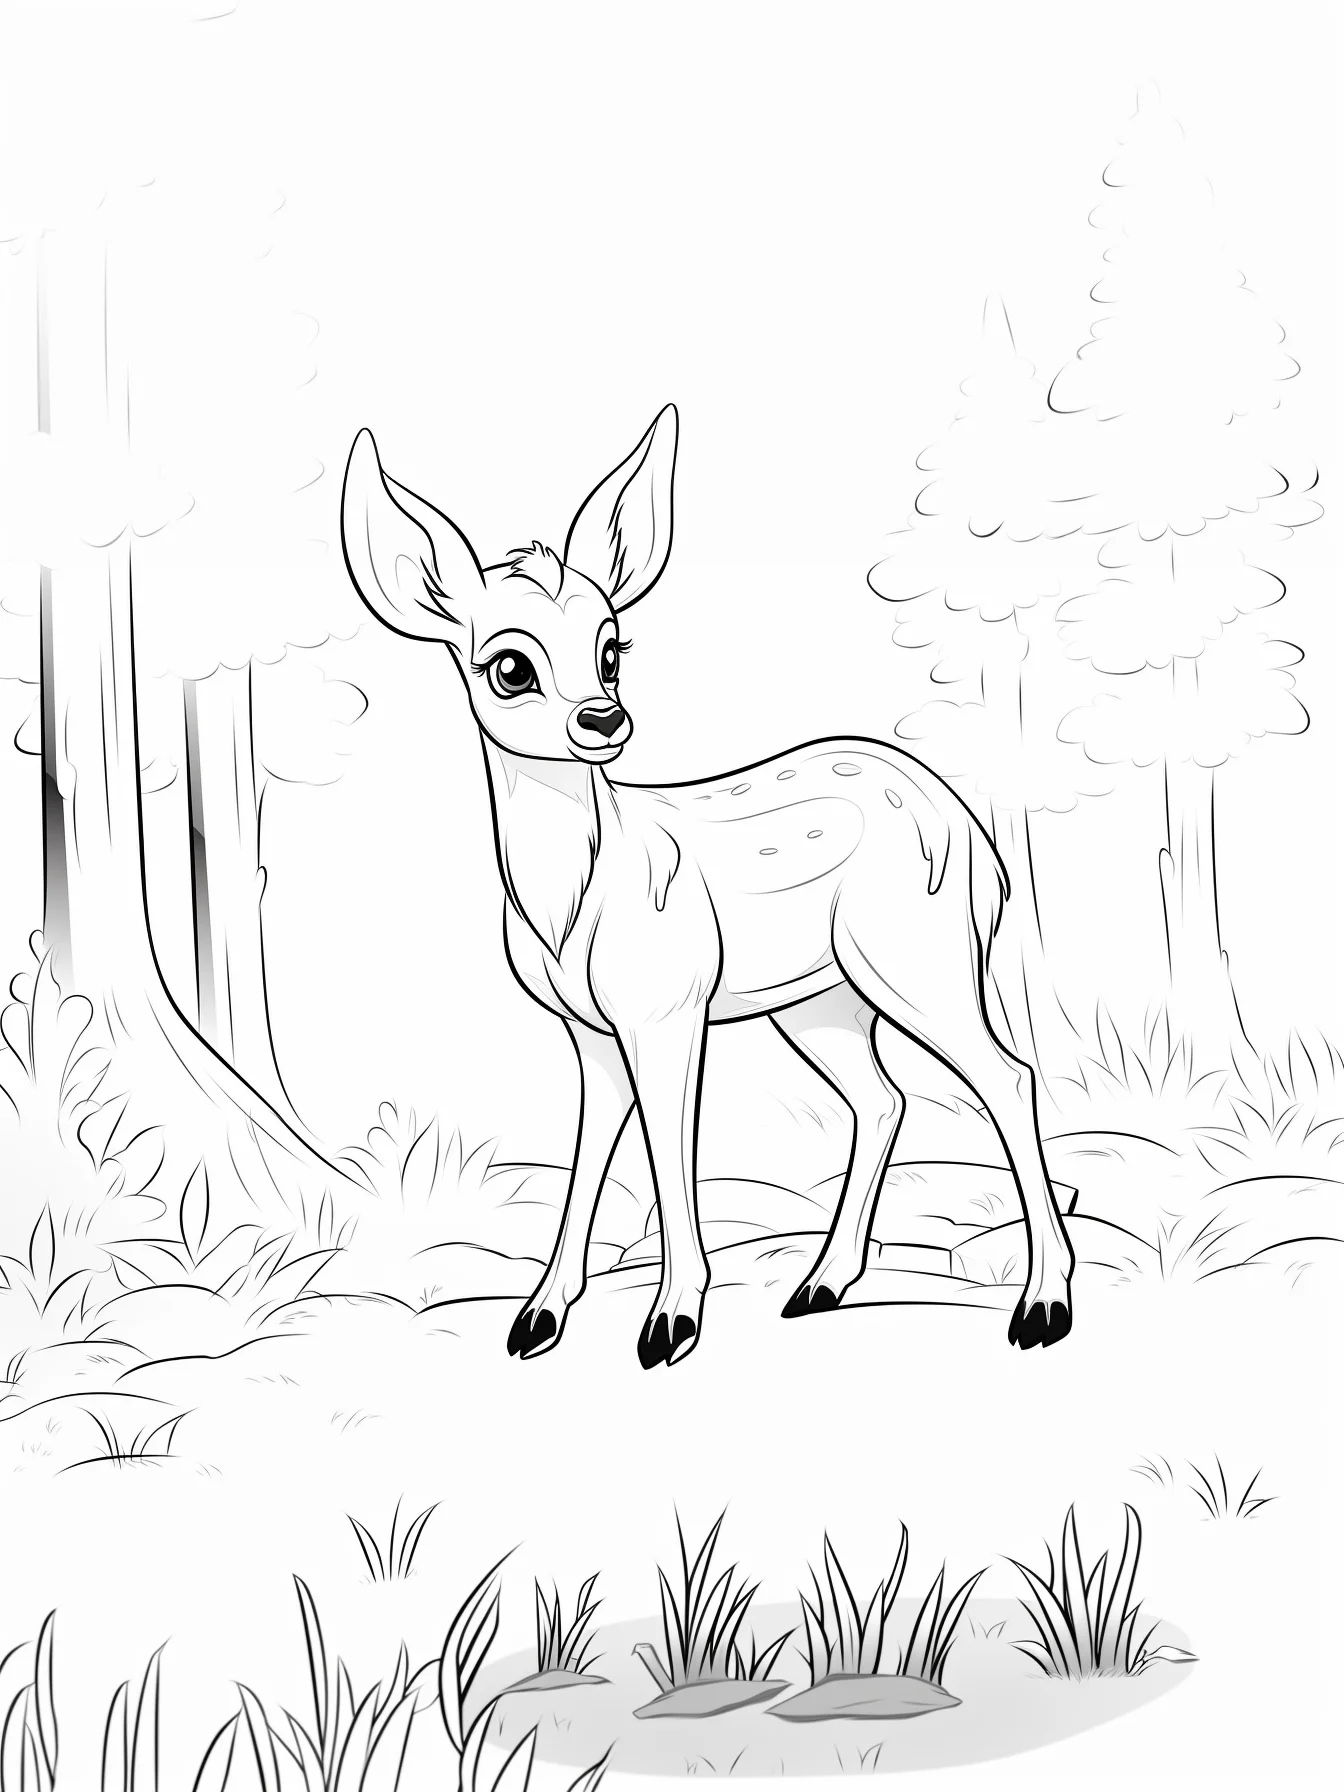
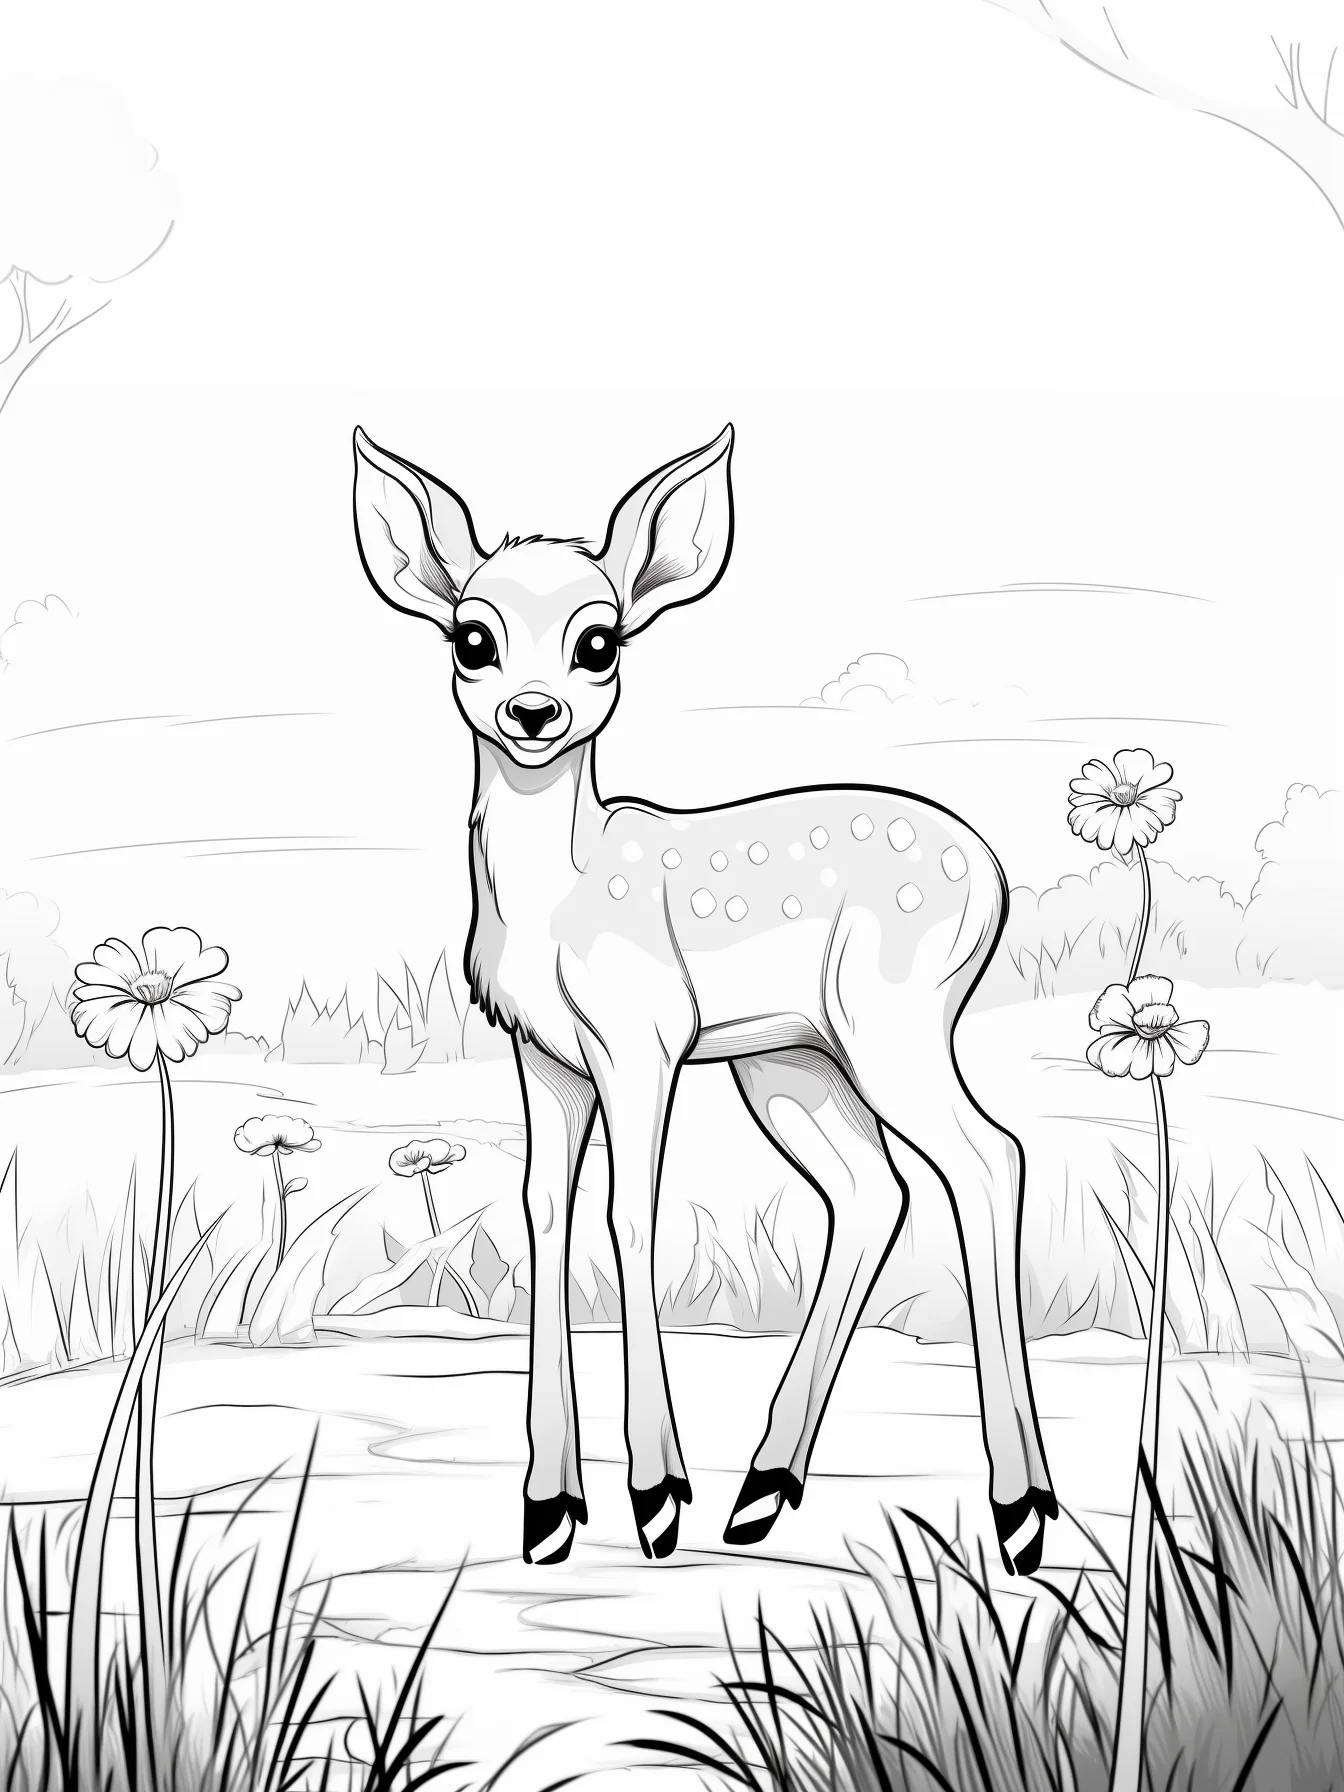
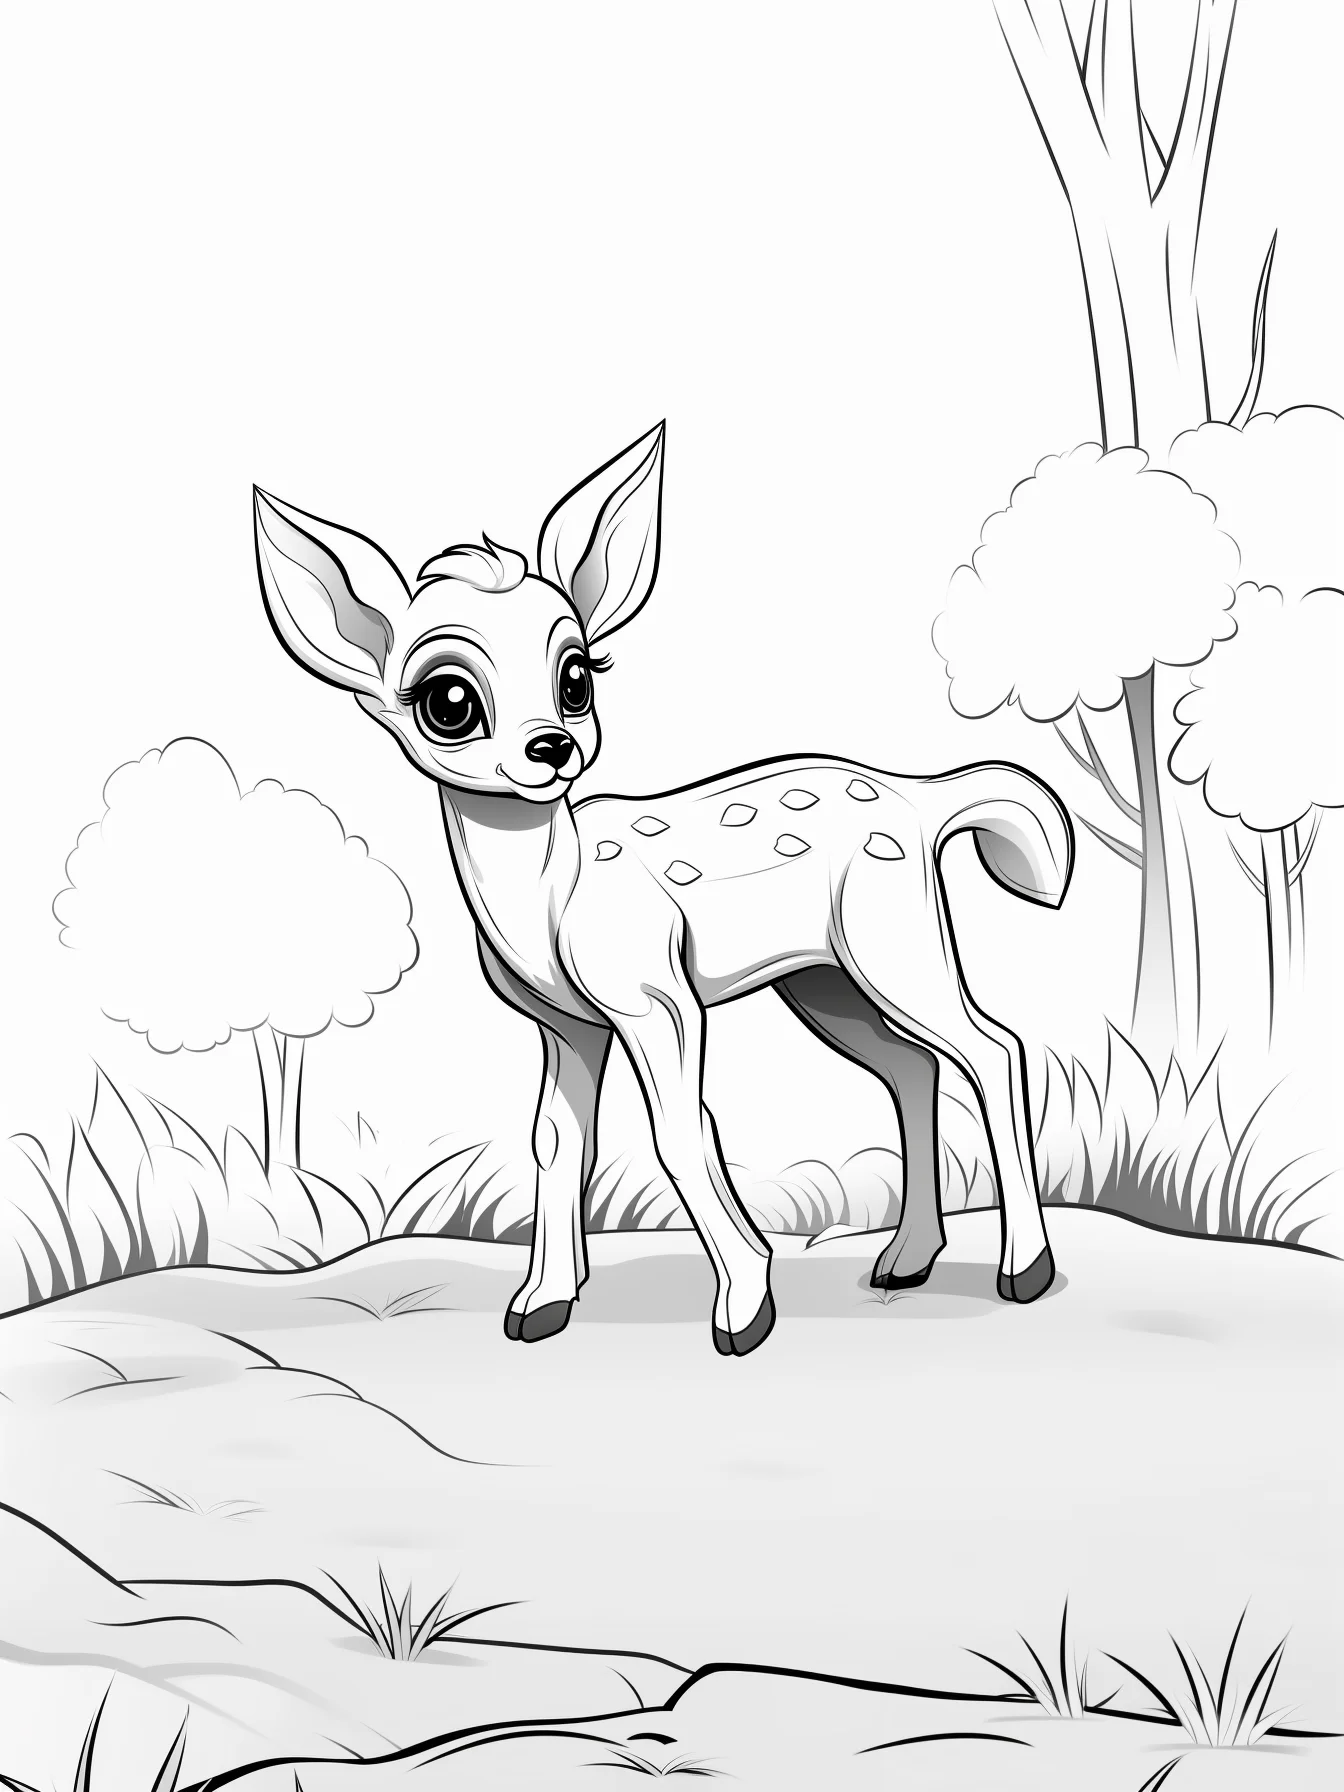
These 20 deer coloring pages cover three useful kinds of sheet: simple deer with large open shapes, fawns and baby deer, and a smaller group of family or more detailed pages. That matters more than age labels. A child using crayons may be happiest with a broad, uncluttered fawn; someone using colored pencils can get much more out of fur, antlers and the narrower portrait drawings.
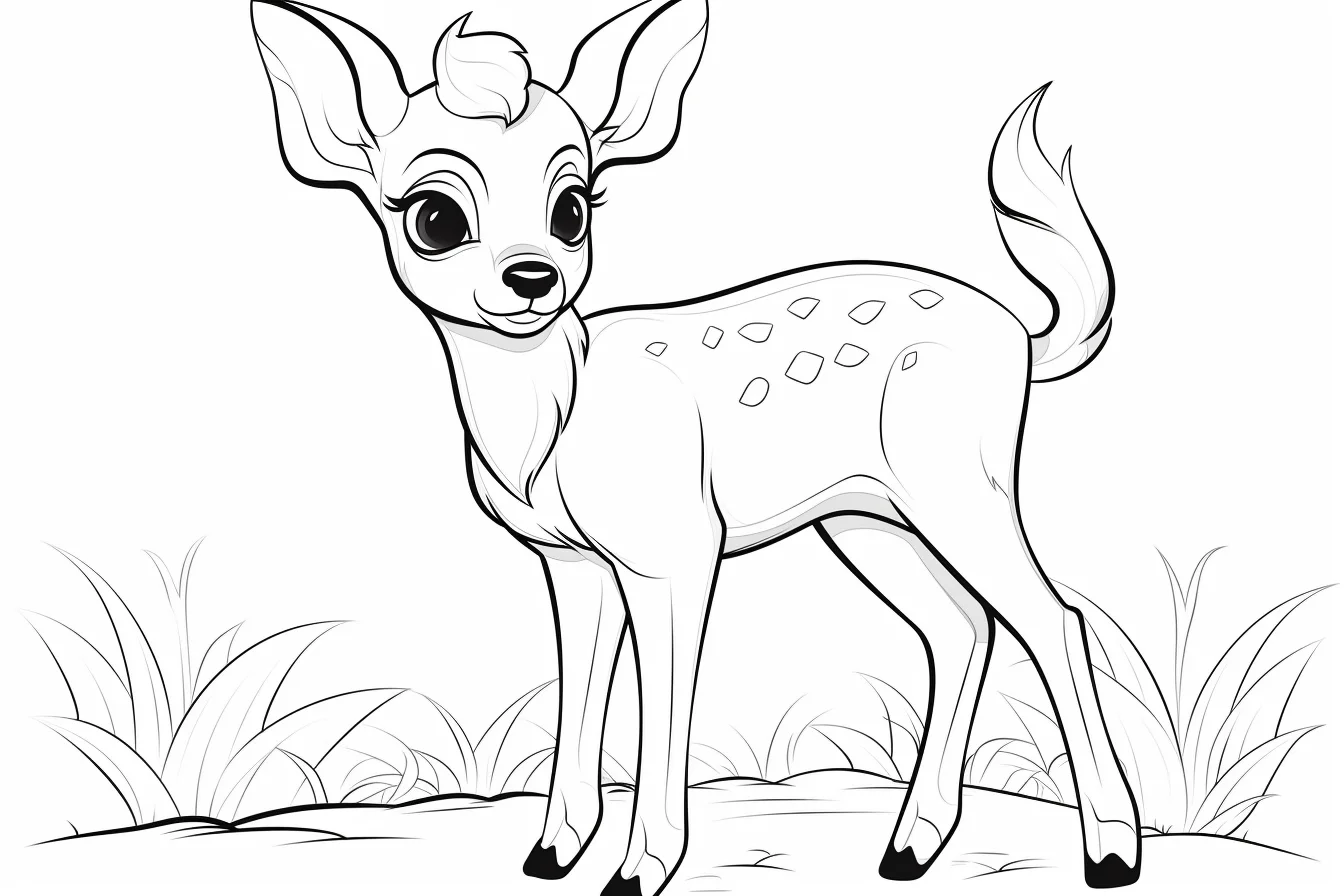
Choose a deer page without scrolling through all 20
| If you want… | Start here |
|---|---|
| A quick, simple deer | Sheets 1–11 |
| Fawns, baby deer or a family feel | Sheets 12–18 |
| A slower, more detailed page | Sheets 19–20 |
How to keep a brown deer from looking flat
Use three values rather than trying to invent lots of colors. Start with a light tan or gray-brown over most of the body, add a medium brown along the back and outer legs, then use the darkest shade sparingly around the eyes, hooves and deepest folds. Keep the muzzle, belly and inner ears lighter. That small contrast does more for the drawing than pressing harder with the same brown everywhere.
For a fawn, add pale spots only after the base coat is finished. White pencil over a very light tan can work; leaving tiny areas of paper uncolored works just as well. On an adult deer, treat antlers separately from the fur—warm beige, taupe or muted gray keeps them visible without making them look like part of the head.
A simple deer-coloring order
- Color the light muzzle, belly and inner ears first.
- Add the main tan, brown or gray-brown body color with light pressure. Leave some paper showing instead of trying to reach the final darkness immediately.
- Darken the back, far legs and shadow under the neck. Compare those areas with the belly: if they are almost the same value, the deer will still read as flat.
- Add spots, antlers and facial details last. Sharpen the pencil before working around the eye, nostril and hoof edges.
- If the page has scenery, keep the area immediately behind the deer slightly lighter or cooler so the silhouette stays easy to see.
Do a 60-second value check before adding more color
Stop after the first two brown layers and place the page at arm’s length. You should still be able to identify three zones without looking at tiny details: a light underside and muzzle, a middle-value body, and a darker back or shadow side. If all three merge together, adding fur strokes will not fix it. Lighten an area with an eraser if your pencil allows it, or deepen only the shadow side before continuing. This check is especially useful on the deer-head sheet above, where the face has fewer background cues to create depth.
Pencil, crayon or marker?
| Tool | Best use on these deer pages | Watch for |
|---|---|---|
| Colored pencil | Fur direction, antlers and gradual shadows | Heavy pressure too early makes later blending difficult. |
| Crayon | Large fawns and broad body shapes | Keep facial details lighter until the large areas are finished. |
| Marker | Simple silhouettes and bold fantasy palettes | Test brown combinations on scrap paper first; two dark browns can become nearly identical when dry. |
Three pages to practice realistic deer coloring
If you want to improve rather than simply finish a sheet, use three different pages as a short practice set. On the first, limit yourself to light tan, medium brown and dark brown and concentrate only on value. On the second, make short pencil strokes follow the direction fur grows: outward from the muzzle, down the neck and along the body rather than scribbling in circles. On the third, add scenery but deliberately keep the strongest contrast on the deer. Comparing the three finished sheets makes it much easier to see whether the problem is color choice, texture or separation from the background.
Fix the most common deer-coloring problems
| If the page looks… | Try this |
|---|---|
| Flat even with several browns | Change the value, not just the hue: keep the belly light and make the back and underside of the neck visibly darker. |
| Striped instead of furry | Soften the borders between shades, then add only a few directional fur strokes on top. |
| Too dark around the face | Leave paper showing around the eyes and muzzle; reserve the darkest pencil for pupils, nostrils and tiny shadow accents. |
| Antlers disappear into the head | Use a cooler beige or gray-brown for antlers and avoid using the same darkest brown as the fur. |
| Deer gets lost in the scenery | Reduce detail and contrast immediately behind the animal, or use cooler greens and blues against warmer fur. |
| Marker fill looks streaky | Work one small body section at a time with overlapping strokes while the ink is still wet; do not keep scrubbing drying areas. |
Before you print
Open the full-size image first, then use A4 or US Letter paper with “Fit to page.” This collection mixes portrait and landscape files, so let the print preview decide the orientation instead of forcing every sheet into the same setting. Crayons suit the broad fawn pages; colored pencils are better for fur, antlers and smaller facial details.
For more wildlife, continue with the animal coloring pages, wolf coloring pages, or the baby wild animal collection.
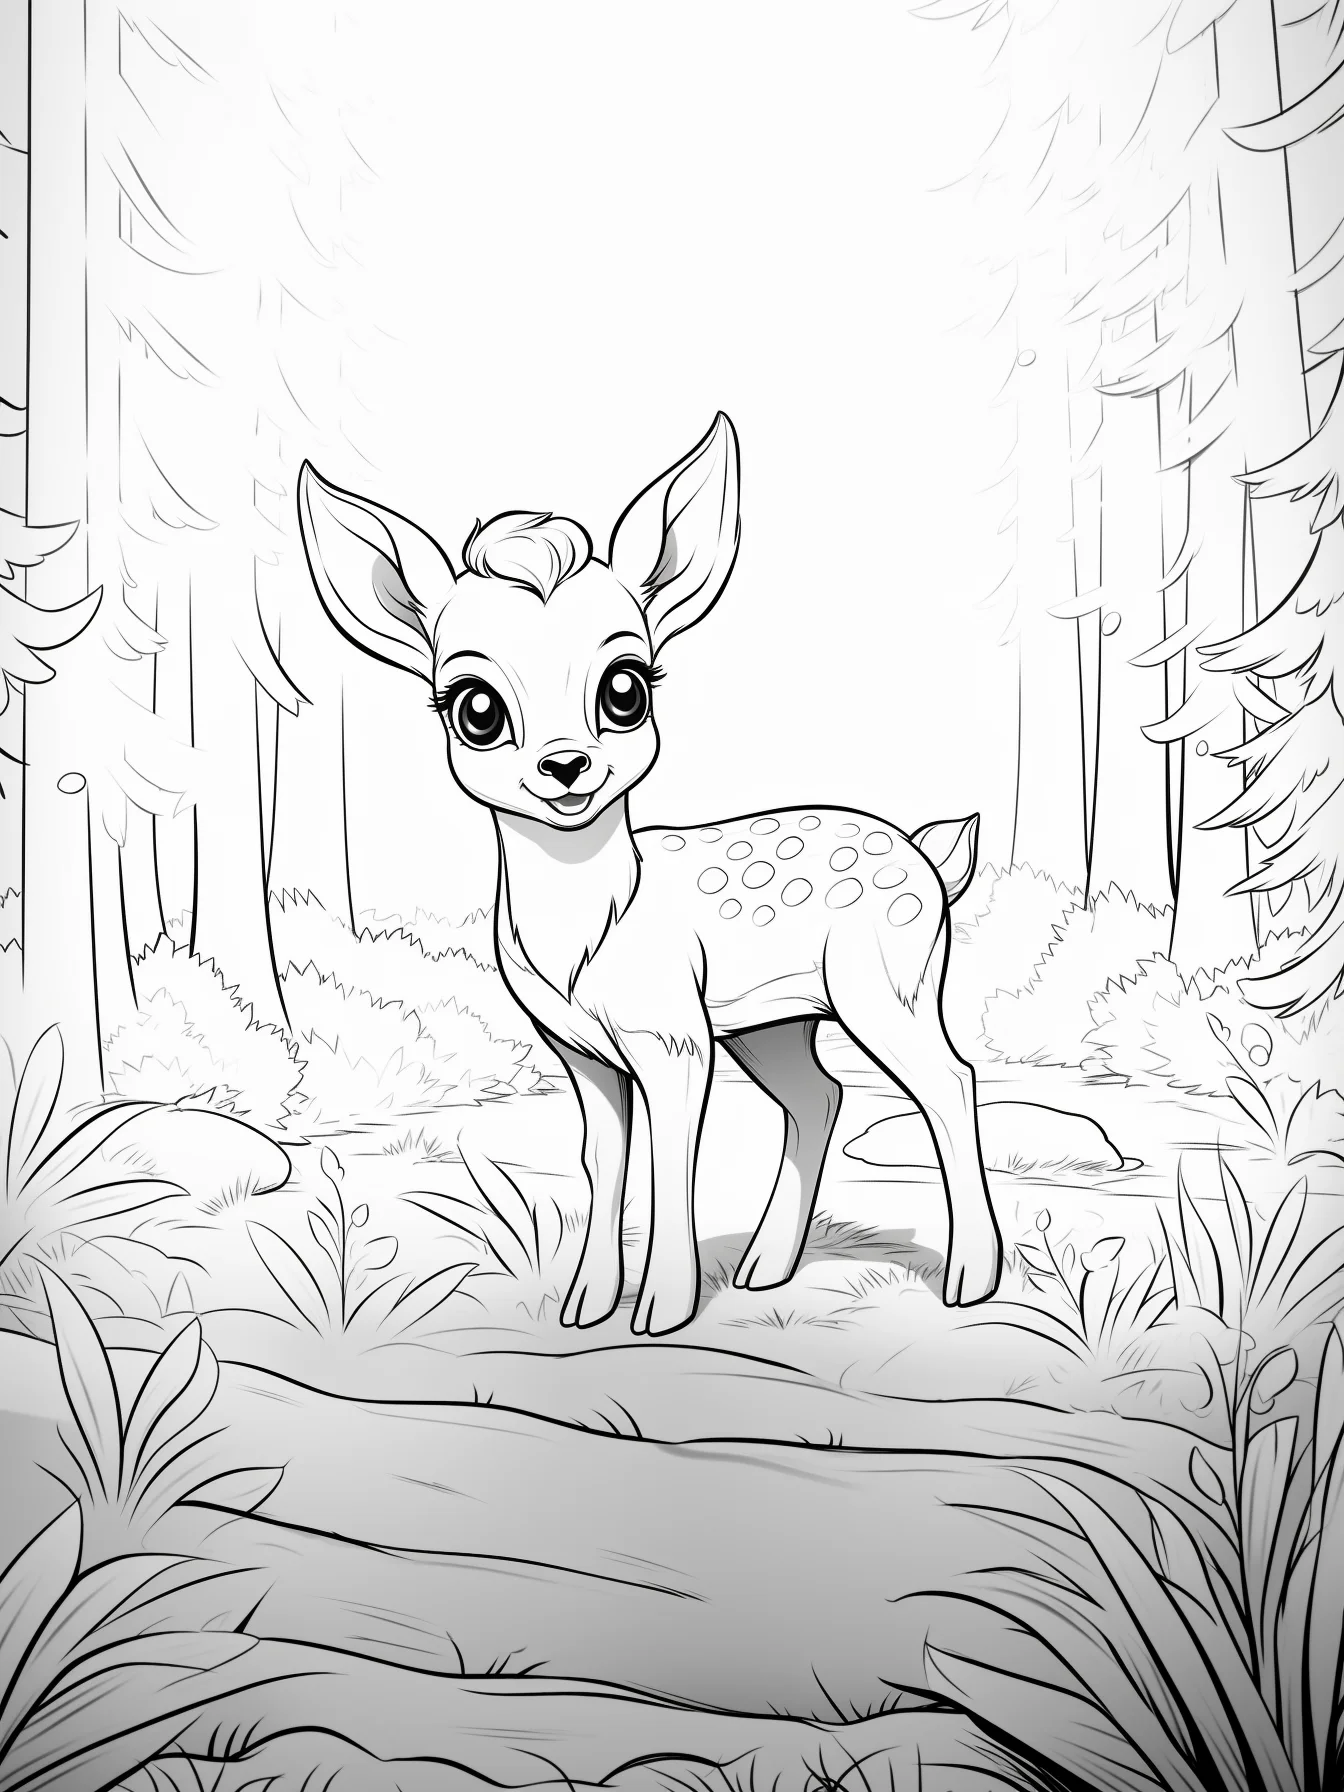
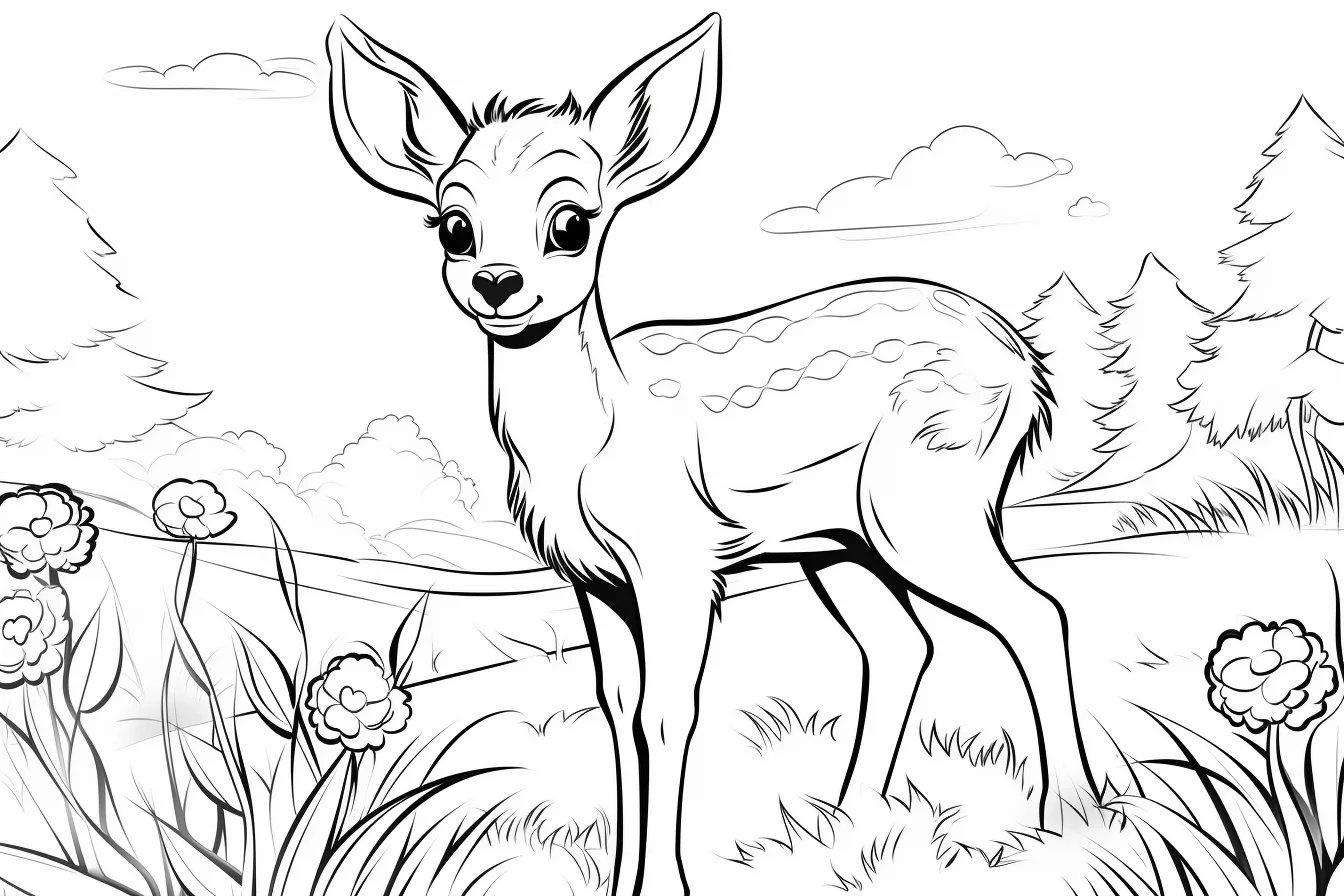
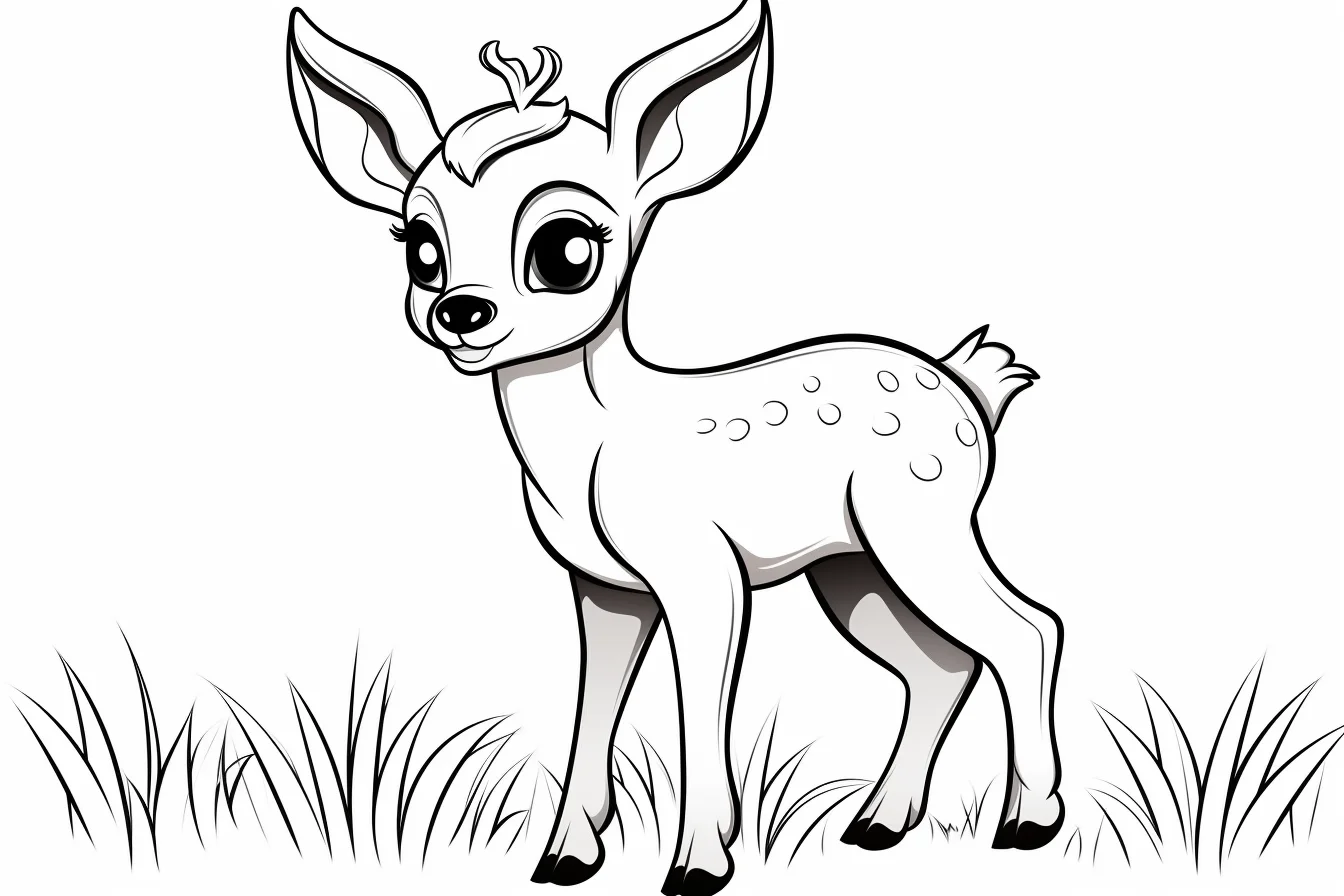
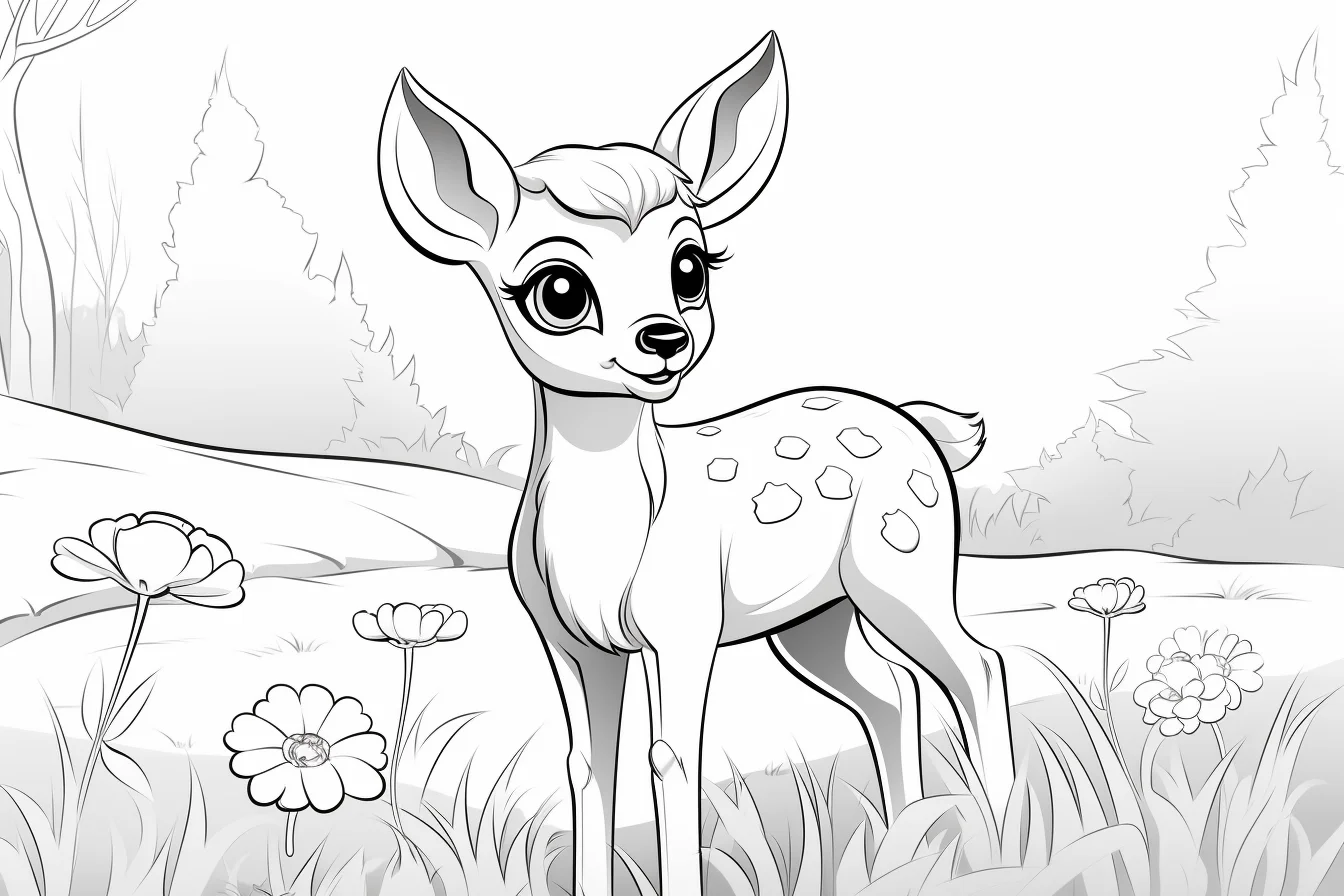
Easy and general deer — Sheets 1–11
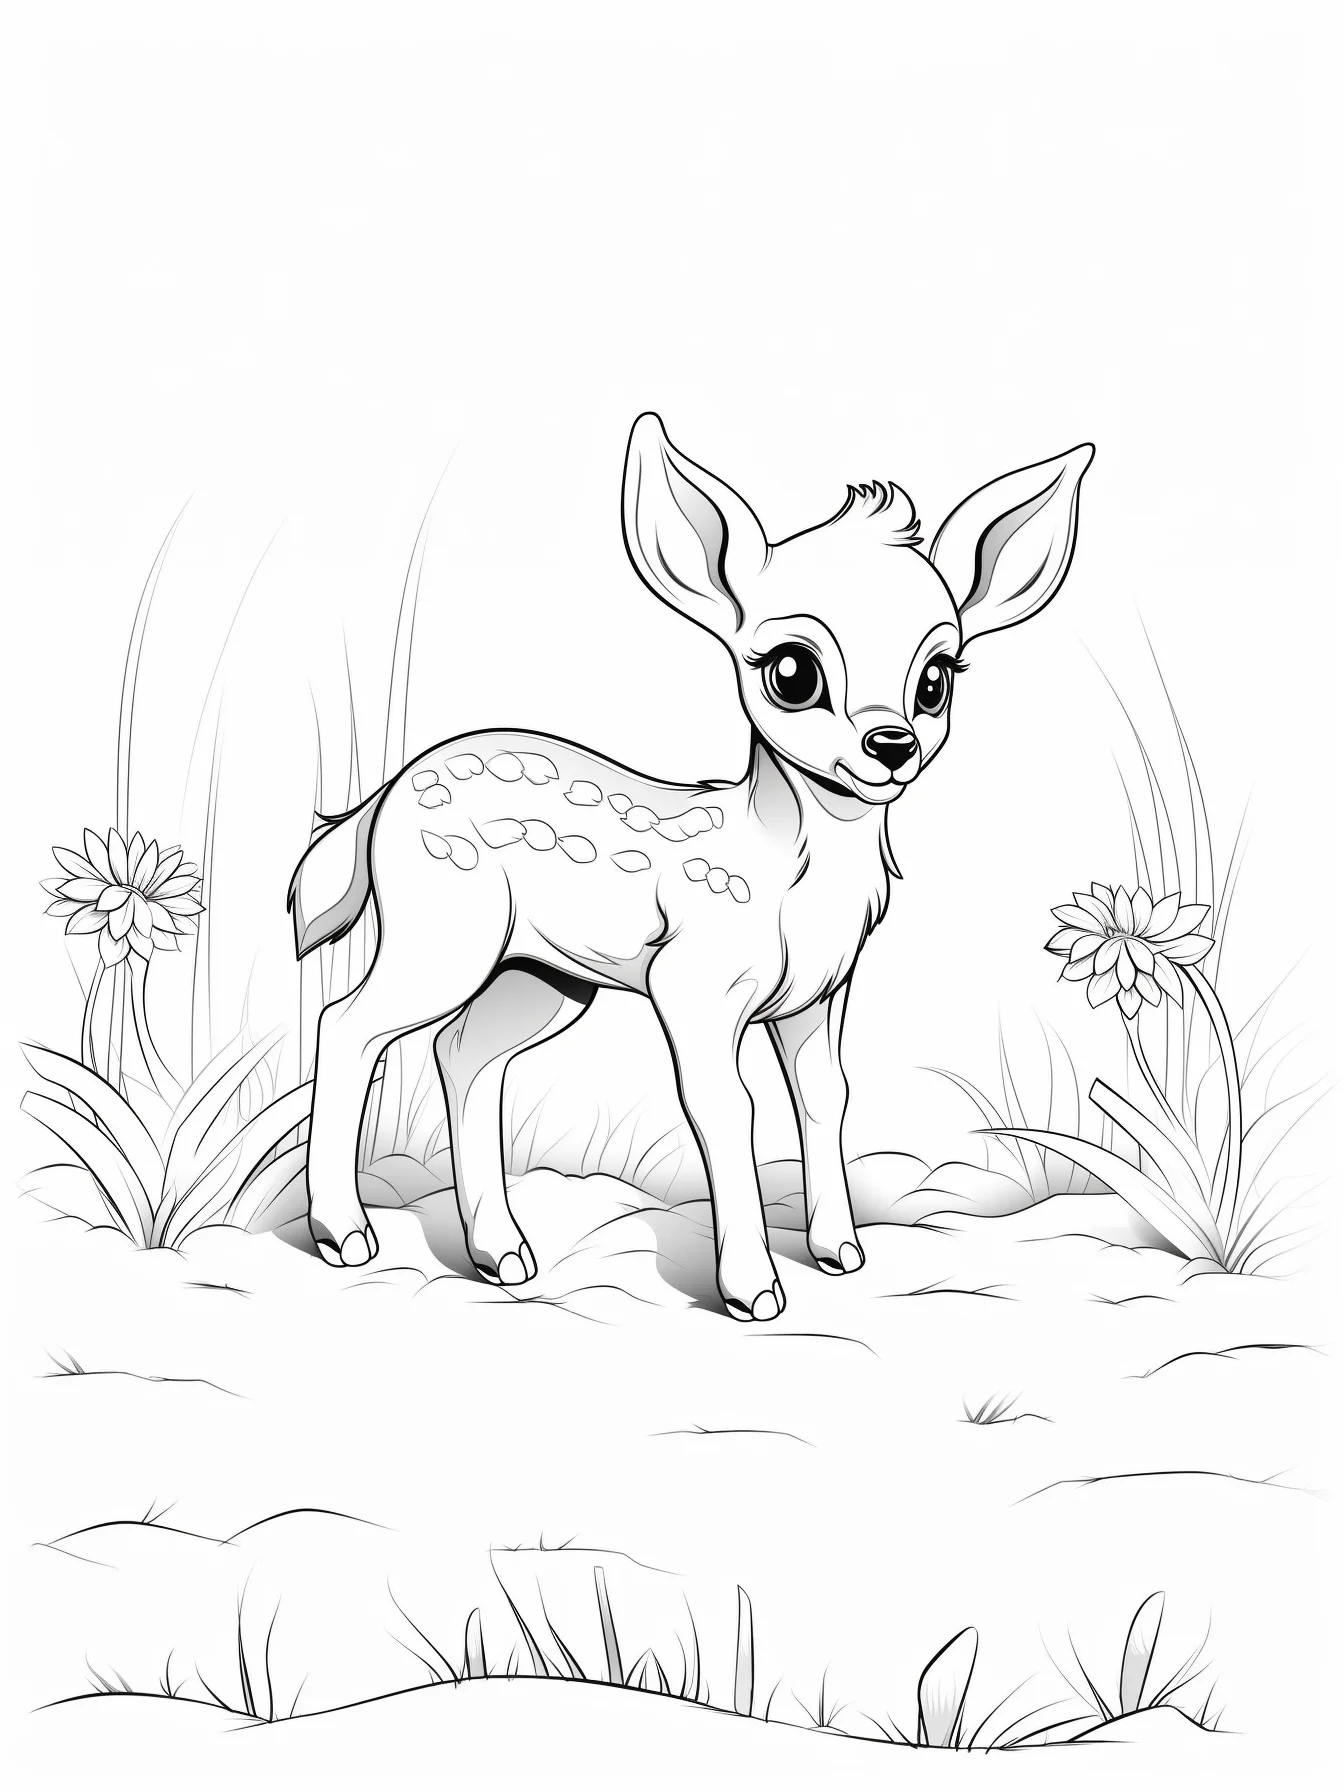
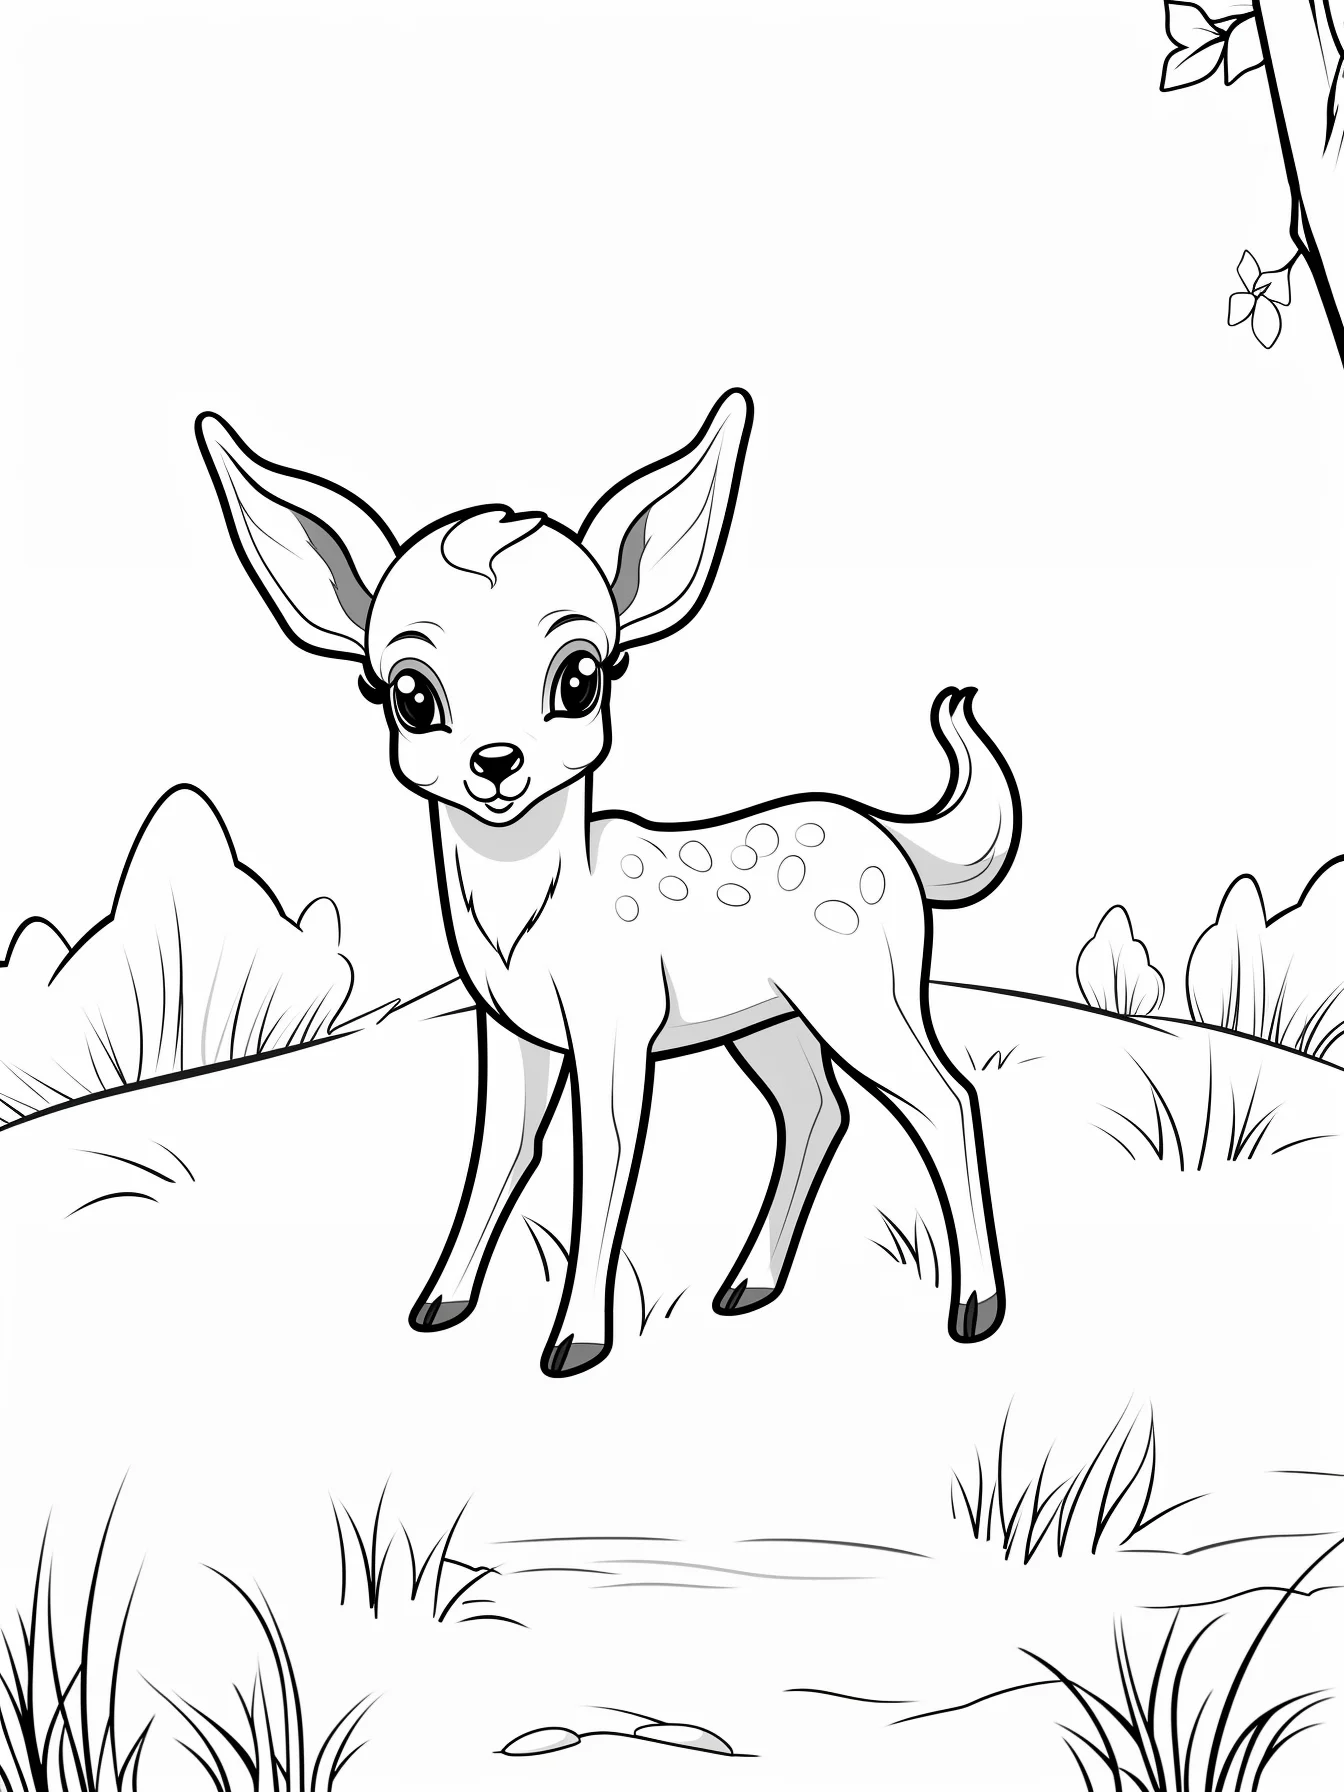
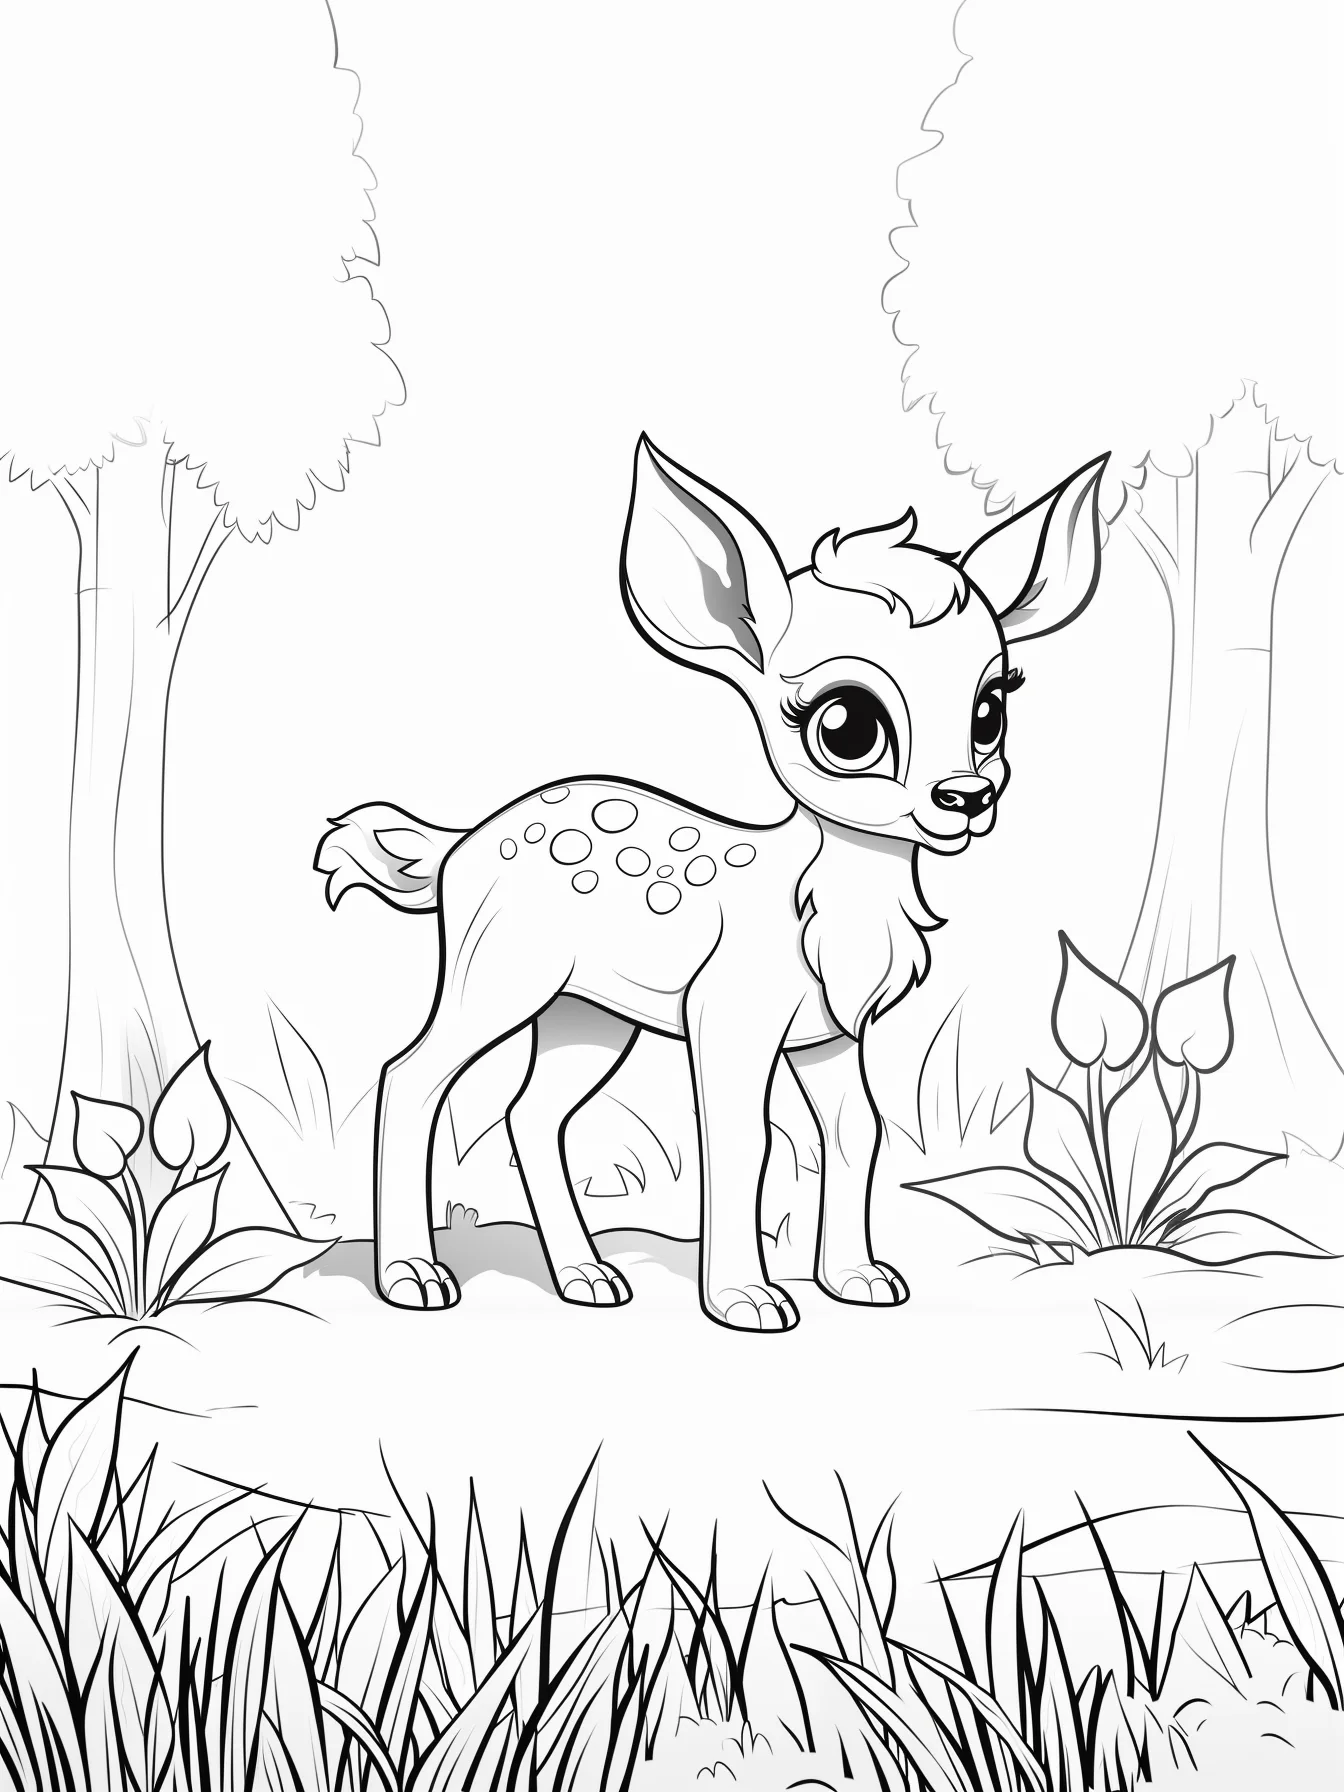
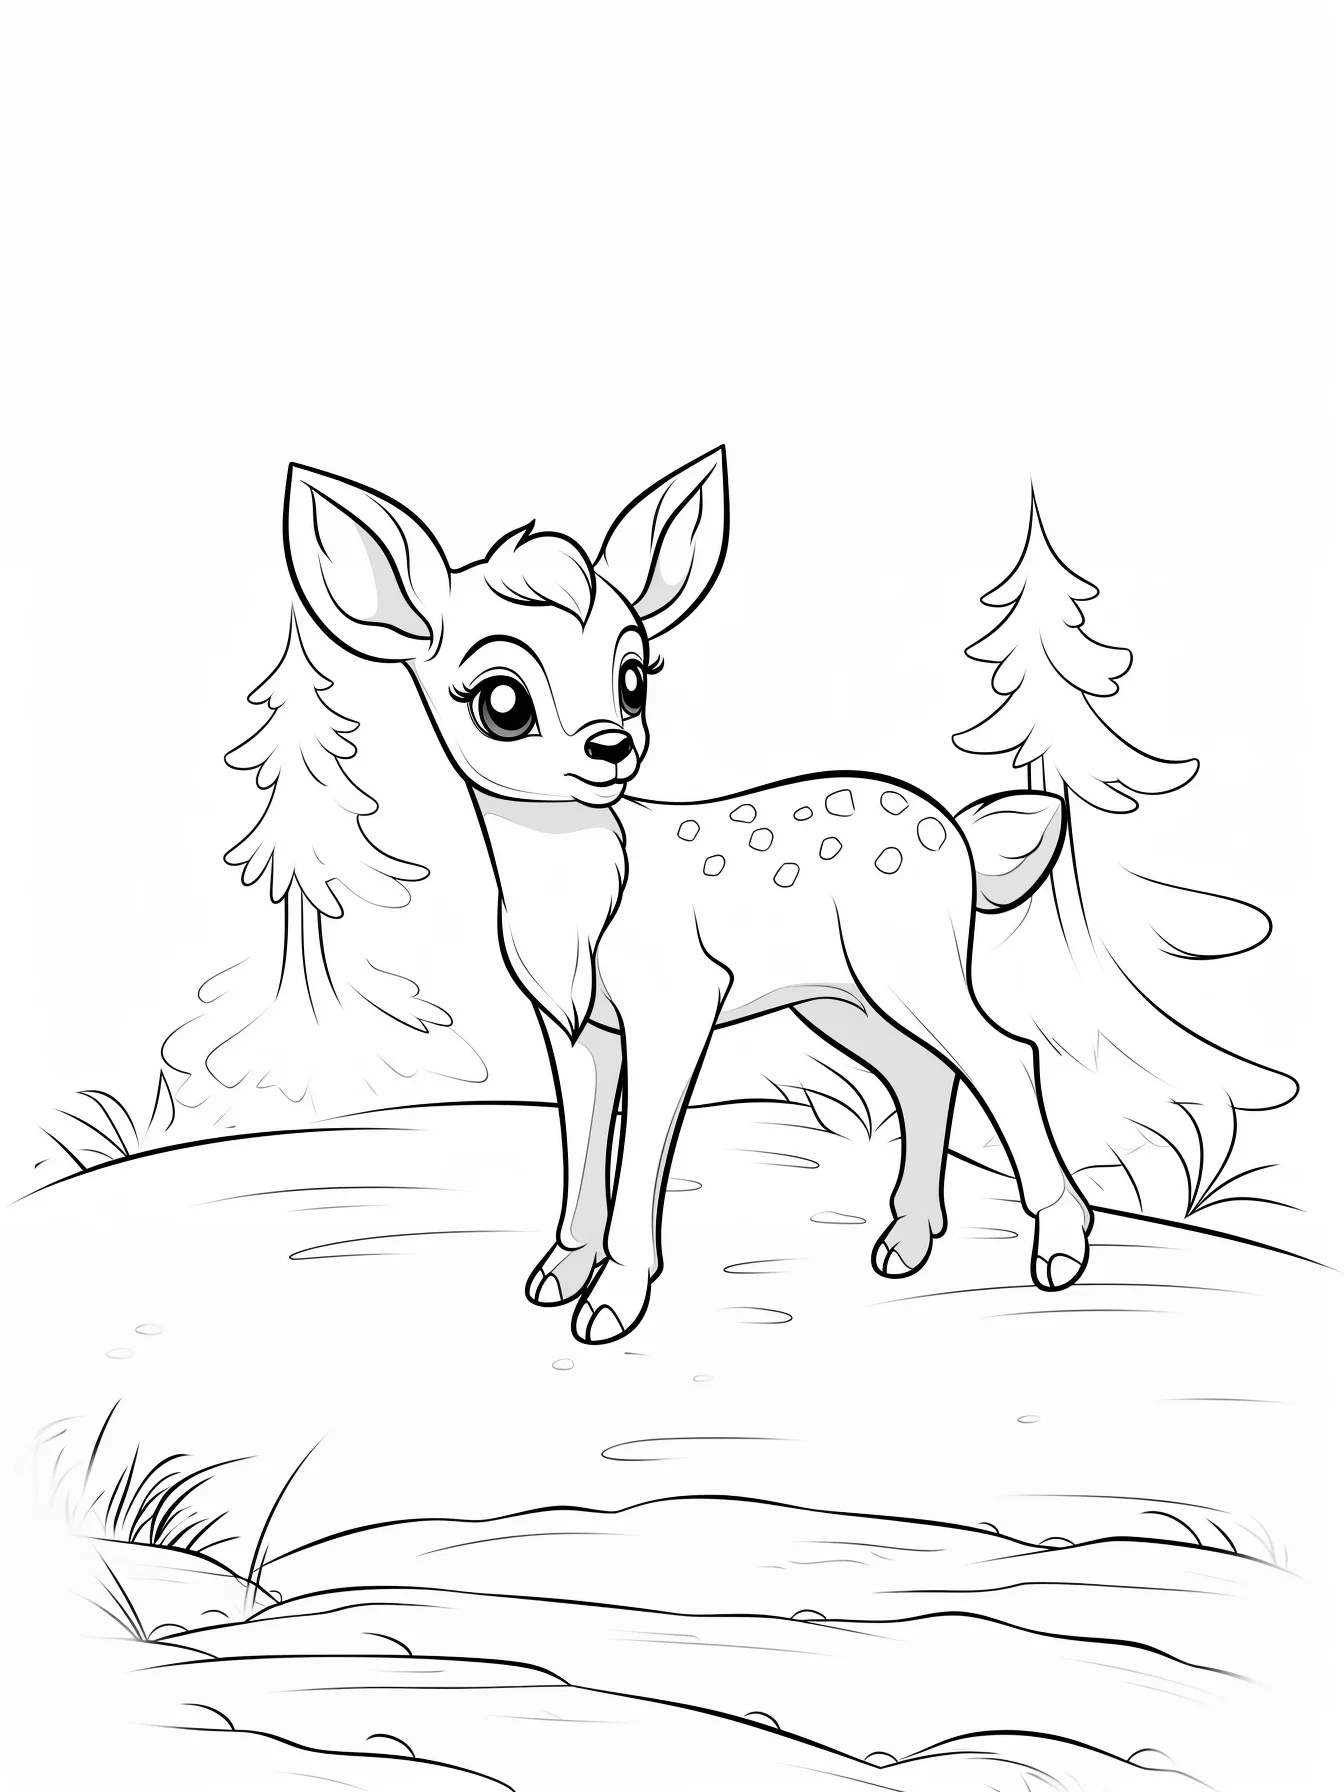
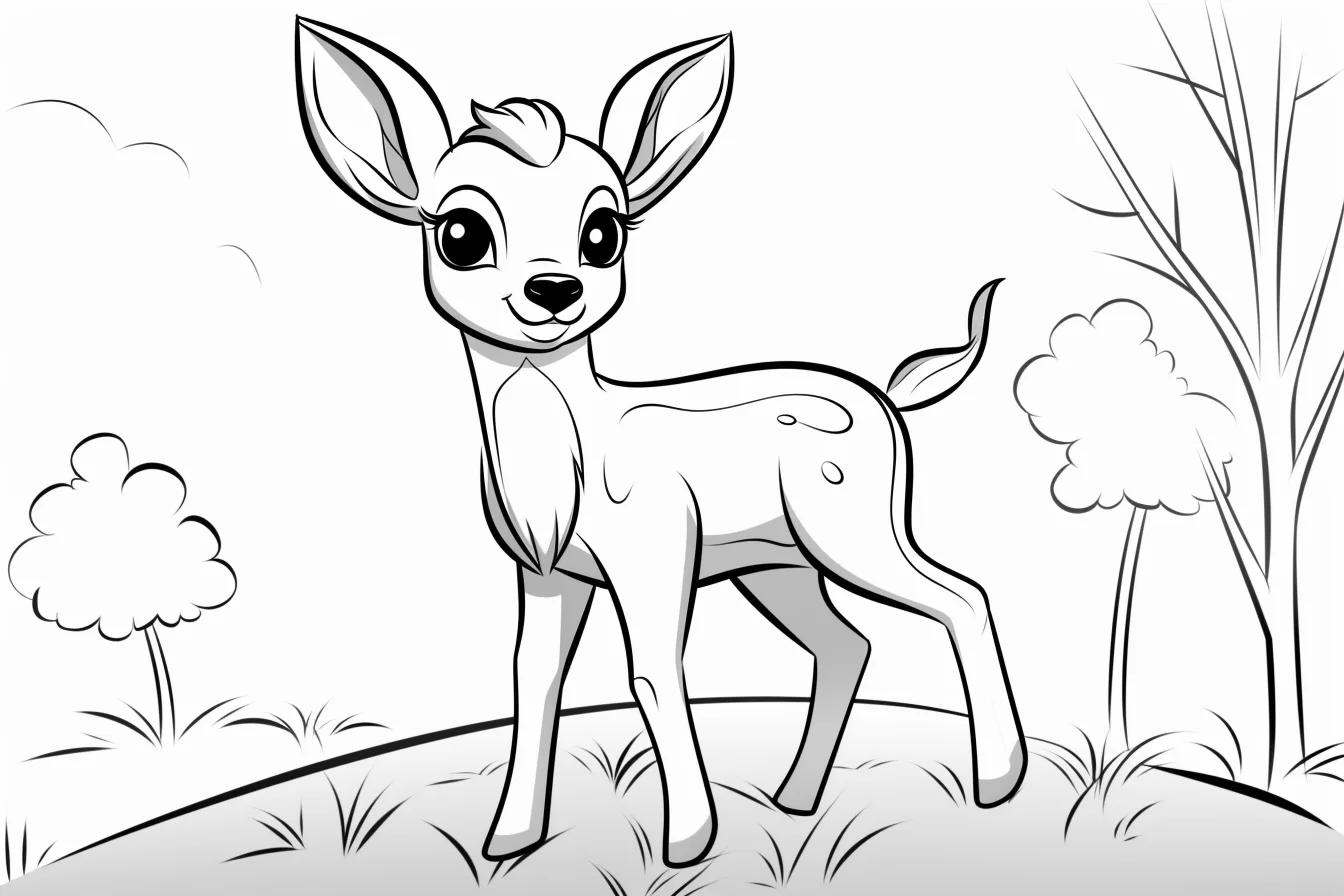
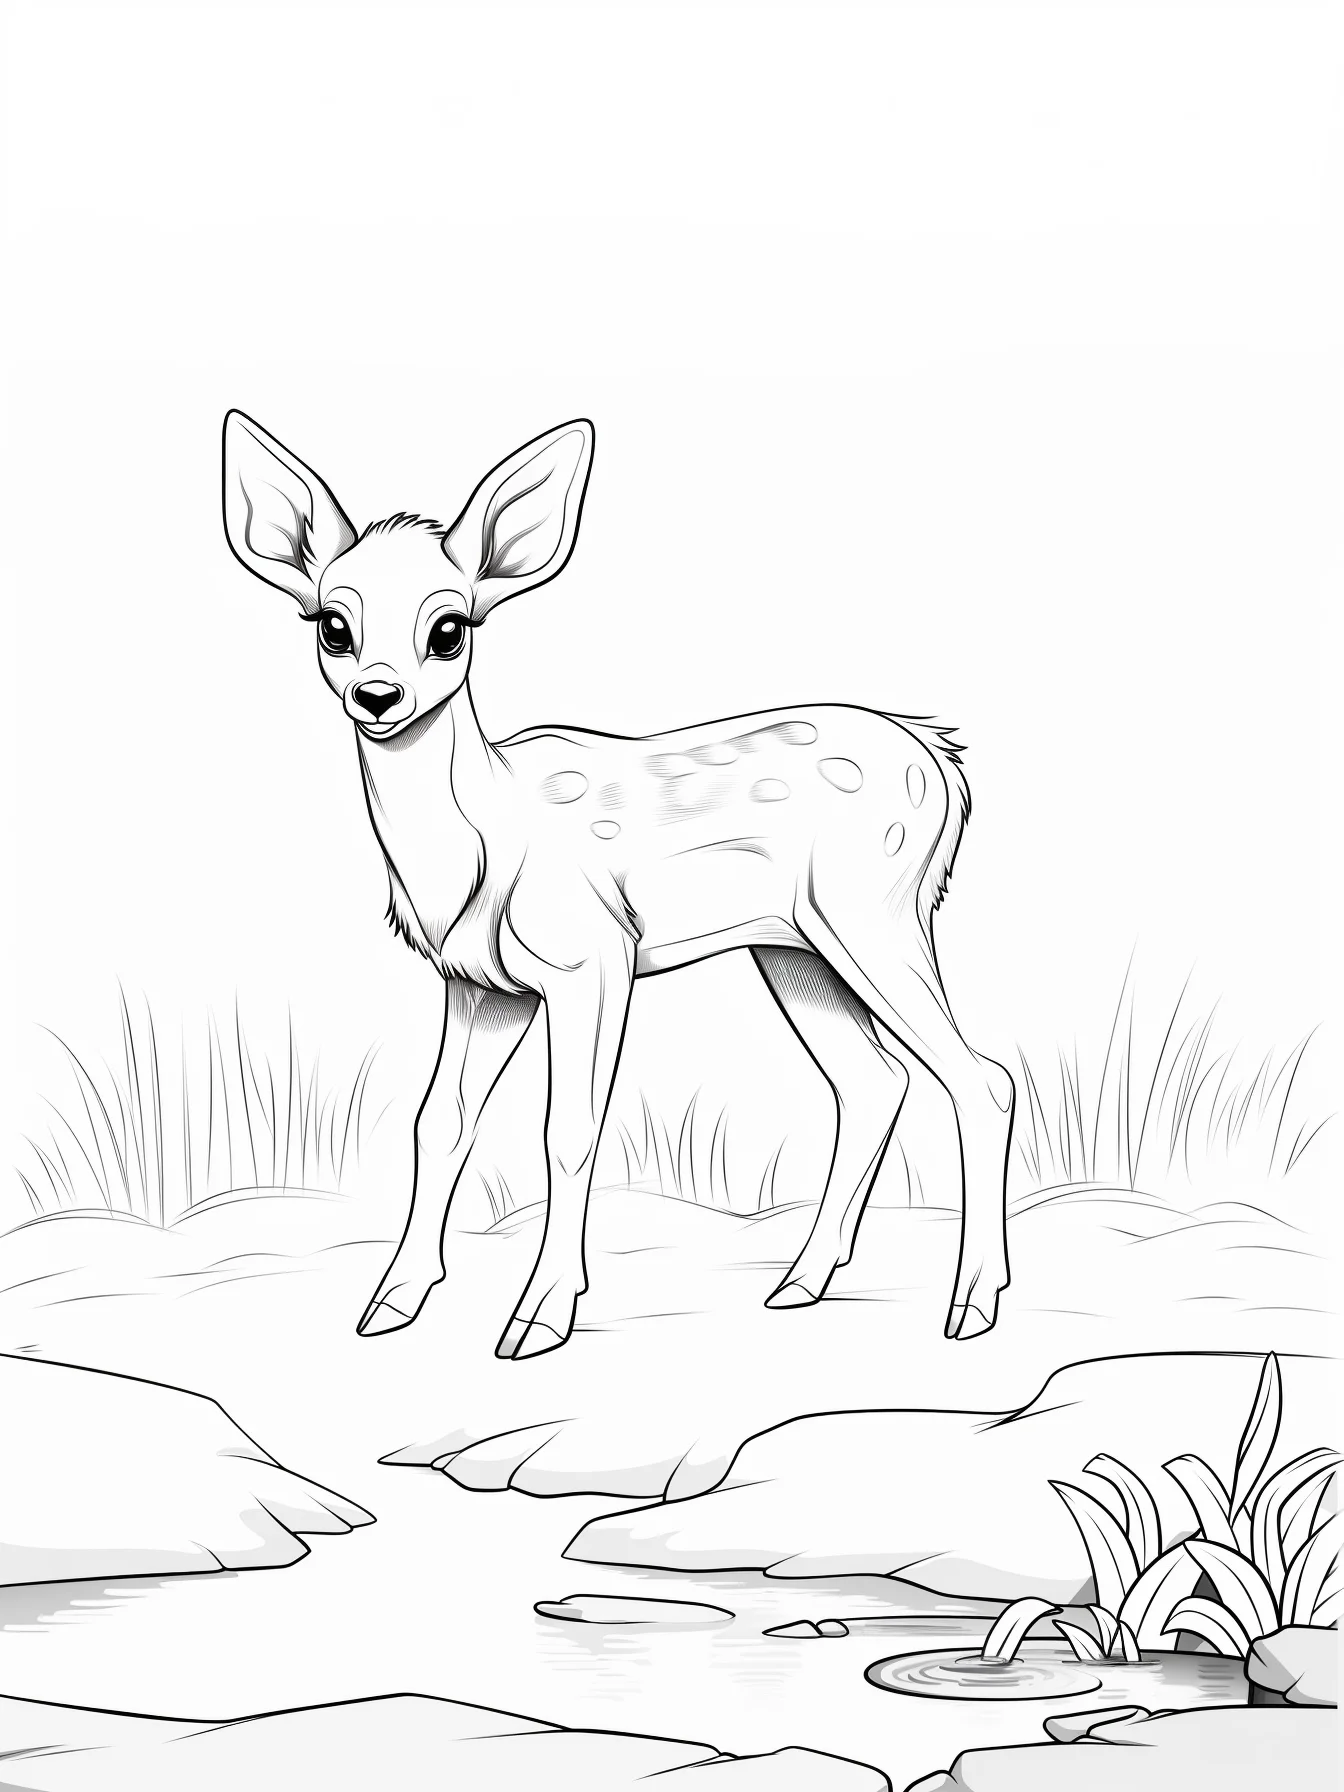
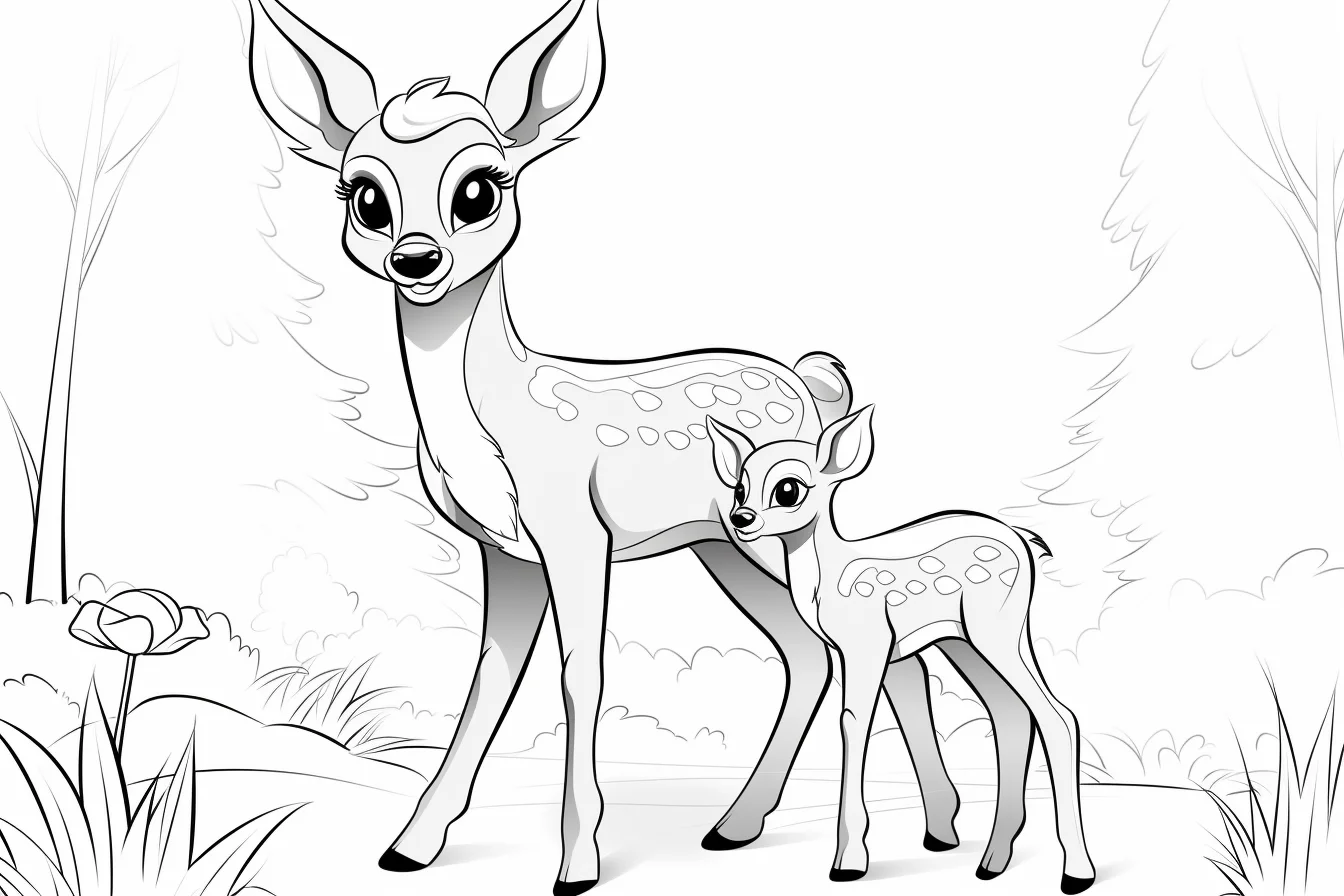
Fawns, baby deer and family pages — Sheets 12–18
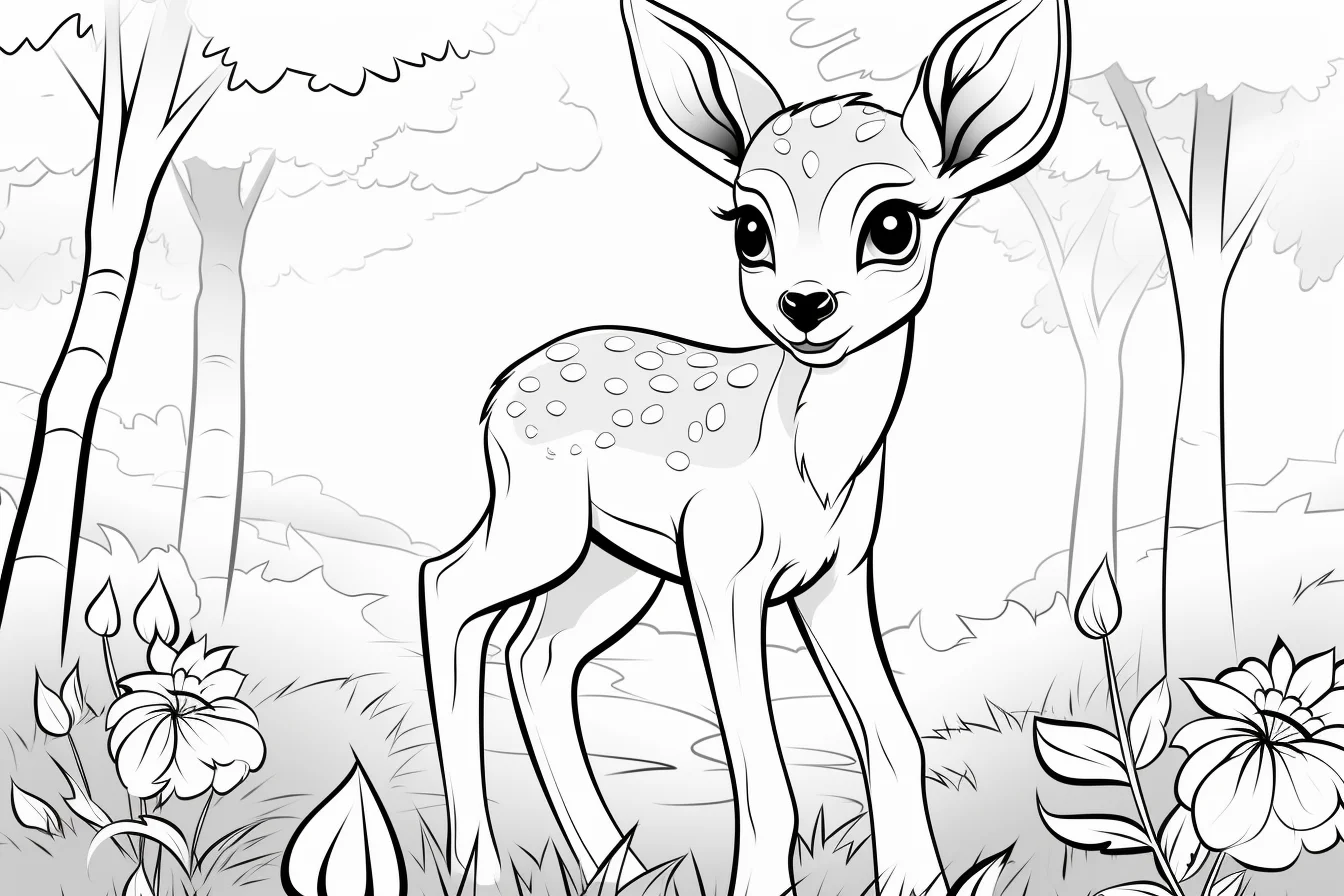
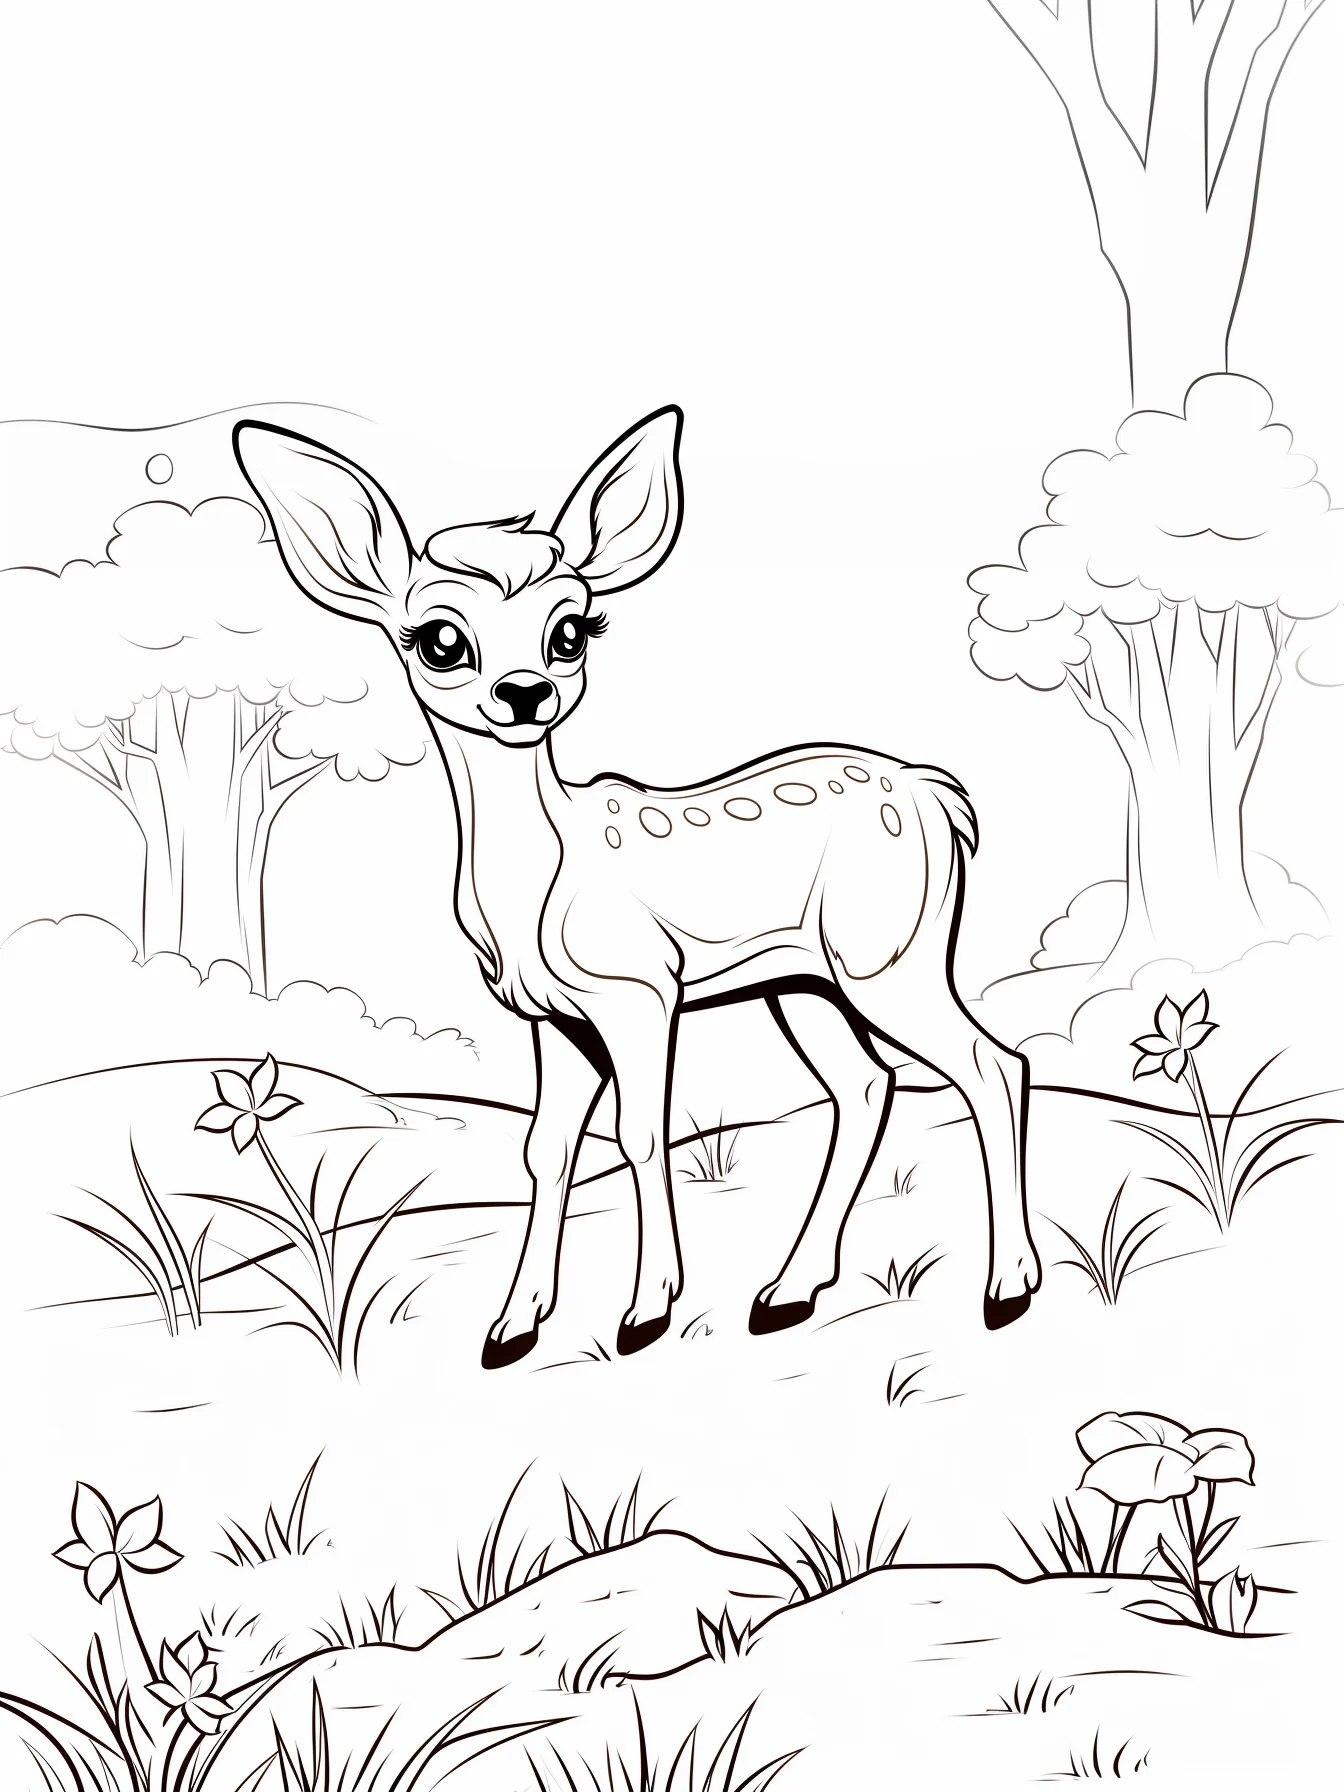
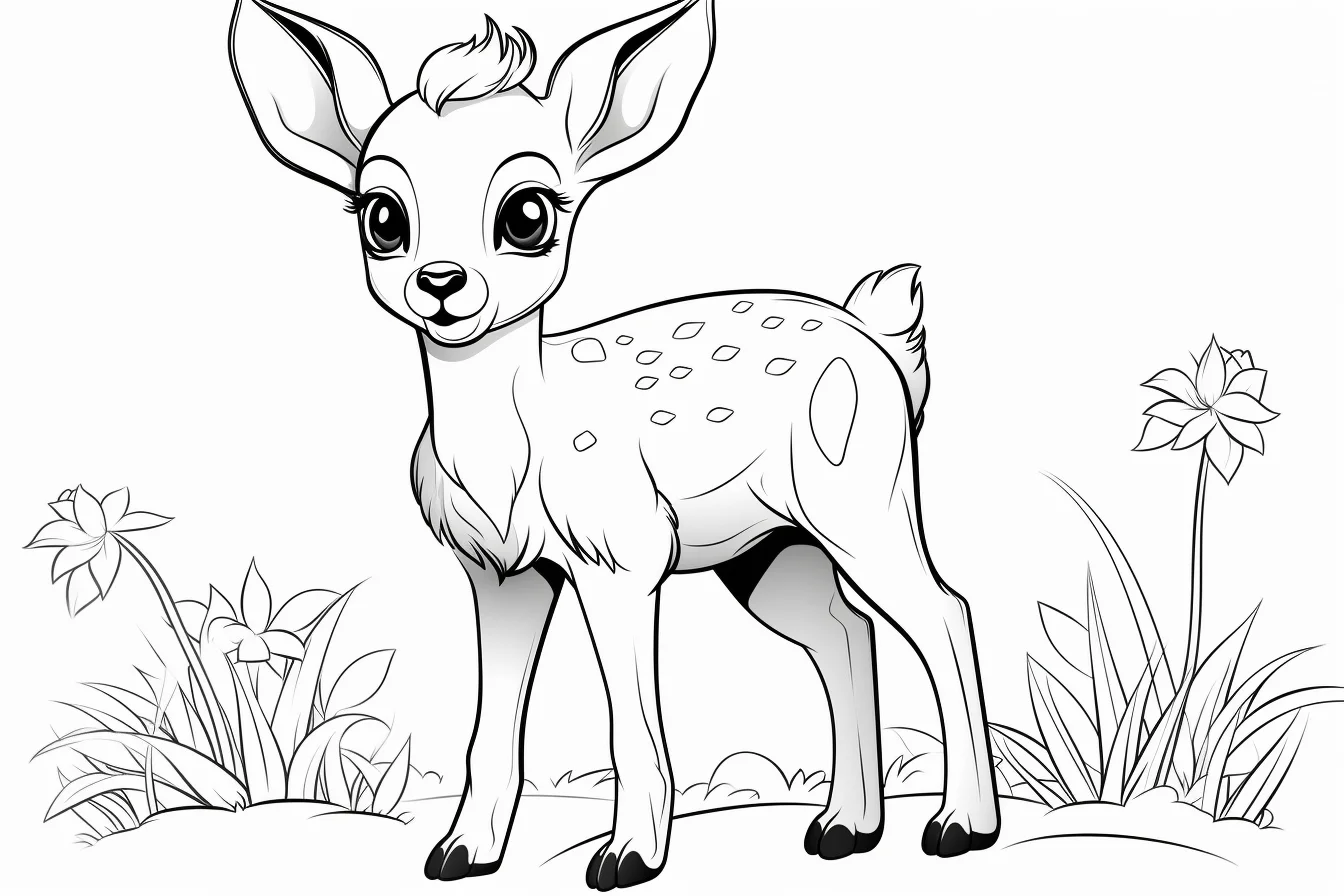
This middle group is the best place to start if the appeal is the softer fawn look rather than antlers or adult-deer anatomy. Keep the body lighter, use small pale spots when they suit the drawing, and save darker brown for the nose, hooves and a few shadow areas.
More detailed deer — Sheets 19–20
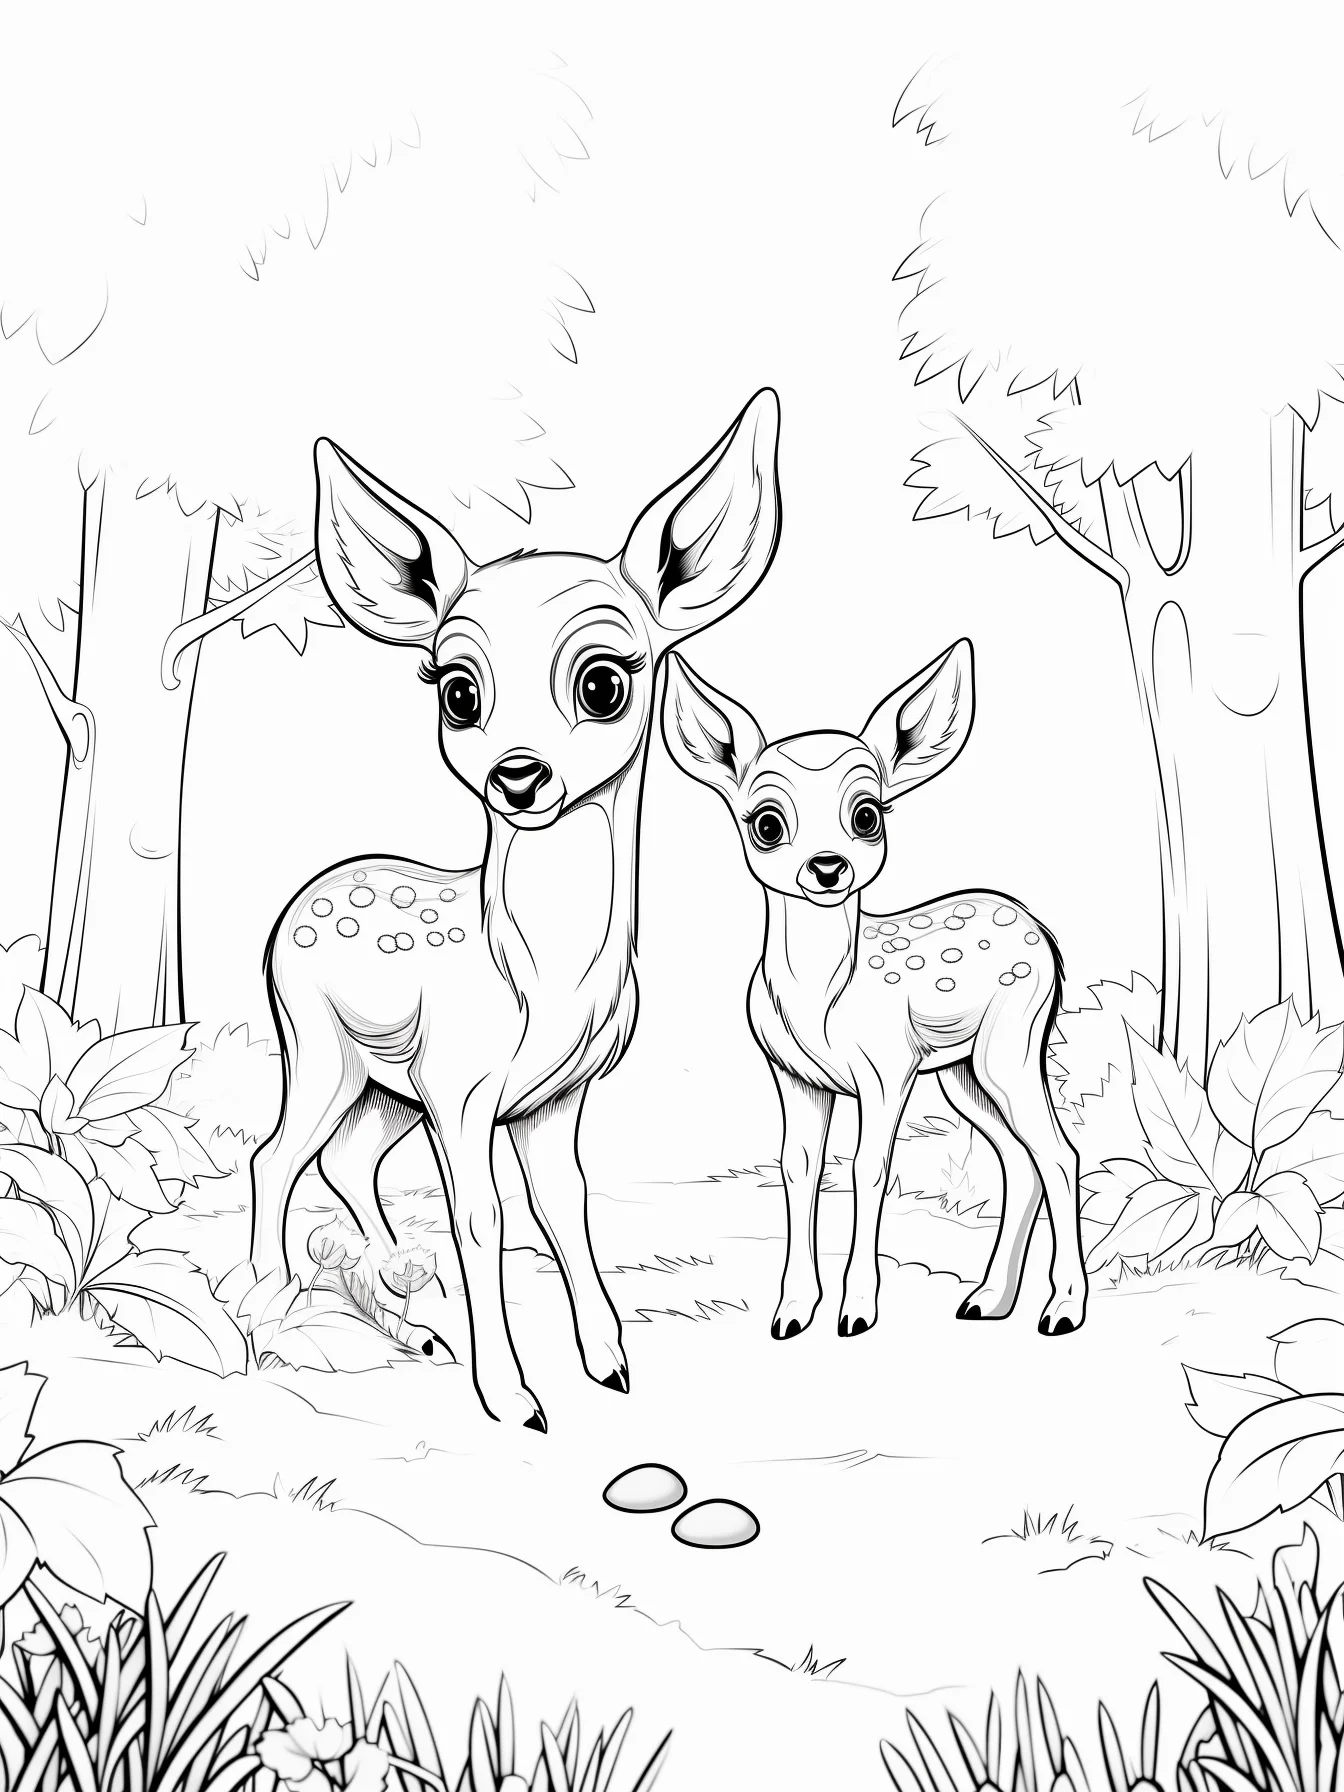
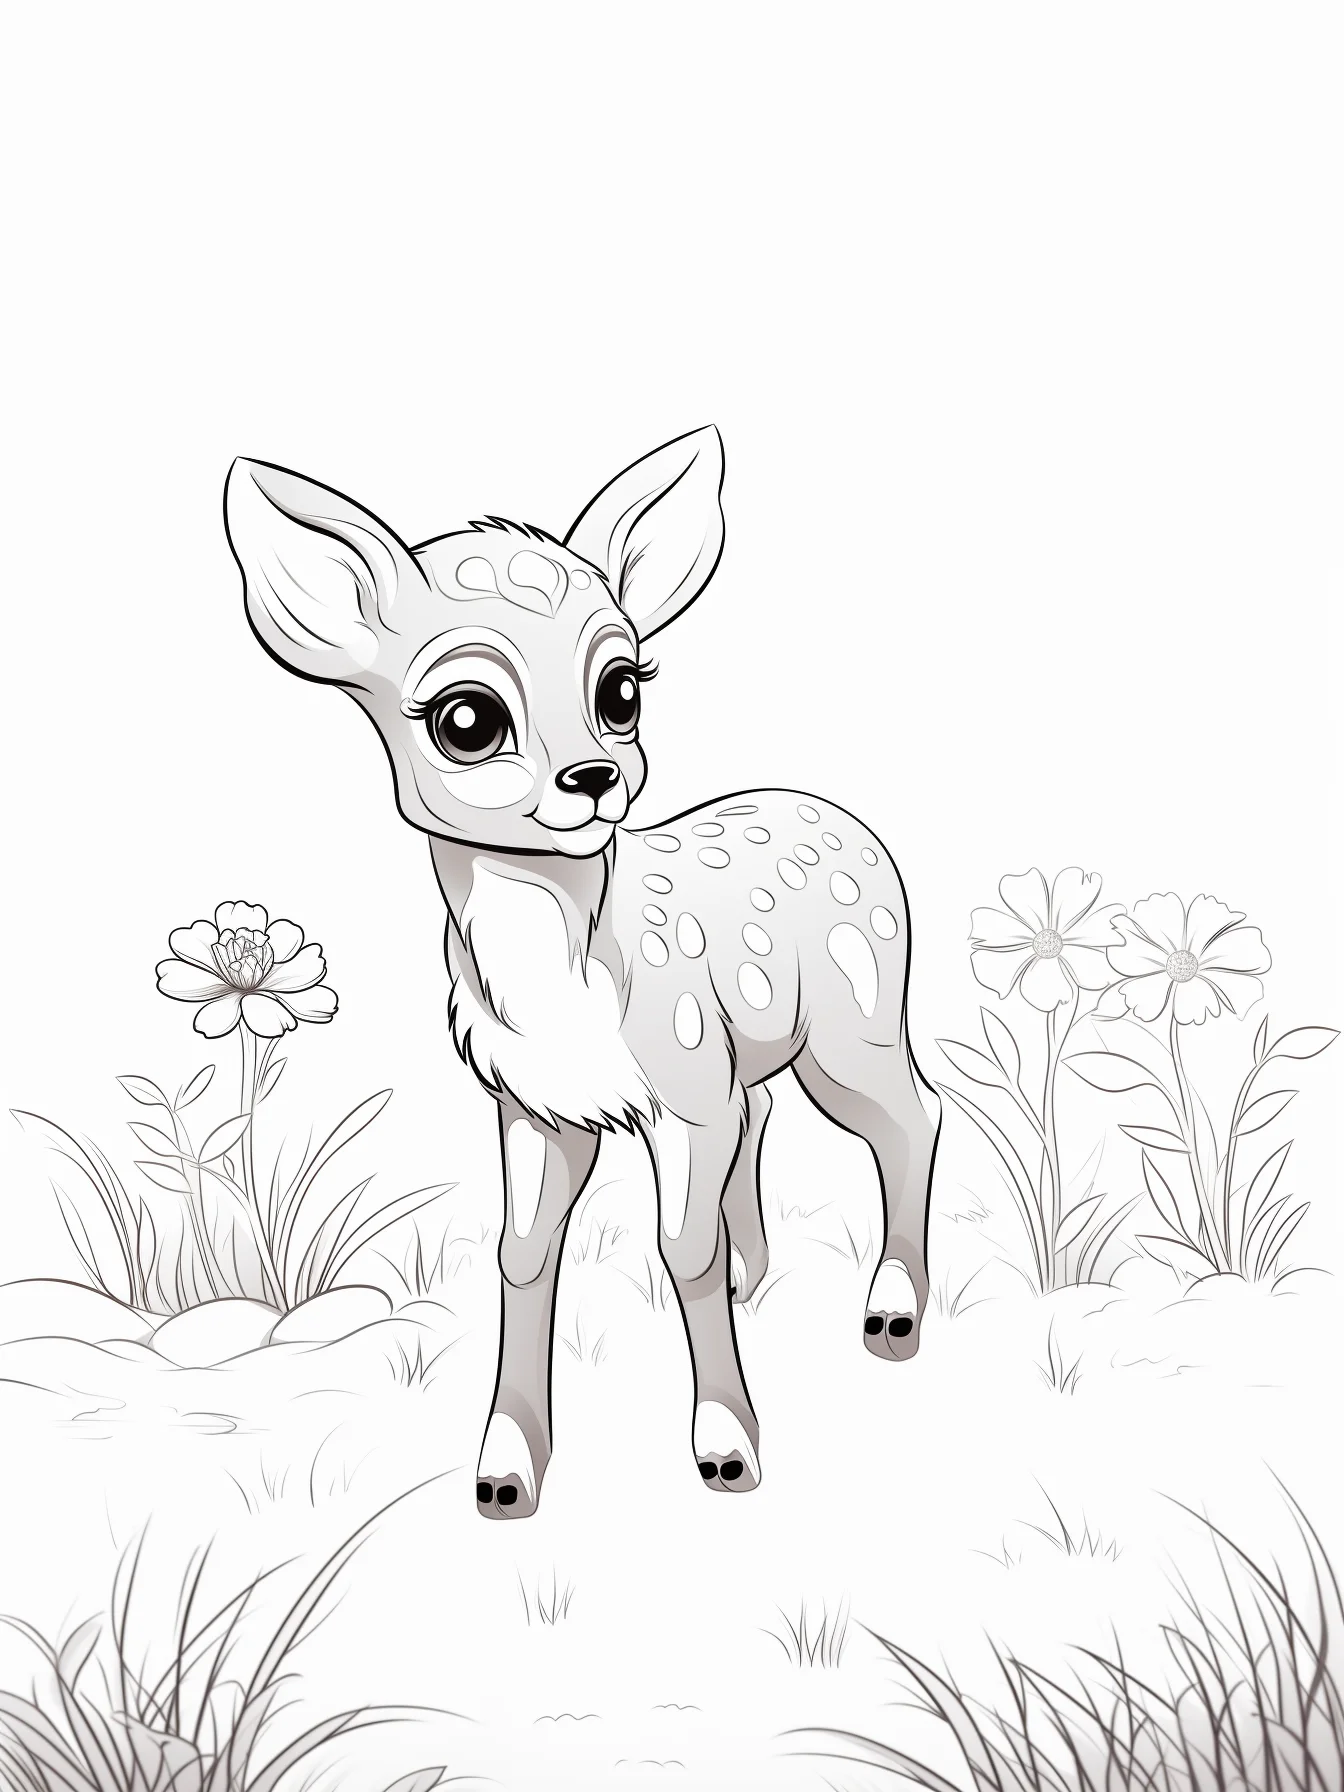
The last two pages are better when you want a slower finish. Use a lighter first layer and build shadows gradually around the face, neck and legs instead of outlining everything heavily. If antlers are present, keep them one step lighter or grayer than the darkest fur so they remain separate.
If you do not want a realistic palette, the clean outlines also work well for fantasy coloring. Blue, violet or patterned markings can turn the same deer drawing into something completely different without changing the page itself.
Quick deer-coloring questions
Which pages are easiest for younger kids?
Start with Sheets 1–11, especially the pages with one large deer and little scenery. The baby-deer group is also approachable, but some family pages have more separate shapes to color.
What colors work for a realistic deer?
Tan, warm brown, gray-brown and cream are enough. Keep the muzzle, belly and inner ears lighter, then use a darker brown on the back, legs and deepest shadows.
Do fawns need white spots?
No. Spots can help create a familiar fawn look, but they are optional. If the drawing already has spot shapes, leave them white or use a very pale cream after the base coat.
Can I use markers?
Yes, especially on the simpler pages. Put a spare sheet underneath ordinary printer paper, and avoid repeatedly layering dark marker over narrow facial details because those areas can close up quickly.

