
Thirty-nine wolf coloring pages, with howling wolves, family groups, pack scenes and more detailed realistic studies. The first sheets are scene-based; the cleaner and mixed printables come later. Tap any image to open the full-size printable.
Jump to: howling wolves · families & cubs · packs & action · detailed realism · more printables
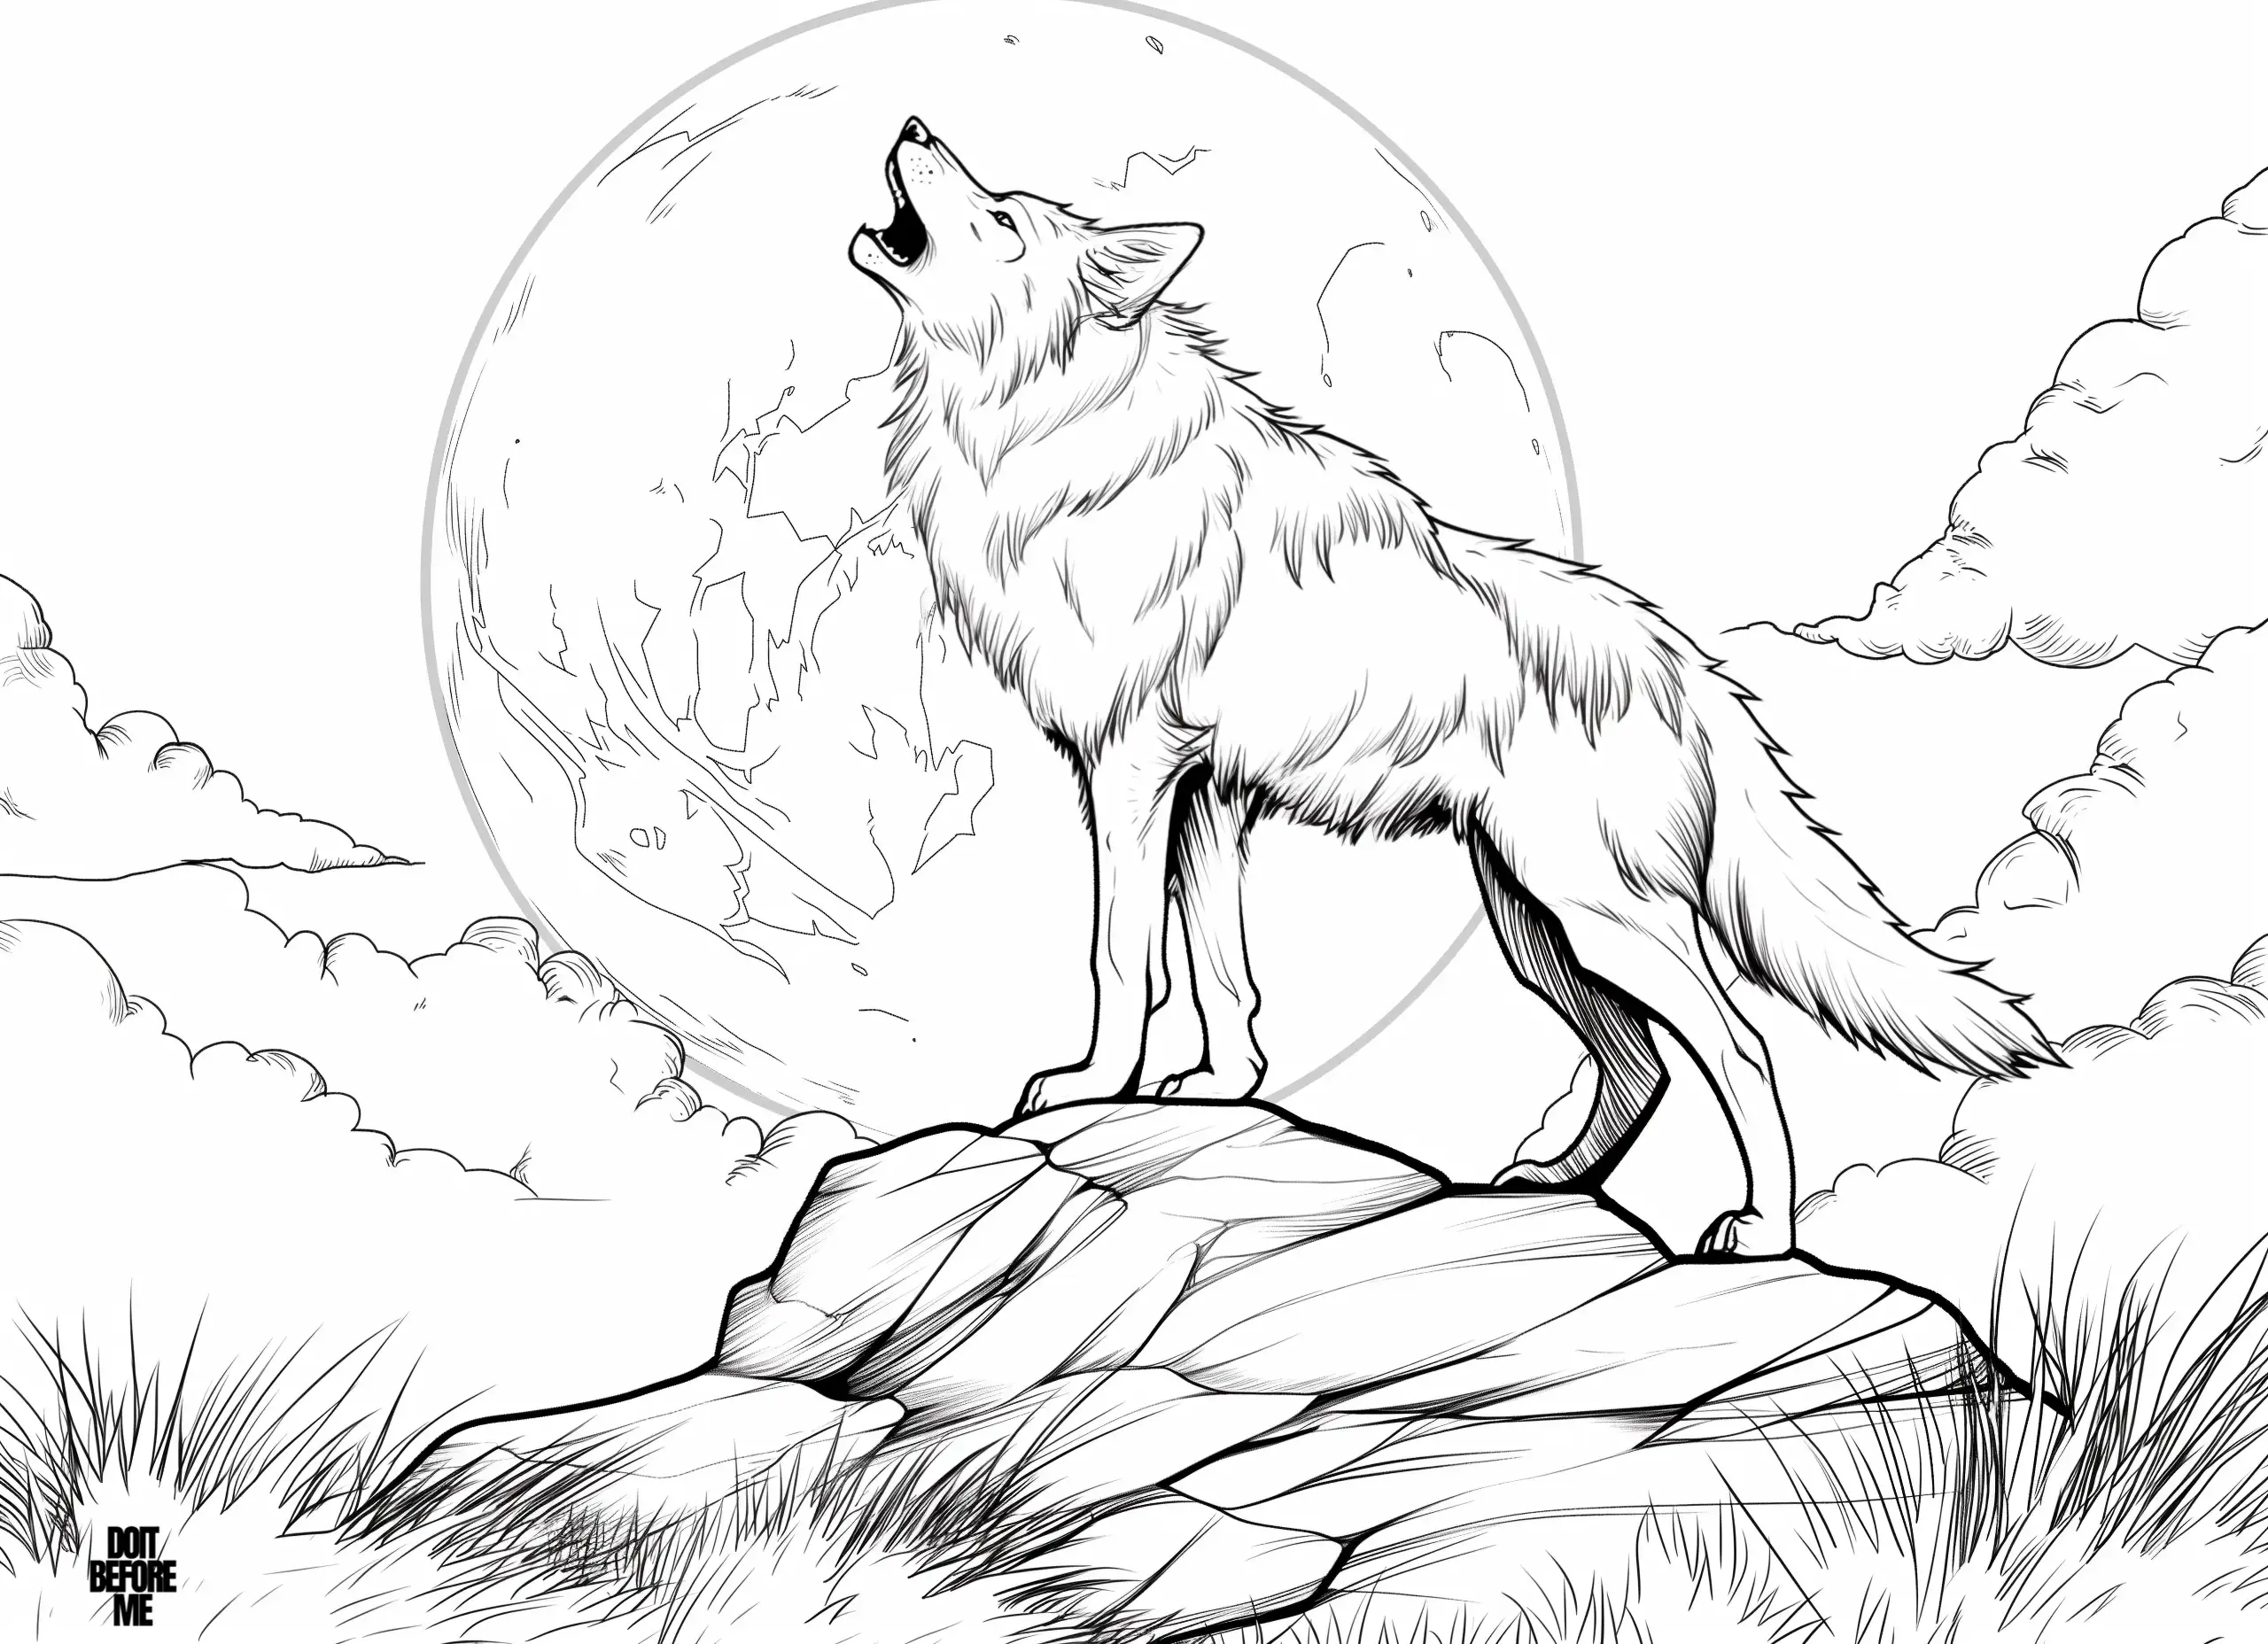
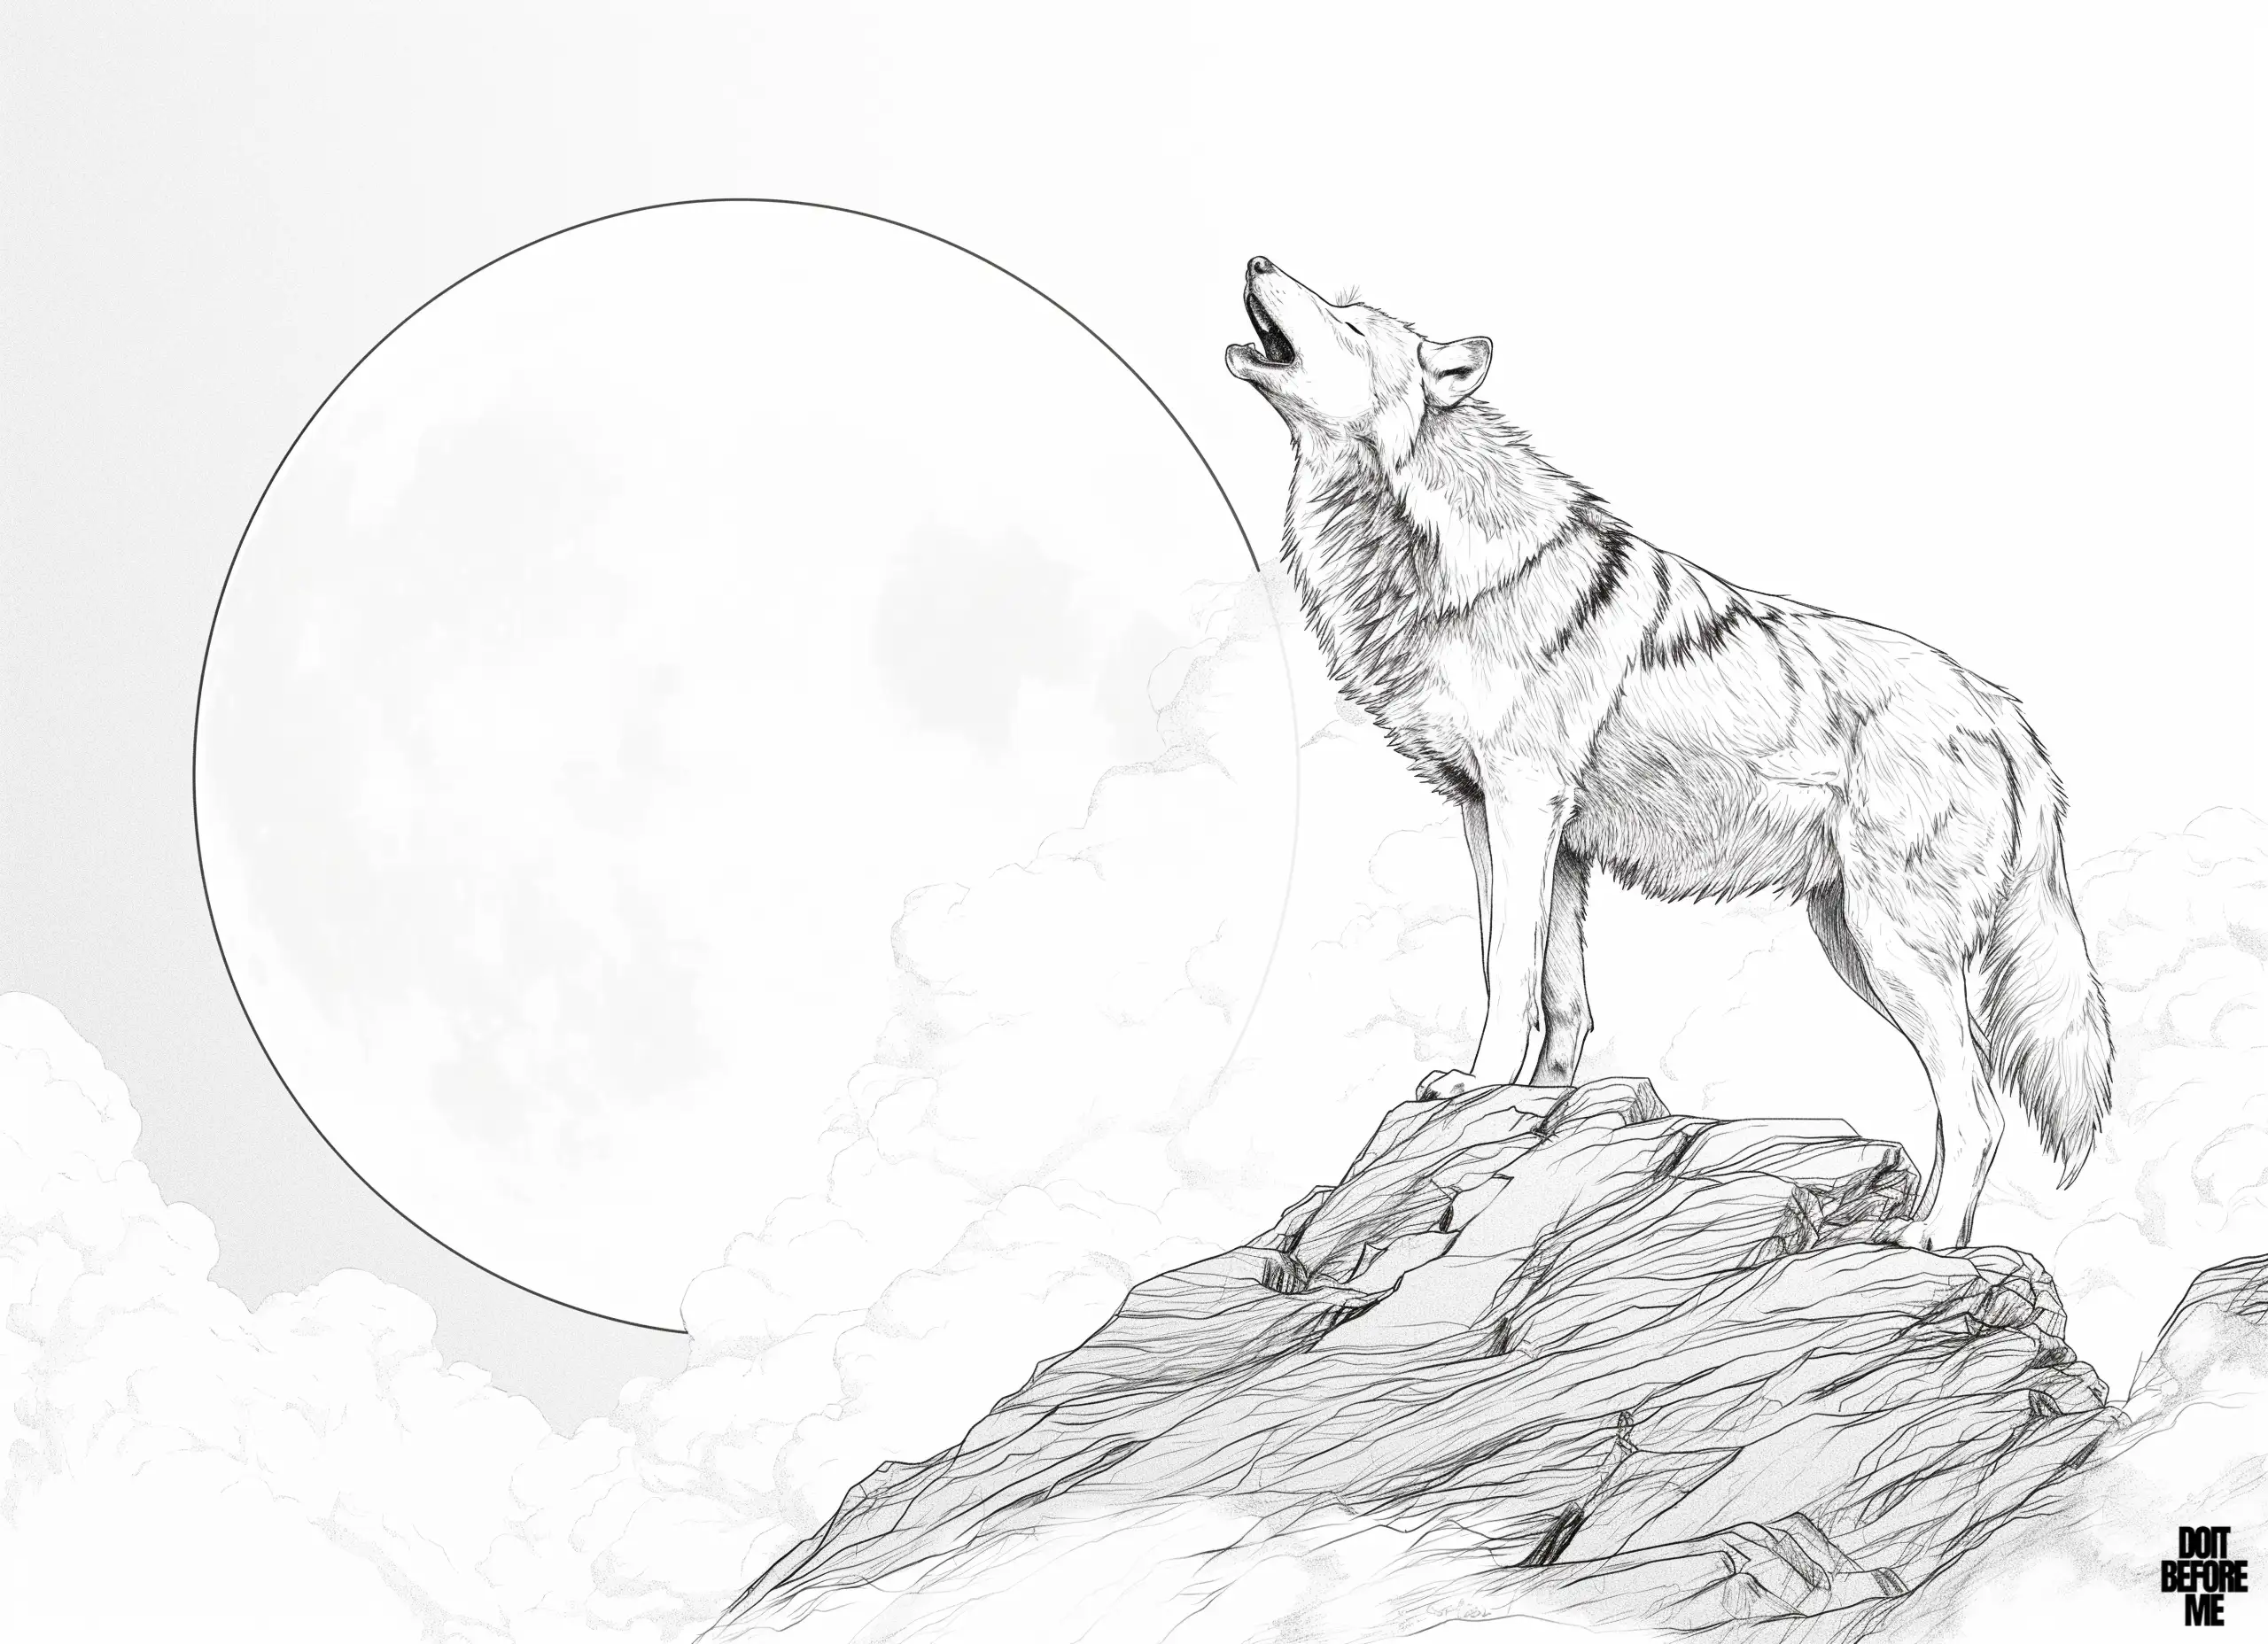
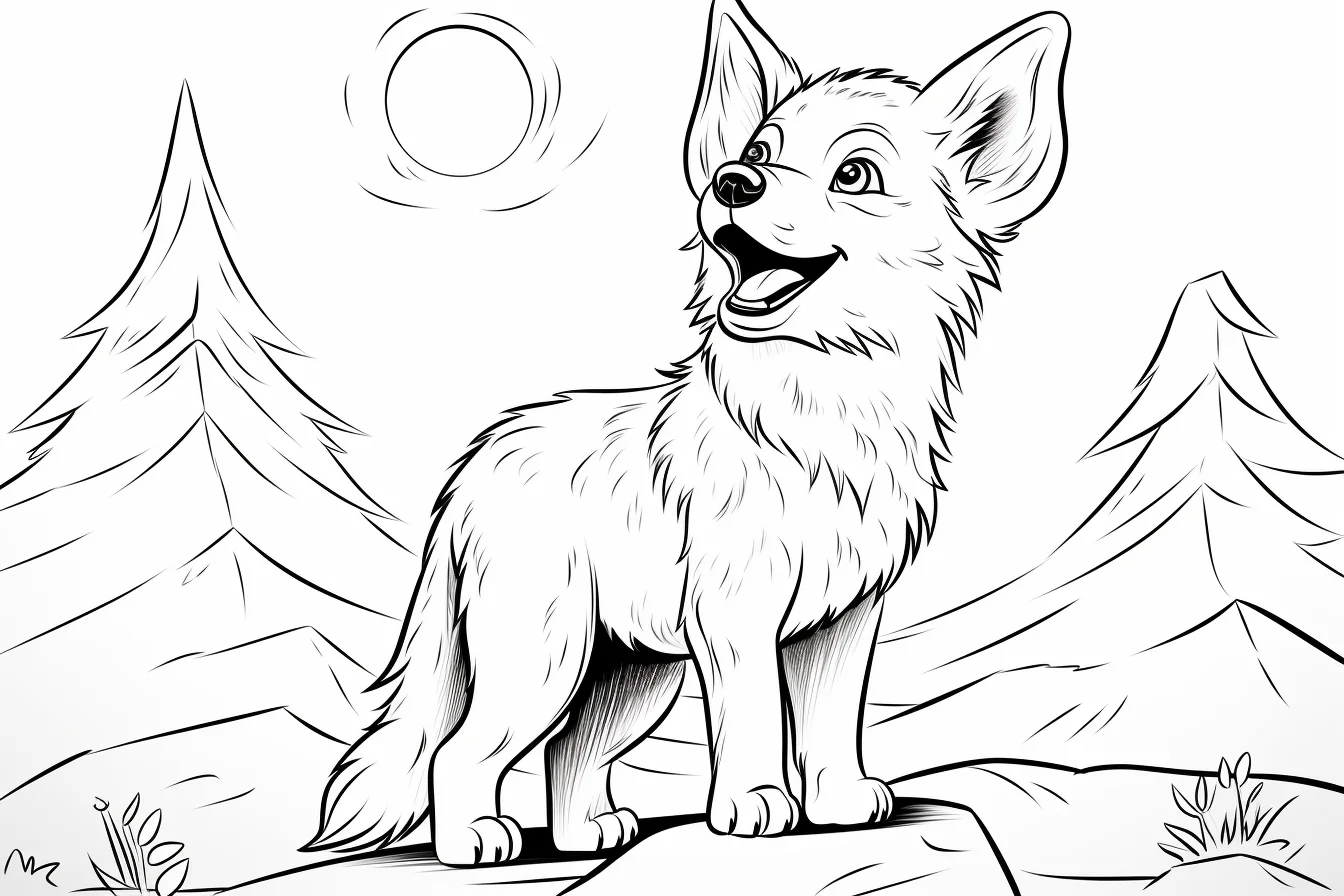
Howling wolf scenes — Sheets 1–2
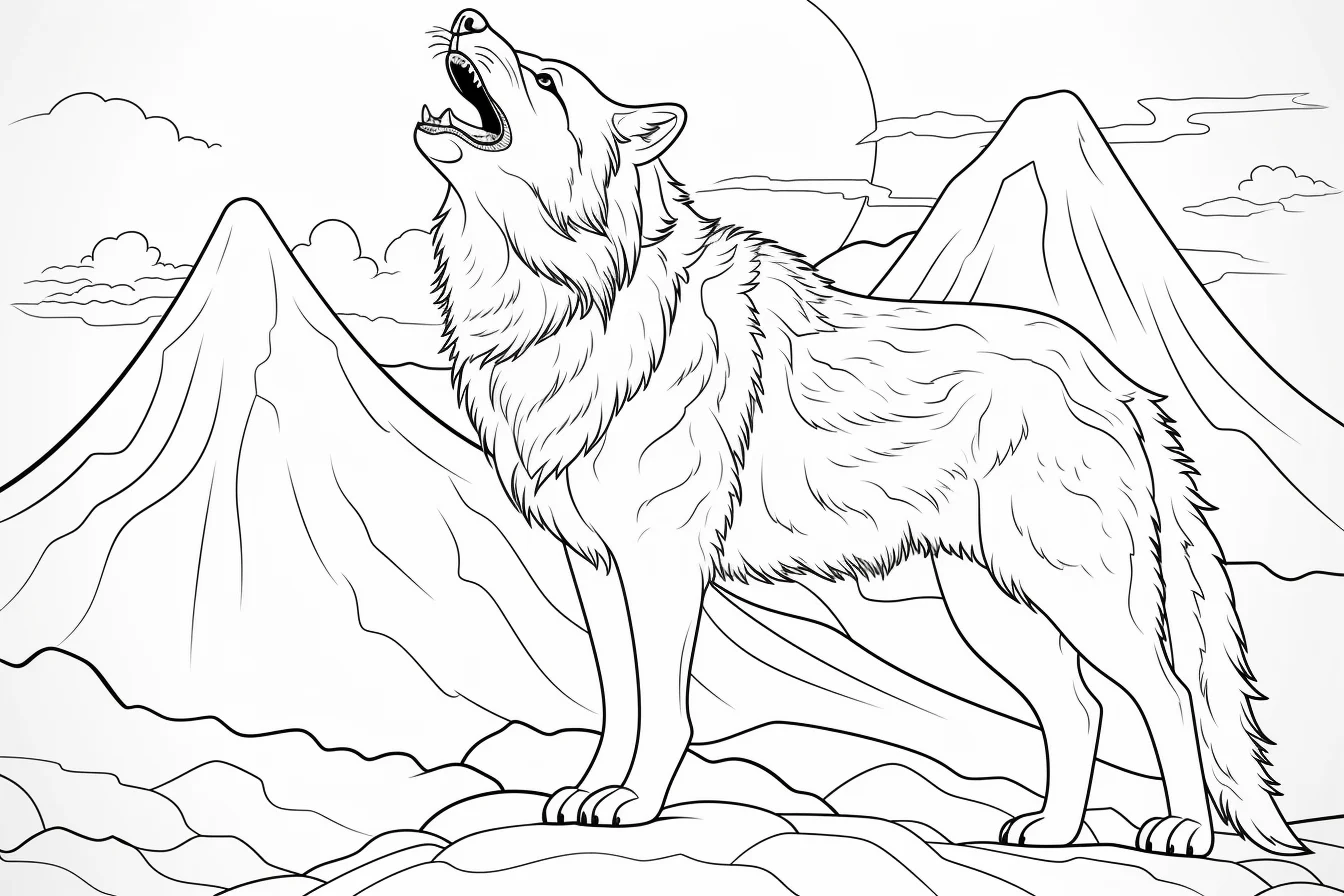
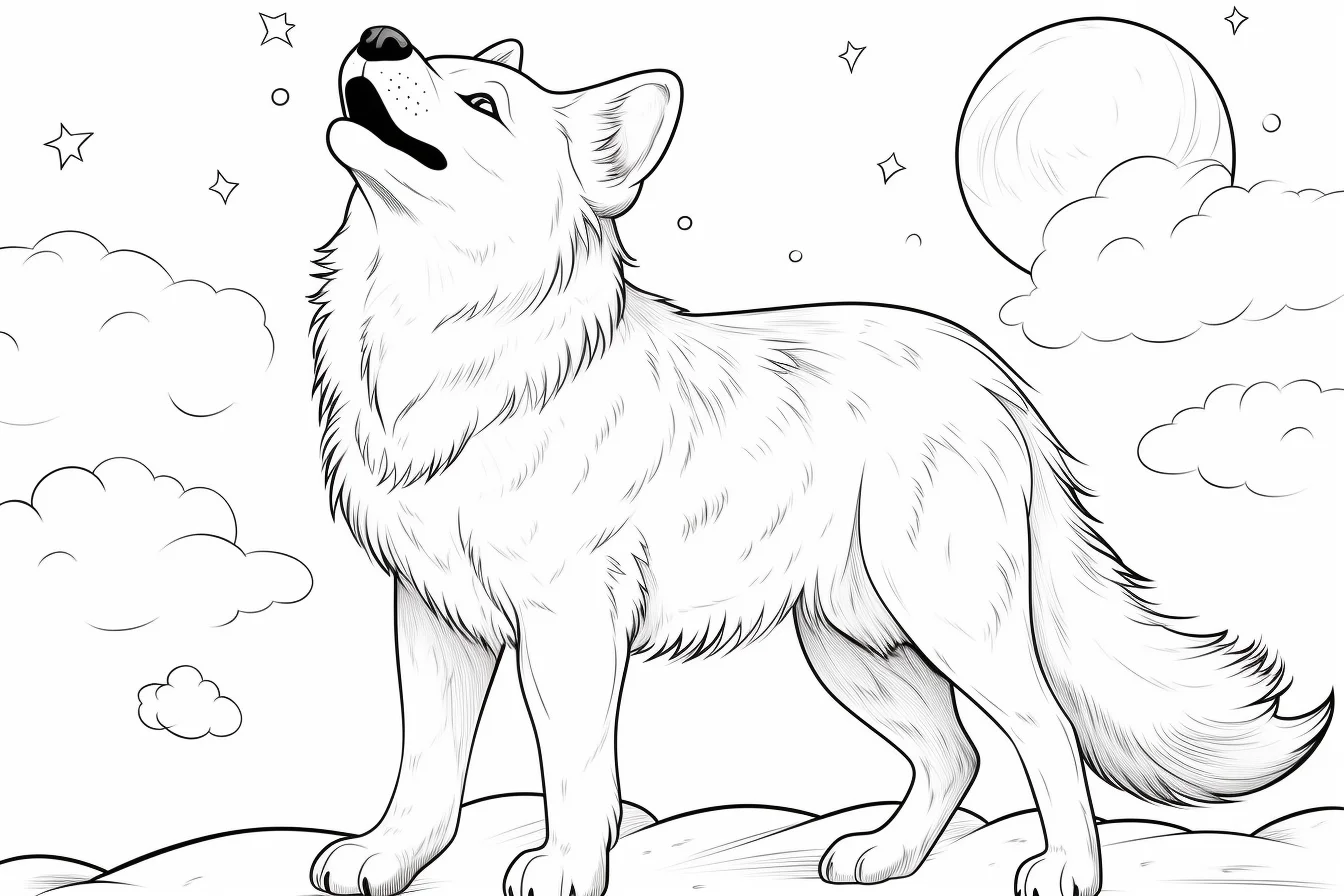
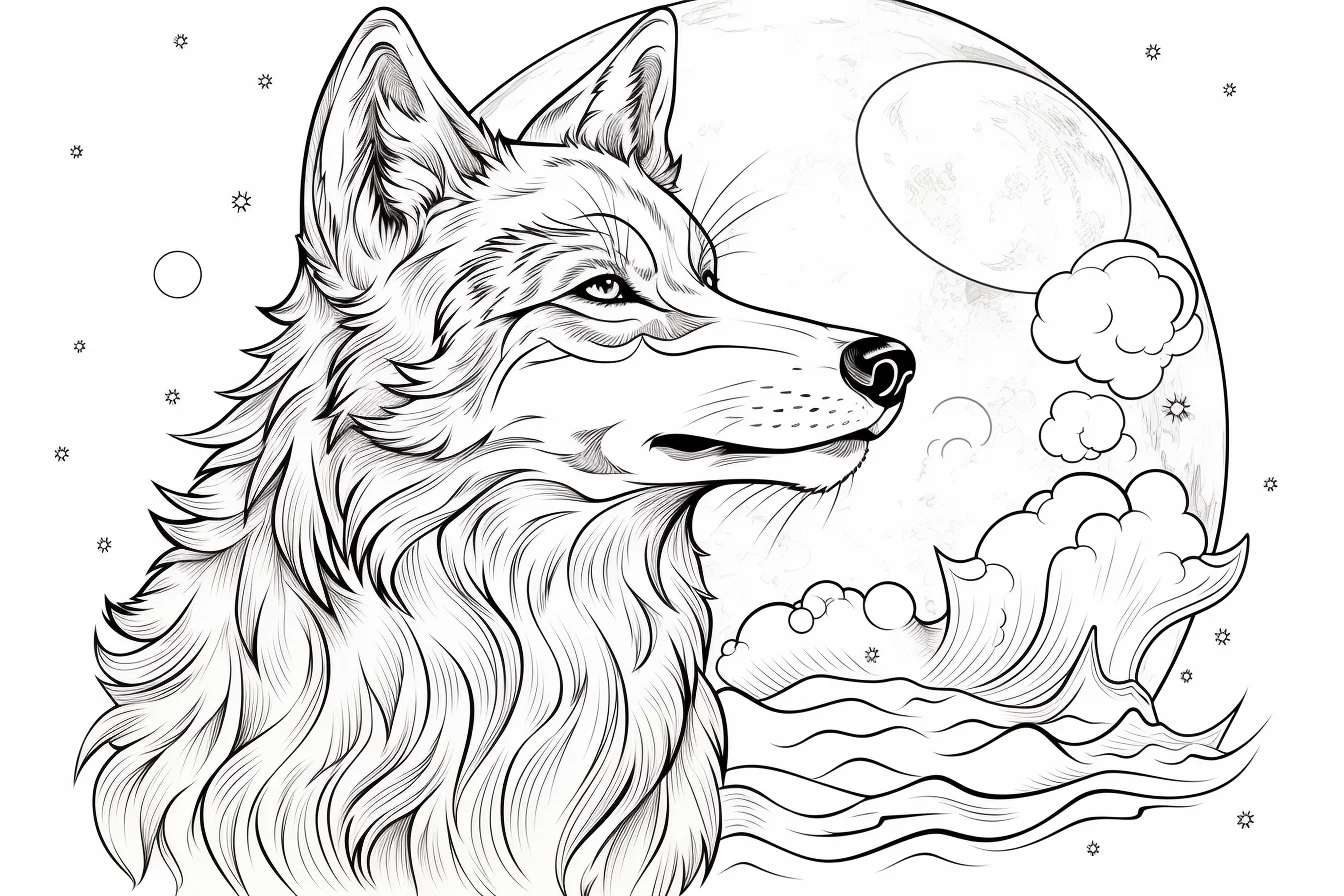
On the moonlit pages, use the moon as the light source. A lighter rim on the moon-facing side of the wolf and darker values away from it will separate the silhouette better than coloring every fur section equally.
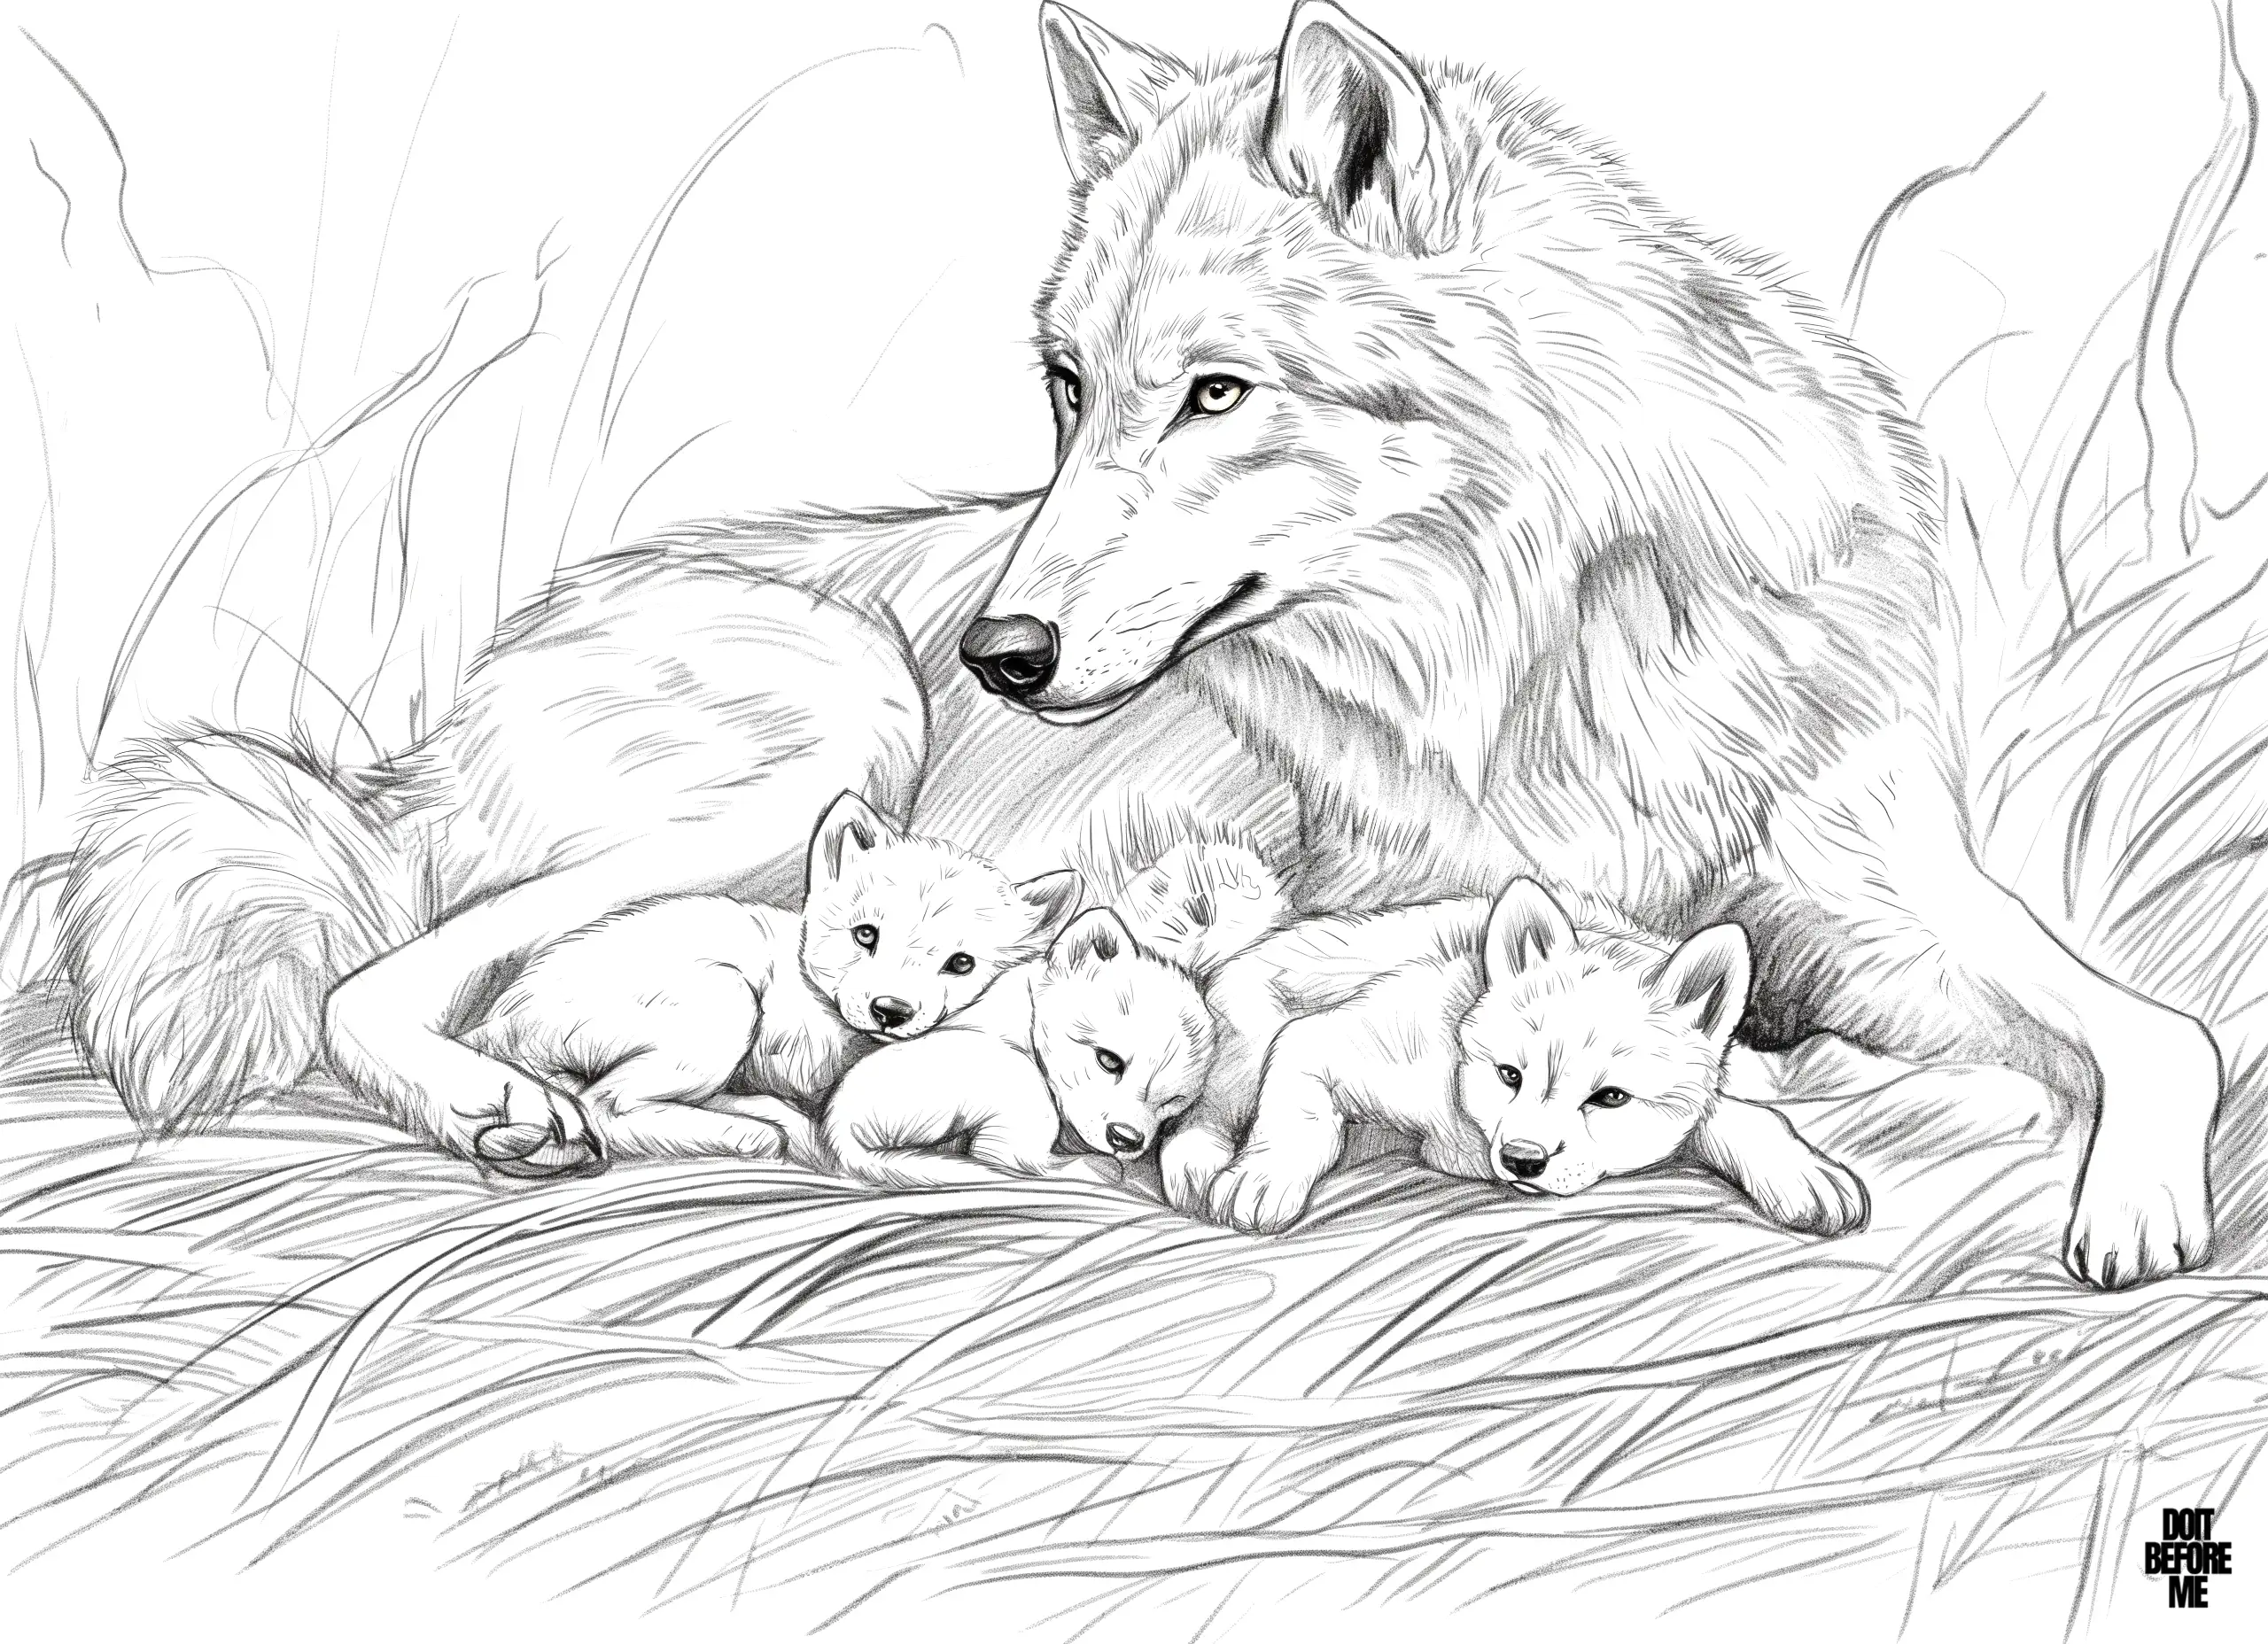
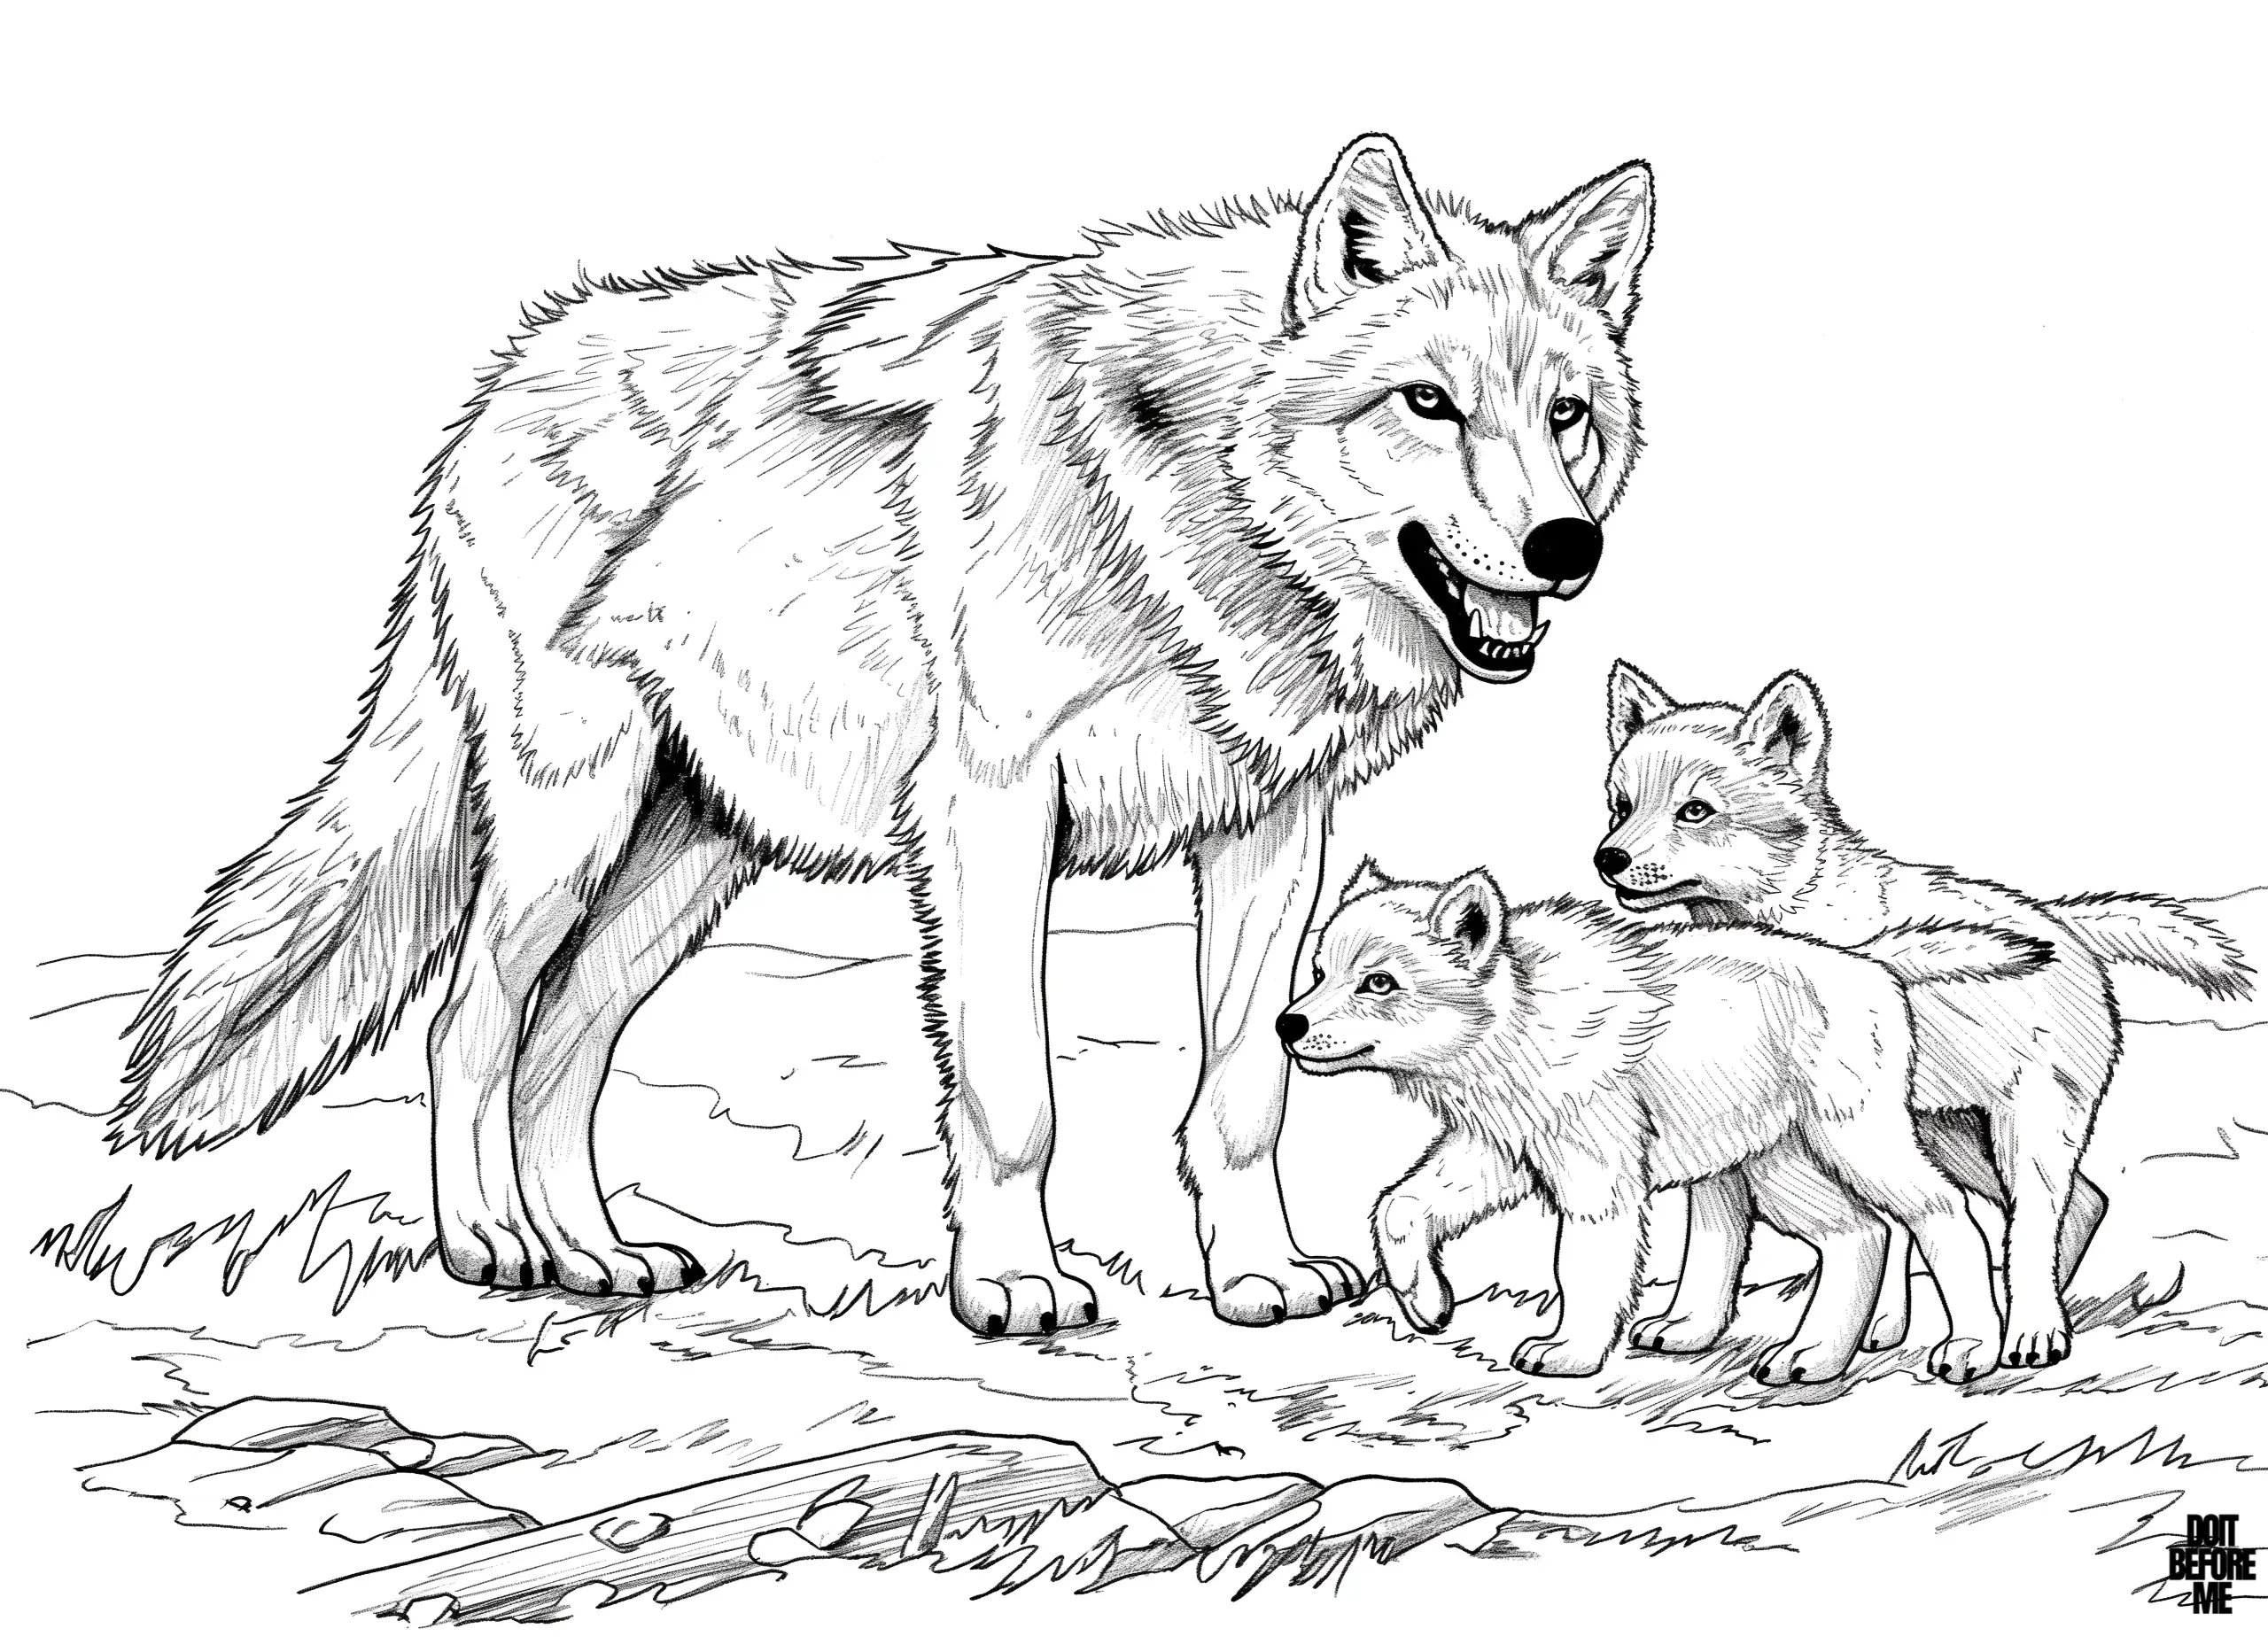
Wolf families and cubs — Sheets 3–6
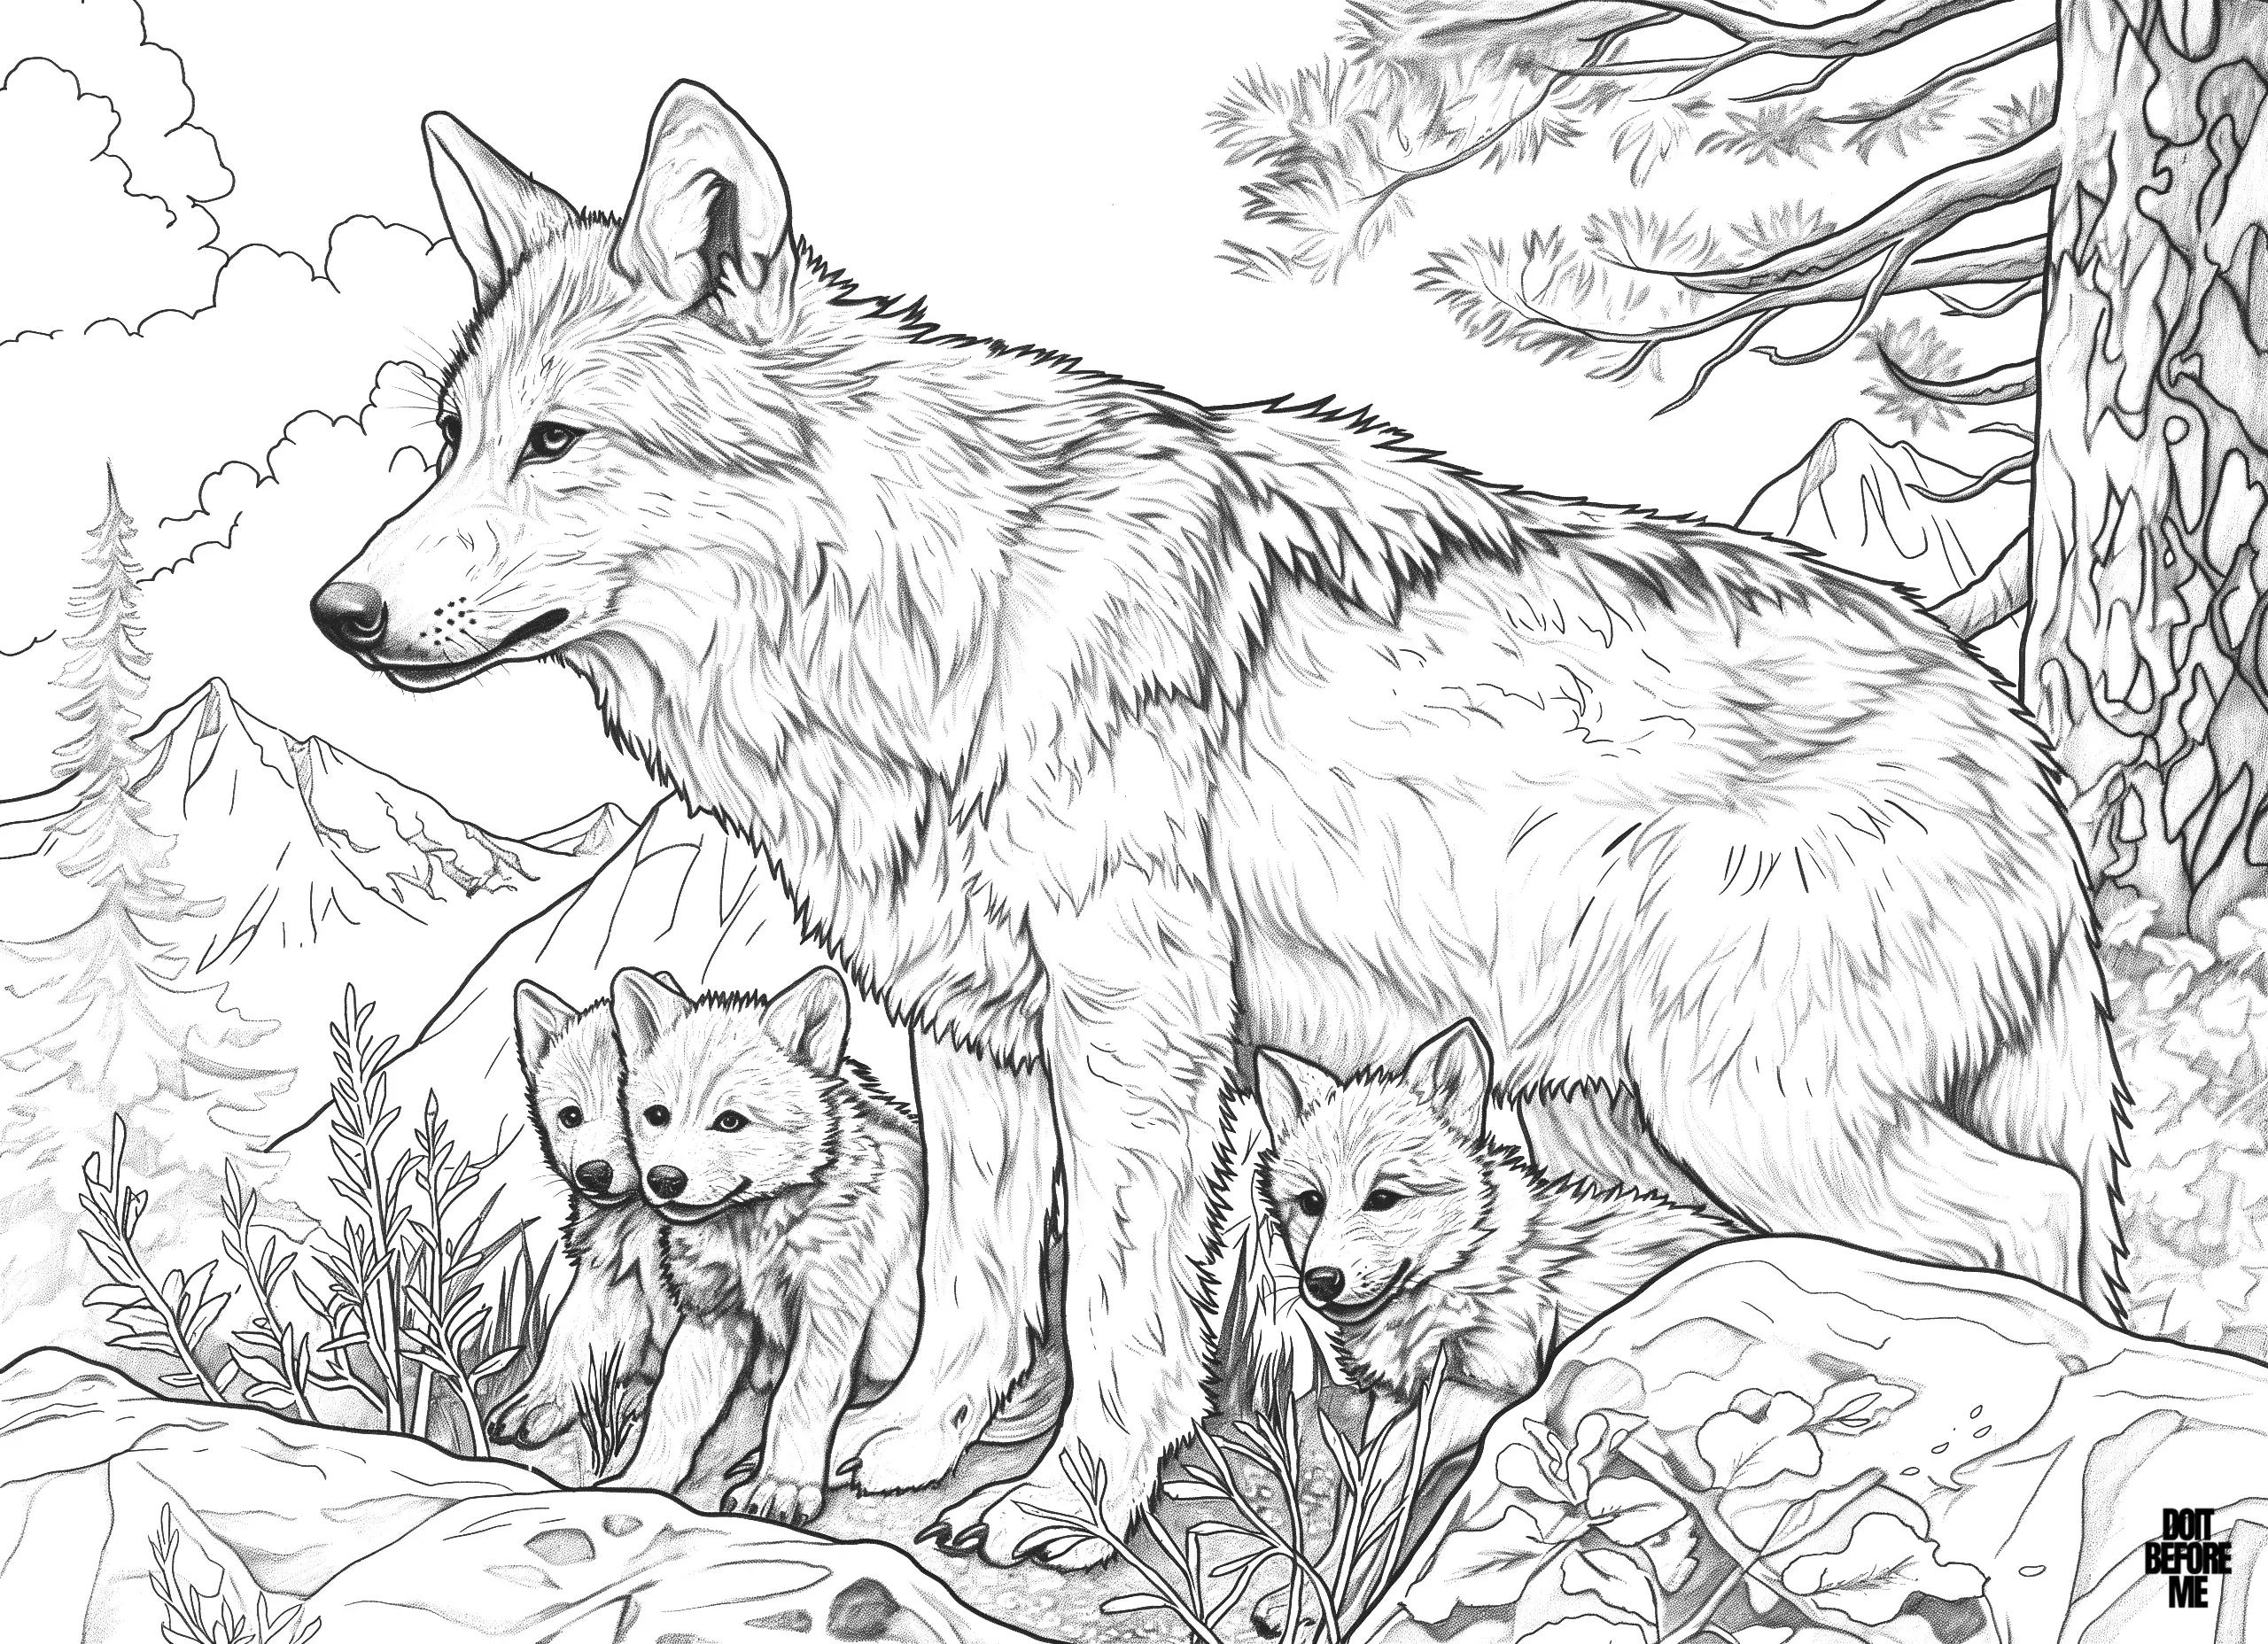
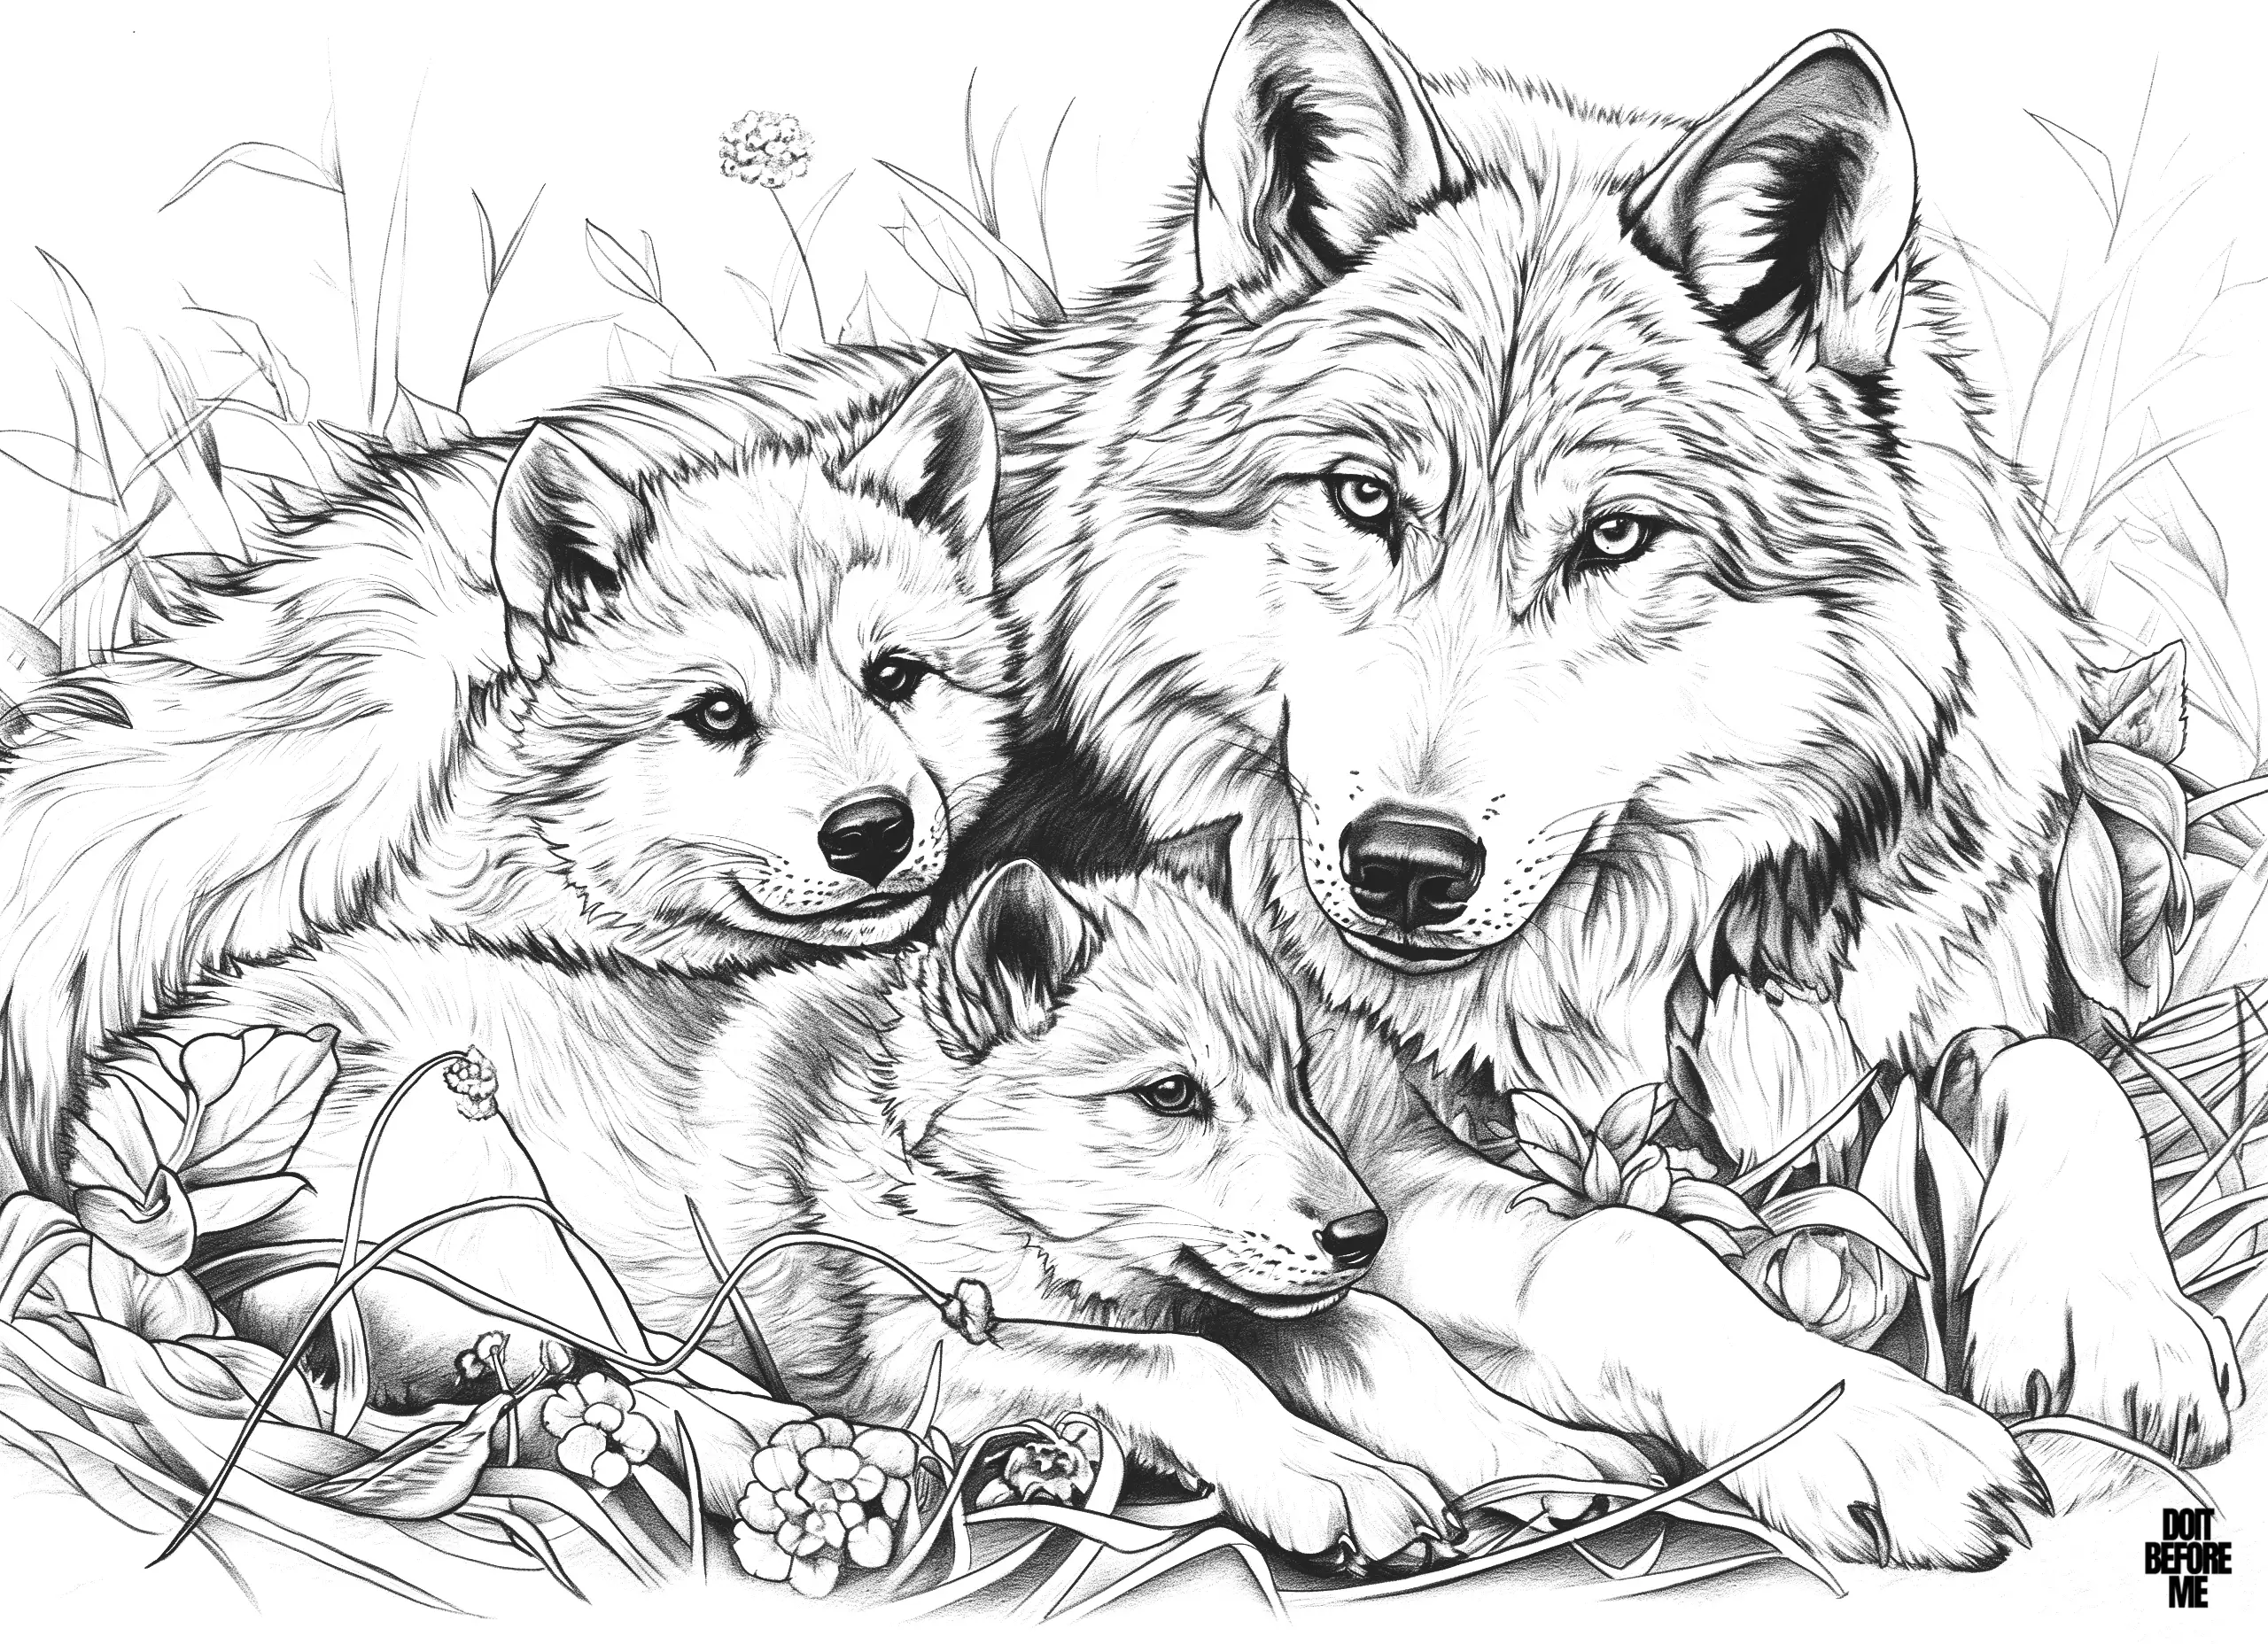
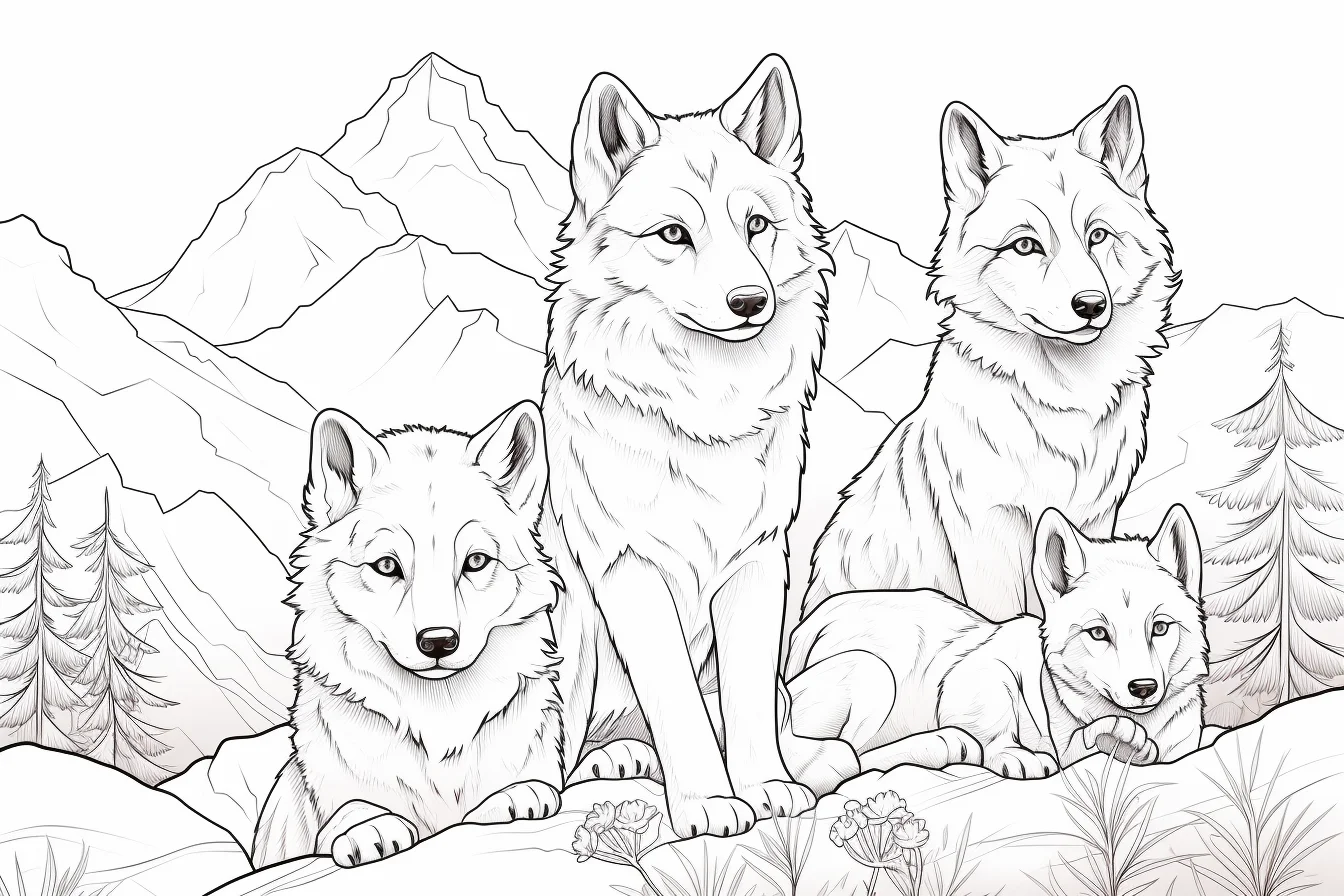
Keep the cubs slightly lighter than the surrounding trees and the adult’s darkest fur. Their shapes are smaller, so they disappear quickly if every part of the scene is pushed to the same value.
Wolf packs and action — Sheets 7–11
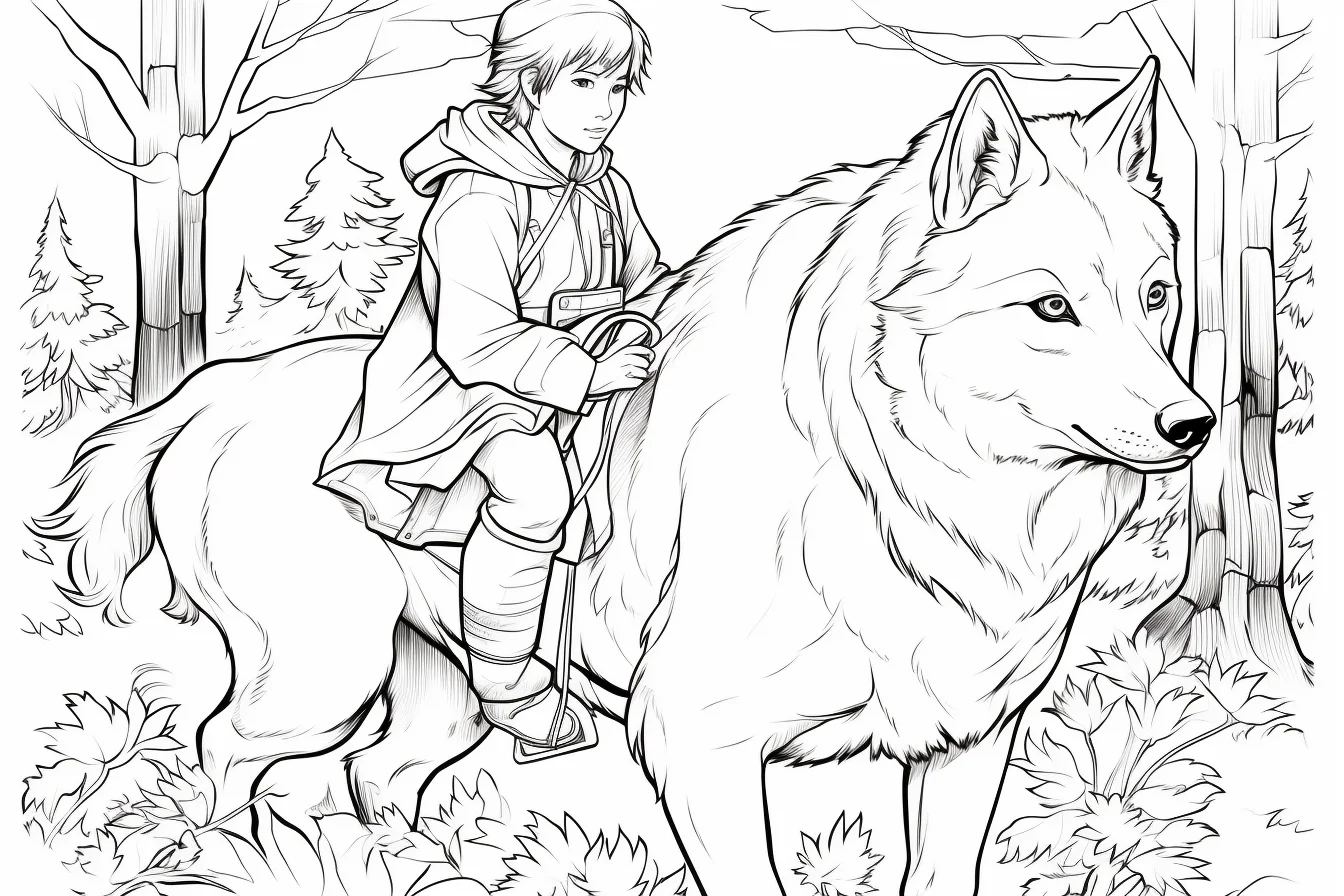
These are the busiest pages in the collection. Color the wolves first, then keep distant trees and scenery a little lighter or duller so the pack remains the focal point.
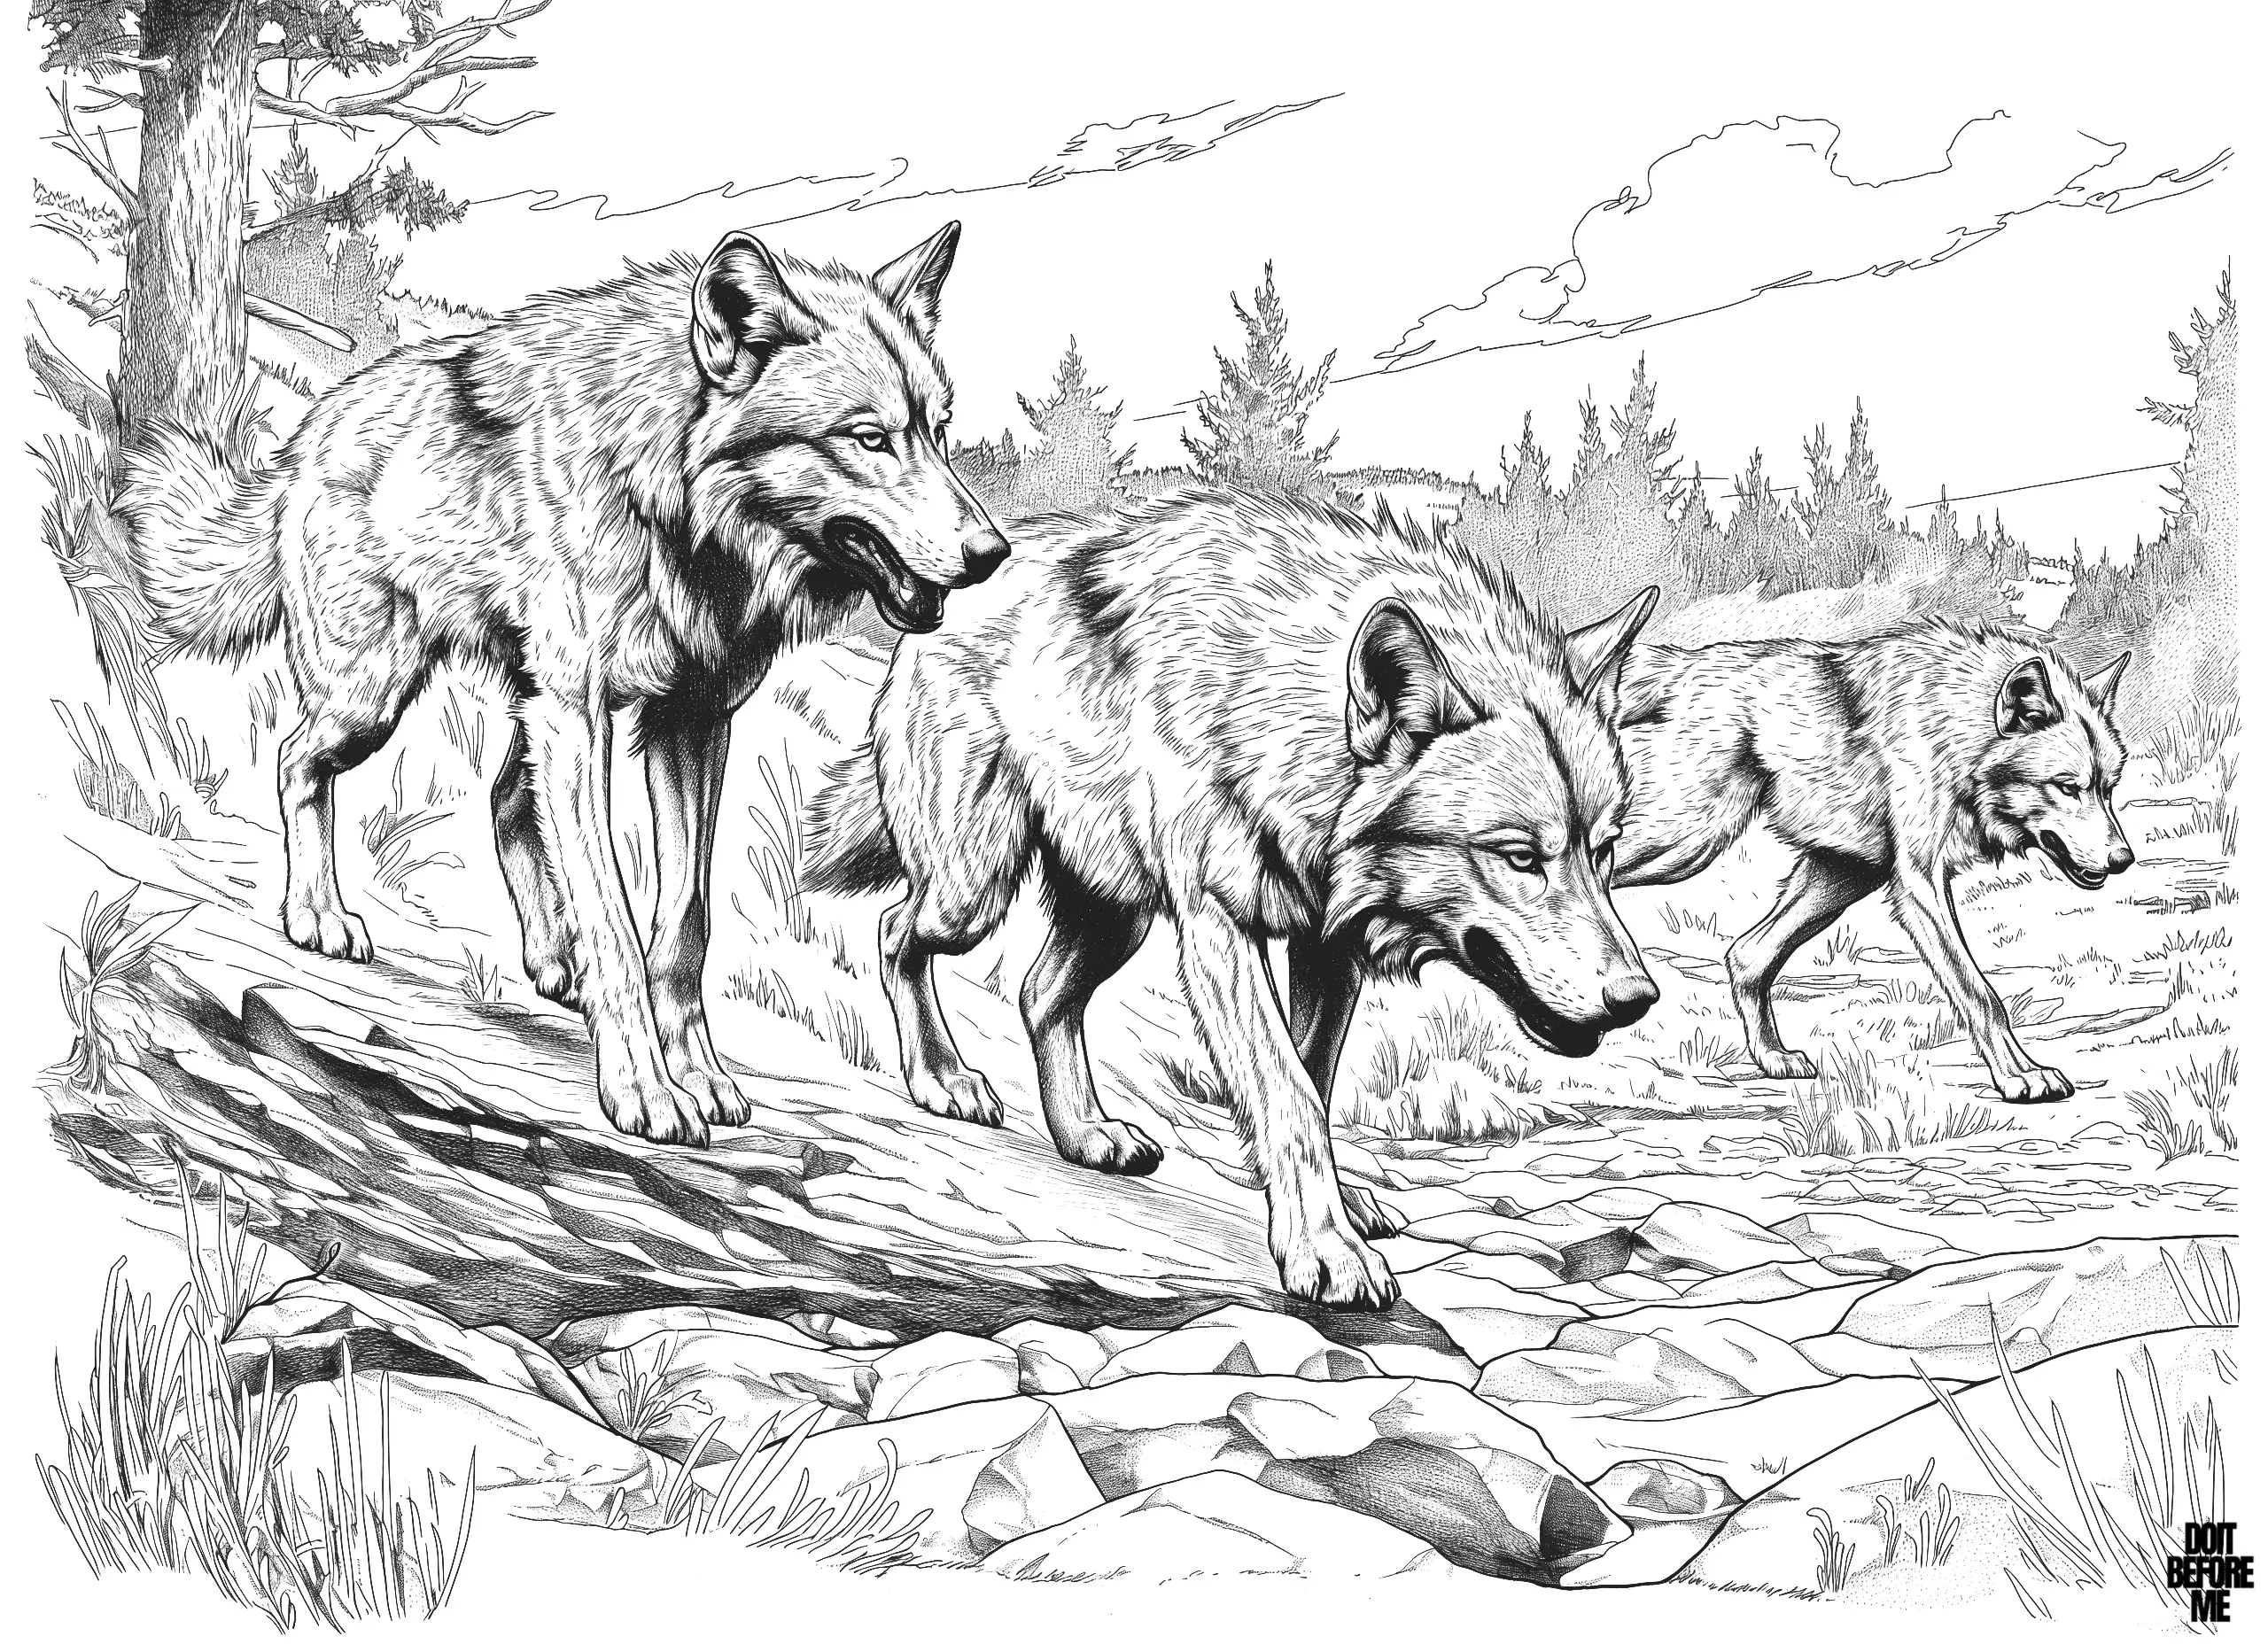
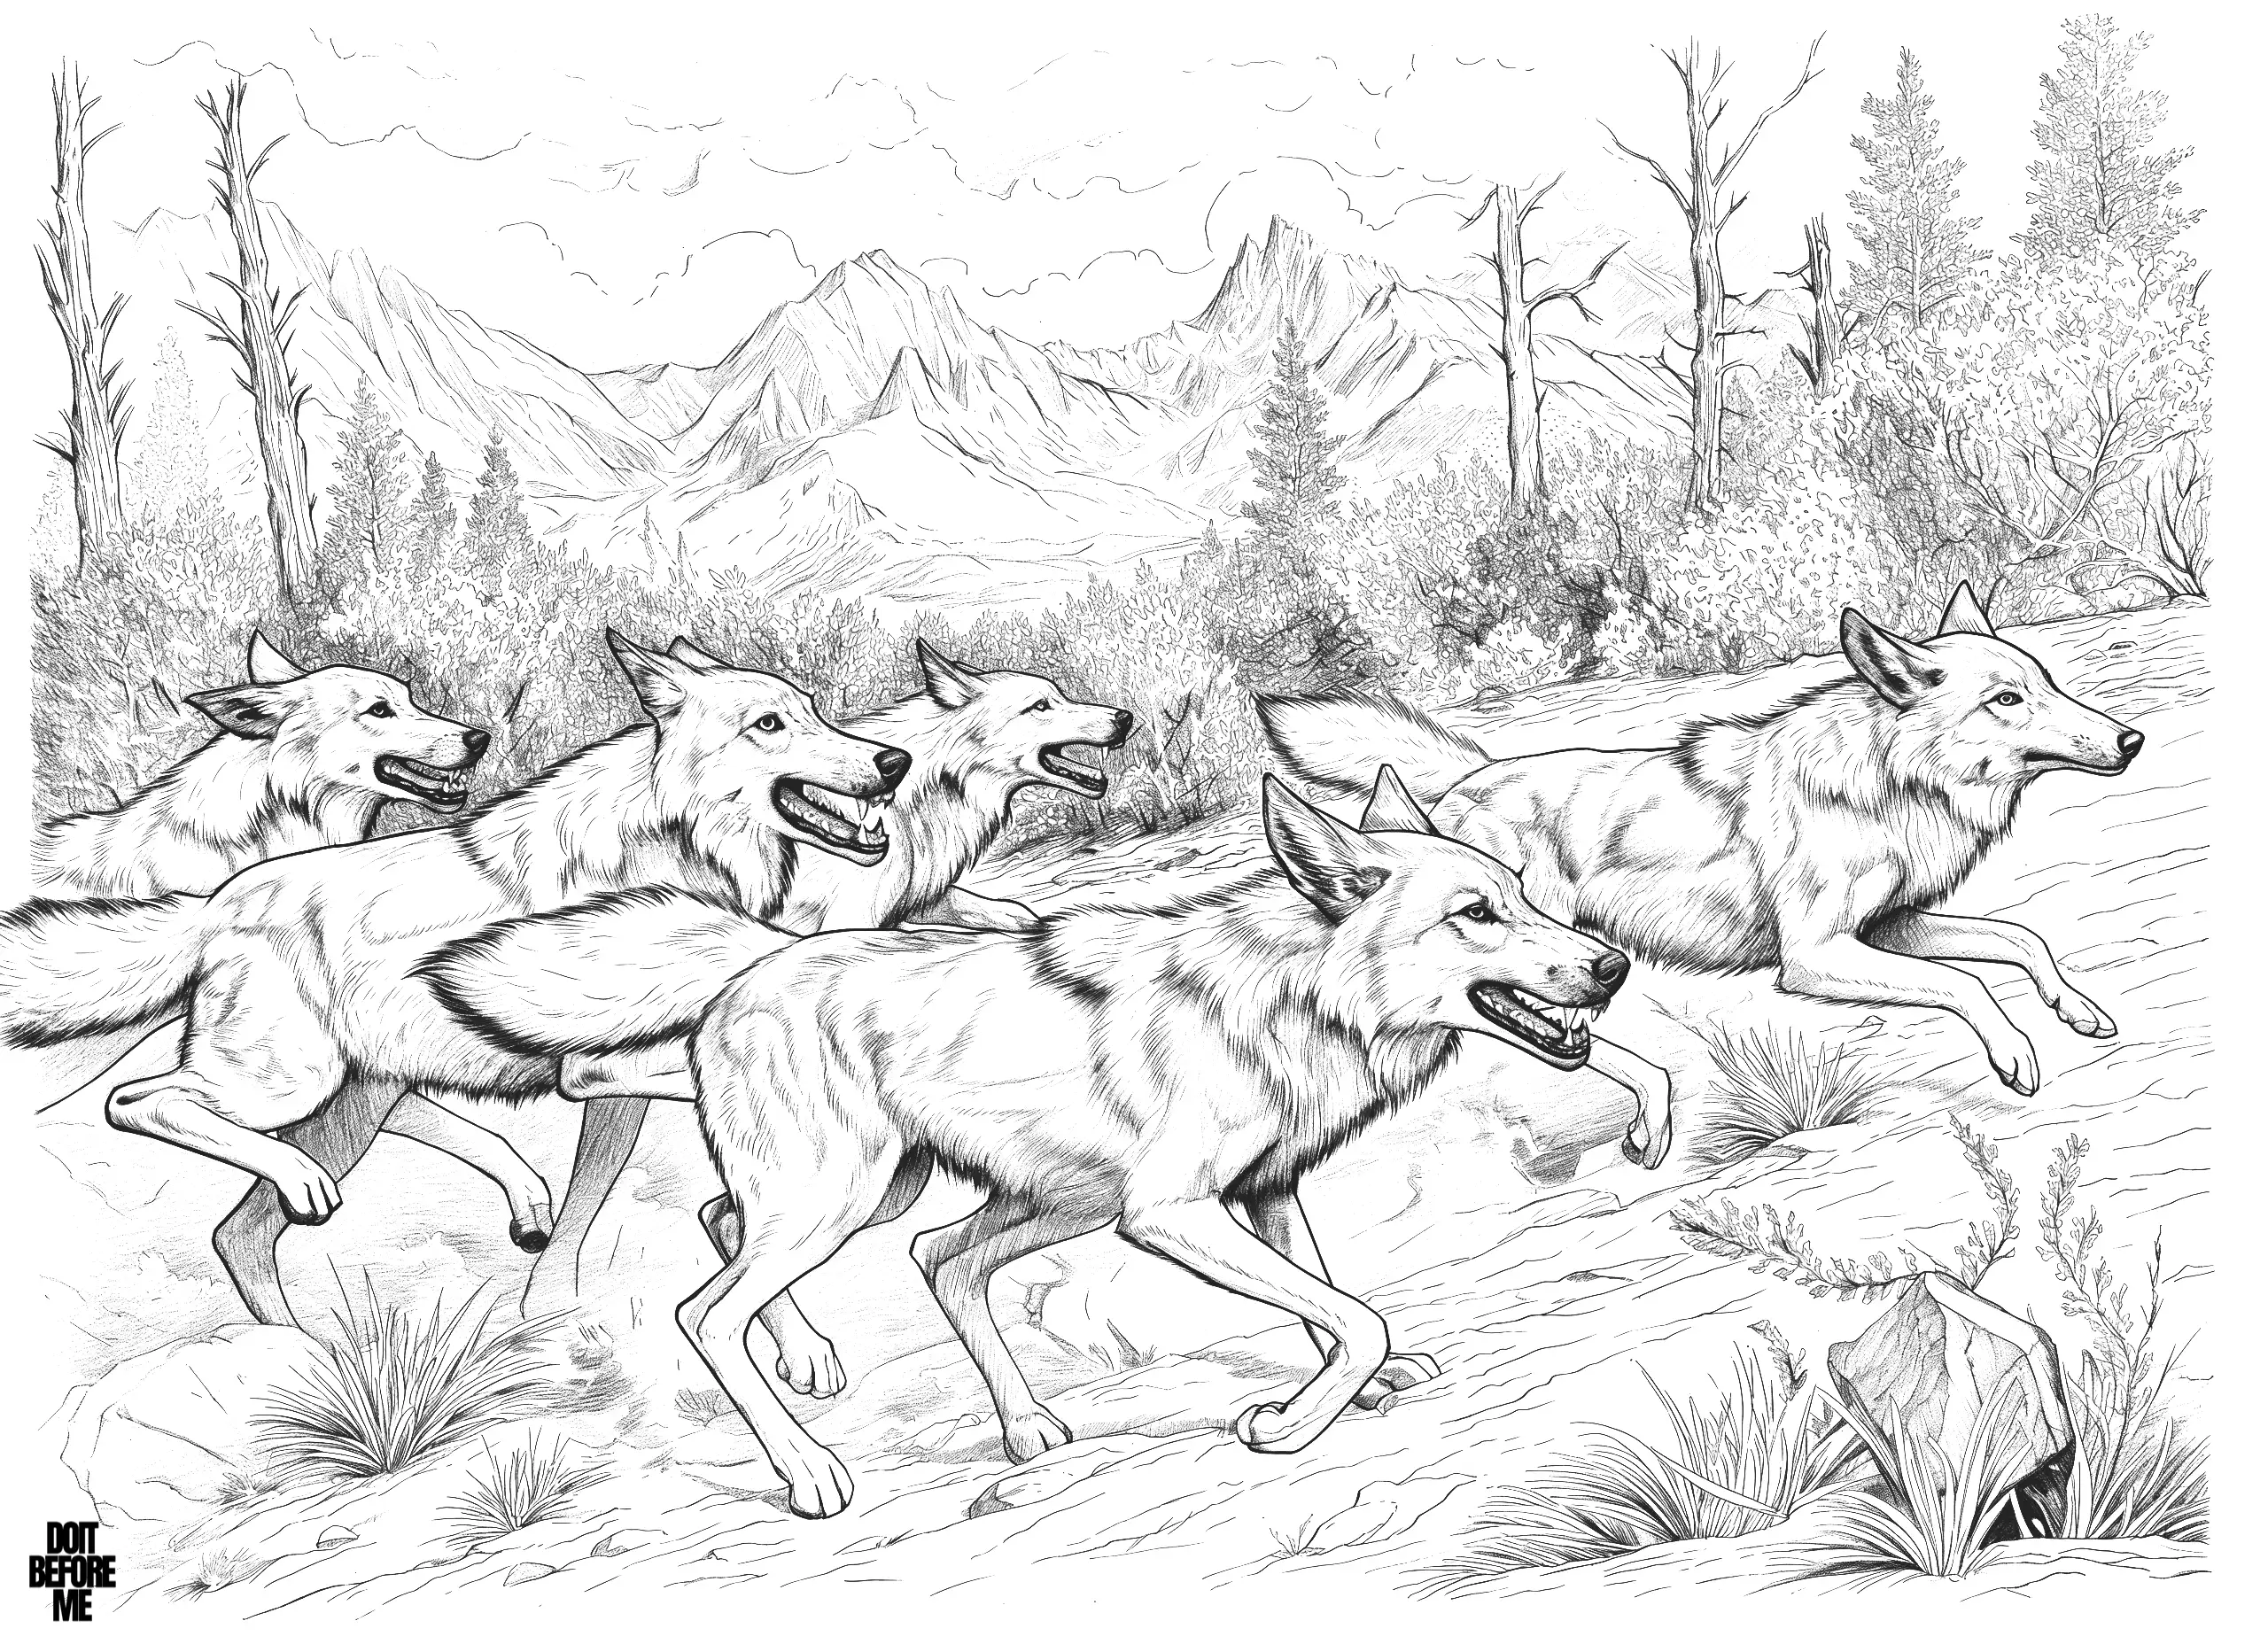
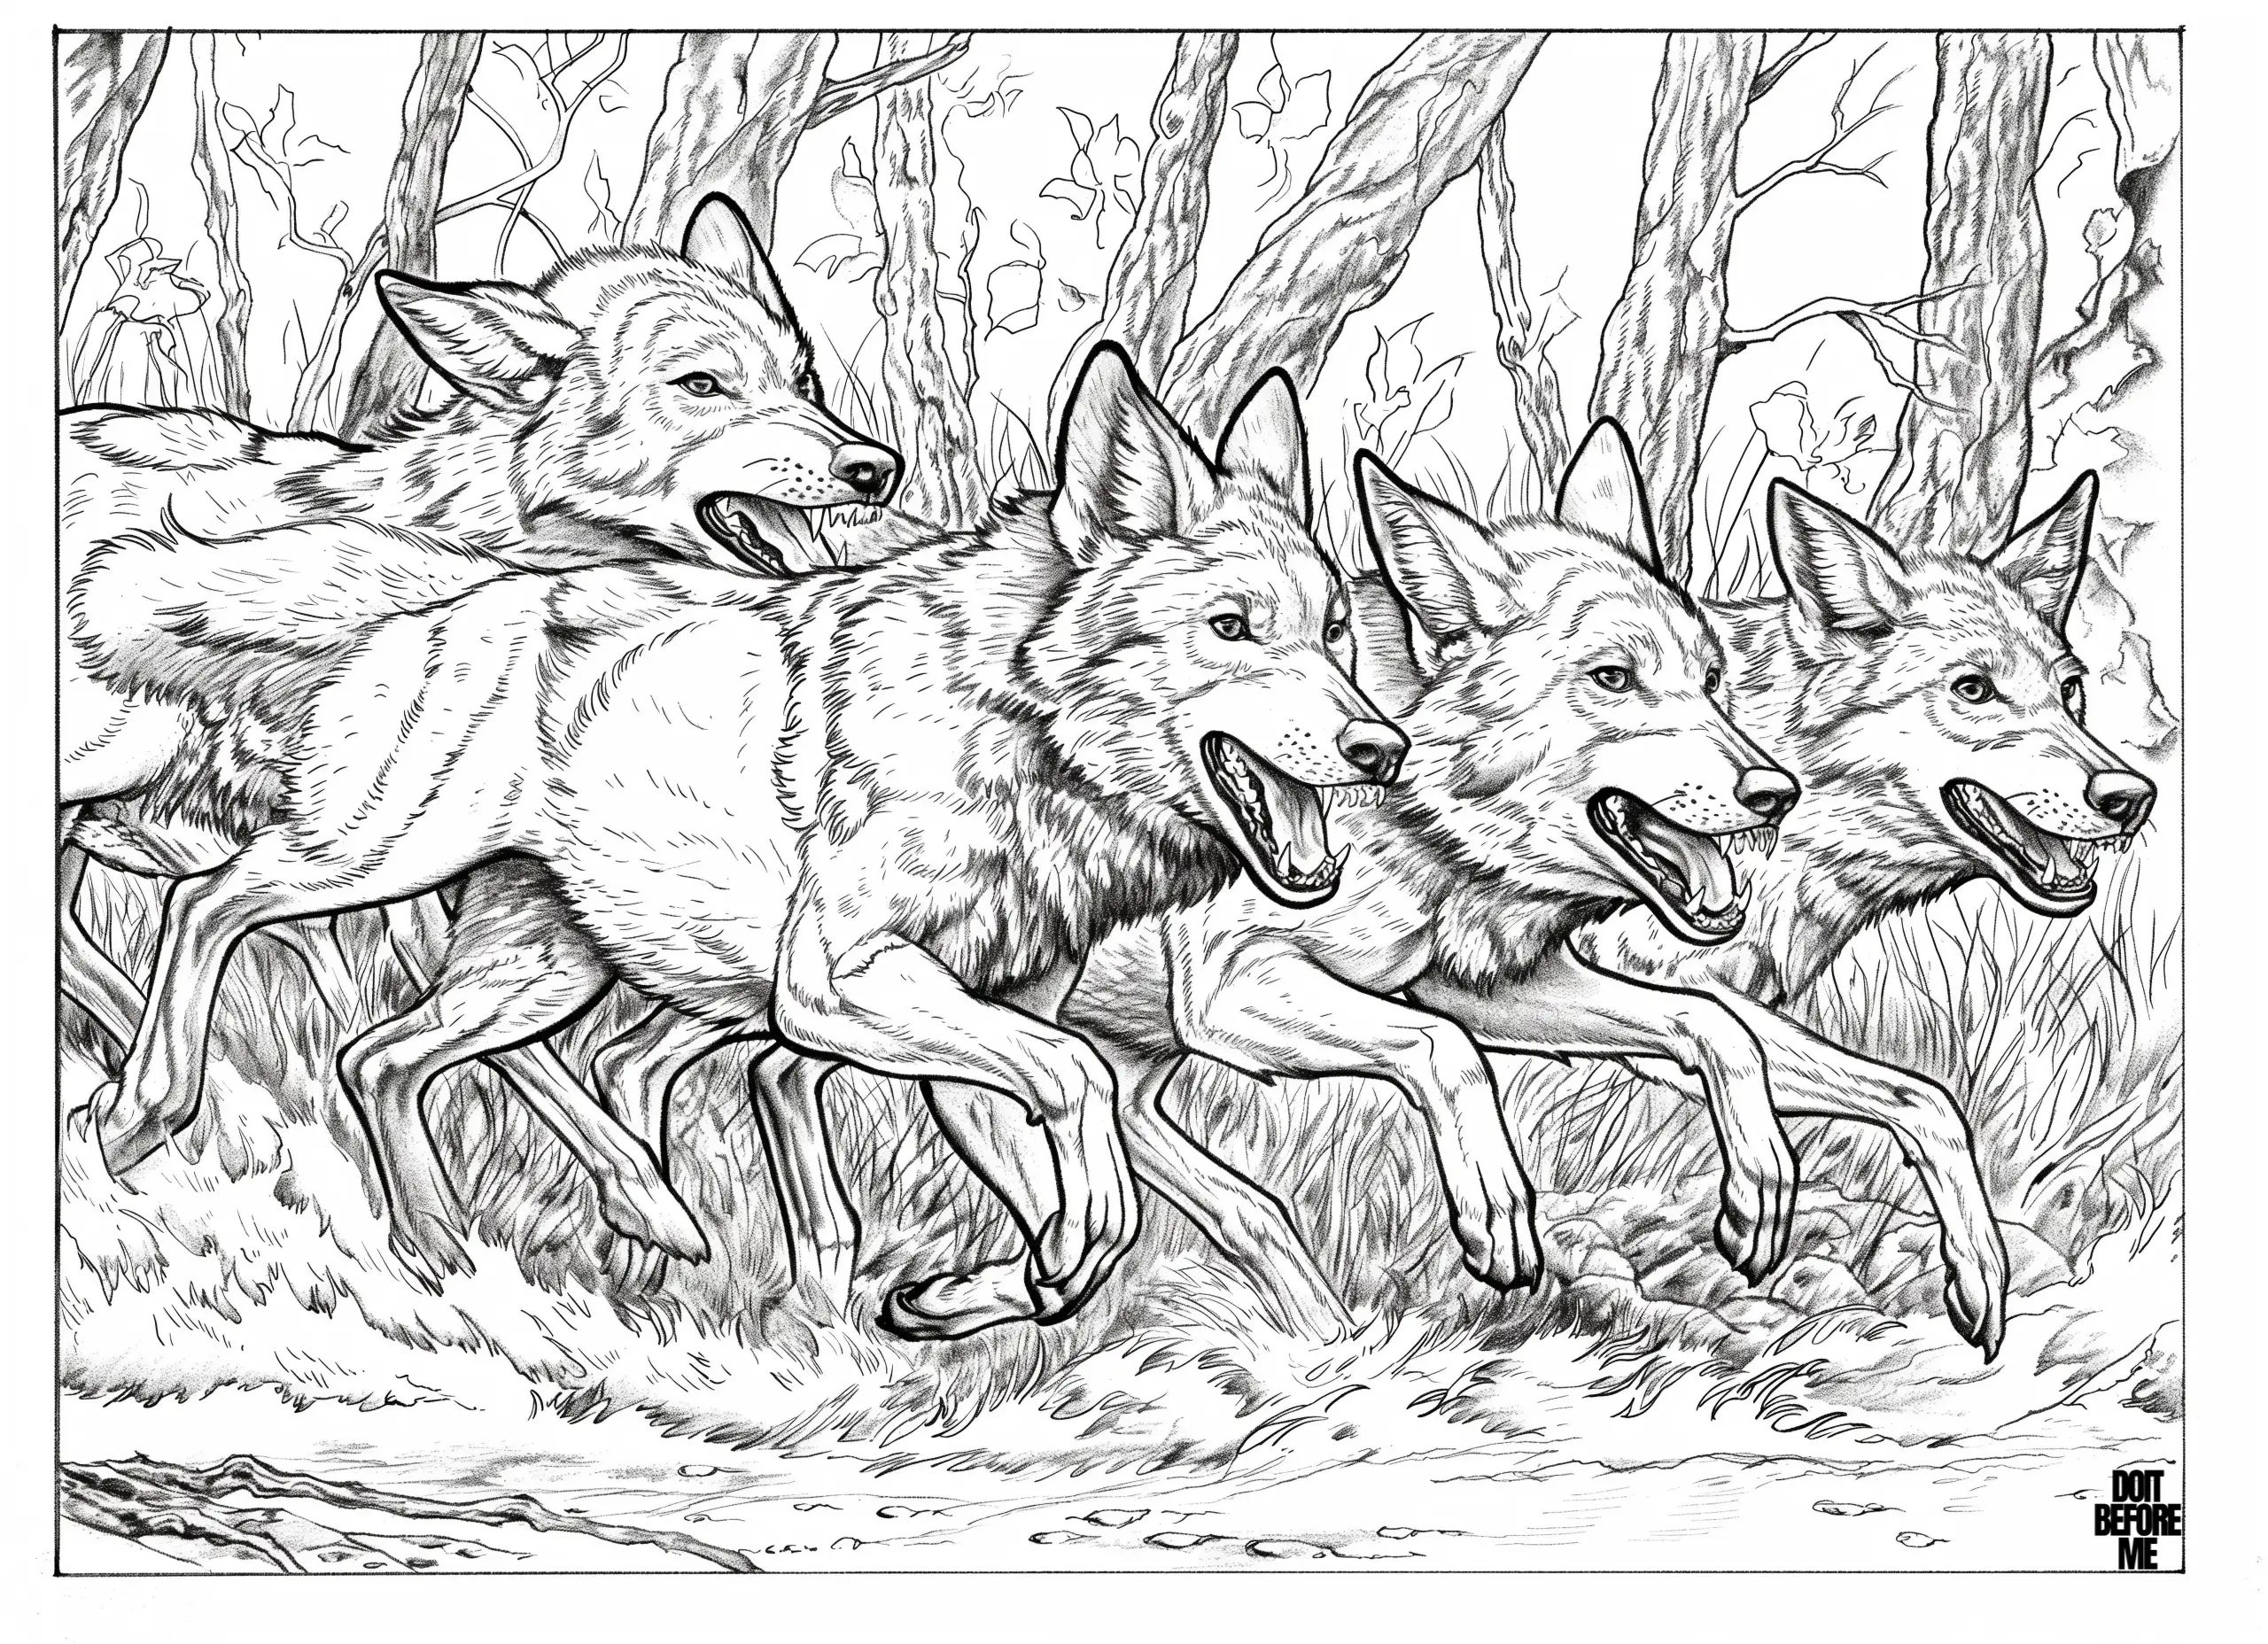
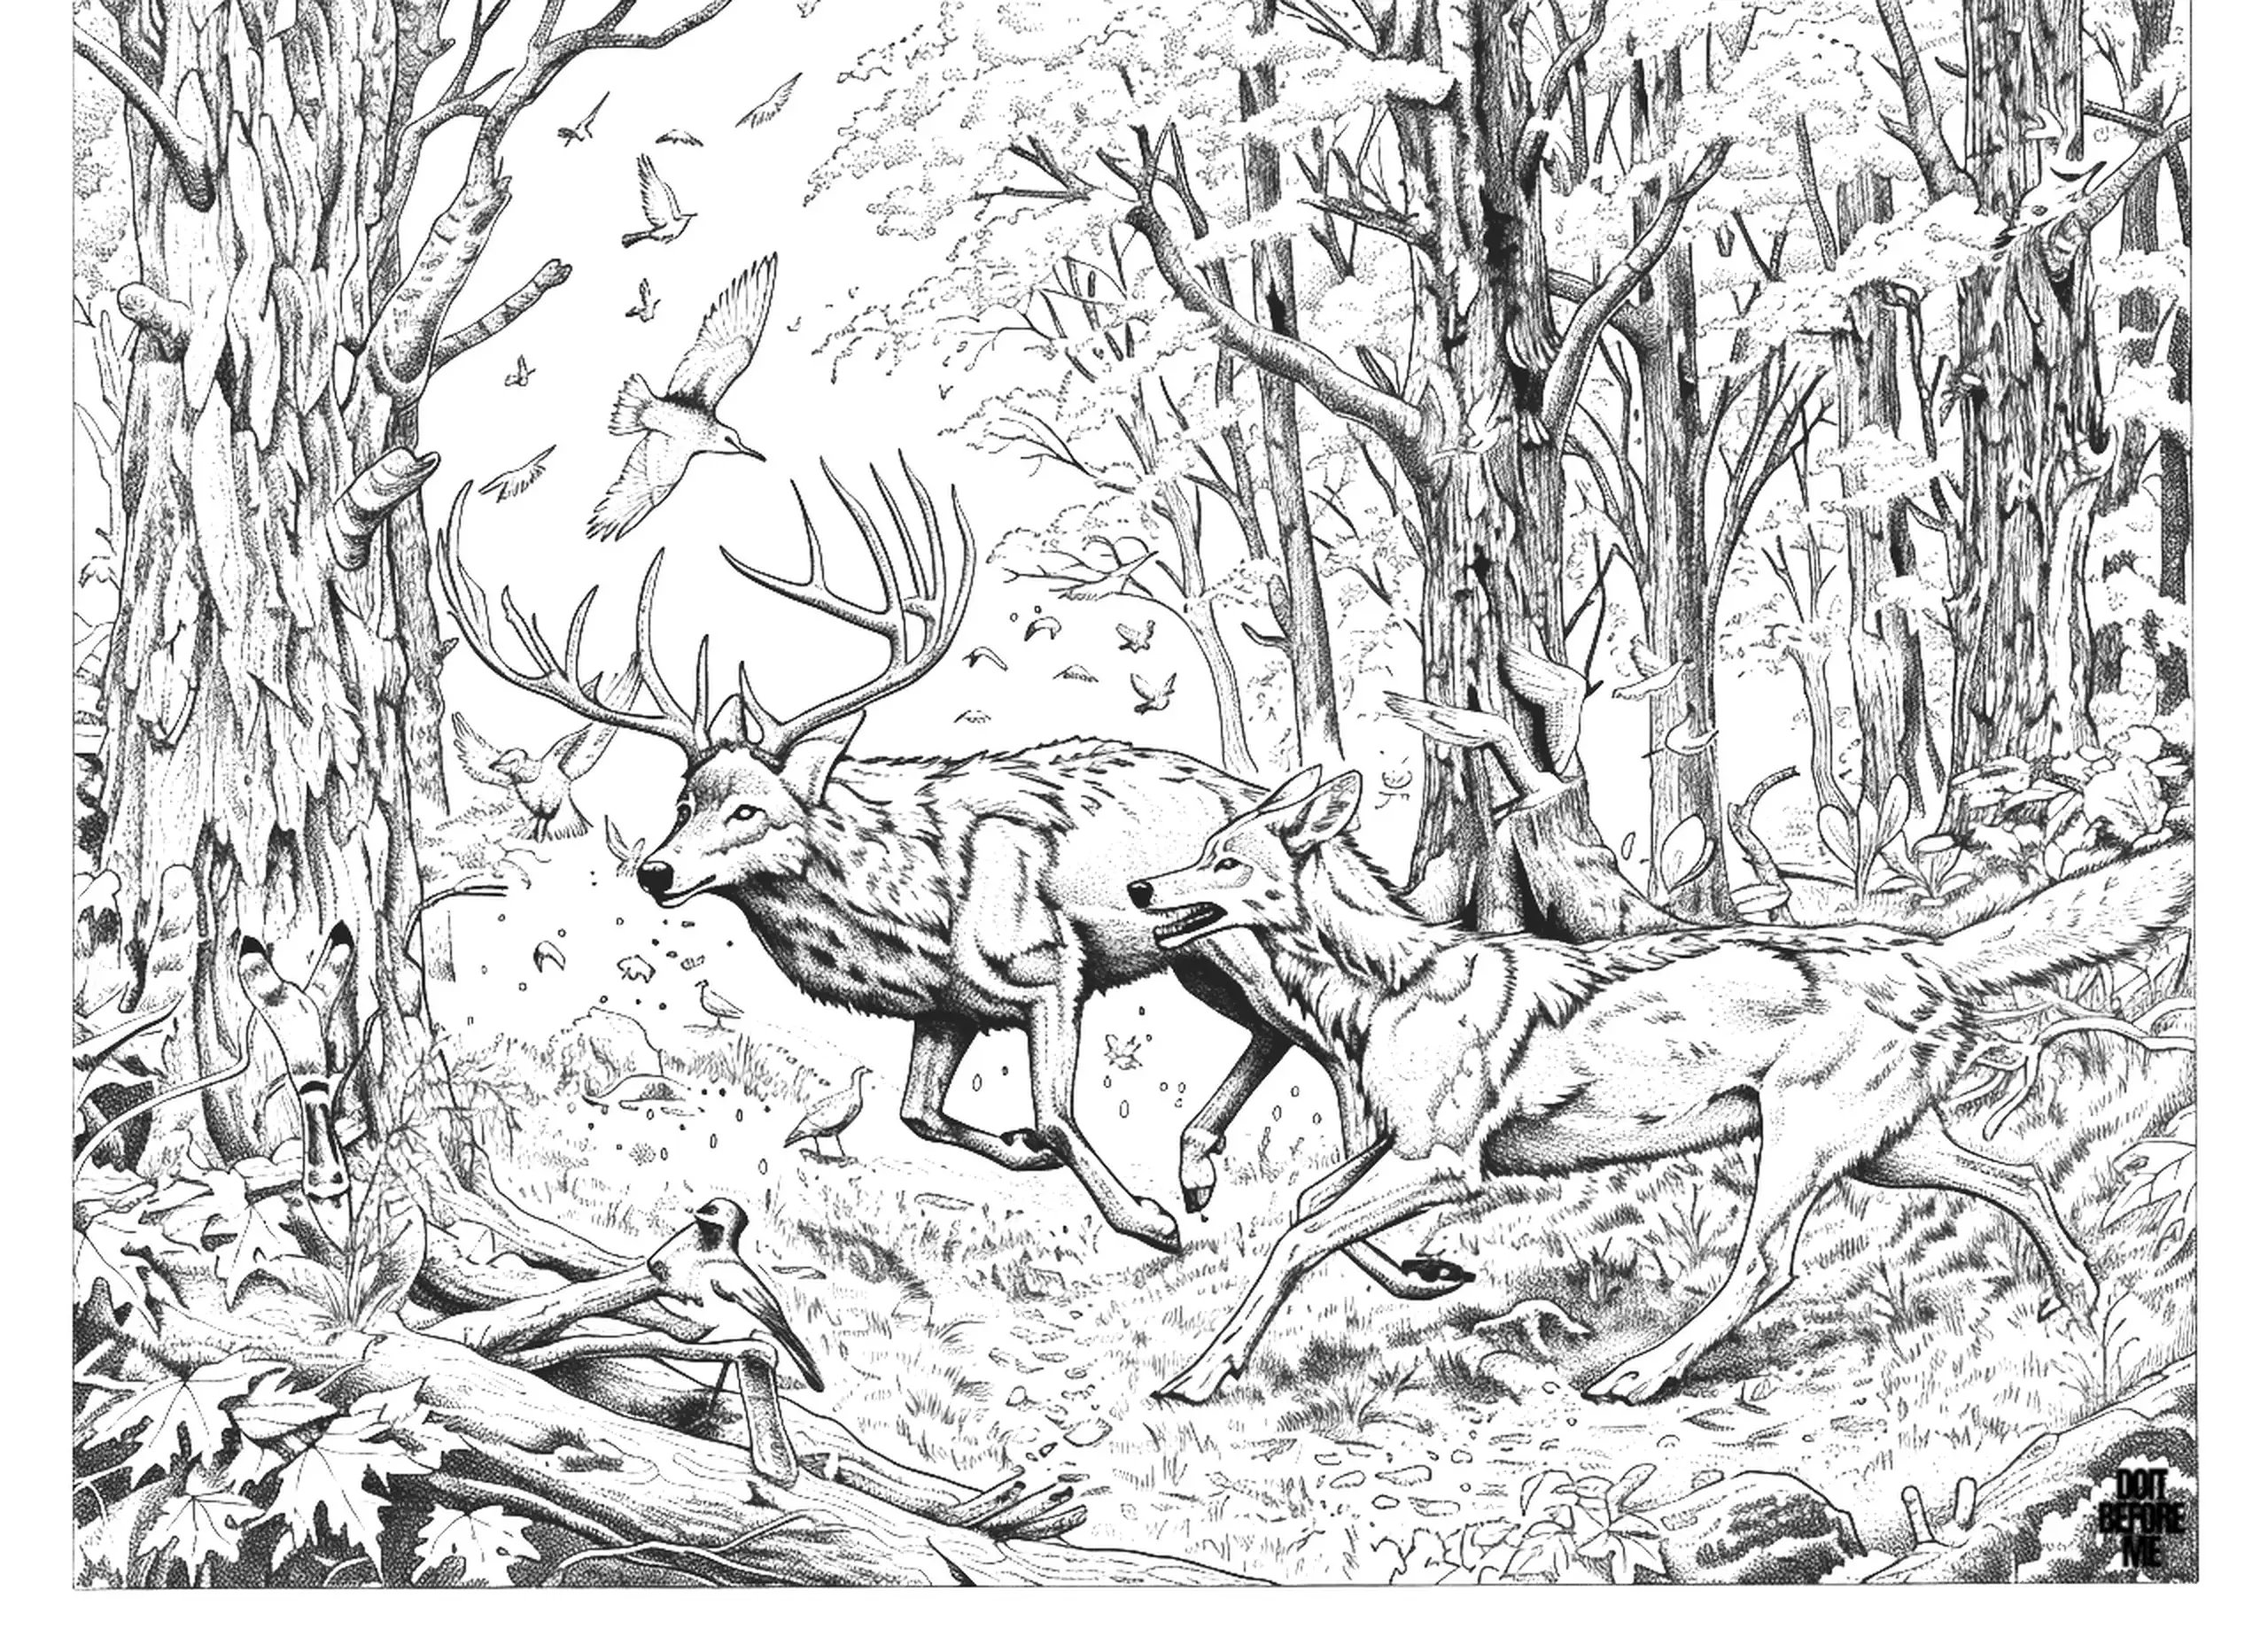
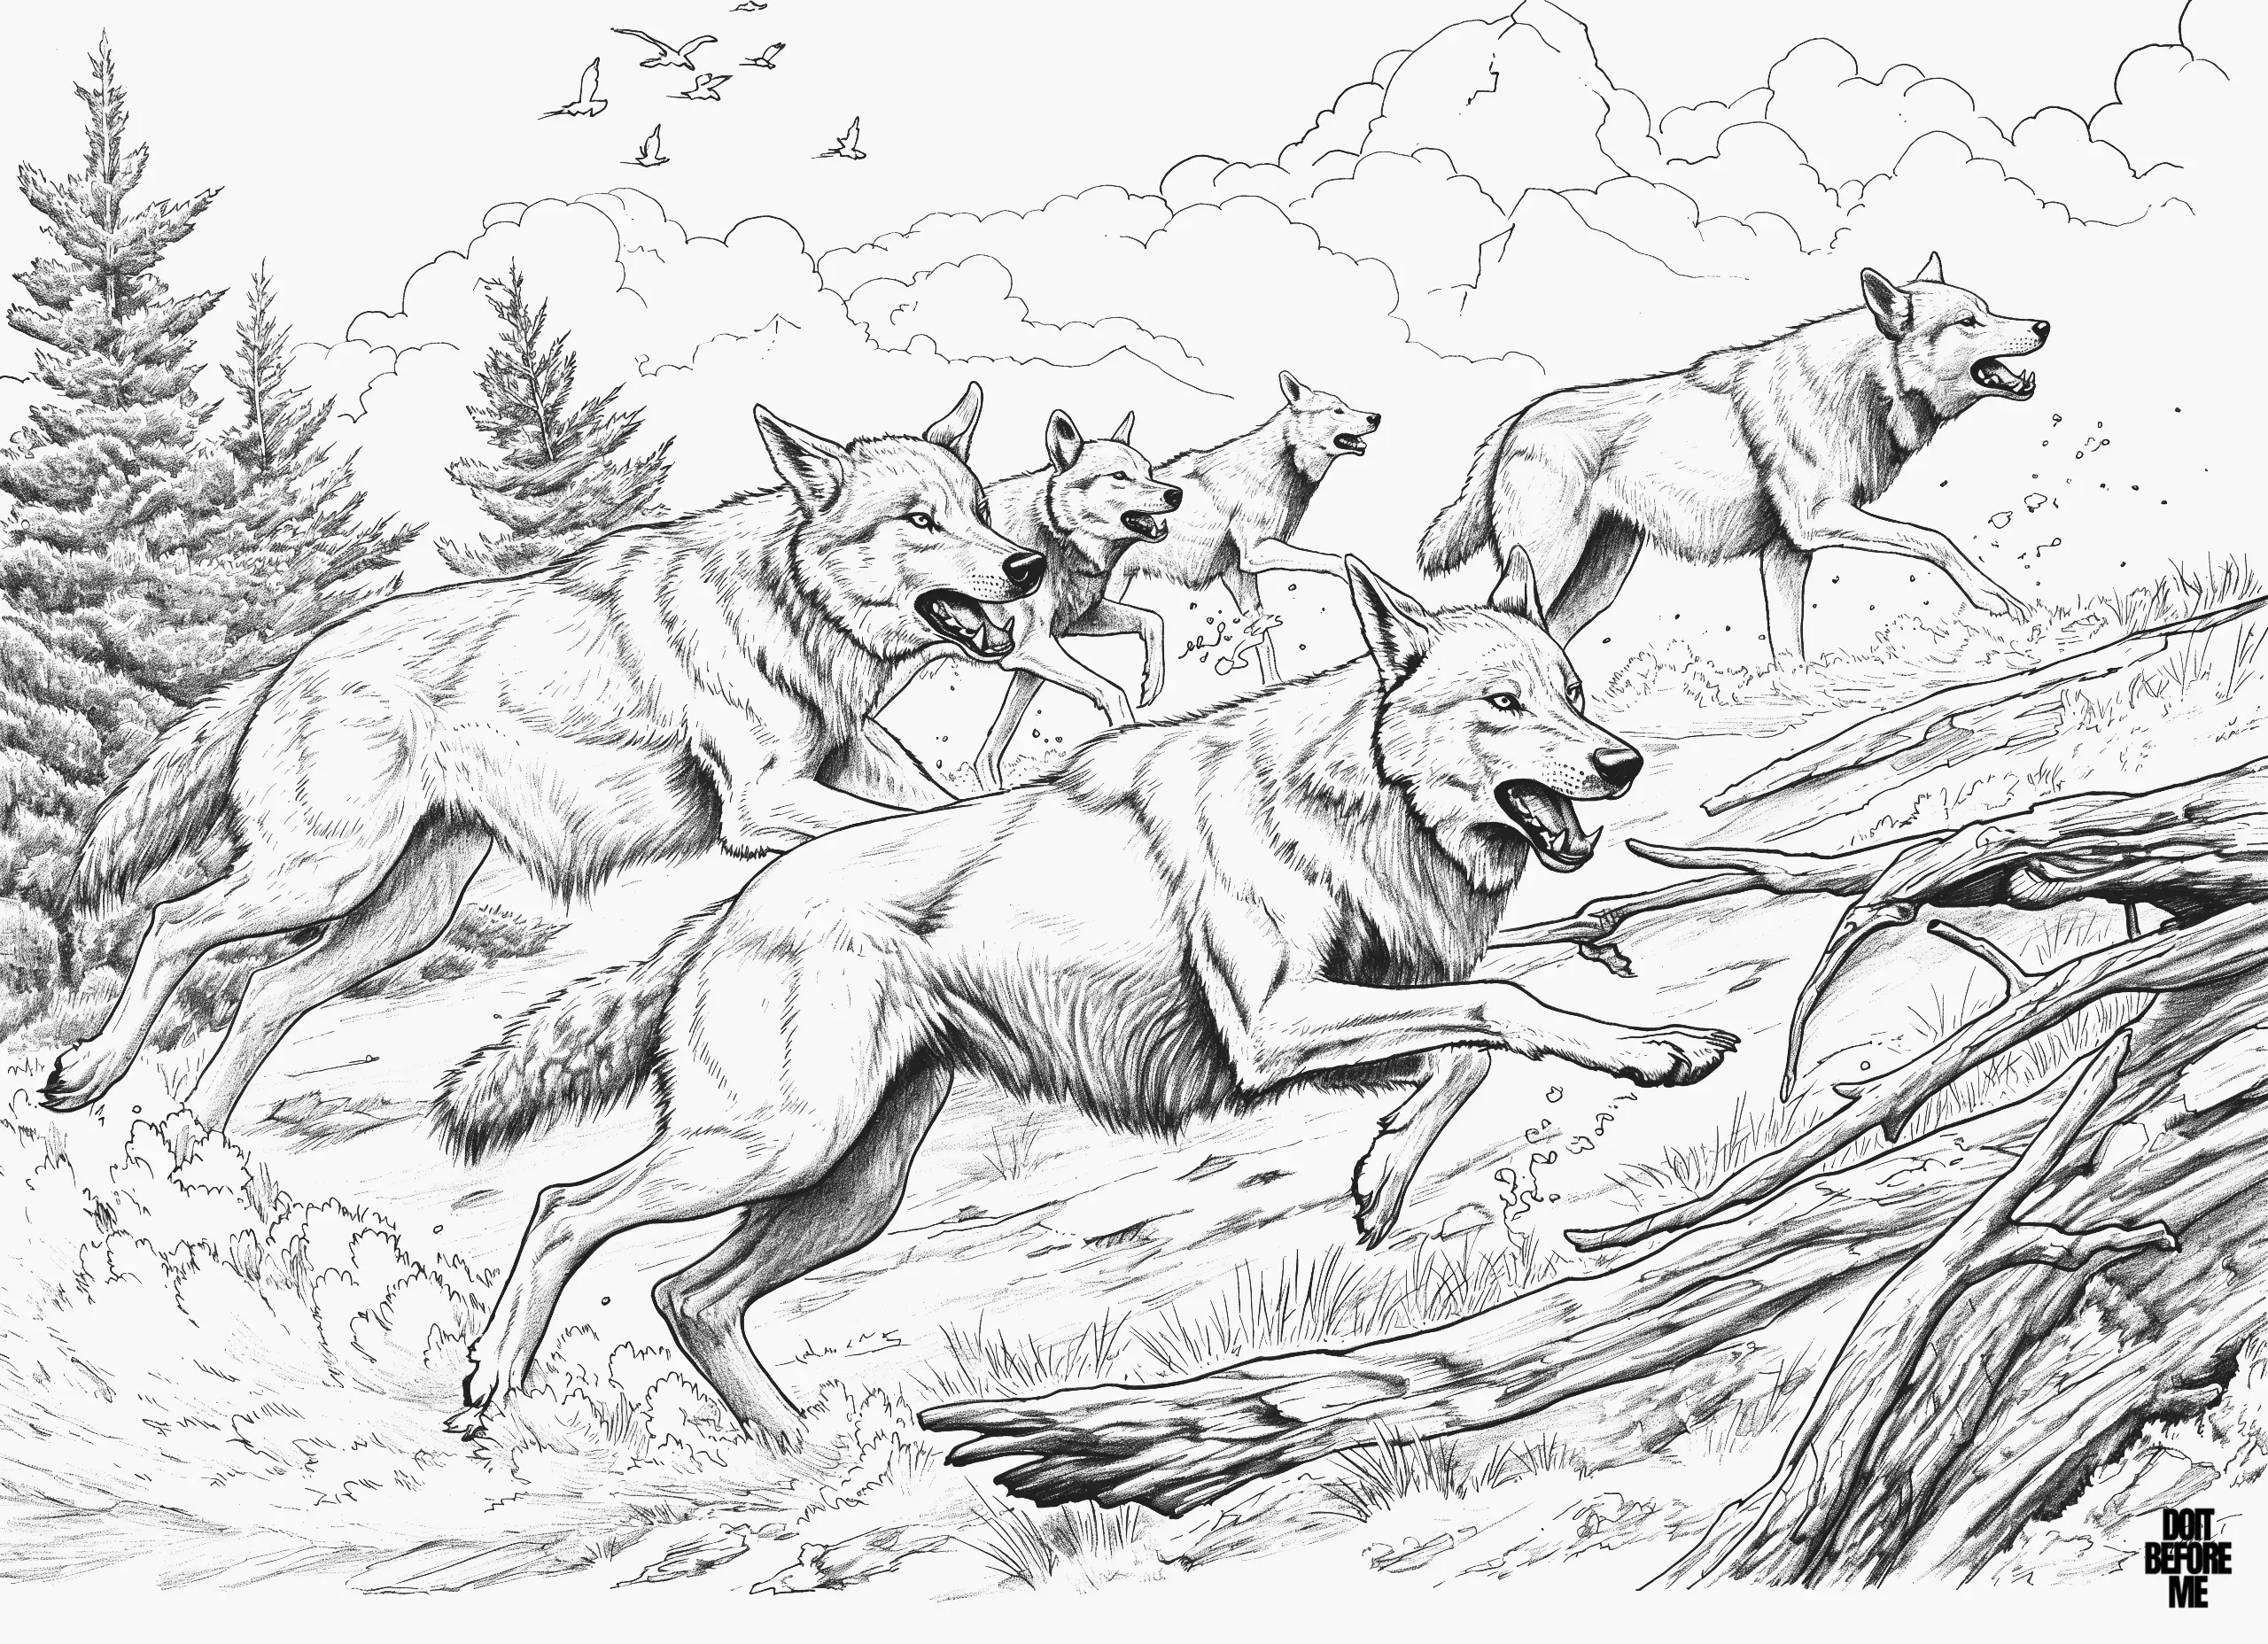
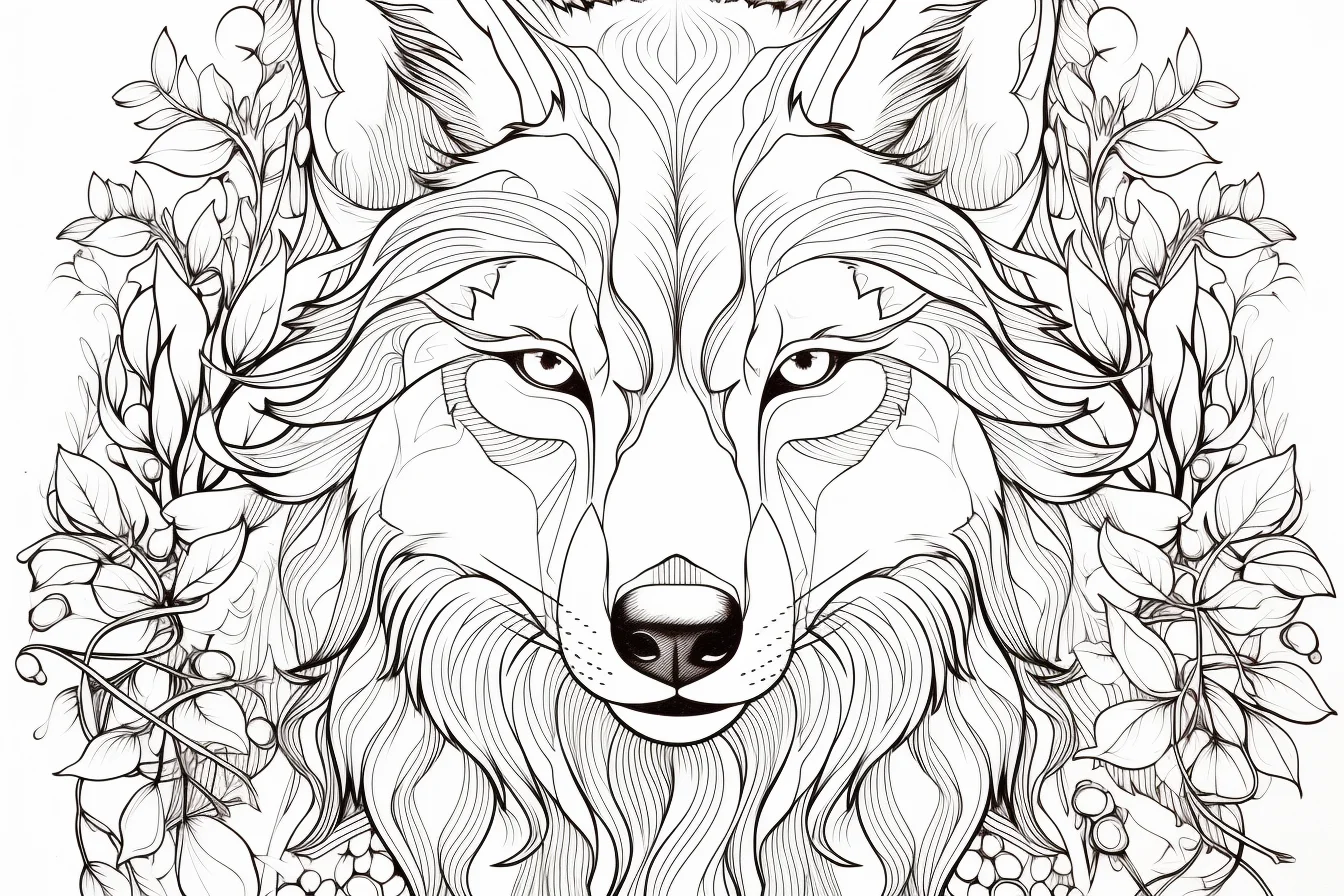
On detailed fur, work in larger light and dark masses first. Put down the main coat color, deepen the shadow side, then pick out only a few fur edges around the face, neck and tail. Tracing every printed strand usually makes the page look busier, not more realistic.
More howling wolves — Sheets 12–16
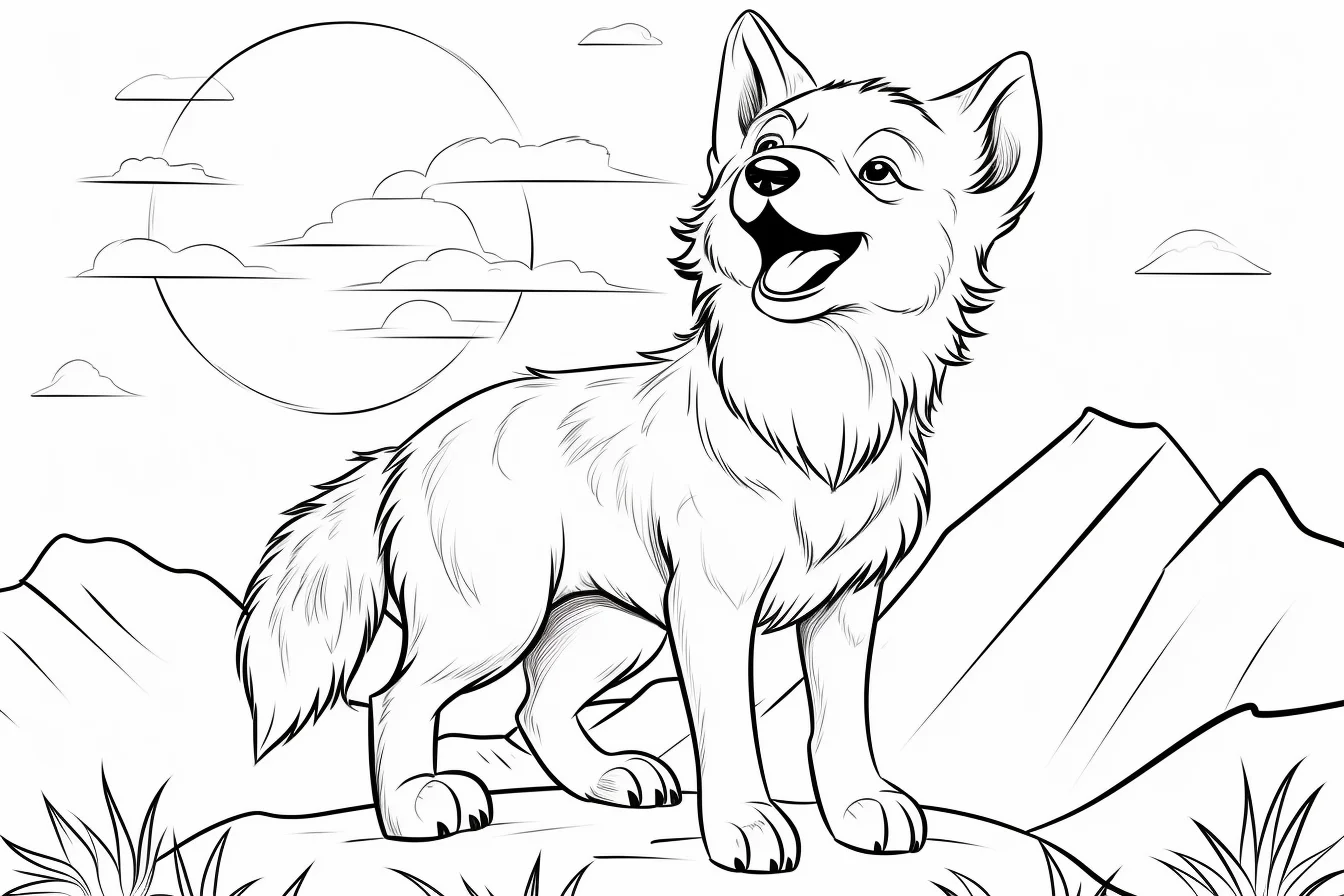
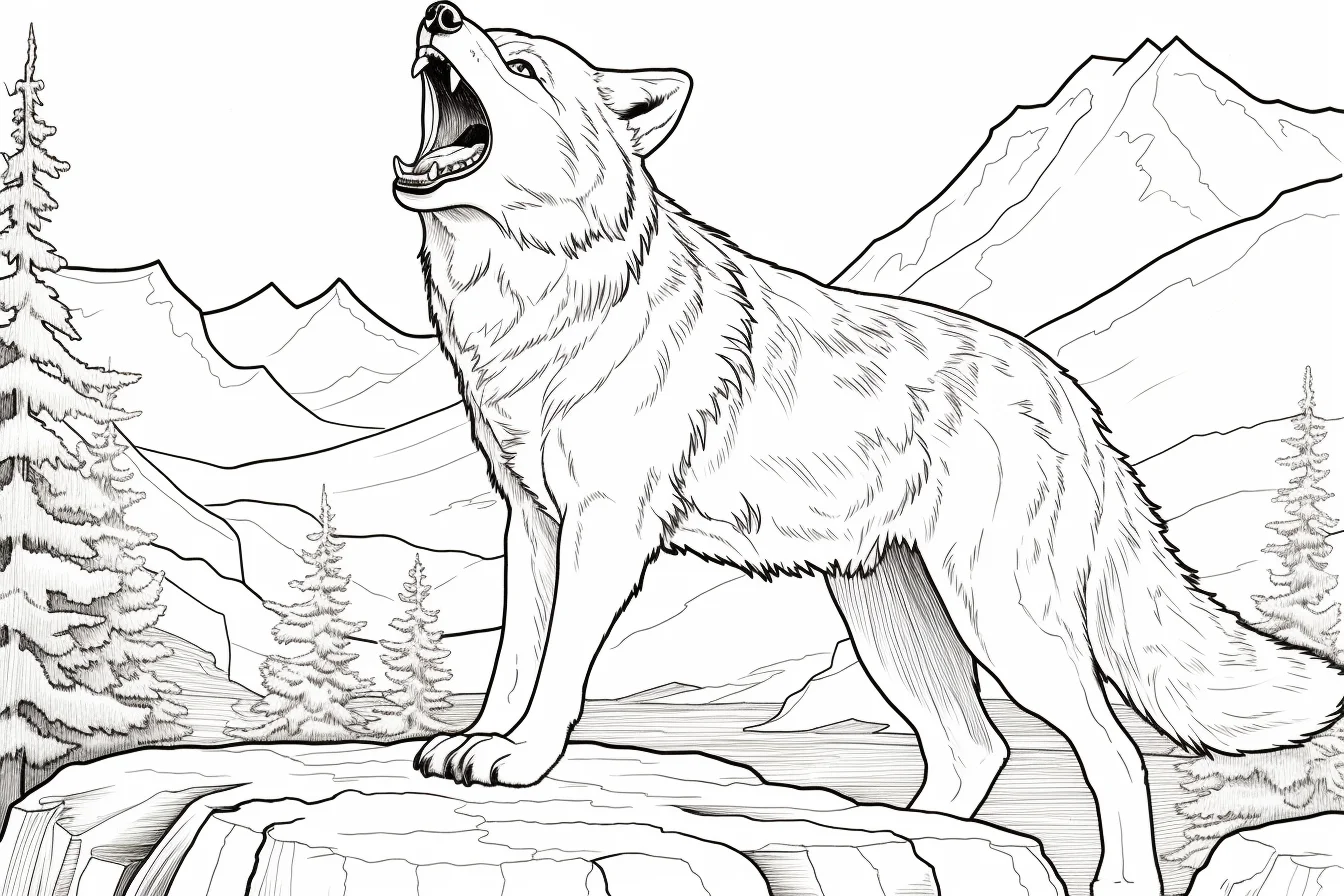
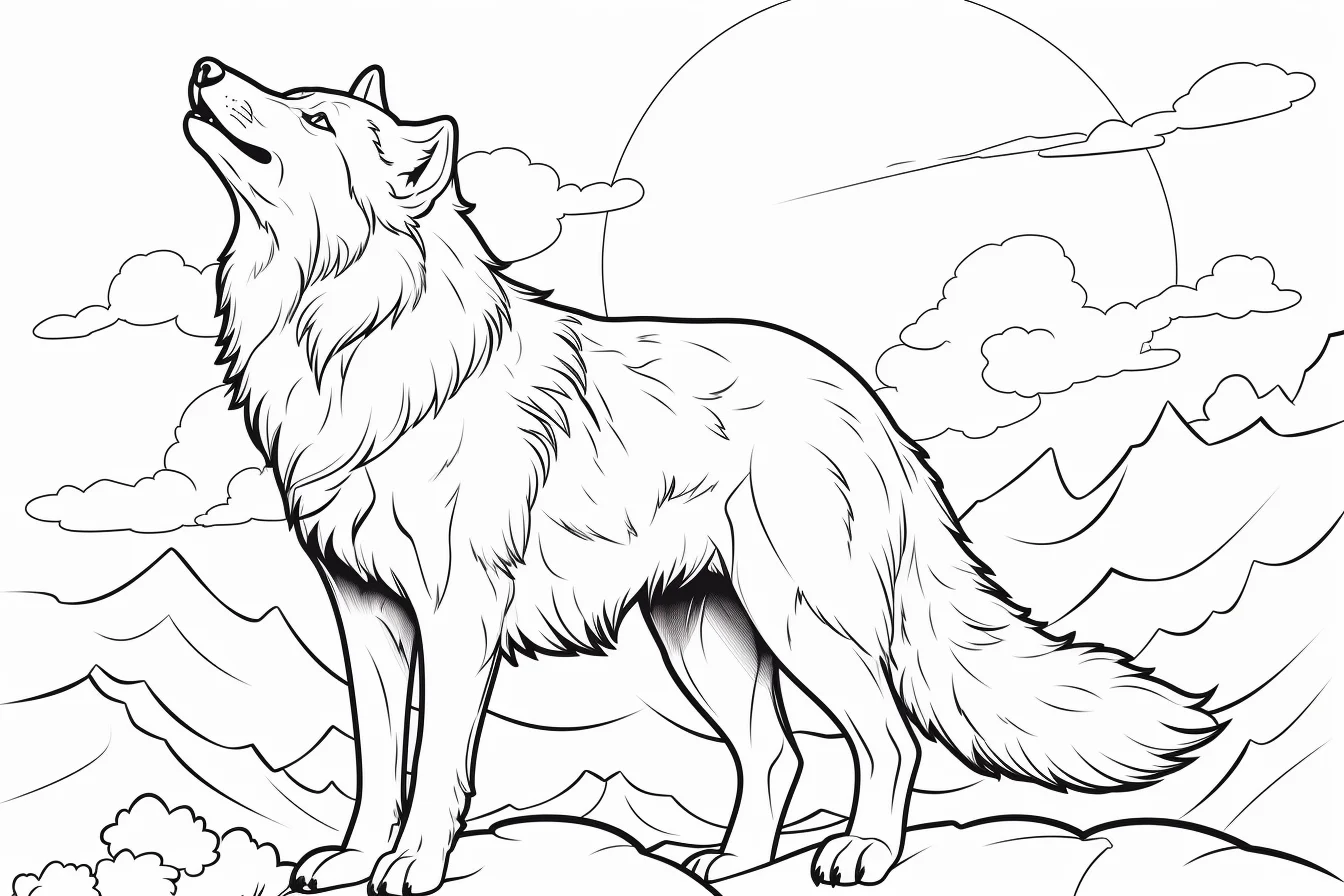
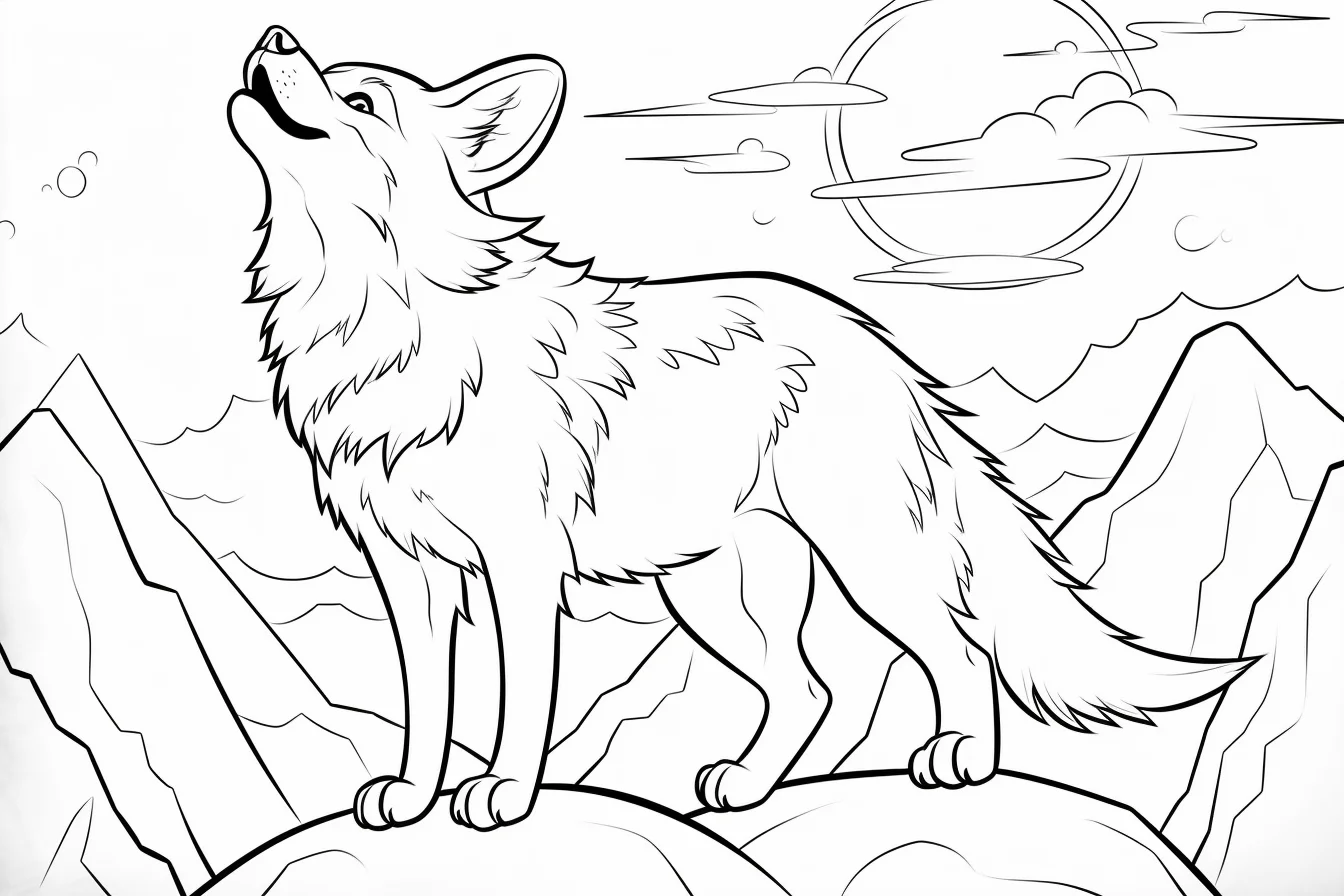
More wolf families — Sheets 17–20
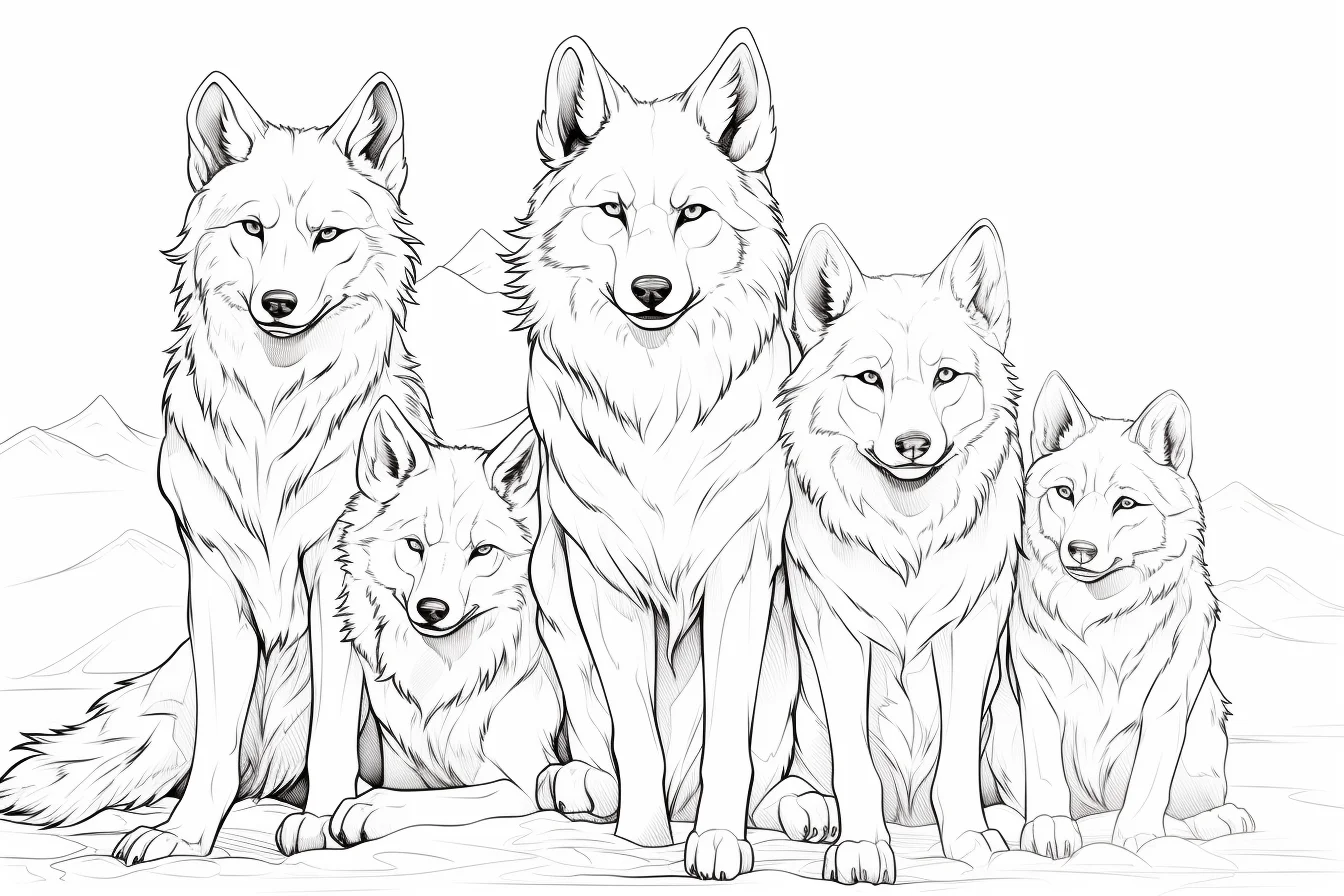
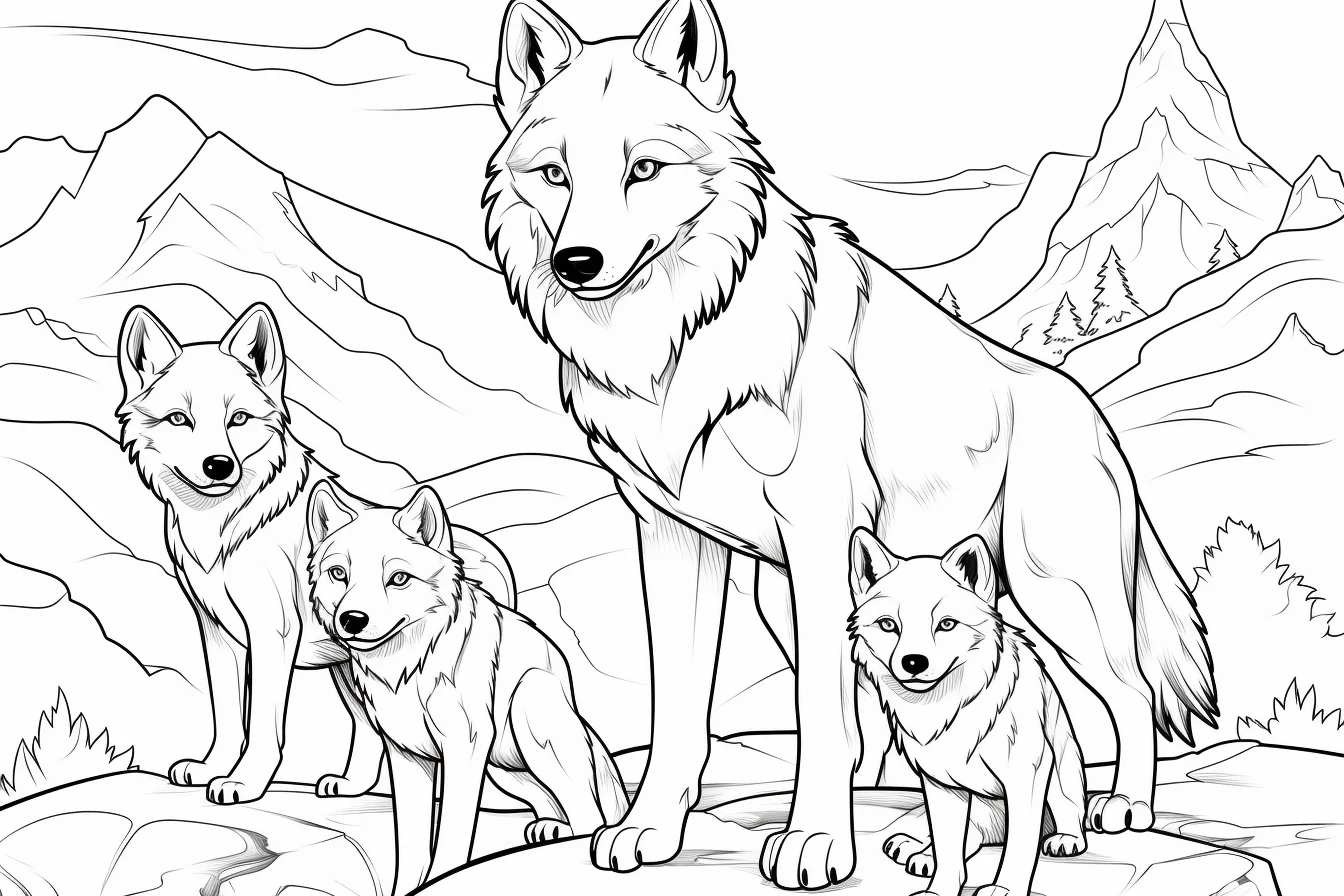
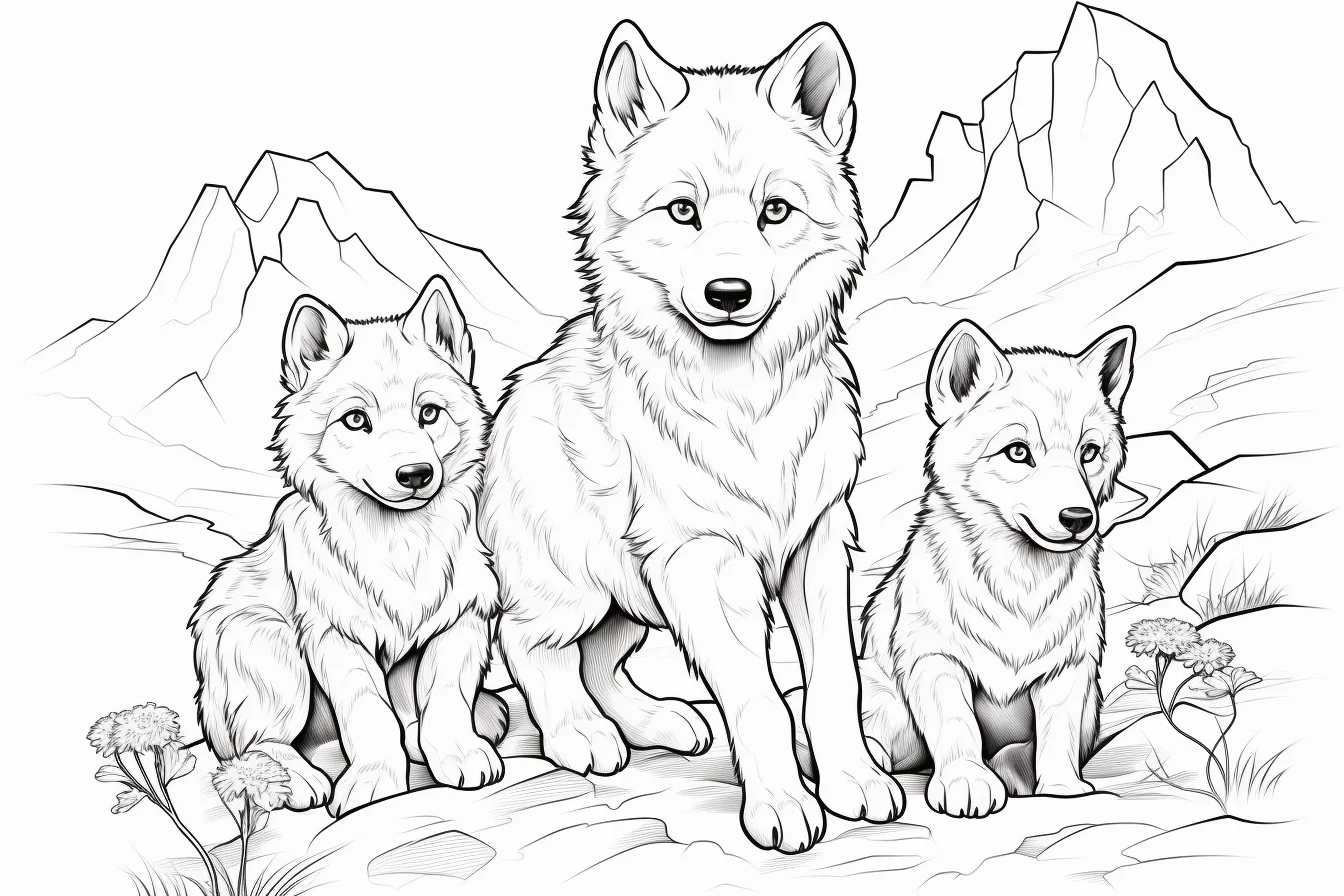
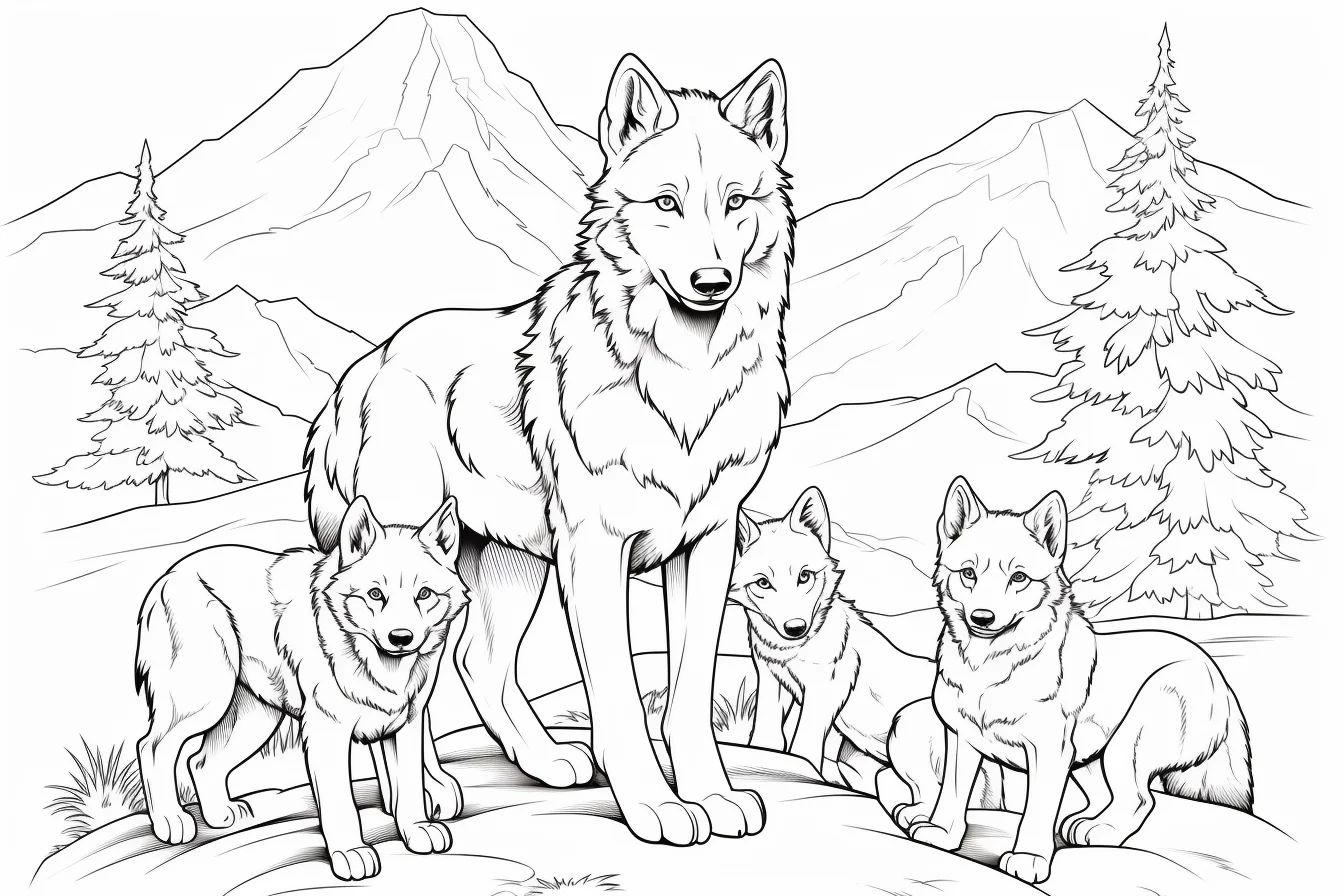
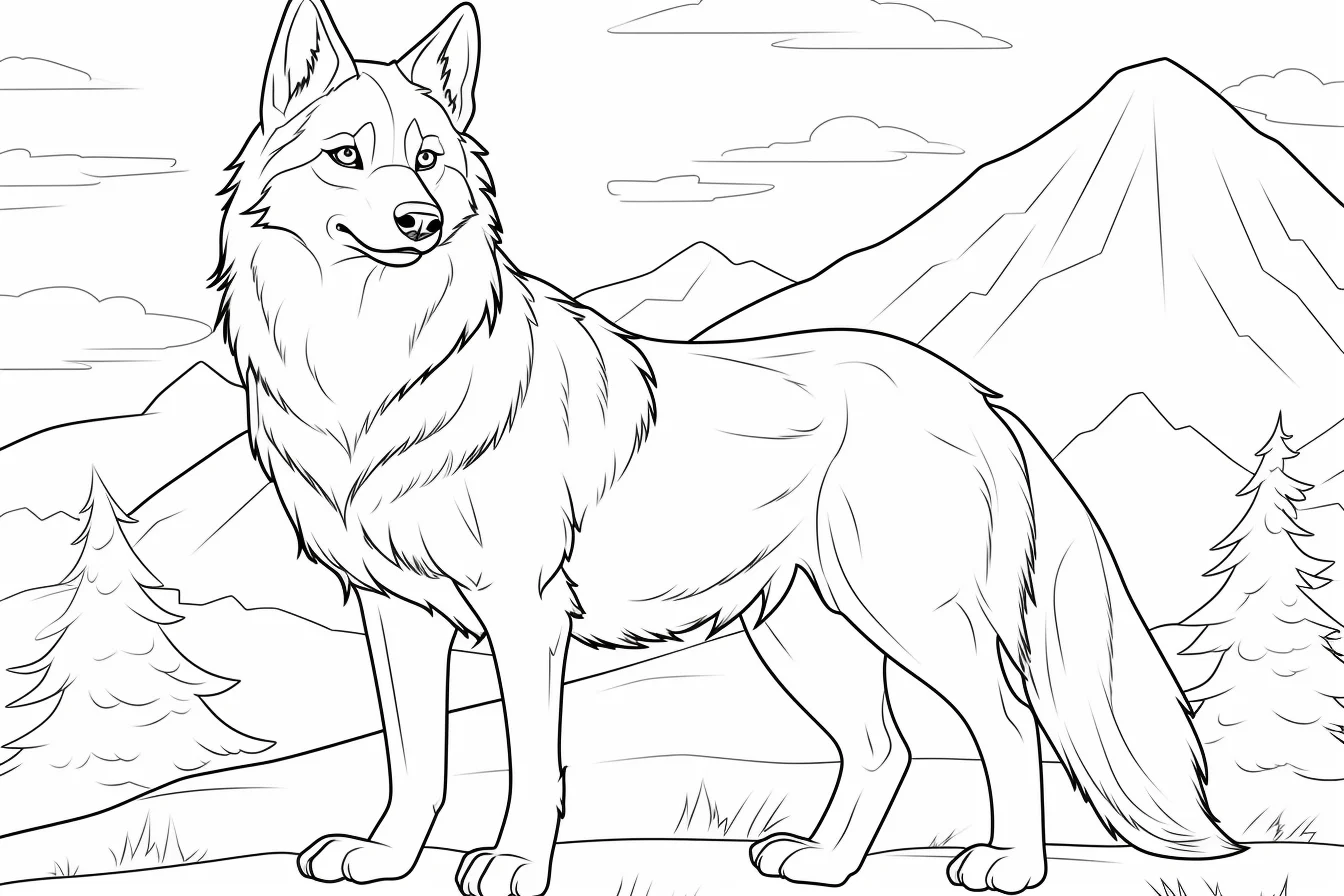
Detailed and realistic wolves — Sheets 21–29
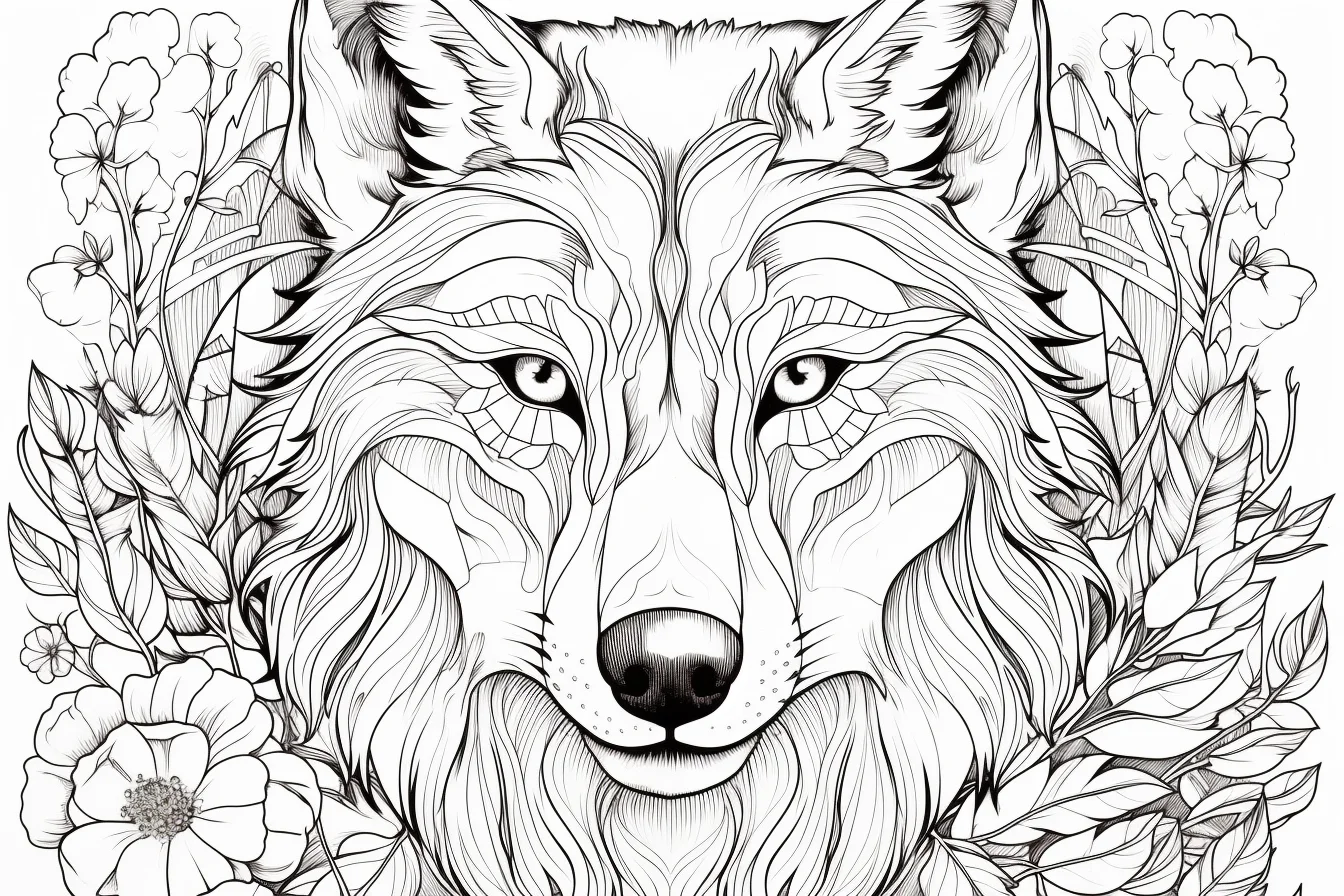
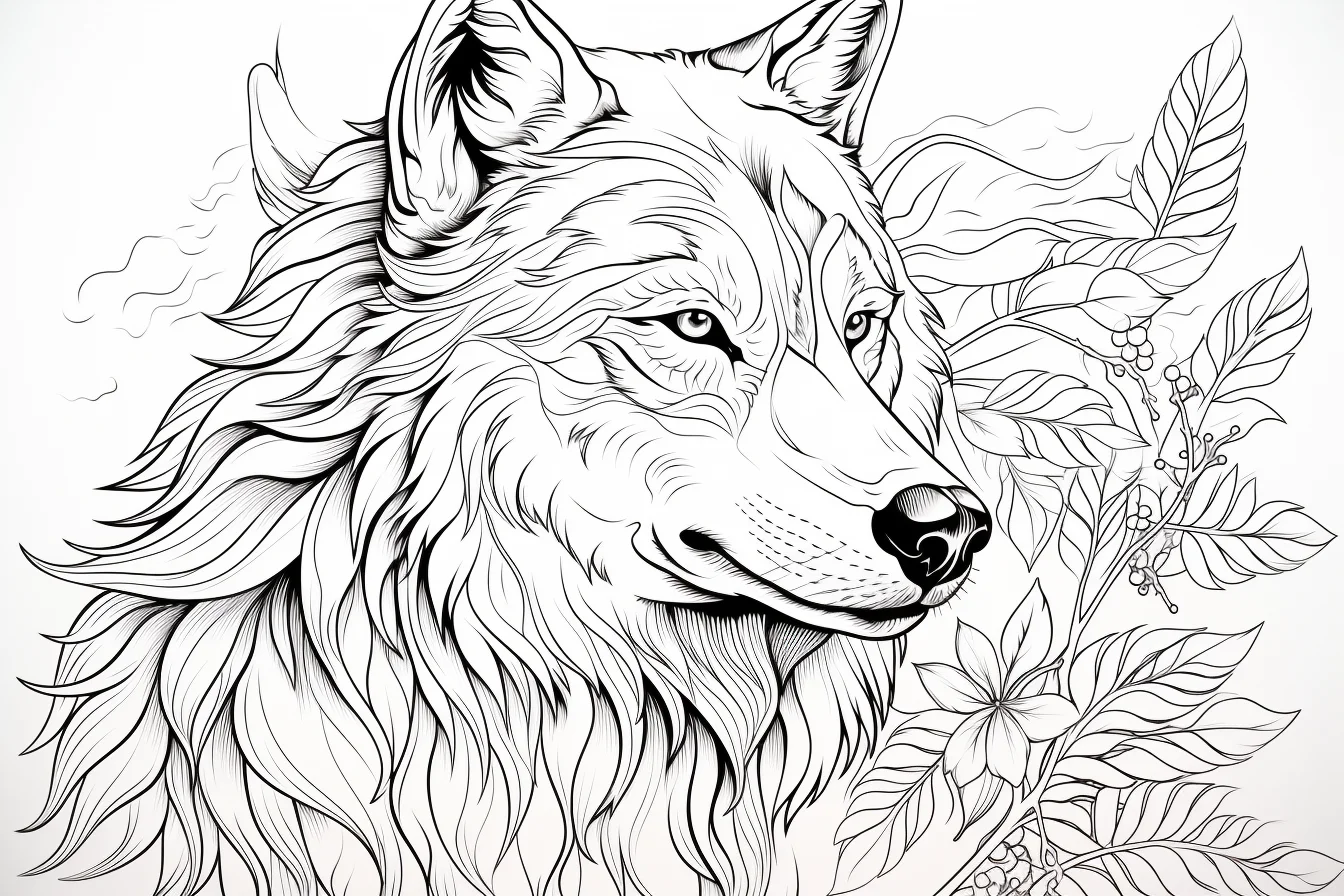
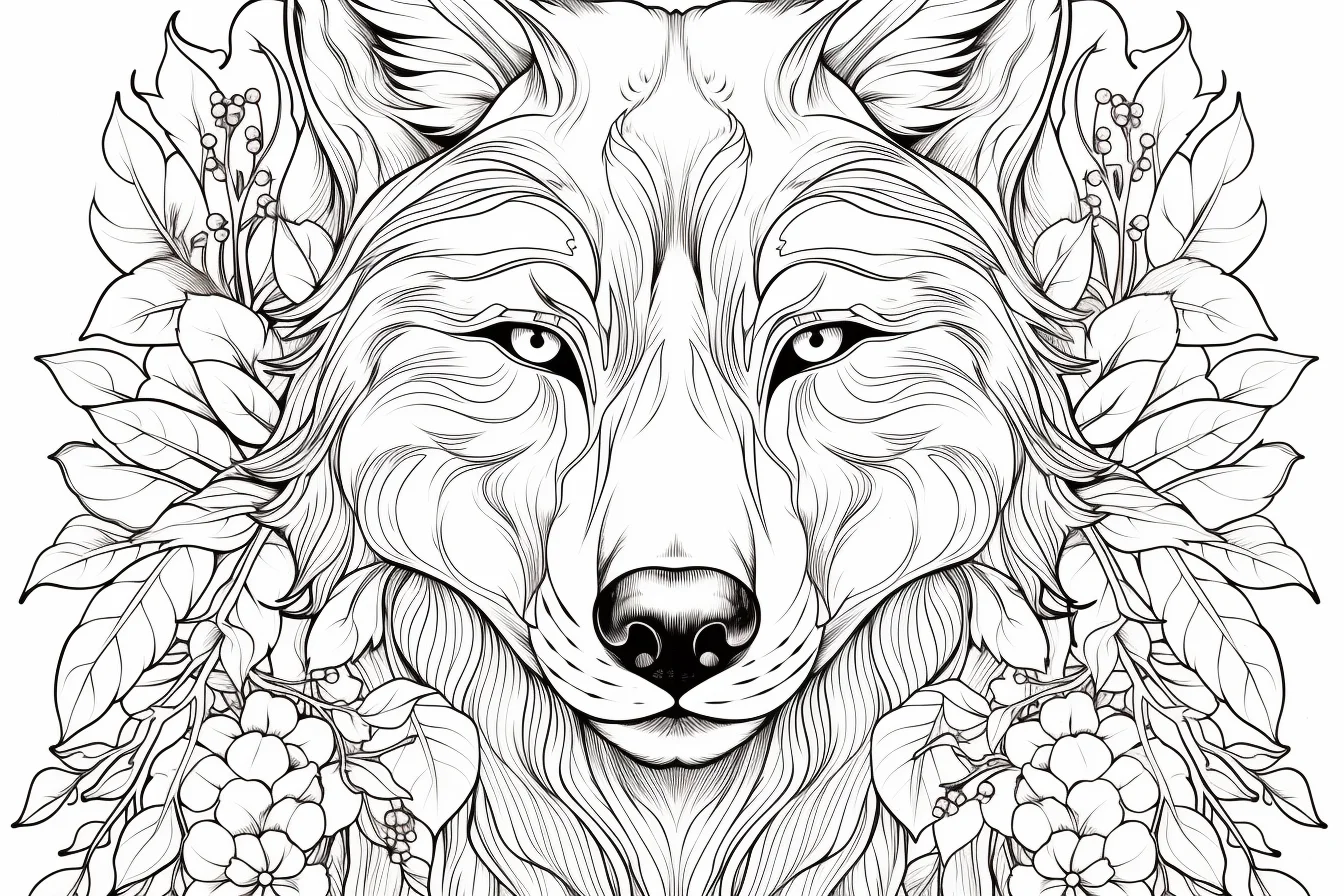
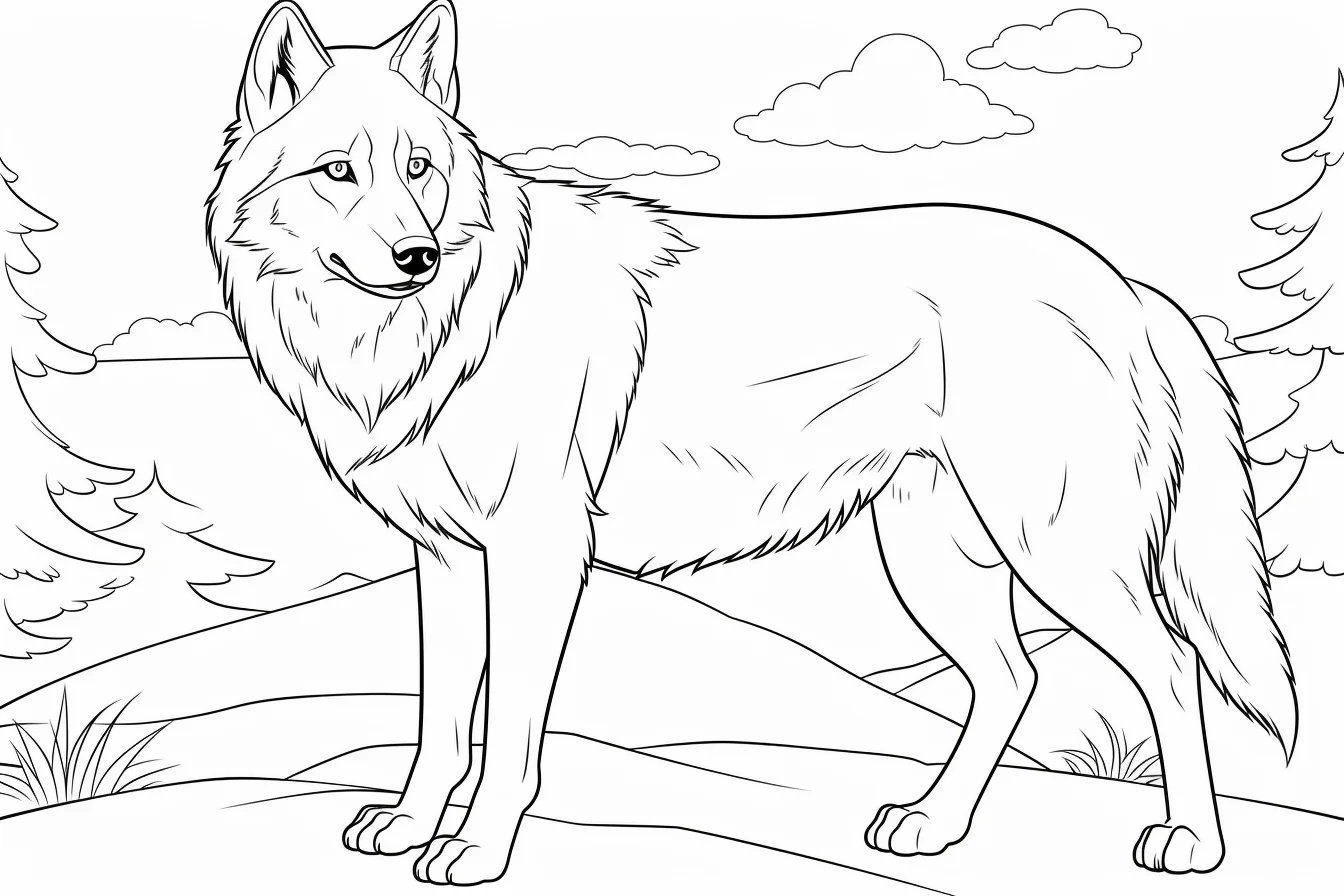
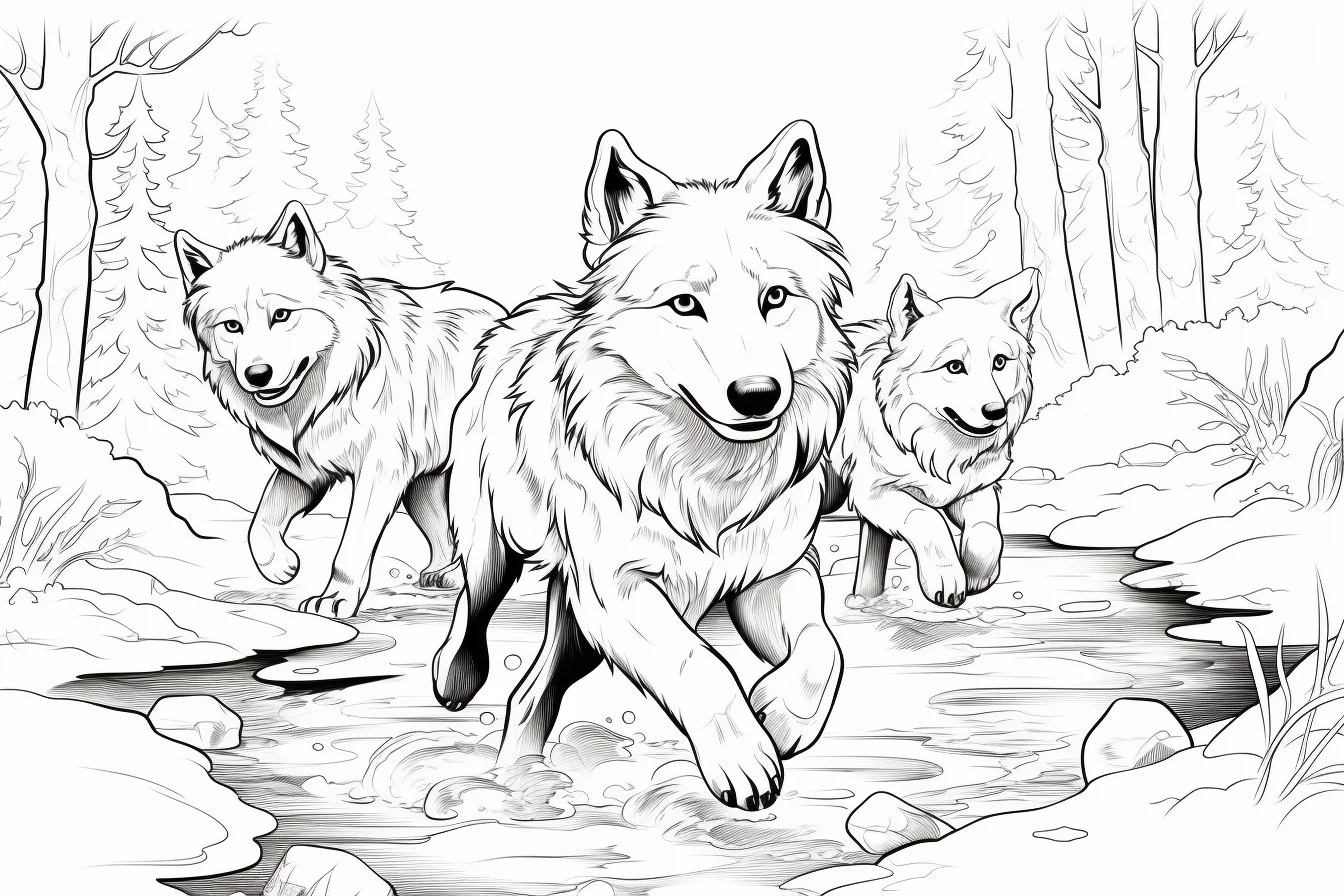
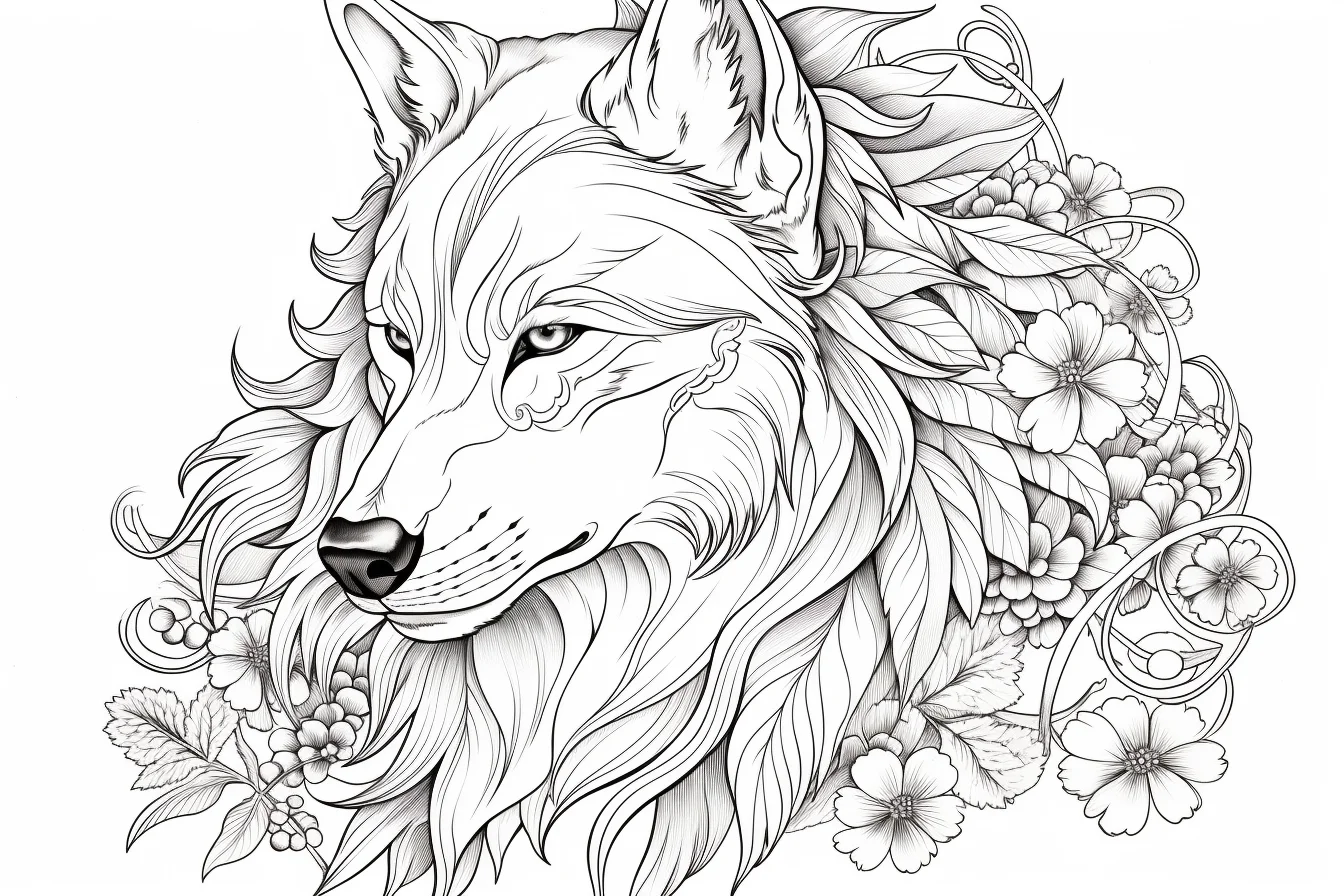
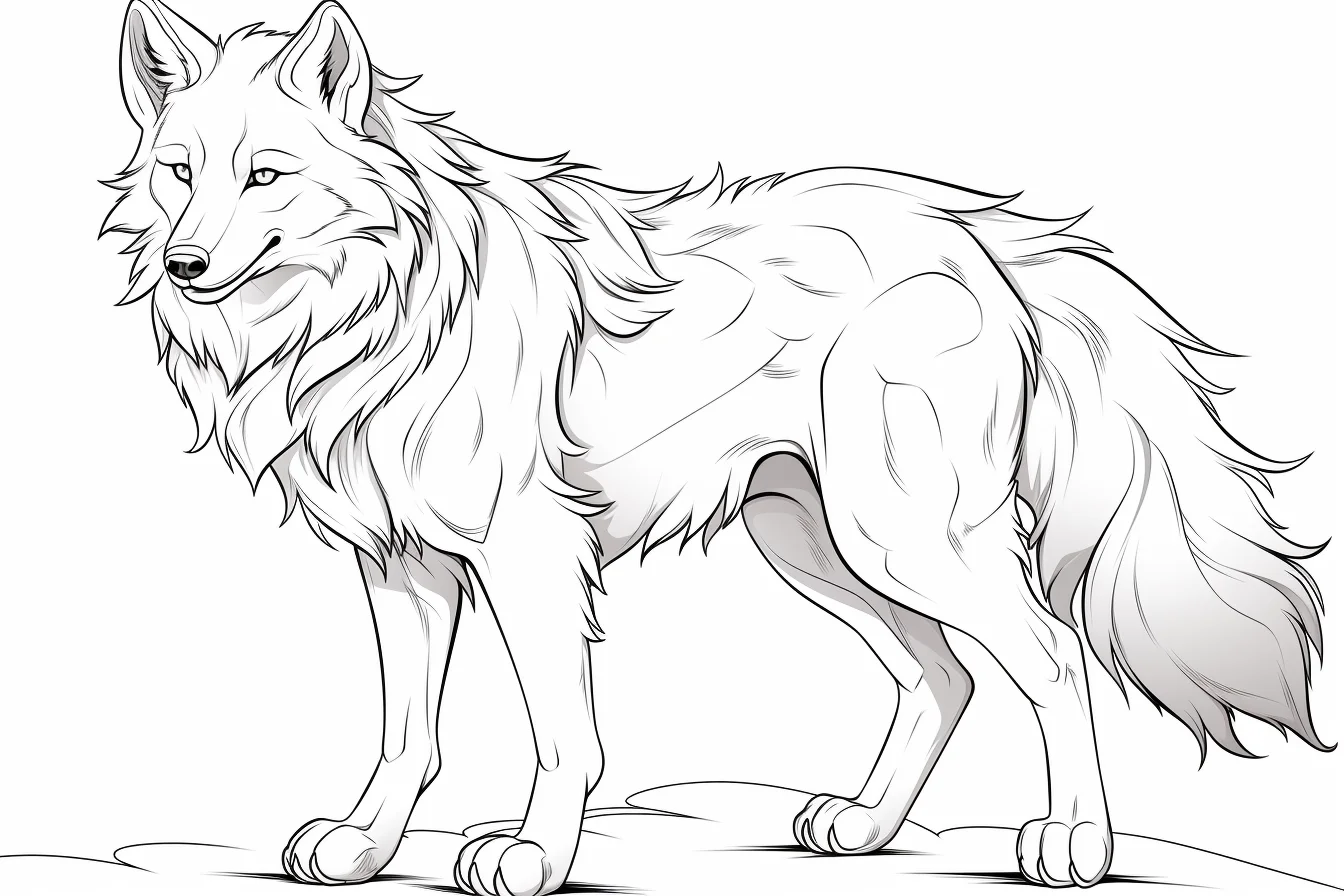
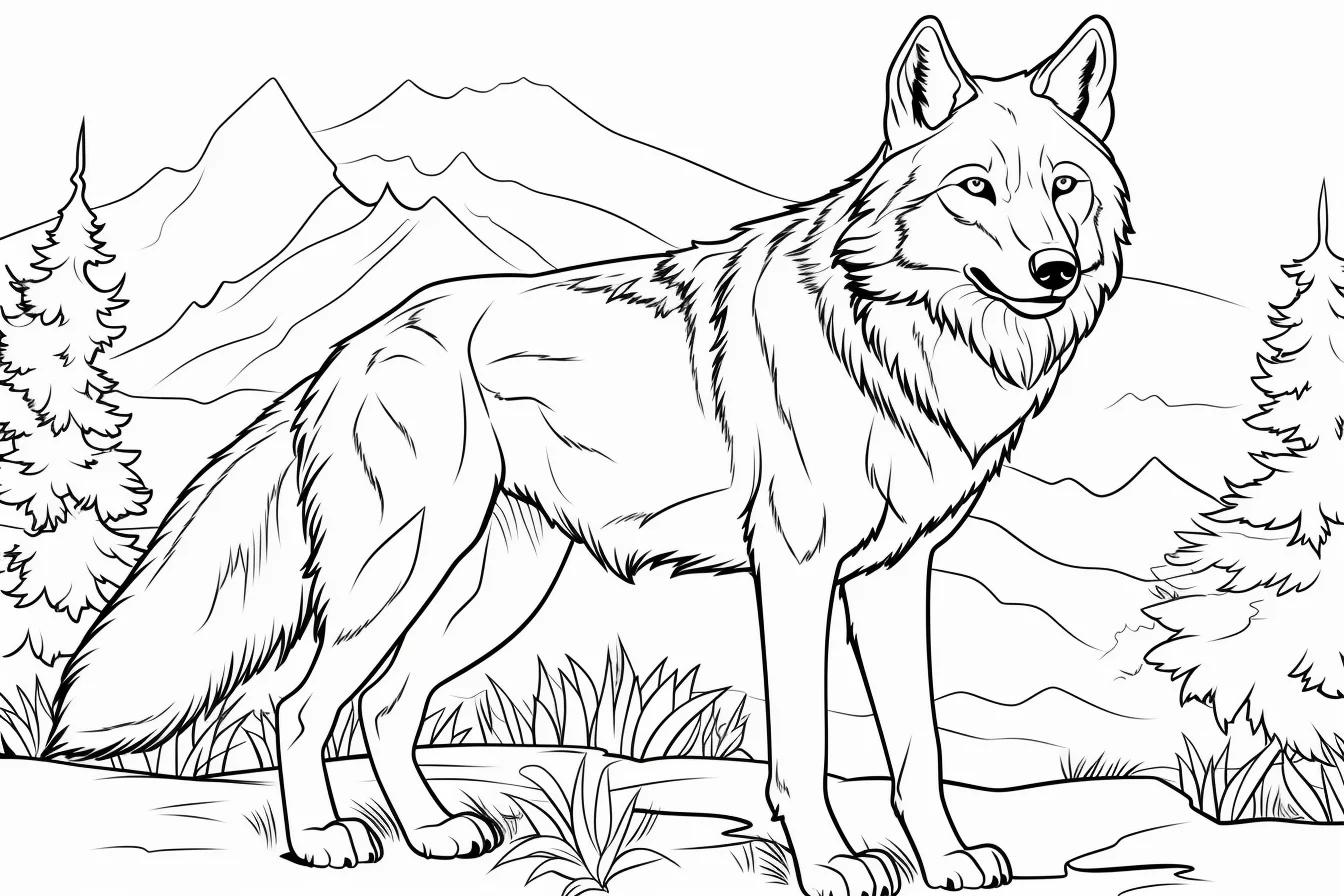
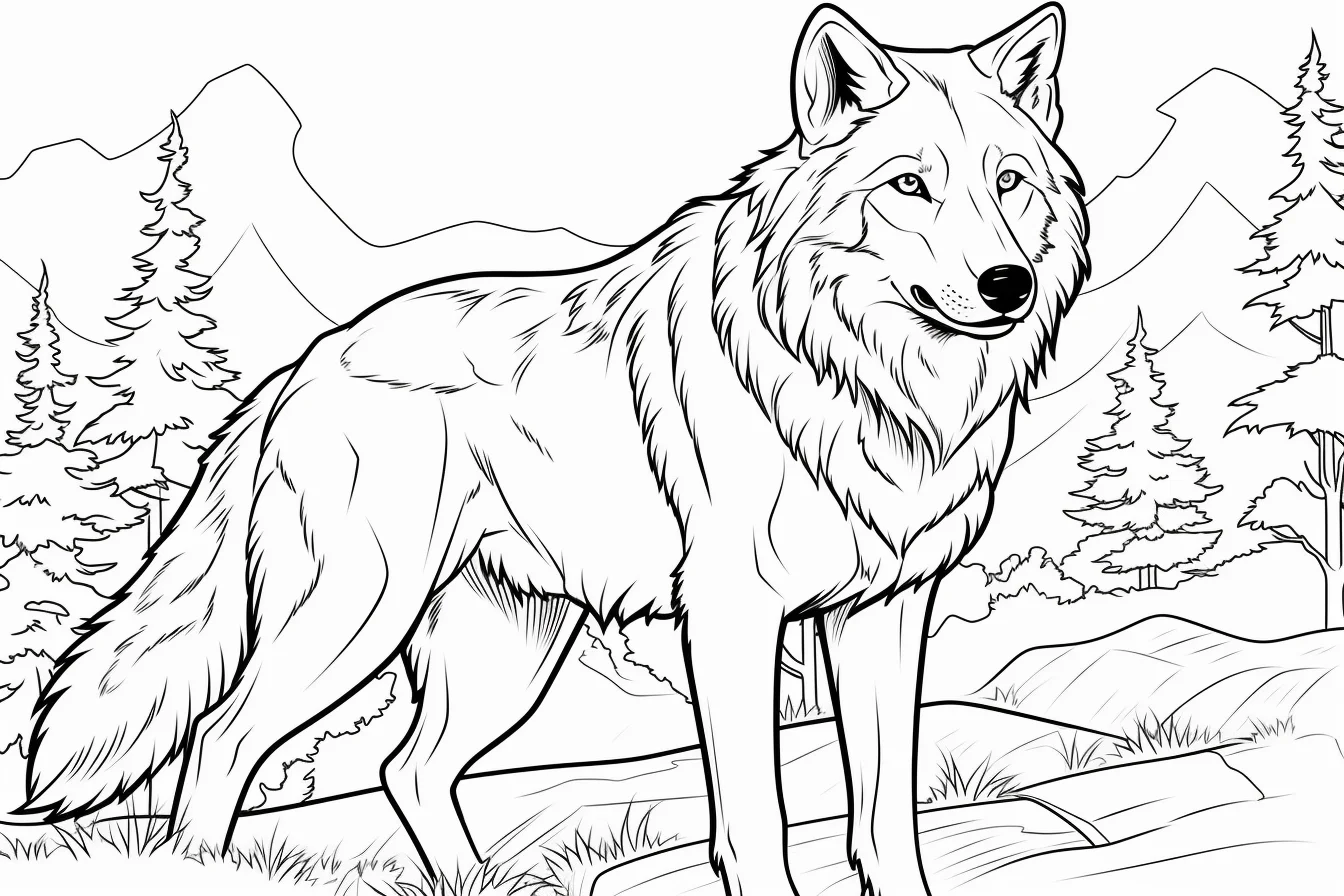
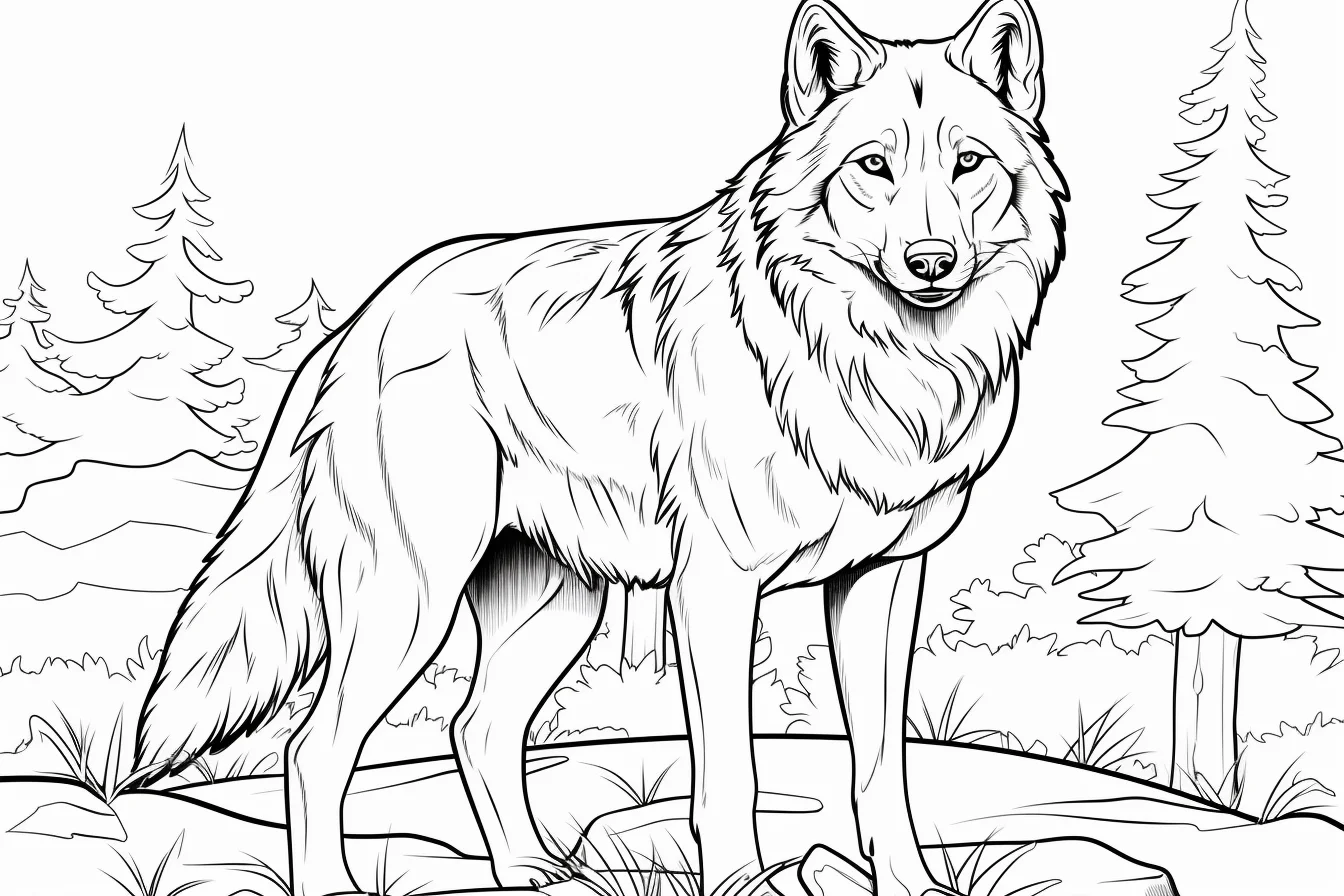
For realistic coats, avoid using one flat gray. Cool gray, warm brown, cream and near-black can all appear in the same animal. Keep the muzzle and chest lighter, then use darker values under the neck, belly and far side of the body.
More wolf printables — Sheets 30–39
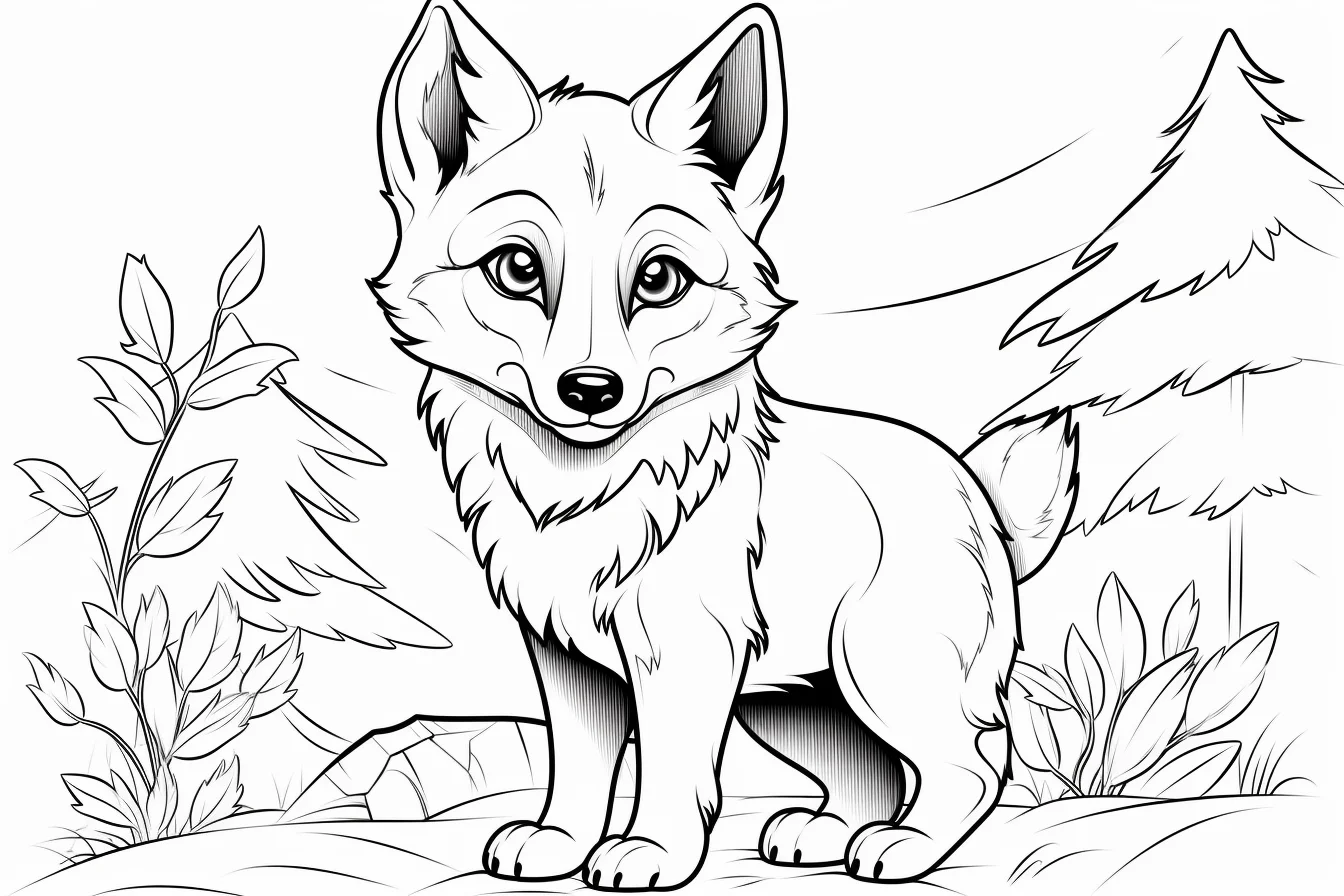
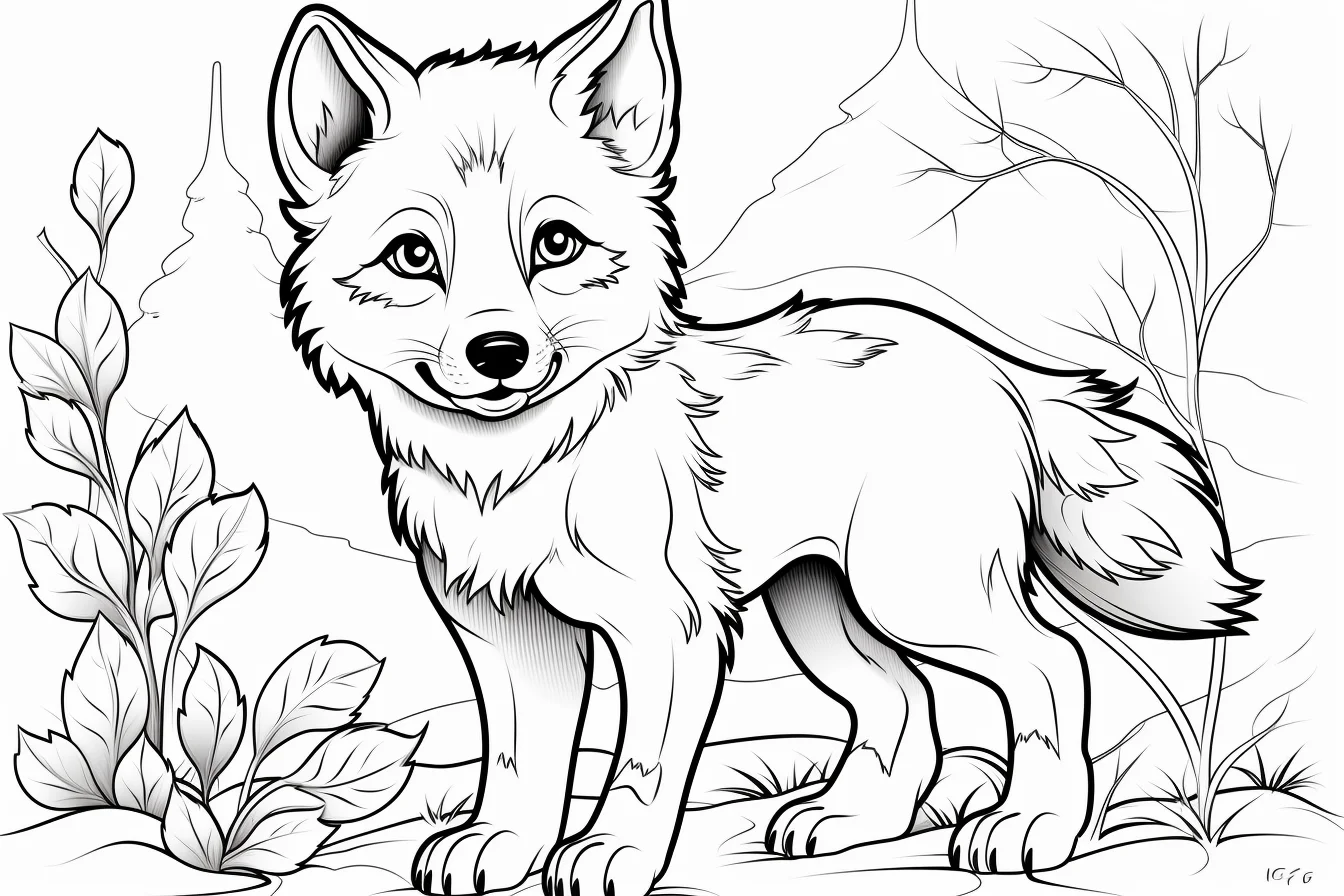
Build realistic wolf fur in three passes
Wolf fur is easier to color when you stop treating every printed hair as a separate line. Start by deciding where the large light and dark masses belong, then add texture only where it helps describe the animal’s form.
- Pass 1 — coat map: lay in a light base over the wolf. Leave the muzzle, cheek edges and parts of the chest lighter instead of filling the entire animal with the same gray.
- Pass 2 — form: deepen the underside of the neck, belly, inner legs and the side turned away from the light. Use broader, softer shading here; these shadows create volume before individual hairs do.
- Pass 3 — fur: add short tapered strokes around the forehead and muzzle, longer strokes through the neck ruff and body, and strokes that follow the tail’s length. Concentrate texture at edges and transitions rather than covering every area with identical marks.
With colored pencils, begin with light pressure so later layers can overlap. A dark gray or brown usually gives a softer result than outlining every feature in solid black.
Follow the direction of the coat
| Area | Useful stroke direction | What to avoid |
|---|---|---|
| Forehead | Short strokes upward and slightly outward | Long parallel lines across the face |
| Cheeks | Fan outward from the muzzle | Drawing a hard circular border |
| Neck and chest | Longer strokes downward and outward | Making every tuft the same length |
| Back and sides | Follow the body toward the hindquarters | Random cross-hatching that ignores the body |
| Legs | Mostly downward, with shorter strokes near joints | Heavy texture that hides the leg shape |
| Tail | Flow from the base toward the tip | Short marks pointing in unrelated directions |
Make the eyes look alive without overworking them
The eyes are small on many of these sheets, so contrast matters more than elaborate detail. Keep any printed highlight white, establish a darker pupil, then use a restrained iris color such as amber, ochre, brown or muted yellow. Darkening the upper eyelid slightly can suggest the shadow cast from above.
Before making the eyes extremely bright, compare them with the rest of the scene. A fluorescent yellow eye inside a softly colored forest can become the only thing you notice. For a natural result, the eye should attract attention without looking detached from the wolf.
A three-sheet practice route
If realistic fur feels difficult, do not start with the busiest pack scene. Use three sheets for three separate skills:
- Sheet 4 — value control: concentrate on separating the adult, cubs and surrounding scene with light and dark values.
- Sheet 1 — lighting: treat the moon as a clear light source and keep the wolf readable as a silhouette.
- Sheet 24 — fur: use the coat-map, form and texture passes above for a more detailed study.
Using a different goal for each sheet is more useful than trying to perfect fur, anatomy, lighting and background depth all at once.
Realistic wolf coloring problems and fixes
| If this happens… | Try this | Why it helps |
|---|---|---|
| The wolf looks flat | Darken under the jaw, neck, belly and far-side legs. | Those shadows describe the body’s volume. |
| The fur looks striped | Vary stroke length and overlap neighboring values. | Real coats form irregular masses rather than evenly spaced lines. |
| The face disappears | Keep the muzzle and cheek edges lighter than the eye and nose area. | Value contrast restores the facial structure. |
| The pack blends into the forest | Reduce contrast and saturation in distant scenery. | A quieter background lets the wolves remain the focal point. |
| Gray fur looks dull | Mix cool gray with muted brown, cream or blue-gray. | Small temperature shifts make a neutral coat feel more natural. |
| The page became too dark | Preserve light patches before adding another layer. | Keeping highlights is easier than trying to recover white paper later. |
Four believable coat approaches
- Cool gray: pale gray base, medium blue-gray shadows, charcoal accents and an off-white muzzle.
- Warm gray-brown: cream base with taupe, muted brown and dark gray layered through the back and neck.
- Dark wolf: begin with medium gray rather than black, then reserve near-black for the deepest shadows so fur detail remains visible.
- Winter coat: leave much of the paper light and define the animal with pale cool-gray shadows, slightly warmer cream areas and selective darker markings.
These are coloring strategies, not fixed species templates. Individual wolves vary considerably, so a reference photograph is useful when realism matters. Look at the distribution of light and dark fur before trying to copy individual hairs.
How to create depth in forest and pack scenes
Finish the wolves before committing to the darkest background values. Keep the foreground sharper and more contrasted, then simplify distant trees with lighter or duller colors. On a pack page, vary the wolves slightly as well: the nearest animal can carry the strongest contrast while wolves farther back can be softer.
For snow, moonlight or pale sky, leaving some paper uncolored is often more convincing than filling every white area with blue. A few cool-gray shadows can describe white surfaces while preserving the brightest value on the page.
Questions about these wolf coloring pages
Which pages are easiest to start with?
The cleaner family and mixed sheets are more forgiving than dense forest or pack scenes. Choose a page with larger open areas if you are using crayons or broad markers.
What is the best tool for realistic wolf fur?
Colored pencils offer the most control for layering, directional strokes and small value changes. Fine markers can work for flatter graphic coloring, but they are less forgiving when you want soft fur transitions.
Do wolves have to be gray?
No. Natural coats can combine white, cream, gray, brown, reddish-brown and very dark tones. Even a gray-looking wolf often becomes more convincing when the coat contains subtle warm and cool shifts.
Should I color the background first?
Usually color the main wolf first. Once its lightest and darkest values are established, it is easier to judge how strong the forest, moon, snow or other scenery should be without losing the animal.
If you only want three
Use Sheet 1 for a dramatic moon scene, Sheet 4 for a family page, and Sheet 24 for a more realistic study. That gives you three different kinds of wolf page without browsing the full set again.
Printing and coloring
Open the image itself for the full-size file and print on A4 or Letter paper with “Fit to page” if your printer trims the edge. Colored pencils are the easiest tool for layered fur and forest detail; broader markers work better on the cleaner pages.
For more realistic wildlife, continue with the realistic animal coloring pages. For easier animal styles, use the cute animal coloring pages.

