
Snowmen are easy to color without making the page feel empty: most of the figure stays white, so the personality comes from the scarf, hat, buttons and whatever is happening in the background. There are 19 pages here, from very simple snowmen to fuller winter scenes.
For younger kids, the best choices are the big figures with wide open spaces and only a few accessories. The final pages have more snowflakes, clothing details and background elements, which makes them better for pencils or fine-tip markers.
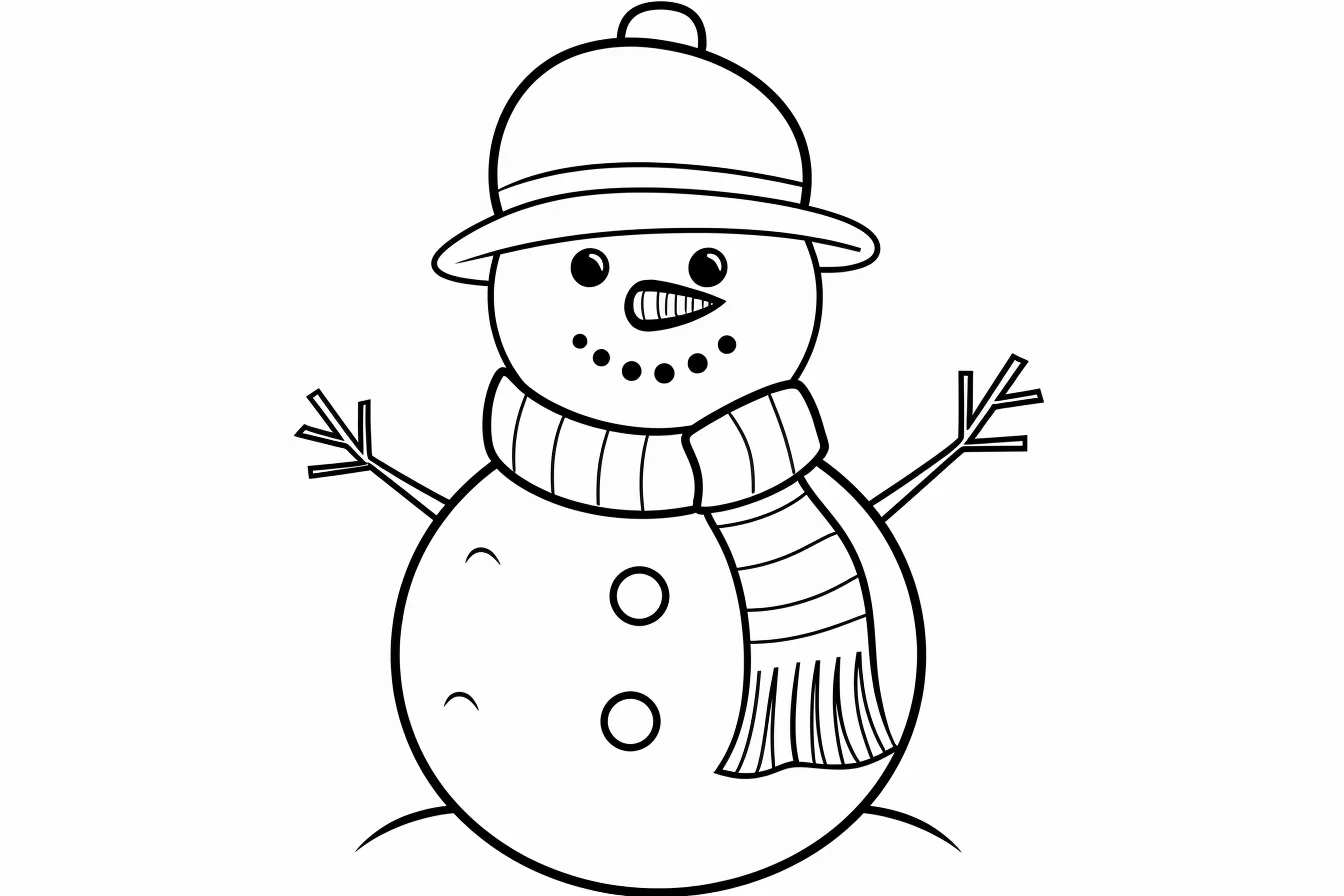
Pick the right page in 60 seconds
Before printing several sheets, use the first page as a quick control test. Look at the narrowest spaces around the face, buttons, scarf and twig arms. If your crayon tip is wider than those spaces, choose one of the simpler snowmen with larger open shapes. Fine-tip markers and sharpened pencils are better for pages with patterned clothing, small snowflakes or crowded winter scenery.
- Find the smallest feature. The eyes, mouth and buttons should still be easy to color without touching neighboring outlines.
- Choose one shadow direction. Decide whether the pale blue-gray snow shadow will sit on the left or right edge of every snowball. Keeping it consistent makes the stacked circles look round.
- Protect the white center. Mentally mark a broad area on each snowball that will stay untouched. If you start by coloring the whole body, it is difficult to recover convincing white snow later.
- Choose the focal color. Pick the strongest color for the scarf or hat before starting the background. Repeat it once or twice in small details rather than giving every object a different bright color.
For preschoolers: skip the shading test. Pick a page with a large face and body, color only the carrot nose, hat, scarf and buttons, and leave the snowballs white. That gives a finished-looking result without turning a simple activity into a precision exercise.
Printing and a simple snow trick
Open the page at full size, save it, and print on A4 or Letter paper using “fit to page.” You do not need to color the snow itself. A little pale blue or cool gray along one edge, beneath the hat, and where the body sections overlap is usually enough to make the white areas read as snow instead of blank paper.
Use the brighter colors on the scarf, hat and buttons so the snowman stays the focal point. If you are looking for a different seasonal set, the fall pages and spider pages have a very different palette; the birthday pages work year-round.
19 printable snowman coloring pages
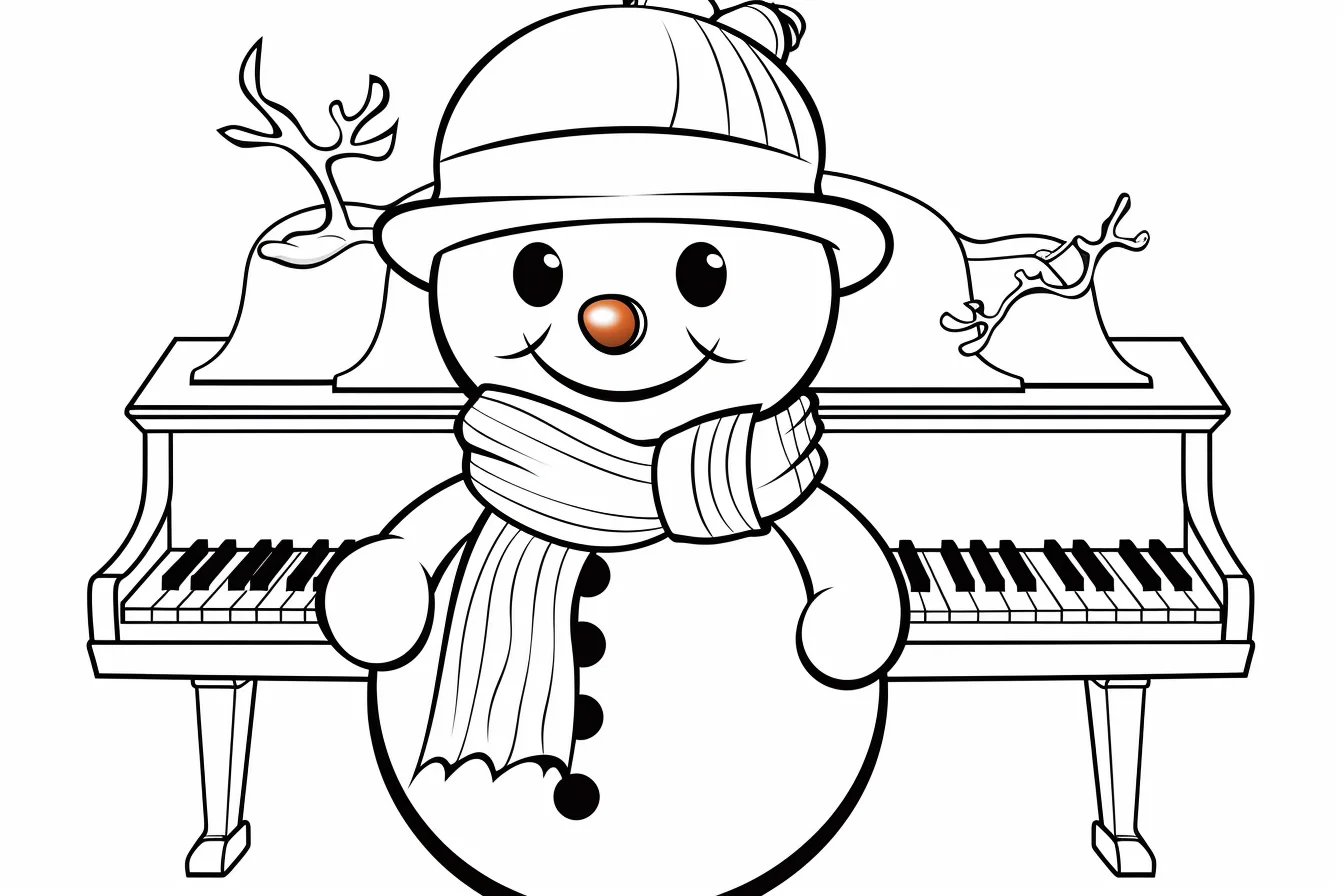
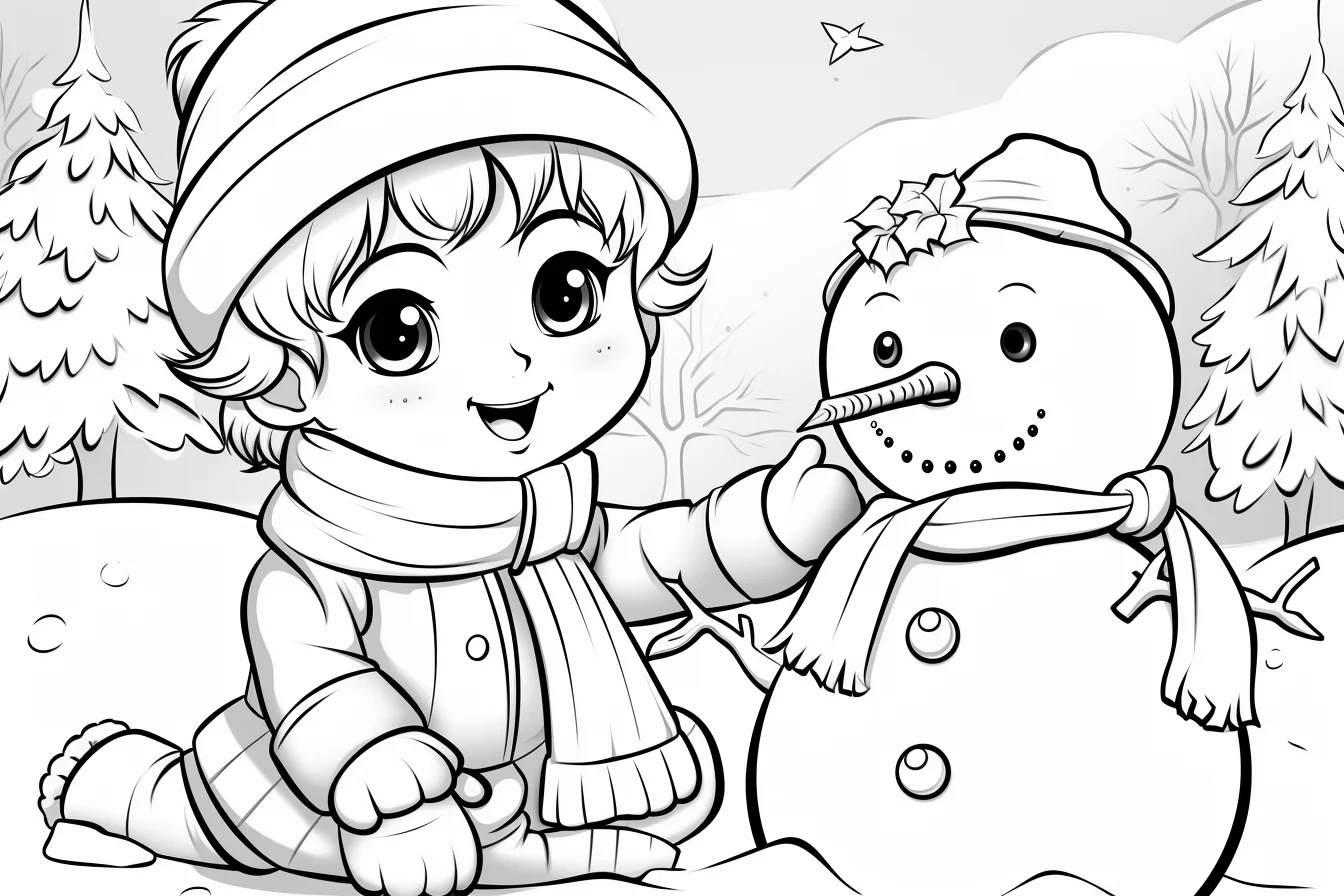
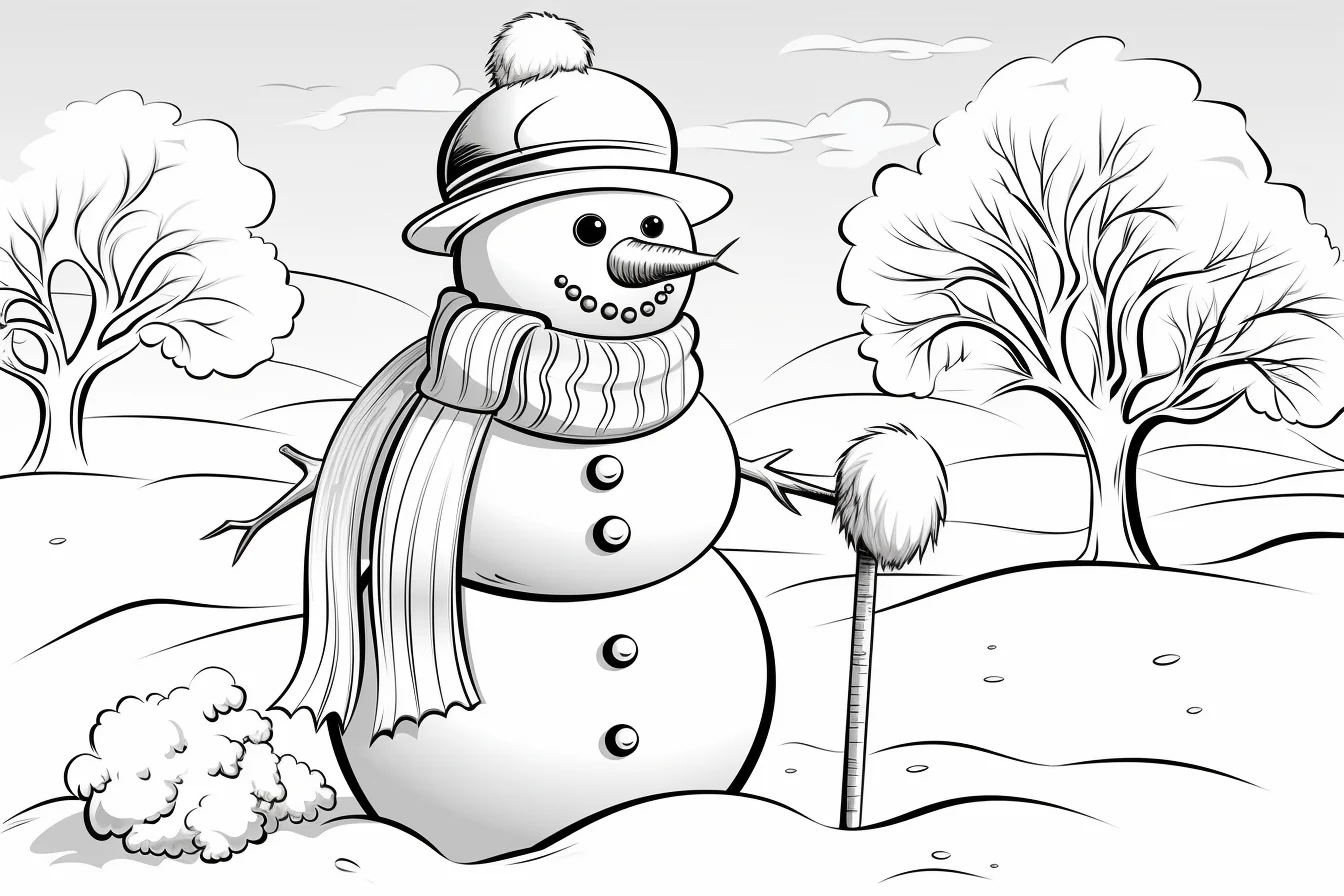
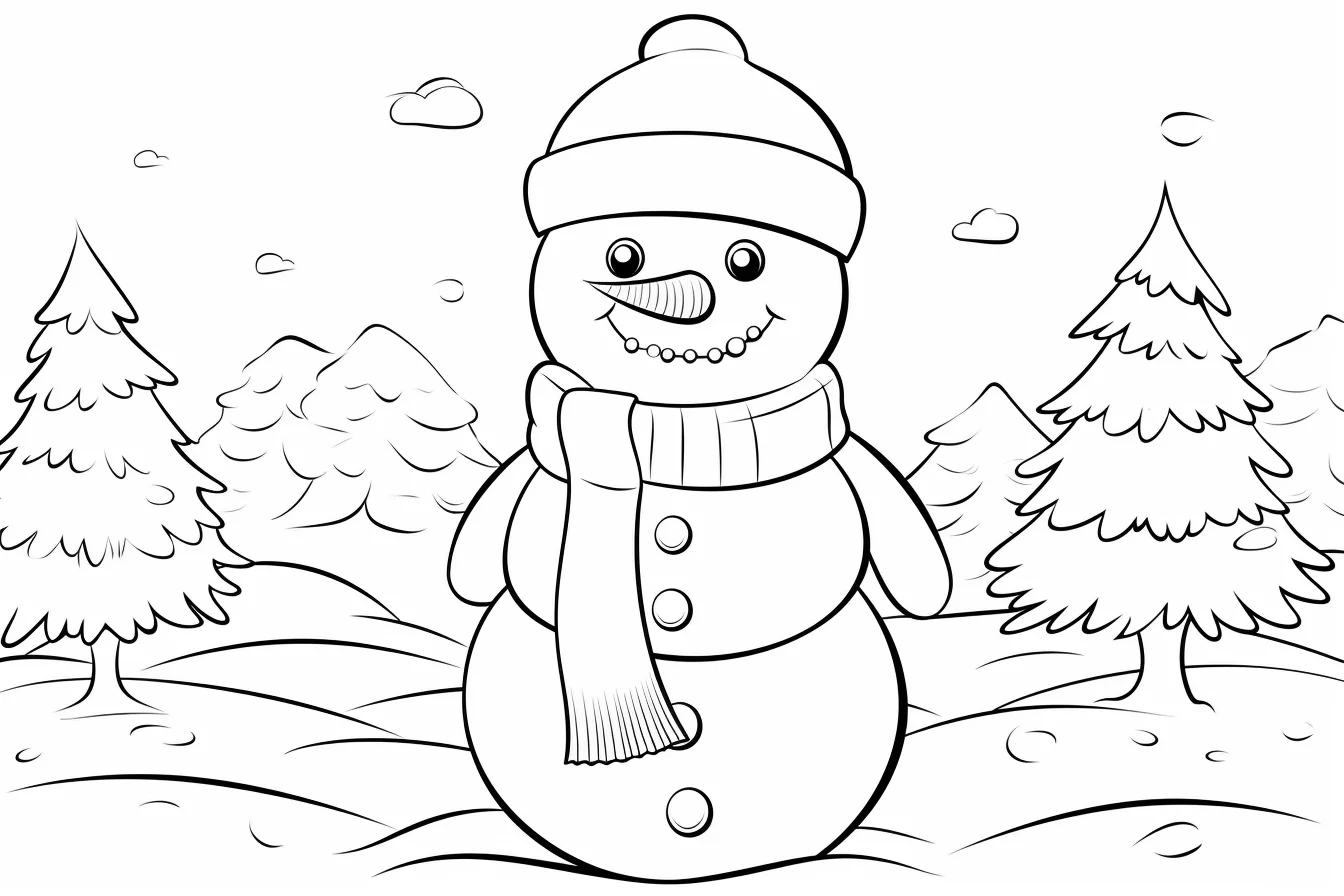
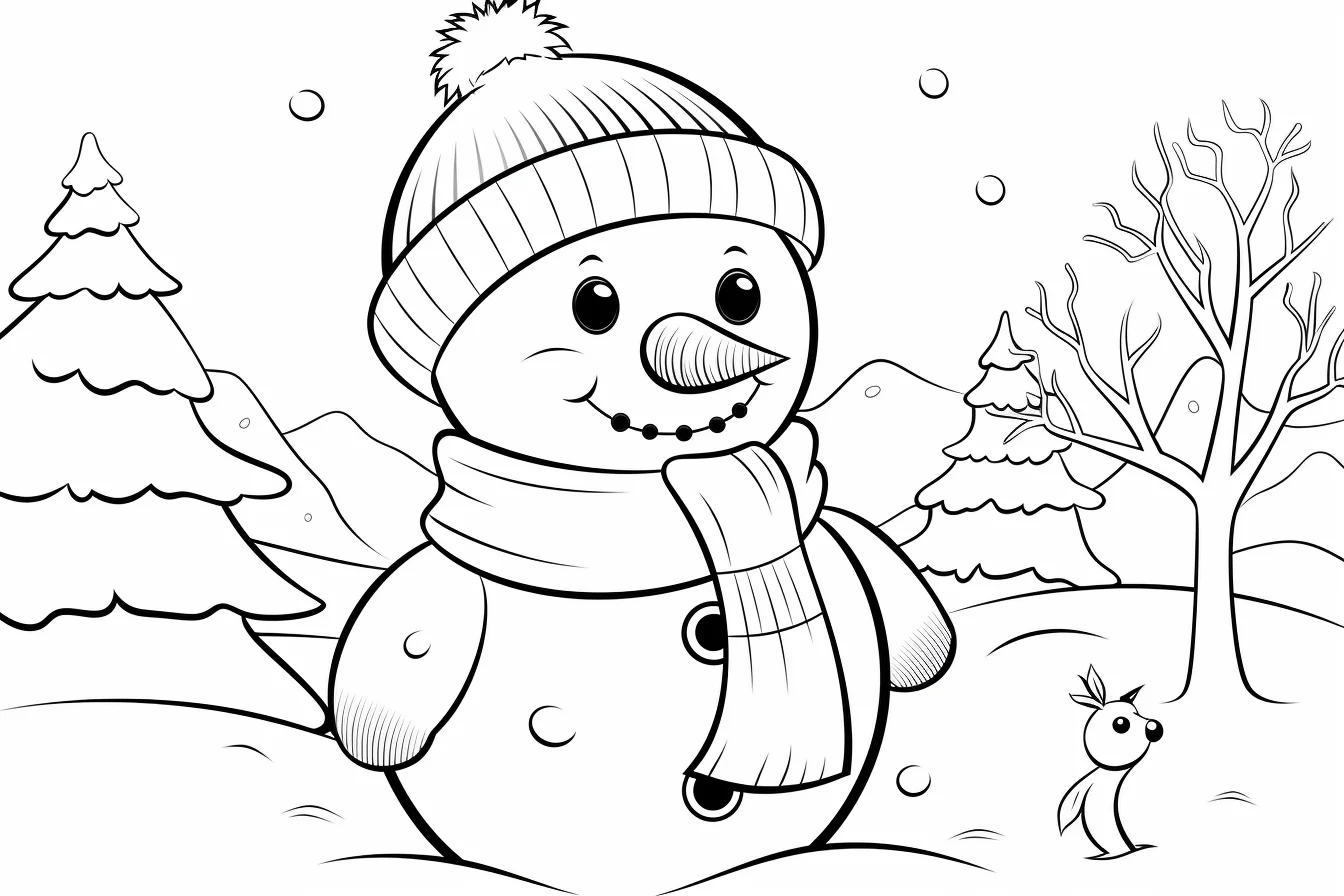
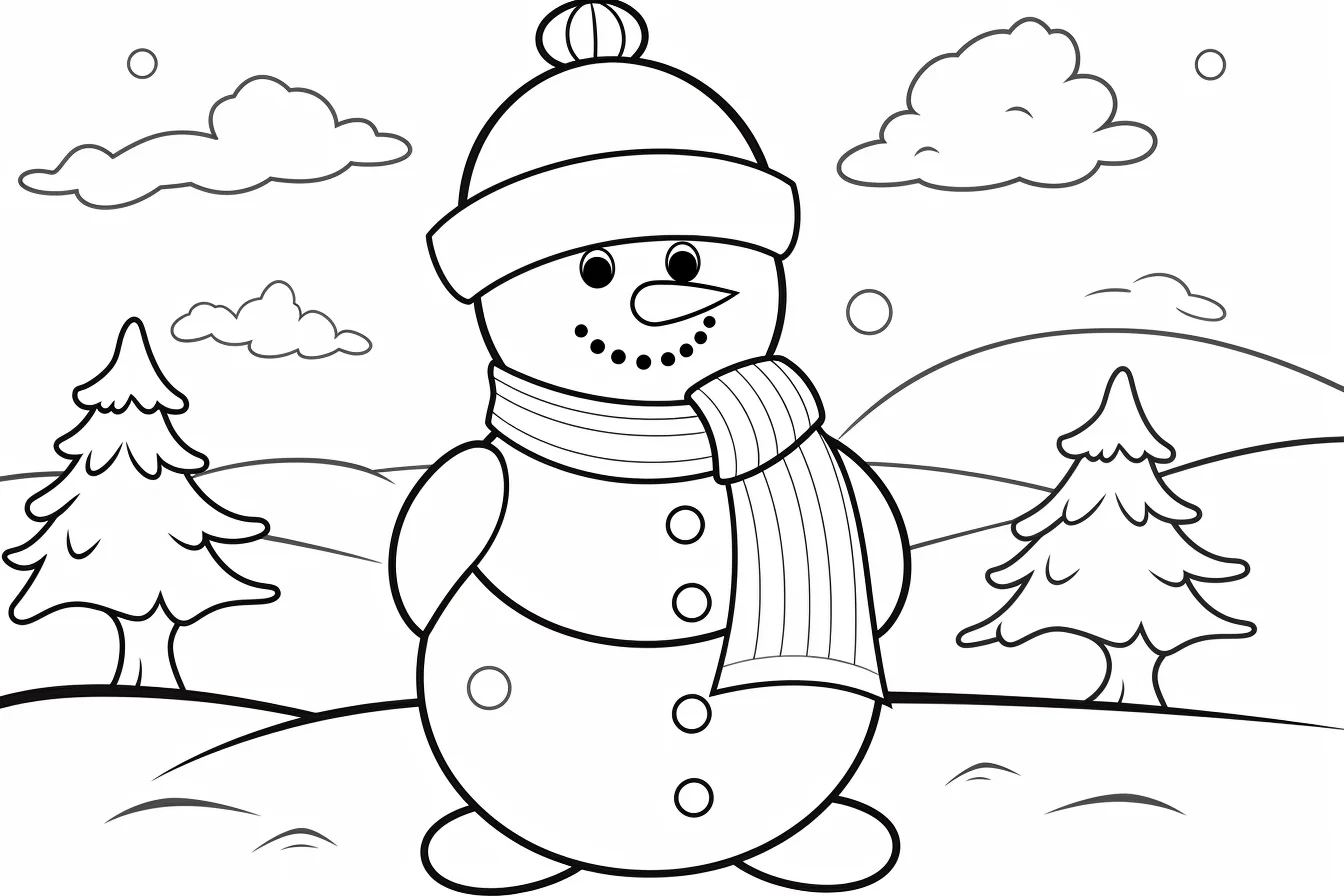
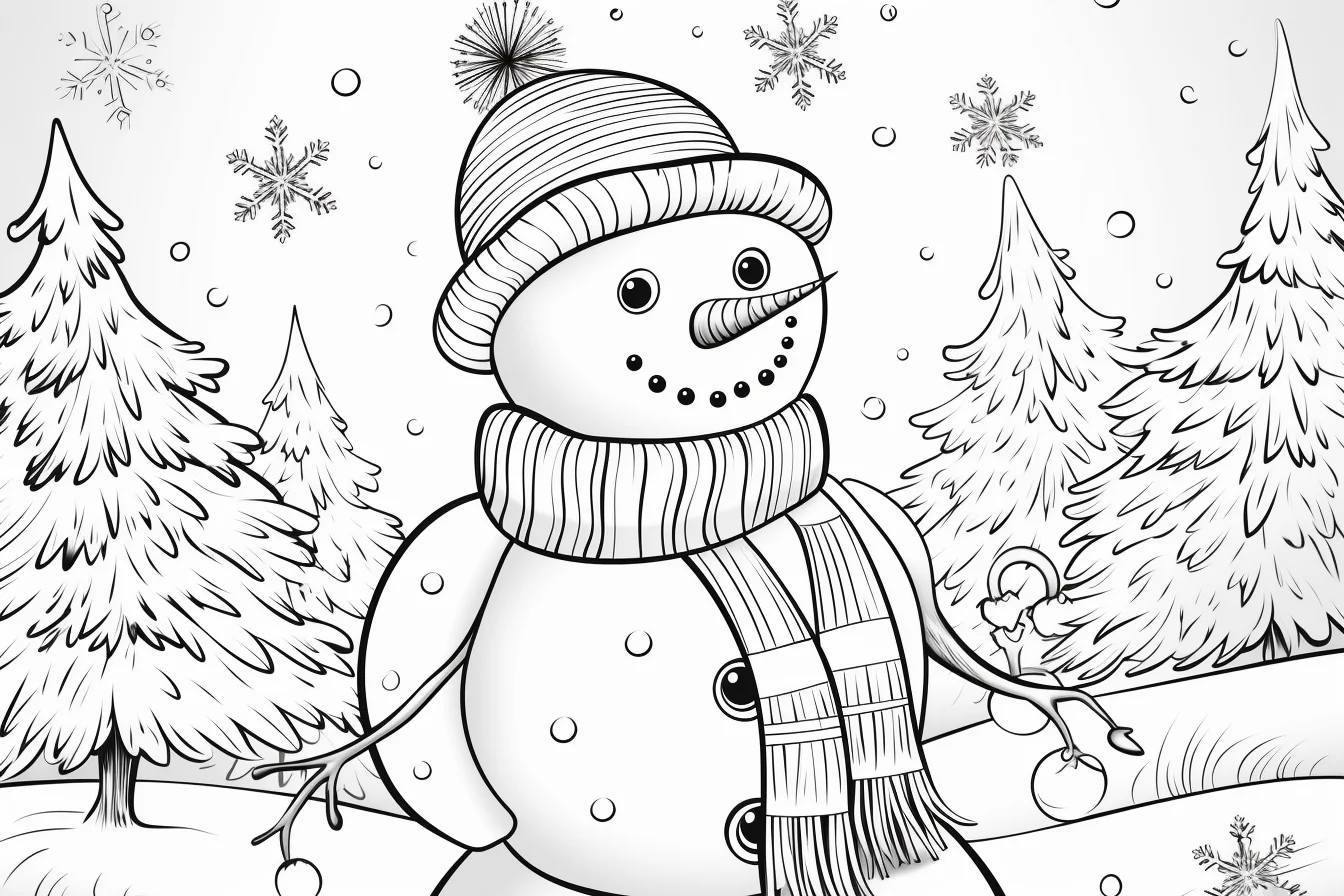
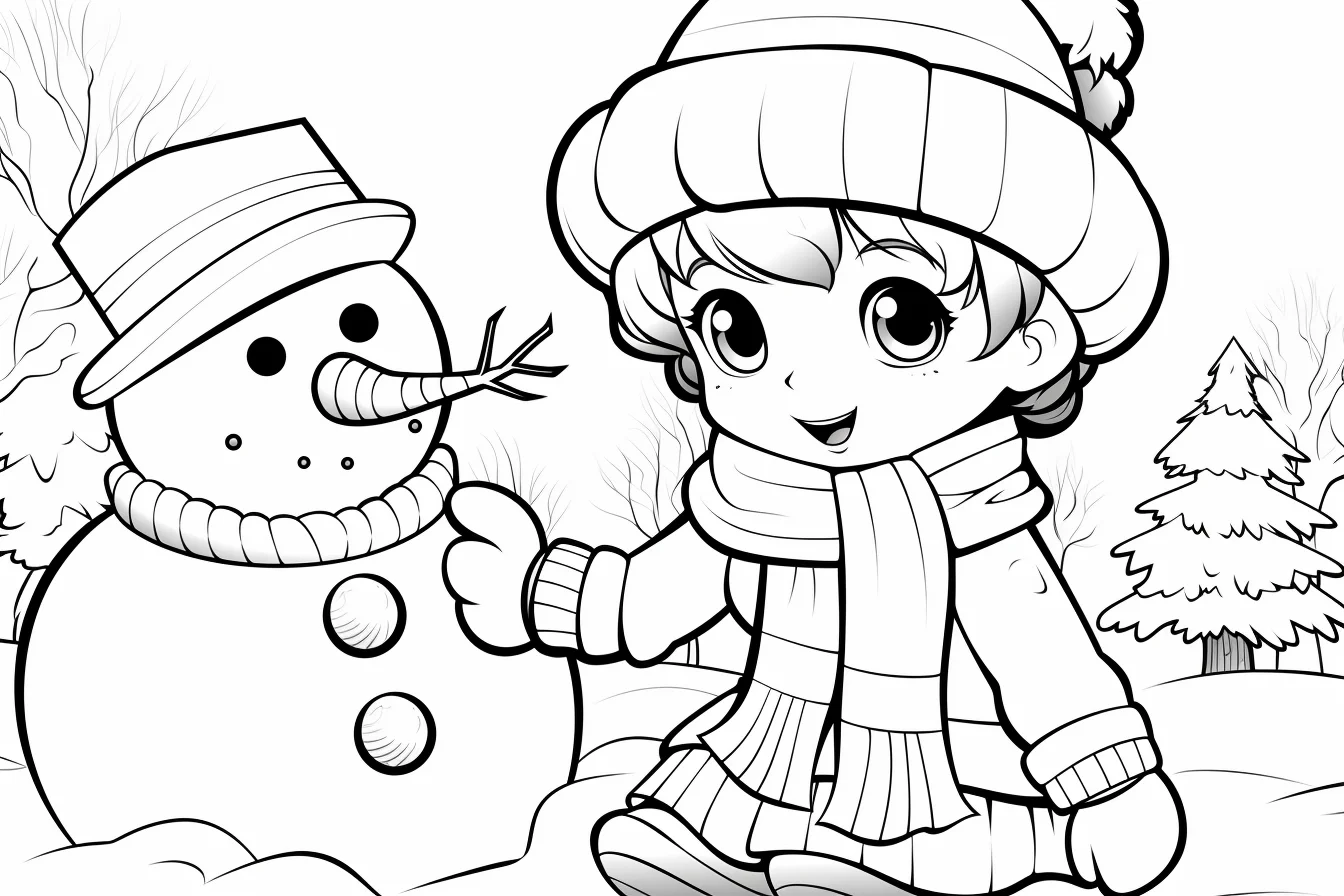
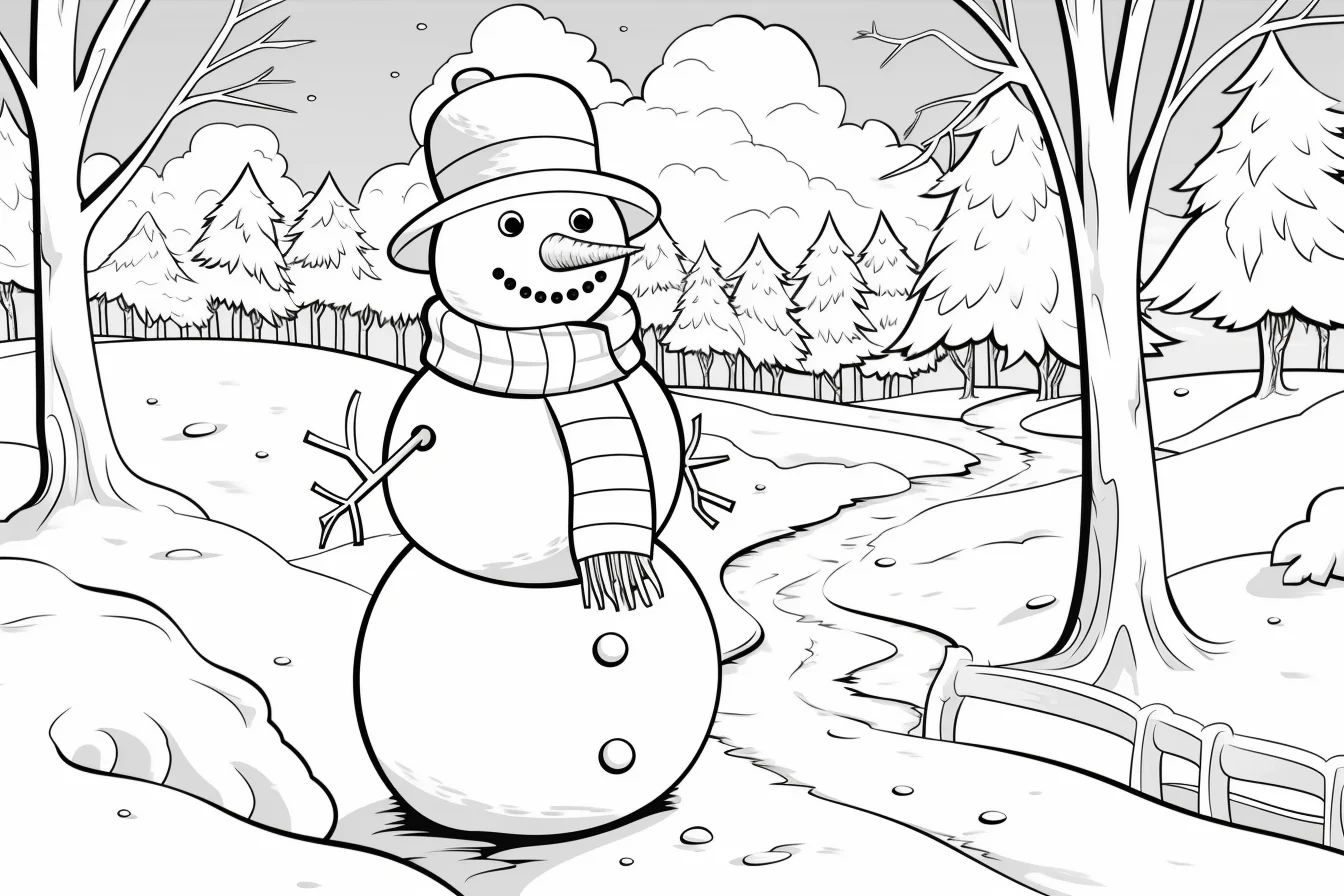
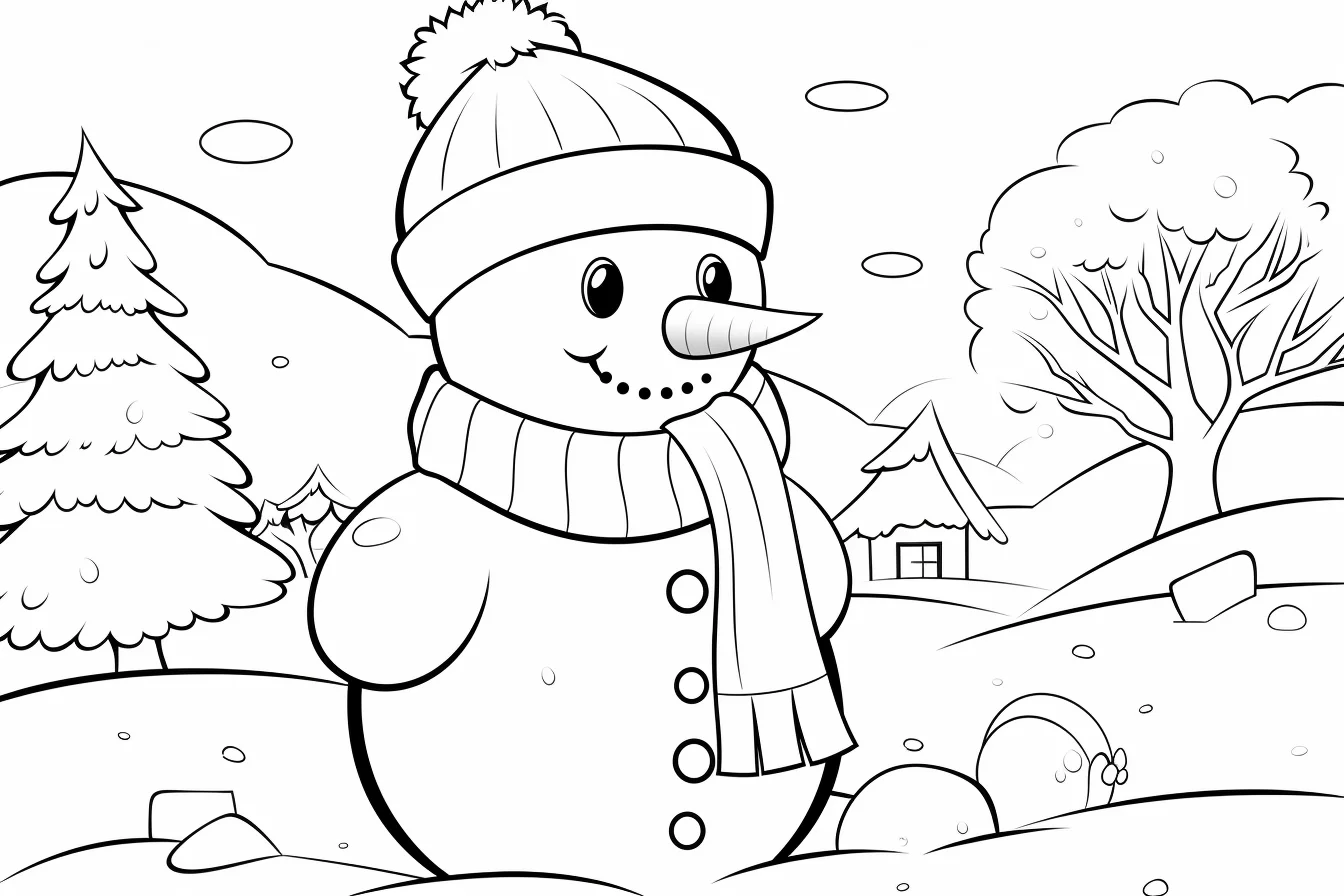
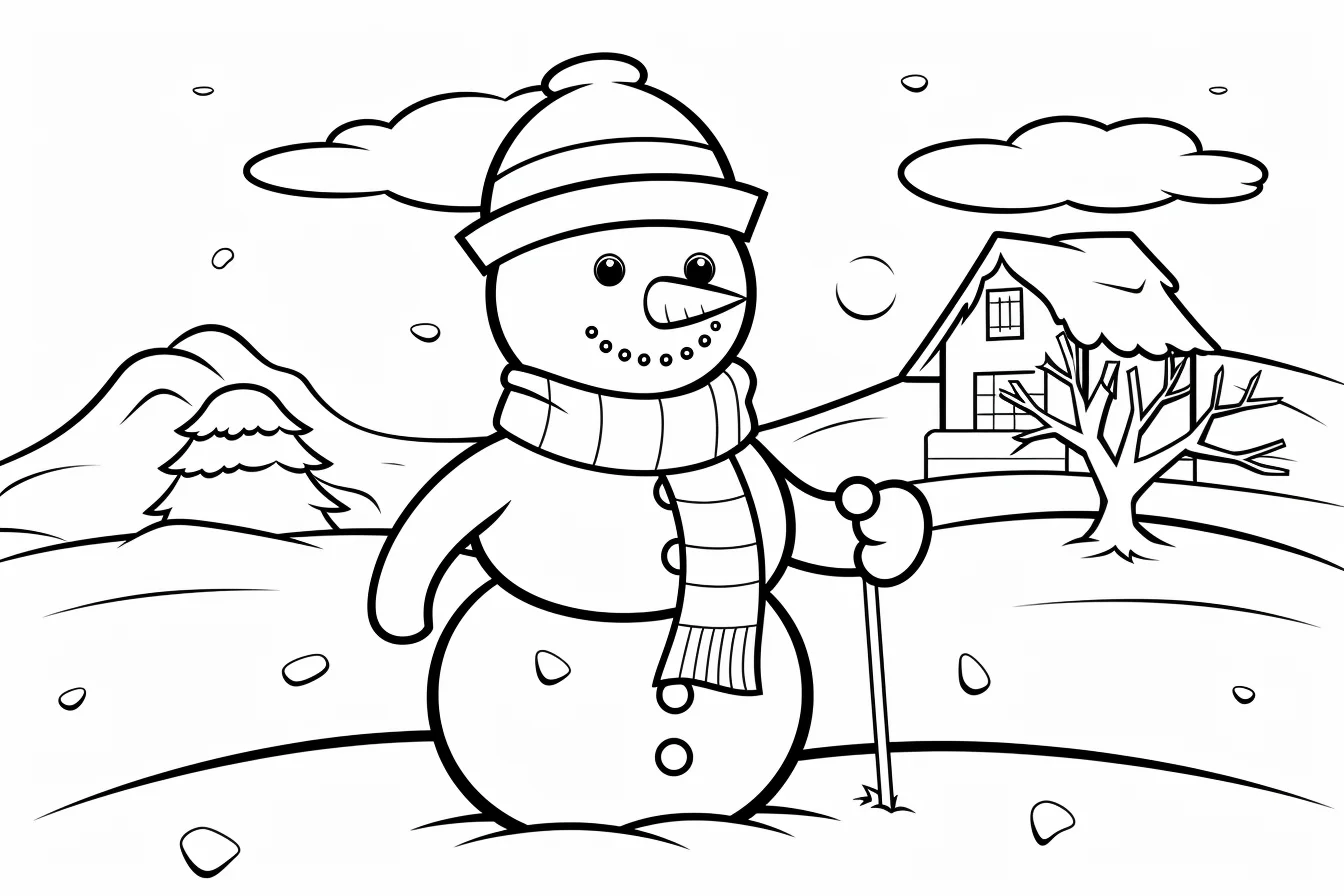
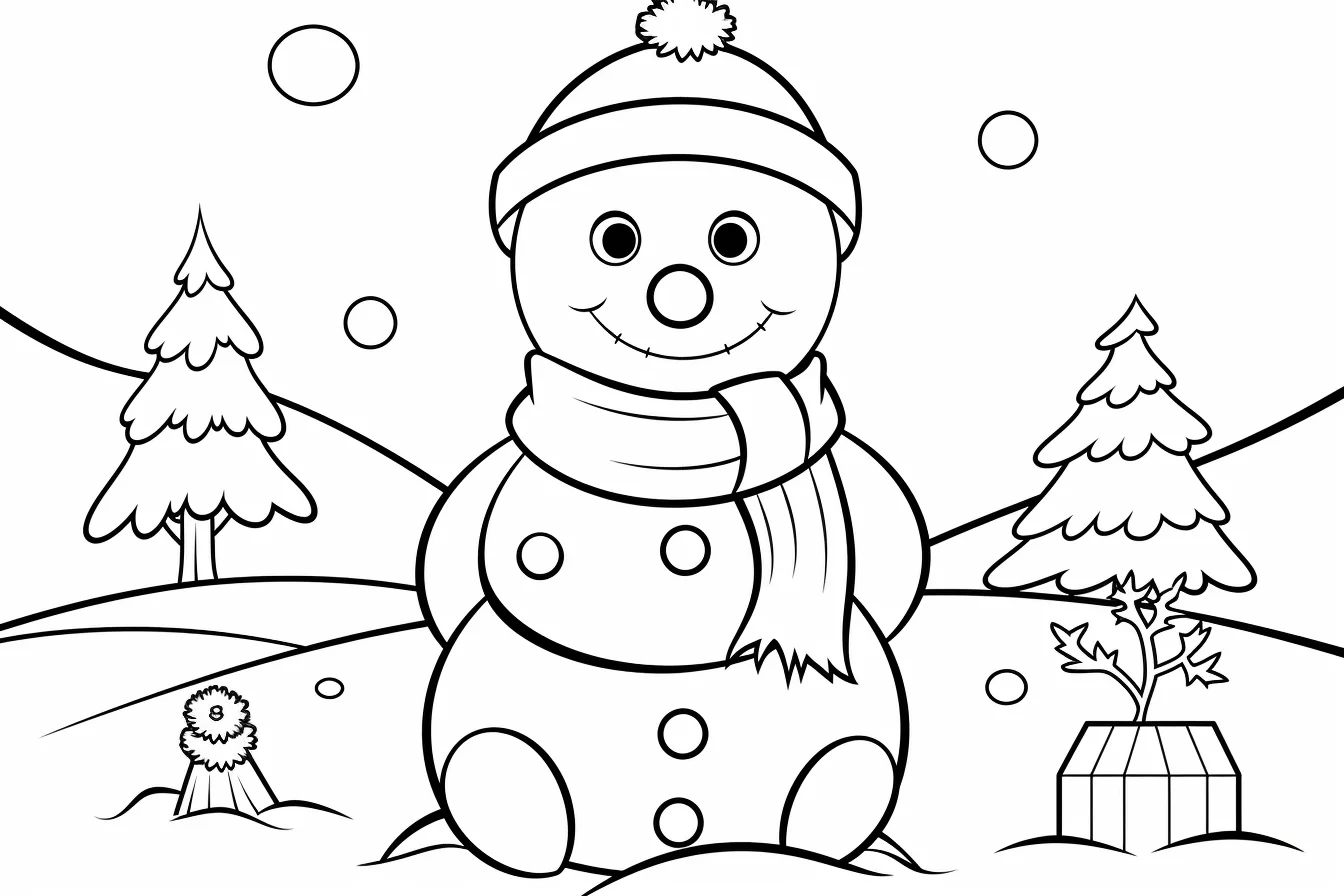
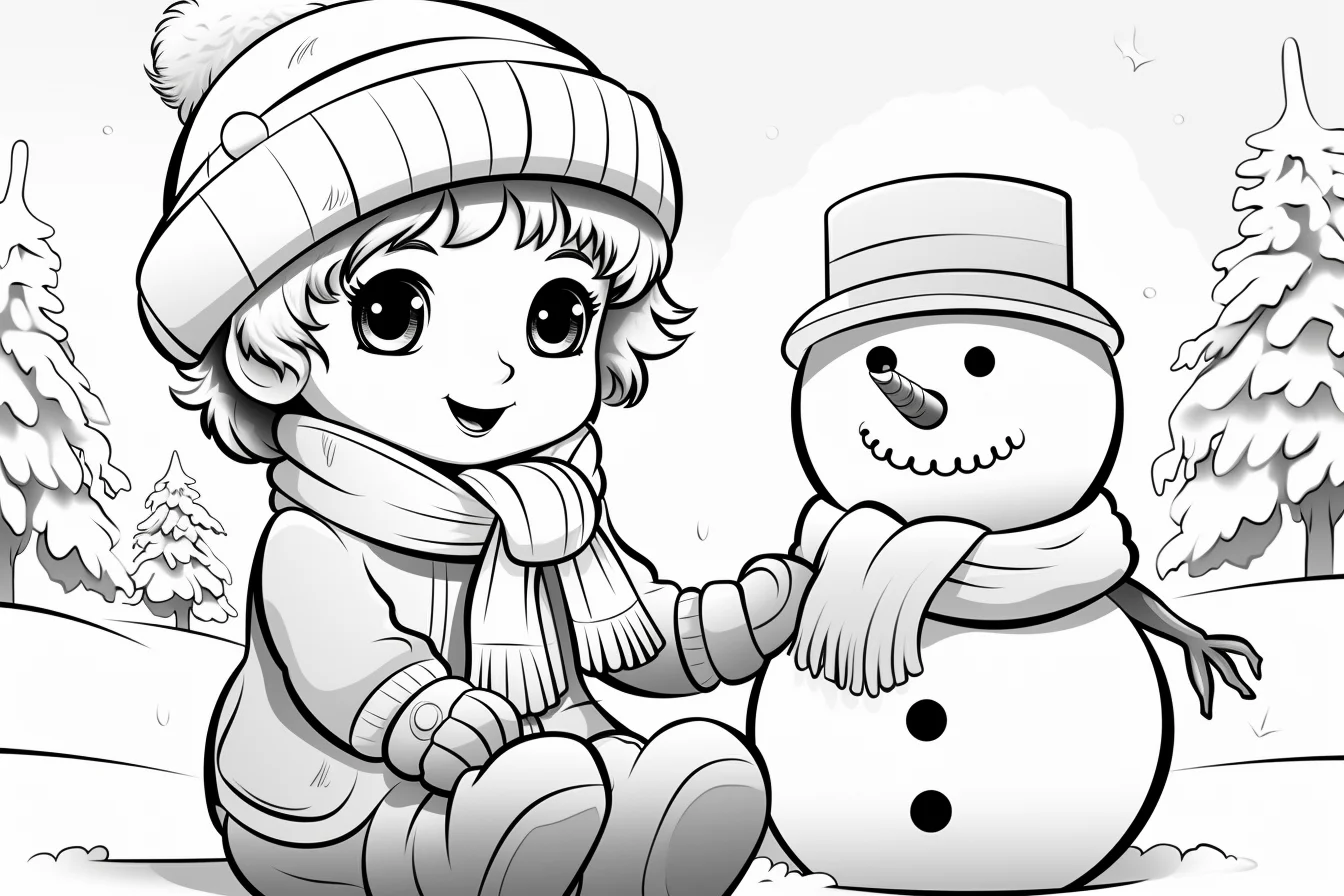
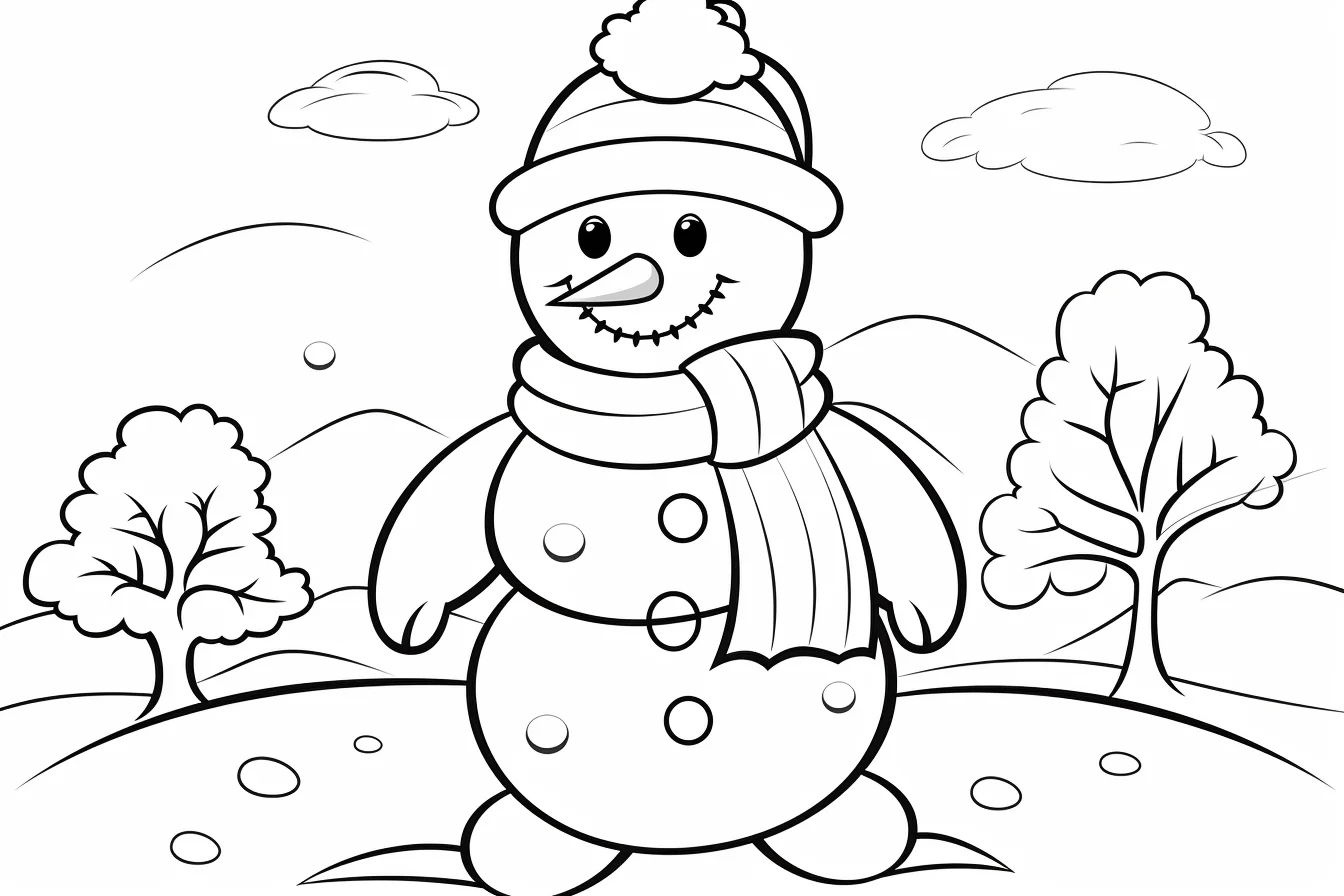
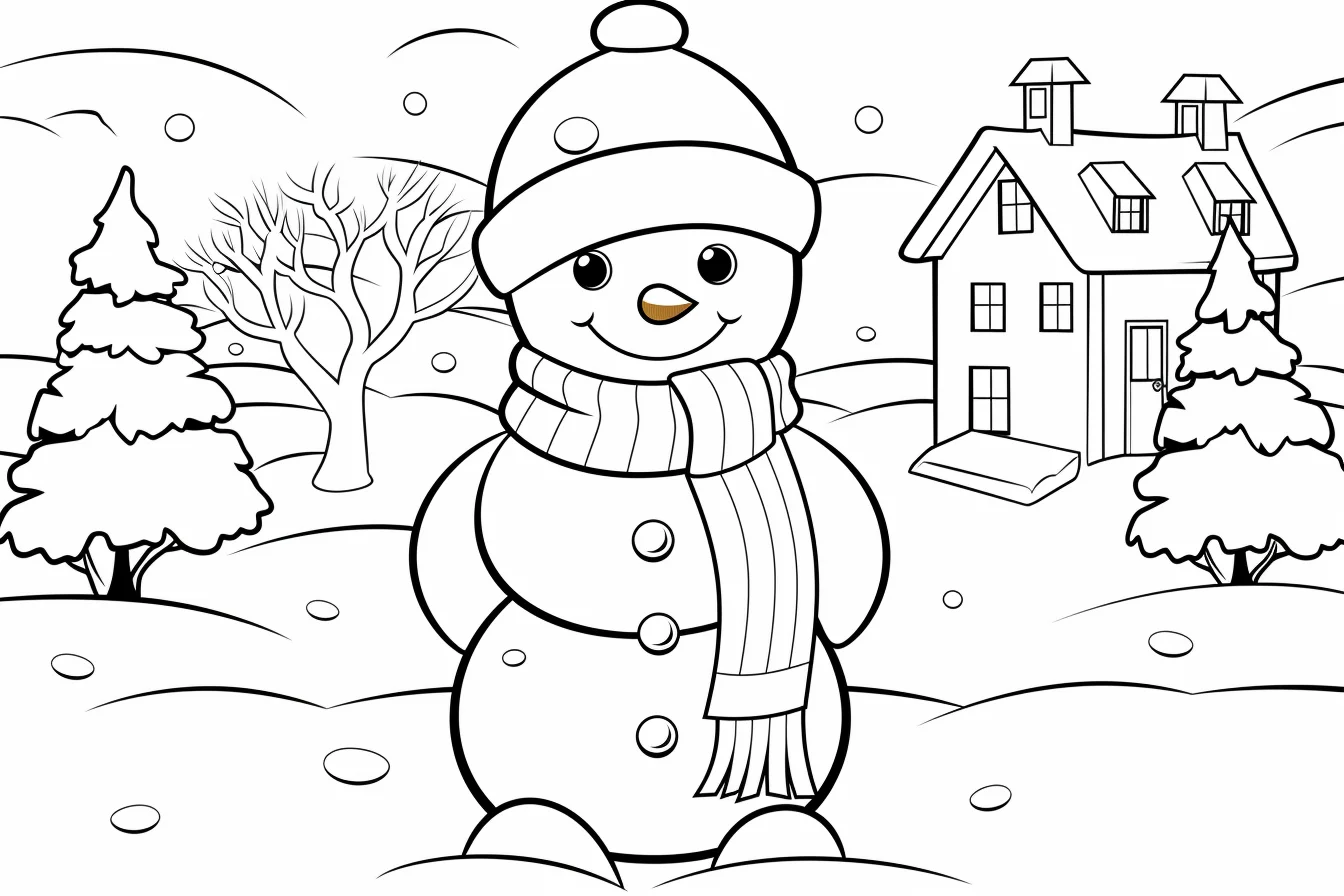
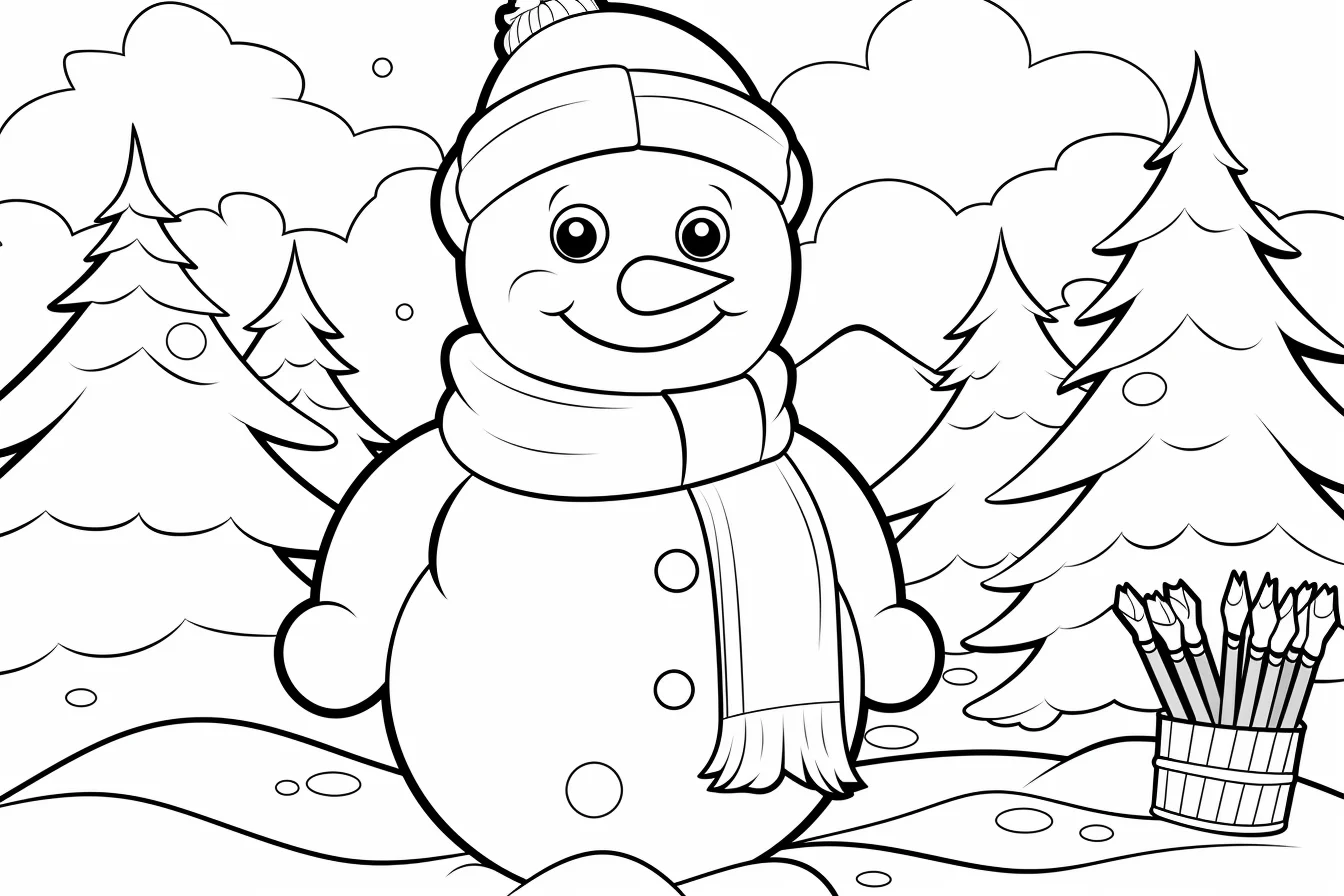
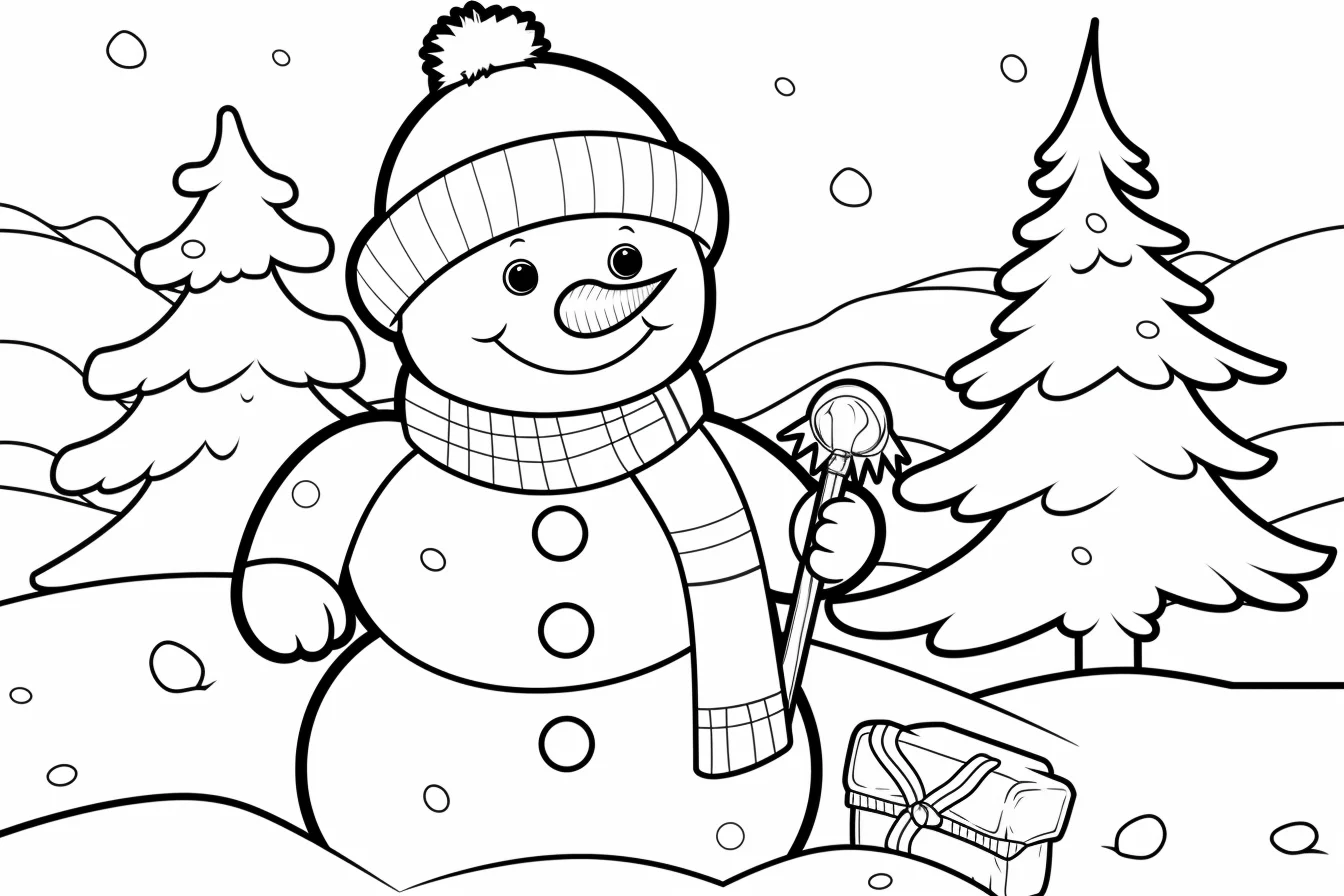
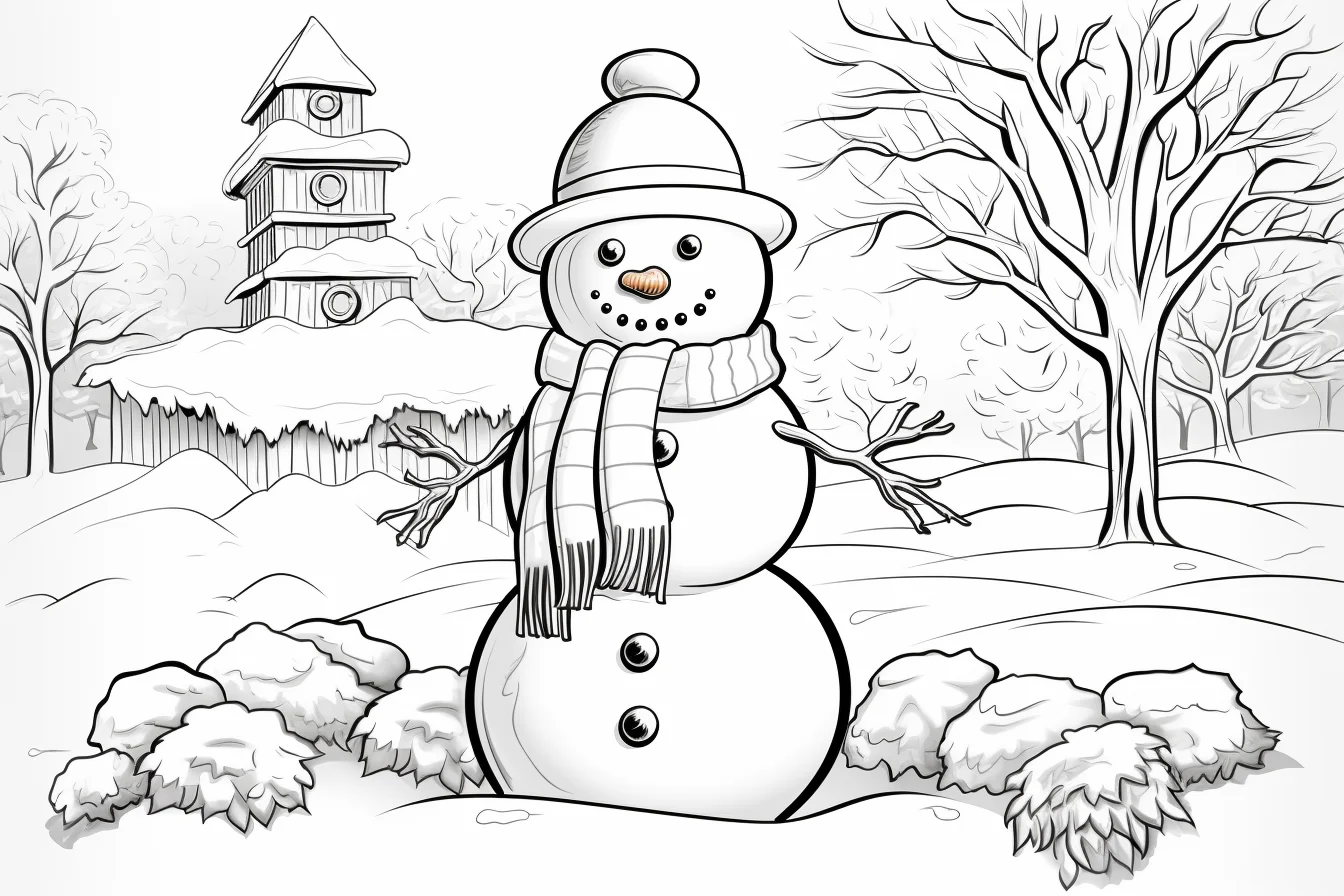
Choose a snowman page by difficulty
- Easy: choose large snowmen with simple hats, scarves and few background objects.
- Medium: add patterned clothing, snowflakes or a simple winter landscape.
- Detailed: use colored pencils for smaller decorations and layered background elements.
For a snowy look, avoid filling every white area. Add only light blue-gray shadows around the edges and beneath overlapping objects, then use brighter colors for the accessories.
How to color white snow without leaving it flat
White is the main challenge on a snowman page. If every snowball is left untouched, the figure can disappear into the paper; if the whole body is colored blue, it stops looking white. Instead, treat the paper itself as your lightest color.
- Leave the center white. Keep most of each snowball untouched.
- Pick one shadow side. Use pale blue, blue-gray or very light violet along the same side of the head and body.
- Darken contact points slightly. Add a little more color under the hat brim, beneath the scarf, around the buttons and where one snowball overlaps another.
- Fade inward. Pressure should become lighter as the shadow moves toward the white center.
This works especially well with colored pencils because you can build the shadow gradually. With crayons, use the side of the crayon and very light pressure. With markers, choose the palest cool tone you have and make fewer strokes; trying to blend repeatedly can soak ordinary printer paper.
A two-minute snow-shadow test before you start
Before shading the actual snowman, make three small pencil swatches in a margin or on scrap paper: one with barely any pressure, one with two light layers, and one slightly darker. Hold the page at arm’s length. The middle swatch should be visible without reading as a blue patch. Use that pressure for most outer curves; reserve the darker swatch for the narrow contact shadows under the hat, scarf and between stacked snowballs.
Then test the direction on one body section only. Shade a narrow crescent along one side and fade it toward the untouched center. If the snowball still looks white from a distance but gains a rounded edge, the value is right. If your eye notices the blue before the snowman, erase or lighten it before repeating the technique elsewhere. With markers, do this test on the same paper you plan to print on because absorption can turn a pale marker much darker than expected.
A three-page practice progression
If a child is learning to control color rather than simply filling every shape, use three different pages from this set as a mini progression:
- Page 1 — clean edges: choose a large, simple snowman and concentrate on staying inside the hat, scarf, nose and buttons. Leave the body mostly white.
- Page 2 — simple shadows: add one pale shadow edge to each snowball. Keep the direction consistent so the head and body feel like one figure.
- Page 3 — foreground and background: choose a fuller winter scene. Make the snowman’s accessories stronger and more saturated than distant snowflakes or scenery so the character remains the focal point.
Snowman coloring problems and quick fixes
| What looks wrong | Likely cause | Try this |
|---|---|---|
| The snowman disappears into the paper | There is no edge contrast | Add a thin pale blue-gray shadow to one side and beneath overlapping sections. |
| The snow looks blue instead of white | Too much of the body was filled | Keep roughly three quarters of each snowball uncolored and reserve blue for edges and shadows. |
| The face is hard to notice | Hat and background colors are competing with it | Darken the eyes and mouth, strengthen the orange nose, and simplify nearby colors. |
| The page feels too busy | Every detail has equal contrast | Use your brightest colors on the scarf and hat; make background details lighter or repeat fewer colors. |
| Crayon coverage looks patchy | Heavy pressure was used immediately | Build two or three light layers in different stroke directions instead of one hard layer. |
| Marker shadows have hard streaks | The area was worked repeatedly while drying | Use one pale marker pass for snow shadows and save darker markers for small accessories. |
Four winter palettes that work
- Classic: red scarf, forest-green hat, orange carrot nose and cool blue-gray shadows.
- Frosty: icy blue, lavender, silver-gray and a small amount of navy for contrast.
- Warm winter: burgundy, mustard, deep green and brown against very pale blue snow shadows.
- Candy: pink, turquoise, purple and coral. Keep the snow itself nearly white so the brighter accessories do not overwhelm the figure.
You do not need a different color for every object. Repeating two or three accessory colors across the scarf, hat, mittens and background decorations usually makes a finished page look more intentional.
Snowman coloring page FAQs
What color should I use to shade a white snowman?
Pale blue-gray is the easiest choice, but light violet or a very soft cool gray also works. Put the shadow near edges, under clothing and between stacked snowballs rather than filling the entire body.
Which pages are easiest for preschoolers?
Start with the snowmen that have large body sections, thick outlines and only a few accessories. Pages with many snowflakes, patterned clothing or scenery require more control and are better saved for later.
Should the background snow be colored too?
Not necessarily. Leaving large areas of snow white gives the eye somewhere to rest. A few pale shadows, a colored sky, or small background accents can separate the snow from the blank paper without filling every inch.
What should I color first?
Start with the small, recognizable features—the carrot nose, buttons, hat and scarf—then decide where the snow shadows belong. Coloring the background last makes it easier to judge how much contrast the snowman still needs.

