
Orca coloring pages look simple until the black marker comes out. The animal has huge dark areas, but the white eye patch, saddle patch and underside are what make an orca instantly readable. On these 27 sheets, the easiest pages keep those shapes broad; the mandala and realistic pages demand much more control around the markings and fins.
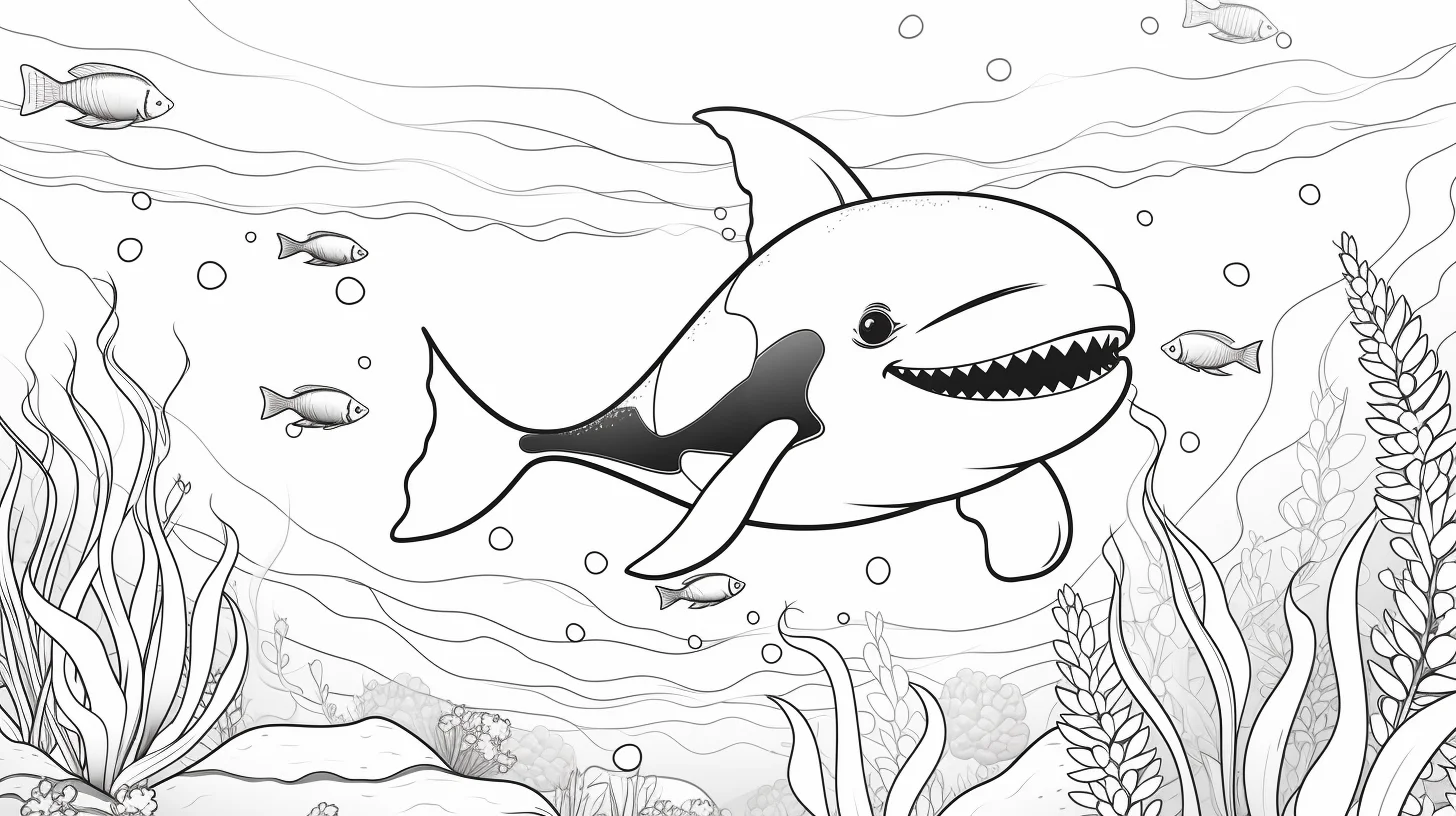
Do this 60-second test before you color an orca
Orca pages punish one mistake more than most animal sheets: filling the black areas too early. Before you commit to a page, use a scrap of paper and the tool you plan to color with.
- Check the smallest white marking. Put the marker or pencil tip beside the eye patch and narrow edges of the underside. If the tip is nearly as wide as the space you need to preserve, choose a broader, easier sheet or switch to a sharpened pencil.
- Make three dark swatches. Try medium blue-gray, very dark blue-gray and true black. If you can still tell them apart at arm’s length, you have enough range to model the back and fins without turning the whale into one flat shape.
- Protect the face first. Lightly mark the borders of the eye patch and nearby white areas before filling anything dark. These small shapes carry much of the orca’s identity, so losing one changes the whole drawing.
- Test the water beside the body. Place a turquoise or pale blue swatch next to your darkest black. If the silhouette stays crisp, the pairing works. If both values feel equally heavy, lighten the water immediately around the whale.
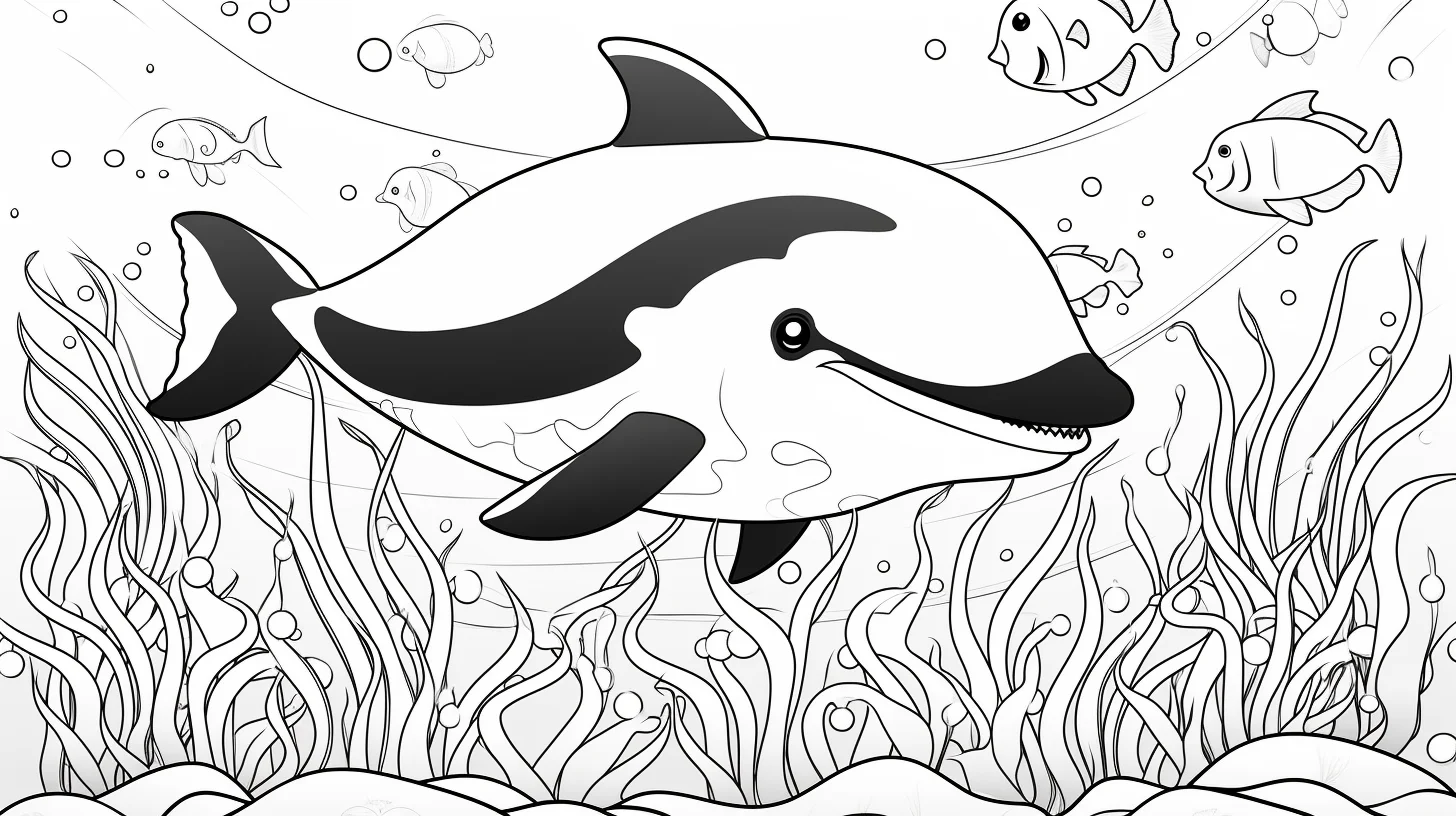
For preschoolers: skip the three-value test. Keep every printed white patch uncolored, use one black or dark-gray tool for the body, and let the child choose the ocean color. That gives a recognizable result without turning the activity into precision work.
Choose an orca page by difficulty
| If you want… | Start here |
|---|---|
| Easy pages for kids or preschoolers | Sheets 1–8 |
| General printable orcas and killer whales | Sheets 9–17 |
| Mandala-style orcas | Sheets 18–20 |
| Realistic or slower-detail pages | Sheets 21–27 |
Protect the white patches before adding black
Do the light areas first. Leave the belly and facial patches white, or add only a whisper of cool gray along one edge. Then fill the black body around them. This is much easier than trying to recover a clean white patch after a dark marker has crossed the line.
If you are using colored pencils, the darkest body areas do not need to be pure black everywhere. A very dark blue-gray along the upper body can preserve fin and back contours, while true black can be saved for the deepest areas. That tiny value shift keeps the orca from becoming one flat silhouette.
Use the water for color, not the whale
A pale turquoise or blue-green close to the body, deepening toward the edge of the page, gives the animal separation without changing its natural markings. On a cartoon page, brighter water is fine. On realistic sheets, keep the ocean quieter and use bubbles, waves or distant water as secondary detail.
A simple orca-coloring order
- Mark the areas that will stay white.
- Add pale gray only where you want soft shadow on those white sections.
- Color the main black or dark blue-gray body.
- Finish fins, eye area and the edges of the saddle patch.
- Color the water last so you can adjust its darkness around the finished whale.
Three-page practice method: from clean shapes to realistic depth
If you want to improve rather than simply fill several sheets, use three different pages as a short practice set. On the first easy orca, concentrate only on keeping the white markings clean against the dark body. On a second, more detailed sheet, replace a single flat black with two dark values: blue-gray for the lit side and black for the deepest shadow. On a realistic sheet, add the ocean last and use the background to strengthen the silhouette instead of outlining the whale.
This progression isolates one problem at a time. It is especially useful with colored pencils because you can see whether the animal reads clearly before spending time on waves, bubbles or scenery.
Fix common orca-coloring problems
| Problem | What usually caused it | Try this |
|---|---|---|
| The orca looks like a flat black shape | The entire body has the same value | Use dark blue-gray on the upper or lit surfaces and reserve true black for the deepest areas. |
| The white patches look dirty | Dark pigment crossed into them or gray was applied too heavily | Color the white areas first and limit shading to one pale cool-gray edge. |
| The fin disappears into the body | Body and fin are equally dark | Leave a narrow value change where the fin overlaps the body instead of drawing a heavy outline. |
| The whale disappears into the ocean | The water immediately around it is too dark | Keep a lighter band of turquoise or pale blue beside the silhouette, then deepen the water farther away. |
| Black marker looks streaky | Large areas were repeatedly scrubbed in different directions | Work in adjacent bands while the ink is still wet; on thin paper, switch to pencil for large dark areas. |
| The mandala page feels chaotic | Too many unrelated colors compete with the animal shape | Choose three to five colors, repeat them deliberately, and leave selected shapes white. |
Choose the medium before the page
Crayons are forgiving on Sheets 1–8 because the shapes are broad. Colored pencils are the best fit for realistic pages: they let you build a near-black body without losing contour. Markers give the strongest classic black-and-white contrast, but test them on spare paper first and place a sheet underneath to catch bleed-through. For the mandala orcas, fine-tip markers or sharpened pencils make the repeated internal shapes easier to control.
If you are coloring with a child, an easy way to make the page feel finished without adding complexity is to leave the orca natural and let the child choose the ocean colors. That preserves the recognizable markings while still giving plenty of room for imaginative color.
Printing
These sheets are landscape-oriented, so landscape mode is the natural first choice on A4 or US Letter paper. Open the full-size image and use “Fit to page” before printing. For more underwater pages, continue with the octopus coloring pages or the broader sea animal collection.
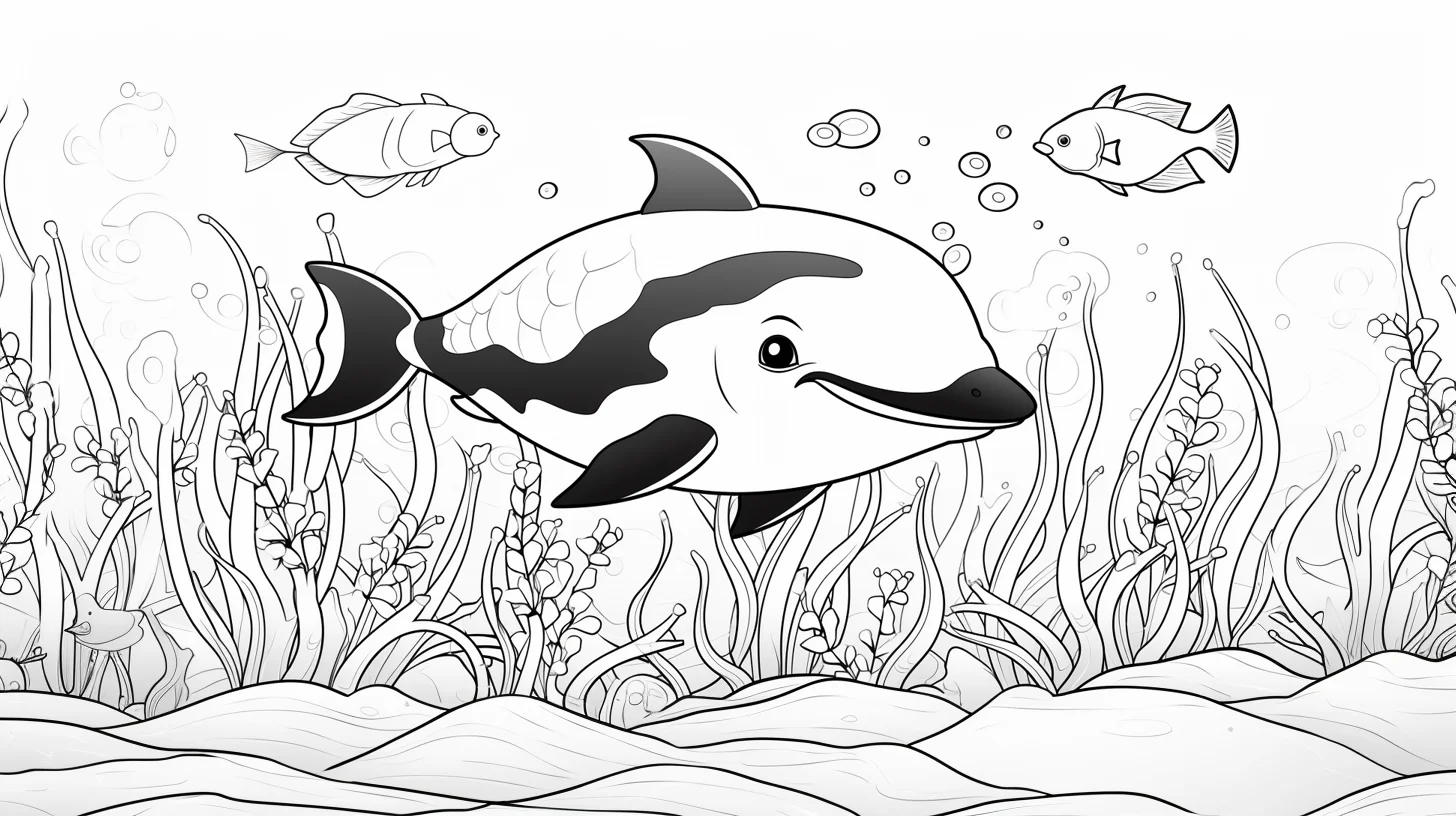
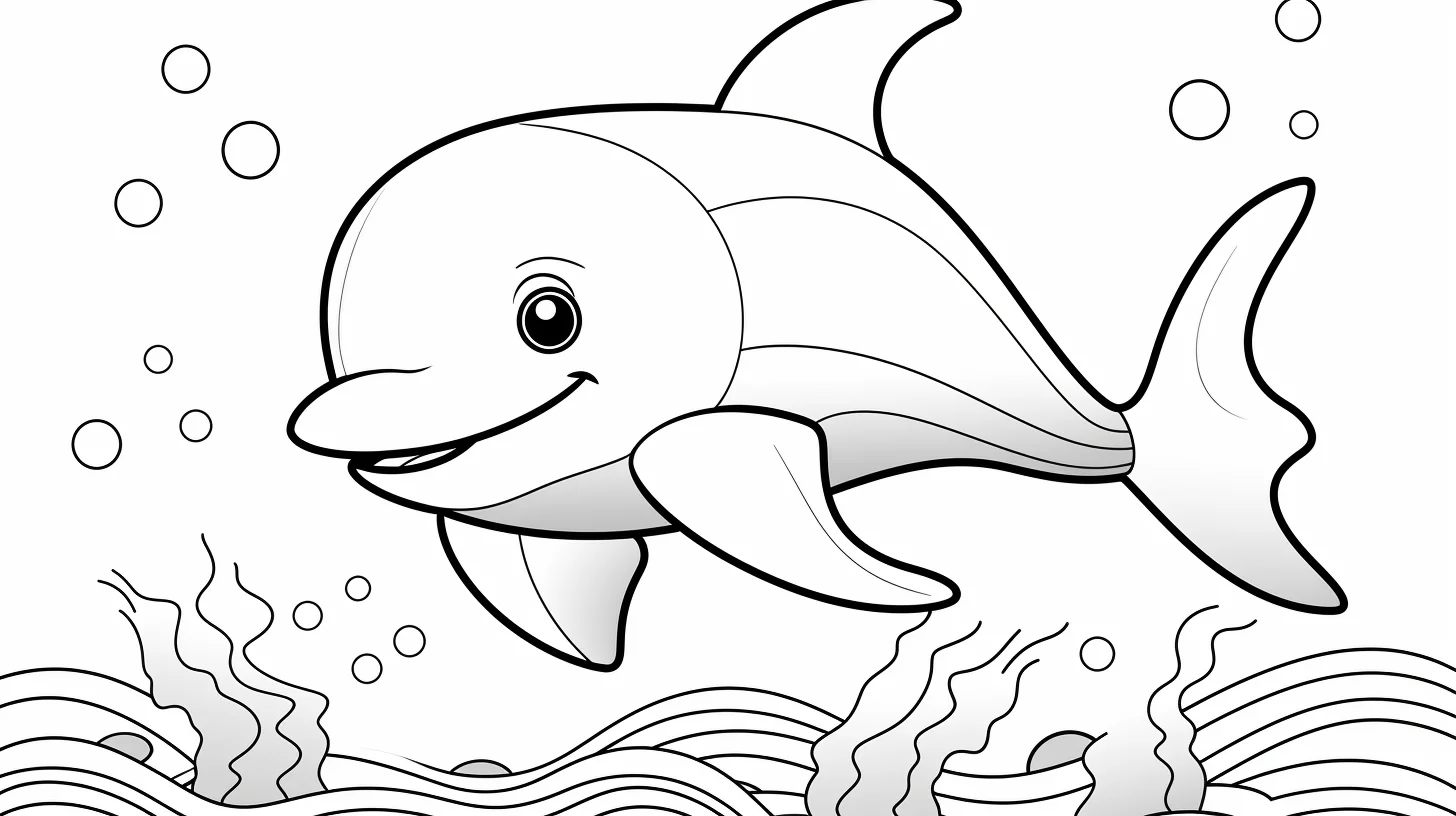
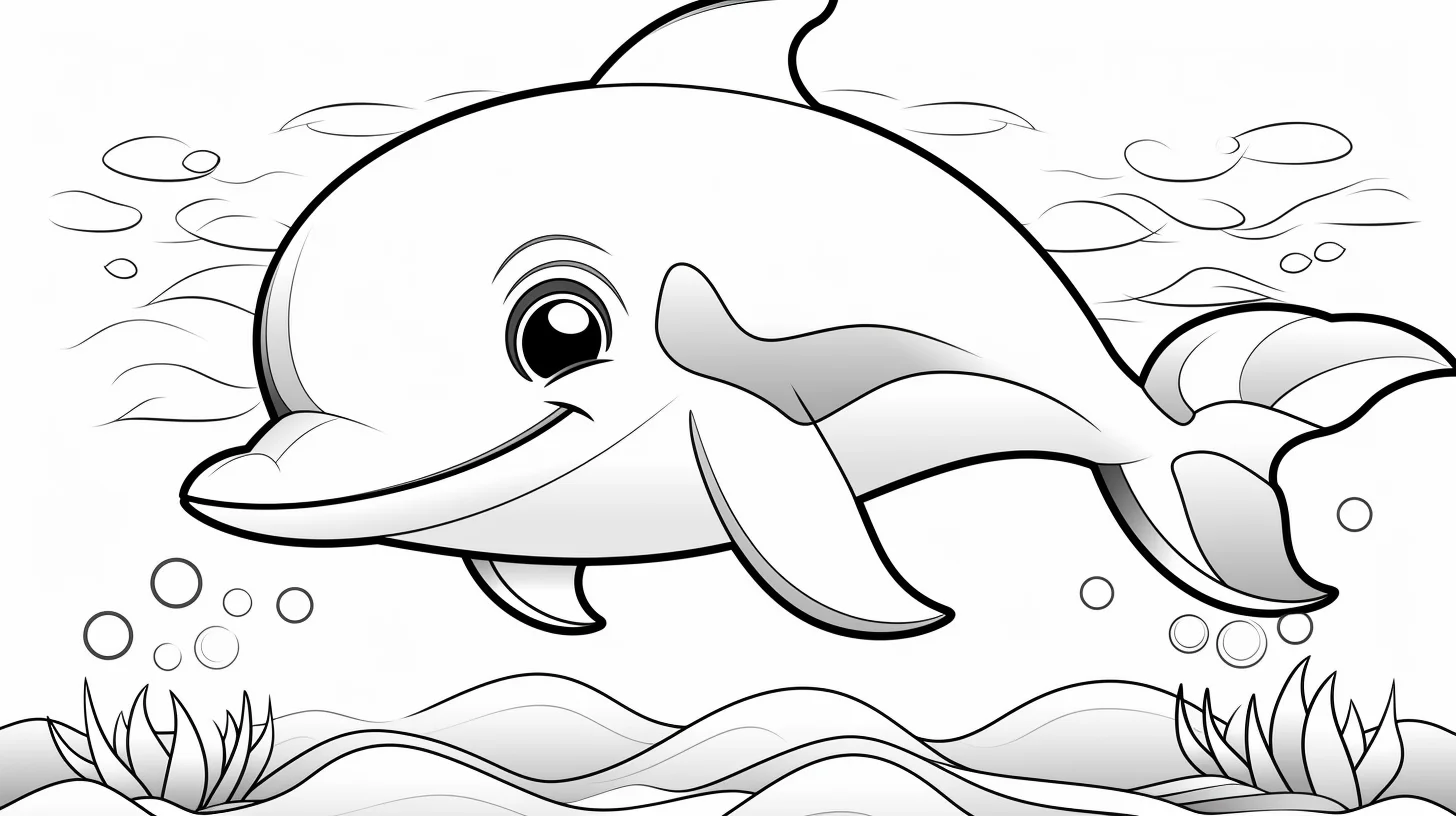
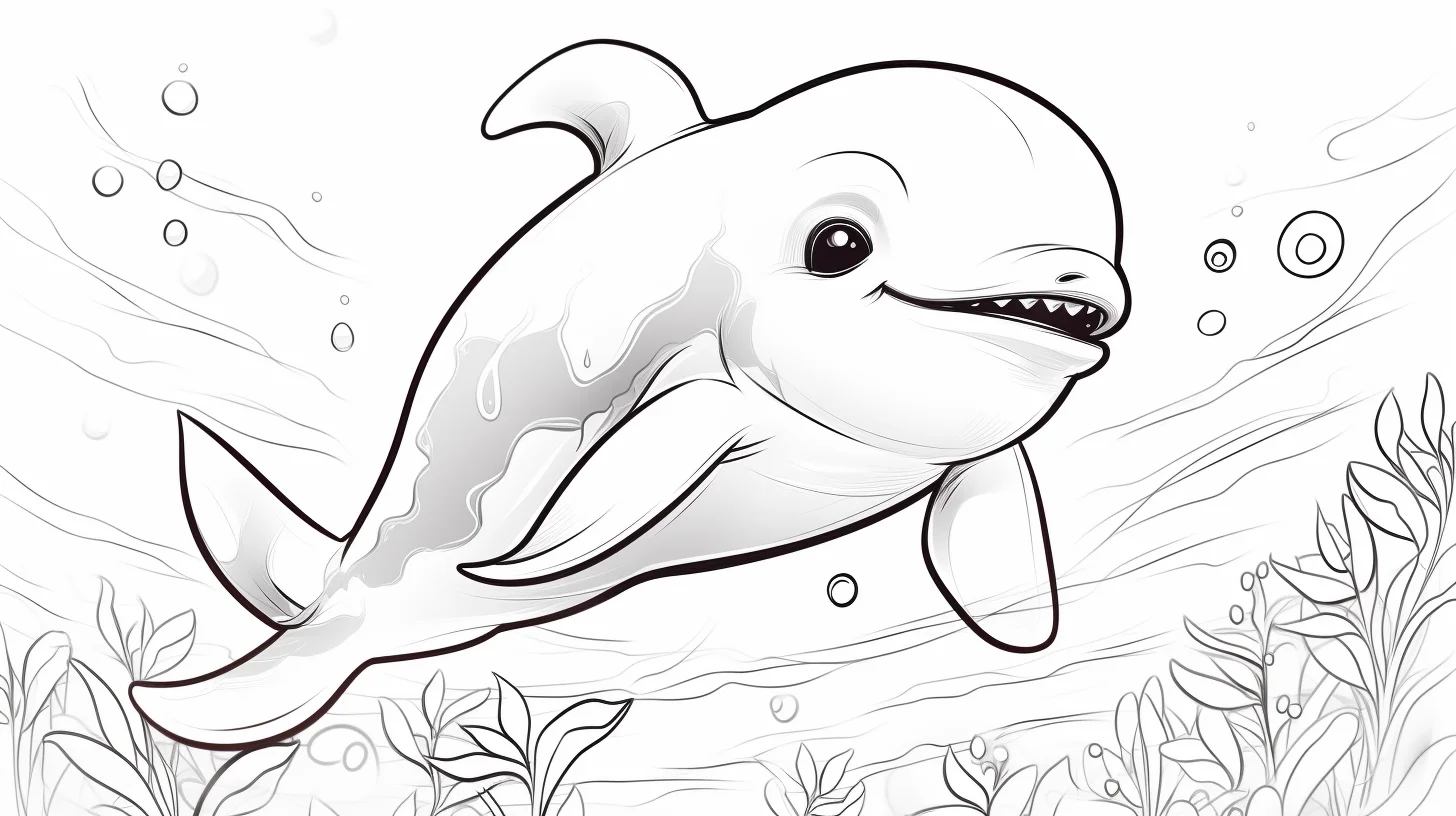
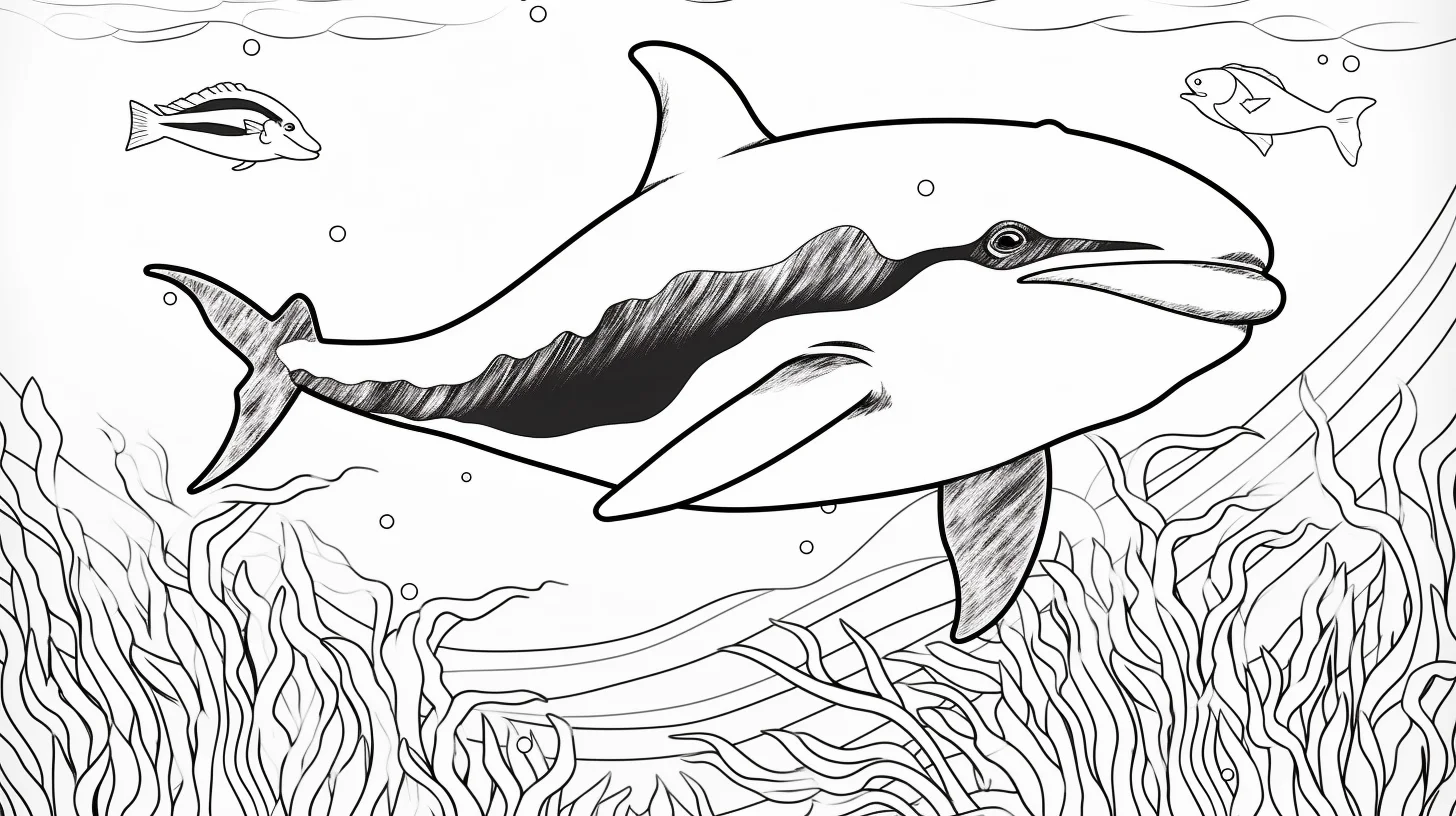
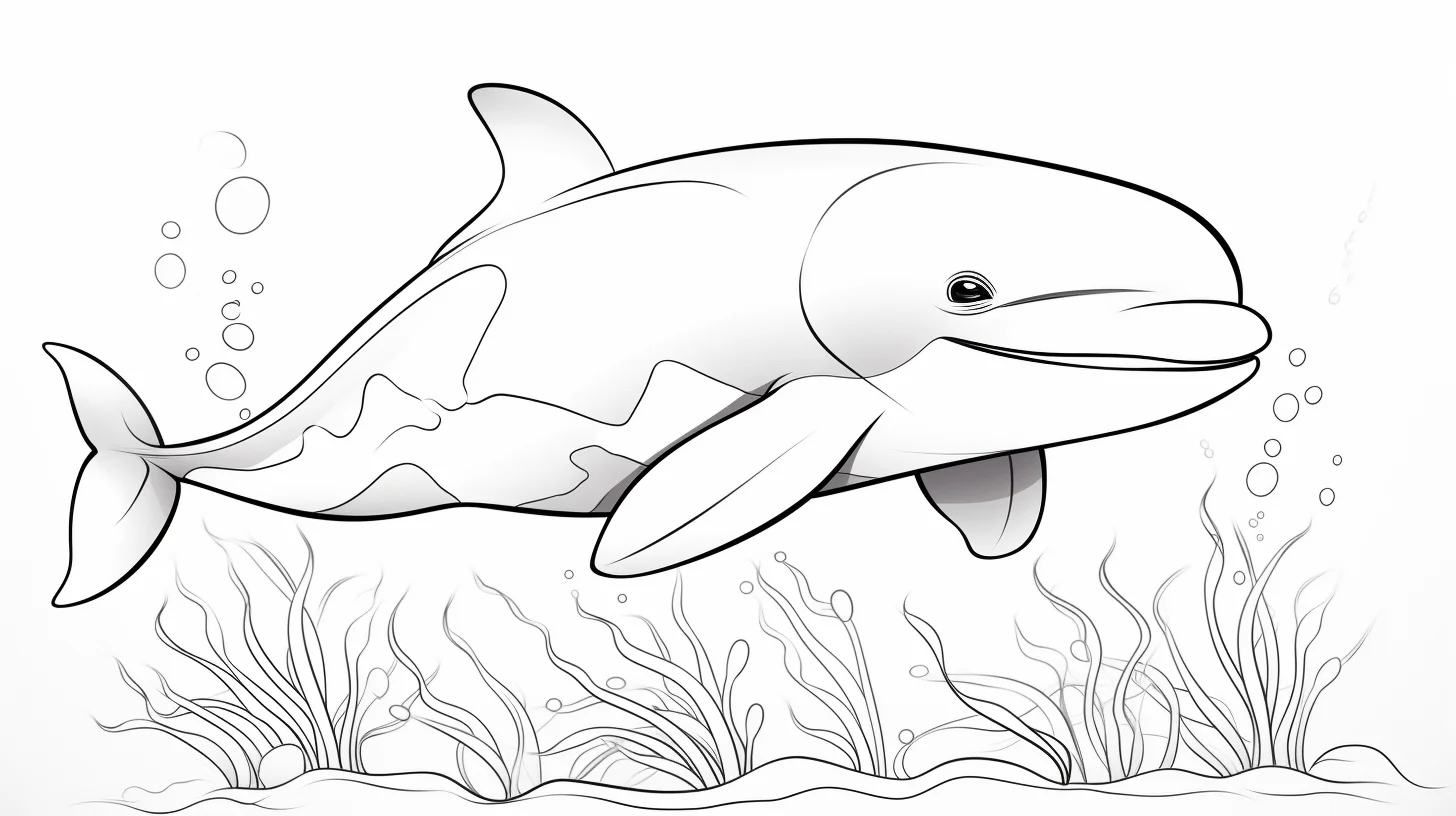
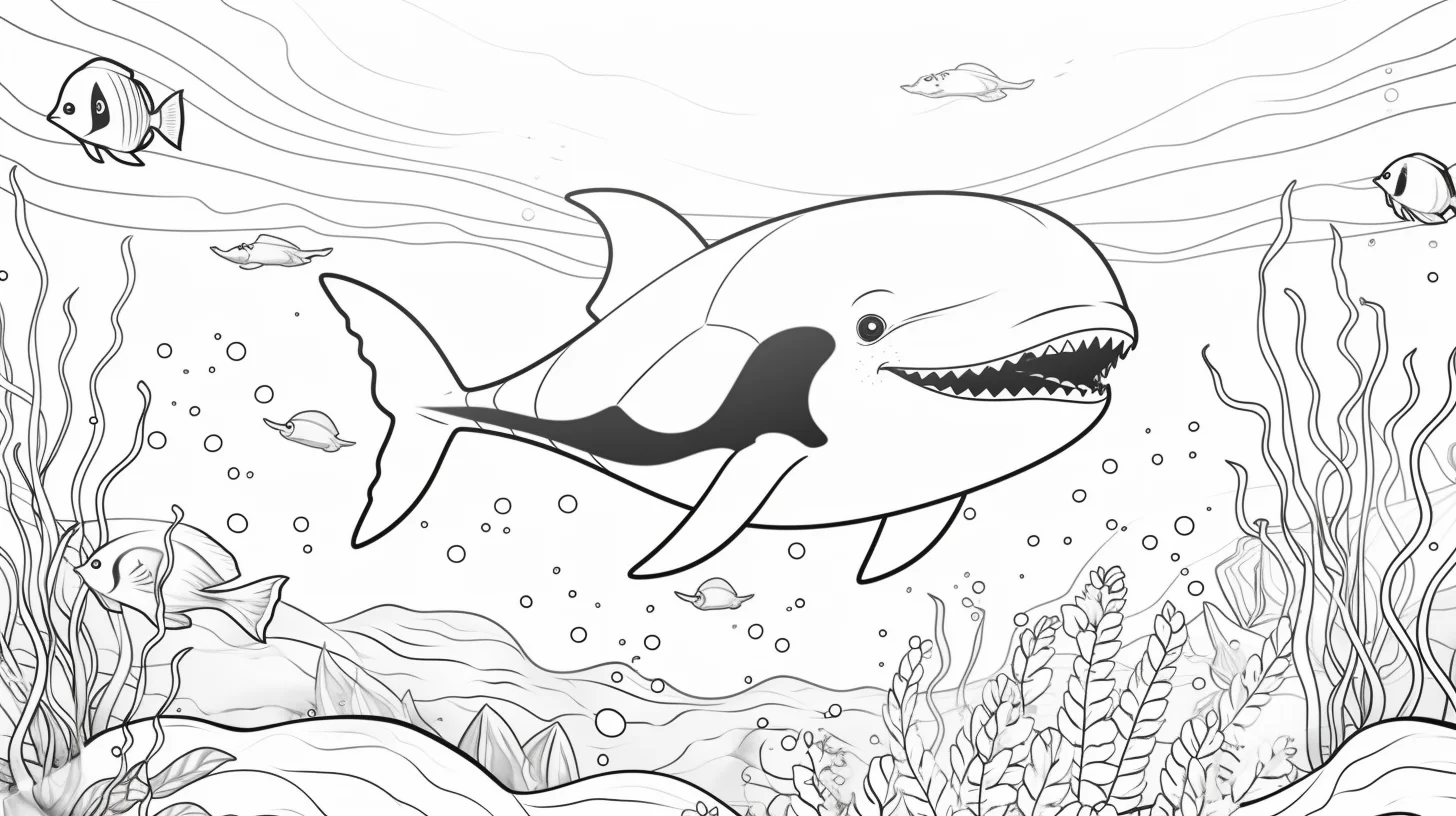
Easy orca pages for kids — Sheets 1–8
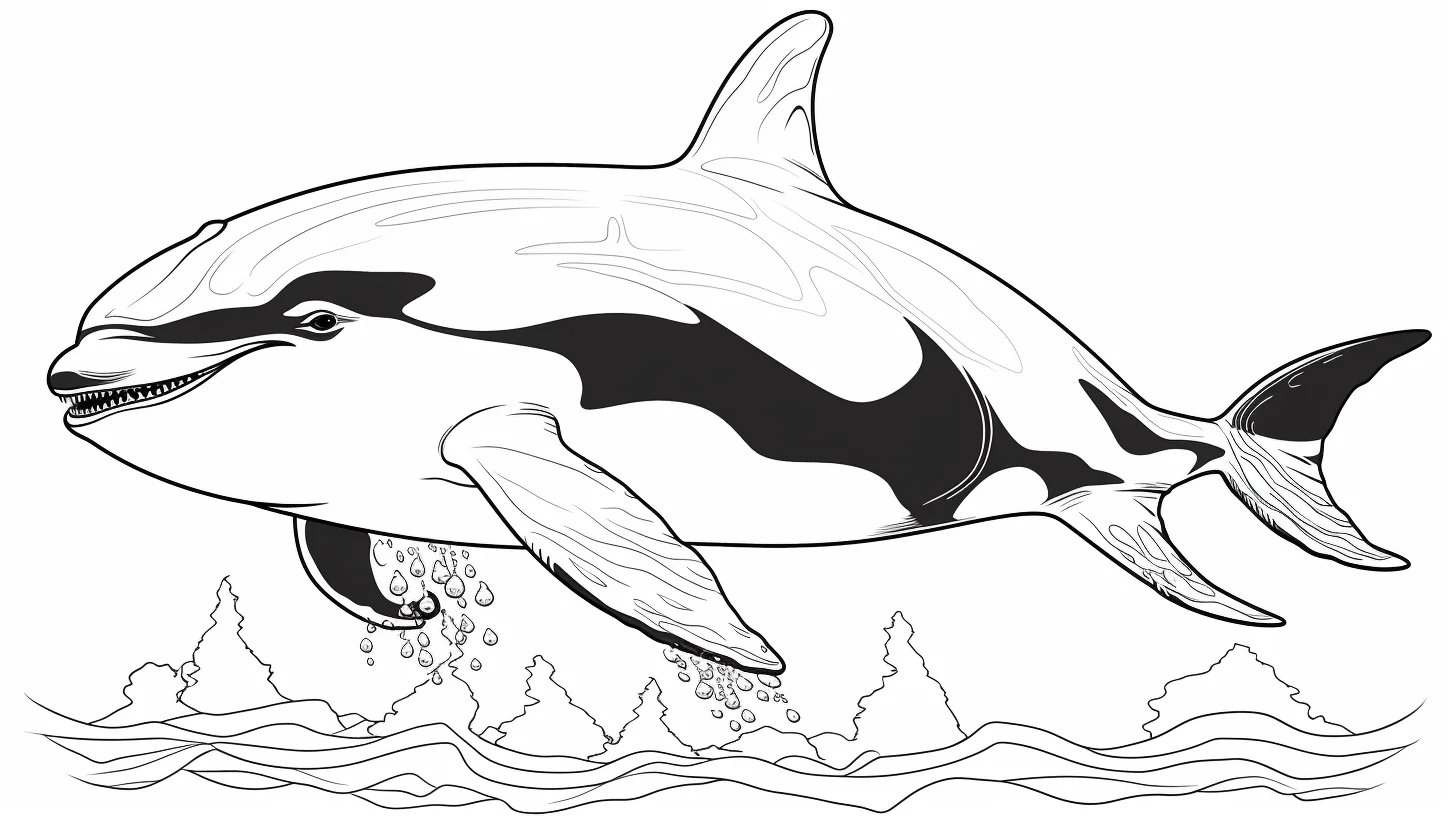
Start here for broad black-and-white shapes and fewer small details. These pages work best with crayons, broad pencils or washable markers.
General printable orcas — Sheets 9–17
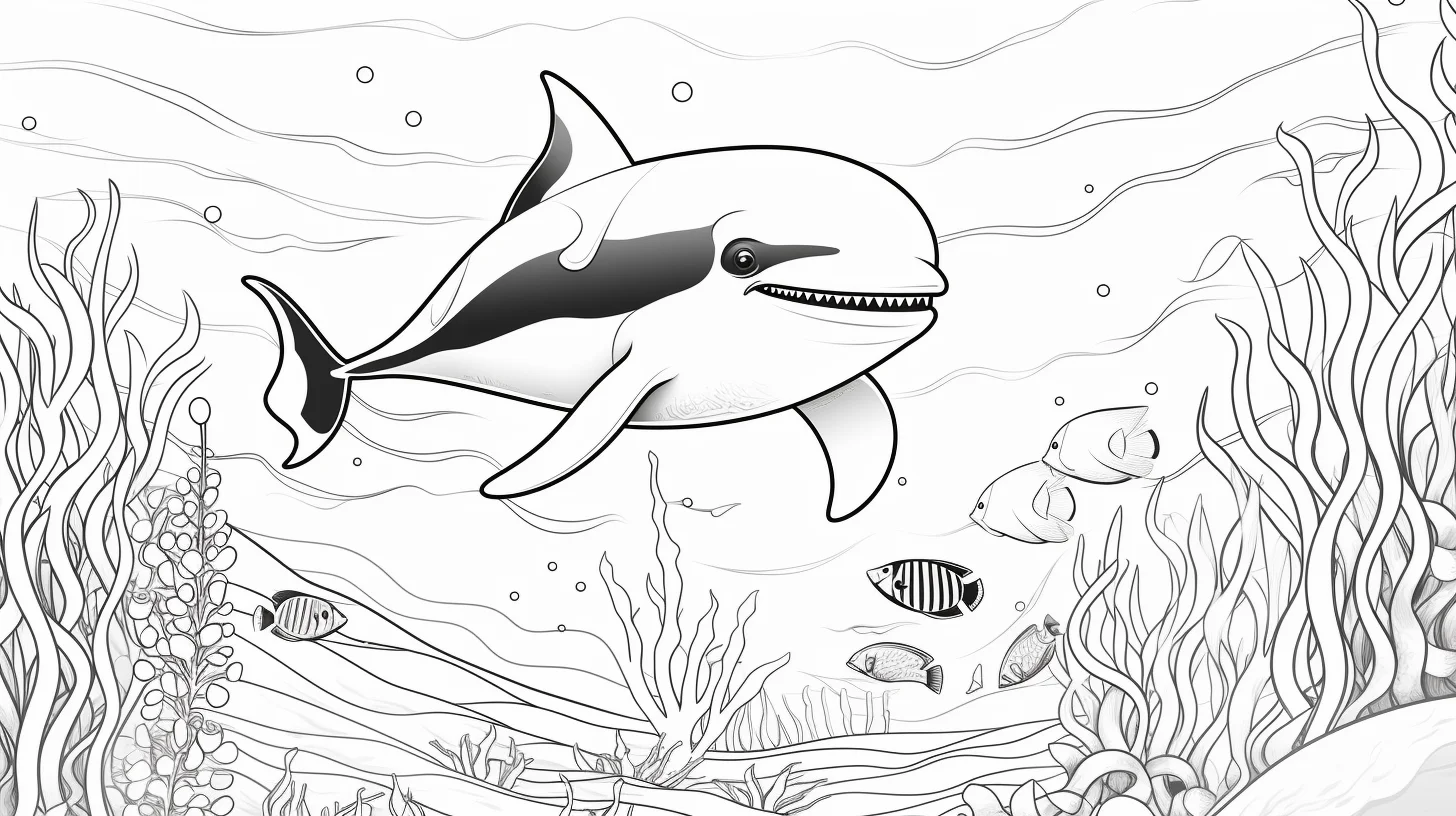
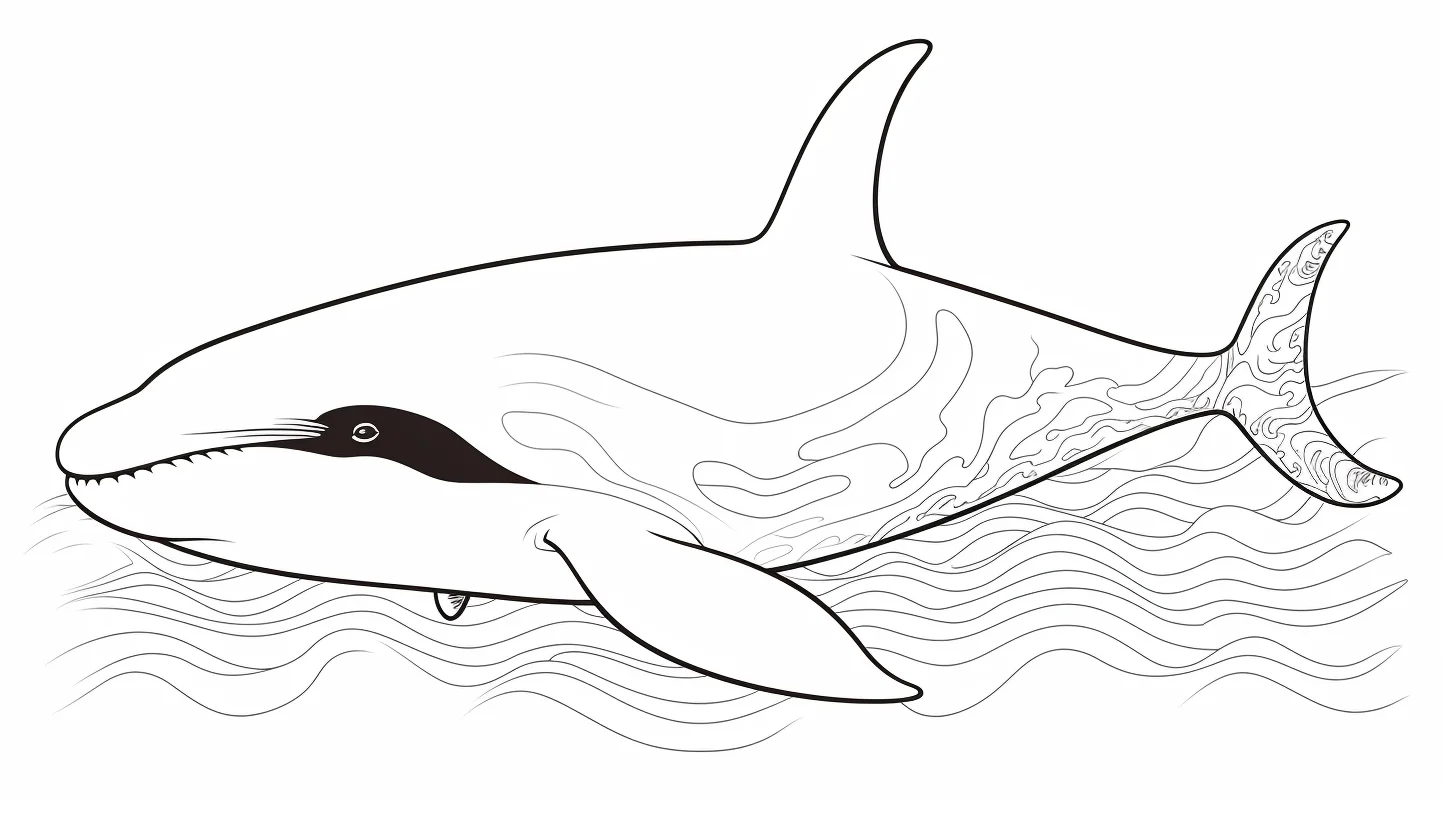
This middle group is useful when you want a straightforward killer whale without the preschool look or the extra internal patterning of the mandala pages.
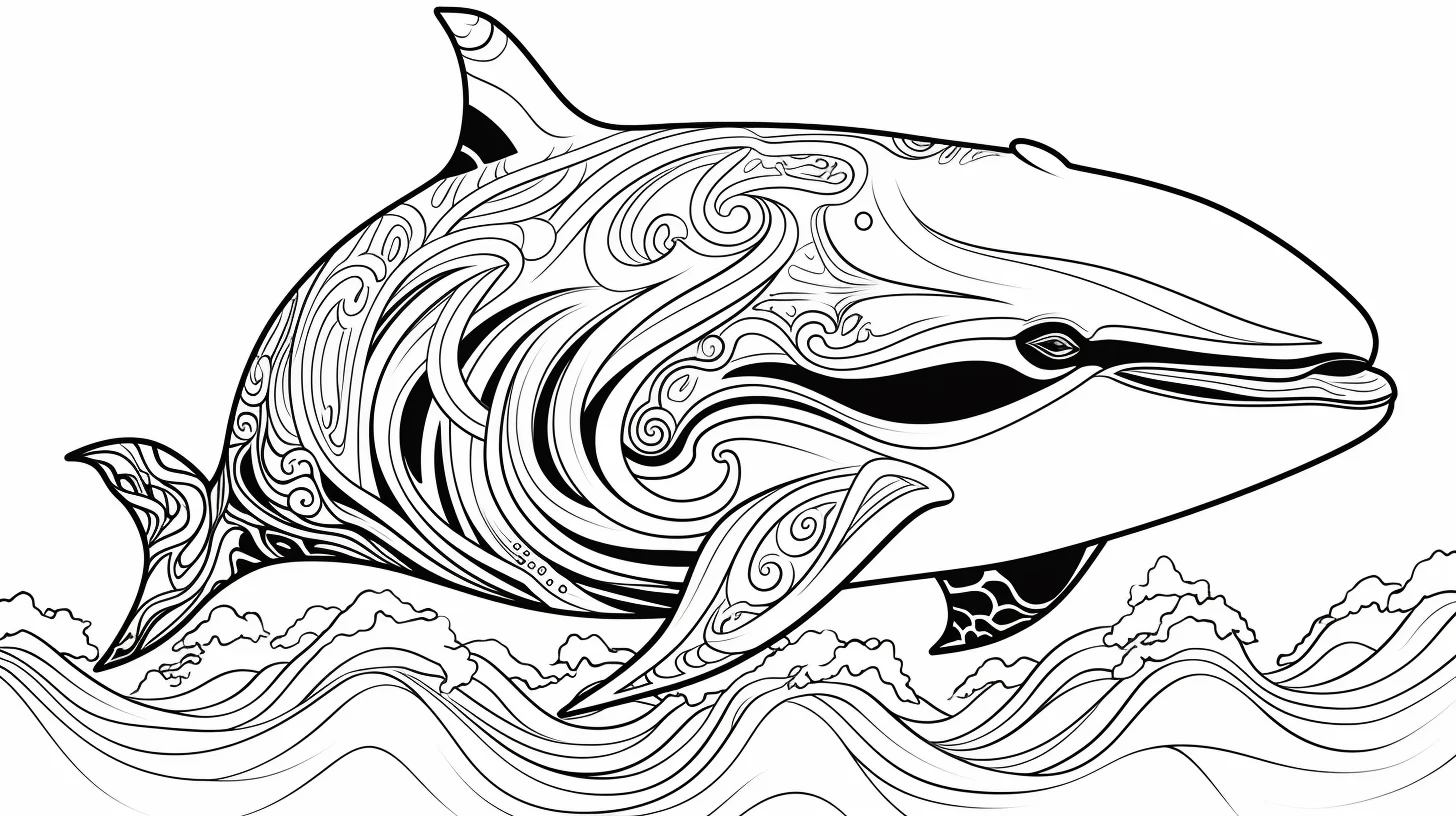
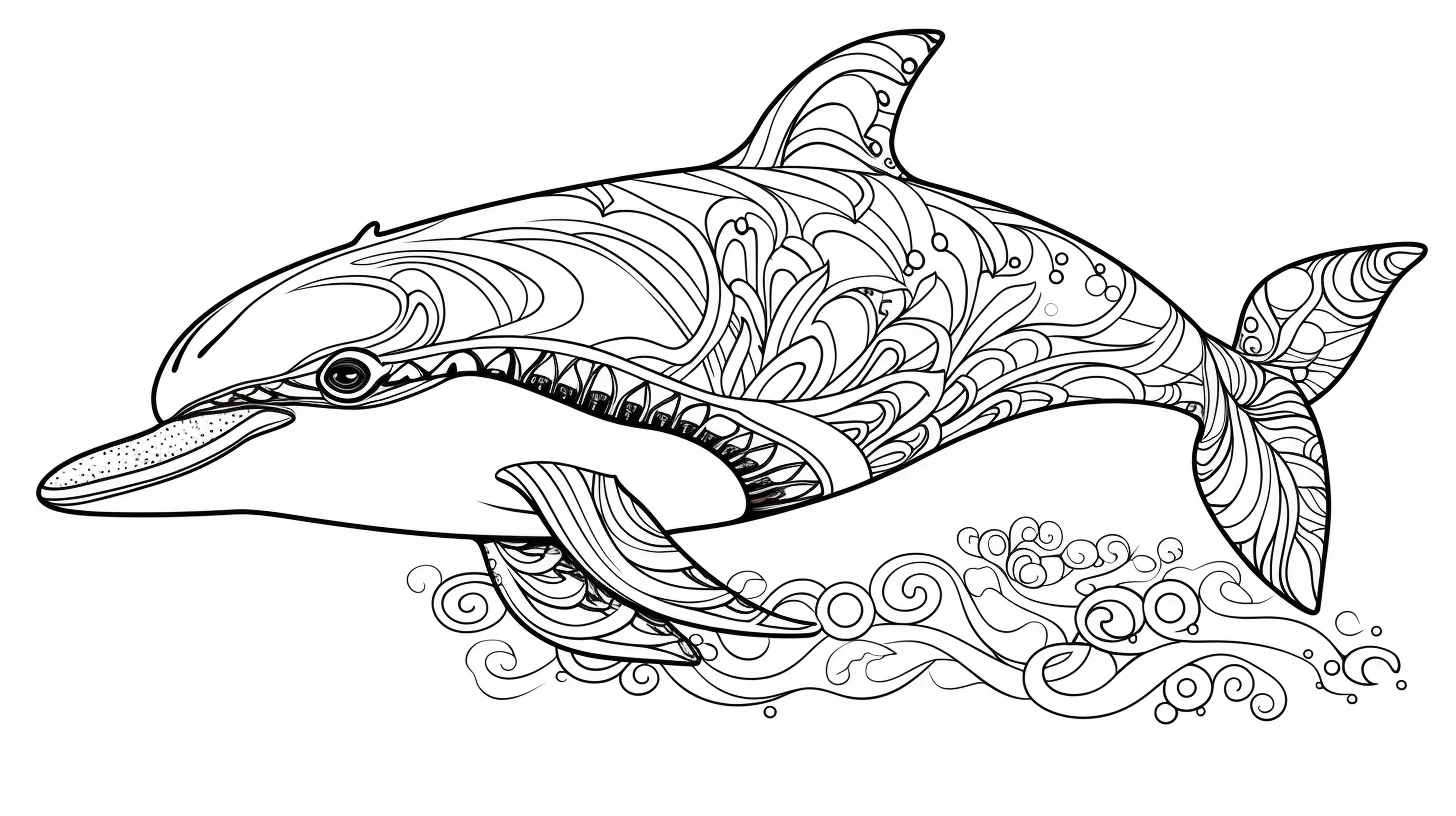
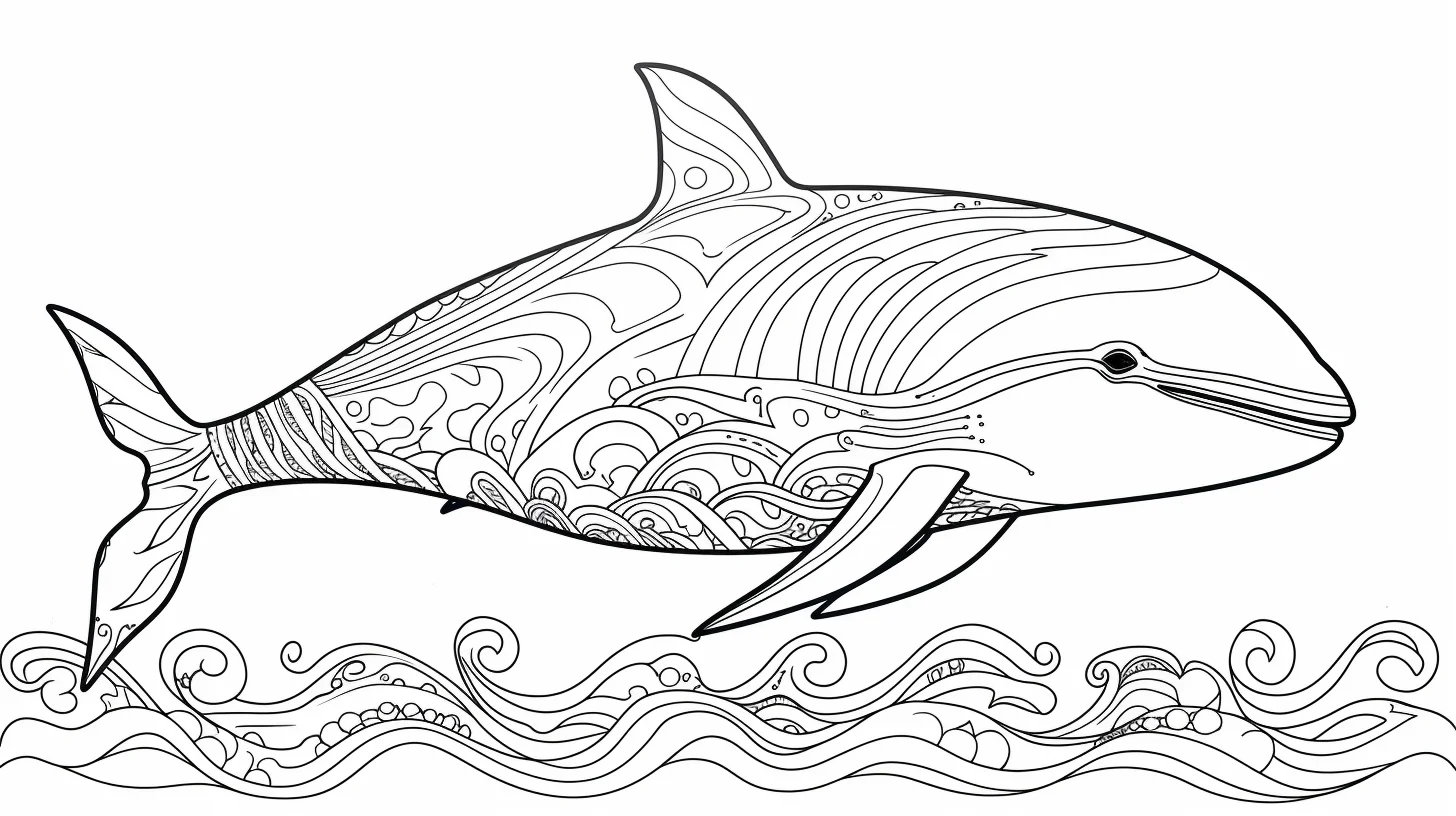
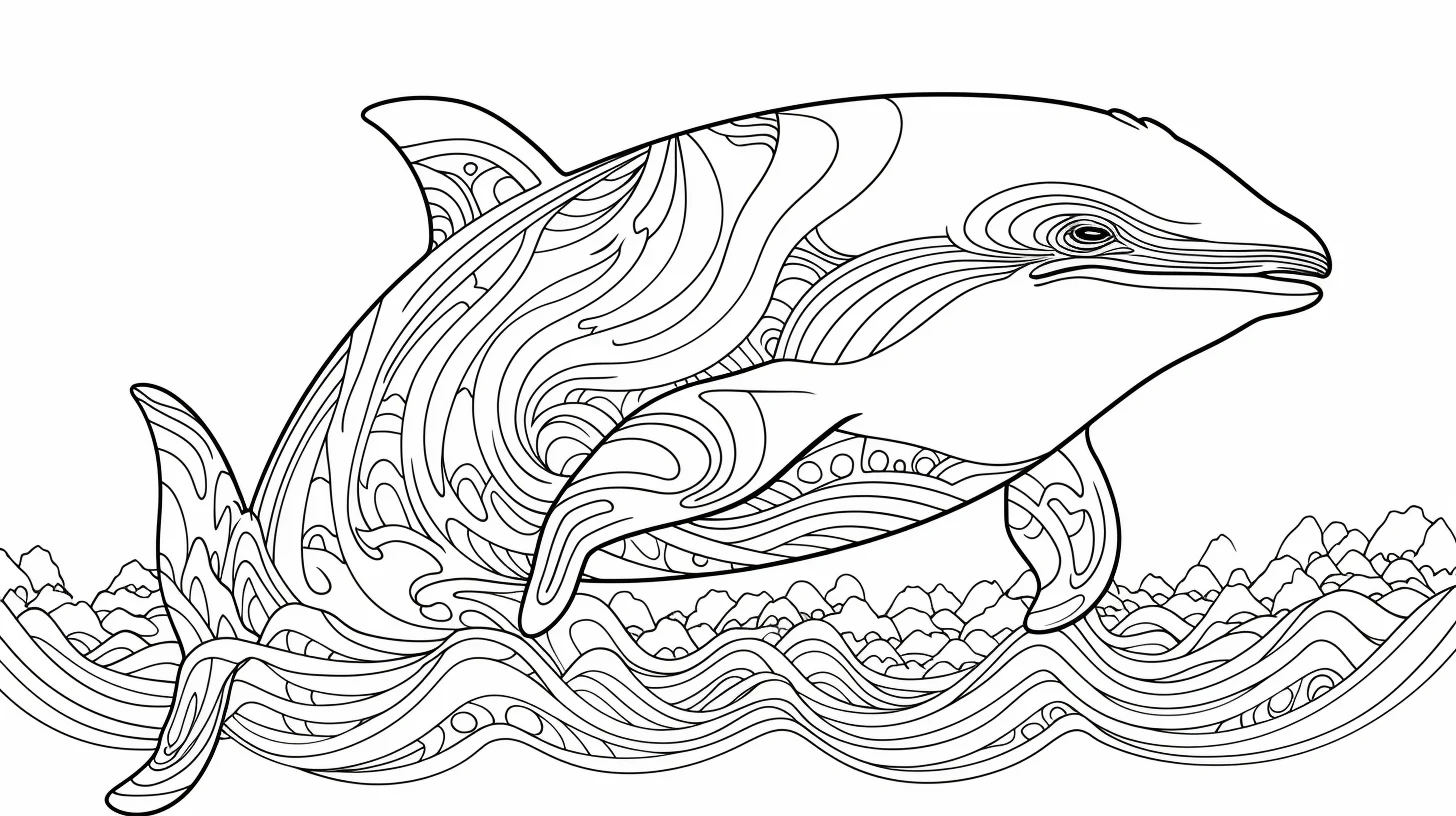
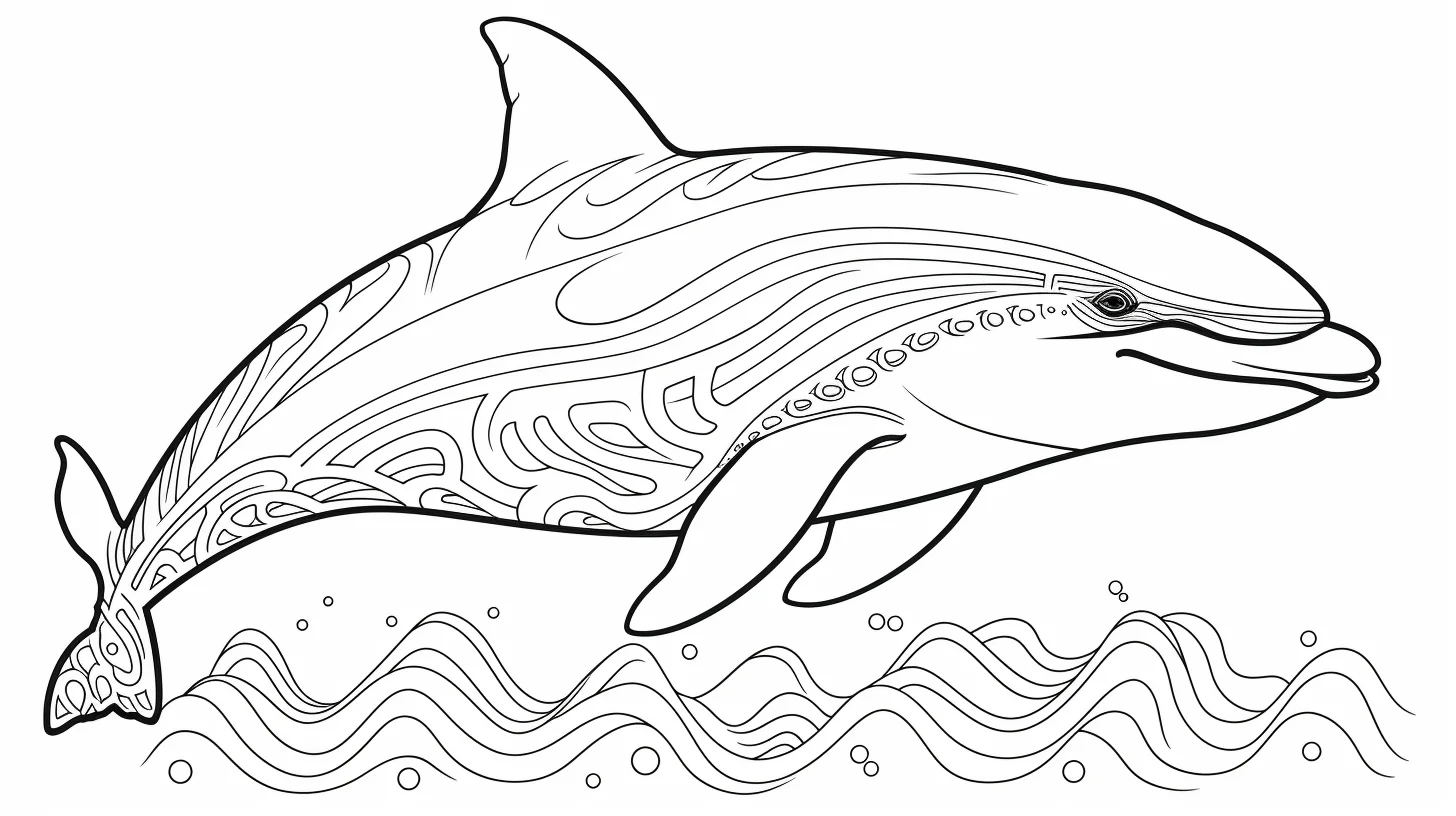
Mandala orcas — Sheets 18–20
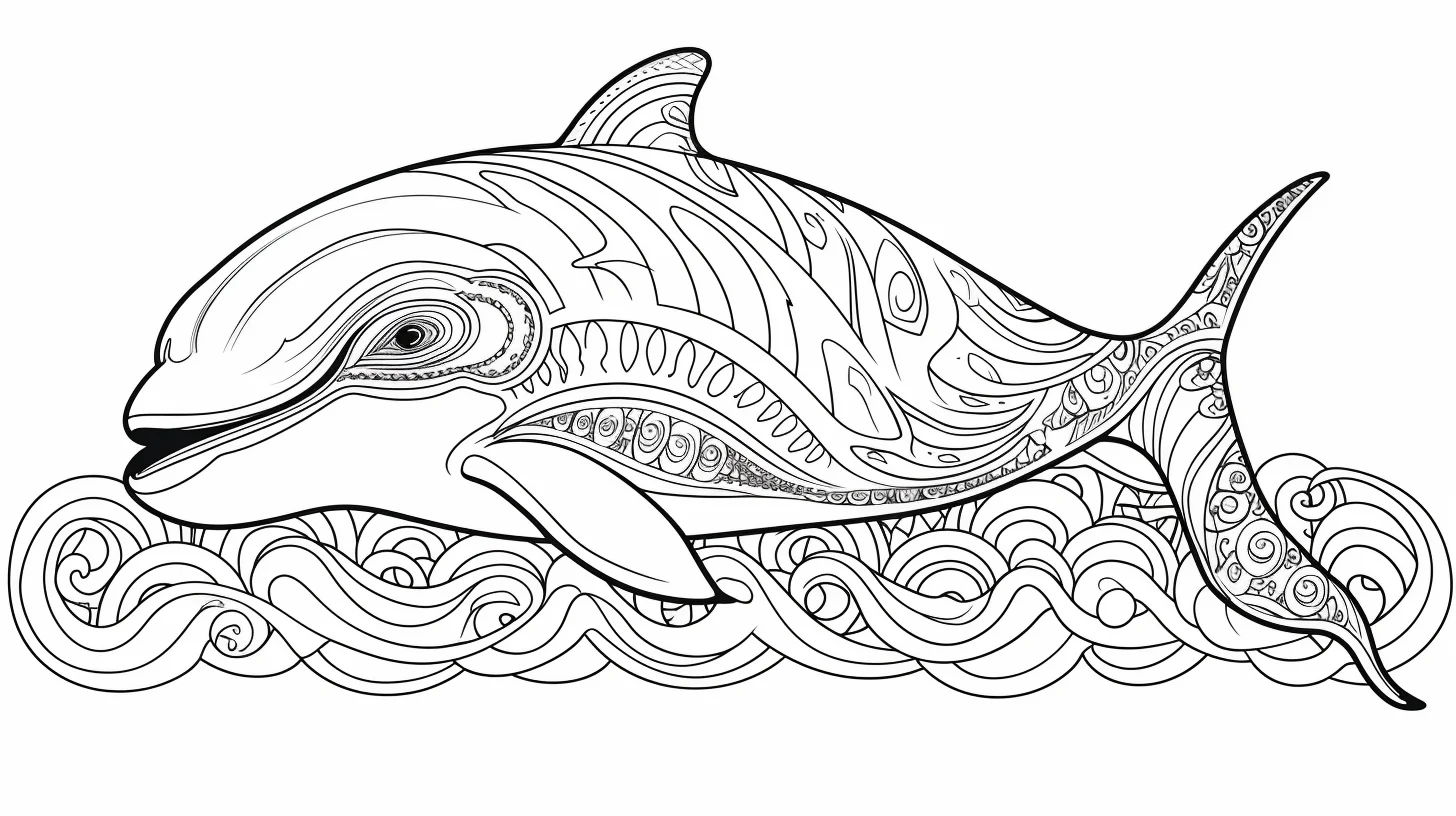
These three are pattern pages first and wildlife pages second. Pick three to five colors, repeat them through the internal shapes, and leave a few white sections so the black-and-white orca identity does not disappear completely.
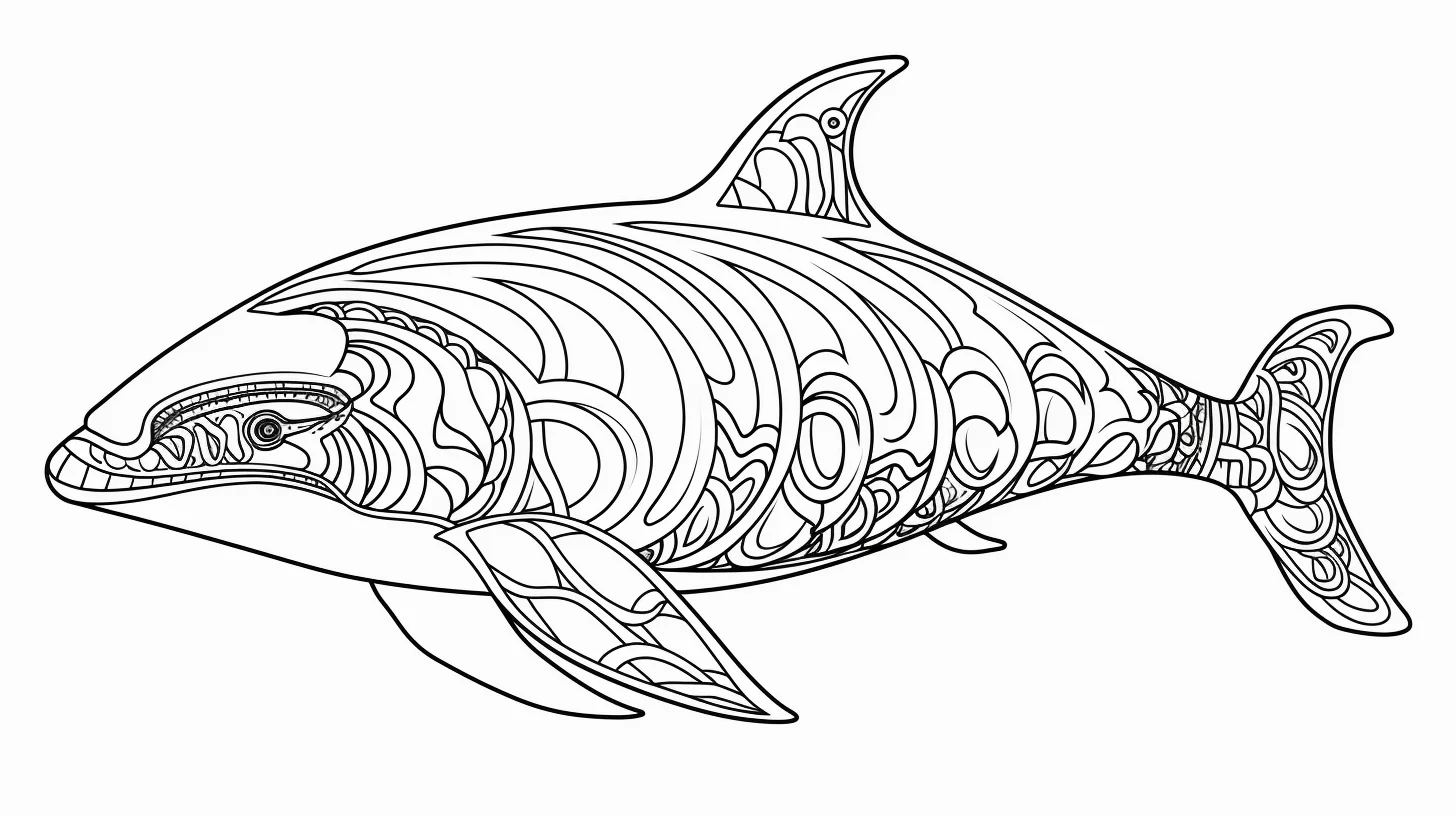
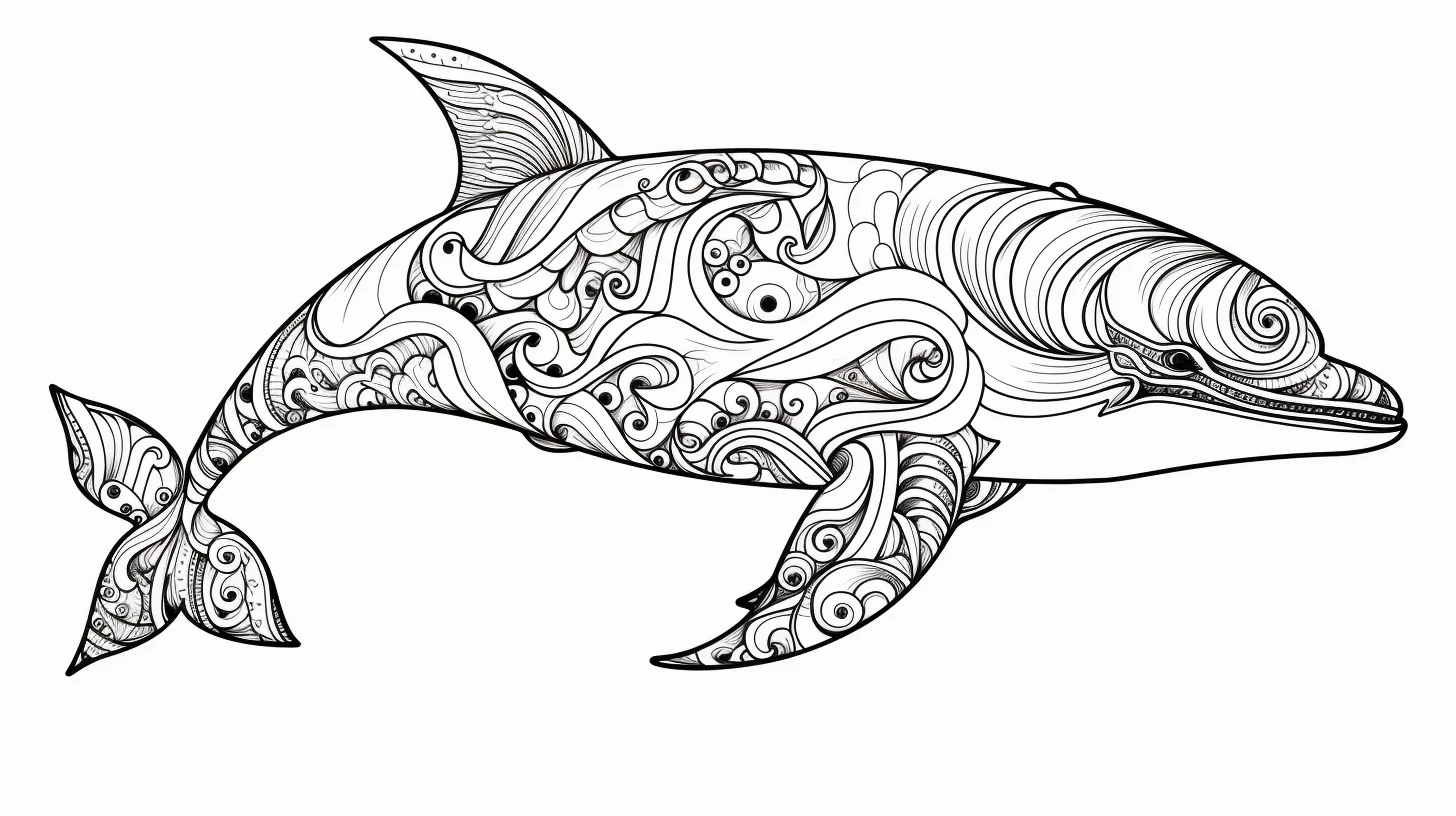
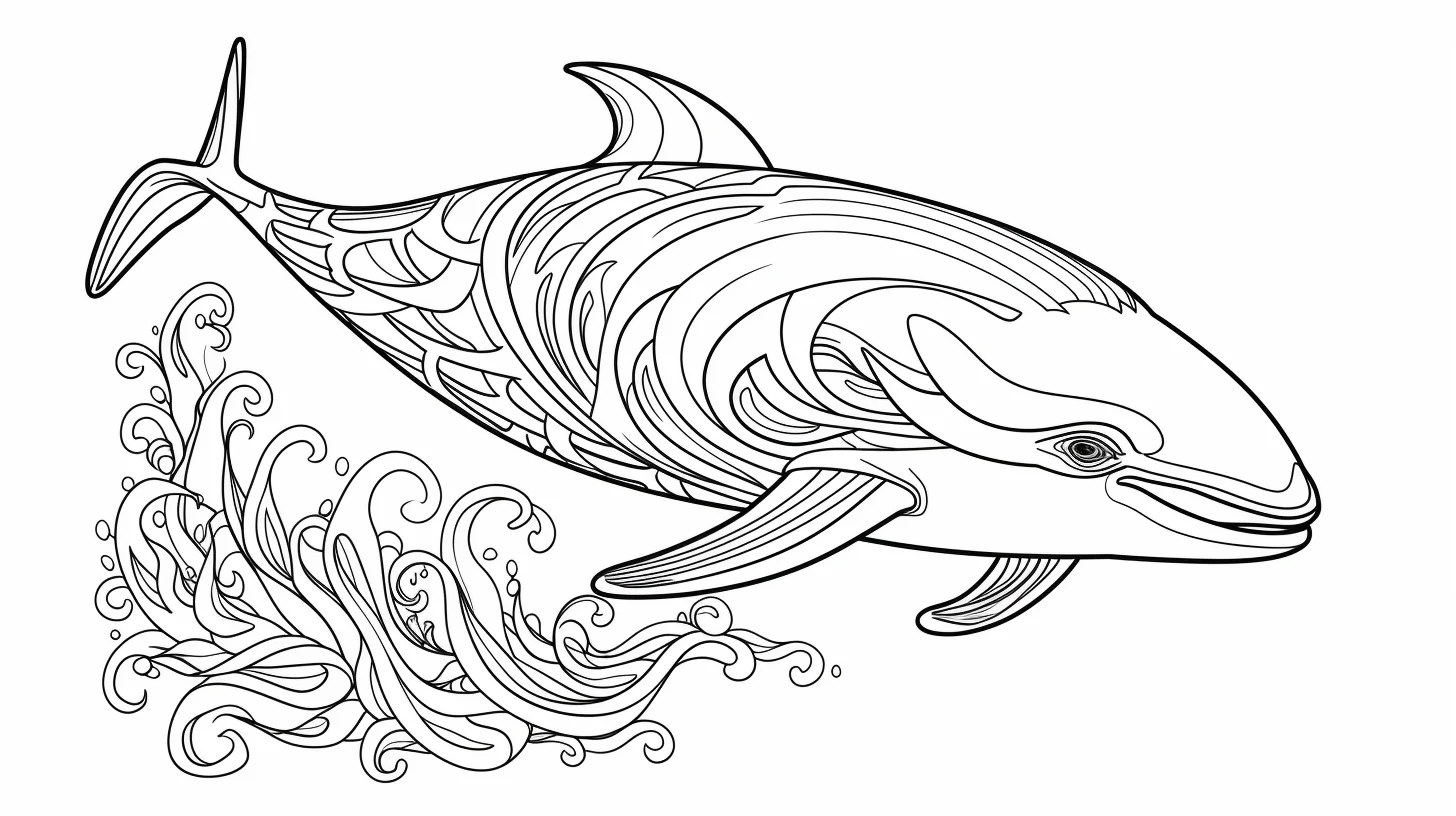
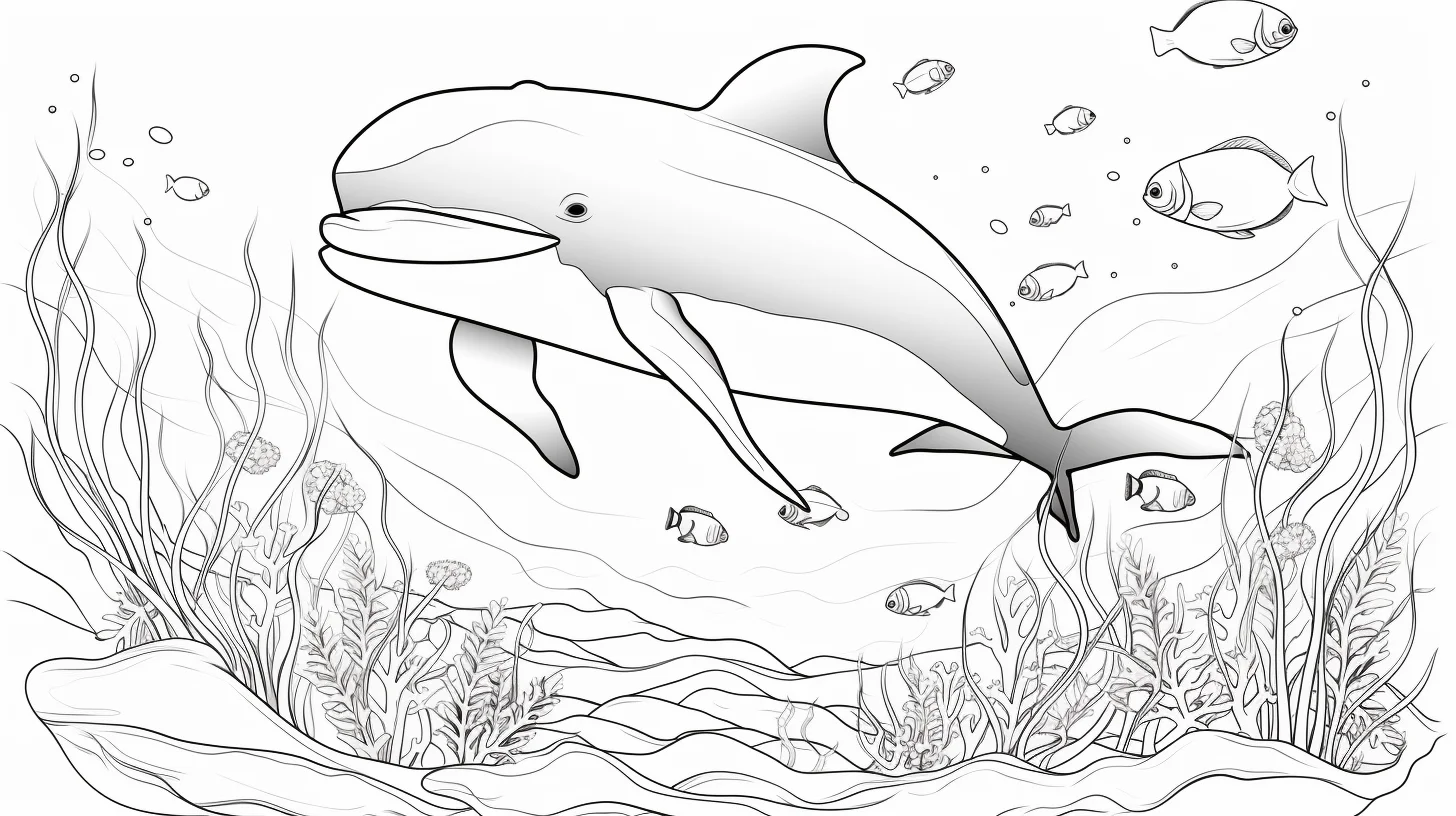
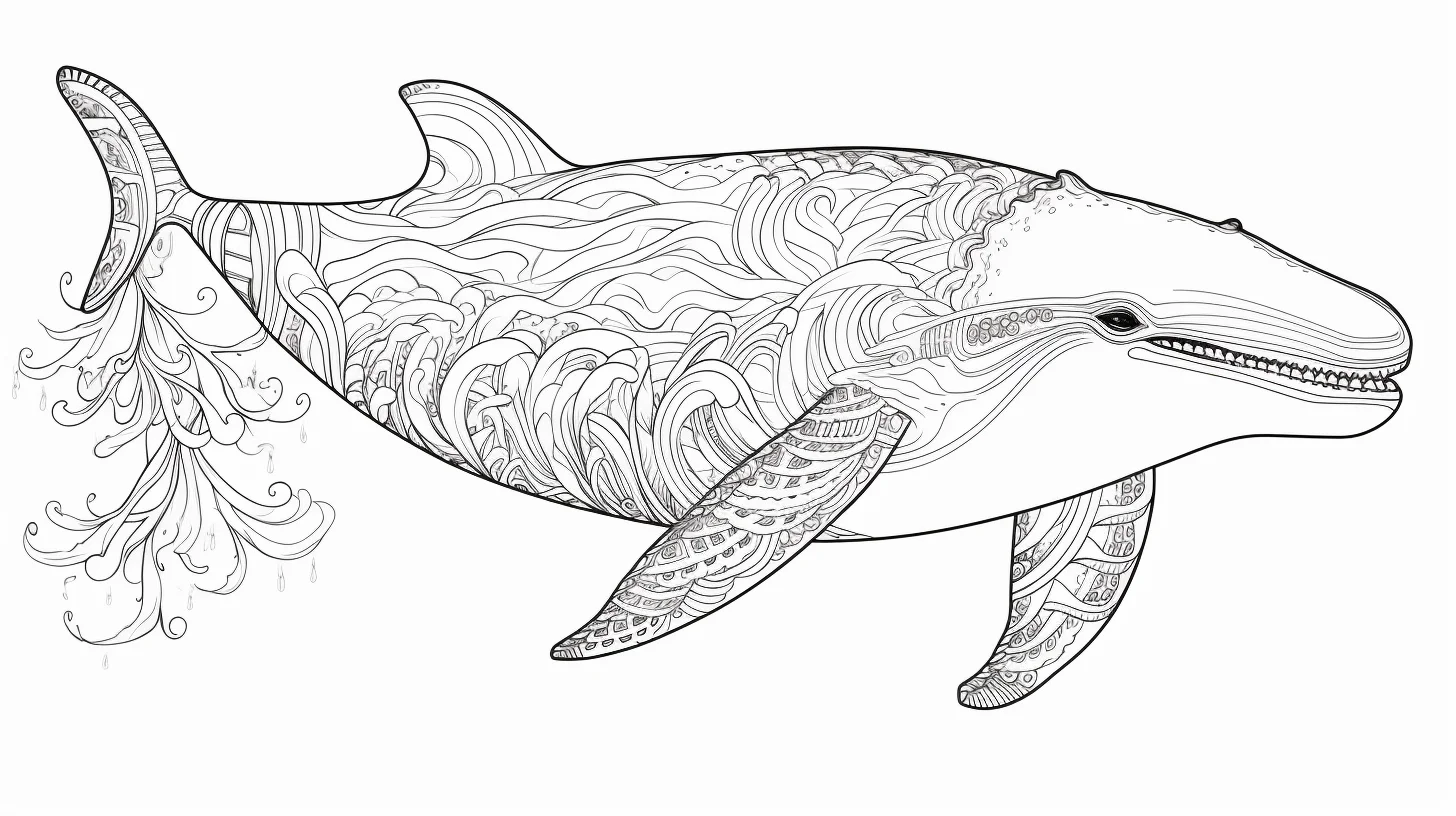
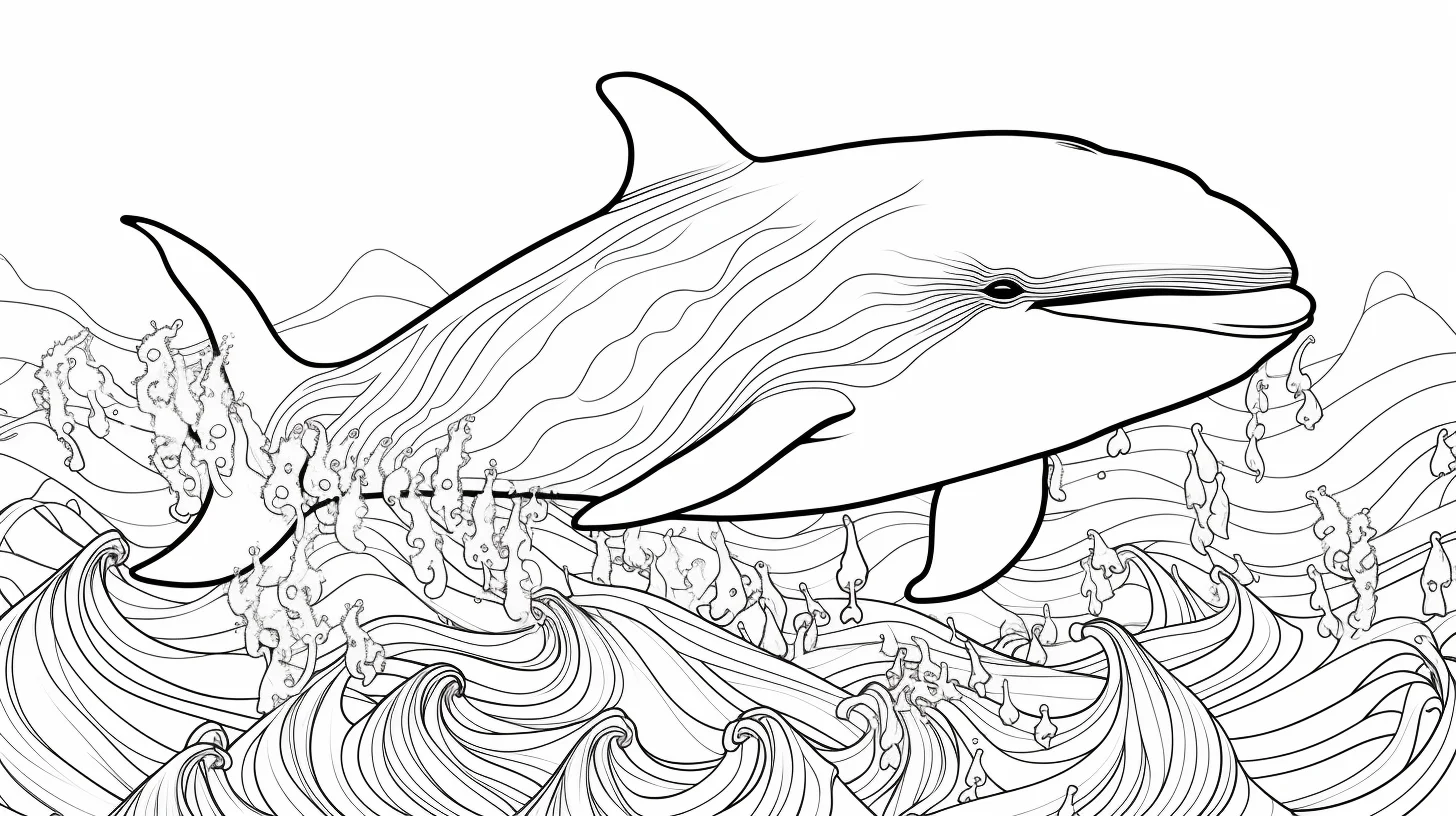
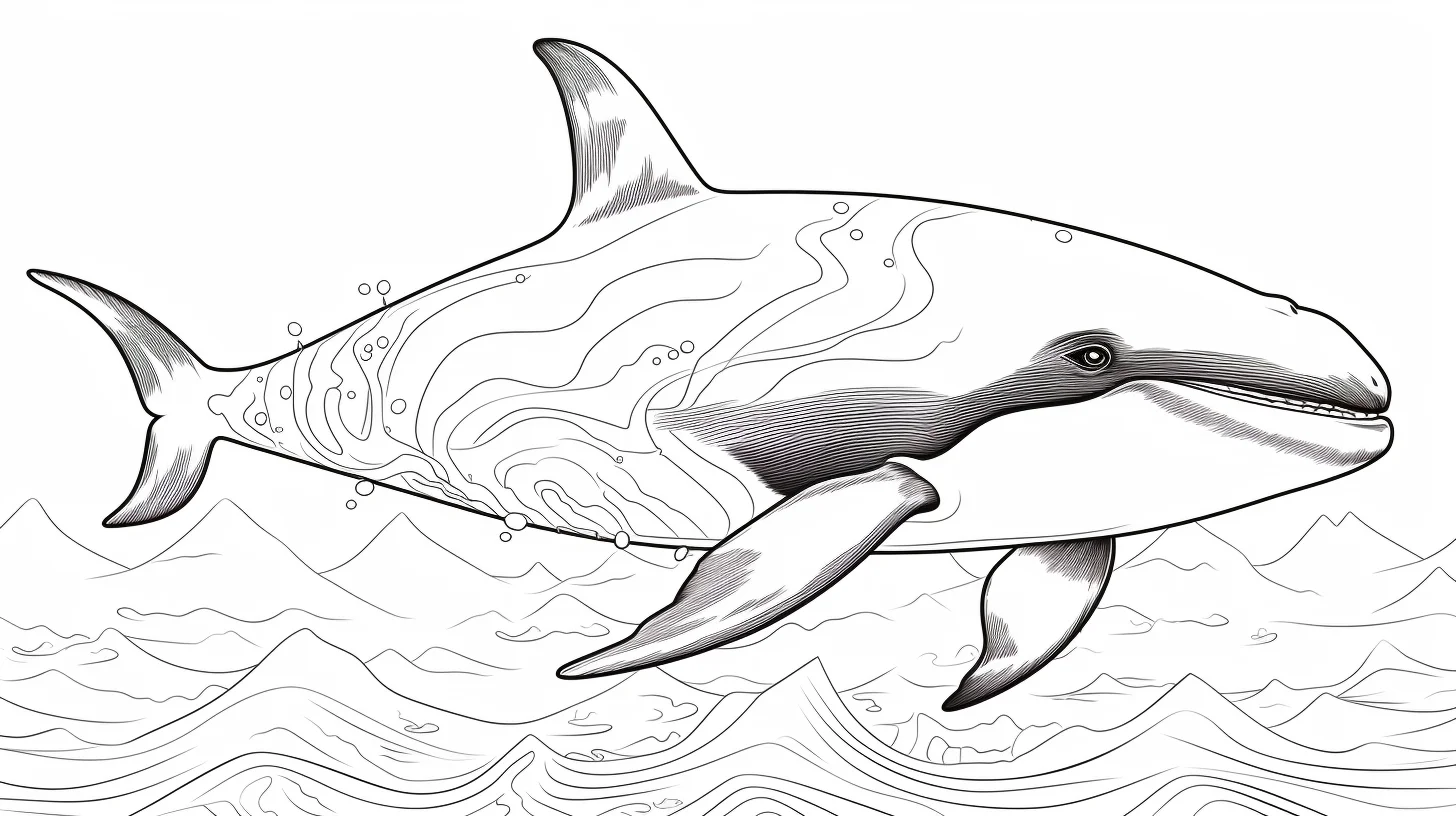
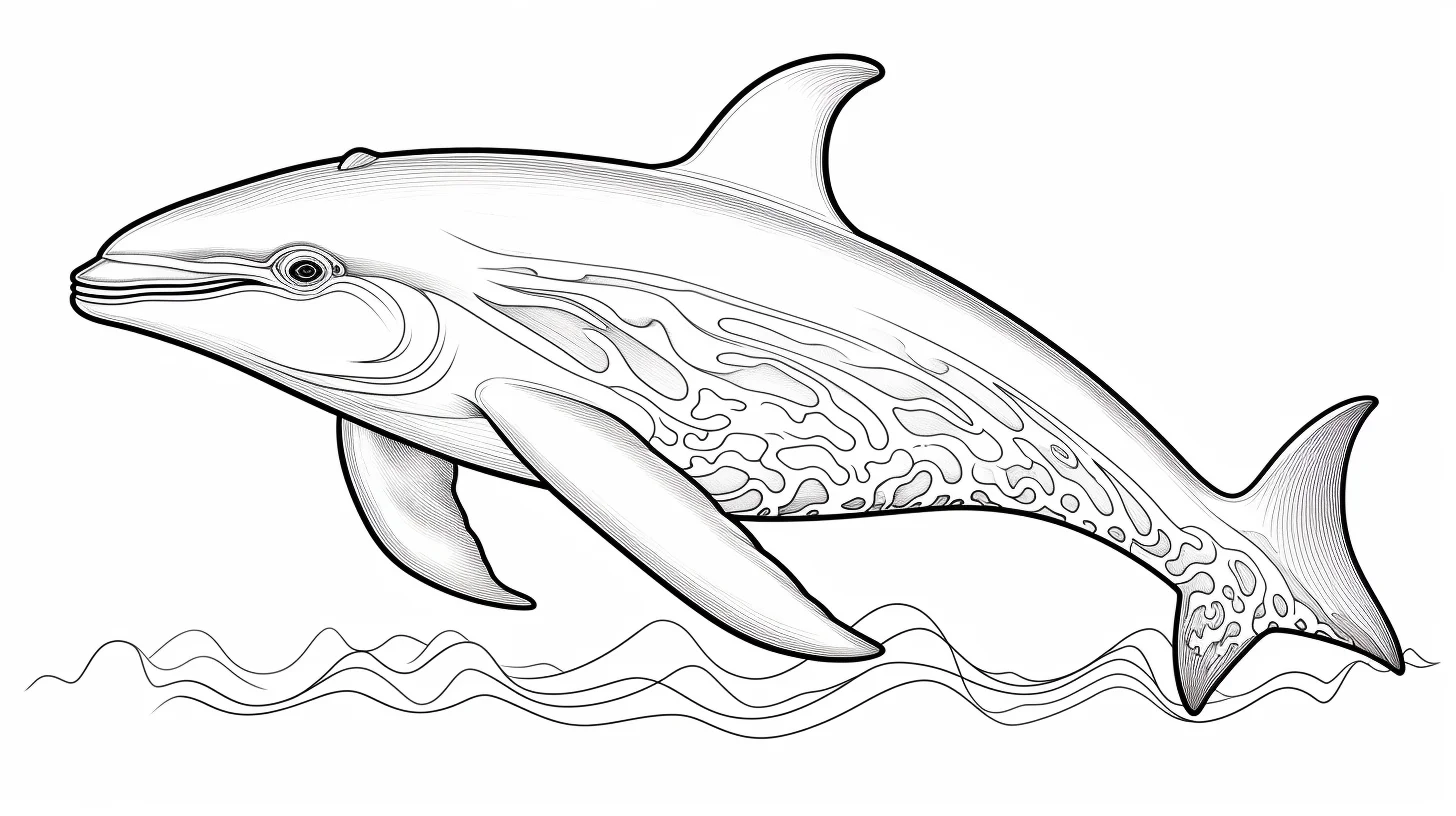
Realistic and adult orcas — Sheets 21–27
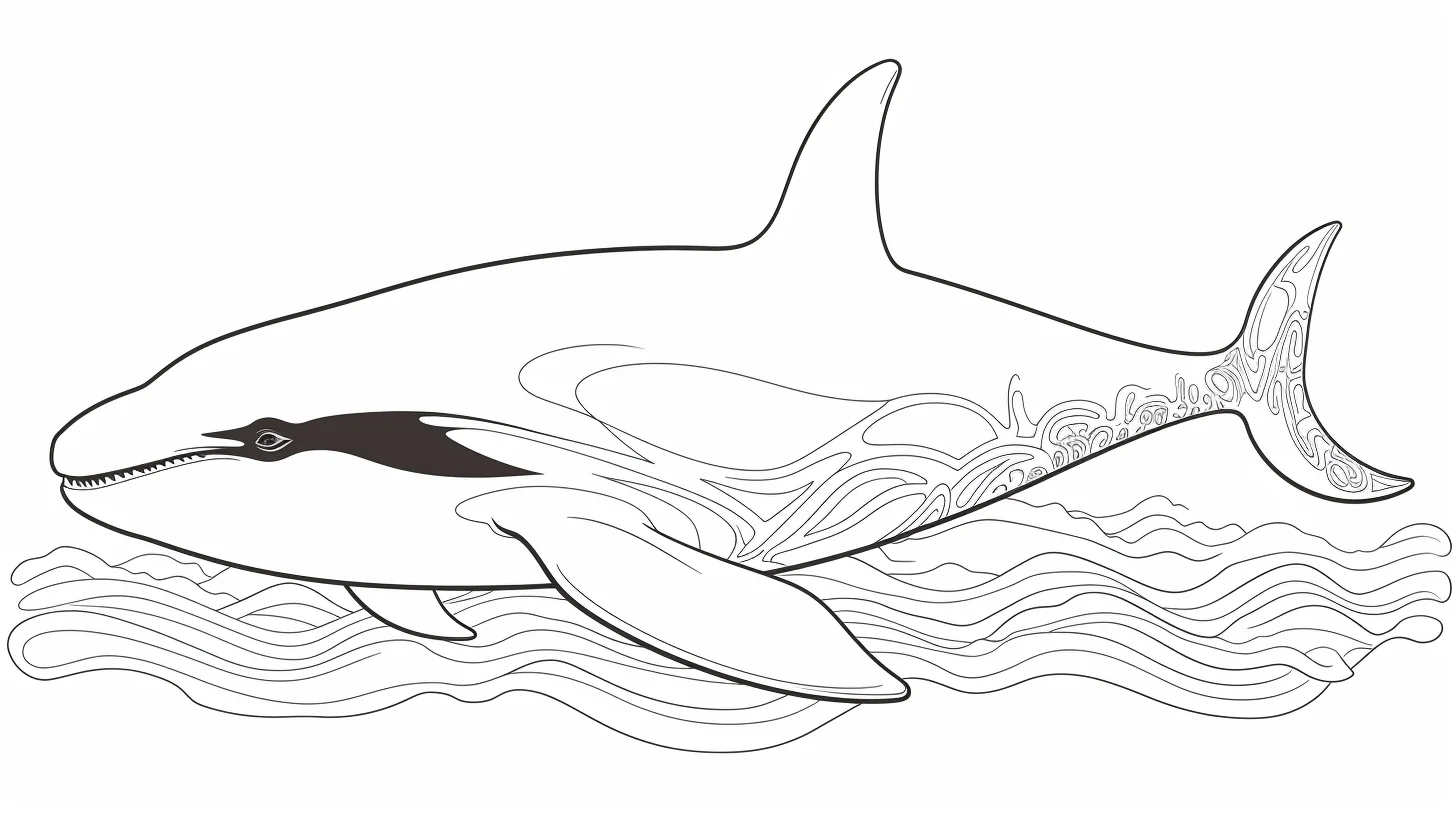
The last group benefits from controlled dark values rather than one heavy black fill. Use very dark blue-gray where you need body contour, then reserve pure black for the deepest areas and the cleanest contrast. If you prefer natural proportions and wildlife detail, continue with the realistic animal coloring pages collection after these orca sheets.
Quick orca-coloring questions
Should the white patches stay completely white?
They can. If you want more depth, add only a little cool gray along one edge rather than filling the whole patch.
Can I use black marker on the body?
Yes, but work around the white markings carefully and leave narrow line details visible. On realistic pages, dark blue-gray pencil can give you more control than a solid marker fill.
What colors work best for the water?
Turquoise, blue-green and deeper blue all work. Keep the water lighter near the whale if the body is very dark so the silhouette stays distinct.

