
This set is deliberately different from our Megalodon-only gallery. These 25 pages mix giant-shark drawings with several Megalodon-versus-Mosasaurus scenes, so it works better if the fun part for you is the whole prehistoric-ocean idea rather than just one animal. If you are choosing quickly, start with the first sheet below: it has a large silhouette and generous spaces, so you can test your shark-and-water palette before committing to one of the busier battle scenes.
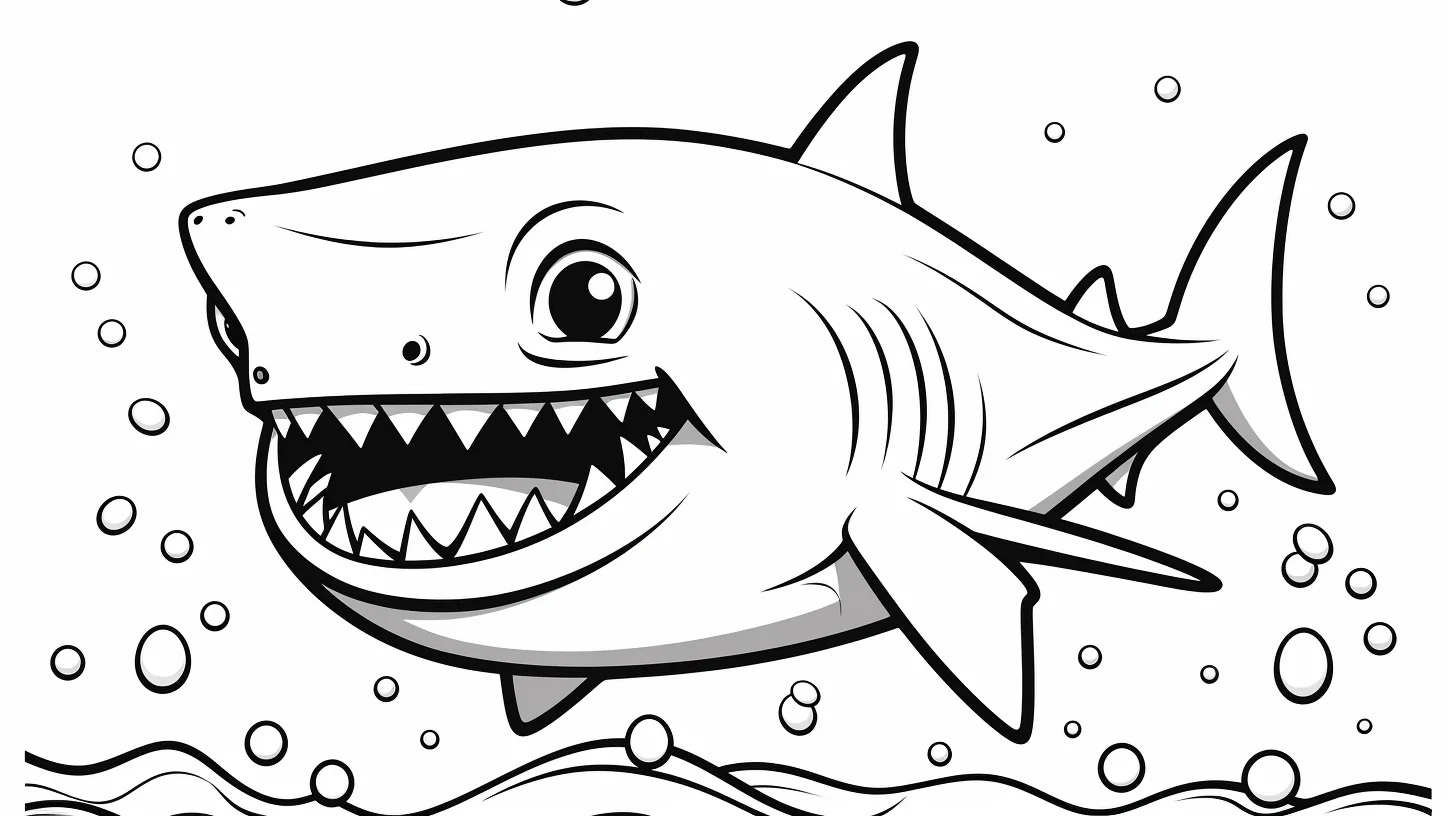
Choose the kind of page you actually want to color
- Quick and easy: cartoon Megalodons with large bodies, fewer teeth and almost no background.
- More detailed: underwater pages with bubbles, rocks, waves and smaller shapes.
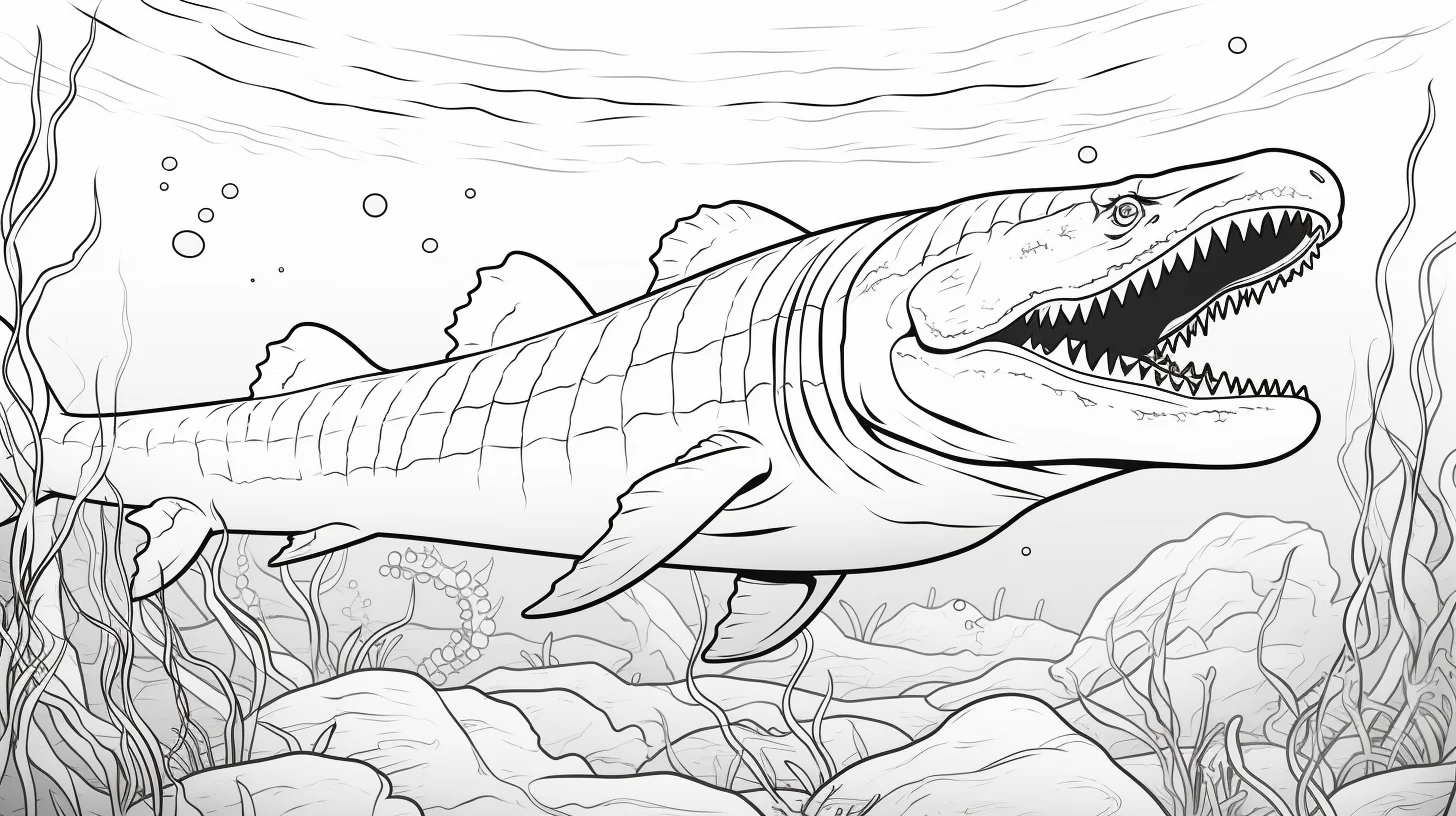
- Action scenes: Megalodon and Mosasaurus together, usually with more teeth, movement and background detail.
Crayons or broad markers are fine for the simple designs. Colored pencils are easier on the action pages because the teeth, water lines and smaller background areas leave less room for a thick tip.
A quick science note before the fantasy battle
Megalodon and mosasaurs did not live at the same time, so the battle pages below are imaginary rather than historical scenes. The Smithsonian Ocean Portal places Megalodon roughly 23 to 3.6 million years ago, while the Natural History Museum explains that mosasaurs lived in the Late Cretaceous, tens of millions of years earlier. That does not make the matchup any less fun to color; it is simply worth knowing what is fantasy and what is paleontology.
How to print these wide ocean scenes
Most of these files are landscape-oriented. Open the full-size image first, save it to your device, then print on A4 or US Letter paper with landscape orientation and “fit to page” selected. Check the preview before printing so the nose, tail or edge of a second animal is not cropped by the printer margins.
If you want a Megalodon-only set with more cute, scary and printable shark variations, use our 20 Megalodon coloring pages.
25 Megalodon and Mosasaurus coloring pages
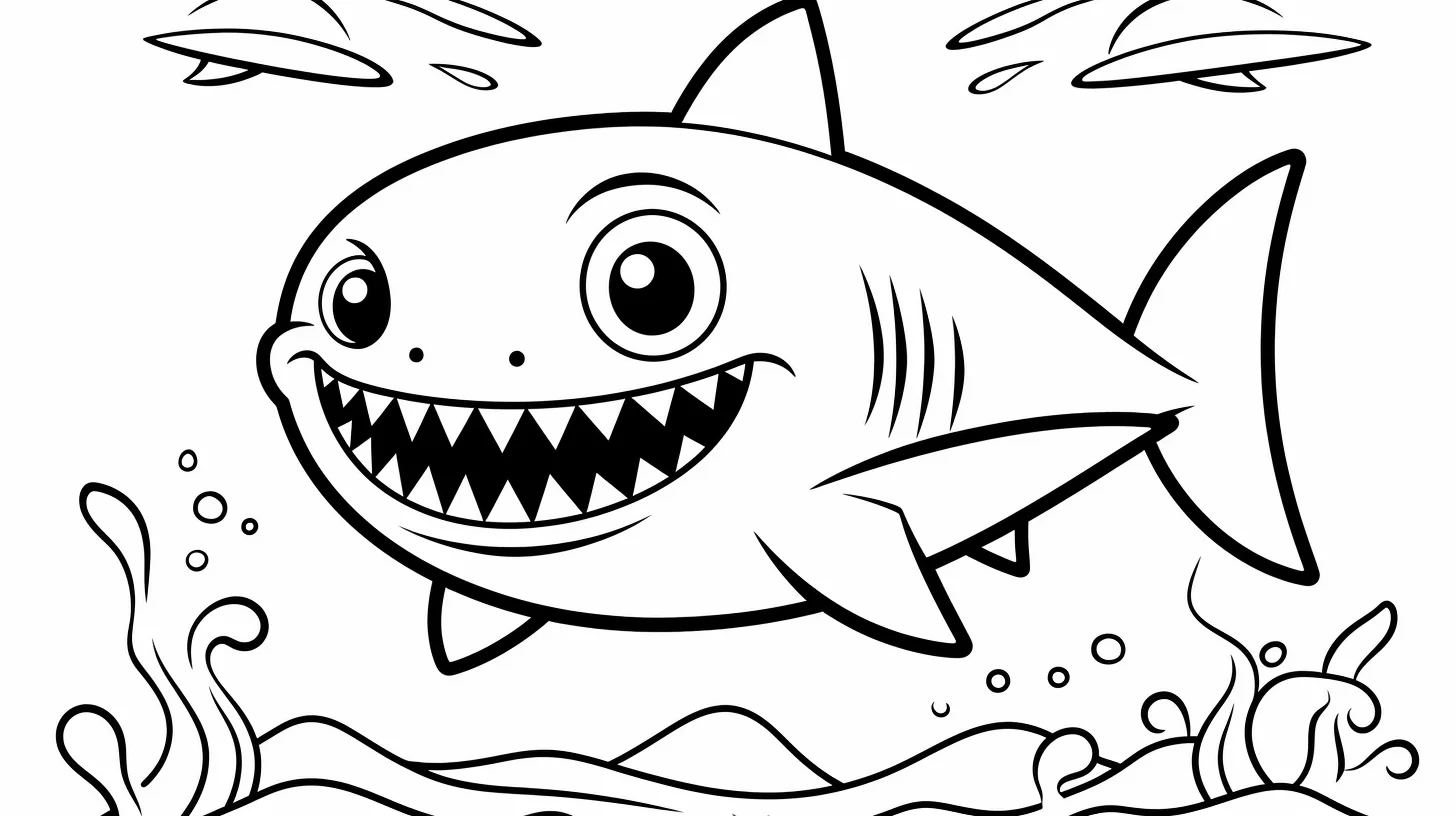
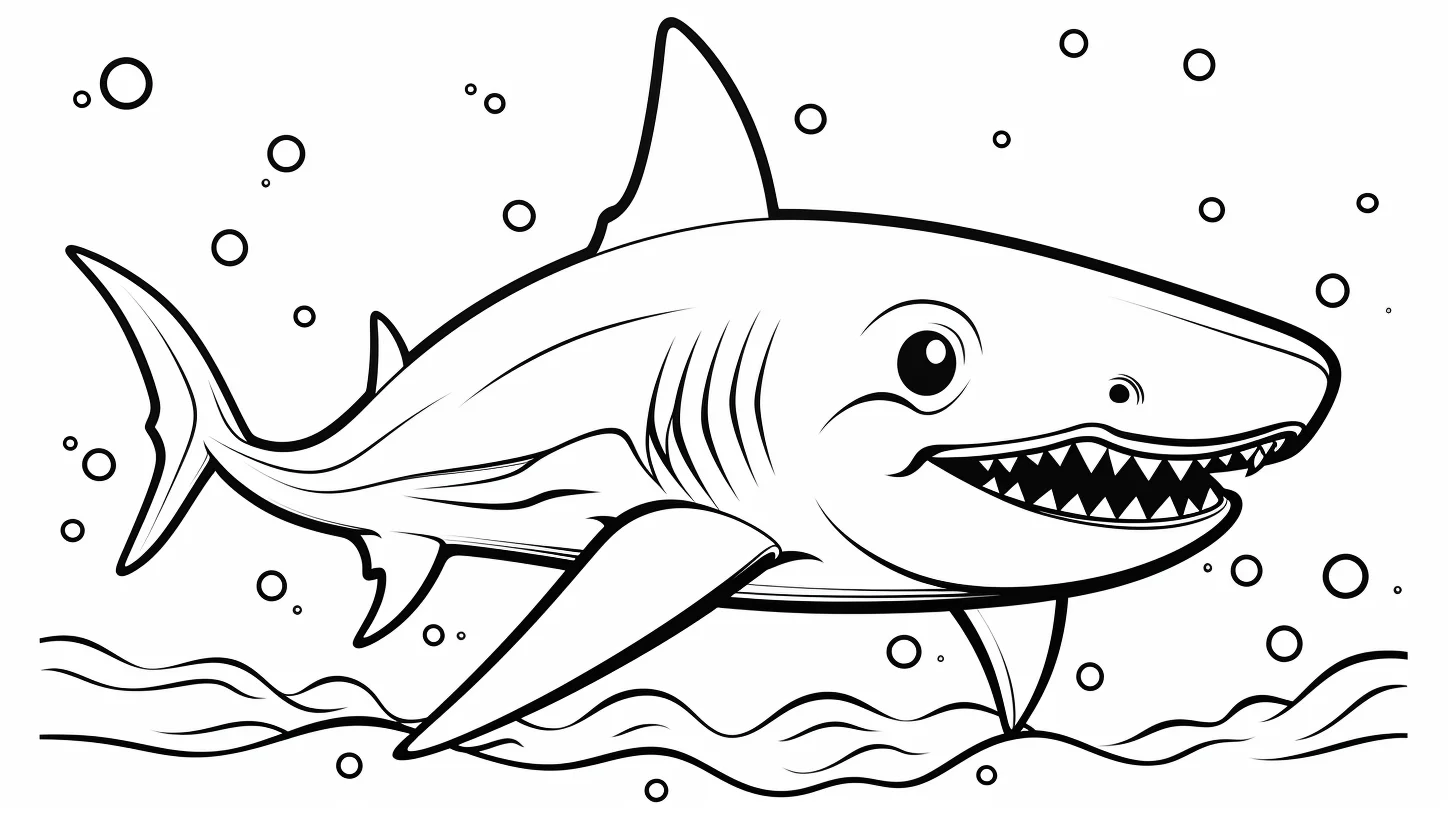
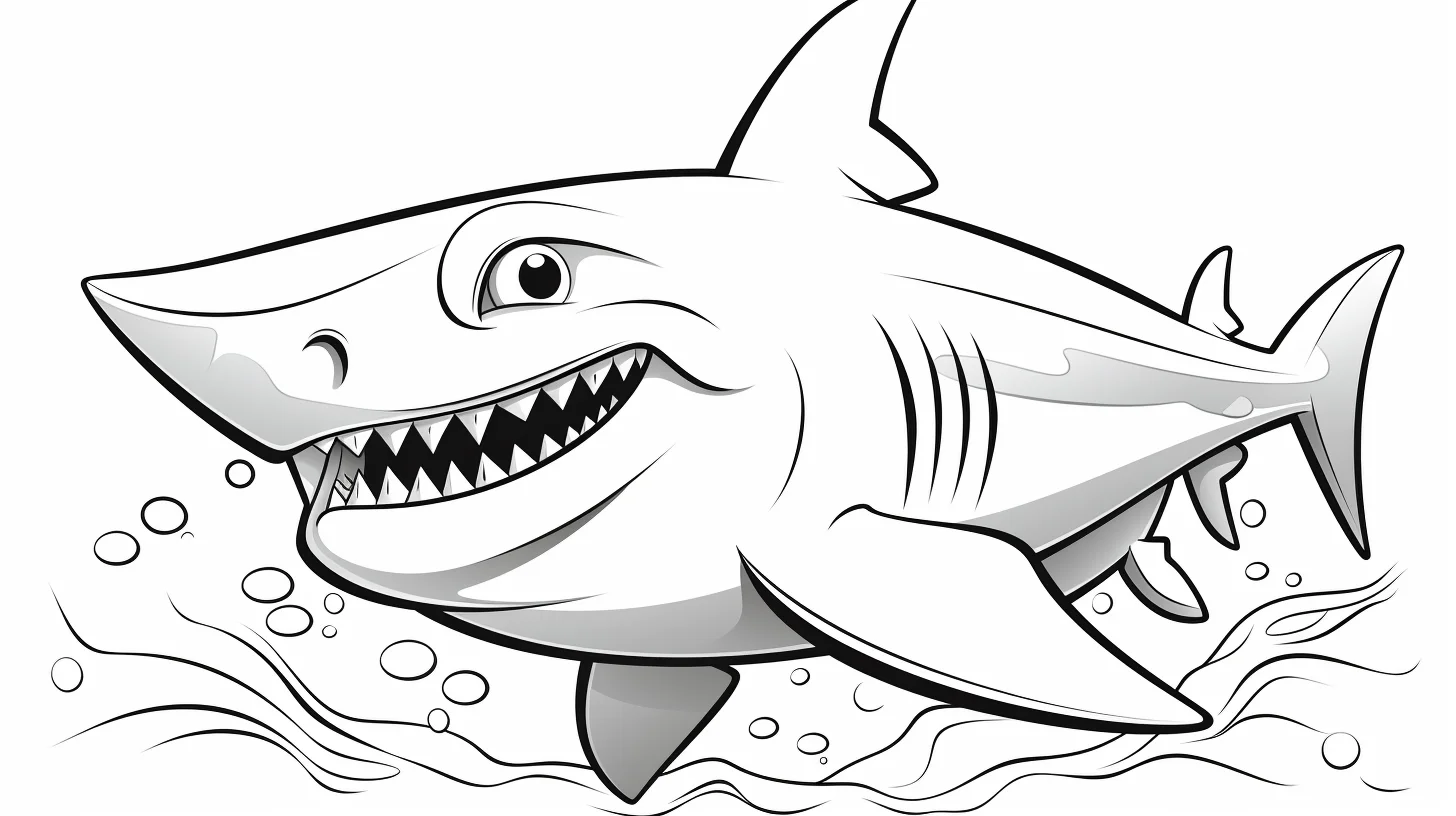
Easy starting group: the first few sheets are the simplest part of the collection, with cute or kawaii Megalodons and larger shapes. They are the better choice for crayons or younger kids before moving into the two-animal battle scenes.
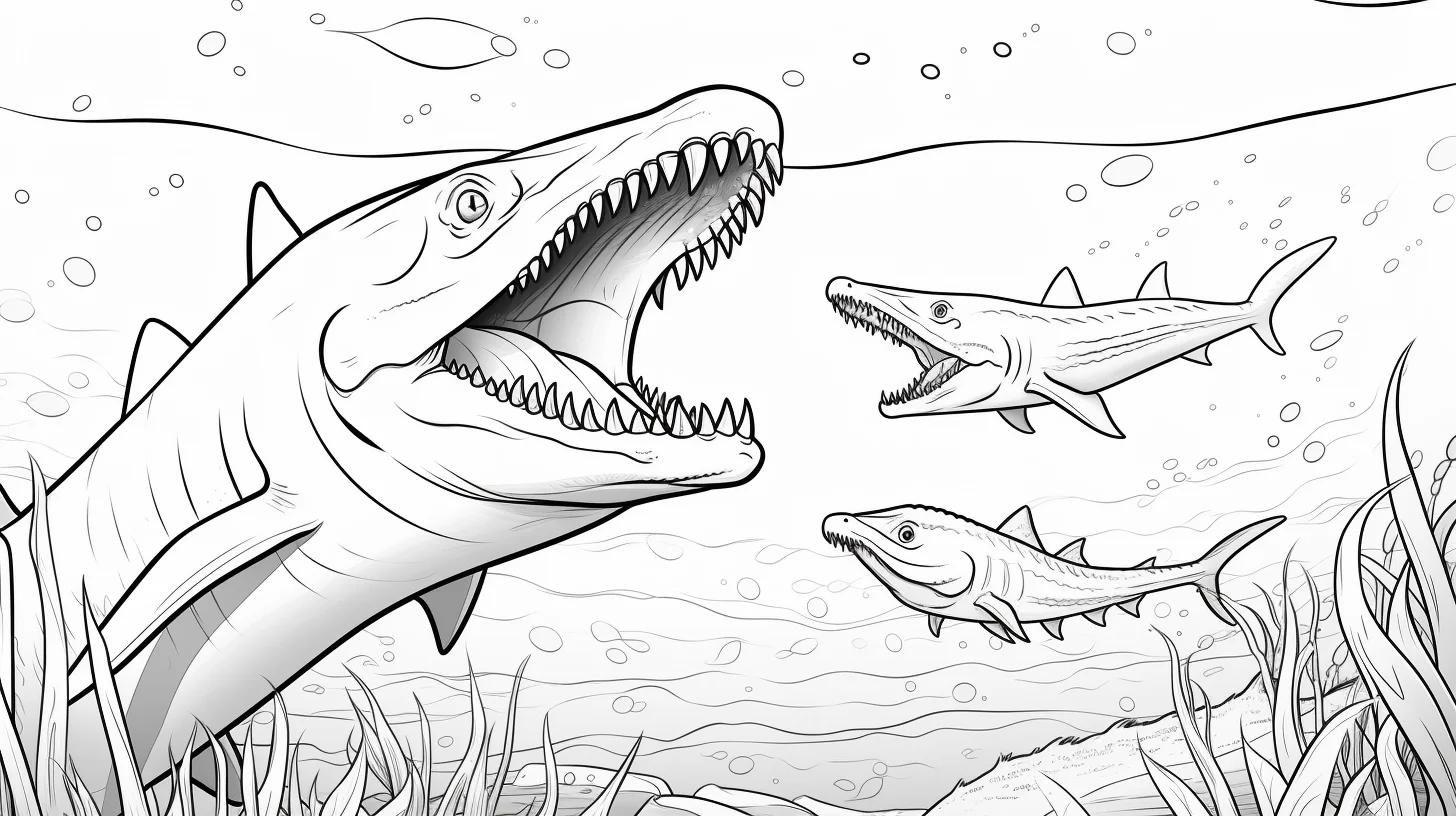
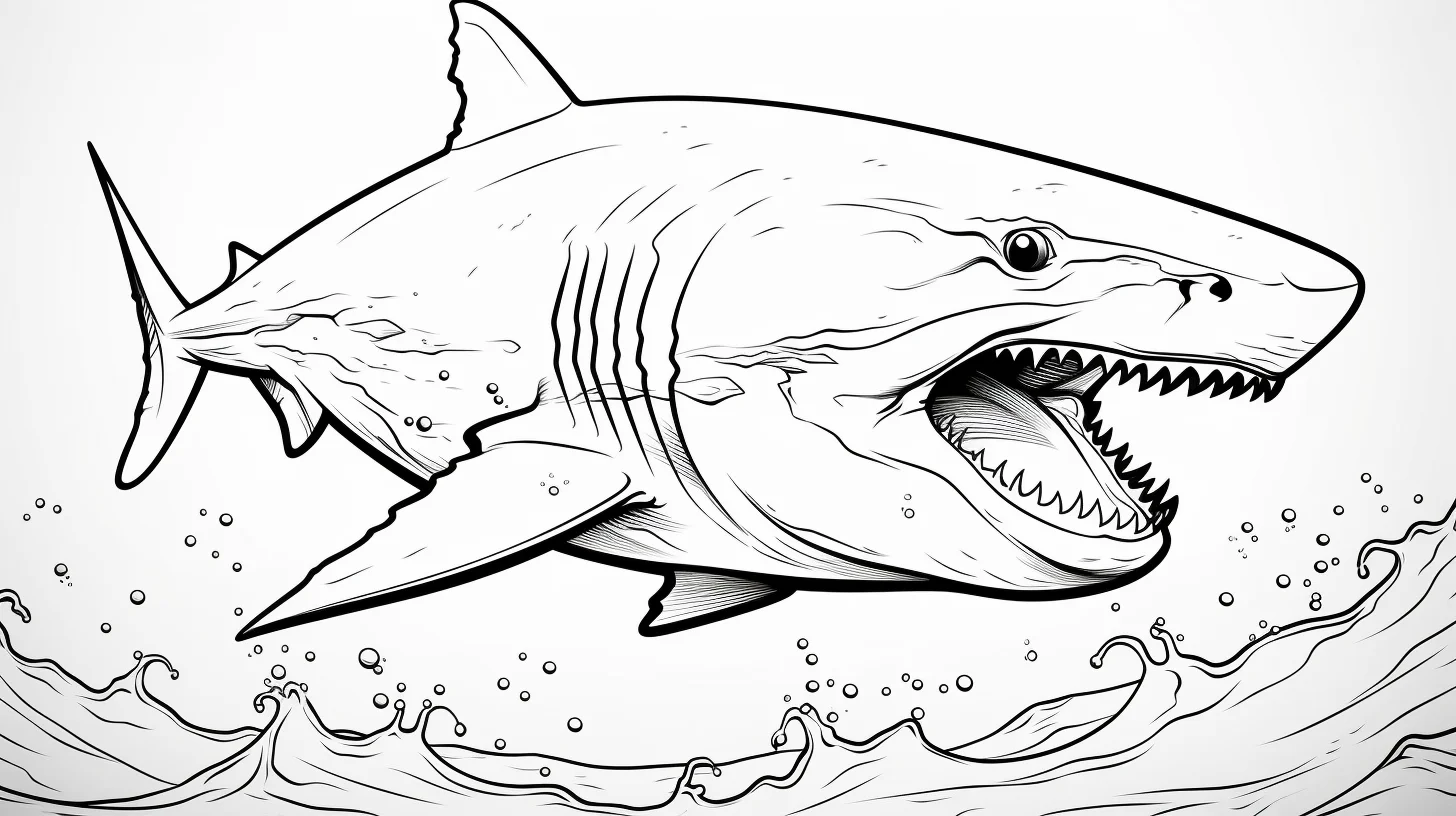
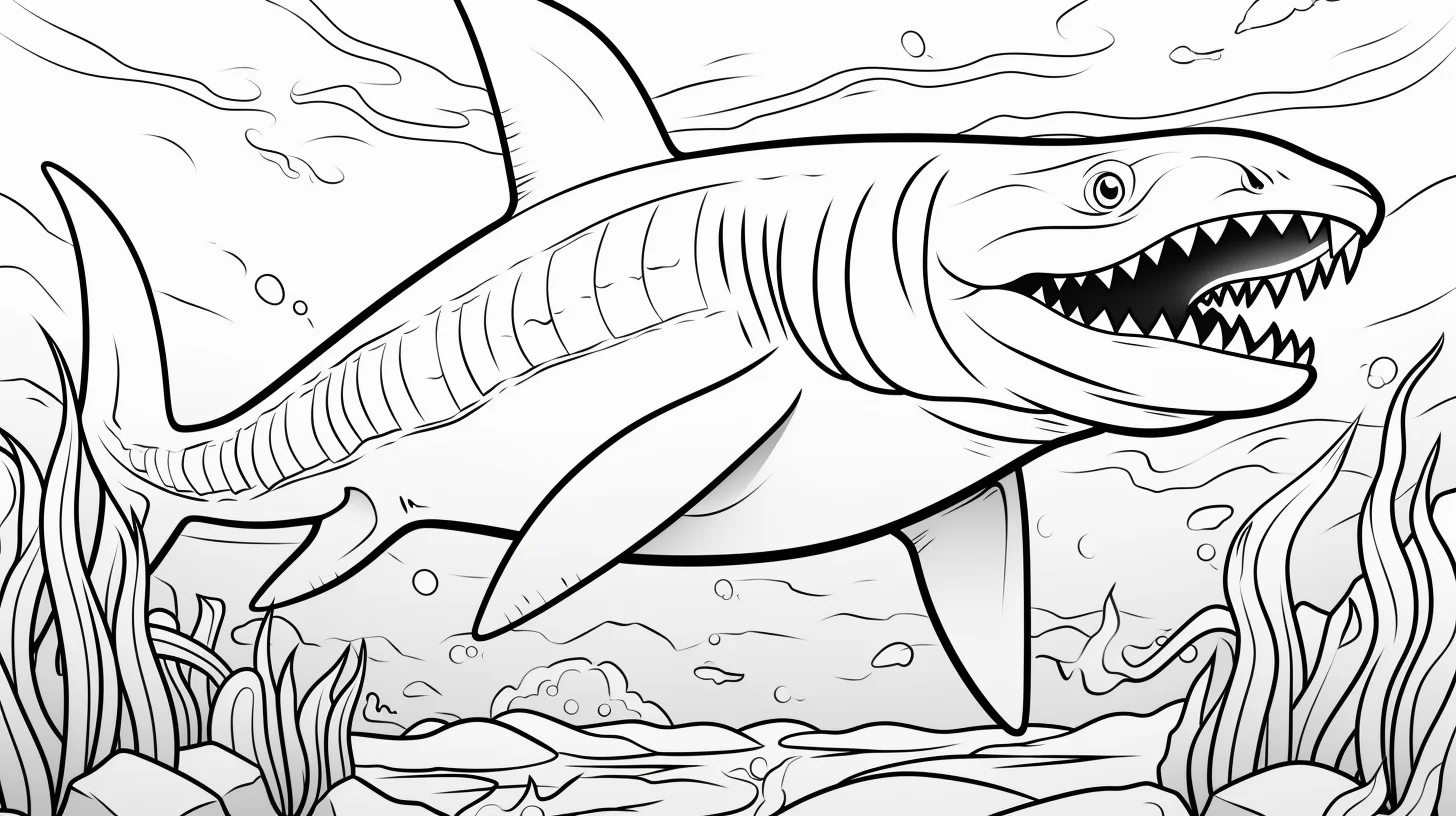
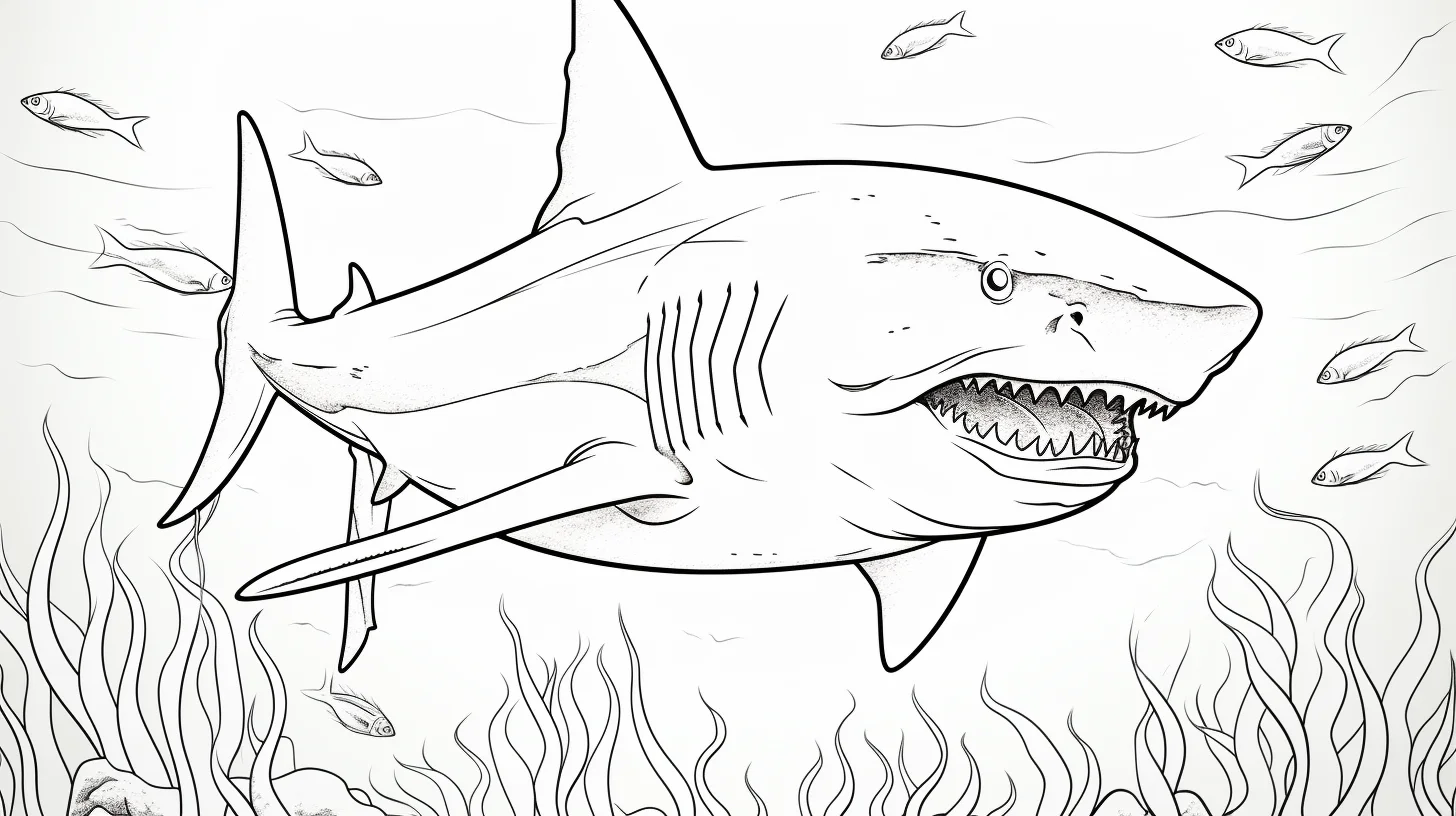
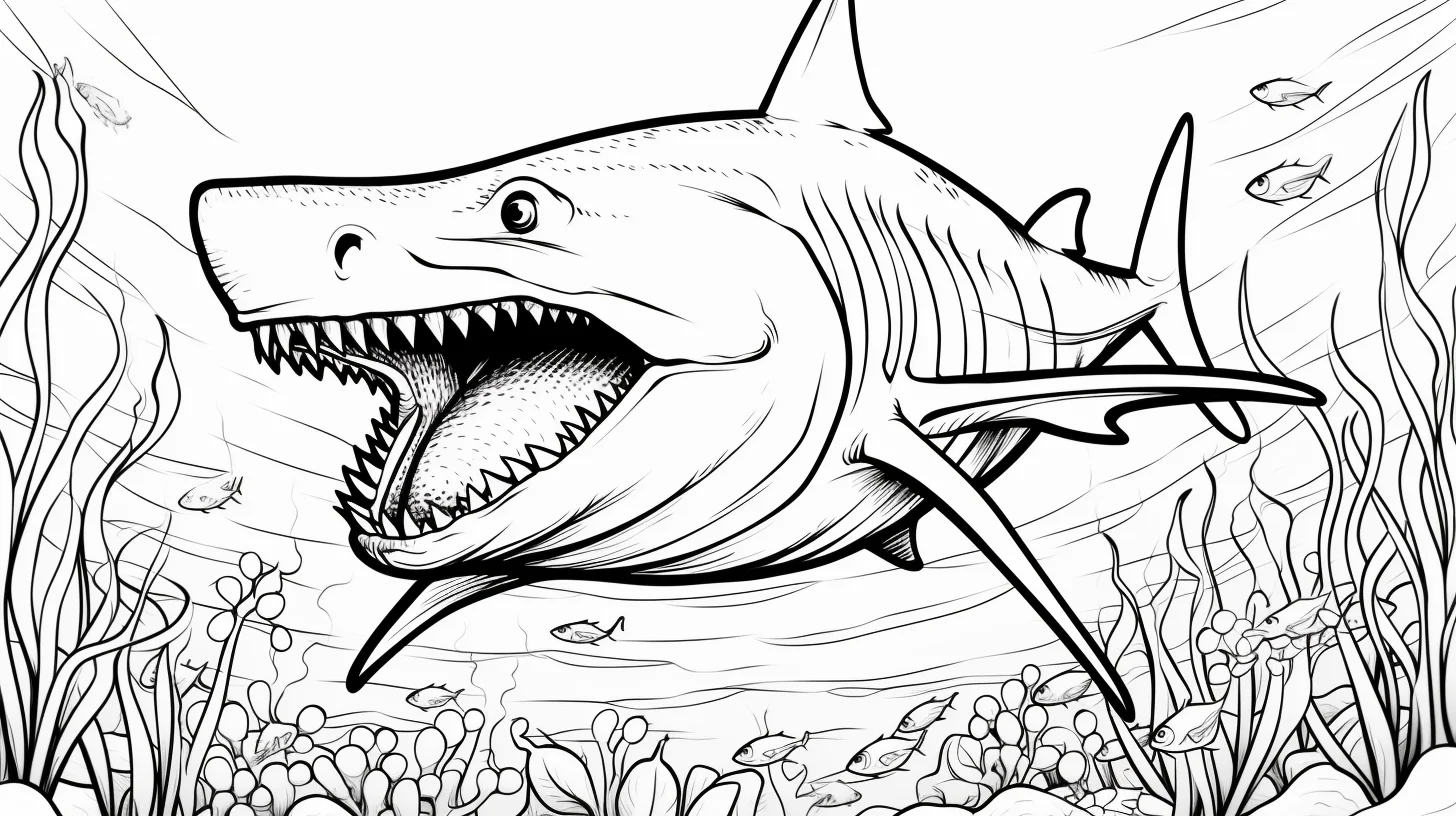
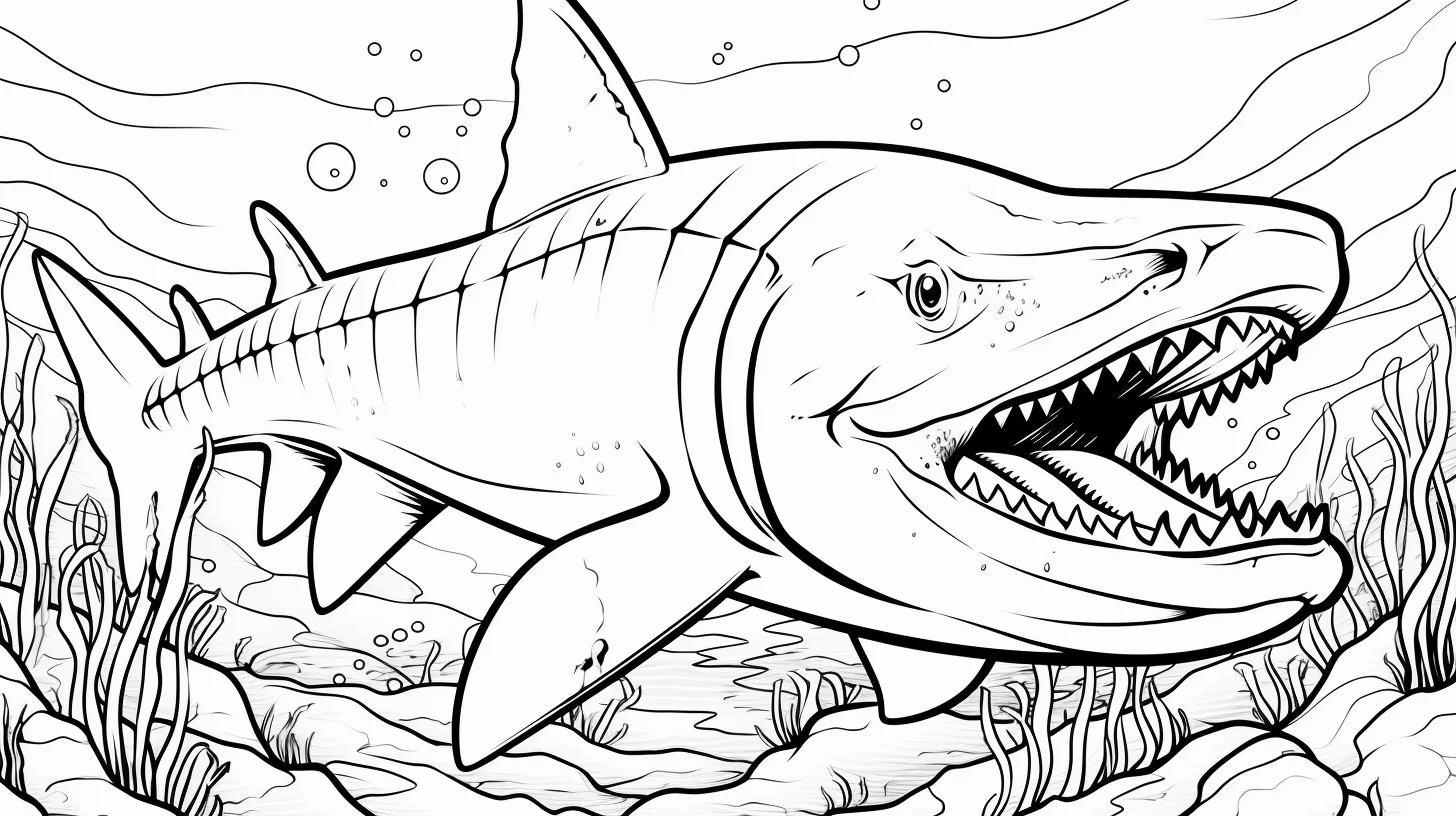
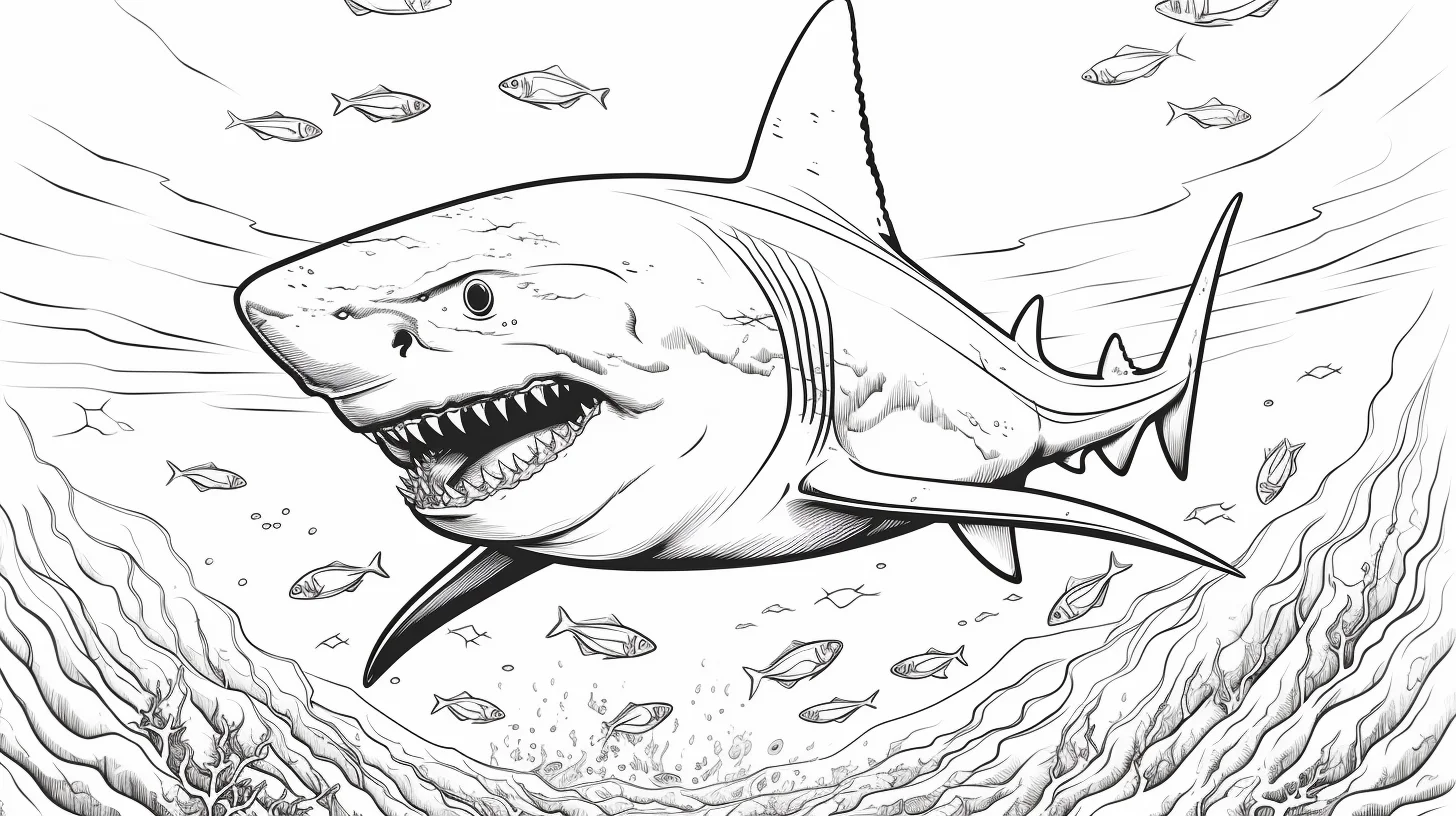
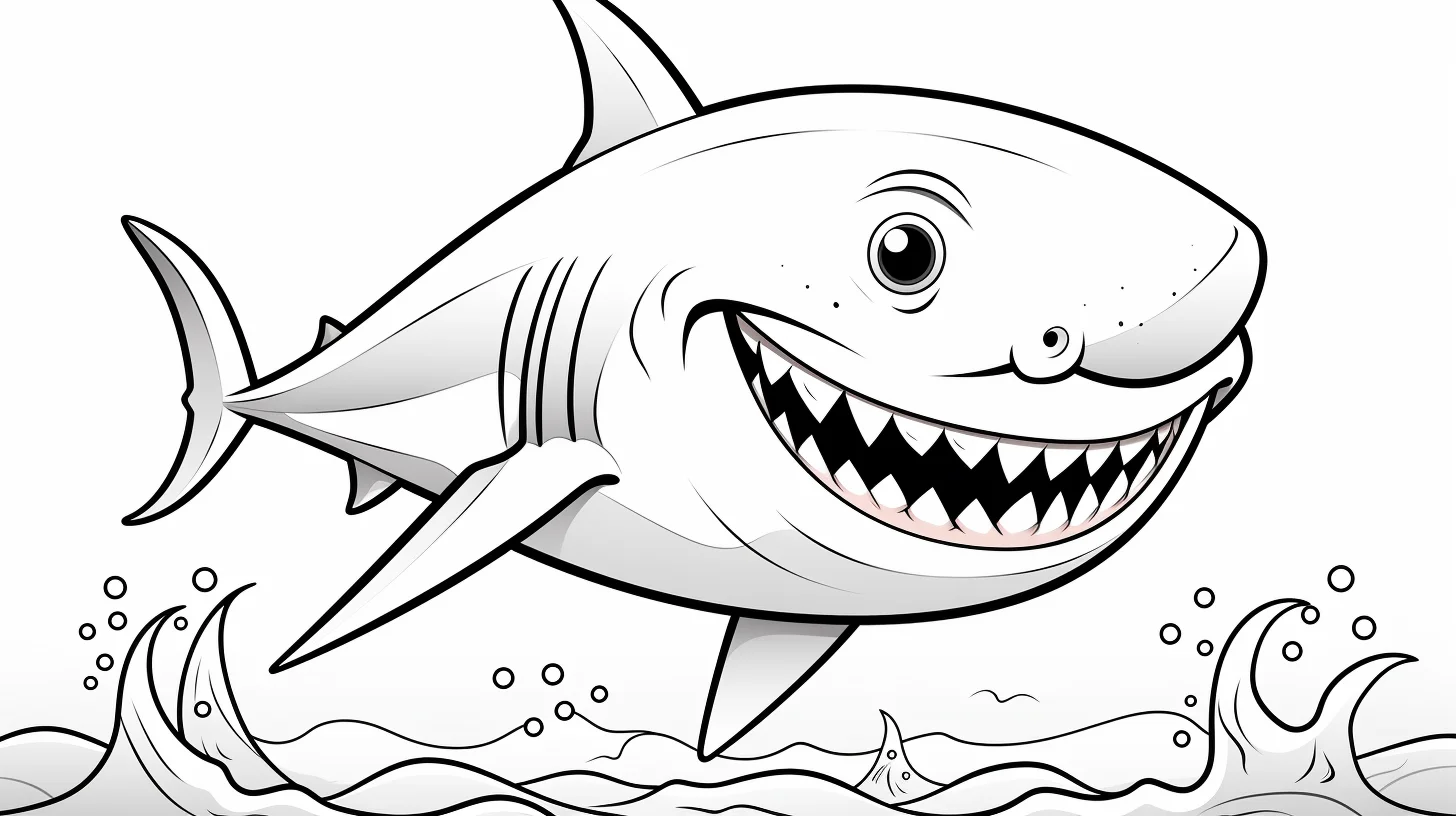
Battle-scene tip: these pages have more visual competition because both animals need to stand out. Use one cool palette and one warmer or earthier palette, then keep the water lighter around the silhouettes so the action stays readable.
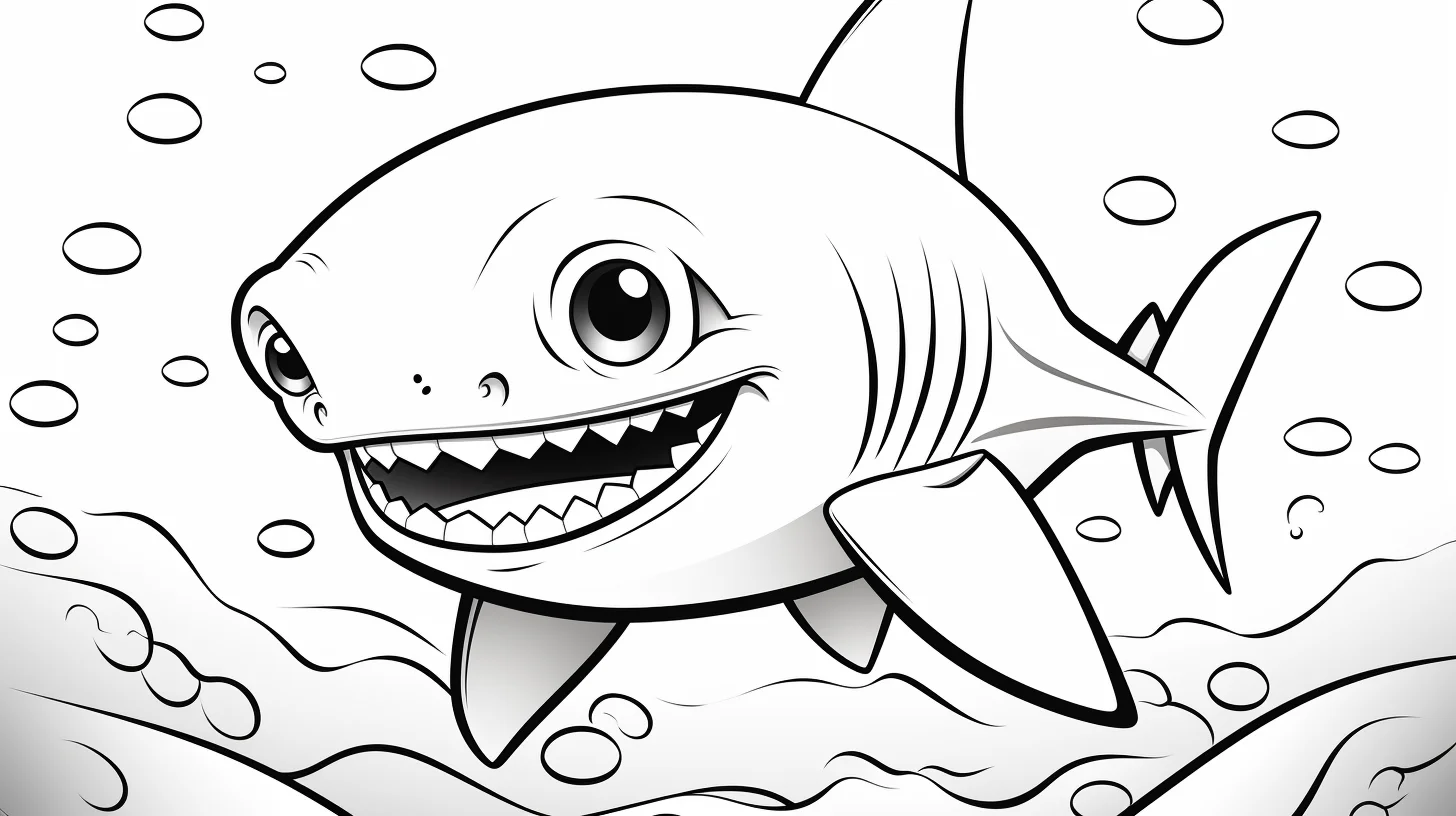
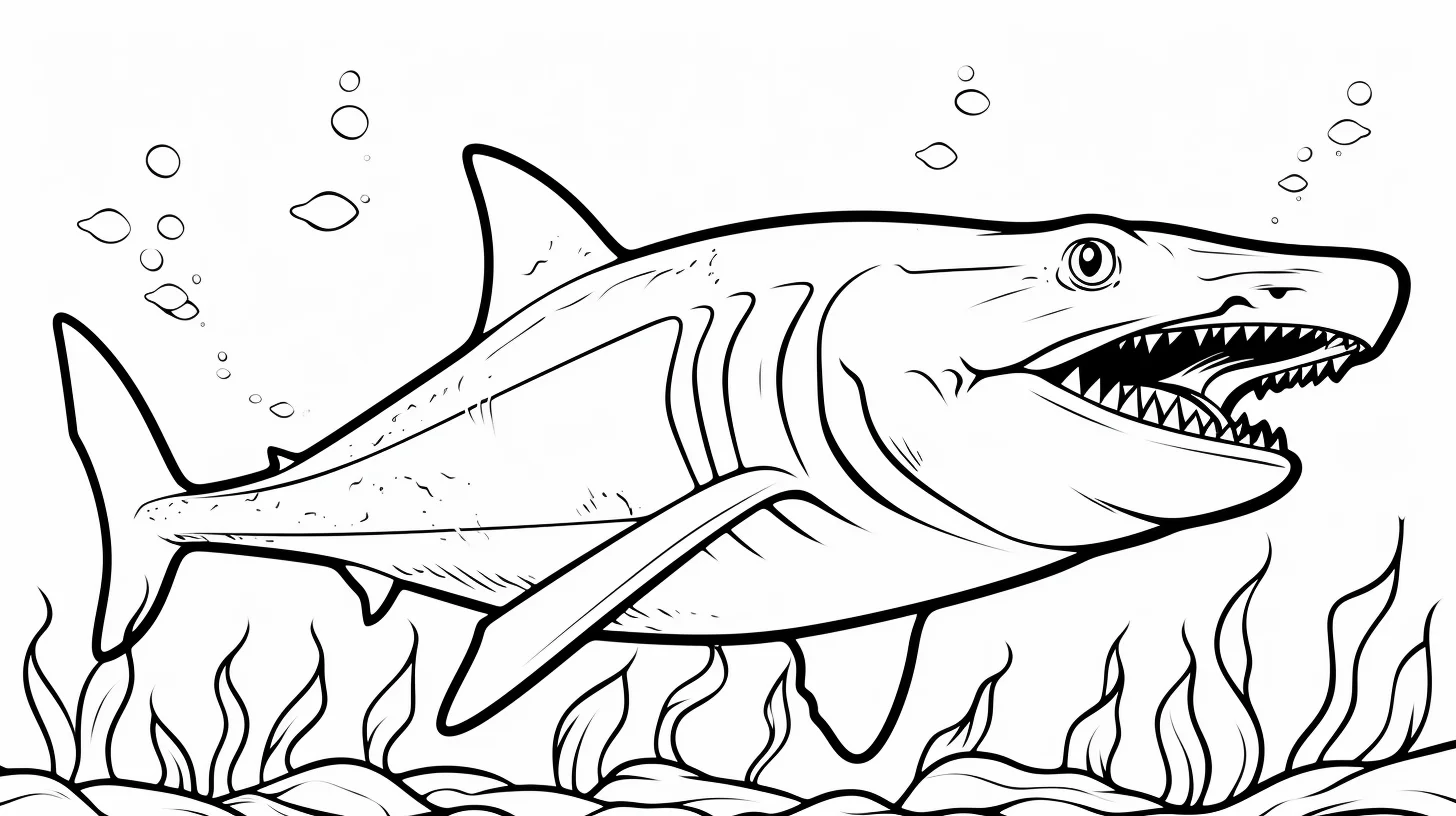
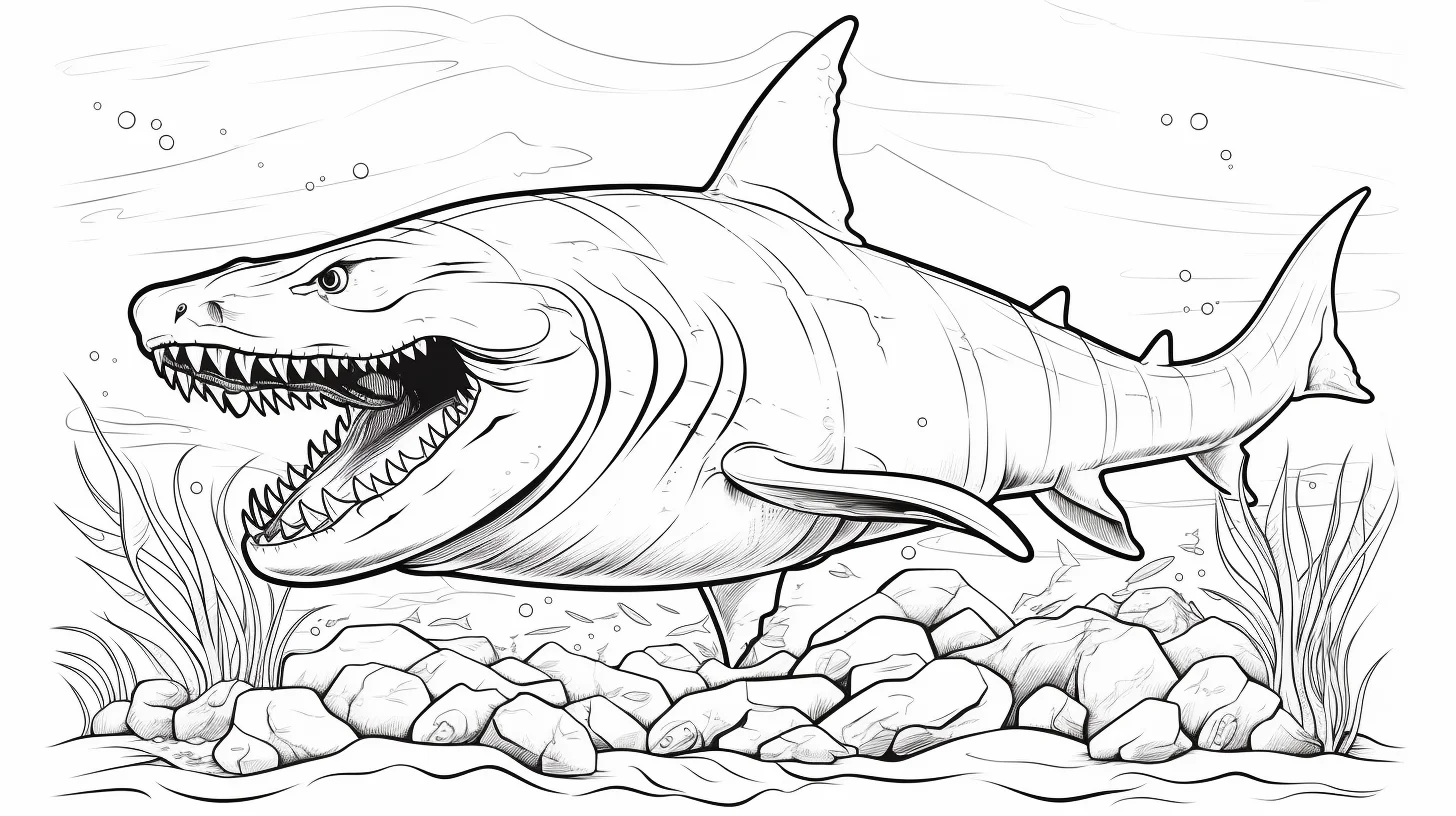
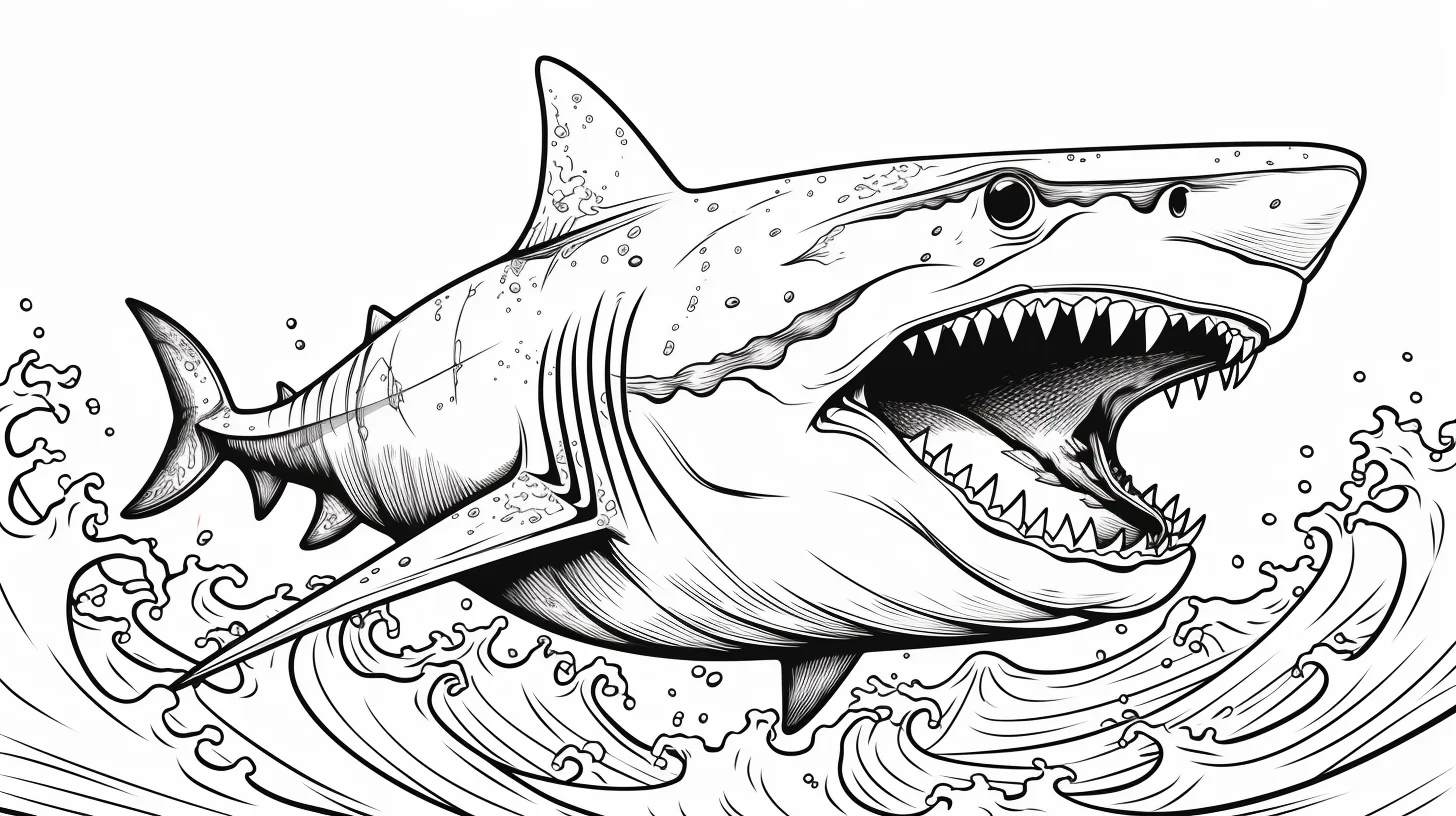
Scary shark option: if you want a darker result, build contrast around the mouth rather than coloring every part heavily. A charcoal or blue-gray body, white teeth and darker water behind the head usually works better than making the shark itself almost black.
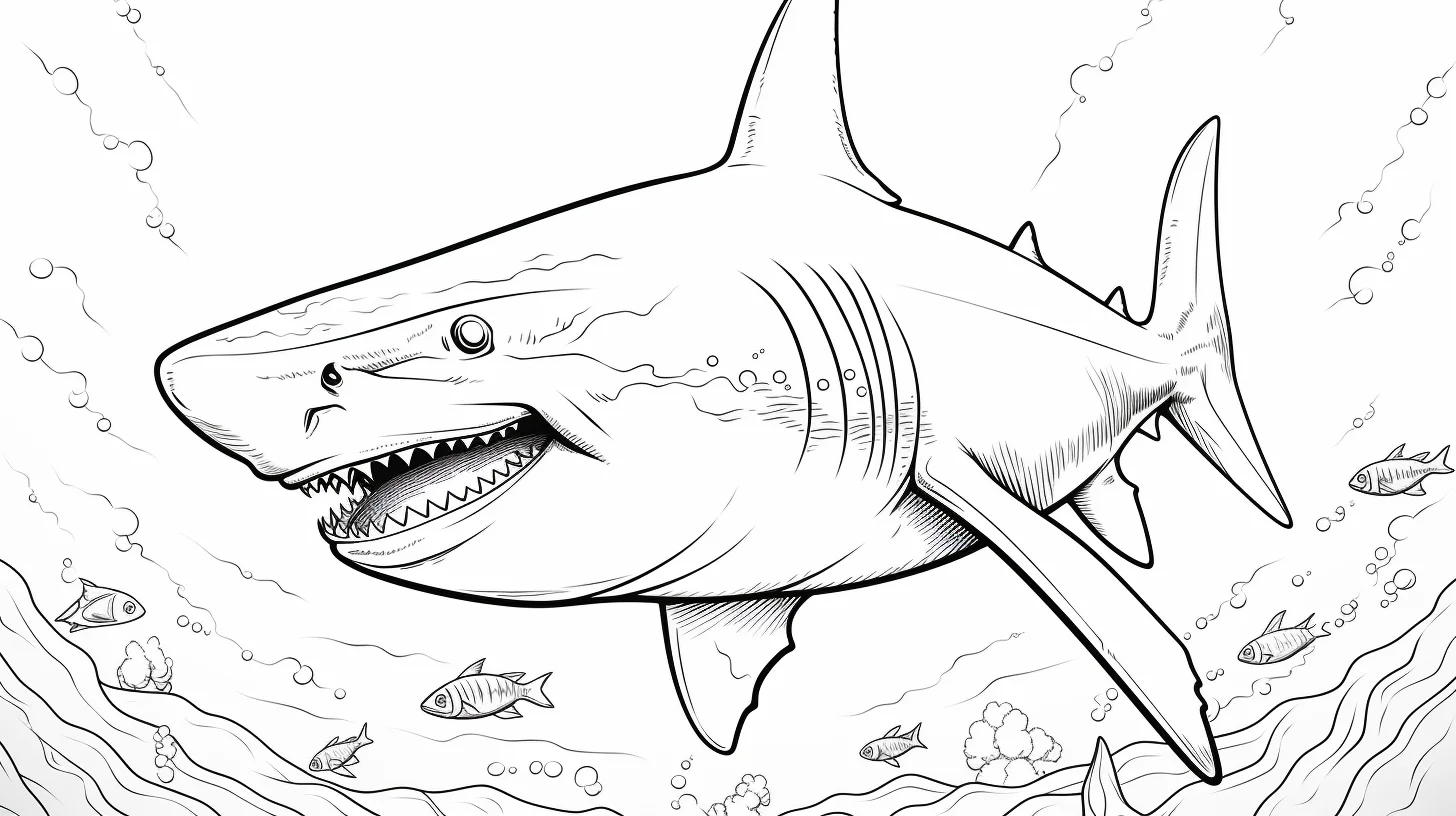
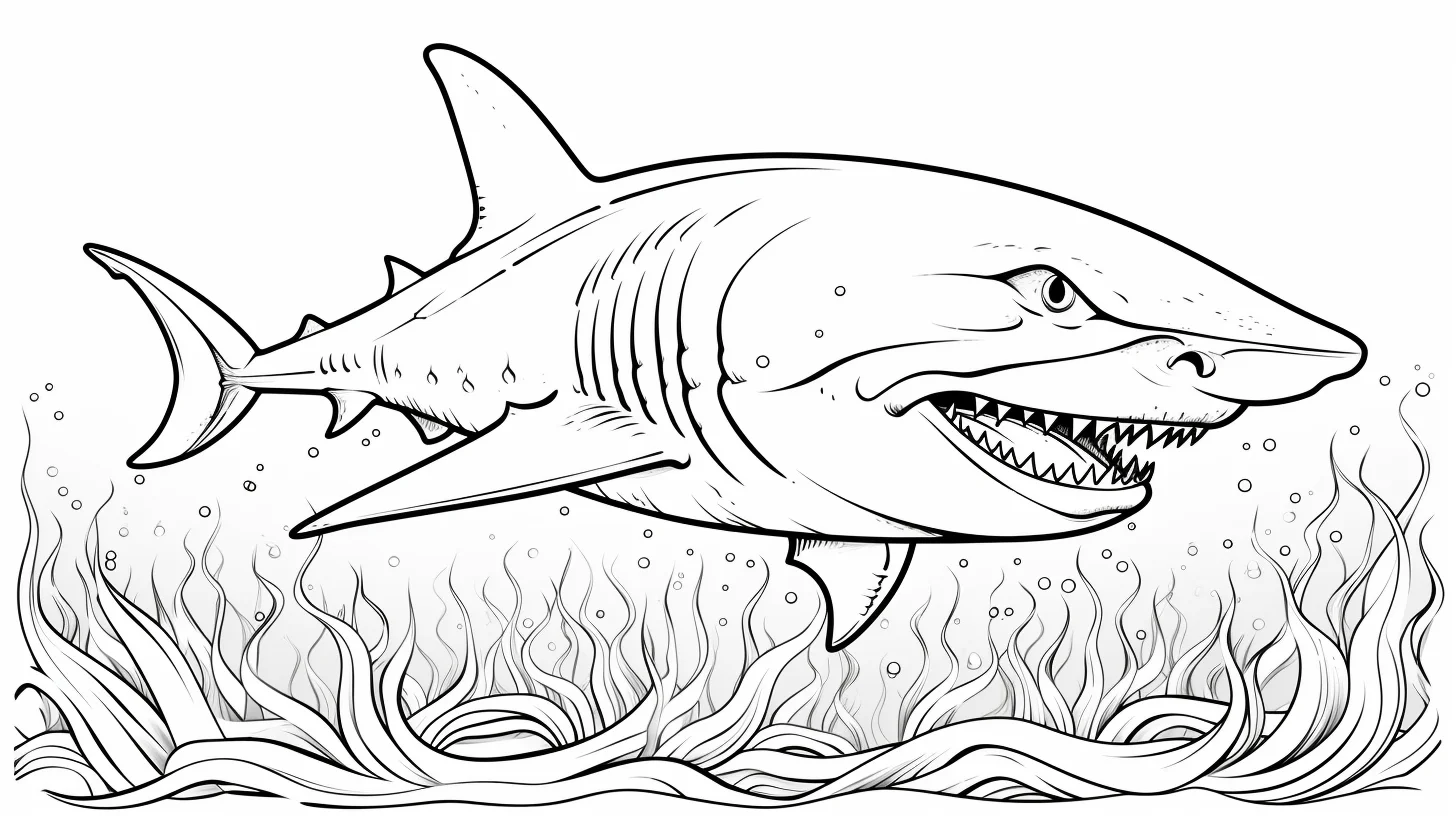
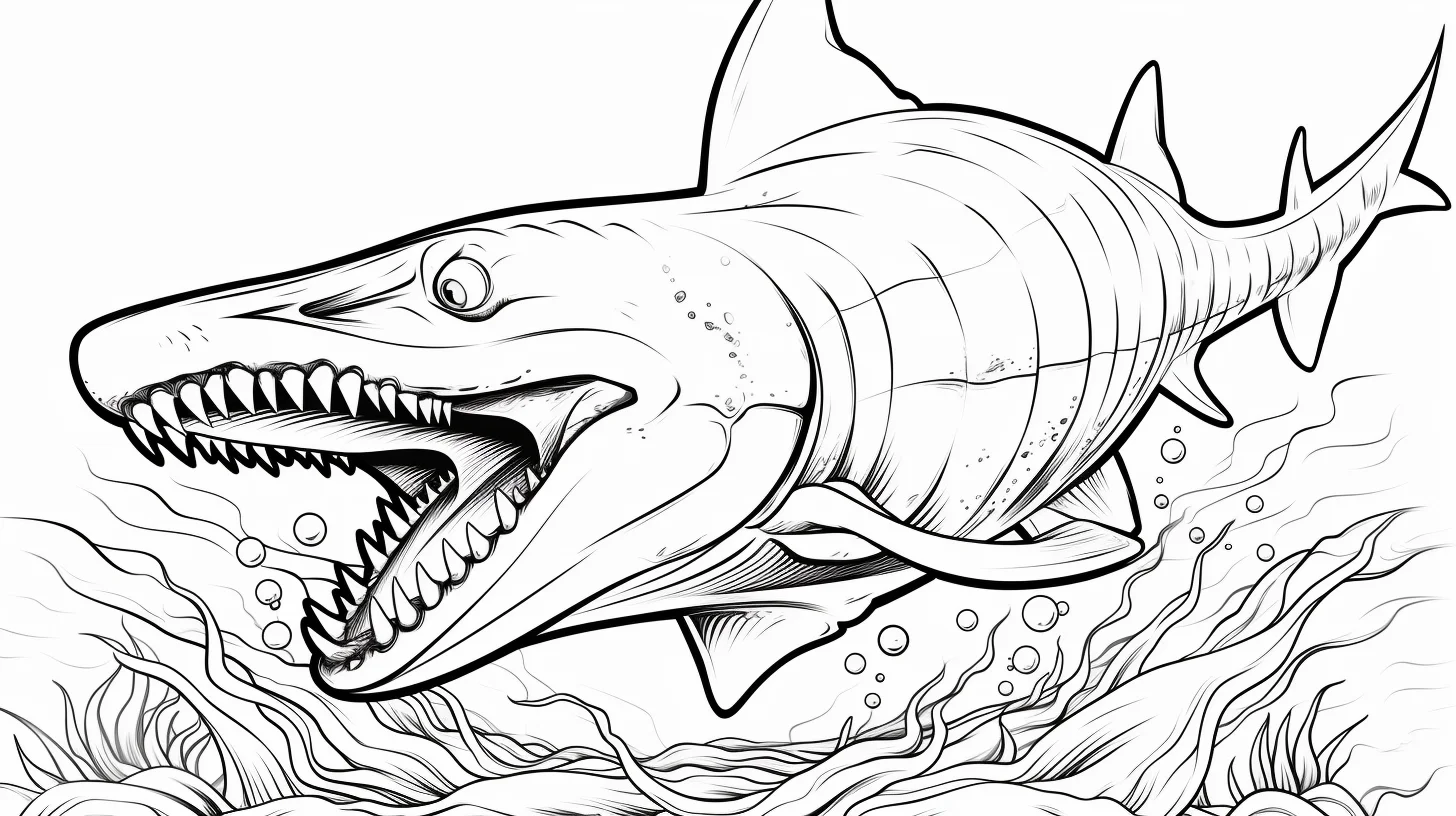
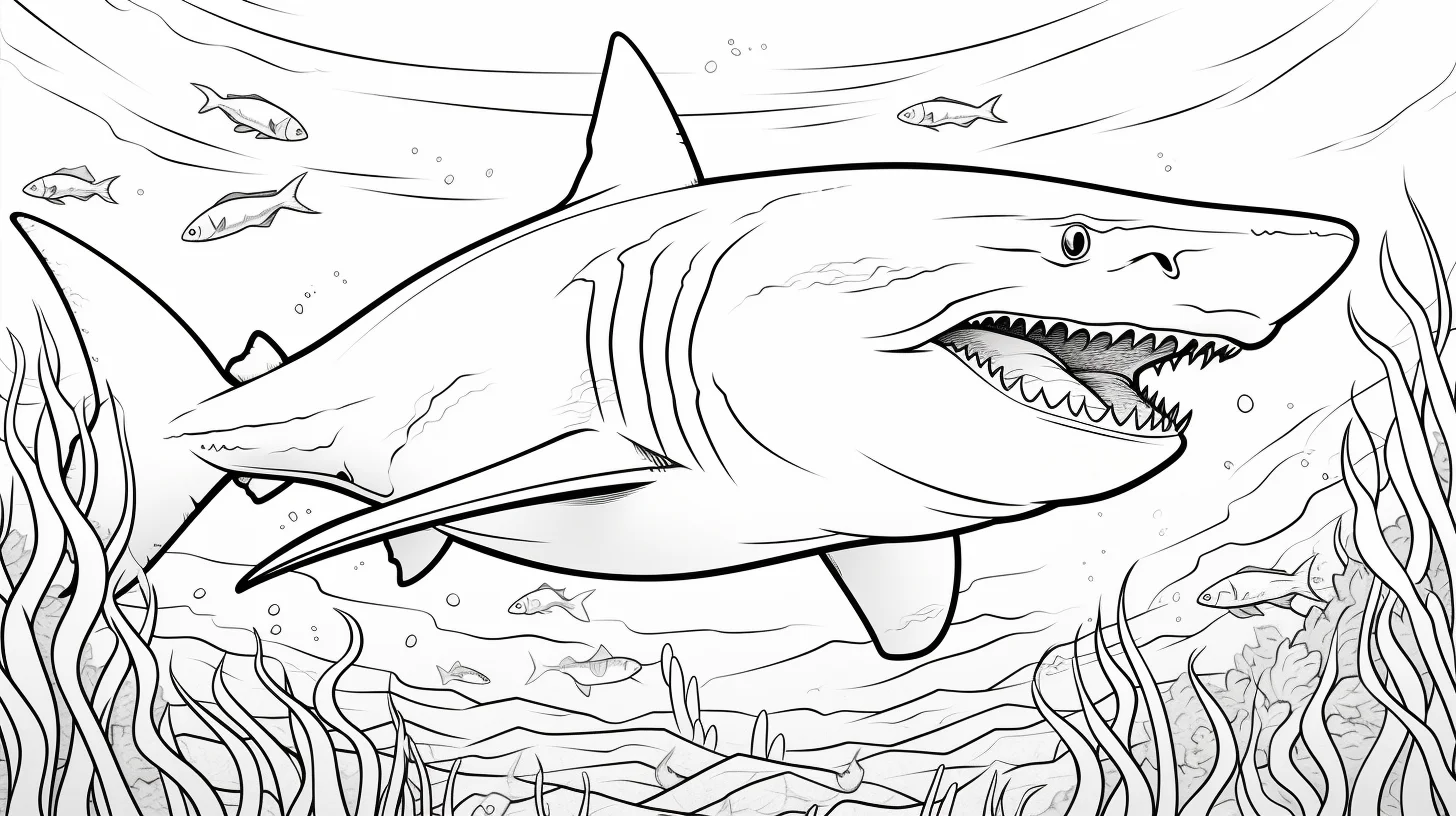
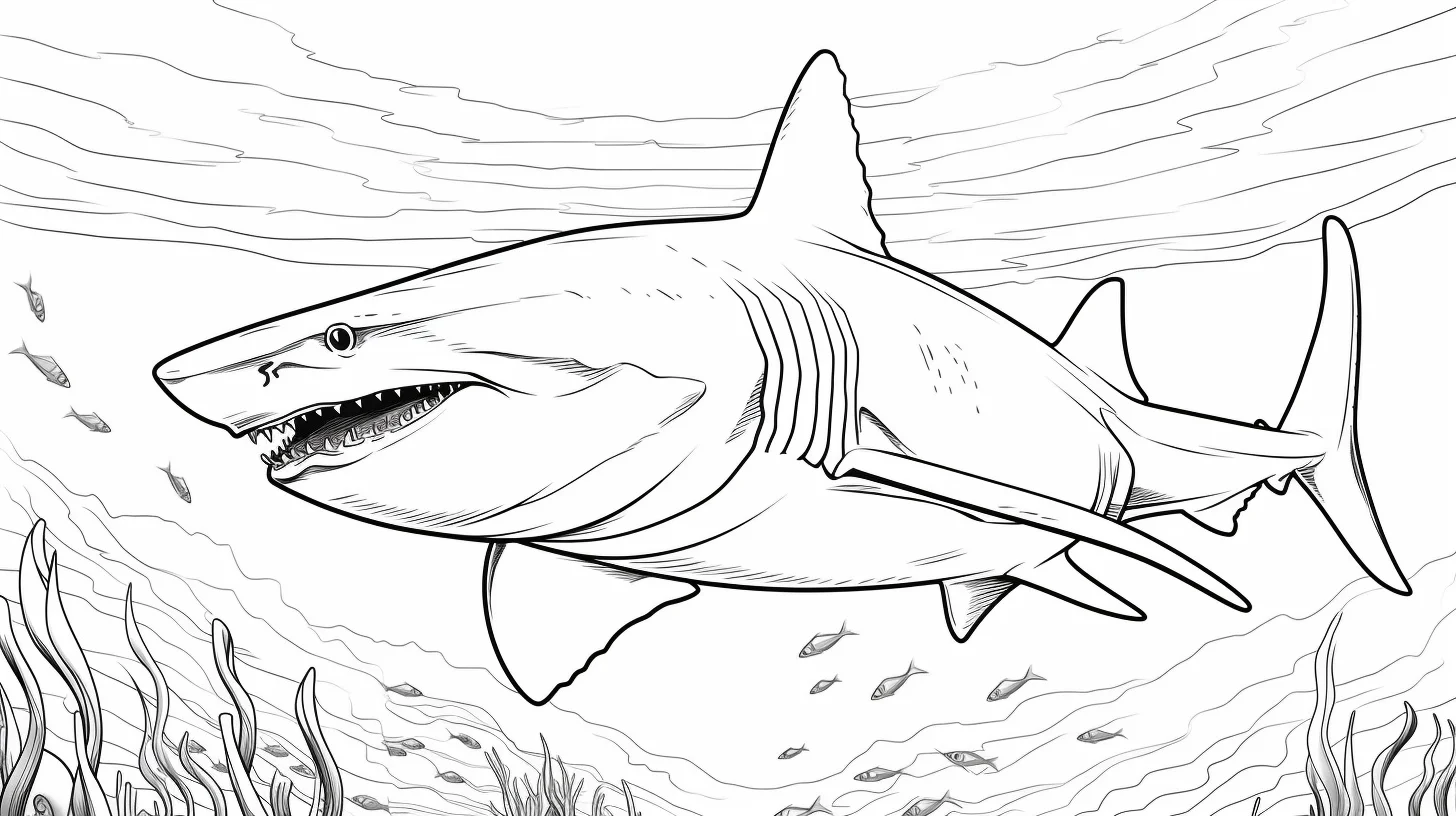
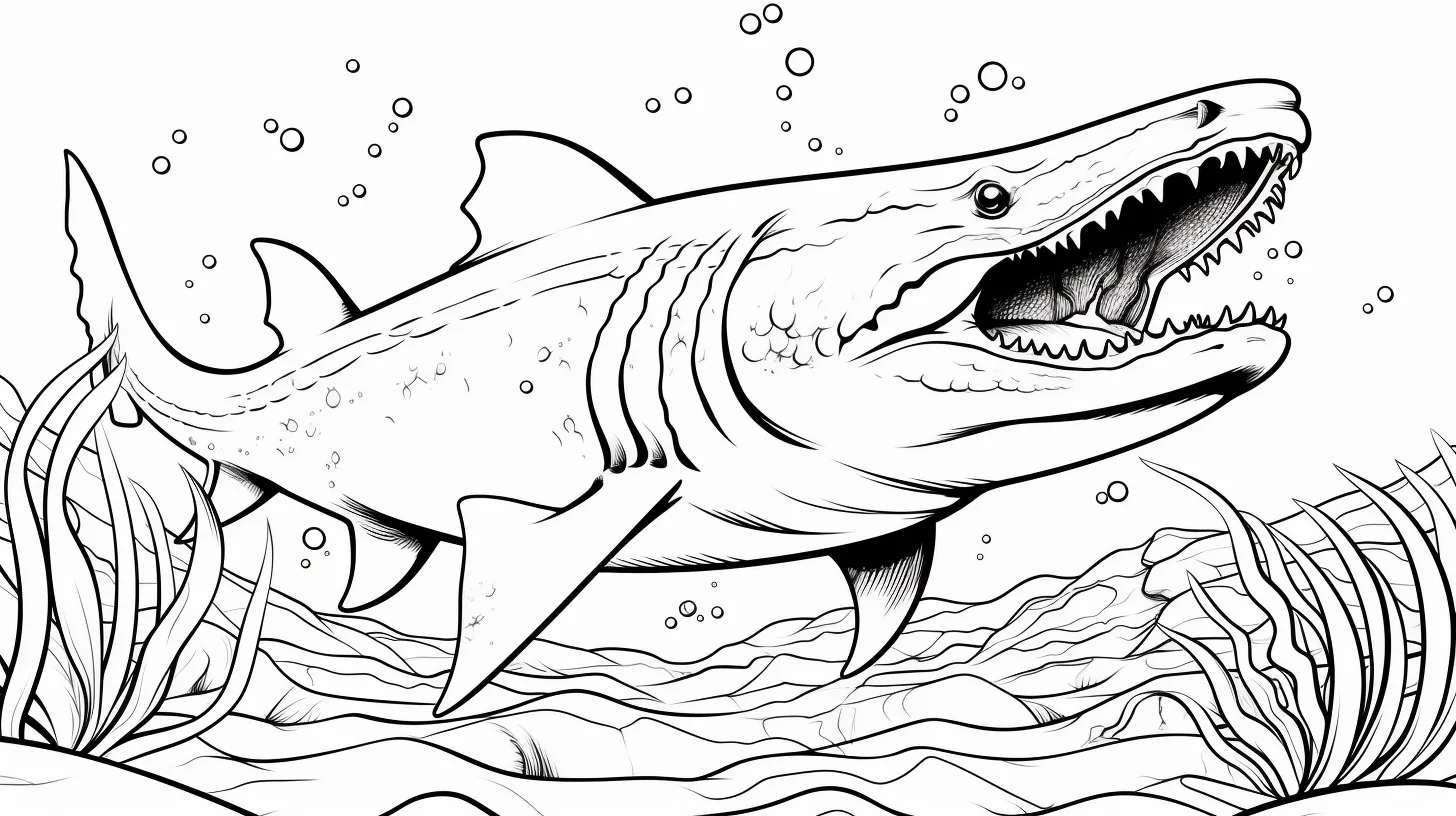
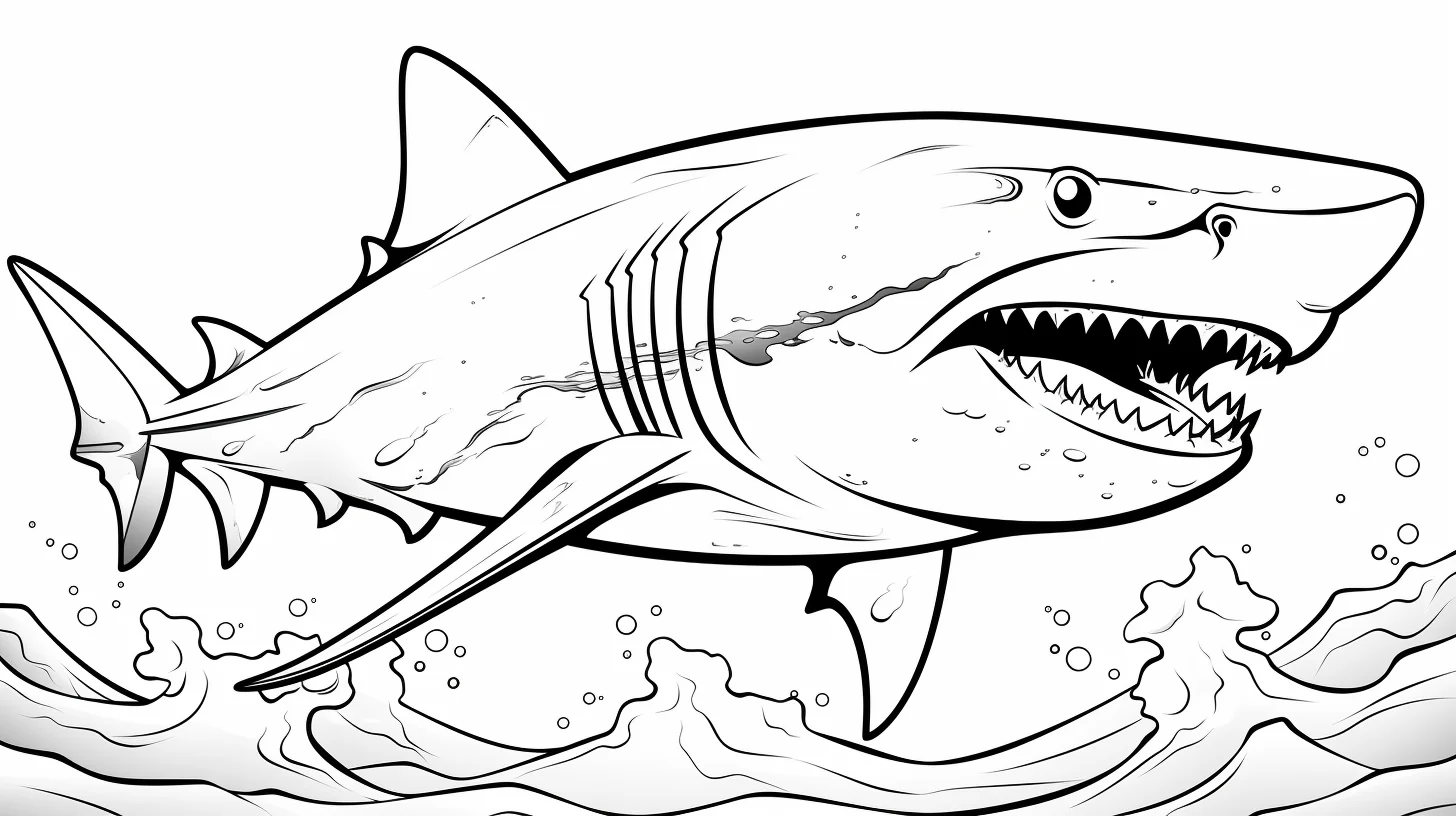
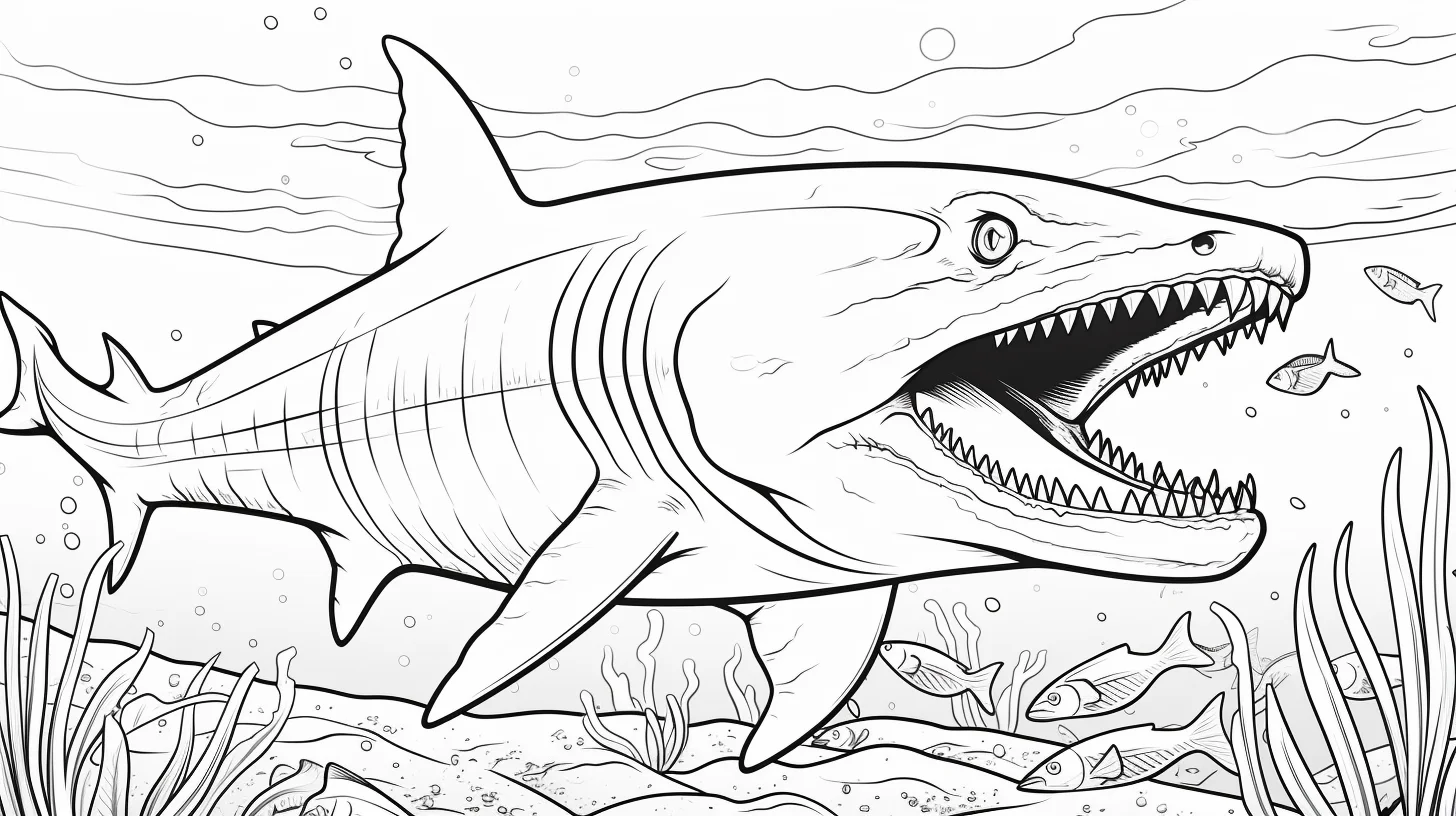
Do a two-minute silhouette test before coloring a battle scene
Before you commit to one of the Megalodon-versus-Mosasaurus sheets, use a scrap of the same printer paper and draw two overlapping bean-shaped silhouettes. Color one blue-gray and the other olive, but leave a narrow strip of untouched paper where the shapes overlap. Then hold the scrap at arm’s length. If you can still tell which shape is in front without studying it, your value separation is strong enough for the real page. If they merge, make the foreground value darker rather than adding more colors.
This matters more than anatomical detail on these pages. Teeth, fins and scales can be beautifully colored and the scene can still become hard to read if both animals and the surrounding water sit at the same brightness. On the actual sheet, establish the two body values first; only then add texture, bubbles and dark mouth accents.
Choose the foreground animal before you start
Find the creature whose head or body overlaps the other animal most clearly. Treat that one as the foreground subject. Give it your strongest dark accents around the underside, mouth and nearest fins. Keep the second animal about one value step lighter, and make distant water lighter again. If the drawing does not clearly indicate which animal is closer, choose one yourself and stay consistent. That single decision prevents the common “two gray animals in blue water” problem better than adding extra detail later.
Practice depth before tackling the busiest battle pages
These sheets are useful for practicing something that single-animal pages rarely force you to solve: visual depth. Pick three pages rather than trying to master everything at once. On the first, use only three blues in the water. On the second, make the animal nearest you darker and more contrasty than the animal behind it. On the third, add texture selectively—strongest on the animals, softer on distant rocks and water. That progression teaches separation without relying on heavy black outlines.
A simple three-layer ocean method
- Background first: keep distant water and scenery pale so you preserve room for darker values later.
- Animals second: establish each creature with a different value range or color family before adding texture.
- Deepest accents last: reserve your darkest pencil for mouths, undersides, overlapping fins and a few foreground shadows.
If the whole page becomes dark too early, it is difficult to recover the focal point. Leaving deliberate white or very pale areas around teeth, eyes and overlapping silhouettes usually creates more drama than filling every inch.
Fix common problems while you color
| Problem | What is probably happening | Try this |
|---|---|---|
| The two animals merge together | They share the same value and hue | Darken one creature or shift one toward olive/brown while keeping the other blue-gray. |
| The water looks like one flat blue block | There is no depth cue | Keep the upper/background water lighter and deepen color around the foreground and undersides. |
| The teeth look dirty | Too much gray was added | Return to mostly white teeth and place a narrow shadow only near their bases. |
| The scene feels chaotic | Every object has equal contrast | Choose one animal as the focal point and soften background rocks, bubbles and plants. |
| Pencil texture looks scratchy | Pressure is too heavy too soon | Build two or three light layers, changing direction slightly between passes. |
| Markers bleed through the paper | The sheet is too thin or repeatedly saturated | Print on heavier paper when possible and place scrap paper underneath before coloring. |
Make the two animals easy to tell apart
On the versus pages, give the animals different color families instead of making both of them the same gray. A blue-gray or charcoal Megalodon next to a muted green, brown or olive Mosasaurus is easier to read at a glance. Keep the water lighter around the outlines if the animals start disappearing into the background.
For teeth, leaving most of the paper white usually works better than filling every tooth with gray. A little shadow at the base is enough to give the mouth depth without making it look muddy.
Good picks for different ages
- Younger kids: choose the pages with one large animal and very little scenery.
- Older kids: the battle scenes are more interesting if they enjoy small details and longer coloring sessions.
- Adults or careful colorers: try layering two or three shades in the water and using a darker pencil for the deepest shadows instead of outlining everything in black.
Want a simpler shark page instead?
Use the Megalodon-only collection if you want fewer mixed-species scenes, or browse the regular shark coloring pages for modern-looking sharks and a wider range of difficulty.

