
There are 24 leopard coloring pages in this set, but they are not all aimed at the same kind of coloring session. Some are simple enough for a quick activity with crayons; others have more realistic bodies, smaller markings and backgrounds that are better suited to colored pencils.
The easiest way to choose is to look at the amount of empty space. A page with a large leopard shape and fewer spots will be much faster to finish than one with a full coat pattern, grass, rocks or other scenery.
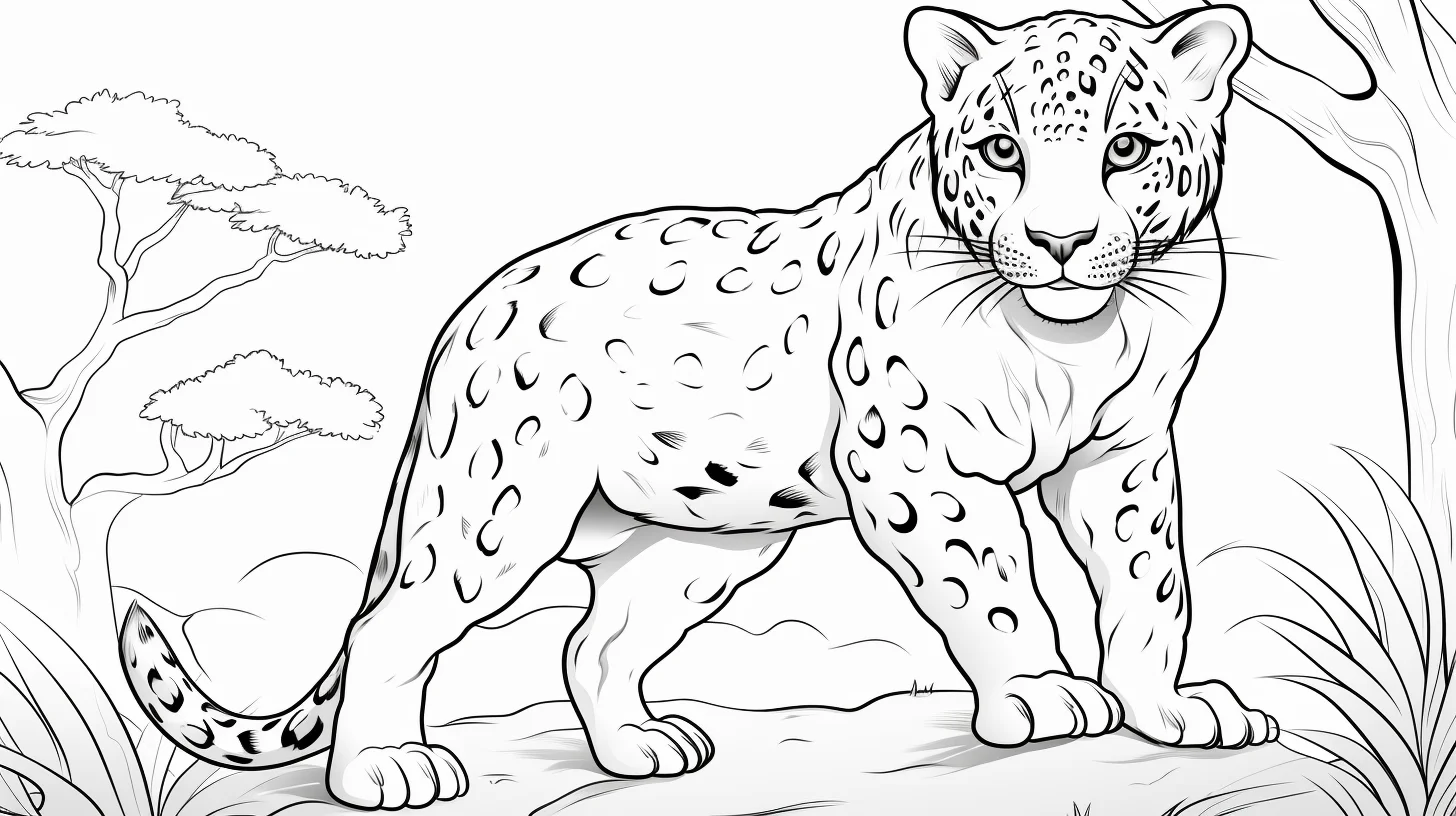
Try this 60-second rosette test before you start
- Check your point size: touch your crayon, marker or pencil tip to one of the smallest face markings. If the tip covers the whole shape, use that tool for the body and switch to a sharper pencil for the face.
- Make three fur values: on scrap paper, test a light golden base, a medium brown shadow and a dark rosette color. If the medium and dark values look almost identical, lighten the shadow before working on the leopard.
- Protect the face: color the muzzle and eye area before filling the darkest markings. Keeping the marks smaller around the eyes prevents the expression from disappearing into the coat.
- Test one broken rosette: make a dark ring with one or two gaps instead of a solid circle. If it reads clearly from arm’s length, repeat the idea with different sizes rather than copying the exact same spot.
- Choose the background hierarchy: decide whether the leopard or the scenery gets the strongest contrast. On most pages, keeping grass and rocks one step quieter makes the coat easier to read.
For younger children: skip the rosette test. Use one warm body color plus one dark spot color, leave the muzzle lighter, and stop when the leopard is recognizable. Finishing every tiny marking is not necessary.
Choose a leopard page by difficulty
- Easy: baby or kawaii leopards with large shapes and simple faces.
- Medium: standing or sitting leopards with more coat markings but little background detail.
- Detailed: realistic cats with smaller rosettes, fur texture and scenery.
This page is for general leopard designs. If you are specifically looking for the fluffier mountain cat, use the separate snow leopard coloring pages.
How to print without cutting off the tail or paws
Open the full-size image before saving it, then print on A4 or US Letter paper with “fit to page” selected. That matters on the wider drawings, where a printer set to actual size can crop the tail, feet or edge of the background. Plain paper is fine for crayons and pencils; use a heavier sheet if you want to work with markers.
Coloring the leopard coat
For a natural-looking result, start with the base fur before touching the spots. A warm tan or golden brown works well for the body, with a lighter cream shade on the belly, muzzle and inside of the legs. Add the darker rosettes after the base color is down so you can still shade underneath them.
You also do not have to make the spots pure black. Dark brown or charcoal usually looks softer, especially on the cute pages. On the realistic drawings, leave a little lighter fur visible between the markings instead of filling every gap with the same color.
If you like big cats, the tiger coloring pages give you a completely different stripe pattern, while the animal coloring collection has simpler choices across many species.
Free printable leopard coloring pages
Start of the printable set: the first sheet now appears above so you can judge the line density before choosing from the rest of the collection.
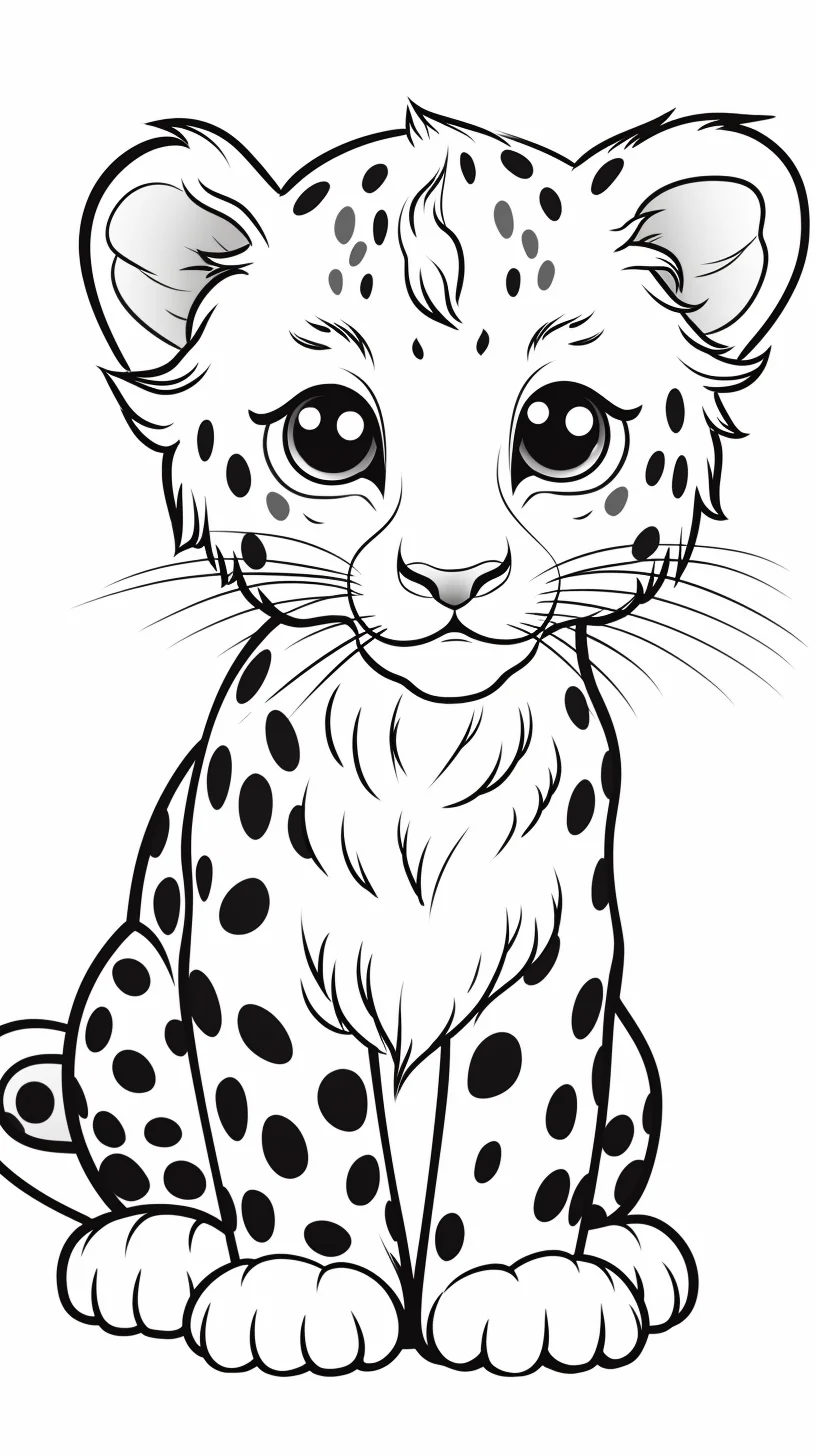
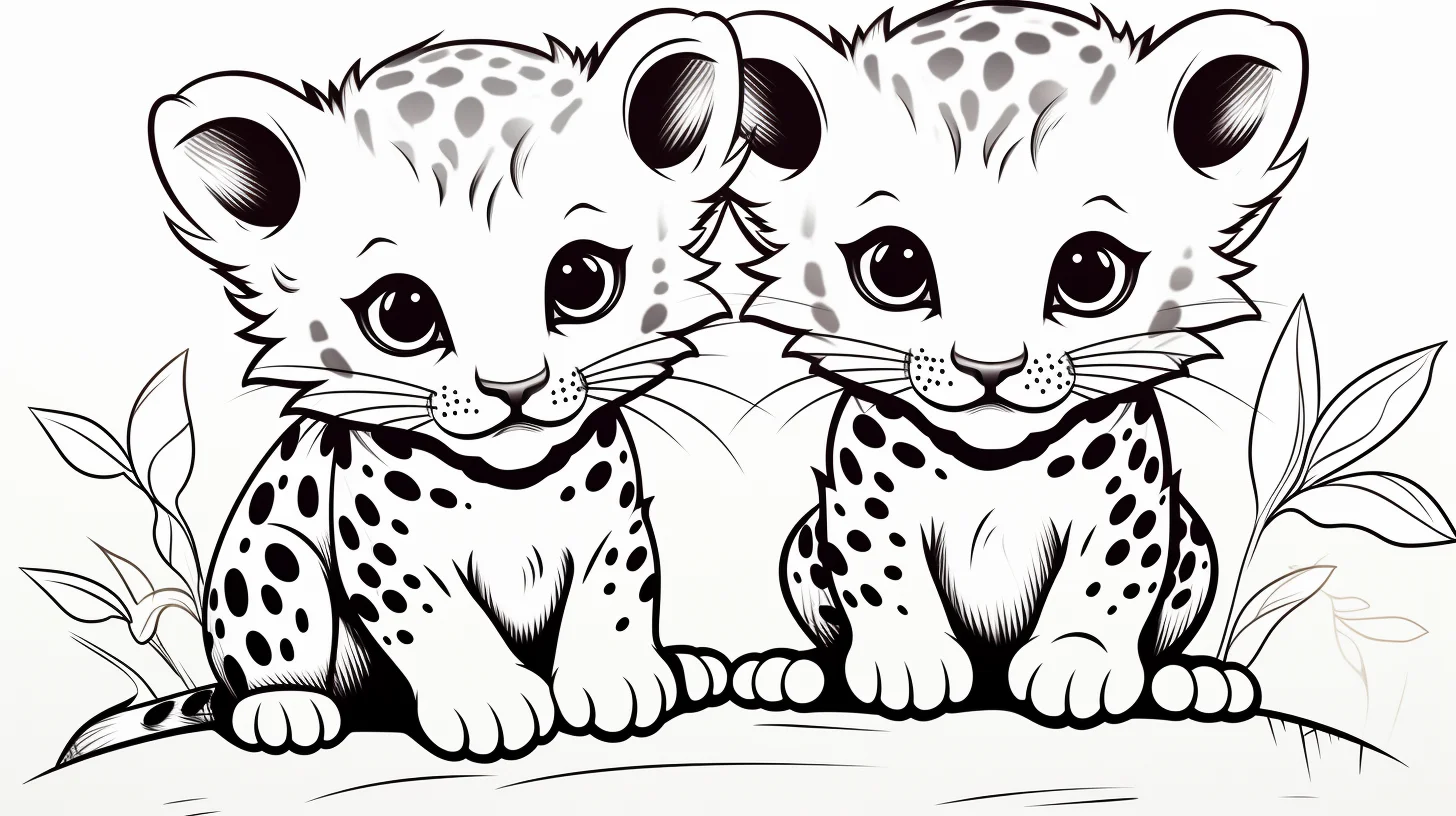
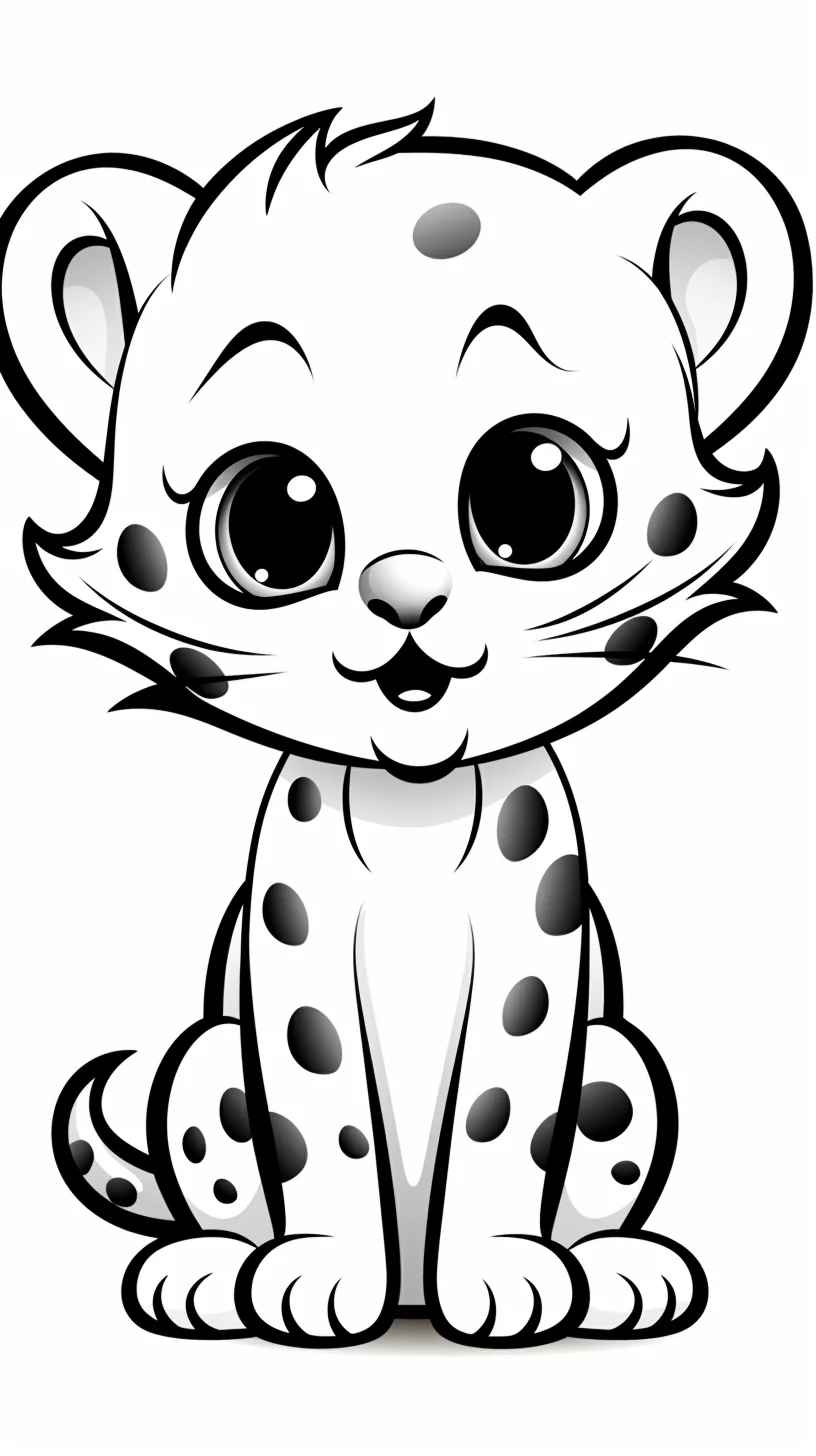
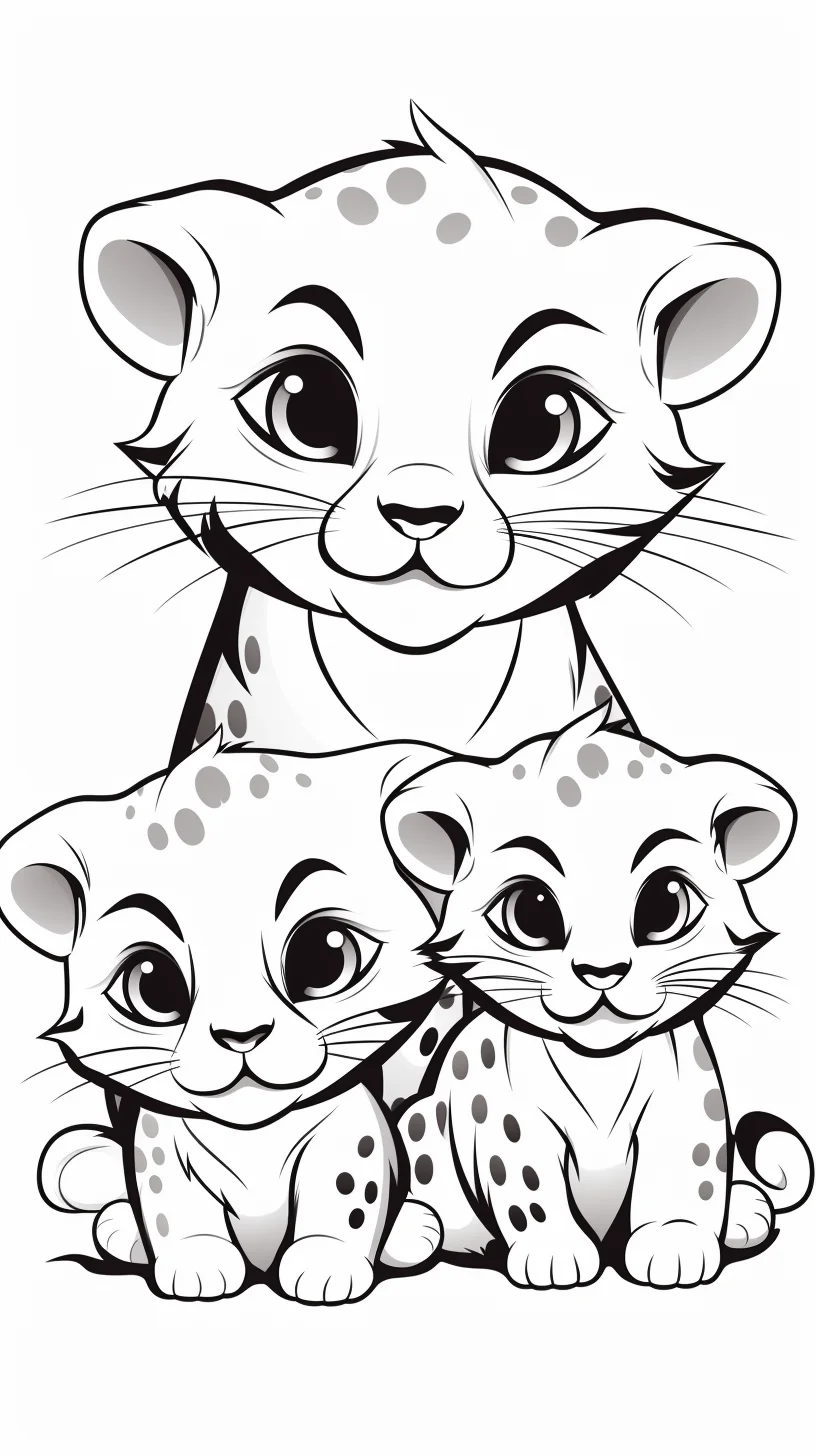
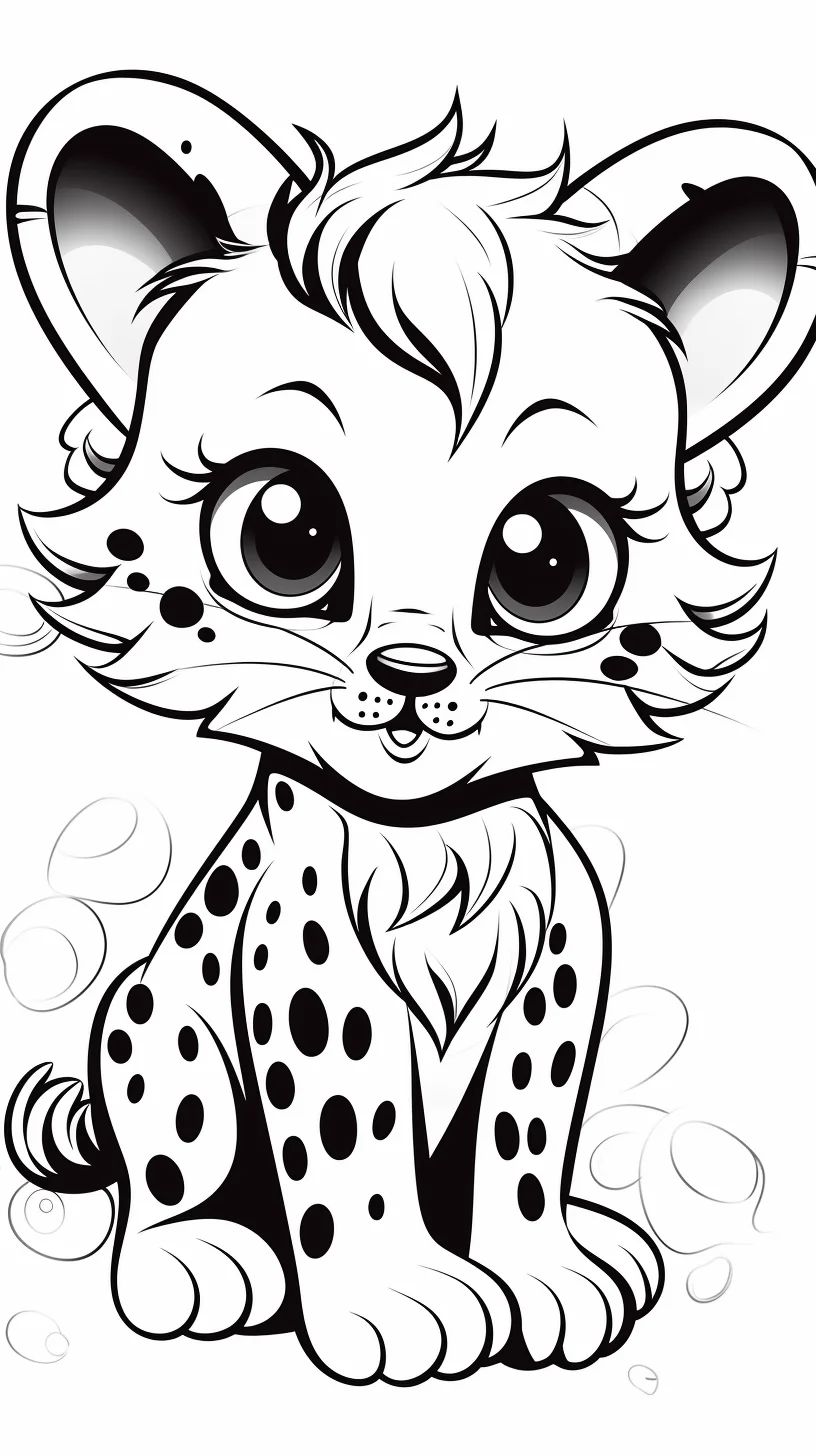
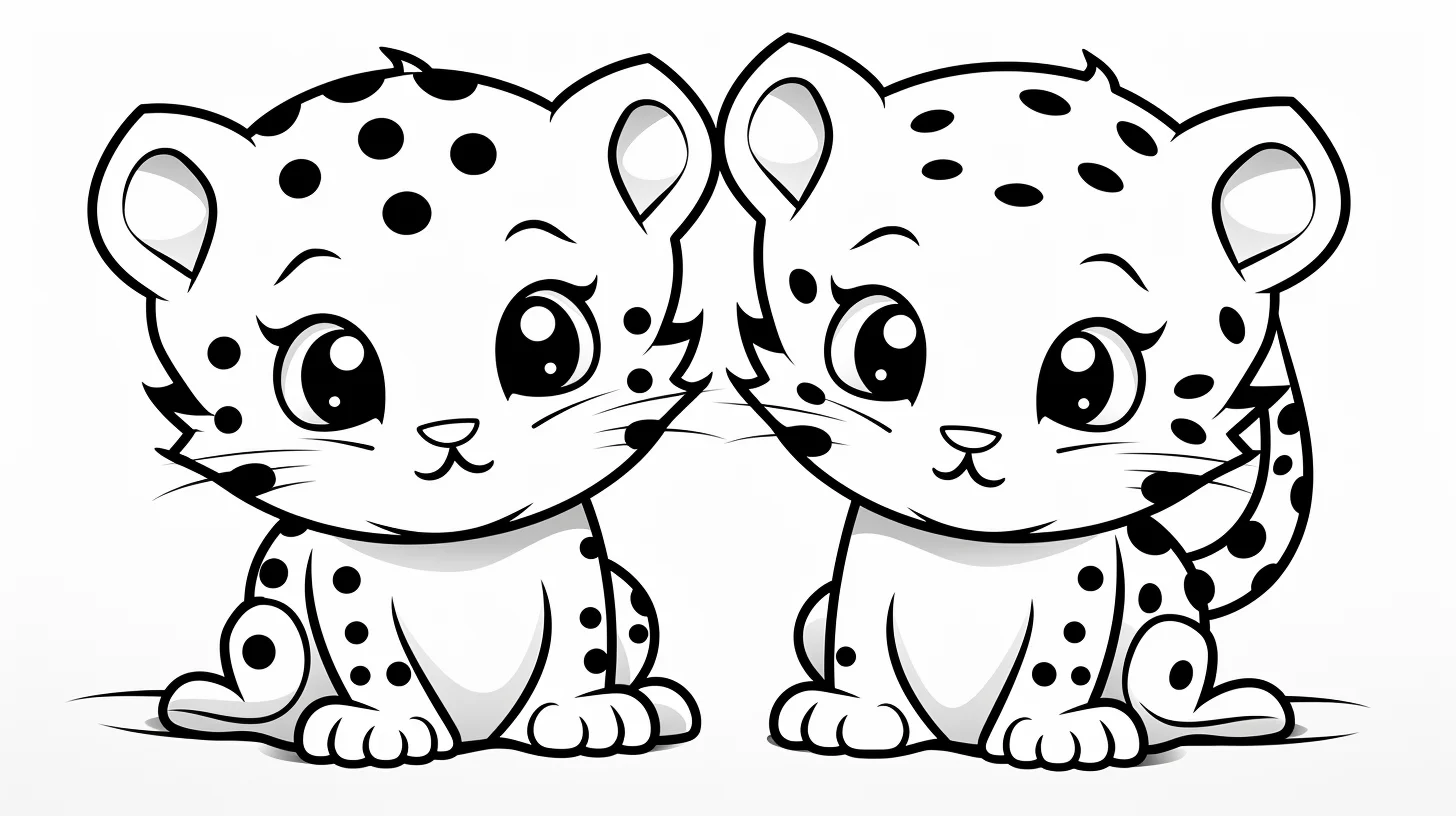
Easy and kawaii group: these early kid-friendly pages are better when you want large shapes and a shorter coloring session. Crayons are fine here; save the sharper pencils for the pages with denser rosettes and smaller facial details farther down.
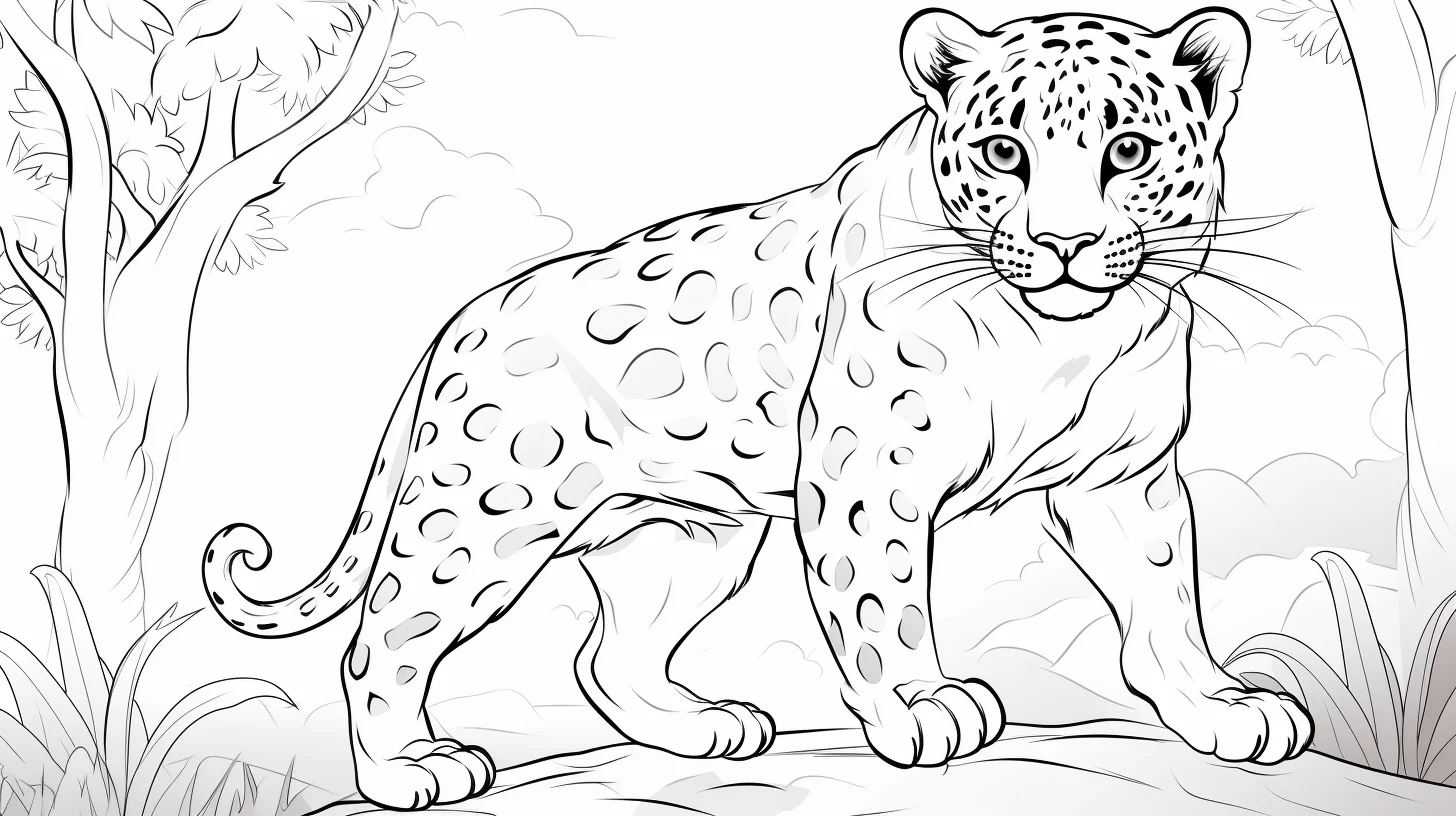
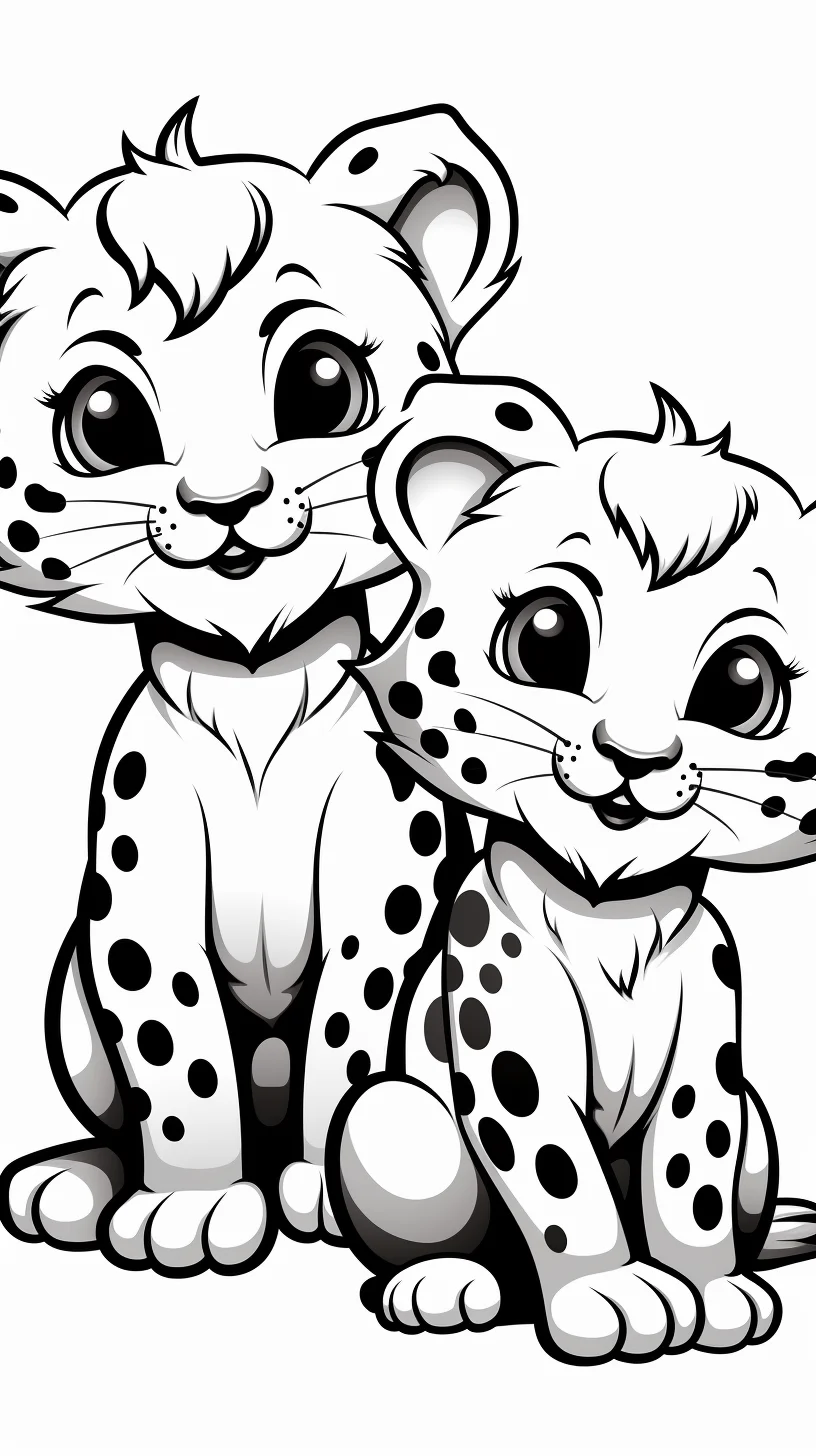
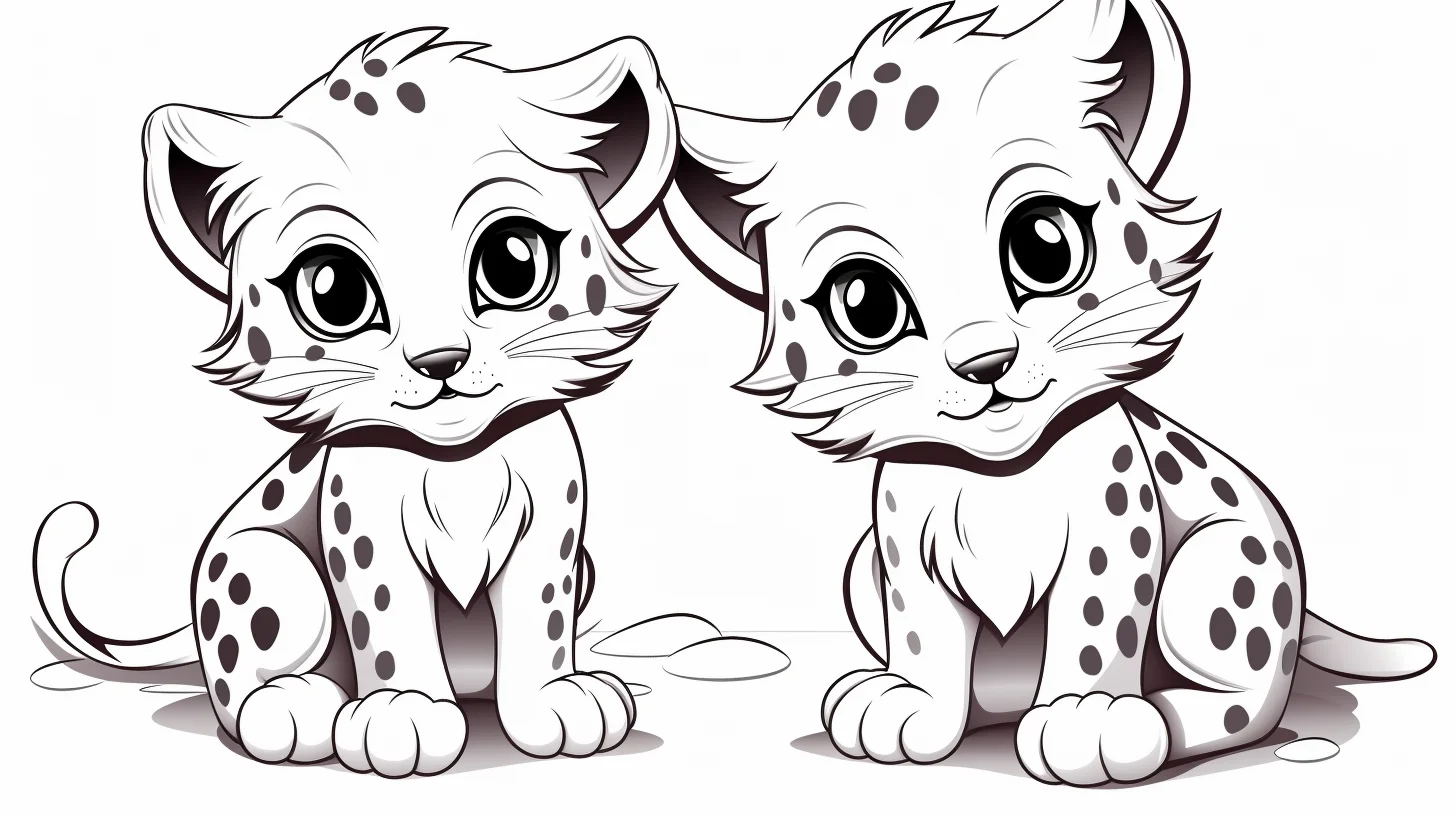
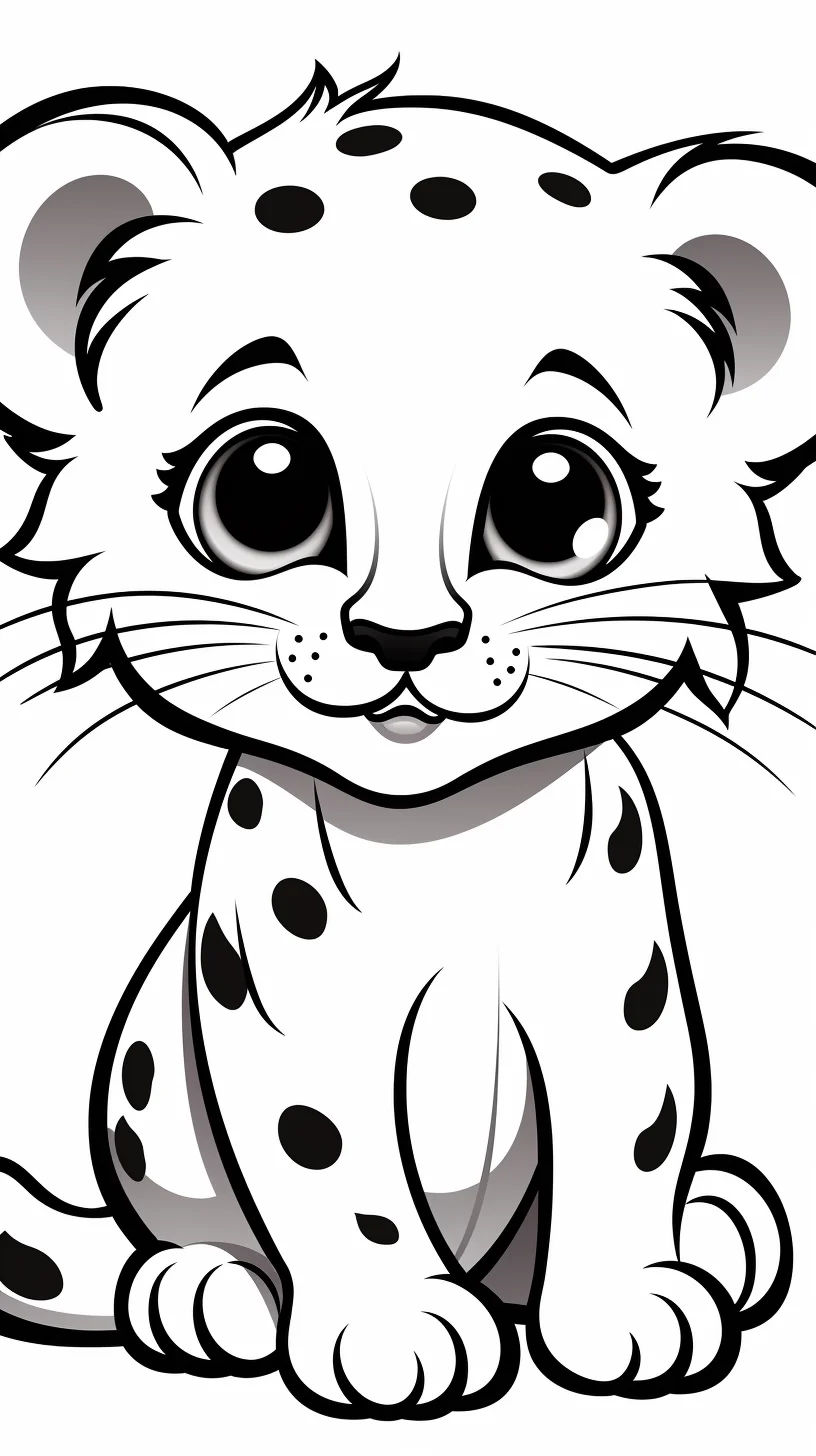
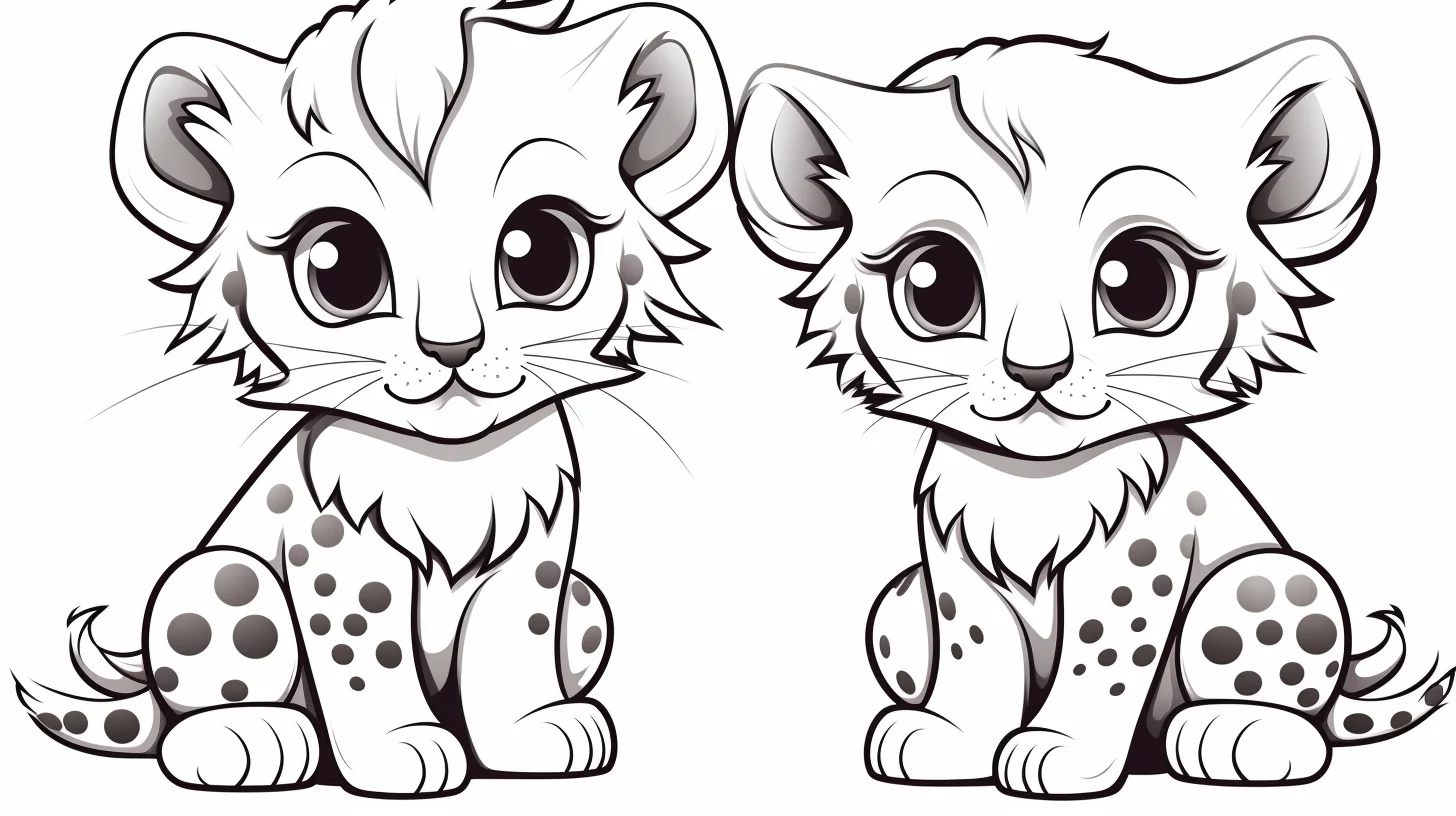
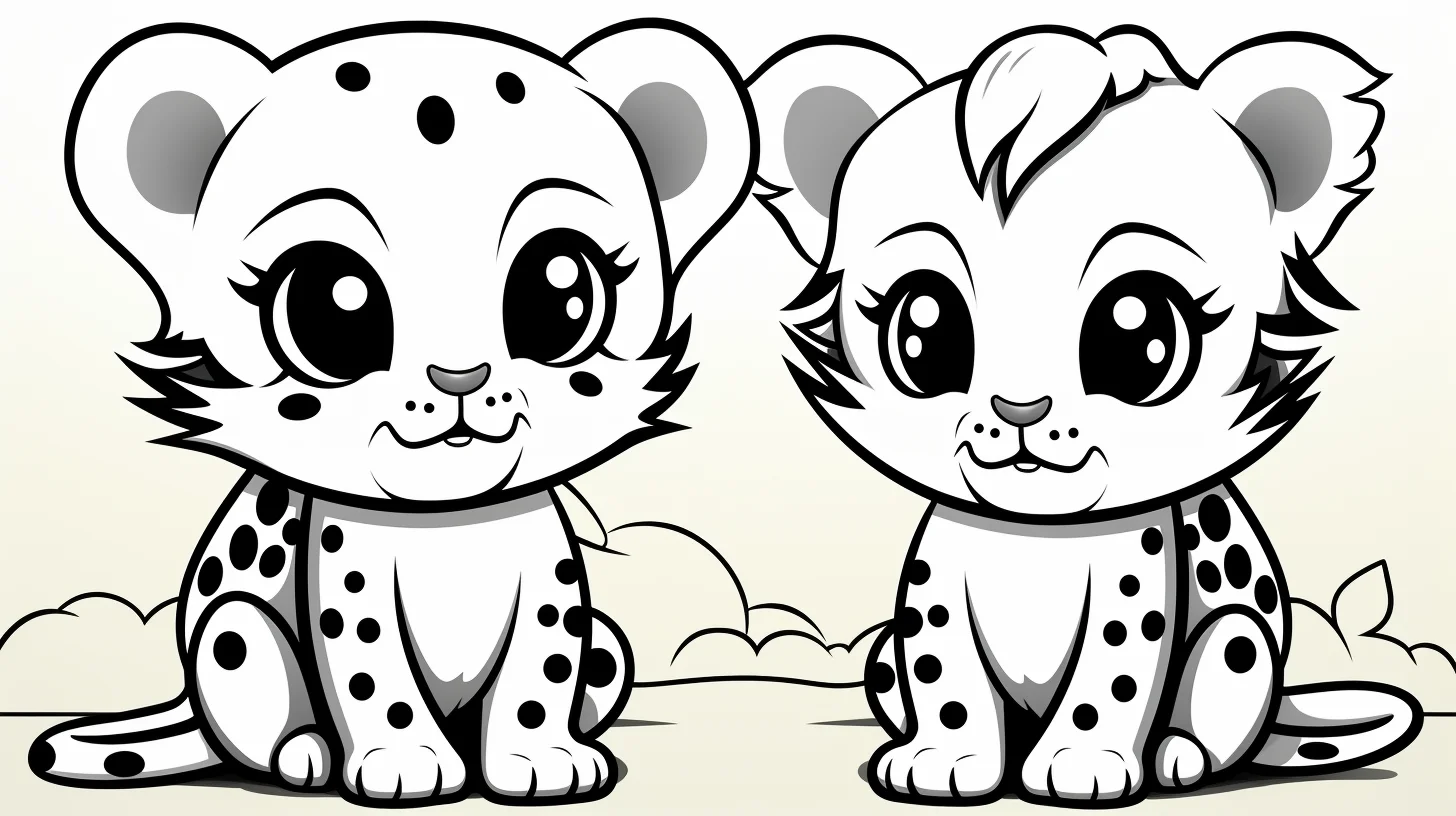
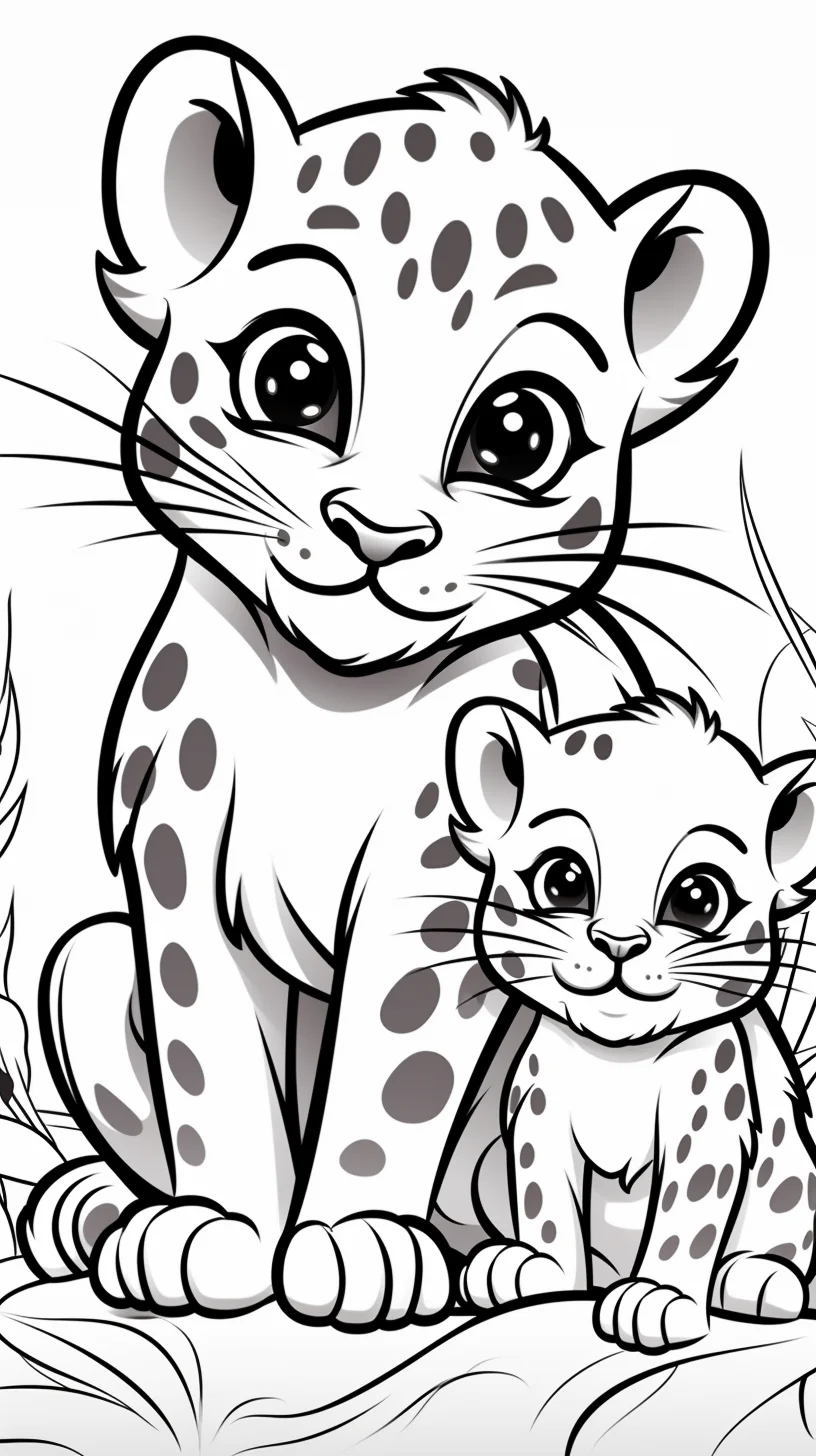
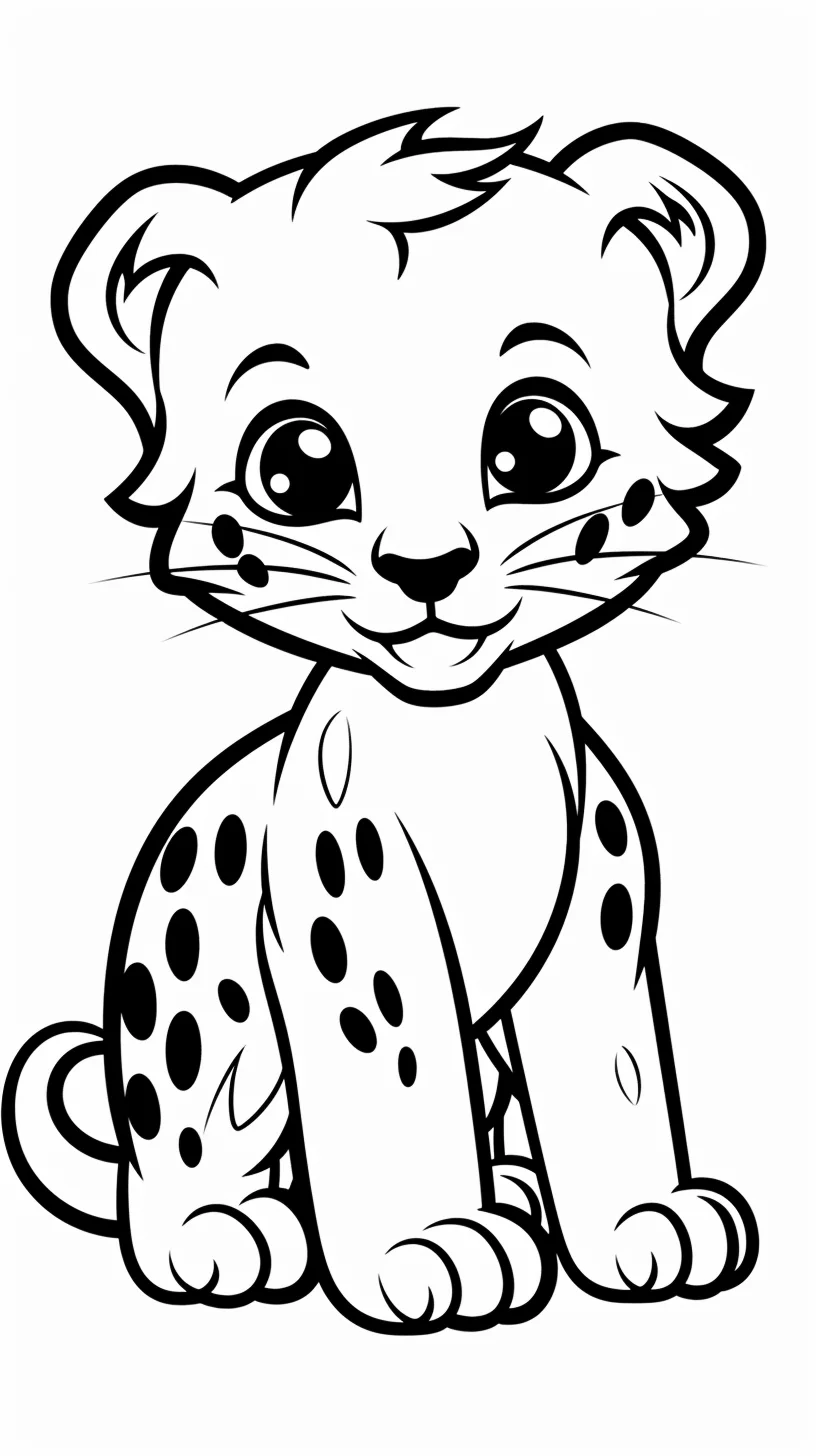
Toddler-friendly pages: if the goal is simply to enjoy coloring rather than complete every spot, choose these simpler designs and let the child skip some markings. A large golden or yellow base with only a few dark spots is enough to make the leopard recognizable.
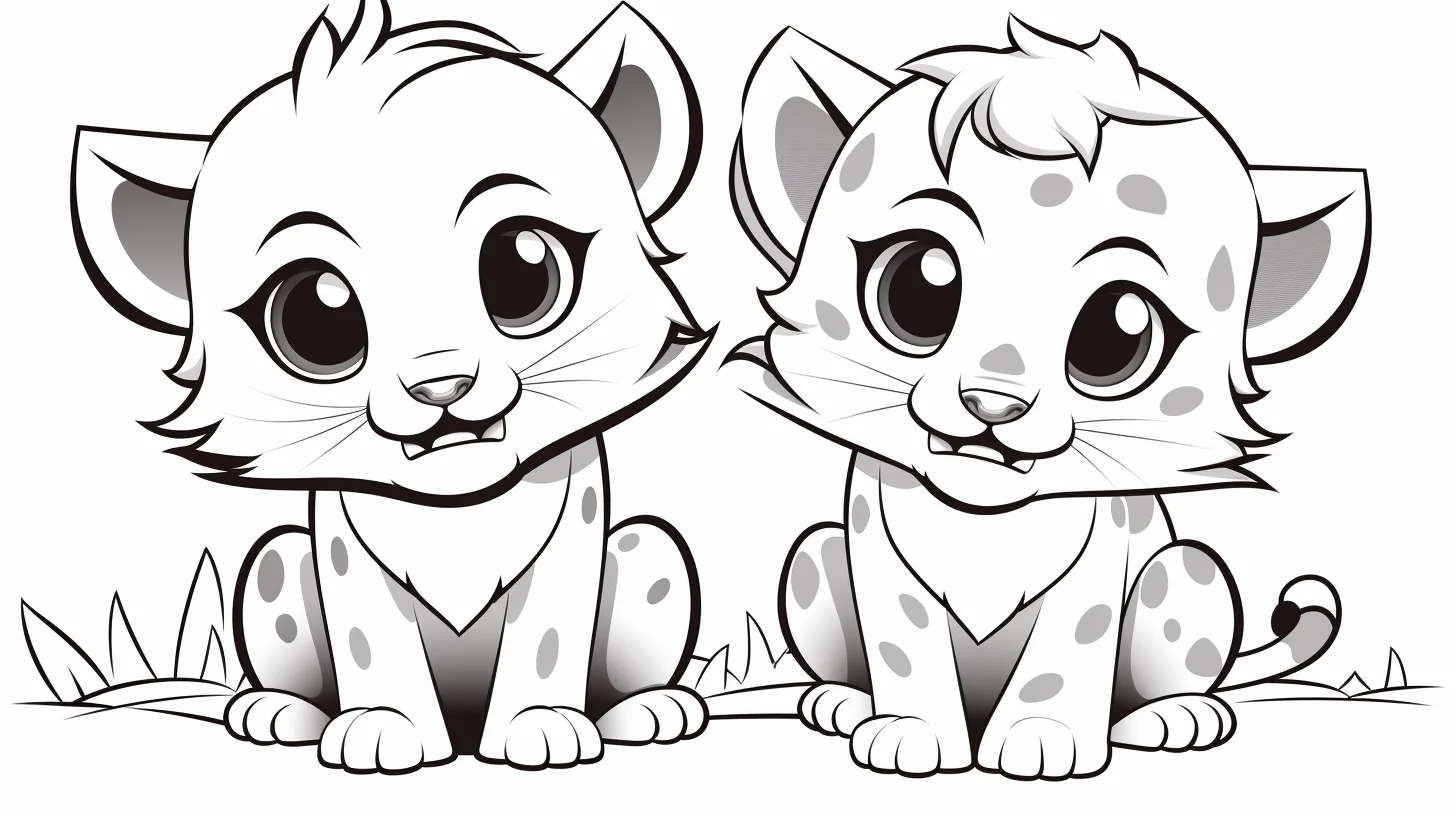
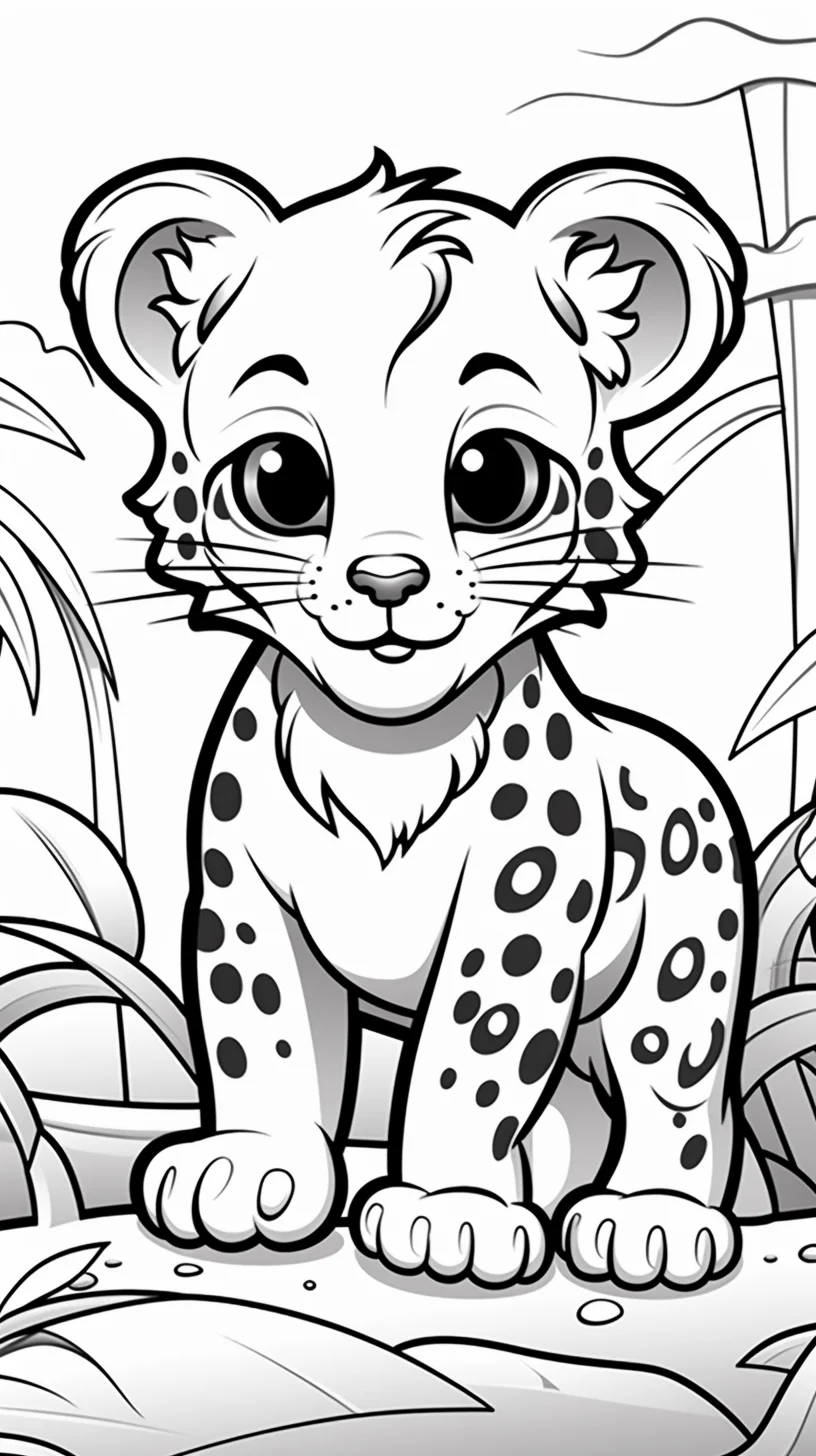
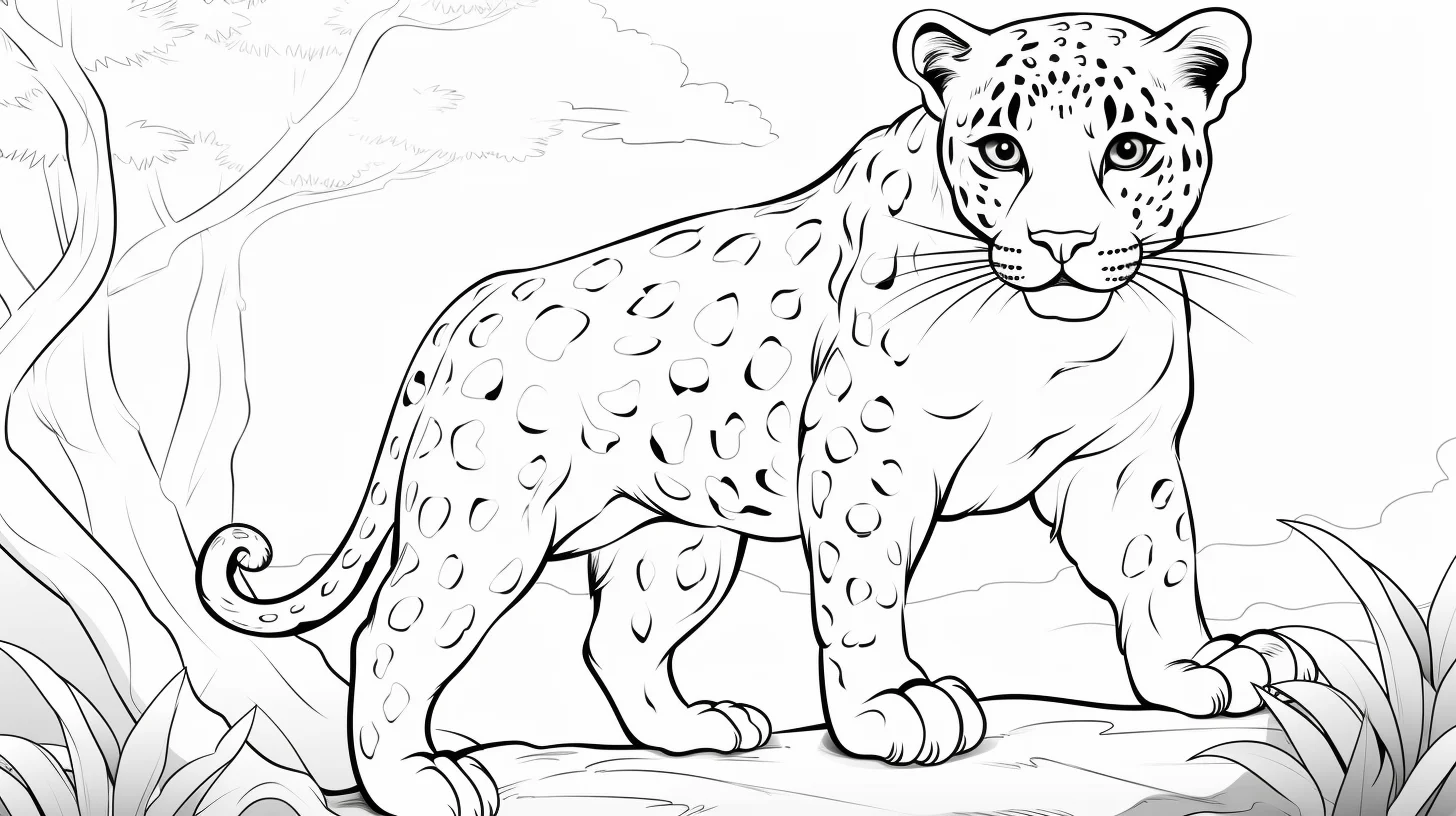
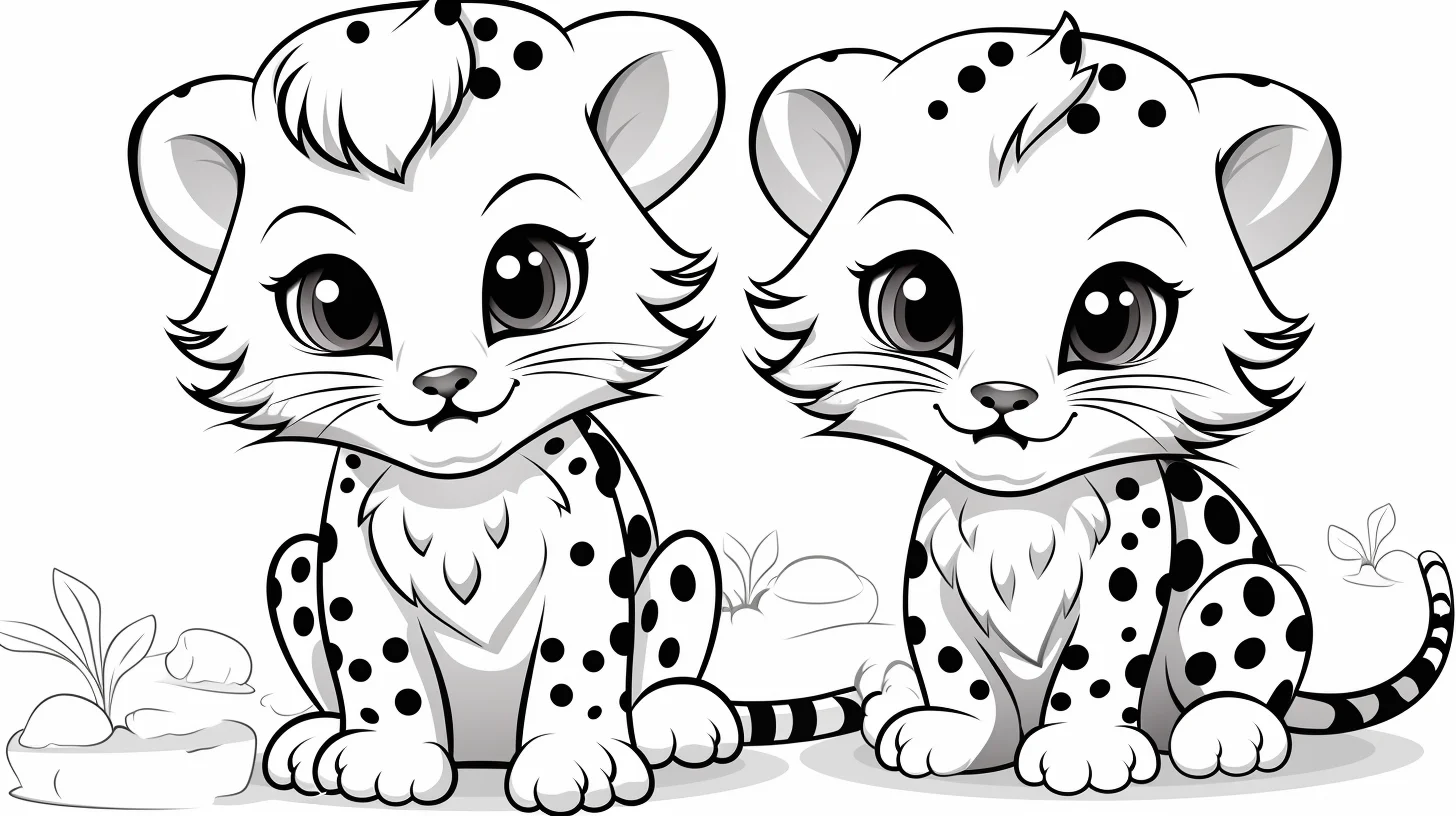
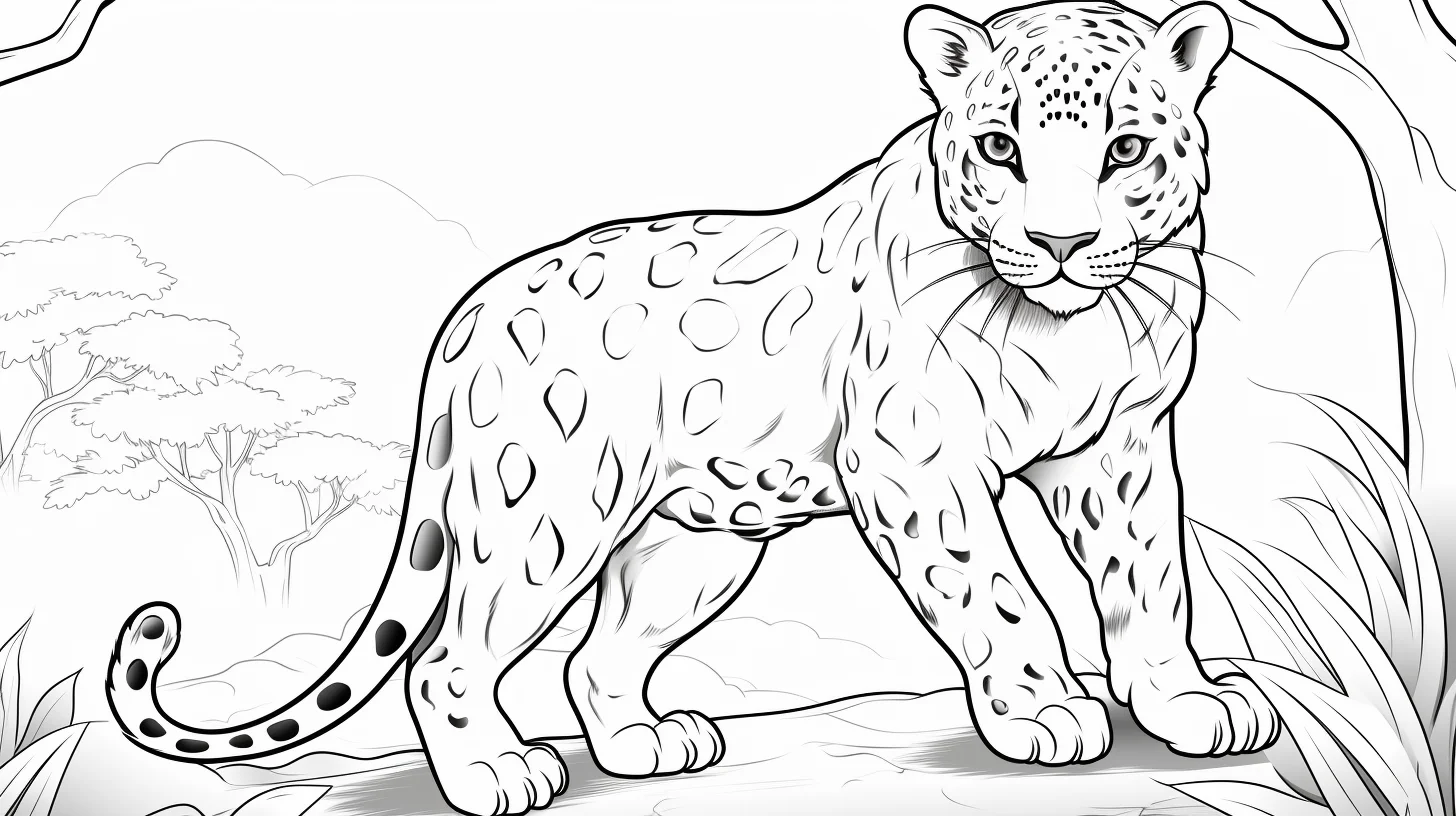
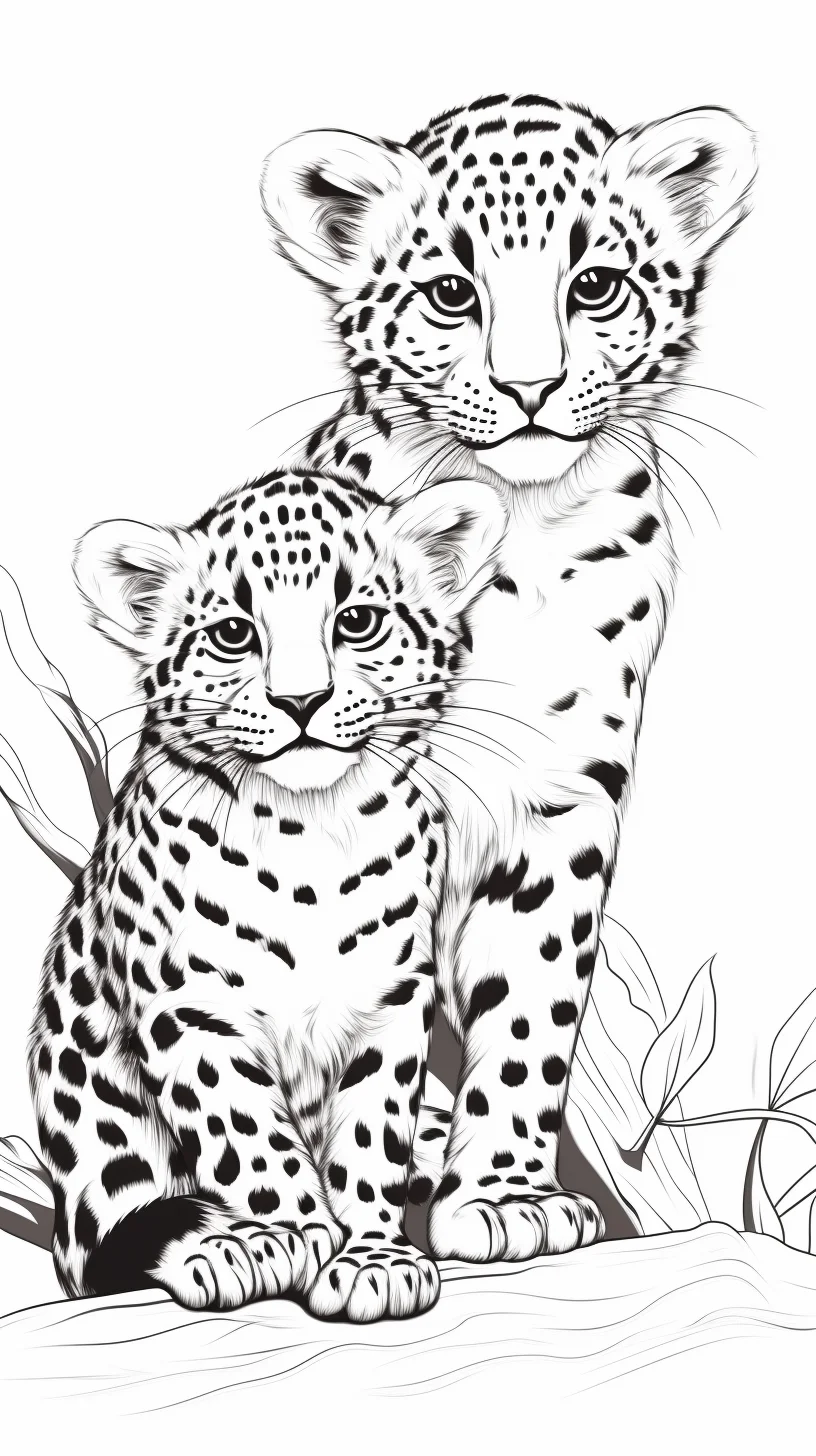
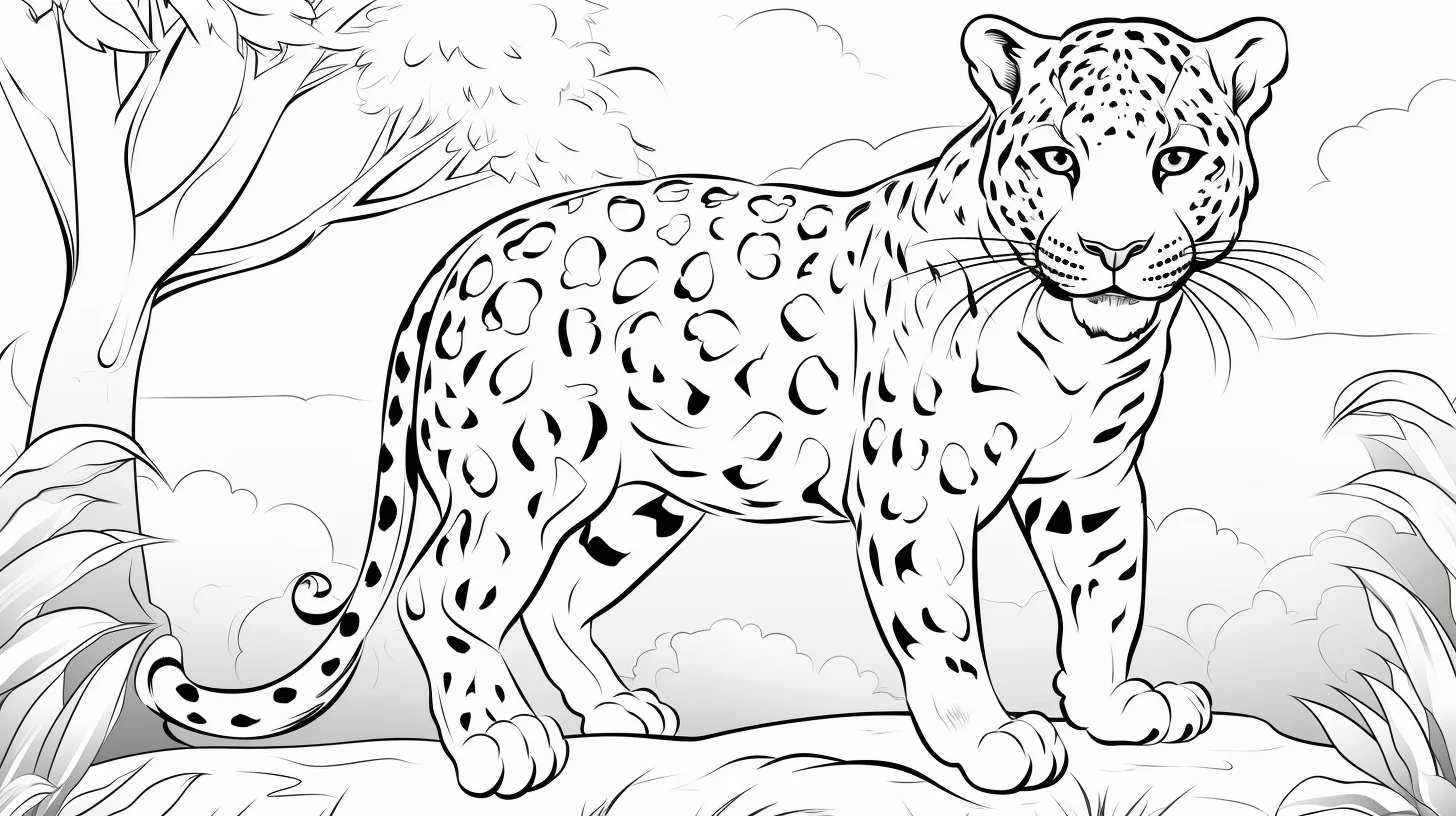
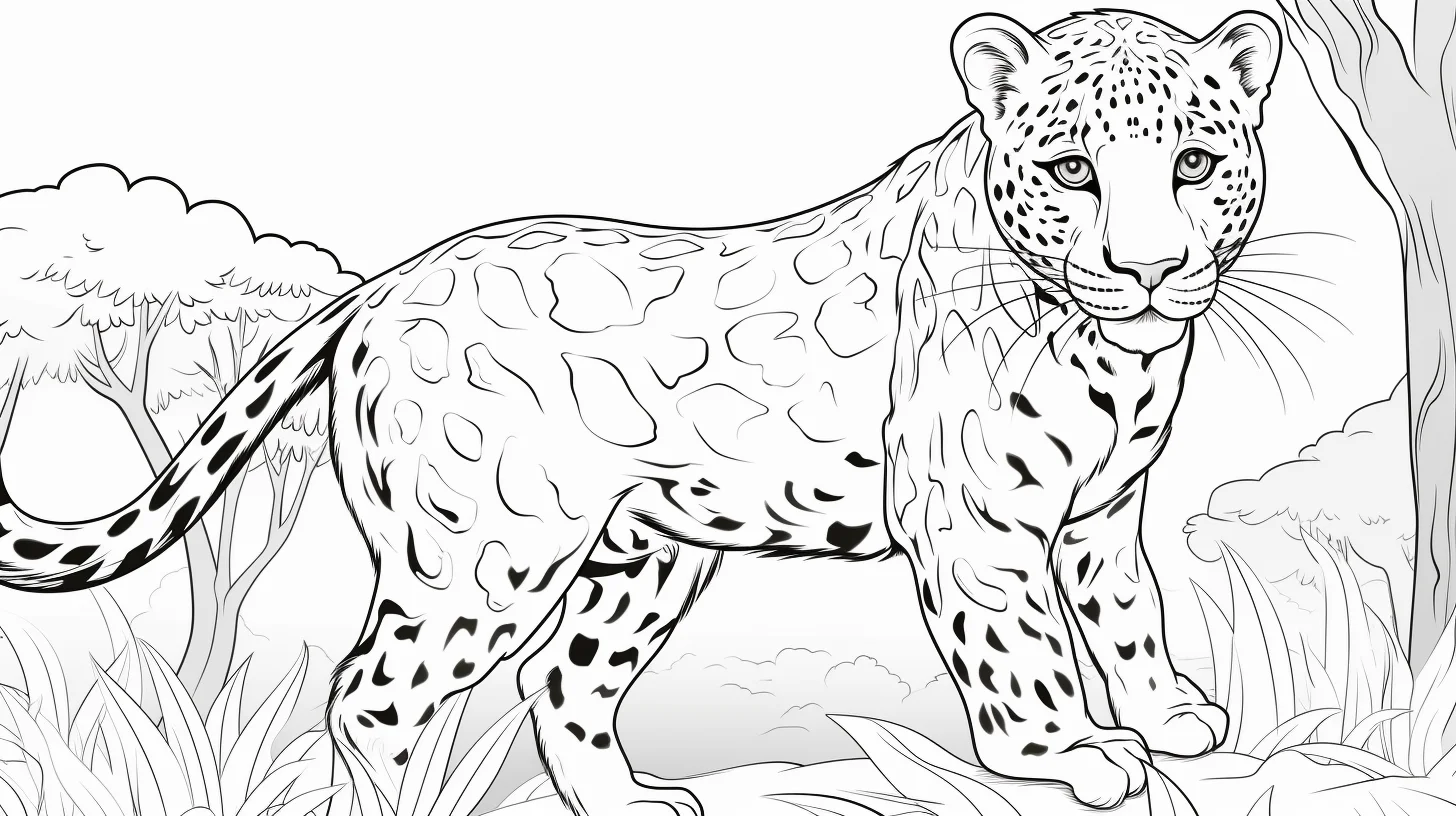
Realistic leopard page: use several light layers rather than one heavy brown. Build the golden base first, add darker rosettes second, then finish with shadow under the belly, jaw and legs. That order keeps the coat pattern visible instead of turning the animal into a flat block of color.
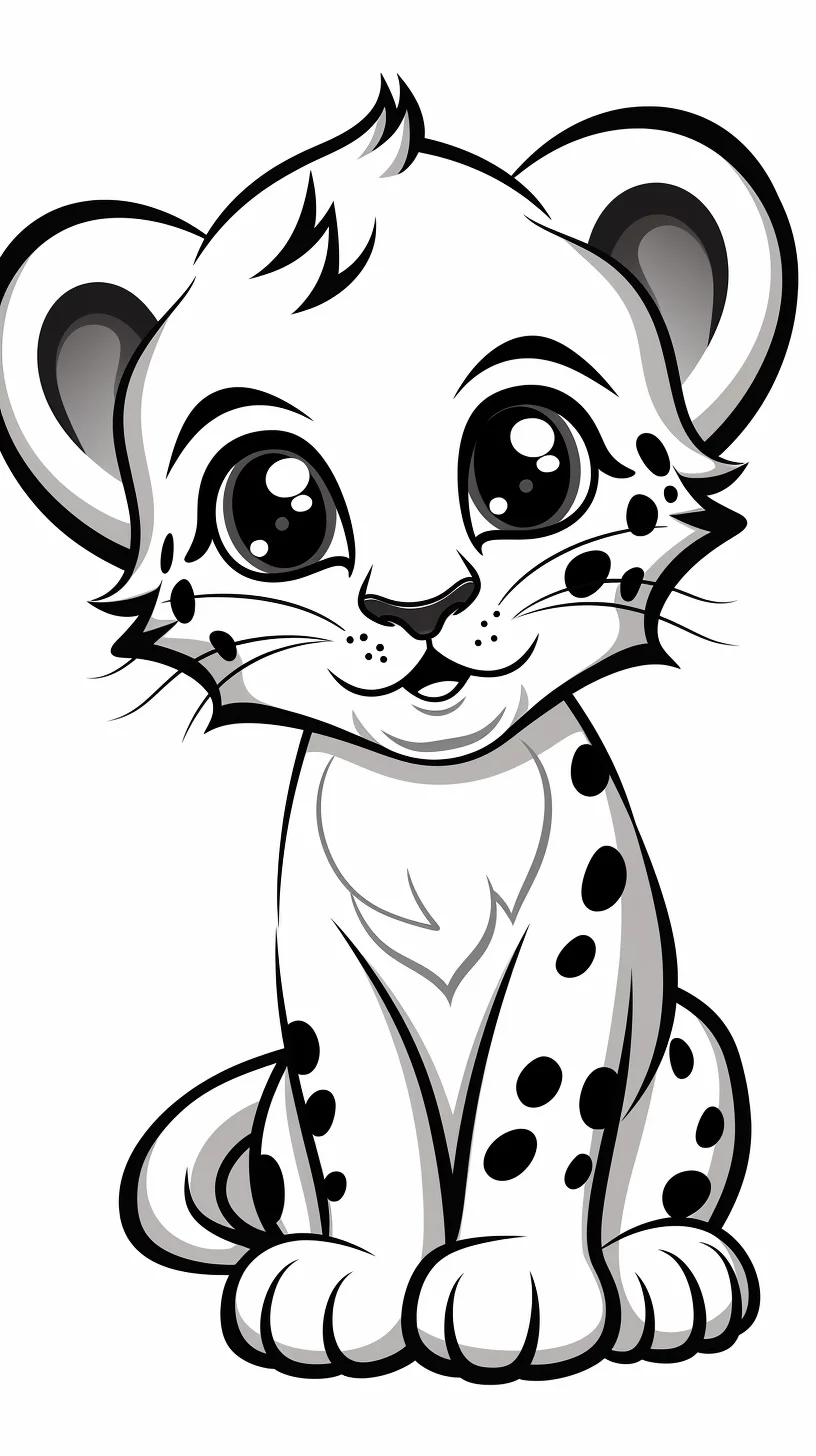
Build leopard rosettes without coloring every spot the same way
A leopard’s coat is easier to read when the markings have some variation. On the more realistic sheets, think of each rosette as a dark broken ring around a slightly warmer center rather than a solid black dot. Put down the golden body color first. Then use dark brown or charcoal to draw the outer parts of the markings, leaving narrow gaps in some rings. Add a medium brown inside selected rosettes and keep the belly and inner legs lighter.
Do not try to perfect every marking individually. Work across the animal in small groups so the pattern stays balanced. If one area becomes much darker than the rest, return to the opposite side of the body before adding more black.
A three-page leopard practice progression
- Start with a simple cub: use one golden body color, one cream color and one dark spot color. The goal is clean coverage rather than realistic fur.
- Move to a medium-detail leopard: keep the belly lighter and add a second brown to the coat. Make some markings smaller around the face and legs so the pattern does not look stamped on.
- Finish with a realistic page: establish light and shadow before the rosettes. Add the markings afterward, then use short pencil strokes only at the edges of the body where fur texture will actually be visible.
Using a similar palette on all three sheets makes the progression useful: you can compare control, shading and pattern placement instead of changing every variable at once.
Fix common leopard-coloring problems
| If this happens | Try this | Why it helps |
|---|---|---|
| The coat looks like yellow paper with black dots | Add a medium golden-brown shadow beneath the belly, jaw and far legs. | The body gains volume before you add more markings. |
| The spots overpower the face | Use smaller, softer markings around the eyes and muzzle. | The eyes remain the focal point instead of disappearing into the pattern. |
| Every rosette looks identical | Break some rings, vary their size and leave wider spaces on the underside. | Variation makes the pattern feel more organic. |
| The cream belly looks unfinished | Add a very pale tan or gray shadow along its upper edge. | You keep the light fur while still showing its shape. |
| The realistic page becomes muddy | Stop adding dark marks and reinforce only the deepest shadows. | More black is rarely the solution once the midtones are lost. |
| A marker page looks streaky | Use marker for the broad base and colored pencil for rosettes and small shadows. | The two media handle large and precise areas differently. |
Four leopard palettes worth trying
- Natural: golden ochre body, cream underside, medium brown shadows and dark-brown rosettes.
- Warm sunset: pale yellow base, burnt orange shadows, chocolate markings and muted green scenery.
- Cool storybook: pale lavender or blue-gray body, deeper violet markings and soft pink details.
- Three-color challenge: one light color, one midtone and one dark color for the entire leopard. This is especially useful for learning contrast on the simpler pages.
Small details that make the finished page look better
- Eyes: leave a tiny white highlight instead of filling the whole iris with one color.
- Nose and ears: use a softer pink, brown or gray rather than heavy black if the page is meant to look cute.
- Paws: add a slightly darker shade underneath the body to stop the legs from blending into the ground.
- Backgrounds: keep grass, rocks or sky a little quieter than the coat so the leopard stays the focal point.
If a child gets tired of coloring every spot, that is a good reason to stop rather than rush the rest. The simpler pages are there for exactly that kind of short activity; the detailed ones work better when someone actually wants a longer project.
Can I use unusual colors?
Absolutely. The realistic pages suit tan, gold, cream and dark brown, but the kawaii designs work just as well in pink, blue, purple or any other palette. A coloring page does not become less useful because it is not zoologically accurate.

