
This 14-page set is useful when you want to choose by difficulty rather than by one specific cat style. It starts with simple kitten and easy-cute designs, then moves into kawaii cats and pages with more realistic proportions and fur detail.
Choose your difficulty
- Easy: large kitten shapes and fewer small details work well with crayons.
- Medium: kawaii and cute-cat pages add facial details and more defined fur or accessories.
- More detailed: realistic-cat sheets are better suited to colored pencils and light shading.
Print on A4 or US Letter paper using portrait orientation and “fit to page.” If you are coloring with markers, put a spare sheet underneath the print.
For a broader cat collection, visit our 15 kitten, kawaii and realistic cat pages. If realistic fur is specifically what you want, the realistic kitten collection gives you more detail to shade.
A simple way to color cat fur
Start with the broad coat color before adding stripes, patches or individual fur strokes. Keep the muzzle, chest or paws slightly lighter when the design allows it, then use darker values around the ears, eyes and where the legs overlap. On realistic pages, short pencil strokes look best near the silhouette and face; large body areas can stay more smoothly shaded.
14 cat coloring pages from easy to realistic
How to use the gallery: the pages deliberately vary in detail. If you are practicing, do not start with the page you like most—start with the page whose shapes you can control comfortably, then move one step harder.
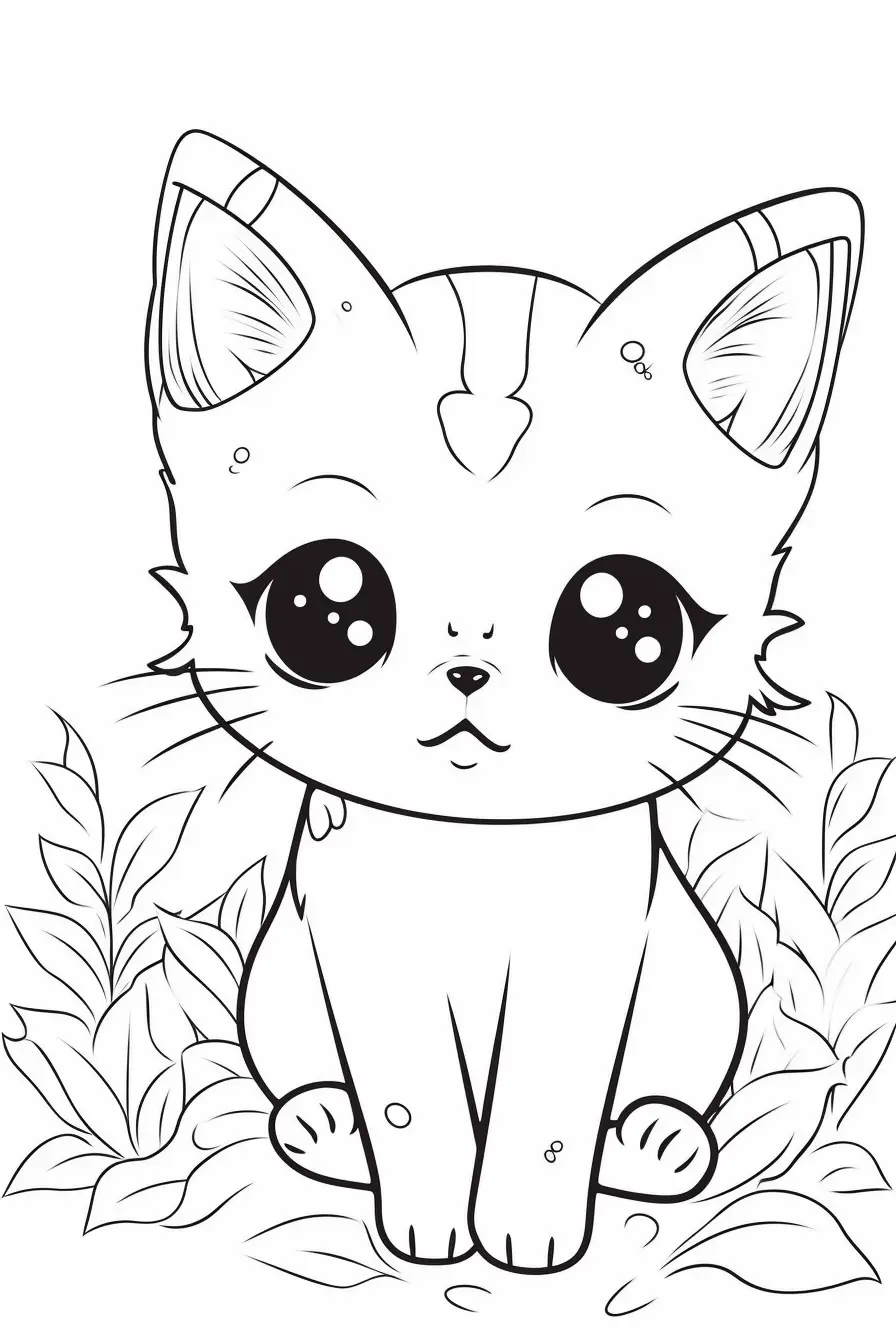
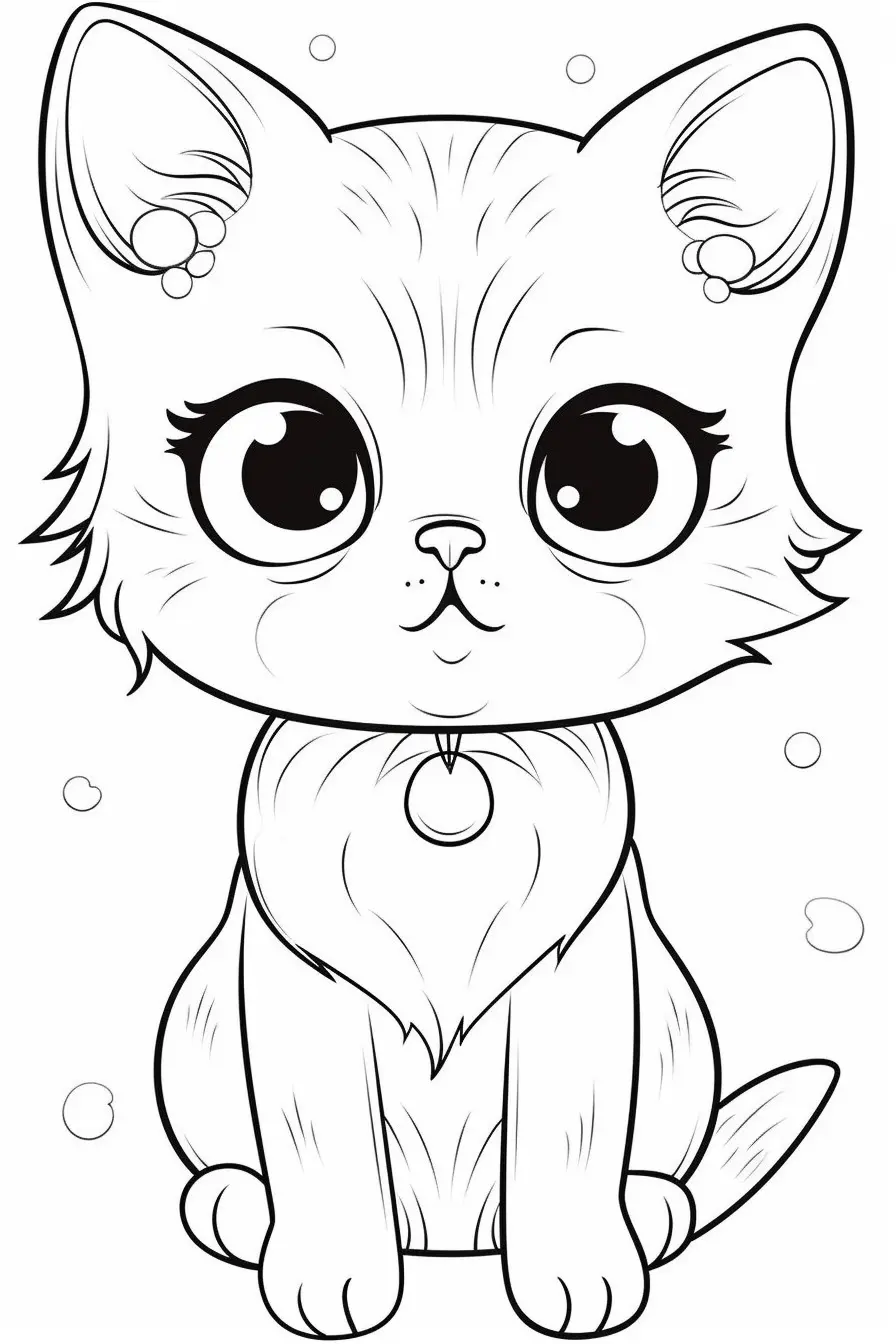
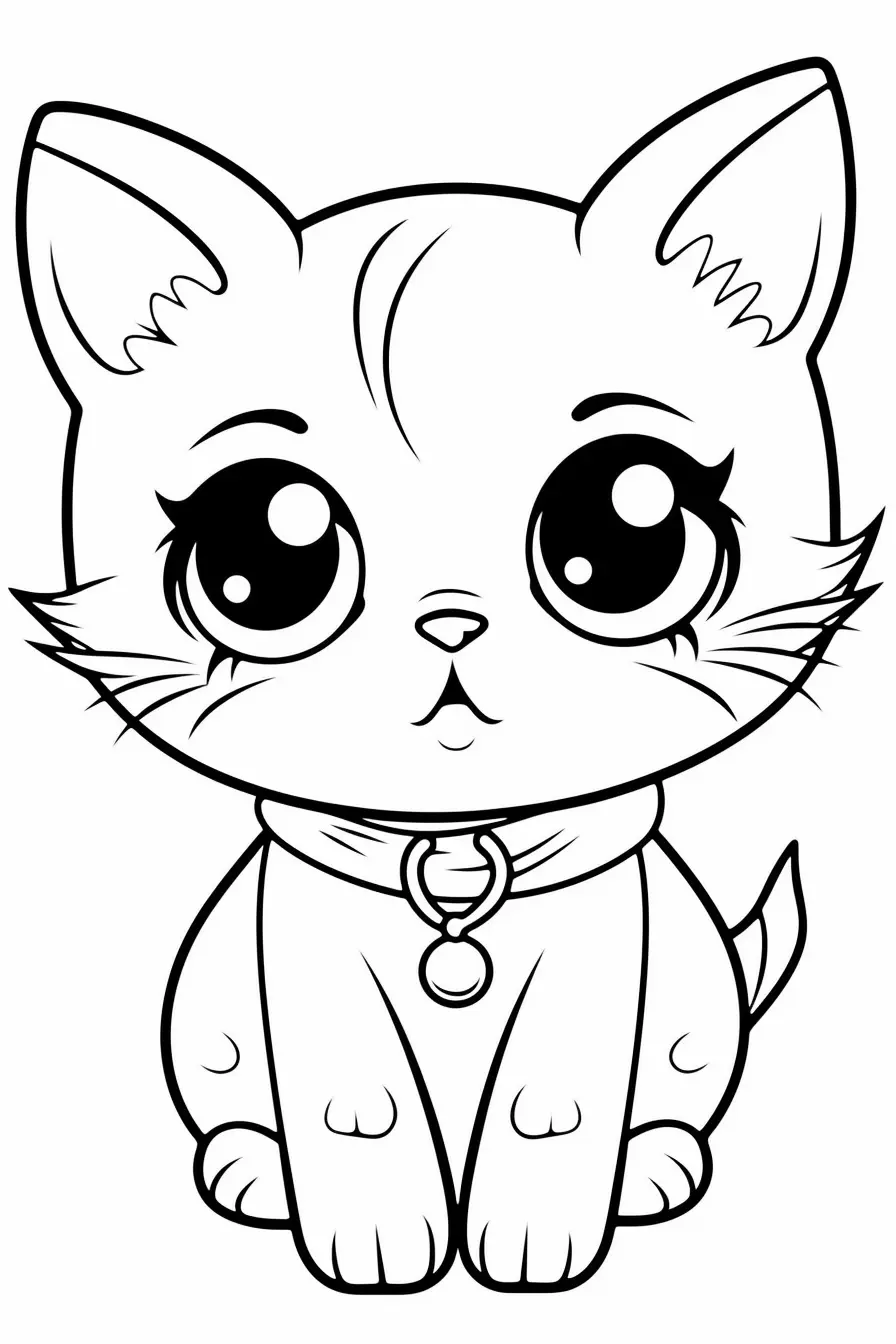
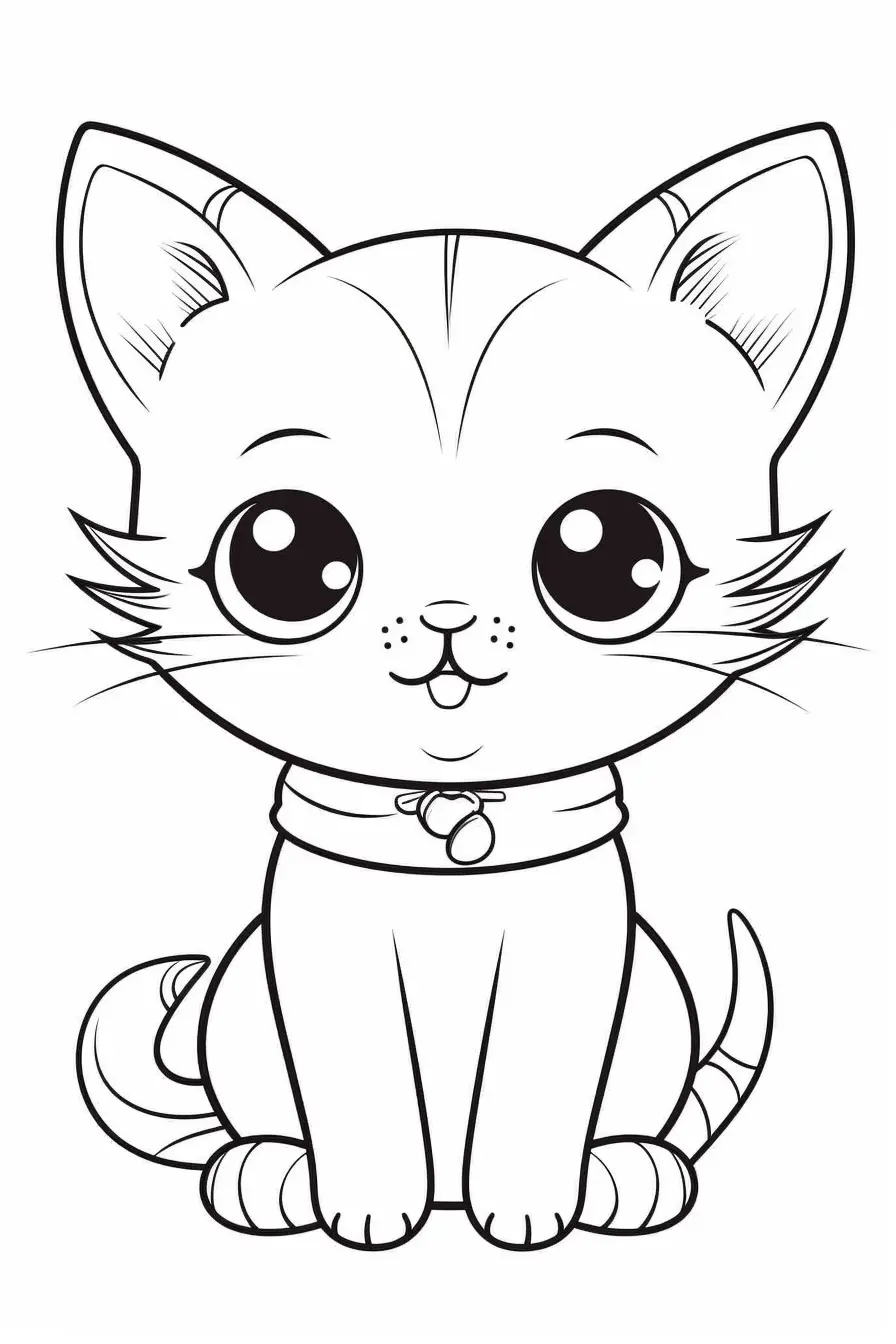
Kitten group: these first pages are the easiest place to start. Use one main fur color, leave the muzzle lighter and add the eyes and nose last. Crayons are completely adequate here because the large shapes matter more than fine texture.
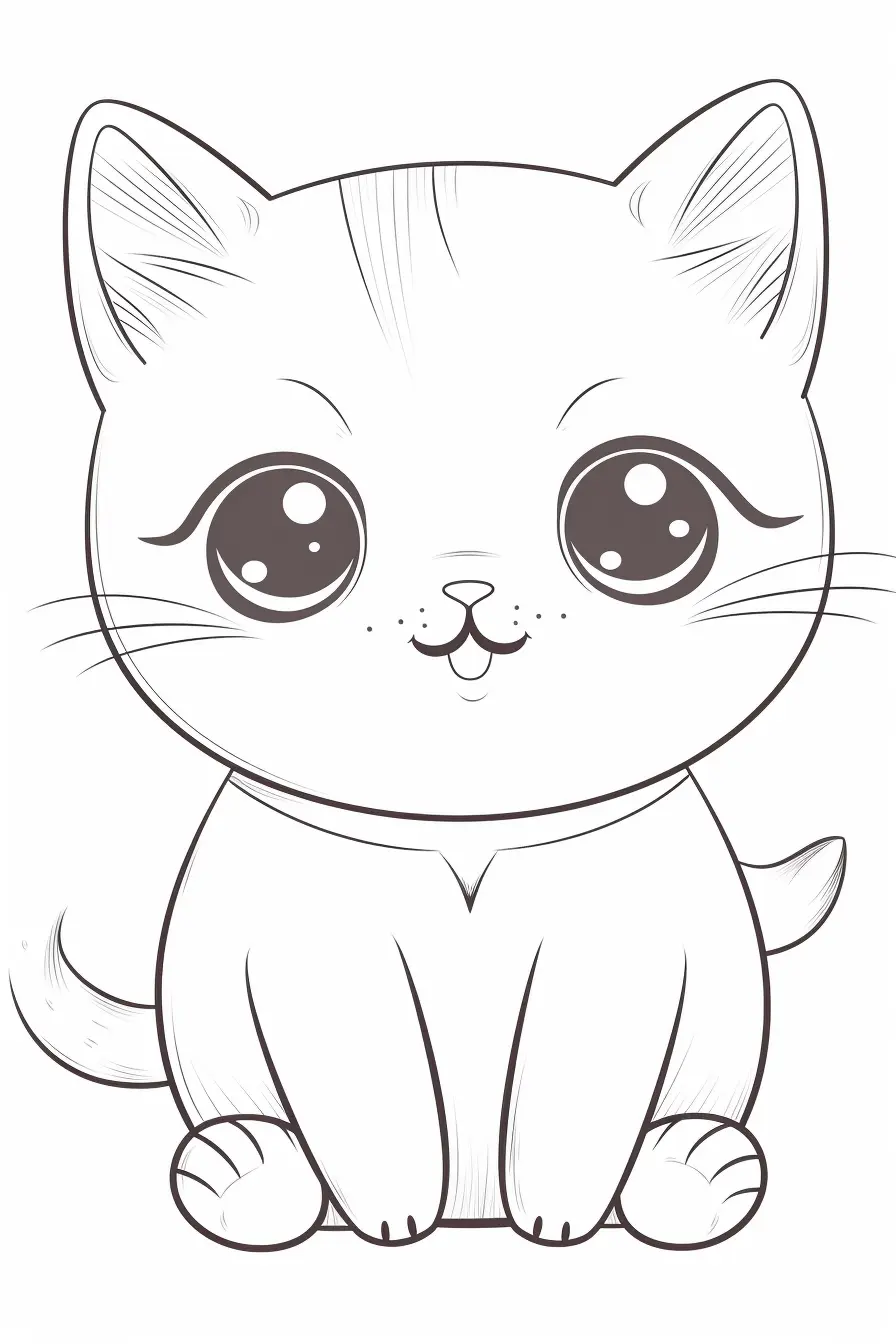
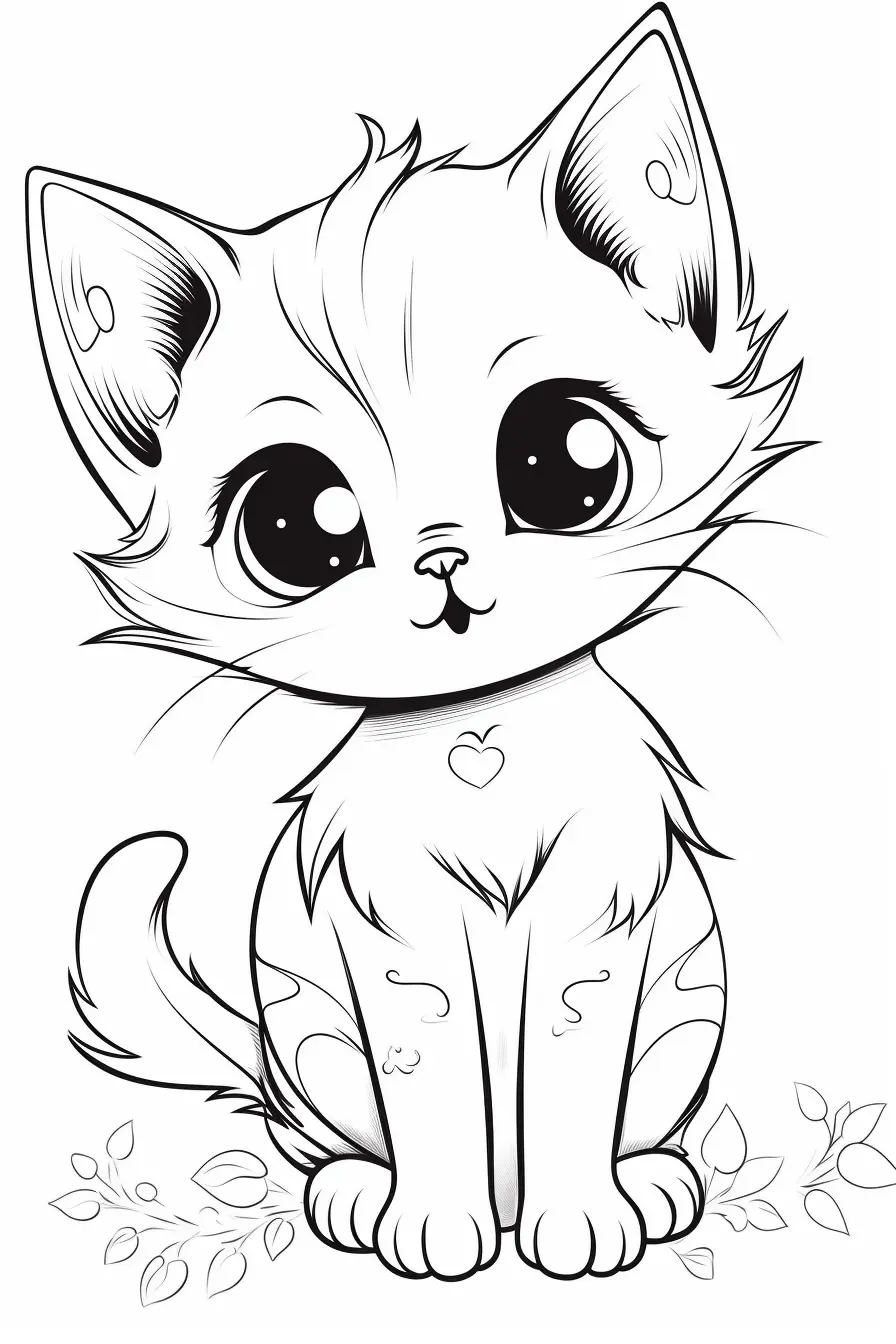
Realistic and adult-oriented group: switch to colored pencils here if you want softer fur. Build the coat in light layers, deepen the ears and eye area gradually, and keep the nose and pupils among the darkest points. A few directional strokes around the cheeks and chest are enough; you do not need to draw every hair.
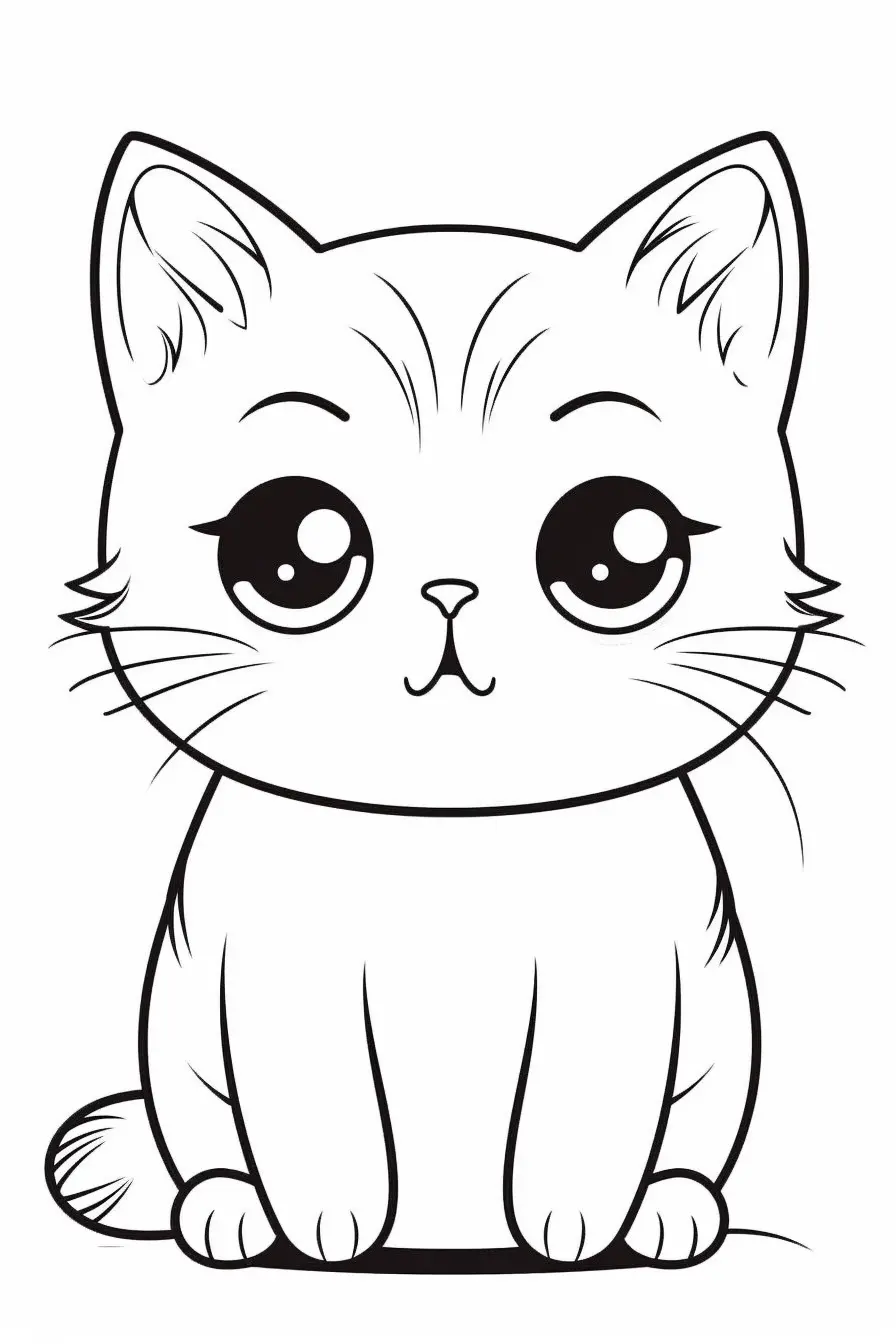
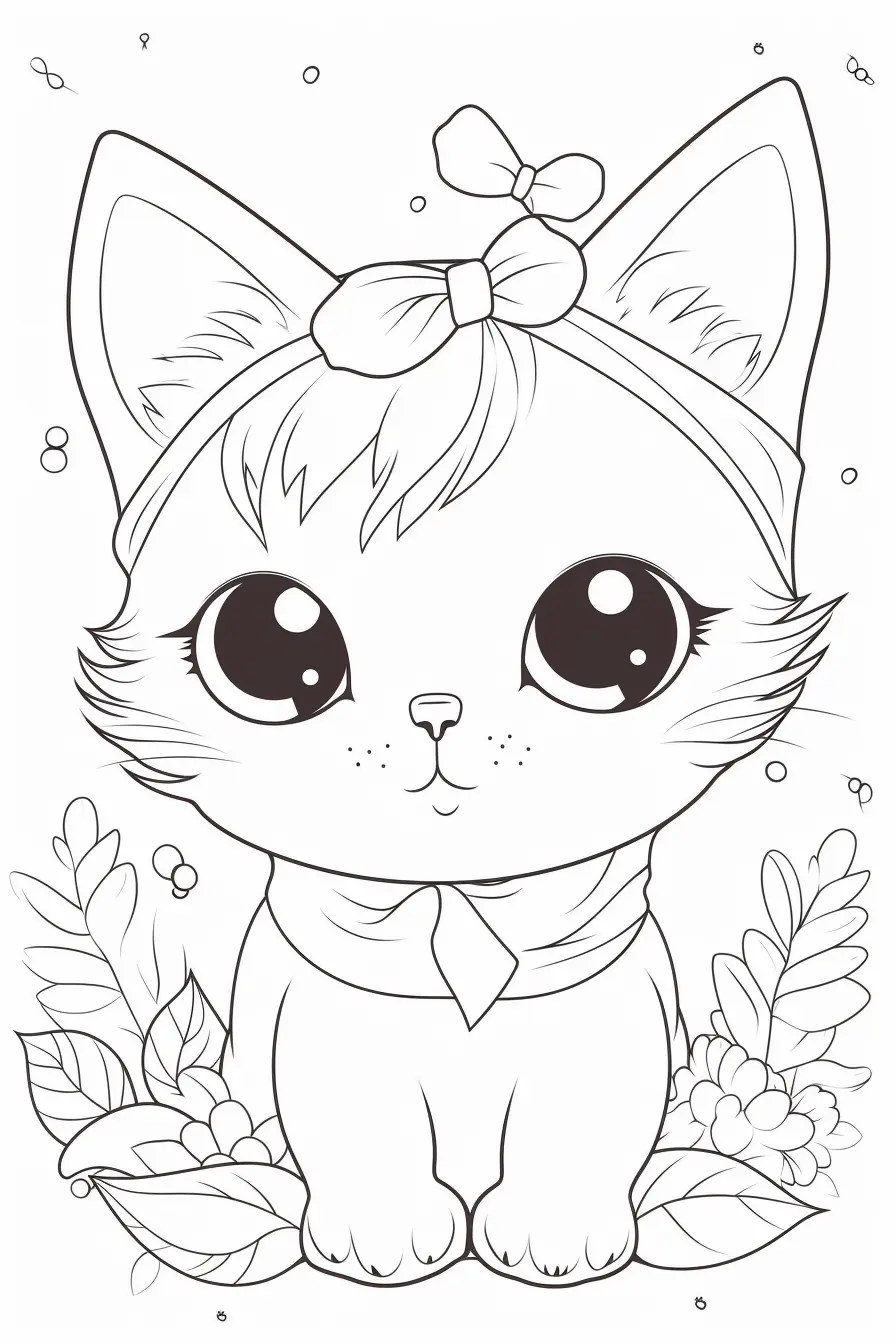
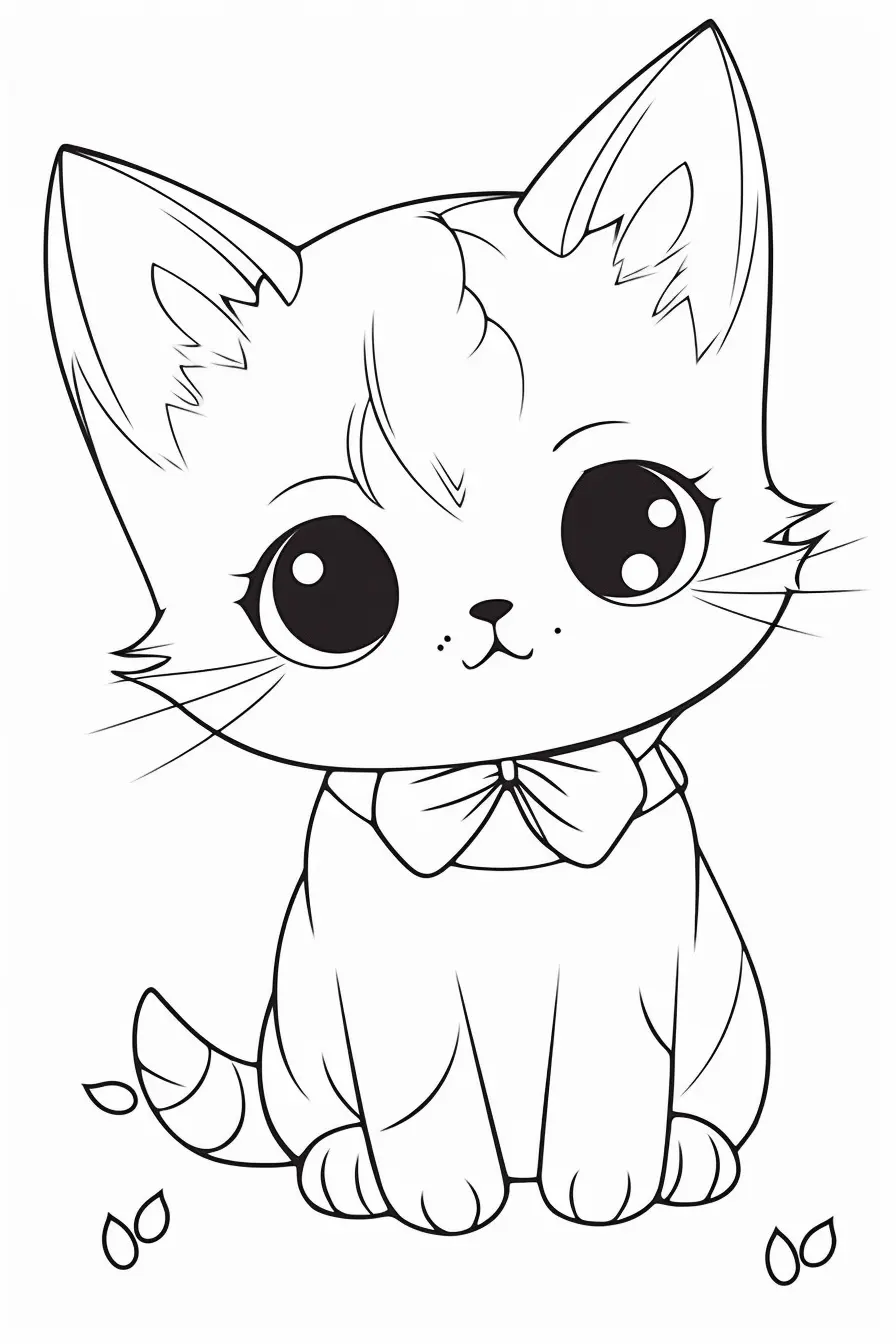
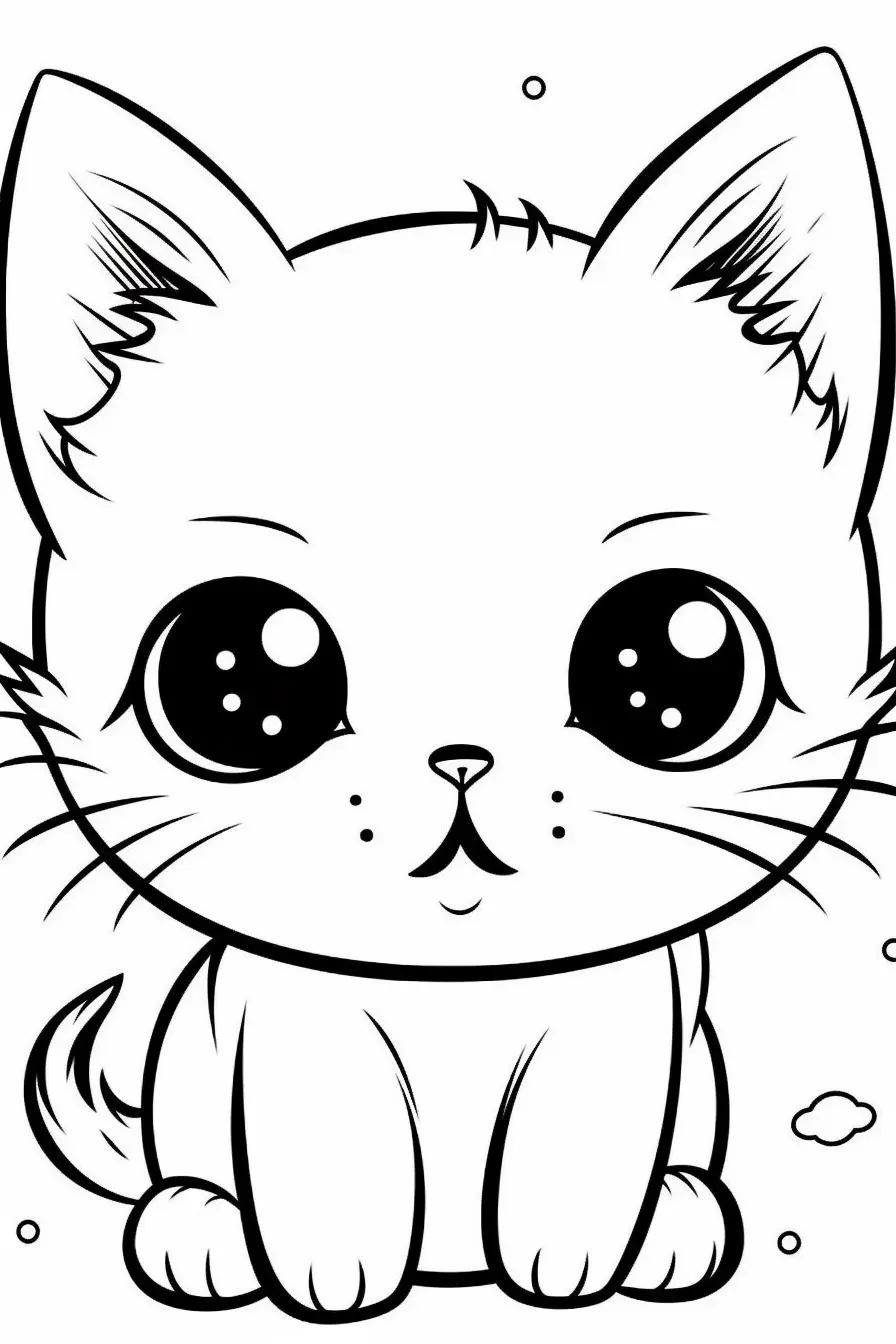
Easy kids’ group: these pages are better for crayons and shorter coloring sessions. One main fur color, a lighter muzzle and chest, and a darker nose or ear color is enough to make the cat feel finished without turning a simple design into a detailed fur exercise.
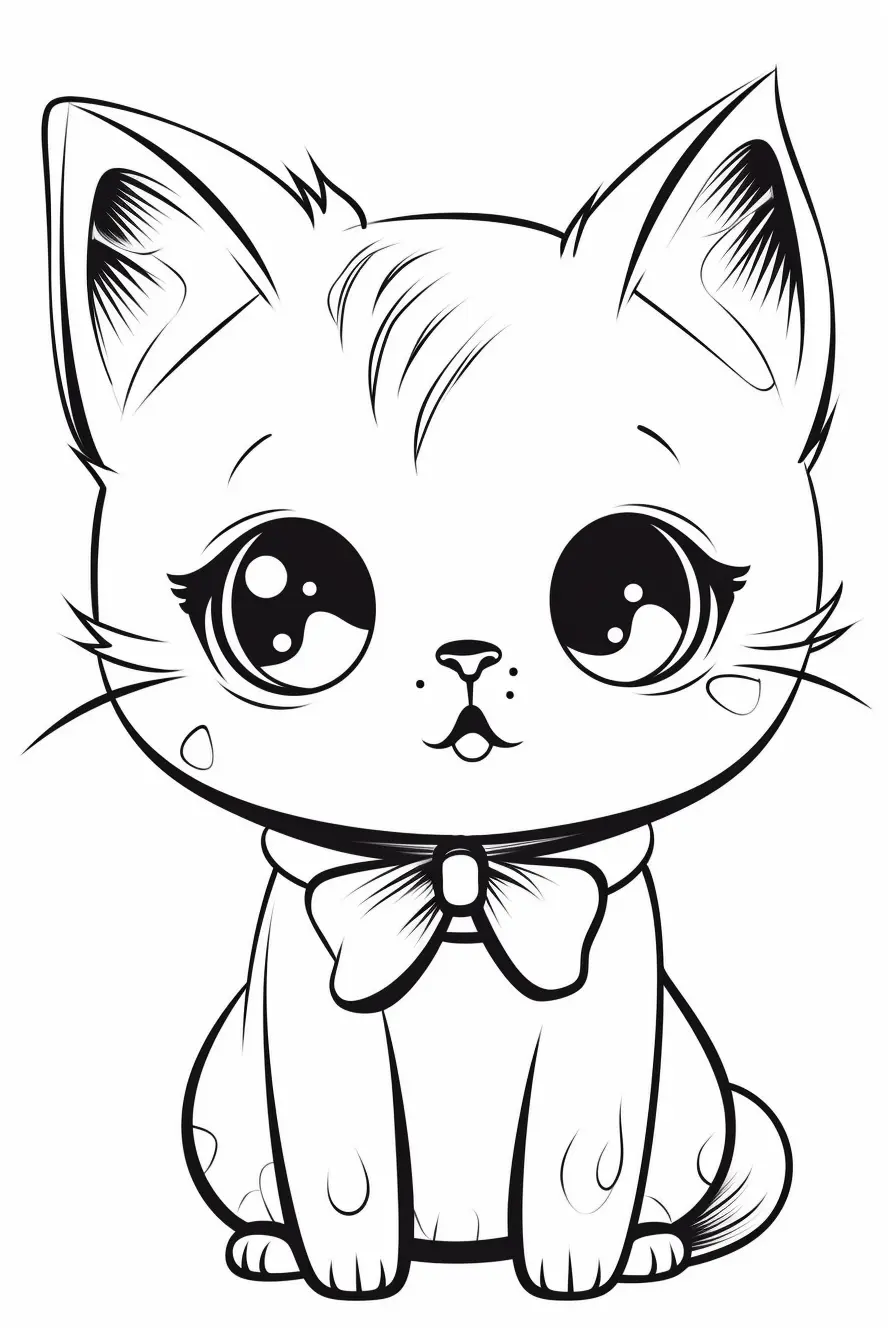
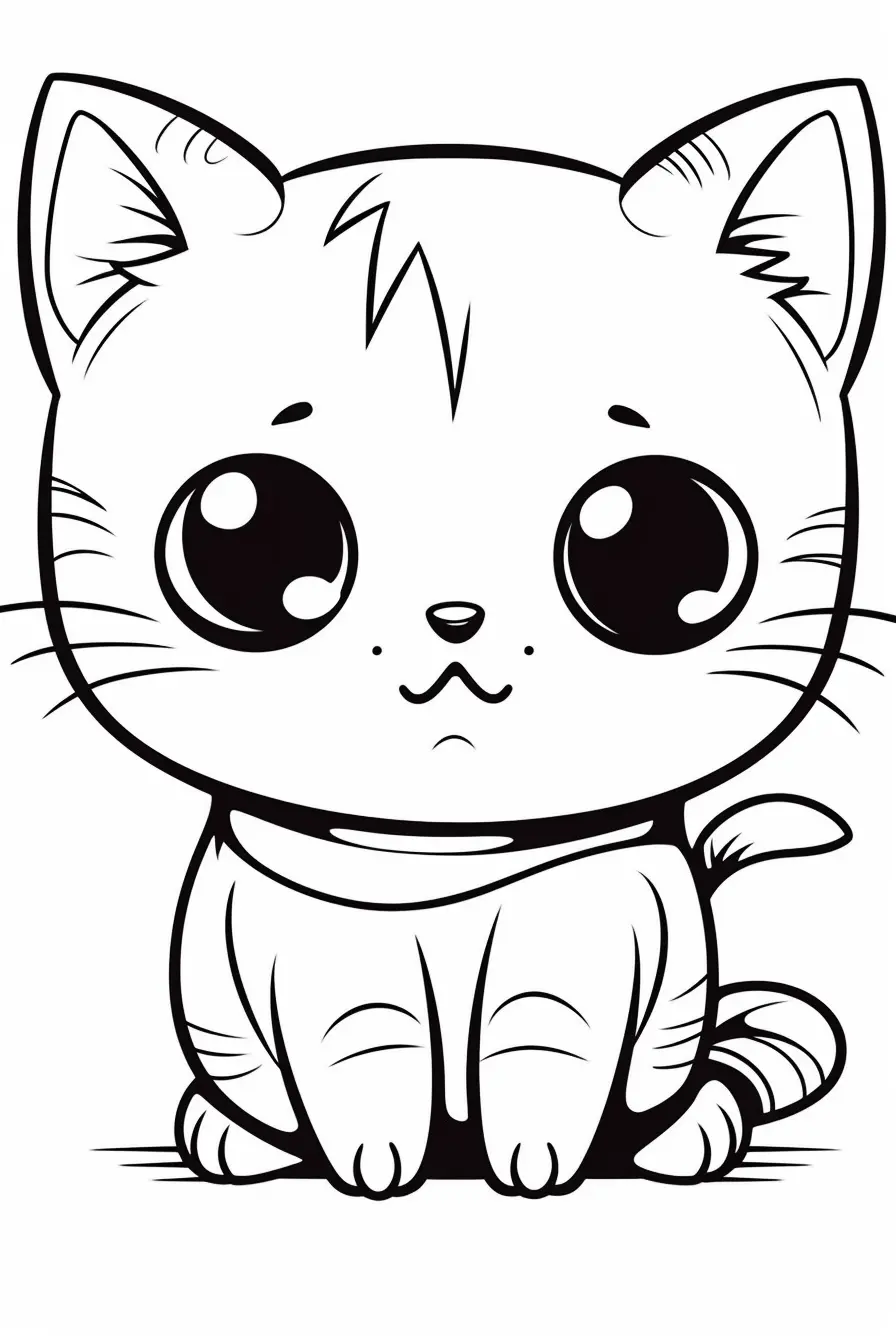
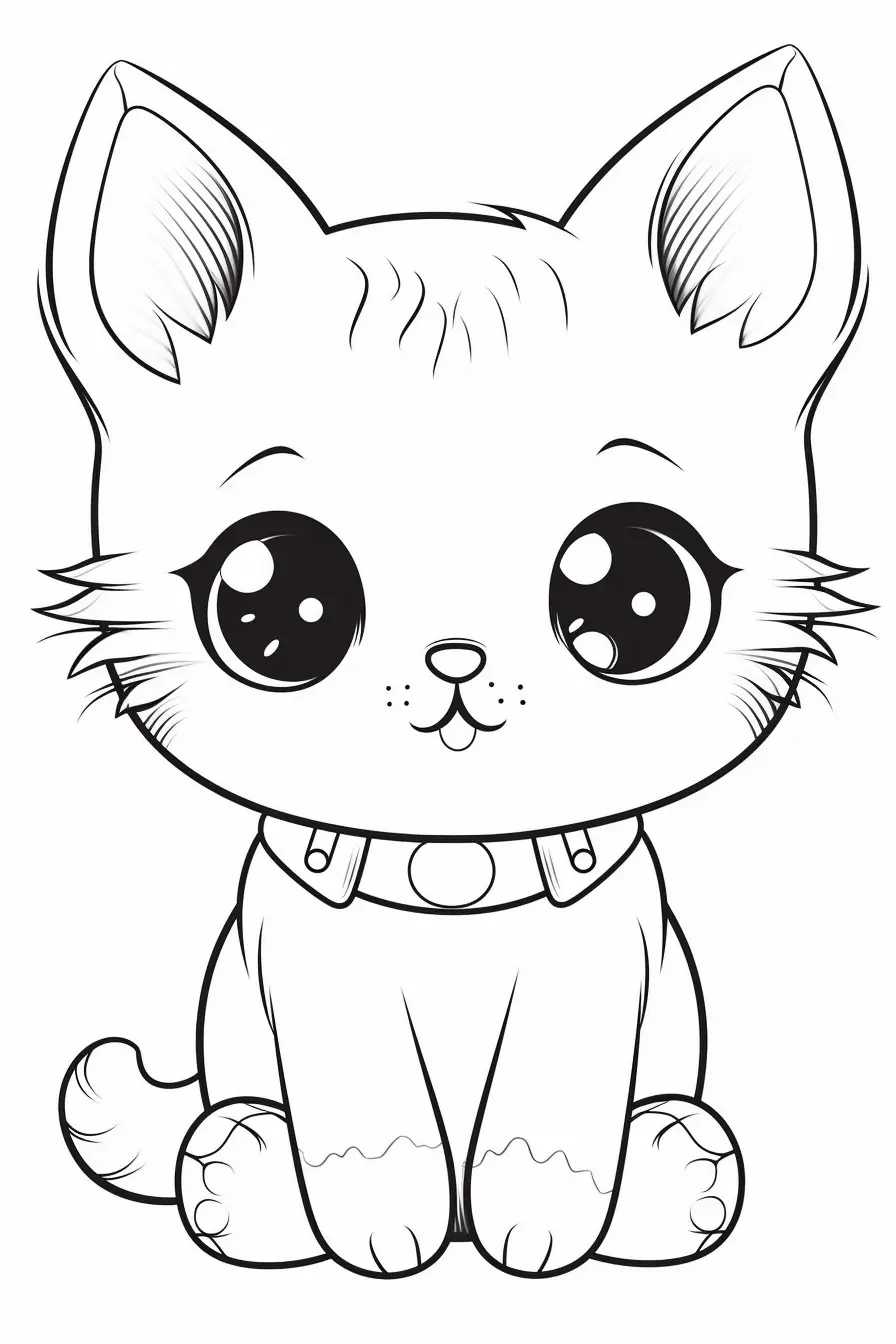
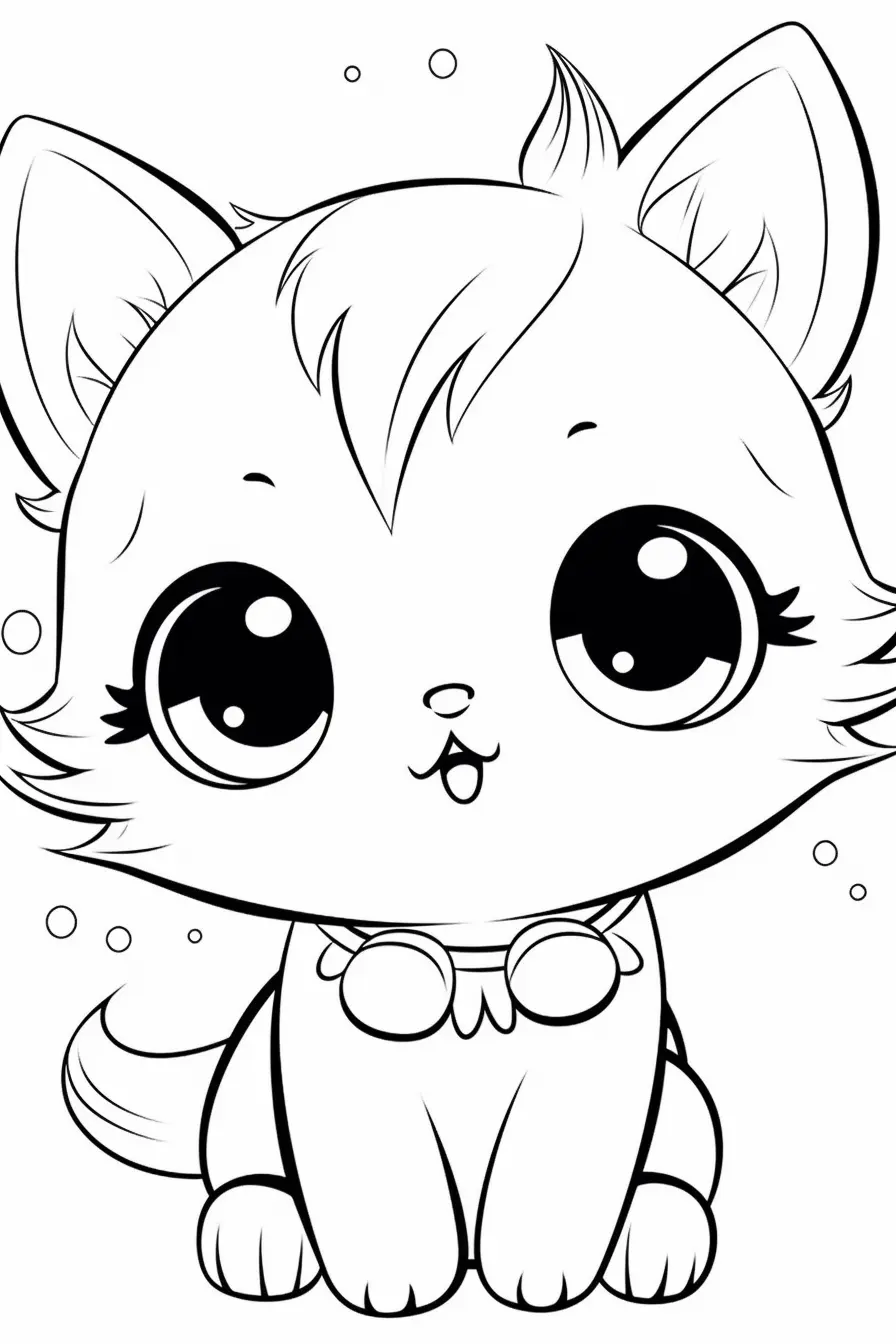
Kawaii finish: realistic coat rules are optional on the final pages. Pastel pink, lavender, blue or mint can work just as well as orange or gray. Keep the face relatively light so the oversized eyes remain the focal point.
Practice cat fur in three passes
- Pass 1 — shape: fill the main coat lightly. Ignore individual hairs and keep the muzzle, chest or paws lighter if the drawing gives you those areas.
- Pass 2 — form: add a darker version of the coat color beneath the chin, inside the legs, under the belly and where one body part overlaps another. This creates depth before you add texture.
- Pass 3 — texture: use short strokes only where fur direction matters: cheeks, chest, ear edges and the outer silhouette. Let the middle of large body areas stay smoother.
On an easy page, stopping after the first or second pass is completely fine. On a realistic page, the third pass is where colored pencil becomes more useful than a broad crayon.
Make the face readable before adding more detail
Cat faces can become muddy when every feature receives the same amount of dark color. Keep the muzzle relatively light and reserve your darkest values for the pupils, upper eye line, nostrils and a few fur separations near the ears. If the cat has large kawaii eyes, color the iris before the pupil and leave a tiny paper-white highlight if the drawing provides room for one.
For tabby markings, avoid drawing identical stripes all the way down the body. A few darker marks on the forehead, cheeks, legs and tail usually communicate “tabby” more clearly than covering every open space.
Fix common cat-coloring problems
| If this happens | Try this |
|---|---|
| The fur looks like a flat block of color | Add one darker value beneath the chin, belly and overlapping legs before adding any hair strokes. |
| The page becomes scratchy | Use directional fur strokes only near edges and key facial areas; shade broad body areas more smoothly. |
| The eyes disappear | Reduce dark fur immediately around them and make the pupils or upper eye line the strongest facial contrast. |
| A white cat looks unfinished | Leave most of the paper white and add pale gray, beige or blue-gray only in shadow areas. |
| A black cat loses the line art | Use dark gray for most of the coat and reserve true black for the deepest shadows and facial details. |
| Markers look streaky | Color one small enclosed area at a time while the ink edge is still wet; use pencil for fine fur texture afterward. |
Try one page at each difficulty
A useful mini-practice session is to print three sheets: one simple kitten, one medium cute or kawaii cat, and one realistic cat. Keep the same coat idea across all three—for example, orange tabby or gray-and-white—and change only the technique. On the first page, concentrate on staying inside the shapes. On the second, add a light and dark coat value. On the third, add directional fur and more deliberate facial contrast. Comparing the three finished pages makes the difficulty progression visible.
Coat palettes that are easy to control
- Orange tabby: pale peach or cream base, orange coat, burnt-orange or brown markings.
- Gray-and-white: white paper for the lightest fur, cool gray coat and charcoal shadows.
- Tuxedo: dark gray rather than solid black for most dark fur, with white chest, muzzle and paws.
- Calico-inspired: cream or white base with irregular orange and brown or charcoal patches; keep some unmarked space between patches.
- Fantasy kawaii: lavender, mint, pale blue or pink with one darker version of the same hue for shadows.
Cat coloring questions
Which page should a beginner choose first?
Choose one with a large body shape, few accessories and little interior fur detail. The goal is clean control first; realistic texture is easier once filling and pencil pressure feel comfortable.
Are colored pencils necessary?
No. Crayons work well on the easiest sheets and markers are useful for clean flat color. Colored pencils become most useful when you want gradual shadows, tabby markings or short fur strokes on the realistic pages.
How do I color a white cat?
Treat the paper itself as the main coat color. Add only a small amount of pale gray, beige or cool blue-gray beneath the chin, around overlapping legs and along the shadowed side of the body. Too much shading makes white fur read as gray.
How do I make a dark cat without covering the drawing?
Build the coat with dark gray, brown-black or navy-gray first. Keep some areas lighter where the face, chest and legs need separation, then use true black only for the deepest shadows. This preserves the printed linework.
Print the difficulty that matches your time
Use an easy kitten page for a quick activity, a realistic page when you want to practice fur, or a kawaii page when color choice matters more than natural markings. Open the full-size image first and print in portrait orientation with “Fit to page.” For device-specific help, use our Print & Save guide.

