
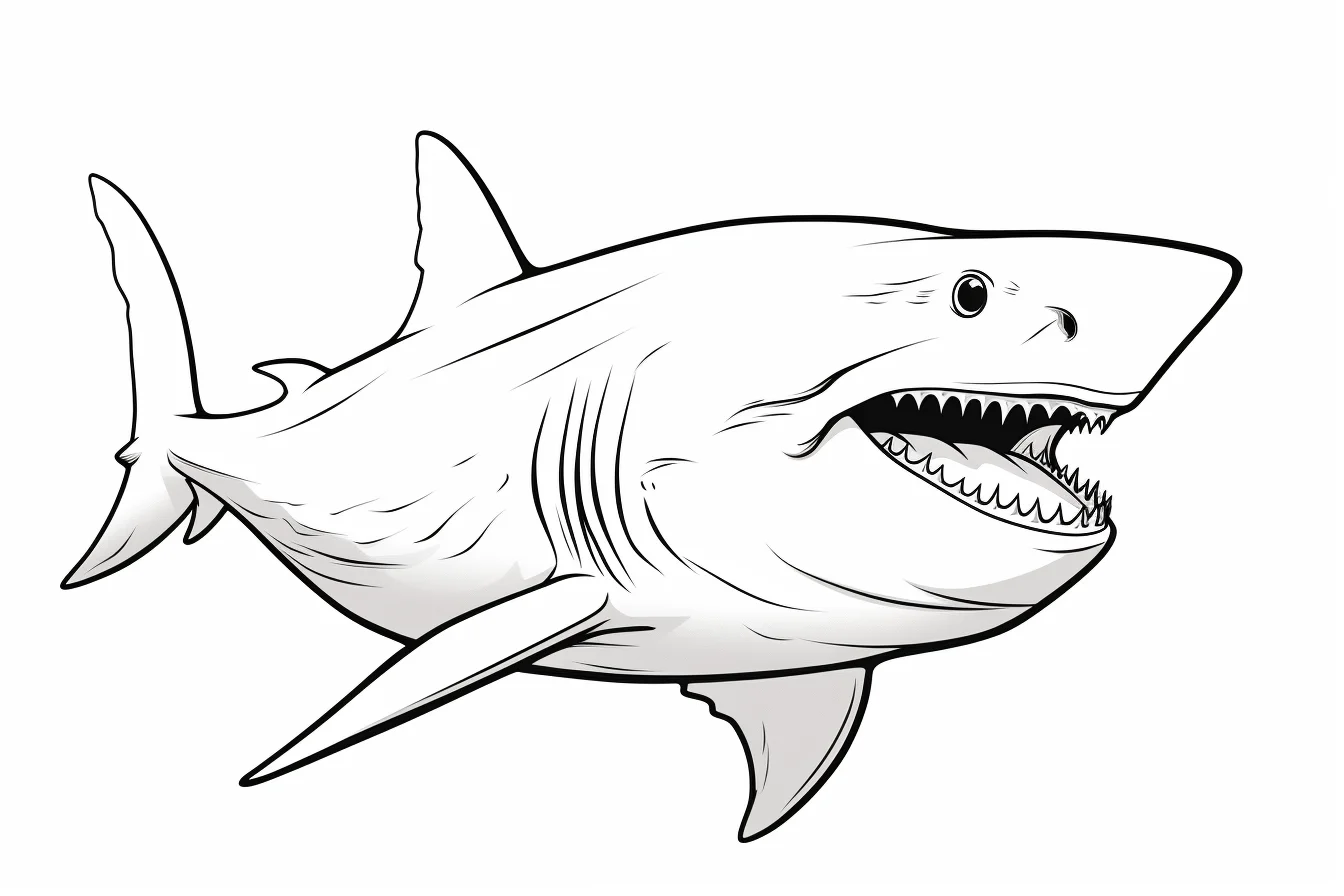
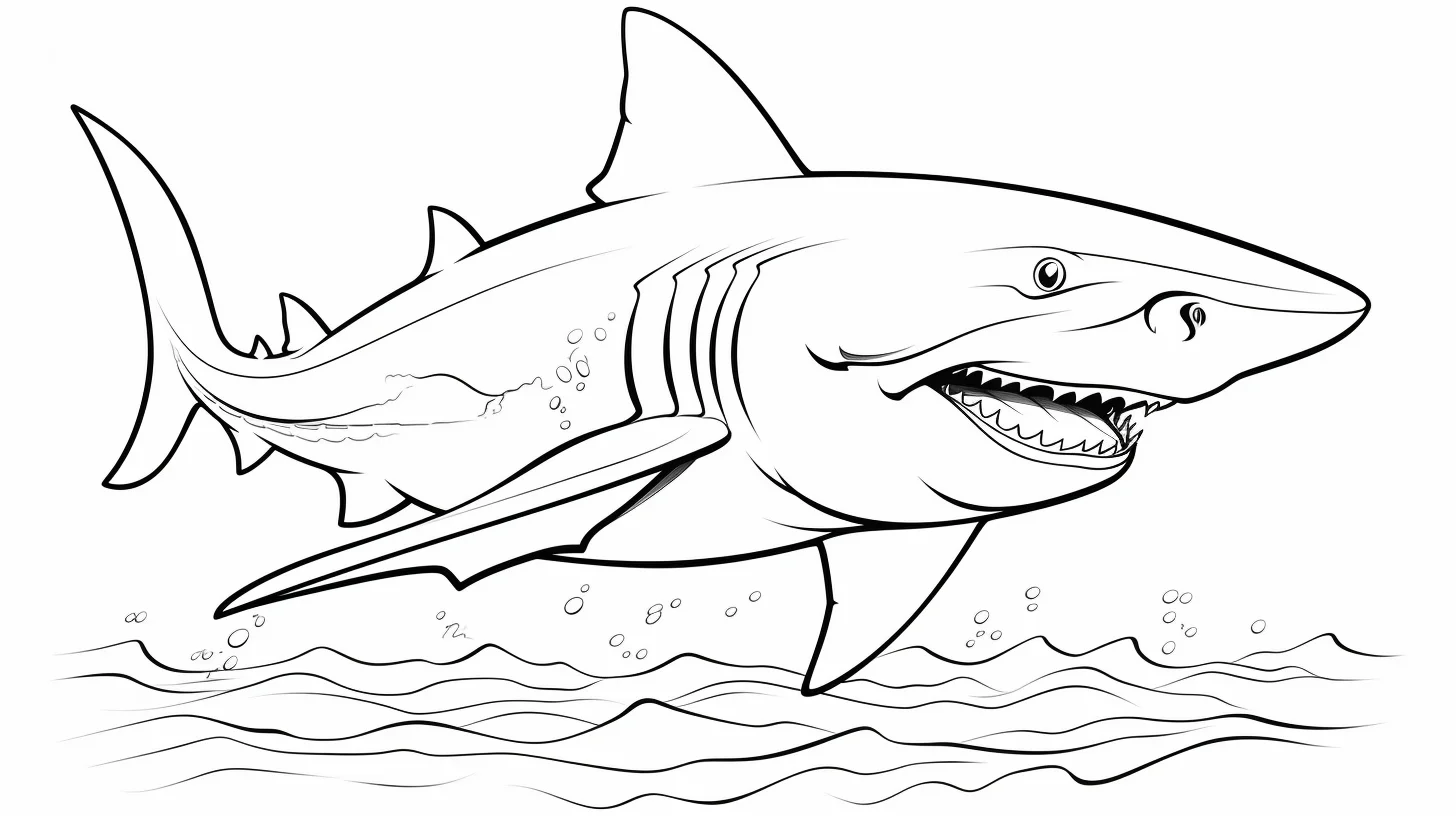
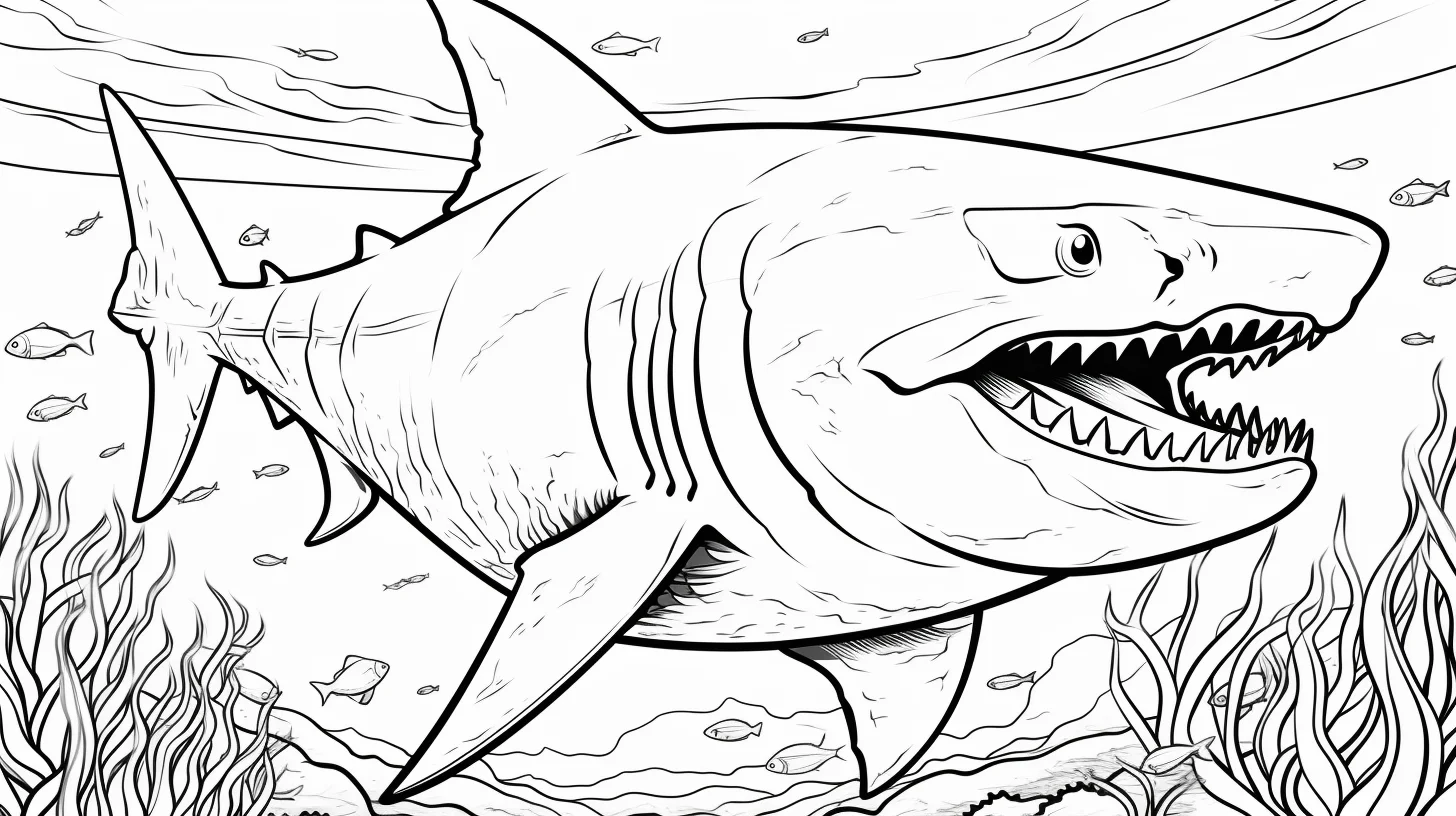
These 20 Megalodon coloring pages are all about the giant-shark look: big fins, oversized teeth, open-ocean scenes and, in a few pages, much softer cartoon versions for younger kids. I would not pick the most detailed sheet first. Scroll through once, choose the level that actually looks fun to color, then open the full-size image you want.
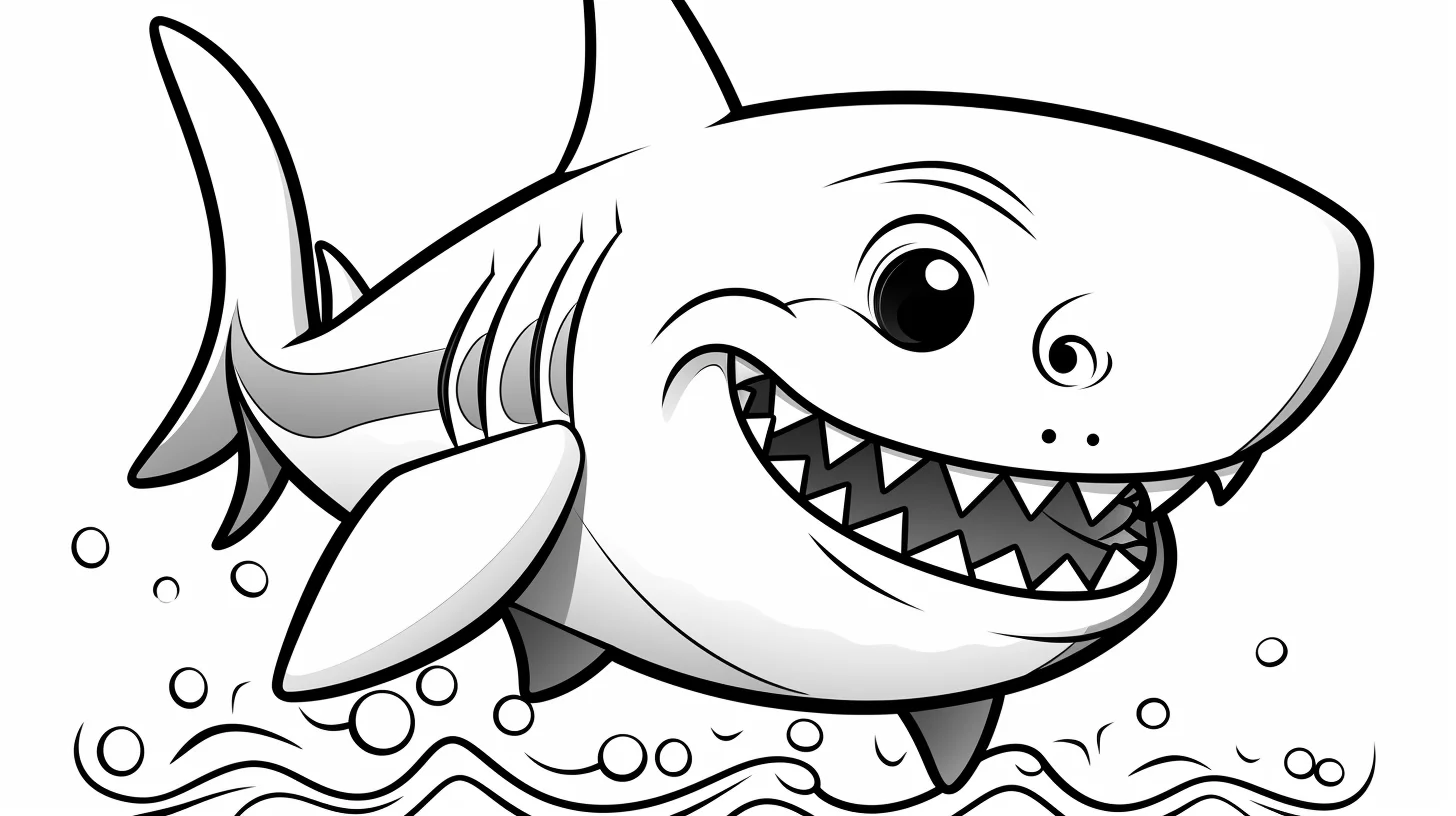
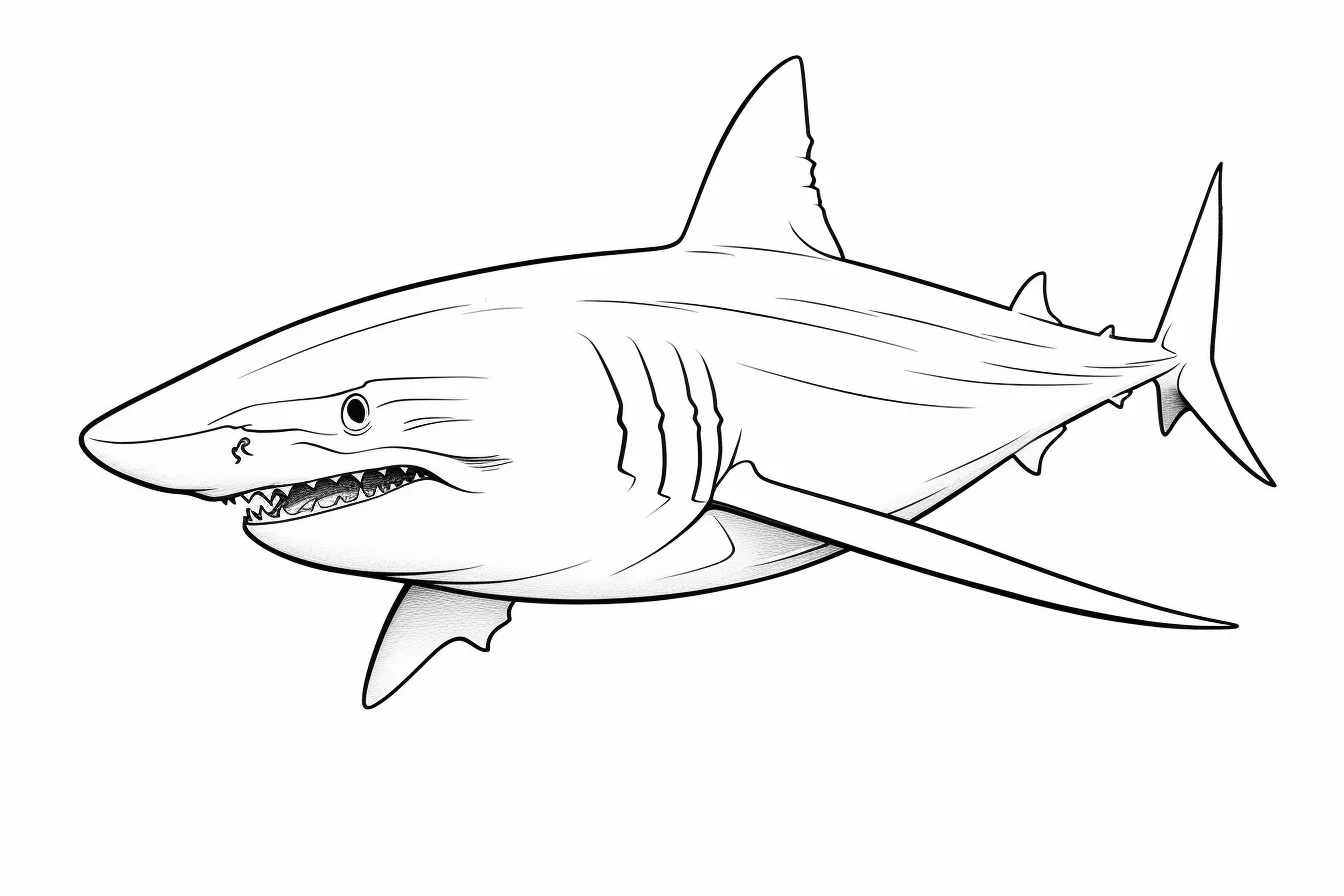
Open the first Megalodon coloring sheet full size
Do this 60-second test before choosing a harder shark
Use the first sheet as a calibration page rather than guessing whether a detailed Megalodon will be enjoyable. Color a small section of the back with your normal pressure, then make the belly one clear step lighter. Next, color around the mouth without touching the teeth. If you can keep the teeth clean and still see a clear back-to-belly difference from arm’s length, move to a medium or detailed sheet. If the teeth feel fiddly or the two body values merge together, stay with one of the rounded cartoon sharks and use a broader tool.
- Check the tip size. Your pencil, crayon or marker should fit between the smallest teeth or gill lines without forcing you to trace them.
- Protect the lightest area first. Decide where the belly highlight will stay before filling the darker back.
- Test shark versus water. Put a tiny sample of your planned water color beside the body color. If both look equally dark, lighten one before coloring the whole background.
- Choose one challenge. On the next page, practice either clean teeth, smoother body shading or deeper water—not all three at once.
For a younger child, simplify the test to two decisions: one body color plus a lighter belly, and whether the background stays white. That keeps the giant-shark silhouette readable without turning a quick coloring page into a precision exercise.
Pick a page by difficulty
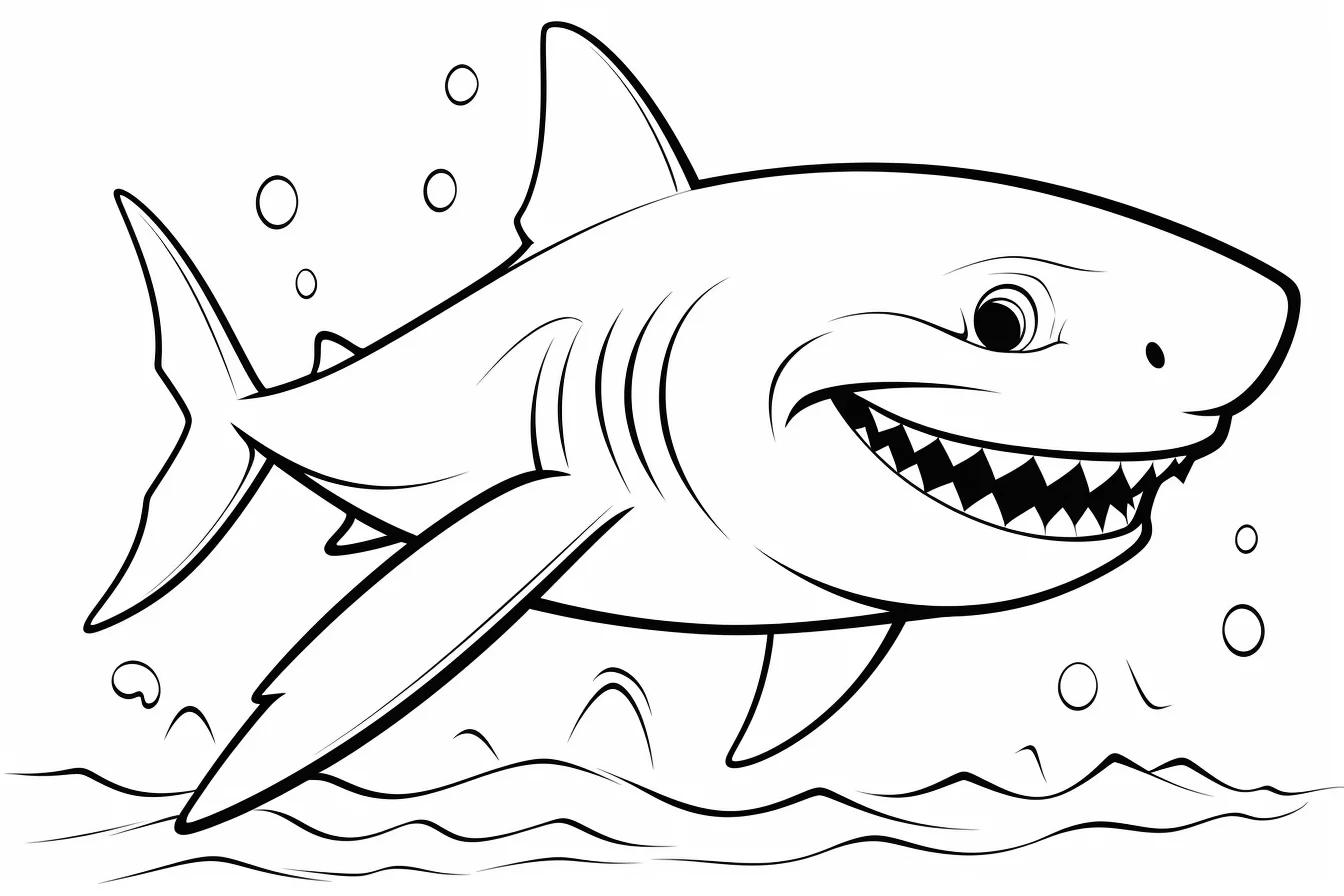
- Easy: rounded or kawaii Megalodons with large open spaces and very little background detail.
- Medium: sharks with visible teeth, waves, bubbles or a simple ocean floor.
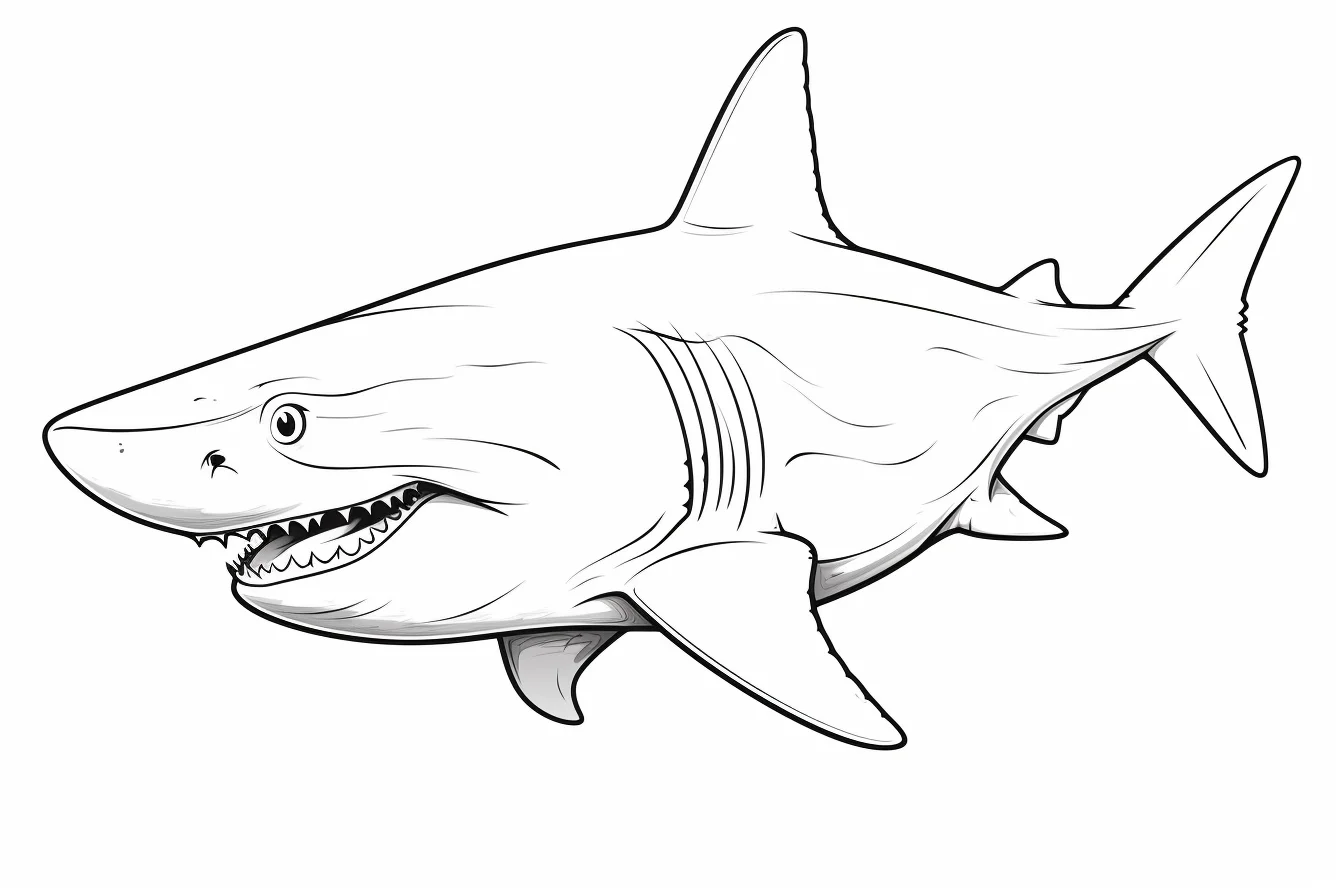
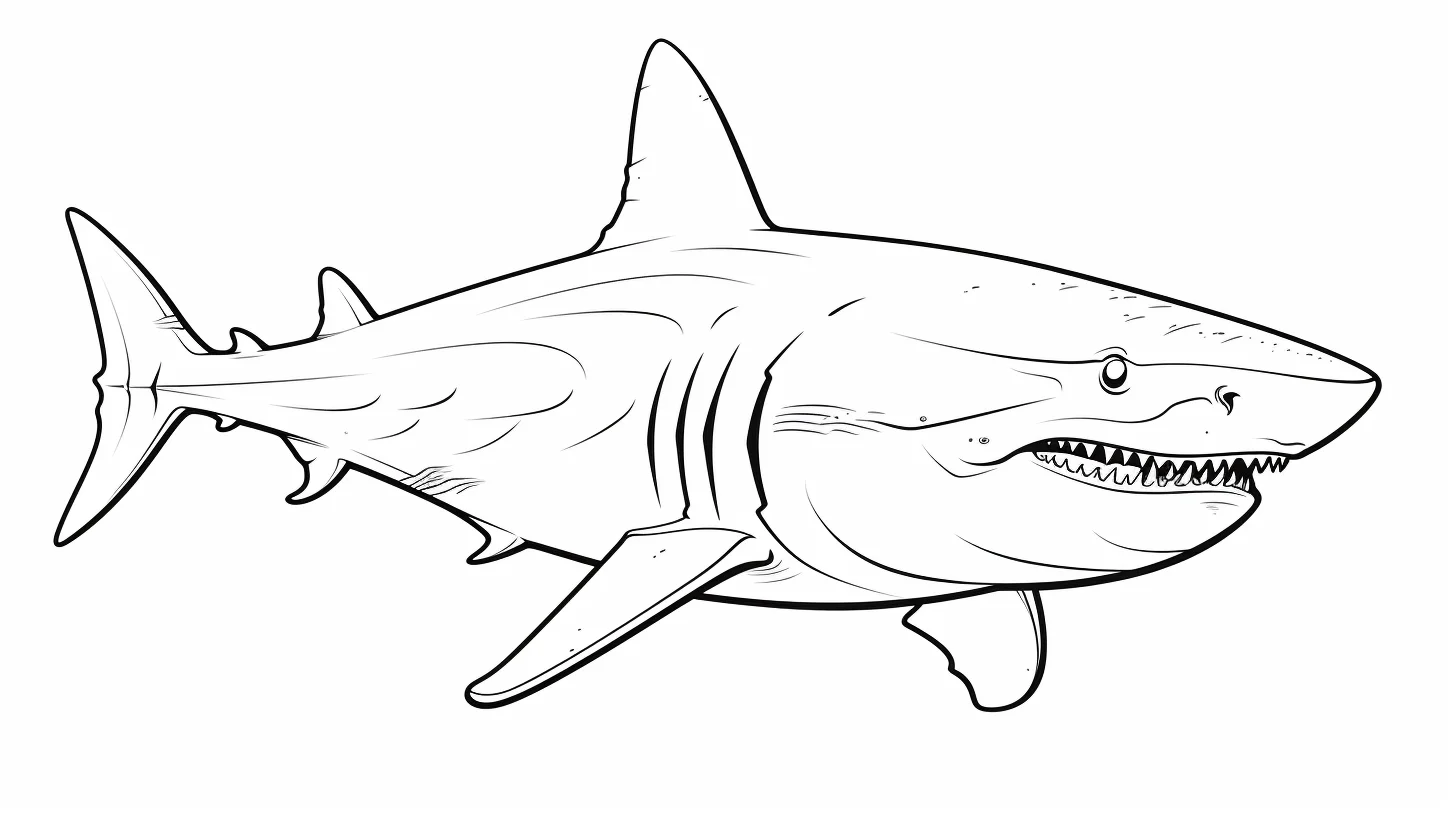
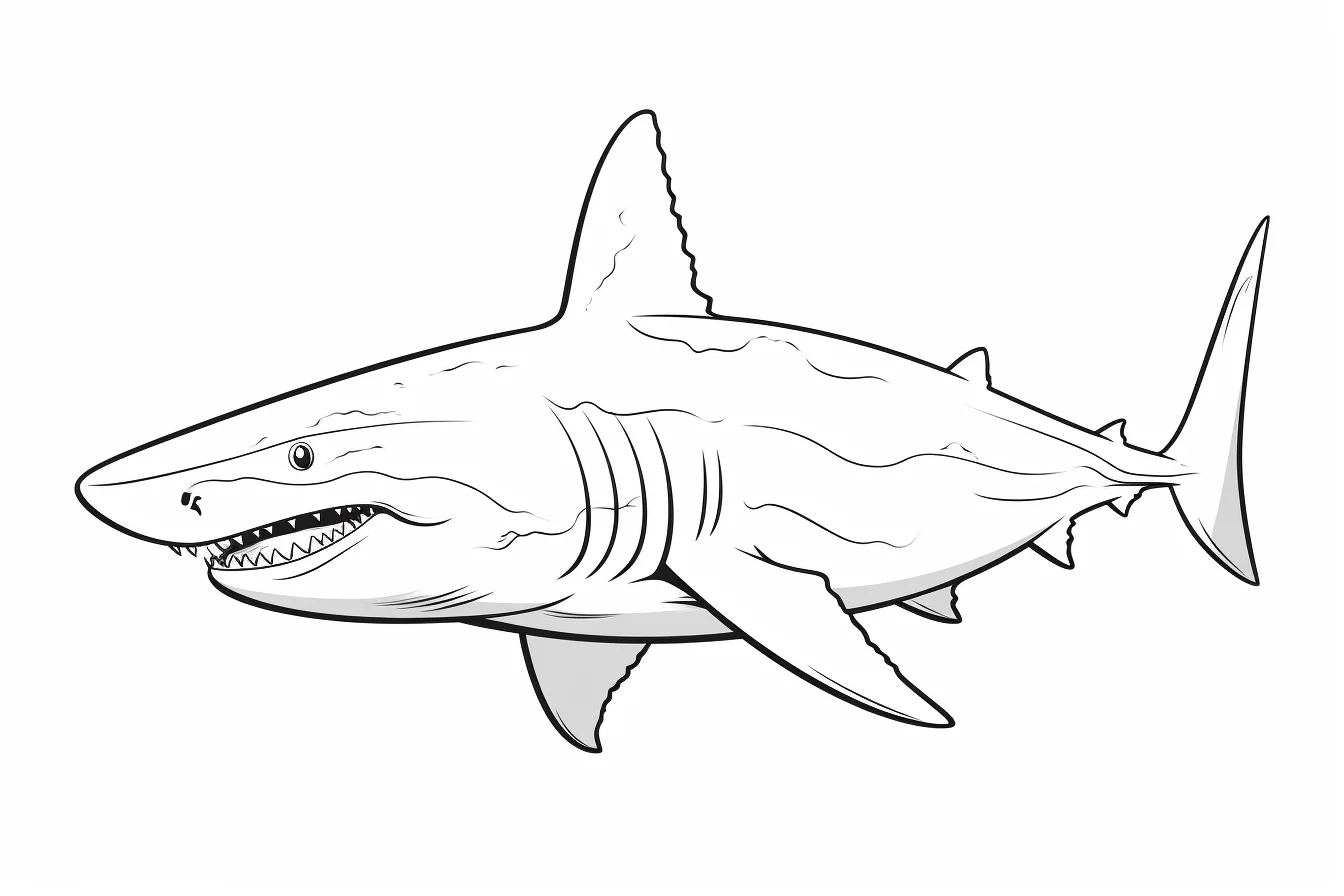
- More detailed: dramatic open-mouth poses and underwater scenes with smaller shapes around the shark.
Crayons work well on the simpler pages because there is plenty of room to stay inside the lines. For teeth, gills, bubbles and smaller background areas, colored pencils or fine-tip markers are easier to control.
How to print the coloring sheets
Open the image at full size before saving it. When you print, choose A4 or US Letter paper and use “fit to page” so the fins or tail do not get clipped by the printer margins. Plain copy paper is fine for crayons and pencils. If you plan to use markers, a slightly heavier sheet helps reduce bleed-through.
A few coloring ideas that work well
You do not need to make every Megalodon gray. A blue-gray body with a lighter belly gives a classic shark look, while dark navy, charcoal or even muted green can make the scarier pages feel more dramatic. Keep the teeth mostly white or cream and add a light gray shadow near the gums instead of outlining every tooth heavily.
For the water, try two or three shades rather than filling the whole background with one blue. A darker band near the top or corners and a lighter area around the shark can make the main shape stand out without turning the page into a complicated art project.
If you want Megalodon-versus-Mosasaurus scenes rather than a Megalodon-only gallery, use our 25-page prehistoric sea collection. For modern sharks, there is also a separate set of shark coloring pages.
20 Megalodon coloring pages
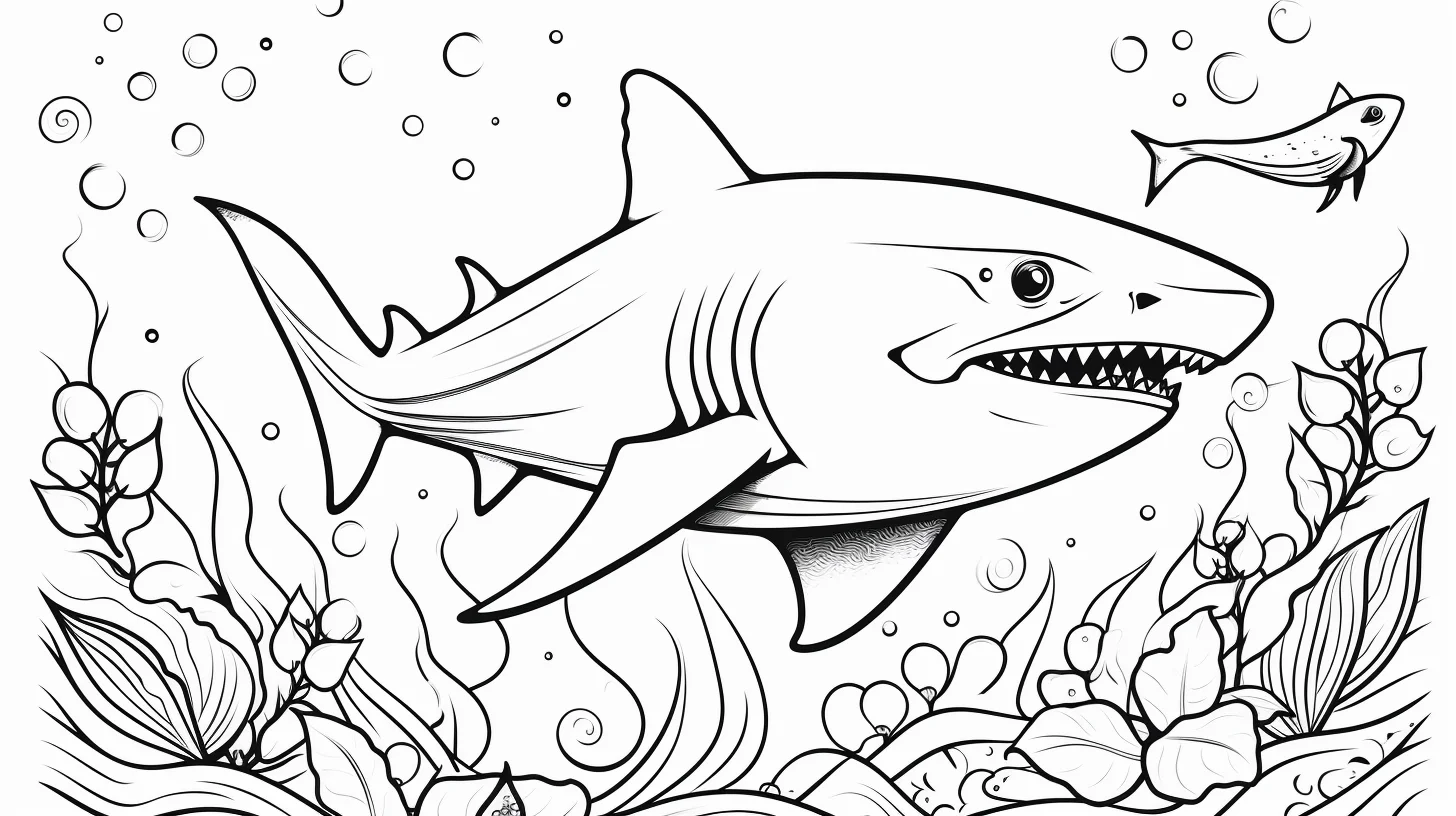
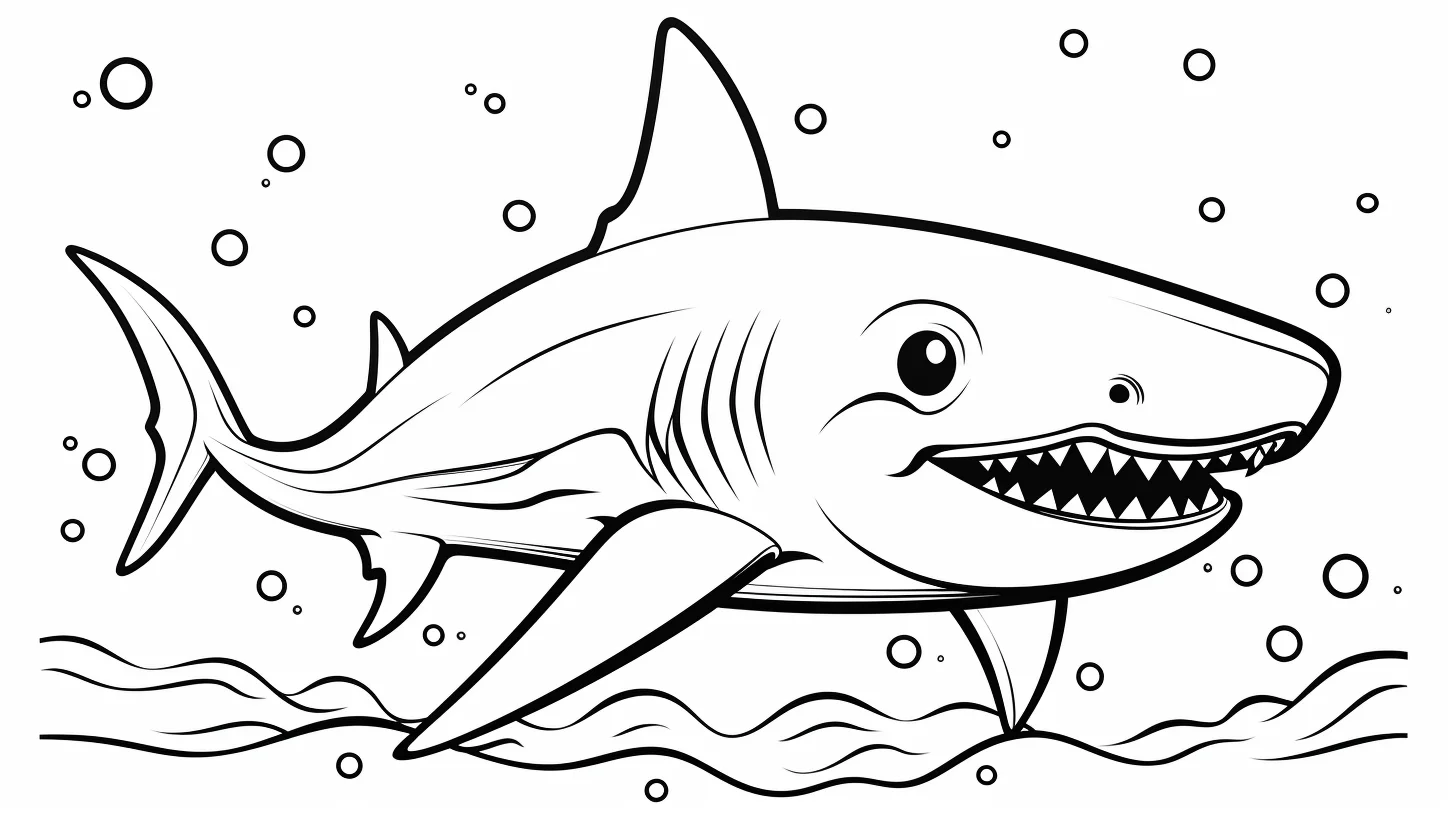
First three sheets: these are the softer, cuter end of the collection. They are the best place to start for younger kids or anyone who wants a quick page with fewer intimidating teeth. Bright blues, teal or even pastel colors work well here.
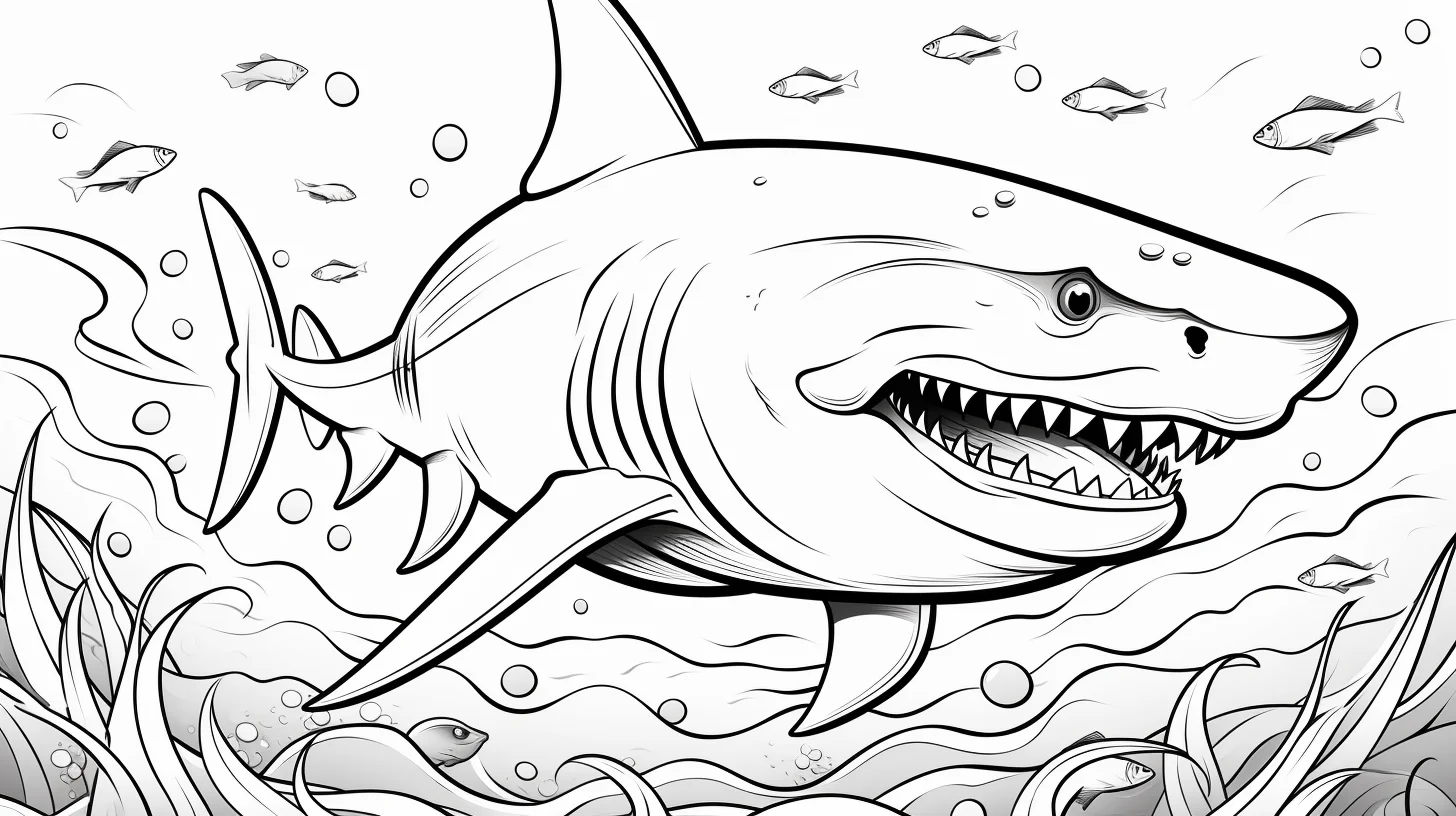
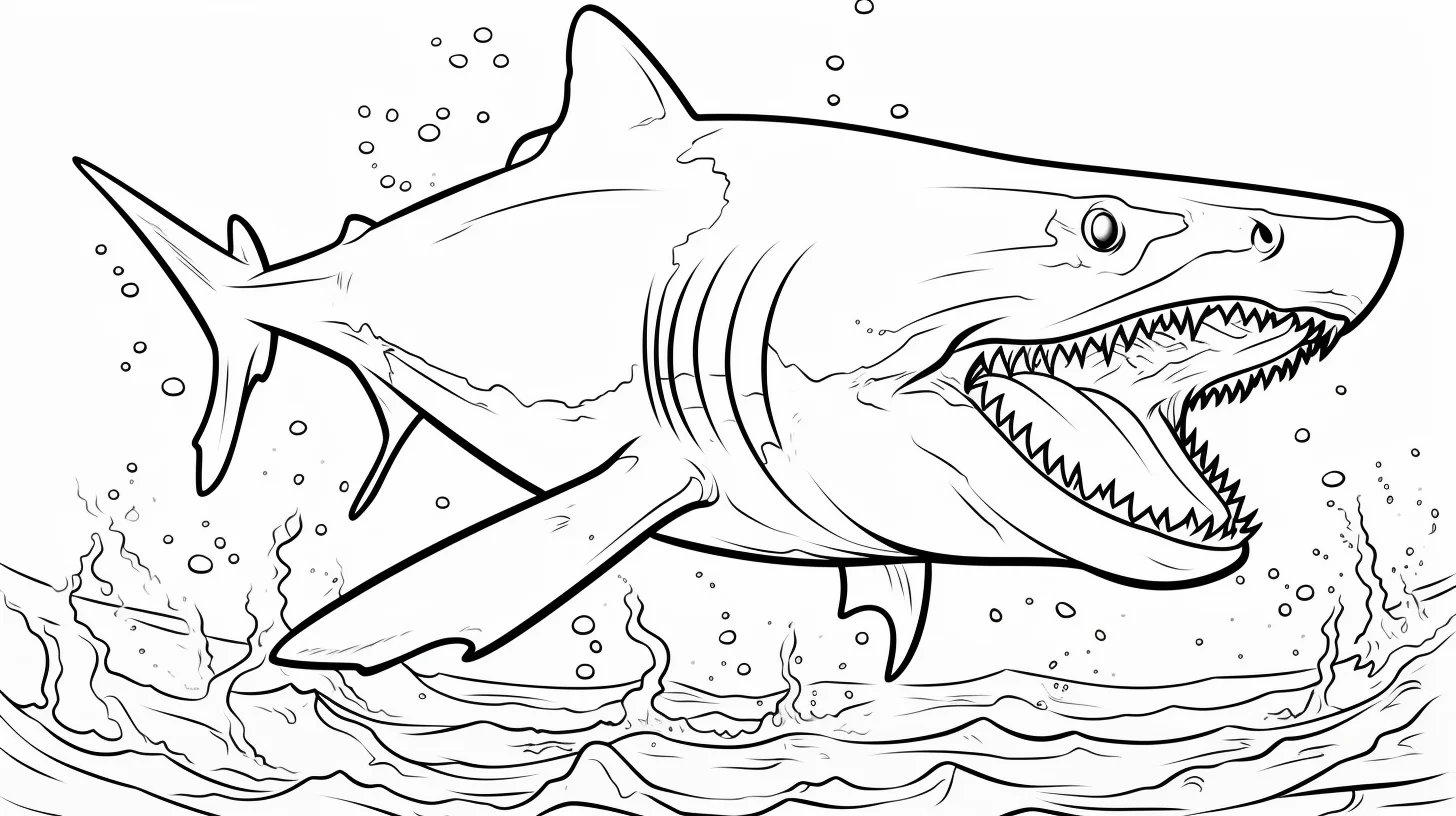
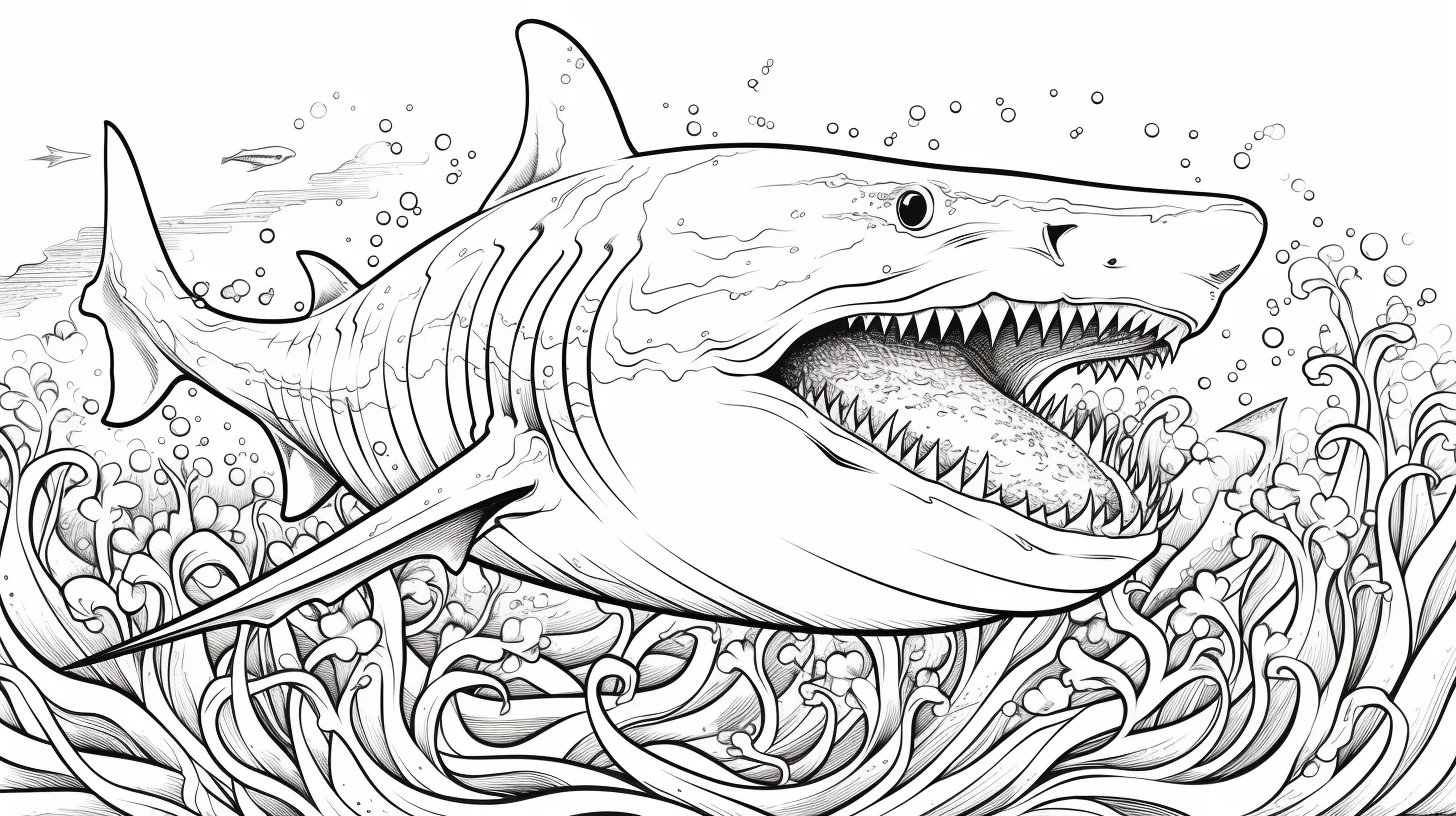
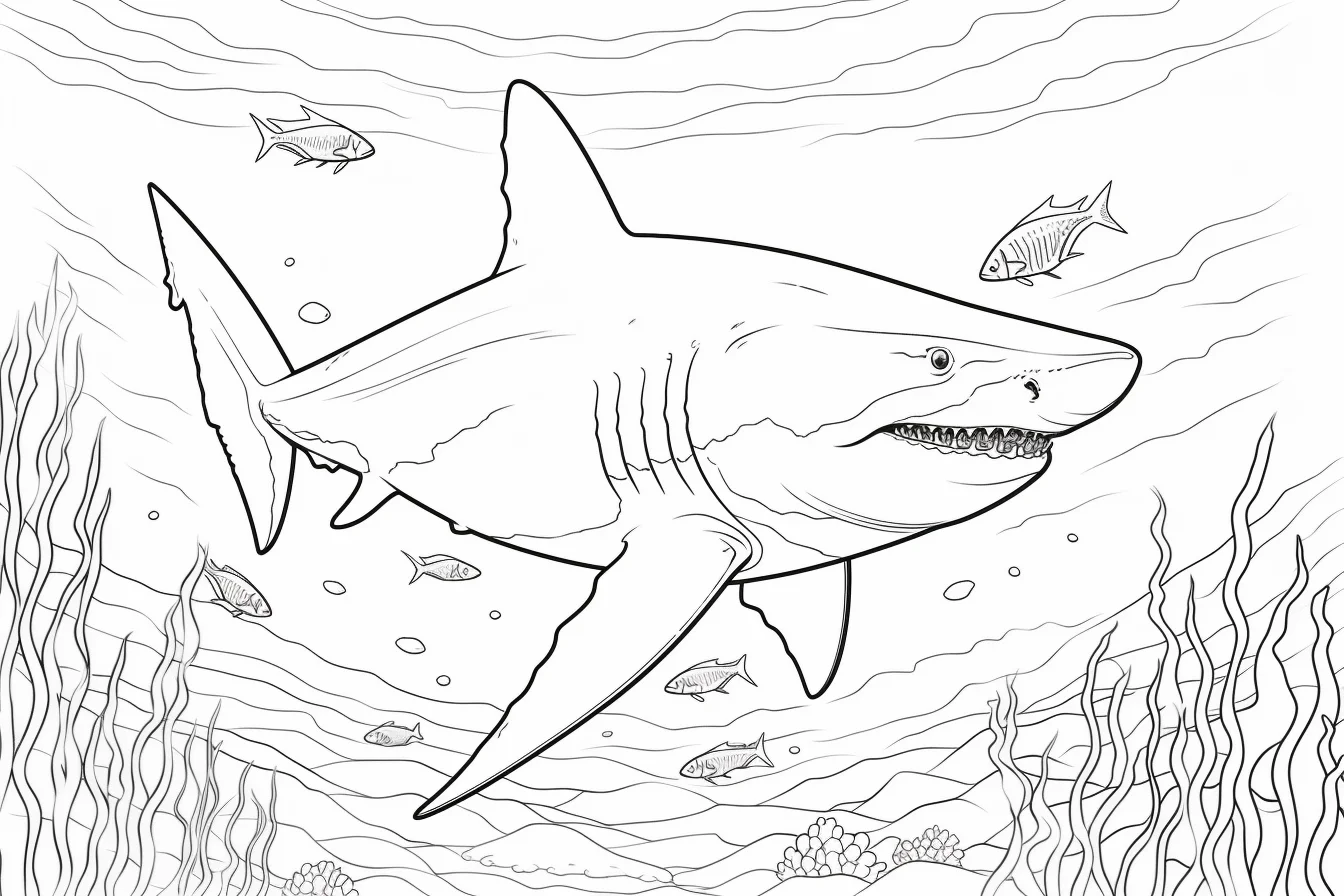
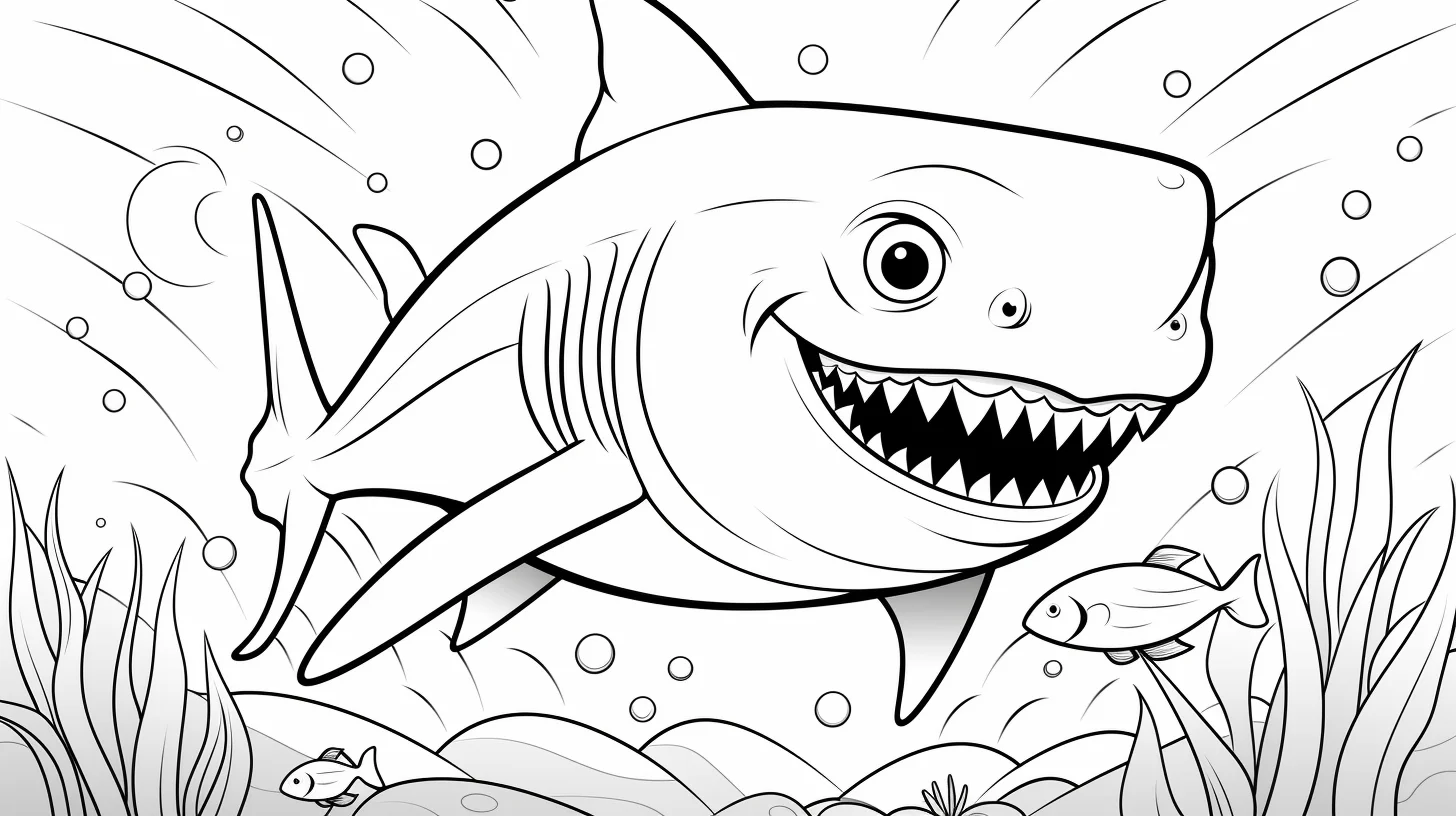
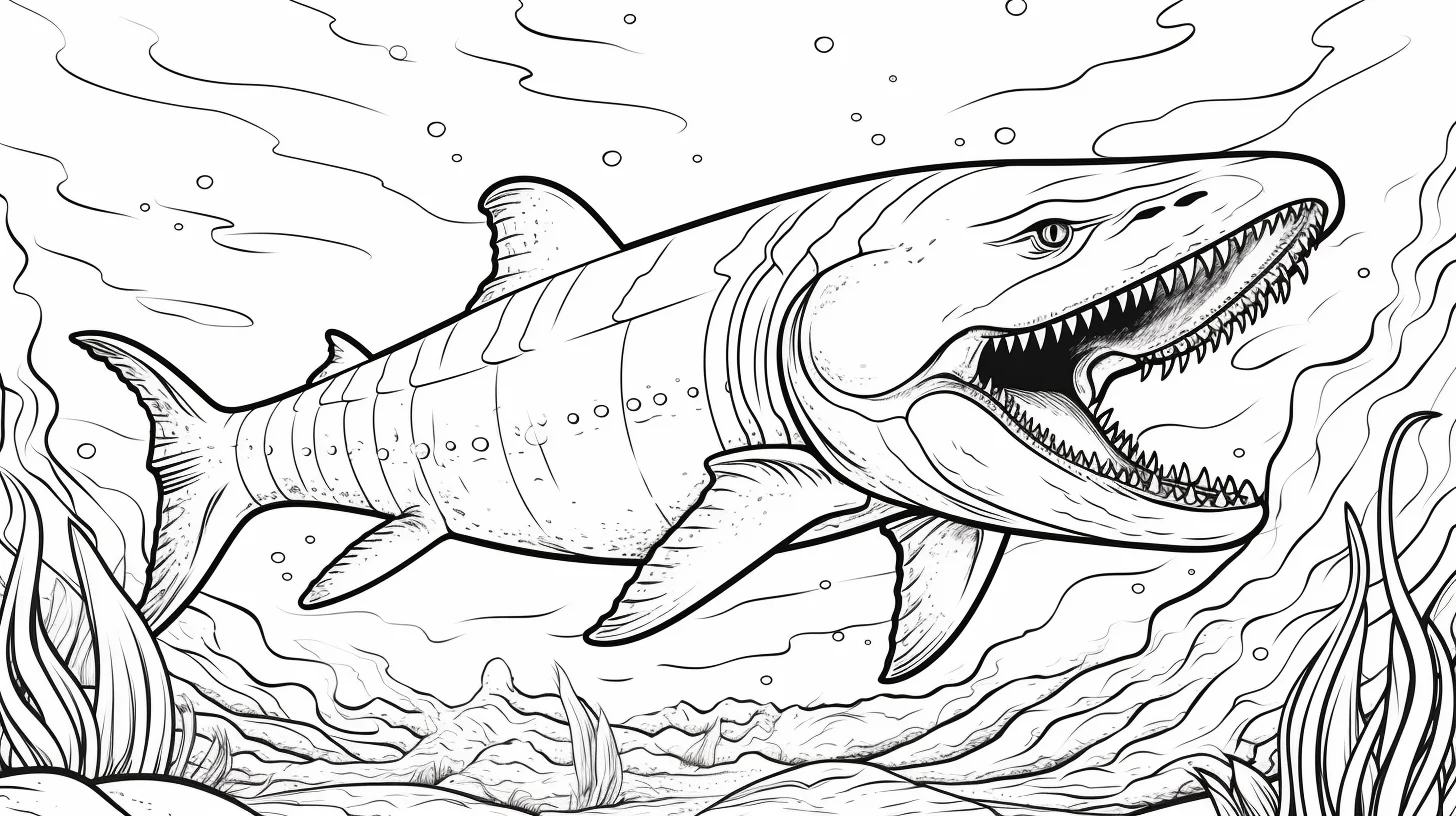
Megalodon and Mosasaurus sheet: this mixed-species page is the outlier in an otherwise Megalodon-focused set. Give the two animals different color families so they do not blend together; for more pages built around that fantasy matchup, use the separate prehistoric-sea collection linked above.
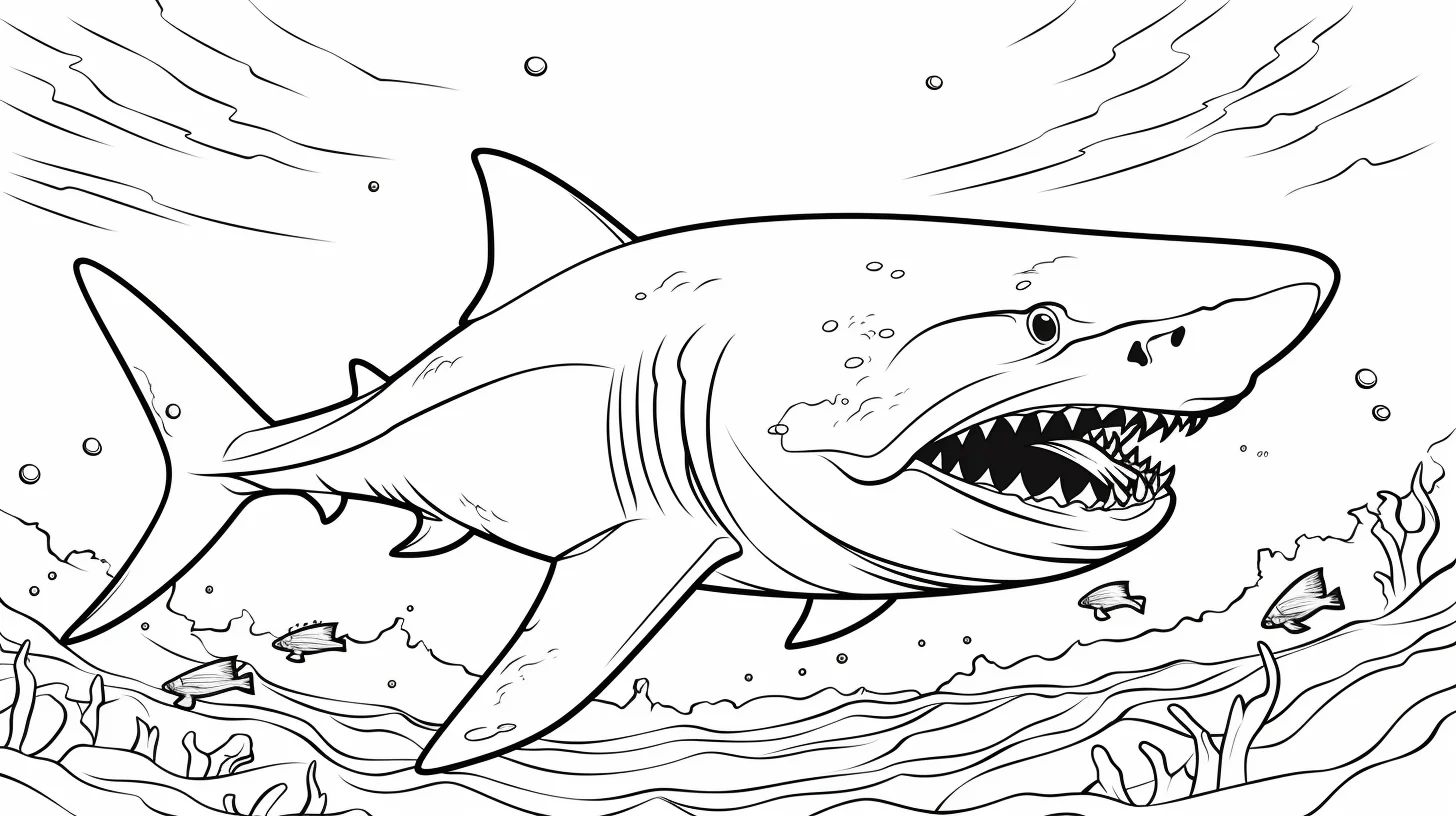
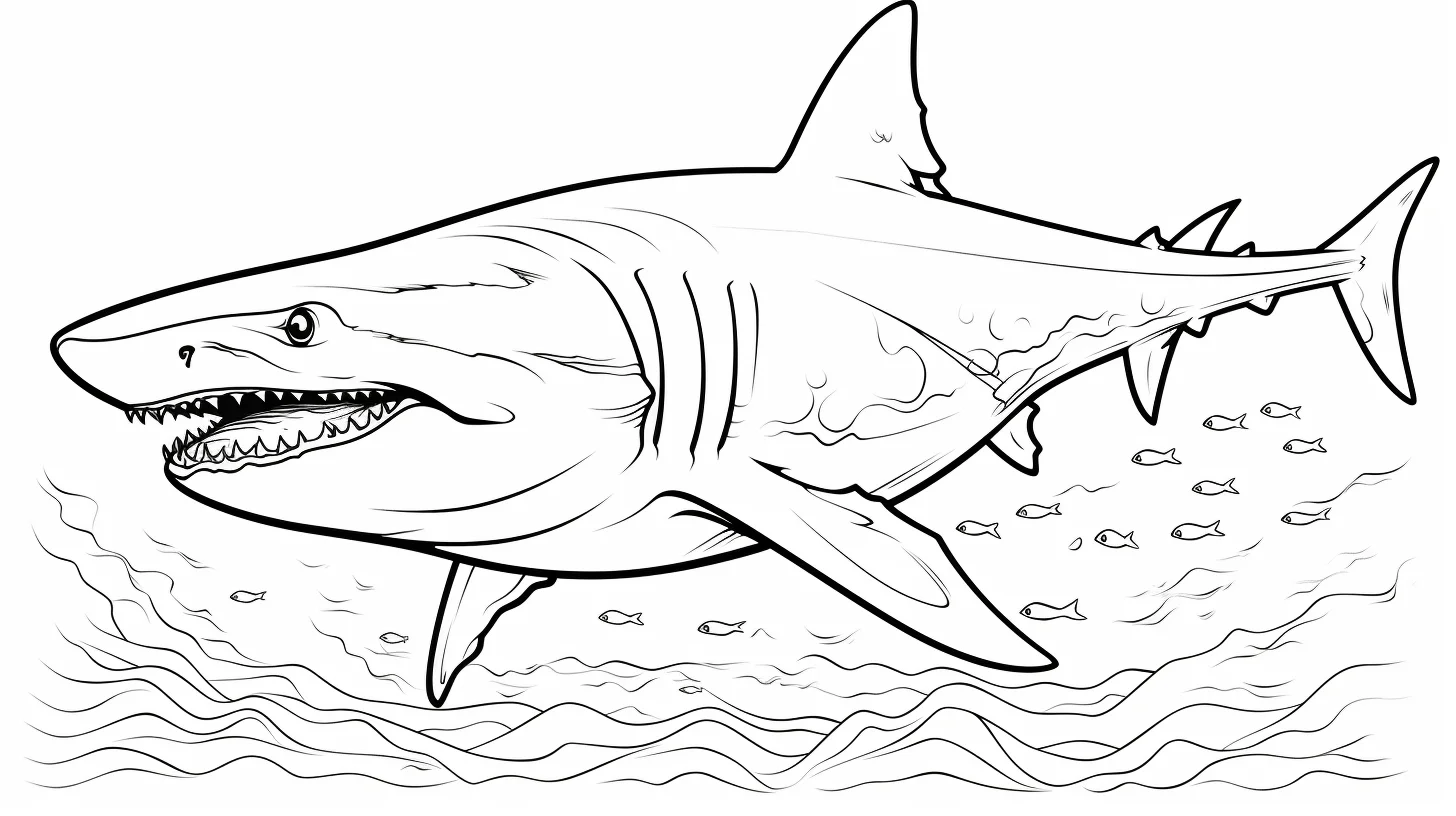
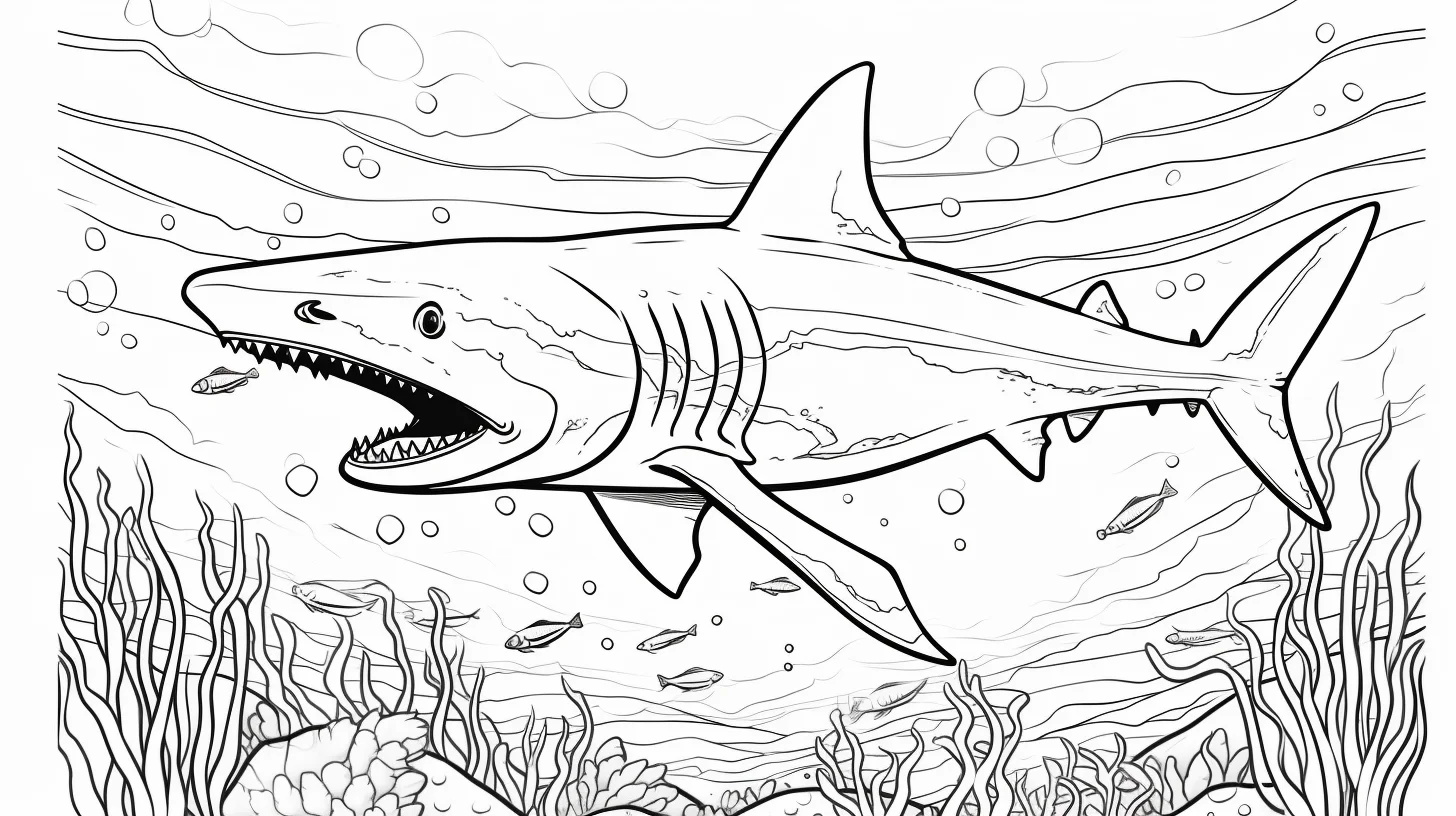
How to make a Megalodon look massive underwater
The easiest way to sell the “giant shark” idea is not to add more detail to the shark. Use contrast between the animal and its surroundings. Keep nearby bubbles, fish or rocks relatively small, then give the Megalodon a broad, uninterrupted body value. A lighter belly and darker back help separate its volume from the water.
- Choose one light direction. Imagine light coming down from the water surface. Keep the upper edge of the shark slightly lighter and deepen the underside, lower fins and area beneath the jaw.
- Build the body with three values. Use a light belly, middle-value sides and a darker back. Blend the transitions rather than drawing hard horizontal stripes.
- Save your darkest color for depth. Put it inside the mouth, around the gill slits and where fins overlap the body. This makes those forms recede.
- Separate shark from water. If the shark is blue-gray, avoid using exactly the same blue immediately behind it. A darker navy or lighter turquoise background gives the silhouette room to read.
Teeth, mouth and gills: small details that change the whole page
Rows of teeth can become visually messy if every tooth gets a dark outline. Leave the teeth mostly white or warm cream, shade lightly where they meet the gums, and let the mouth interior provide the contrast. For an open mouth, deep burgundy, muted red or charcoal works better than filling everything with pure black because you can still add darker shadows.
Gills need even less work. A narrow shadow on one side is usually enough. If every gill line, wrinkle and tooth receives the same dark pressure, the face loses its hierarchy. Finish the eye last and make it one of the sharpest, darkest details; that gives the viewer a focal point even on the busier scary-shark sheets.
A three-sheet Megalodon practice challenge
- Sheet 1 — shape control: use a kawaii or easy shark and limit yourself to three body colors. Concentrate on clean edges and an even fill.
- Sheet 2 — underwater depth: choose a page with bubbles, waves or seafloor details. Make the foreground darker or more saturated and let distant water stay lighter and quieter.
- Sheet 3 — dramatic lighting: choose an open-mouth or detailed Megalodon. Use one consistent light direction and reserve your darkest values for the mouth, overlaps and underside.
Keep one body palette across all three sheets. Changing the drawing while holding the colors roughly constant makes it much easier to see whether your blending, edge control and shading are improving.
Fix common Megalodon coloring problems
| If this happens | Try this |
|---|---|
| The shark disappears into blue water | Change the value behind the silhouette: put lighter water behind a dark shark or darker water behind a pale one. |
| The body looks like one flat gray shape | Add a lighter belly and a darker back, then soften the transition through the middle of the body. |
| The teeth look too busy | Stop outlining each tooth. Keep them pale and create contrast with the gums and mouth interior instead. |
| The water looks like a solid blue wall | Use two or three uneven bands of blue and leave some lighter water around the shark. |
| Marker strokes are streaky | Work in smaller connected areas while the previous edge is still wet; use pencil afterward for controlled shadows. |
| The scary page feels too dark | Keep one large light area—usually the belly or water around the head—rather than adding black to every dramatic feature. |
Four Megalodon palettes that are easy to repeat
- Natural ocean: slate blue back, blue-gray sides, pale gray belly, navy water and muted sand.
- Deep sea: charcoal body, cool gray belly, indigo water and a small turquoise highlight around bubbles or surface light.
- Prehistoric green: muted olive back, gray-green sides, cream belly and blue-green water.
- Kawaii: turquoise or sky-blue body, pale belly, coral mouth and pastel bubbles. This works especially well on the first three simpler sheets.
Which Megalodon page is best for kids?
For younger children, I would start with one of the cartoon or kawaii sharks that has a simple body shape and very little scenery. The dramatic pages with rows of teeth look great, but they create lots of small spaces and usually take longer to finish.
Ways to use the finished pages
- Cut out the finished shark and glue it onto dark blue paper for a simple ocean scene.
- Let two kids color the same design differently and compare the choices rather than treating one as the “correct” version.
- Use a finished page as the cover for a school project about prehistoric sea life.
- Print one easy and one detailed version so the child can choose depending on how much time they want to spend coloring.
More shark coloring pages
If the huge teeth are the main attraction, browse our cute and realistic shark coloring pages. For something much softer and easier, the baby shark coloring pages have simpler shapes and larger coloring areas.

