
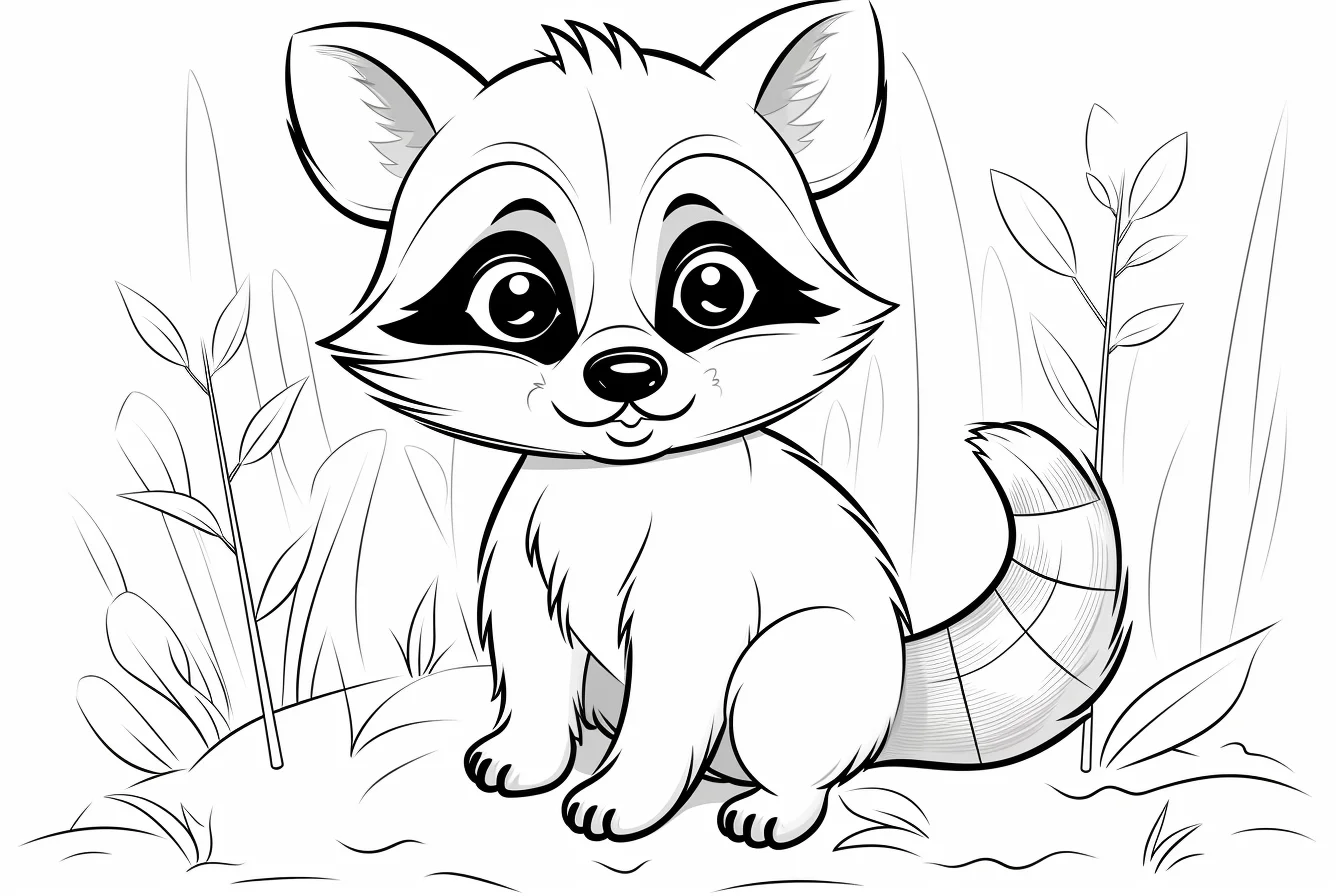
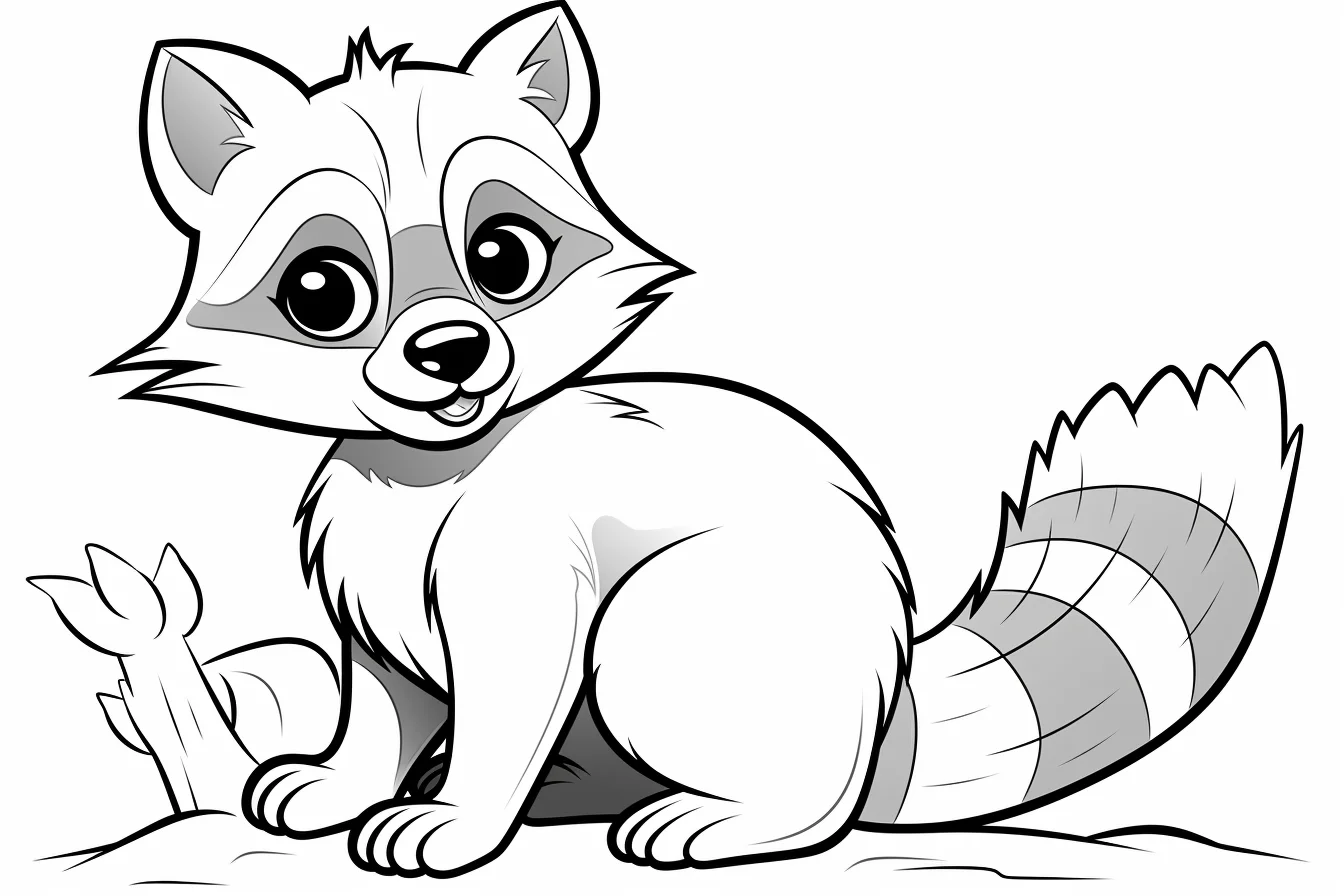
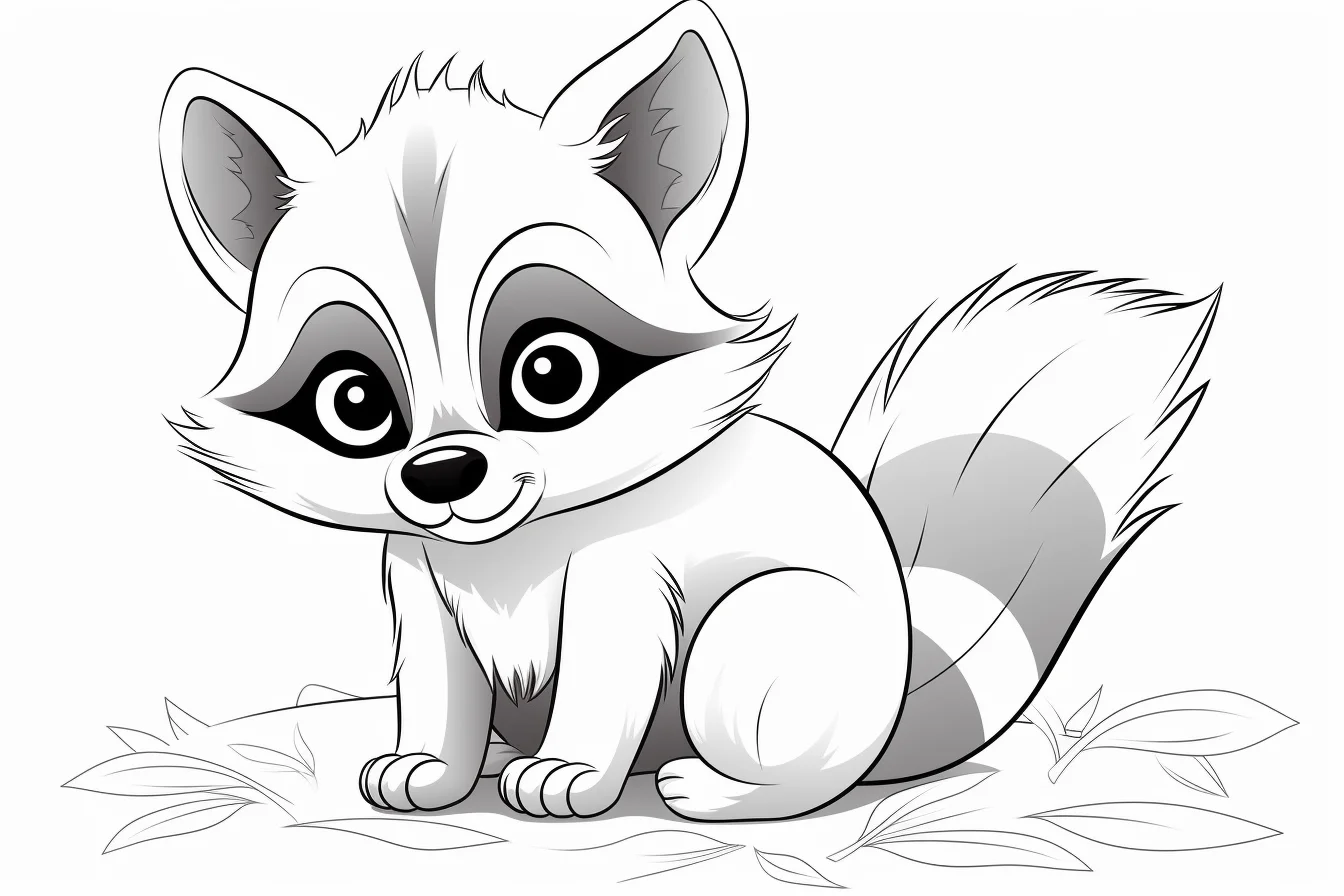
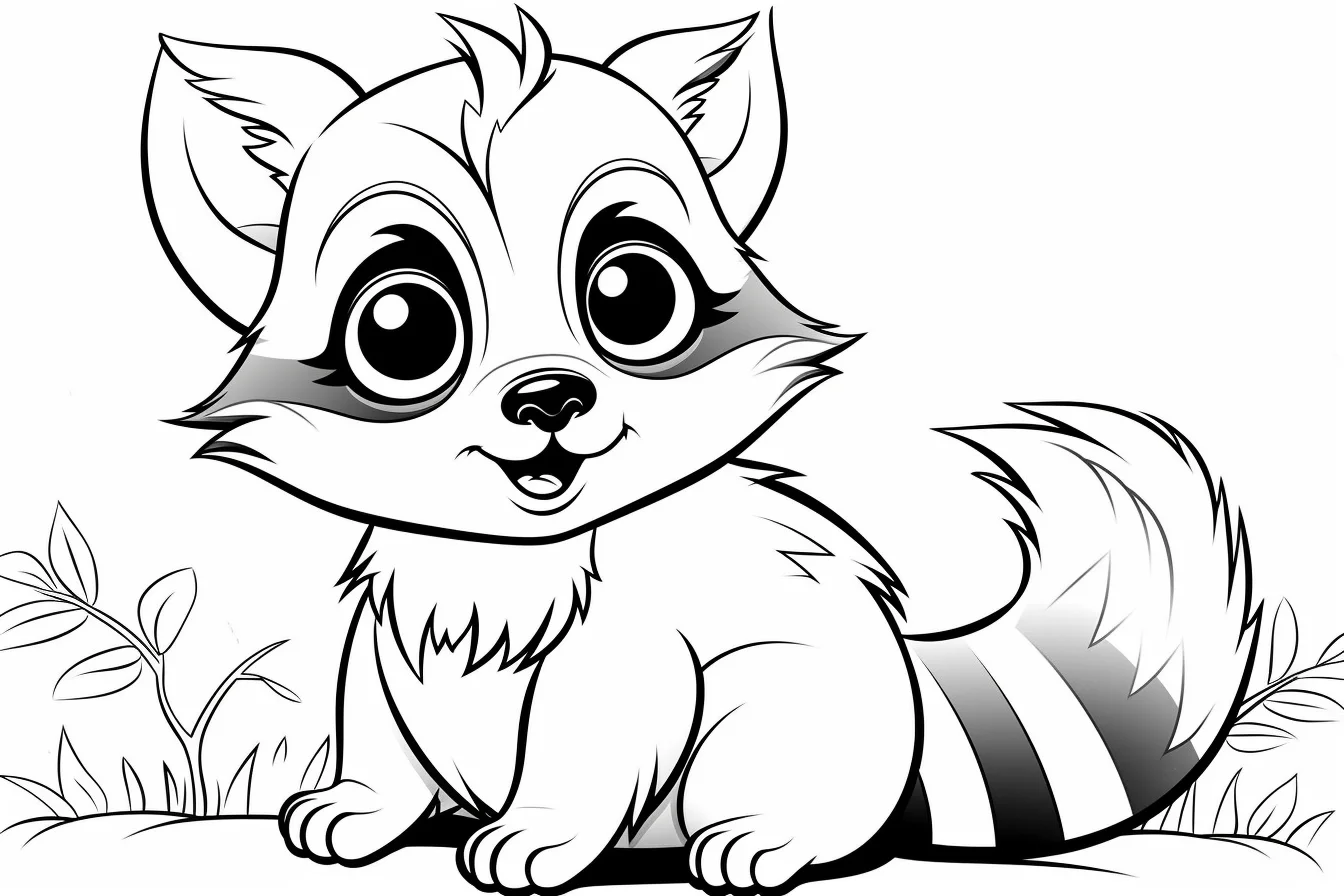
Raccoons are unusually forgiving coloring subjects because two features do most of the identifying work: the dark face mask and the ringed tail. You can keep the rest of the body very simple and the animal still reads instantly as a raccoon. That makes these 20 pages useful for younger kids, but also surprisingly good for practicing light-versus-dark contrast.
The collection is mostly cute and simplified rather than realistic. The first ten lean especially heavily toward baby, easy and preschool designs; the second half is a broader printable mix. If you want the quickest pages, start near the top rather than scrolling randomly.
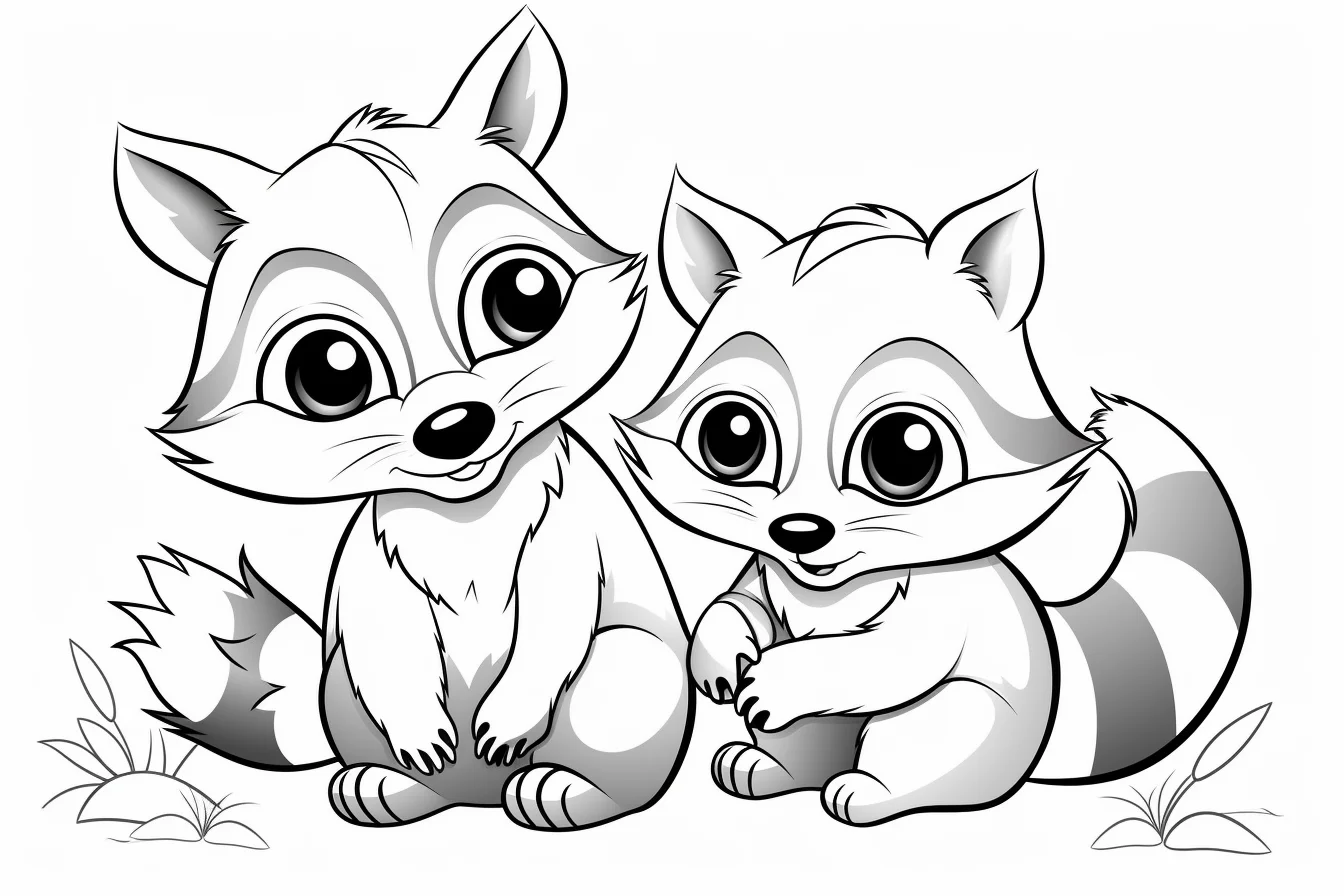
A 90-second mask-and-tail contrast test
Before coloring a full raccoon, make three small swatches in a margin or on the same printer paper: light pressure for the body, medium pressure for the darker fur, and firm pressure for the mask and tail rings. Now draw a tiny eye inside the darkest swatch. If the pupil disappears, your mask value is already too dark; step back to charcoal or dark gray and save black for the pupil and nose.
Test the tail separately with four short bands: light, dark, light, dark. Run one faint shadow across the underside of all four bands. You should still read the alternating rings first and the underside shadow second. If the shadow merges the dark rings into a single stripe, reduce pressure. This gives the tail volume without sacrificing its pattern.
For the muzzle, compare untouched paper with a very pale cream or gray. Choose whichever stays clearly lighter than the body. Then hold the test at arm’s length: the eyes, pale muzzle and ringed tail should remain distinct before you notice small fur strokes. That is the value hierarchy to preserve on the finished sheet.
Choose a raccoon page quickly
| If you want… | Start with | Best tool |
|---|---|---|
| Easy baby and preschool raccoons | Sheets 1–10 | Crayons or broad pencils |
| More printable raccoon choices | Sheets 11–20 | Colored pencils or markers |
How to color a raccoon without losing the face
Start with the body, not the mask. Use pale gray, warm gray, taupe or gray-brown over most of the fur. Then add the darker eye mask, paws and tail rings. If you begin with black around the eyes, it is easy to keep darkening until the facial expression disappears.
The muzzle should usually stay lighter than the mask. Cream, very pale gray or simply leaving part of the paper white creates enough separation. Keep a small light area around the eyes too; the eyes need contrast against the mask rather than being swallowed by it.
The tail is the easiest place to add depth
Color the whole tail lightly first, then darken every other ring. Add a slightly deeper shadow along the underside where the tail curves. You do not need to outline every ring heavily. Alternating light and dark bands already create the raccoon pattern.
A five-step raccoon routine
- Color the main body with the lightest fur shade.
- Keep the muzzle and inner ears lighter.
- Add the eye mask and tail rings with the darker shade.
- Darken only a few shadow areas under the chin, belly and legs.
- Finish the nose, eyes and any background details last.
Printing
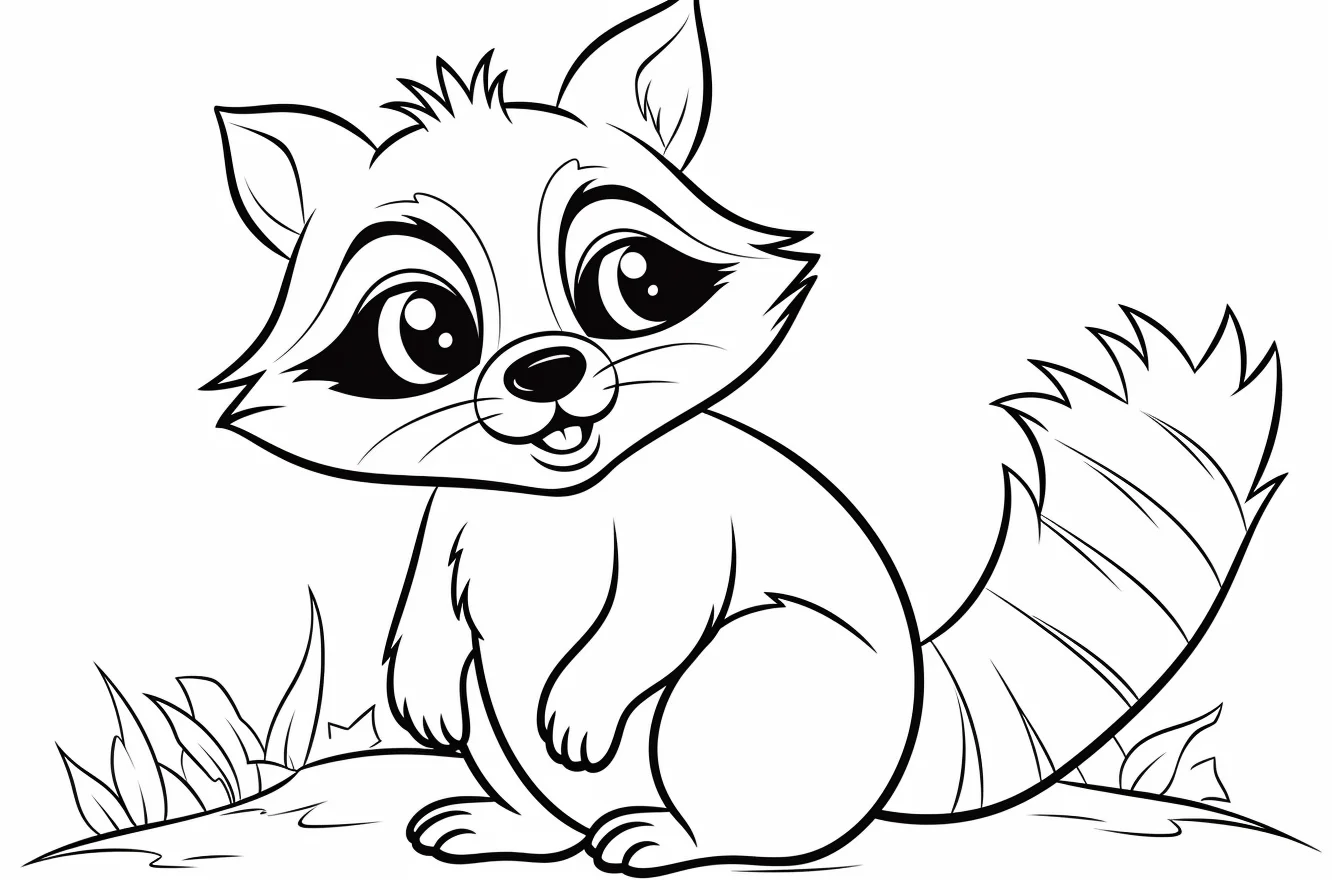
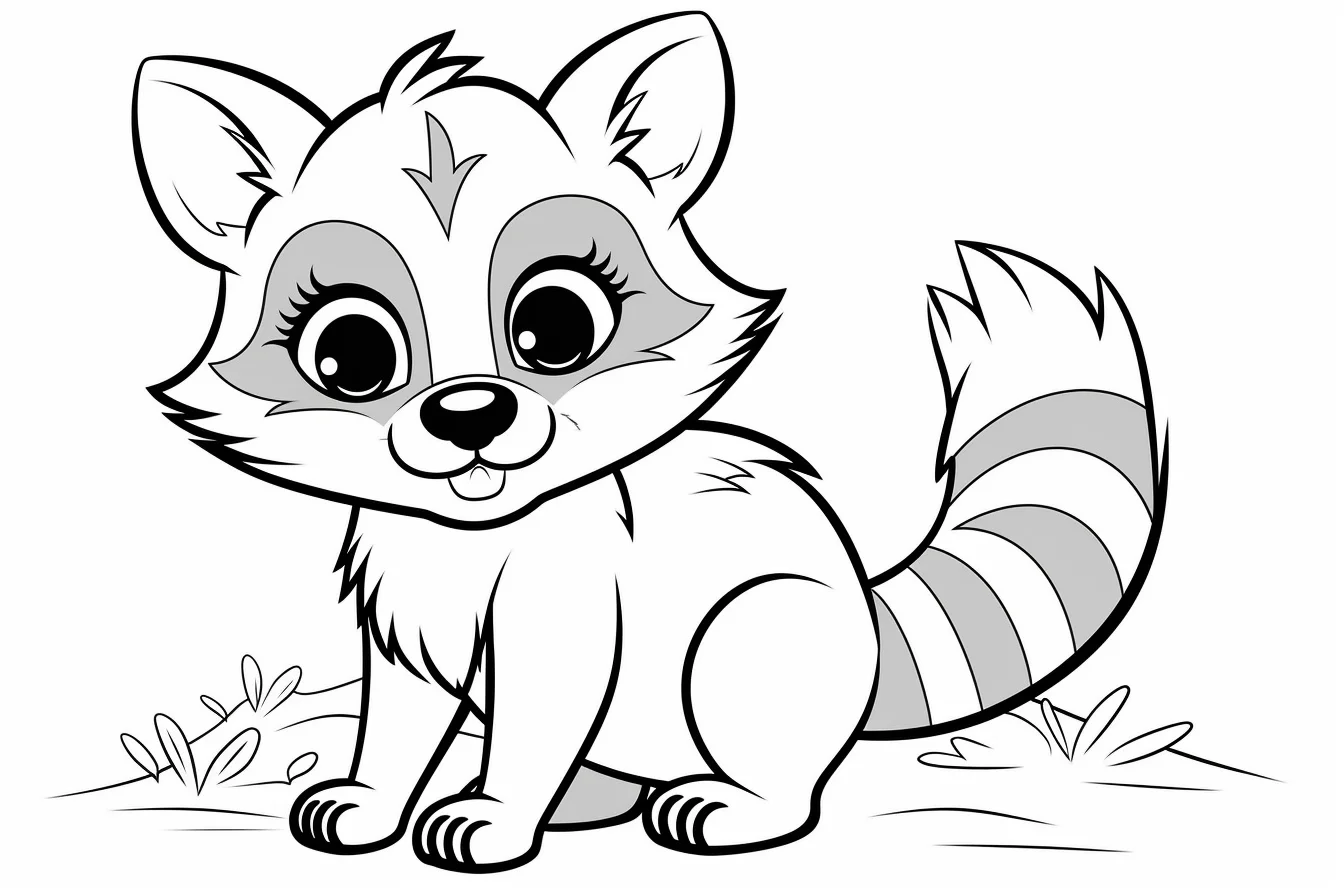
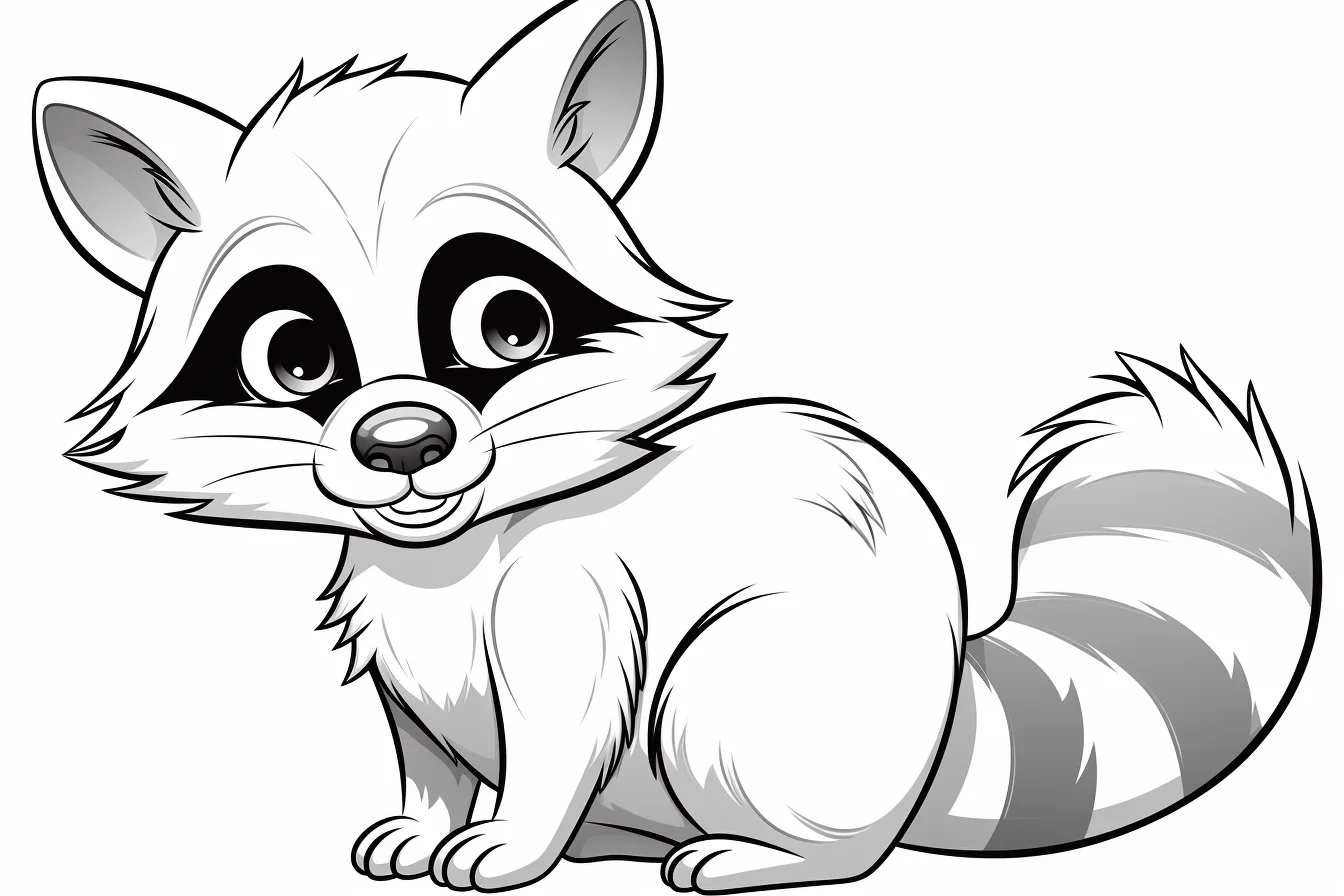
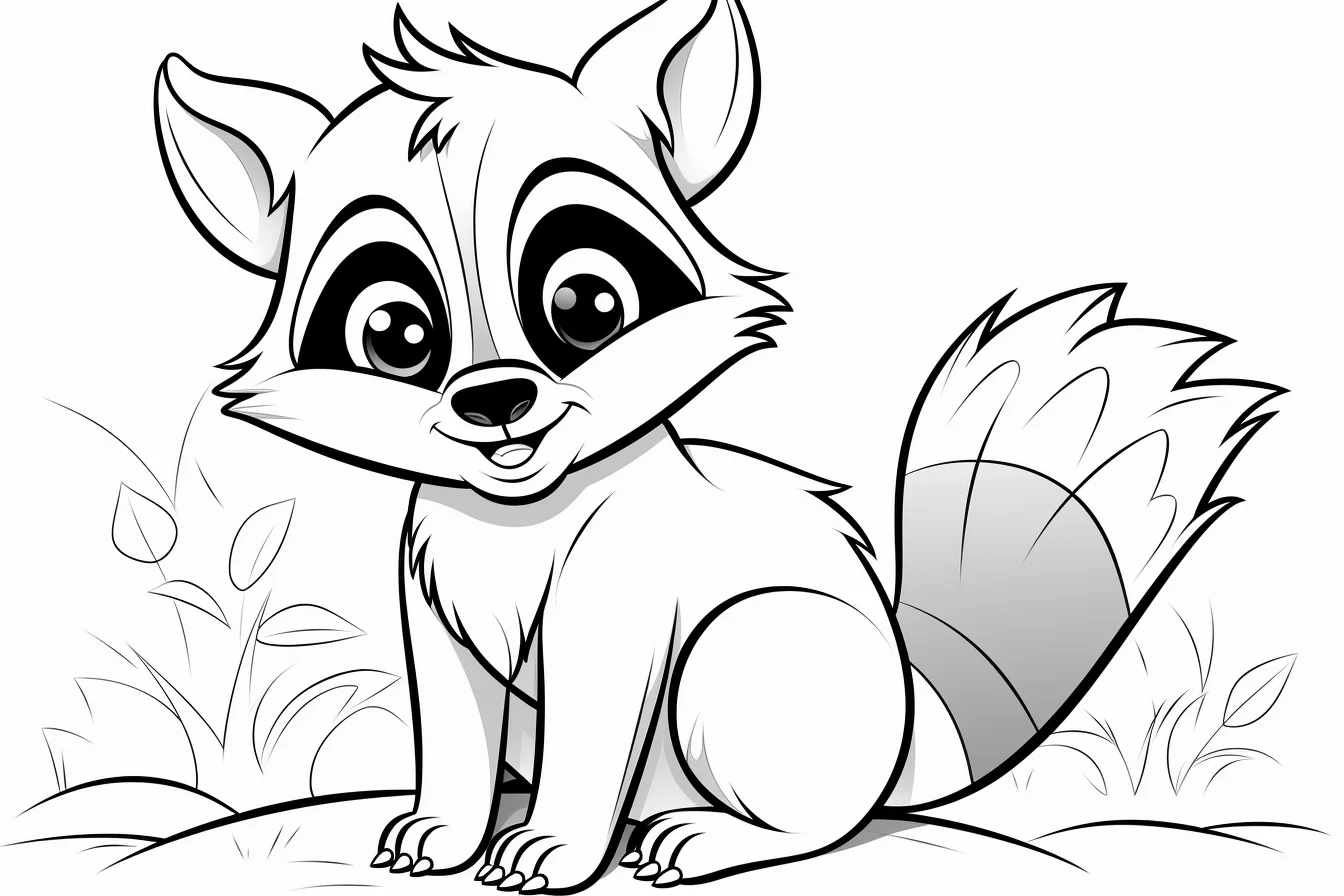
Each image below already opens its original full-size file when clicked. Print on A4 or US Letter paper with “Fit to page.” These sheets are landscape-oriented, so landscape mode is the natural first choice. Crayons work well on the larger baby-raccoon shapes; colored pencils are better if you want soft fur transitions or cleaner control around the mask.
For more woodland animals, continue with the deer coloring pages. For a broader choice of species, use the farm, zoo and jungle animal hub.
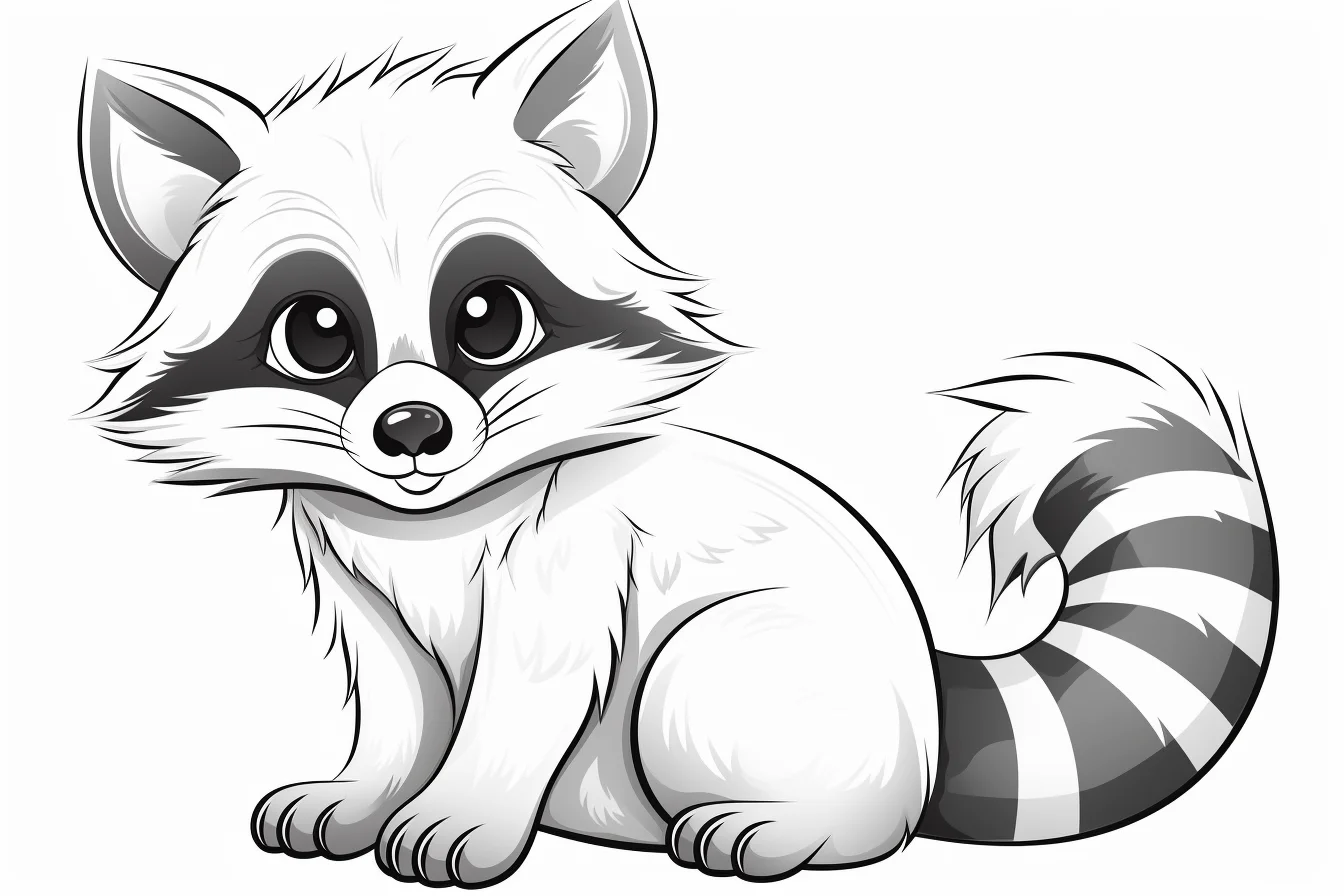
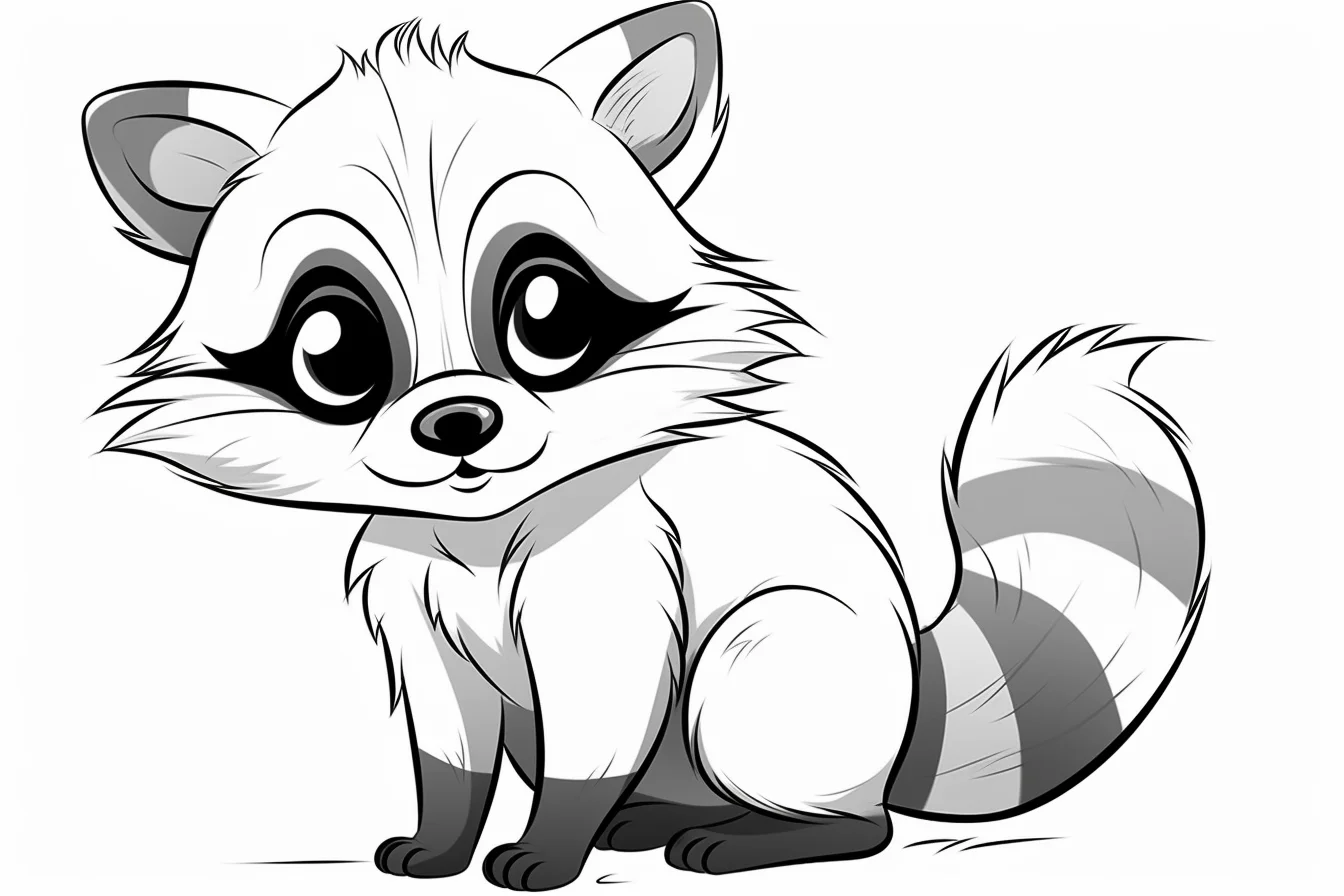
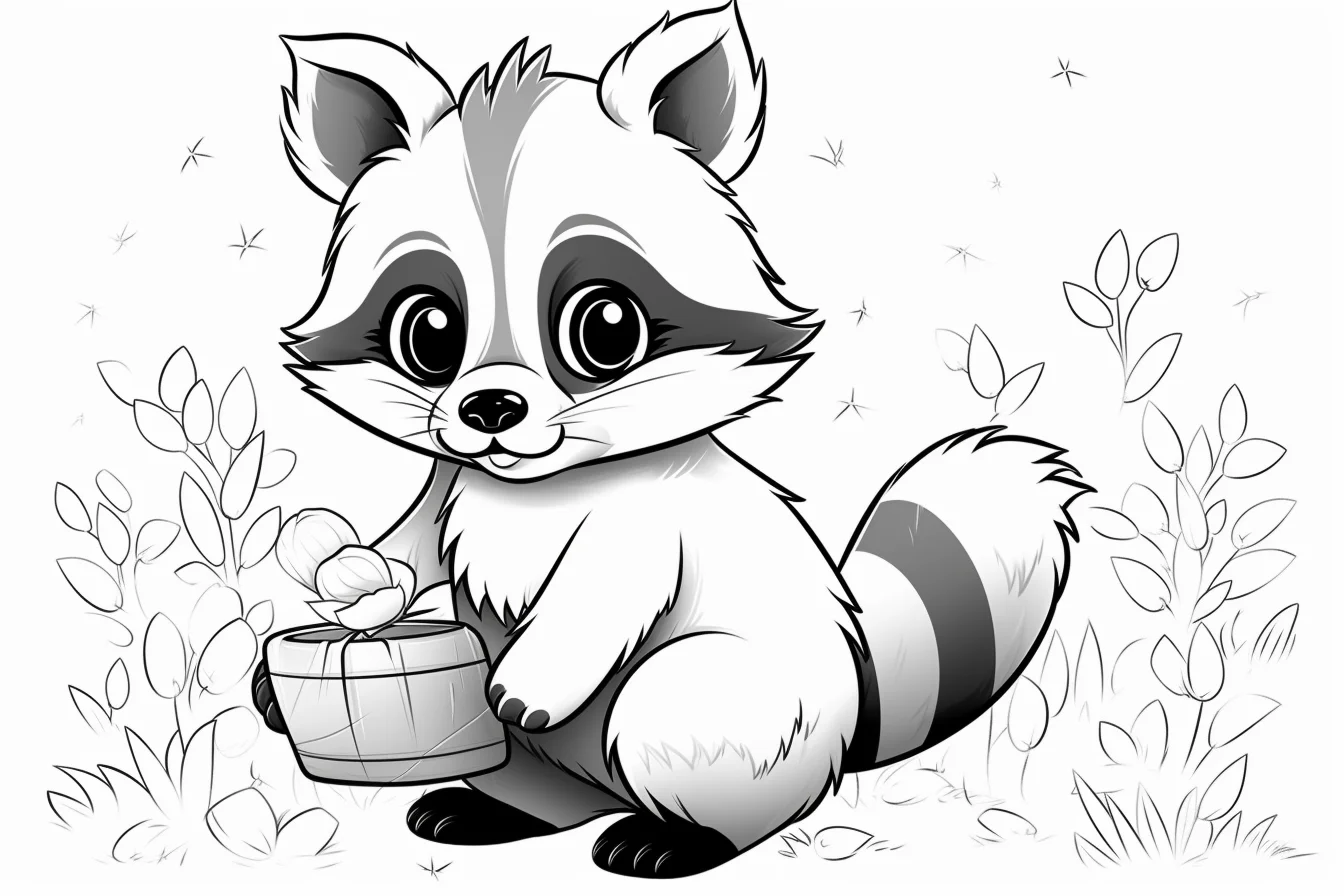
Easy and preschool raccoons — Sheets 1–10
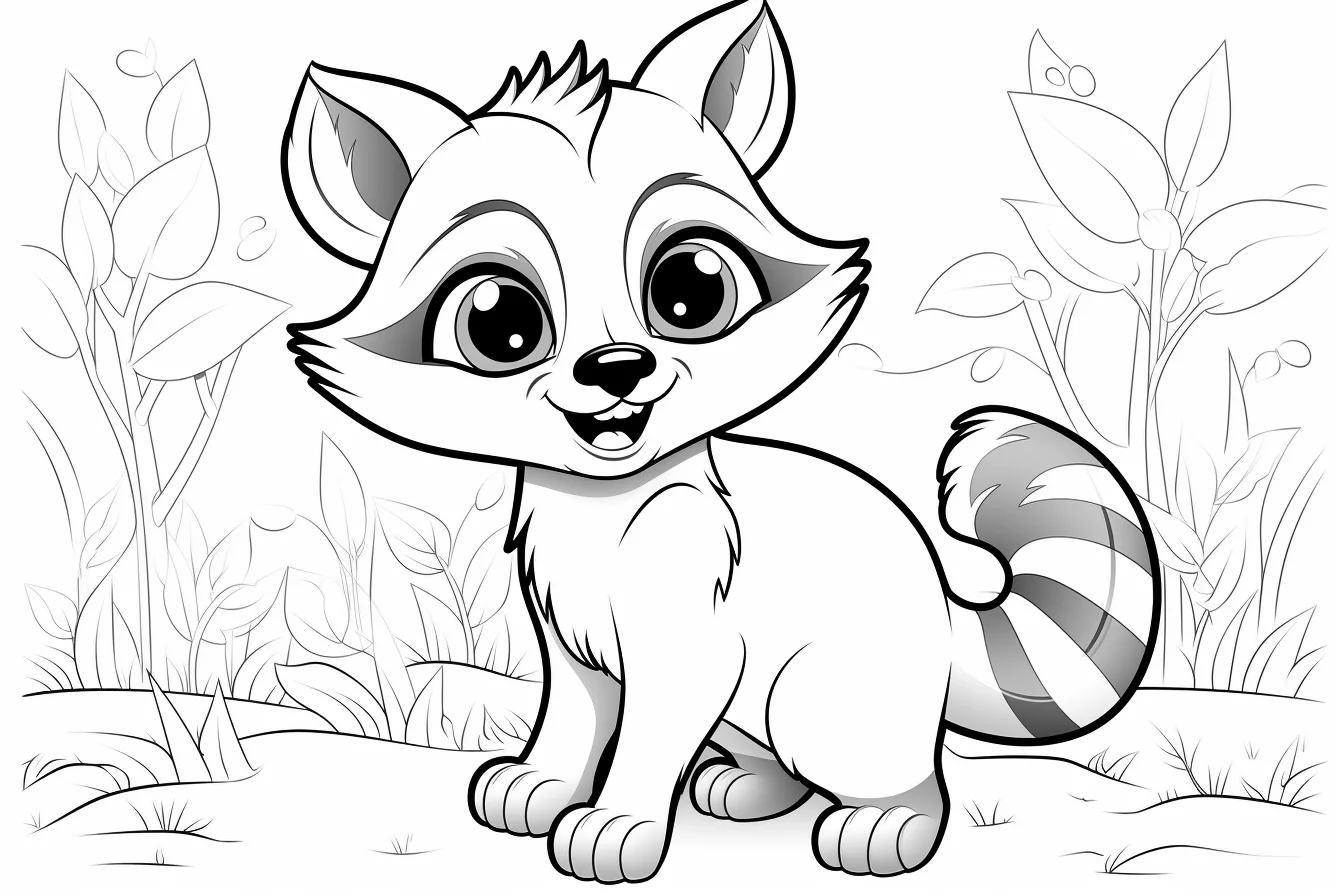

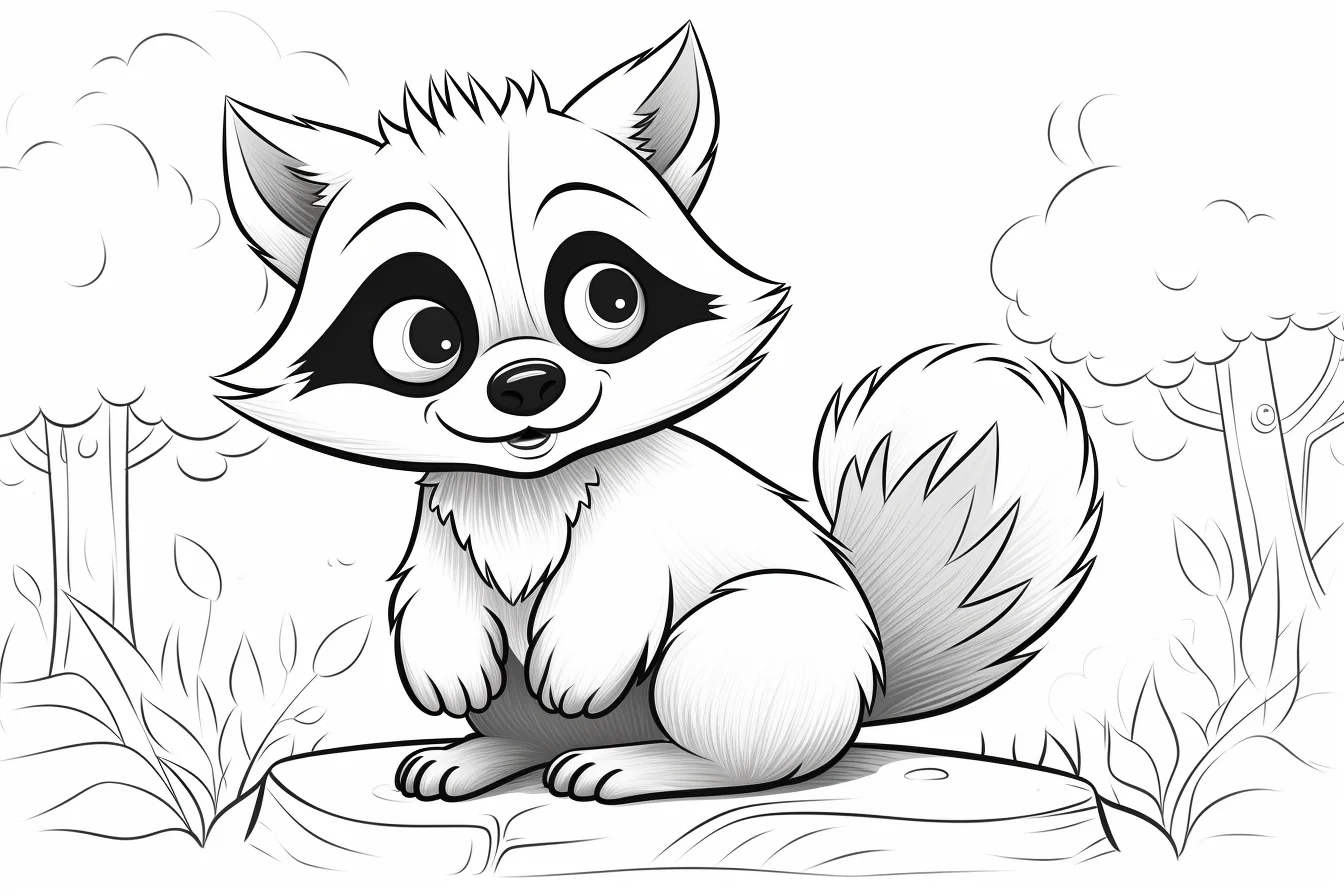
More printable raccoons — Sheets 11–20
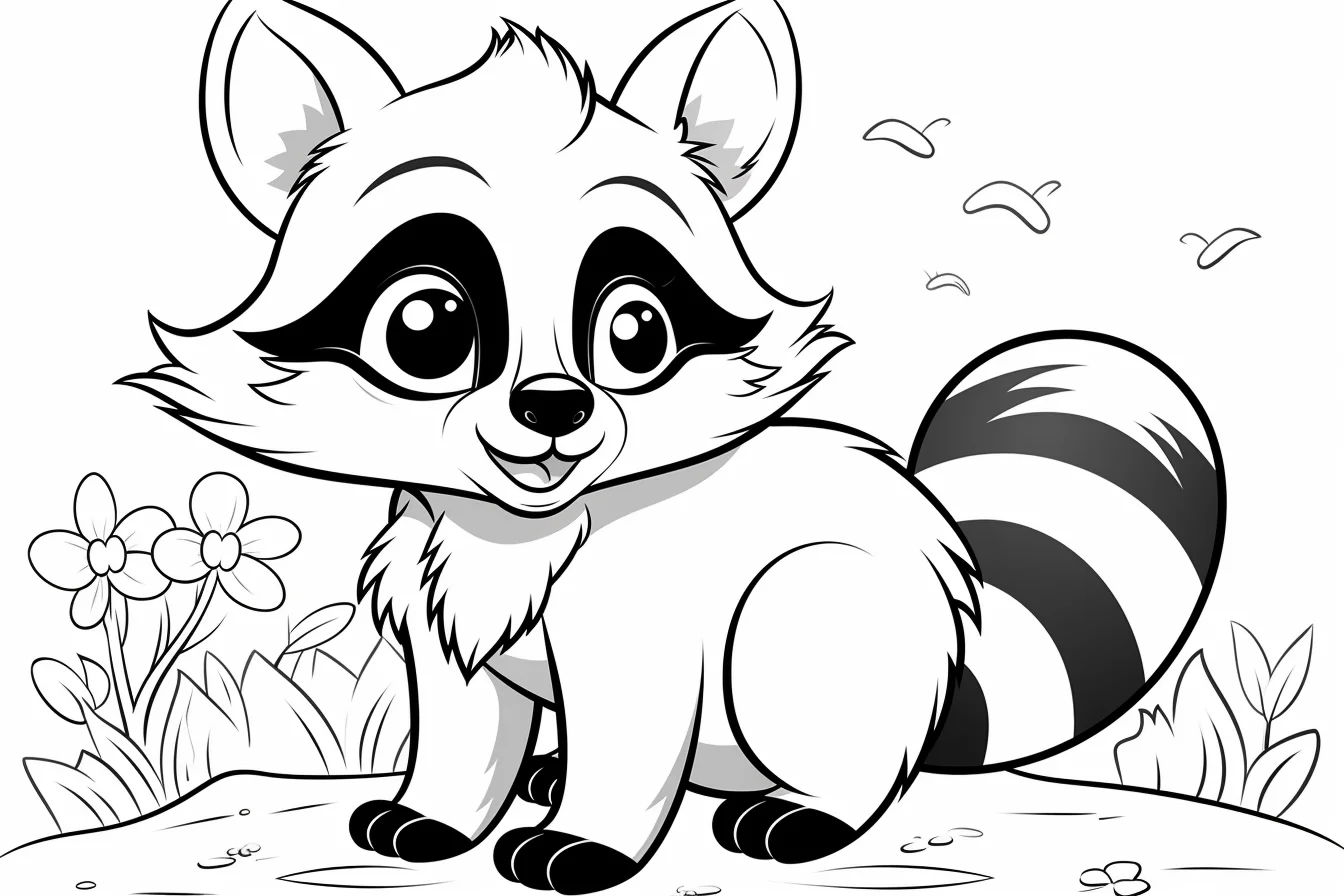
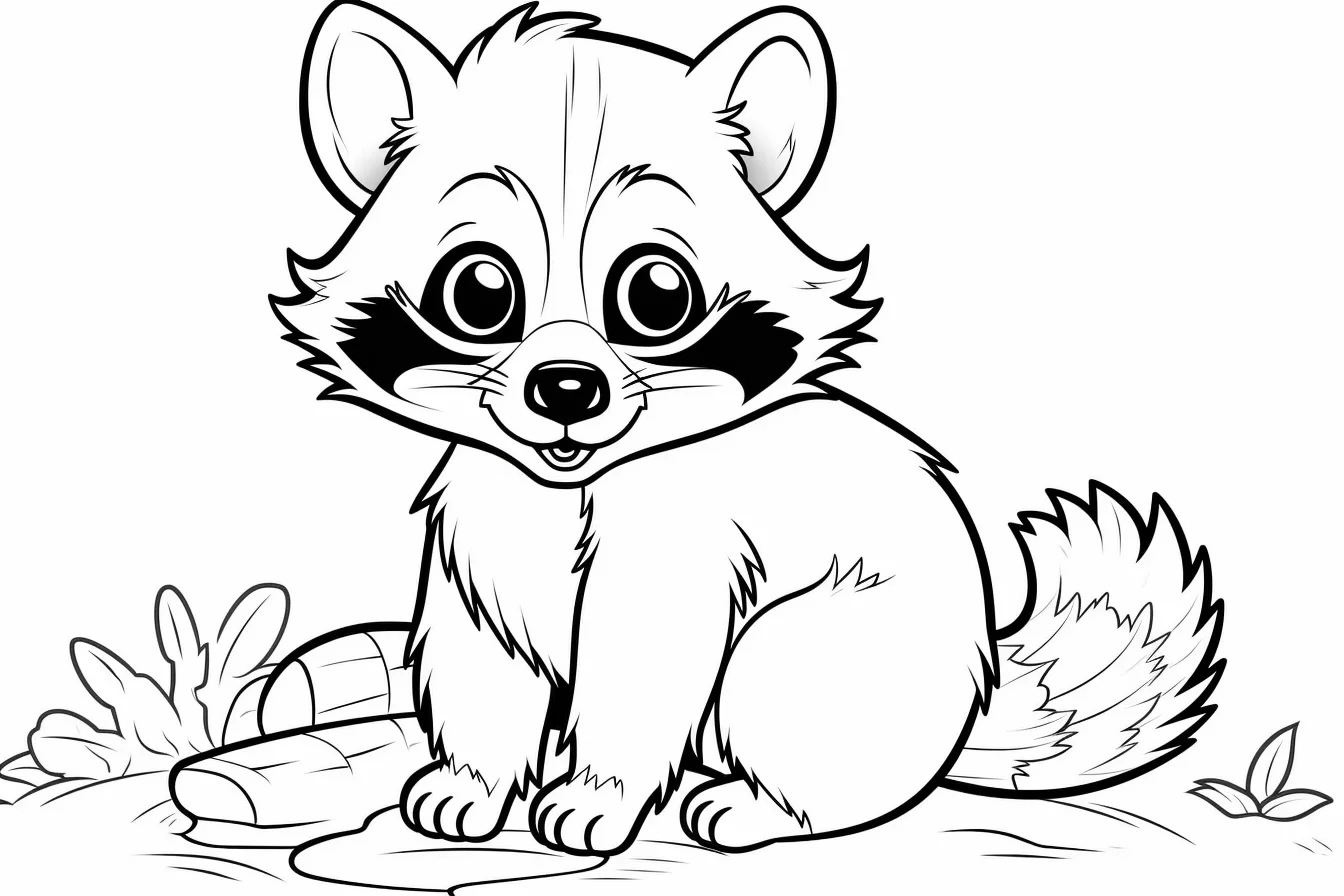
The second half stays cute, but gives you more general raccoon options rather than concentrating only on preschool labels. If you are using pencils, this is a good place to try a second gray or brown on the body instead of relying only on the black mask and tail rings.
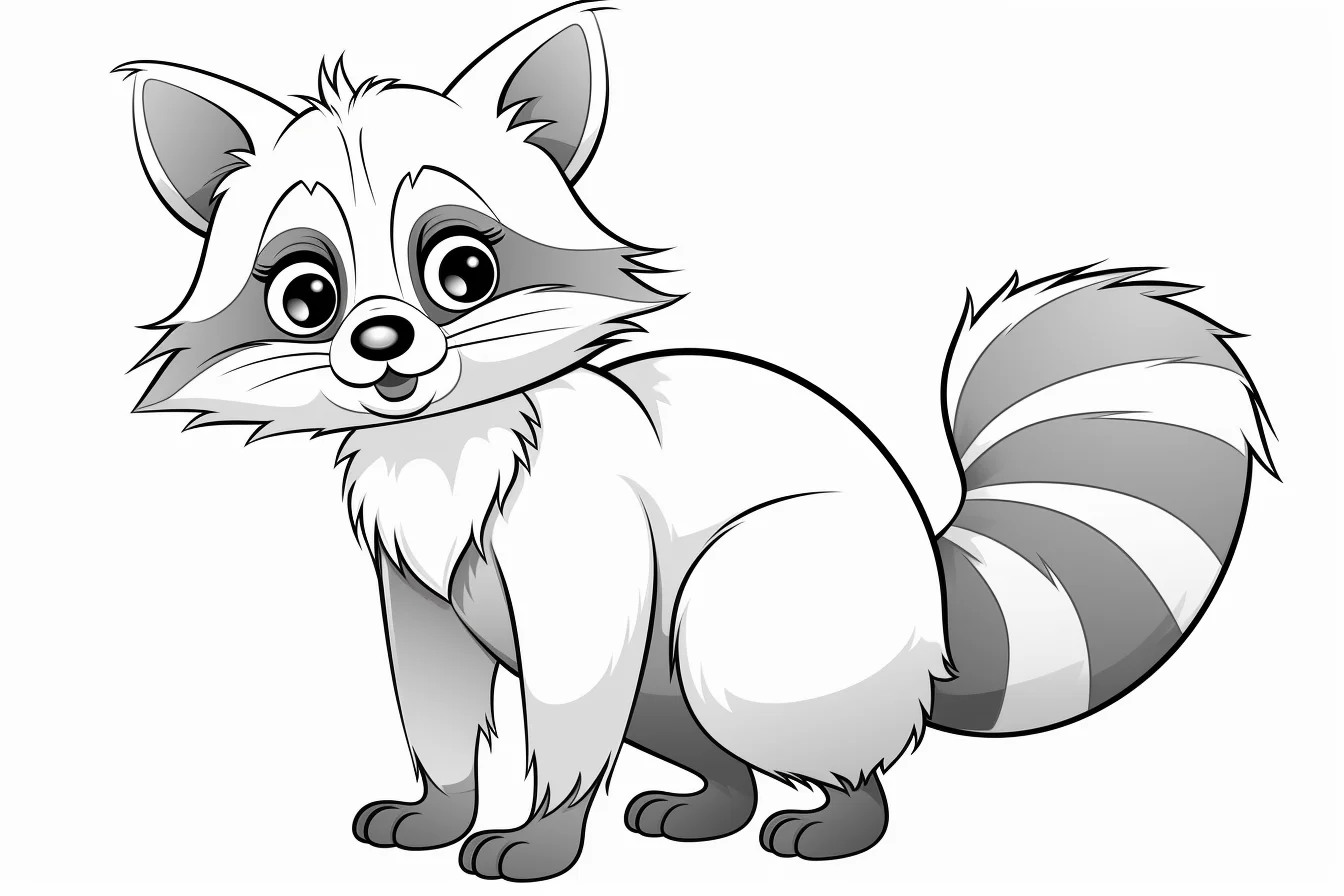
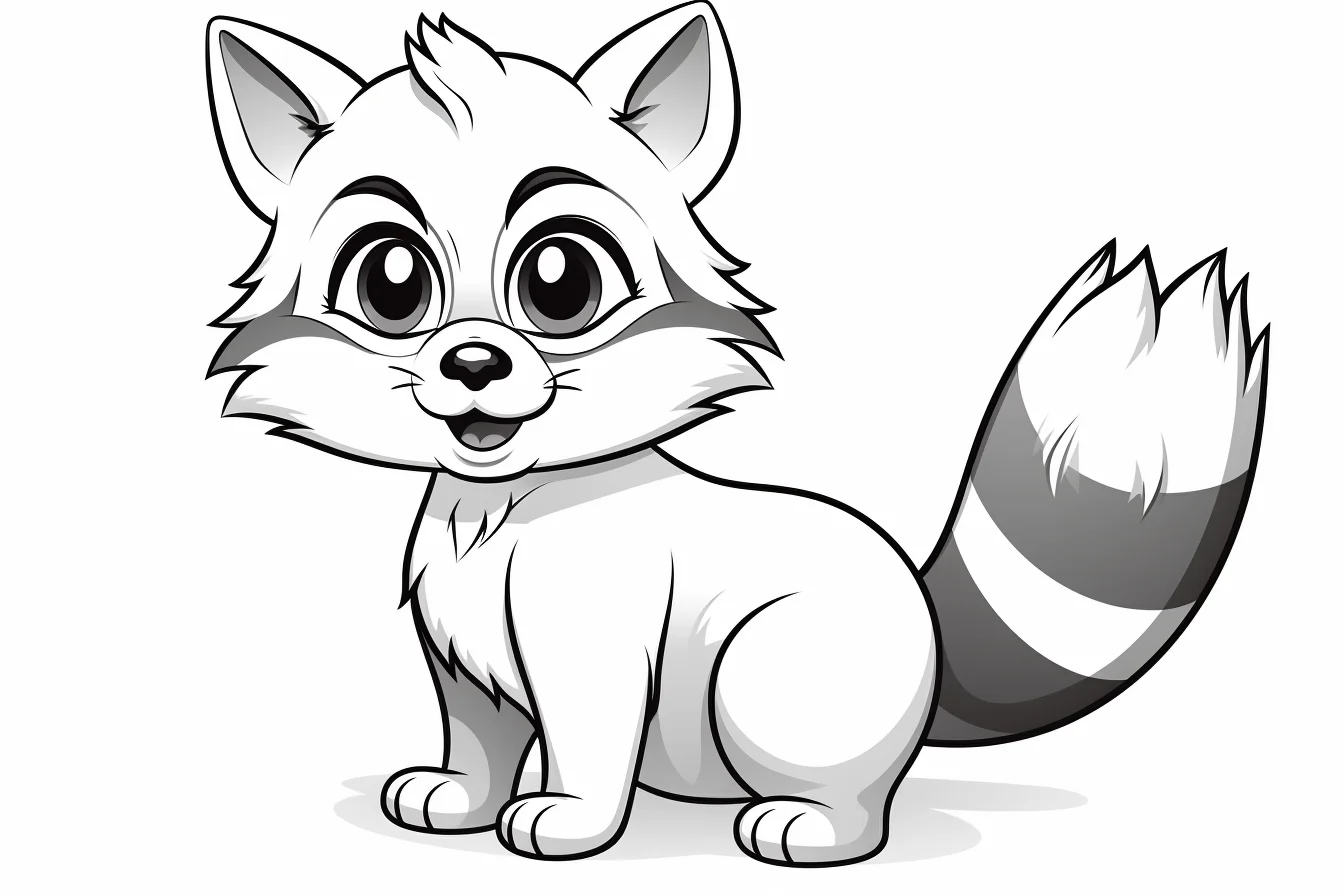
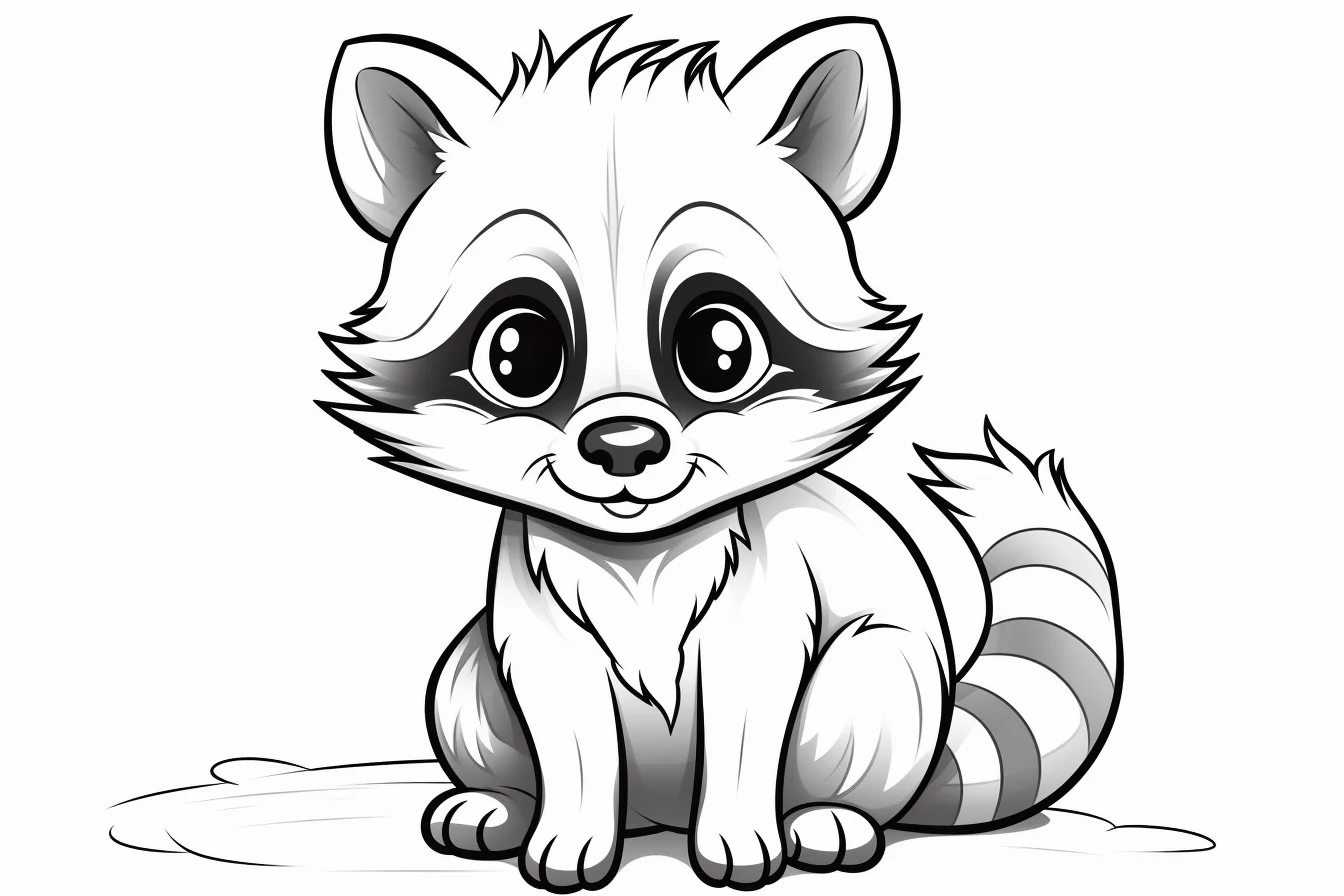
Practice contrast on three raccoon sheets
If you want these pages to teach a skill instead of simply filling space, use three sheets in sequence. On the first, work with only a light body color and one dark gray for the mask and tail. On the second, add a middle fur shade so the body has a light, middle and dark value. On the third, keep that three-value raccoon and add a simple background that is quieter than the animal.
This progression isolates the main challenge on a raccoon page: preserving the face while using very dark markings. If the eyes are easy to read from arm’s length, the value pattern is working.
Fix common raccoon coloring problems
| What looks wrong | Likely cause | Try this |
|---|---|---|
| The eyes disappear | The mask and eye area have become one dark shape | Keep a narrow lighter edge around the eyes or use dark gray instead of solid black |
| The tail looks striped but flat | Every ring has the same pressure and value | Shade the underside of the whole tail lightly, then place the alternating rings over it |
| The fur looks patchy | Small dark strokes were added before a base layer | Lay down one light body color first and add short directional strokes afterward |
| The muzzle gets lost | It is too close in value to the mask | Leave it cream, white or pale gray and darken only the nose and mouth |
| The background competes with the raccoon | It has the same dark contrast as the face and tail | Use lighter or less saturated background colors near the animal |
| Marker edges look harsh | Large areas were repeatedly traced at the outline | Fill from one side with overlapping strokes and avoid repeatedly retracing the border |
Use pencils, crayons and markers differently
Colored pencils are the easiest choice for controlling the face. Build gray gradually and use short strokes that follow the body rather than scribbling in every direction. A second brown-gray pencil can warm the back and sides without changing the recognizable mask.
Crayons suit the large shapes on the easy sheets. Use lighter pressure on the body, firmer pressure on the tail rings, and leave the muzzle mostly untouched. That simple pressure change creates more separation even with a small crayon set.
Markers give the cleanest graphic result, but pure black can overpower a cute raccoon quickly. If your set has warm gray or cool gray, use that for the mask first and reserve black for the nose, pupils and a few deepest accents. Put scrap paper behind the sheet if your markers can bleed through ordinary printer paper.
Three raccoon palettes to try
- Woodland: warm gray body, charcoal mask and rings, cream muzzle, muted green and brown background.
- Cool night: blue-gray body, deep slate markings, pale gray muzzle, navy sky and muted yellow moon.
- Playful: dusty blue or muted purple body, dark violet markings, pale pink inner ears and a soft contrasting background.
Whichever palette you choose, keep the mask darker than the body and the muzzle lighter than both. That light-dark-light relationship matters more to readability than using biologically exact colors.
Raccoon coloring questions
Do raccoons have to be gray?
No. Gray, gray-brown and taupe are useful if you want a natural look, but the mask and tail rings carry so much of the raccoon identity that blue, rust, muted purple or other invented body colors can still work.
How dark should the face mask be?
Darker than the body, but not so dark that the eyes disappear. If you use a black marker, leave a small uncolored or lighter area around the eyes and muzzle. With pencils, dark gray often gives you more control than pure black.
What is the easiest tool for these pages?
Crayons are easiest on the first ten sheets because the body shapes are large. Colored pencils are better if you want two or three fur shades or cleaner tail rings.
Can I add a background to an empty raccoon page?
Yes. A tree trunk, leaves, a moon, grass or a simple forest floor is enough. Keep the background lighter than the mask and tail so the animal stays the focal point.

