
Dirt bikes look simple from a distance, but the wheels, spokes, frame, suspension and engine quickly create a lot of small sections. These 18 printable dirt bike coloring pages are arranged so the easiest side views come first, followed by more mechanical off-road bikes and then motocross and supercross designs. If you are unsure where to begin, use Sheet 1 to learn the bike’s main color groups before attempting the tighter spokes and engine detail later in the set.
Choose a dirt bike page
| Sheets | Style | Best tools |
|---|---|---|
| 1–6 | Easy and kid-friendly bikes | Crayons or broad pencils |
| 7–13 | General off-road bikes | Colored pencils |
| 14–18 | Motocross and supercross designs | Sharp pencils or fine-tip markers |
How to keep the bike readable
Start with the large plastic body panels and number plate. Do the frame and engine next, then finish with the tires, spokes and suspension. If you fill the wheels and engine with dark color first, the center of the bike can turn into one dense block before the brighter bodywork has a chance to stand out.
- Tires: dark gray often shows tread better than solid black.
- Frame and engine: use gray, charcoal or muted metallic-looking pencil tones.
- Body panels: this is the best place for the brightest color.
- Number plate: keep it lighter than the surrounding body if you want it to remain visible.
Do this 90-second contrast test first
On a scrap of the same paper, make three narrow gray swatches with light, medium and firm pencil pressure. They should still look different when you hold the paper at arm’s length. Use the darkest value for the tire, the middle value for the frame or engine casing, and reserve the lightest for rims, fork tubes or metal highlights. This gives the mechanical center of the bike depth without turning it into a charcoal-colored knot.
Next, put a small patch of your planned body-panel color beside the darkest gray. If the two values look almost identical when you squint, lighten the mechanical gray or brighten the plastics. Then draw four thin pencil lines across the dark swatch. If those lines disappear, that value is too heavy for a wheel with visible spokes or tread.
Diagnostic: after coloring only the tires, main frame and one body panel, step back. You should be able to identify the two wheels and the bright bodywork before noticing individual engine parts. If the engine grabs attention first, stop darkening it; if the wheels look like solid disks, lift pressure on the rims and spokes. Make this correction now, before the dense Sheets 14–18.
Print setup
All 18 sheets are landscape-oriented. Click the image itself to open the original file, then print in landscape mode with Fit to page on A4 or US Letter. For other vehicle themes, compare these with the race car pages or the sports car collection.
Easy dirt bikes — Sheets 1–6
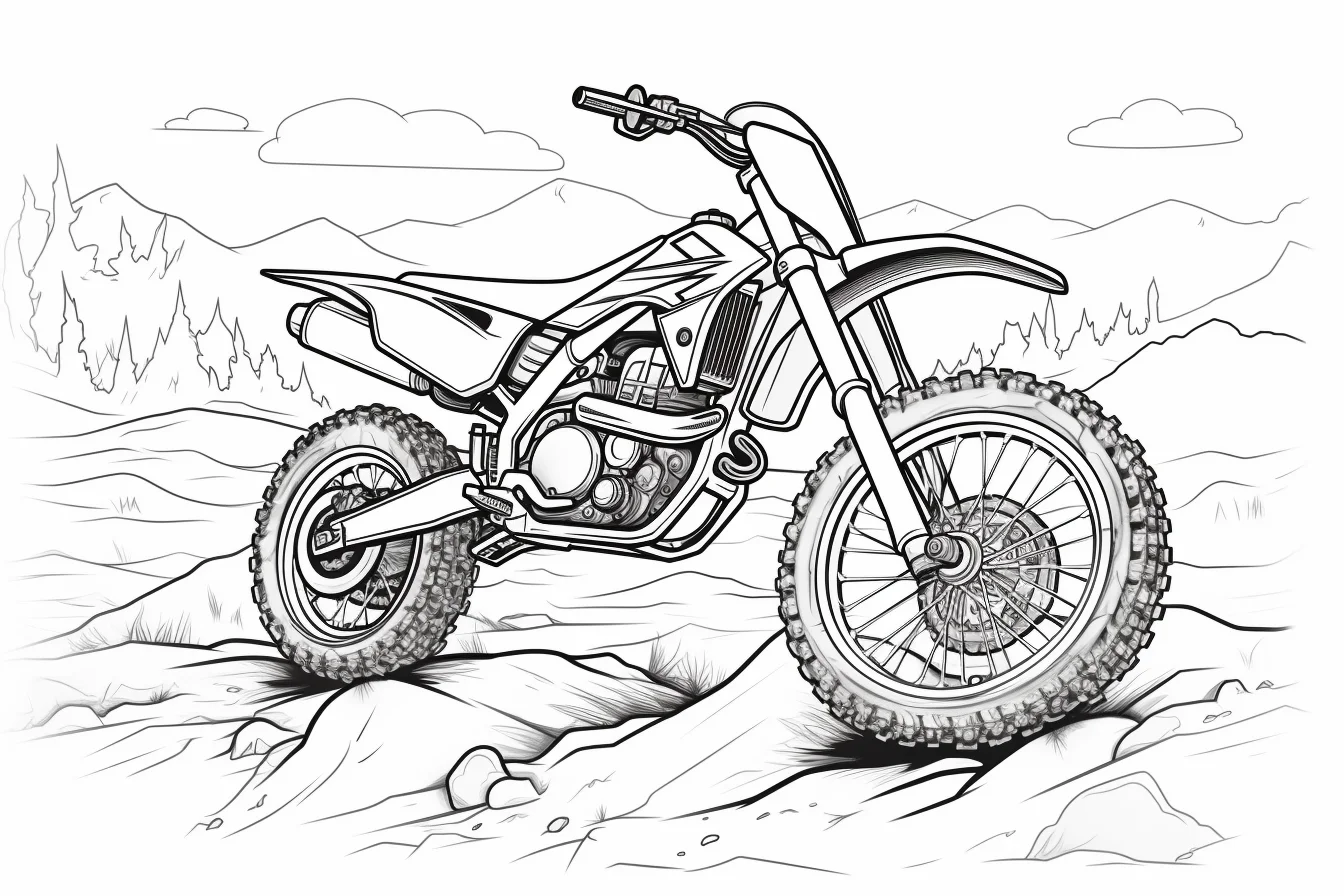
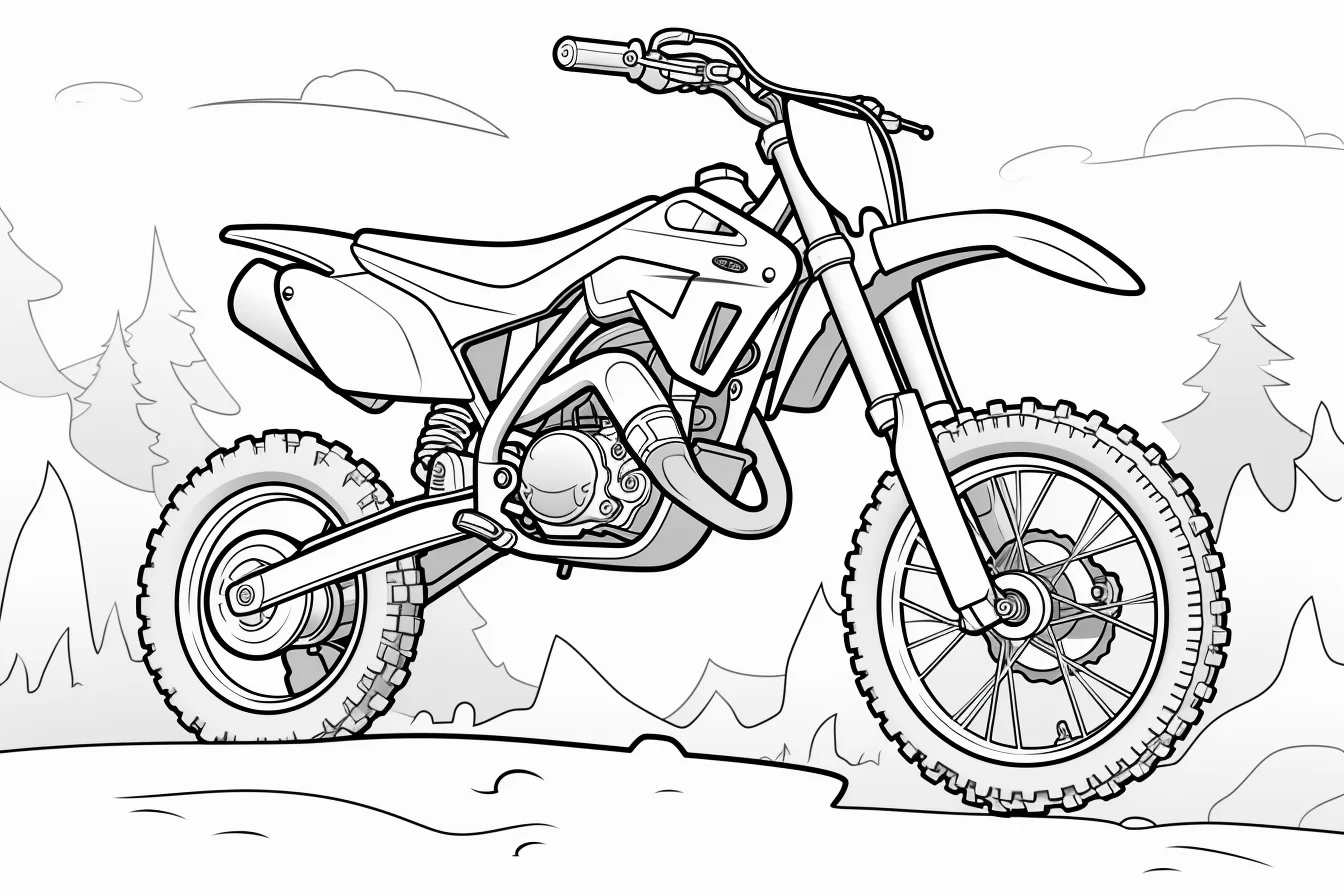
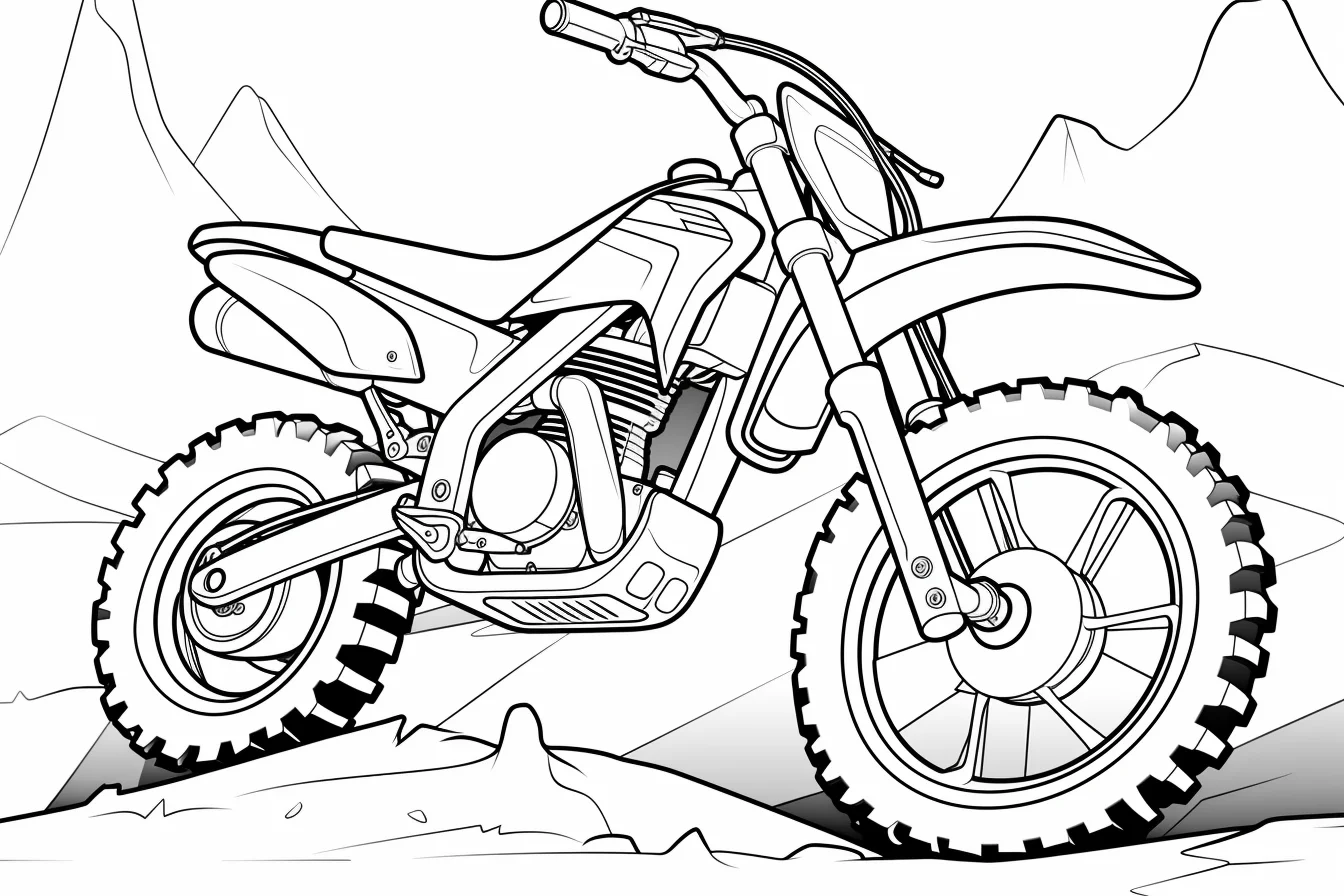
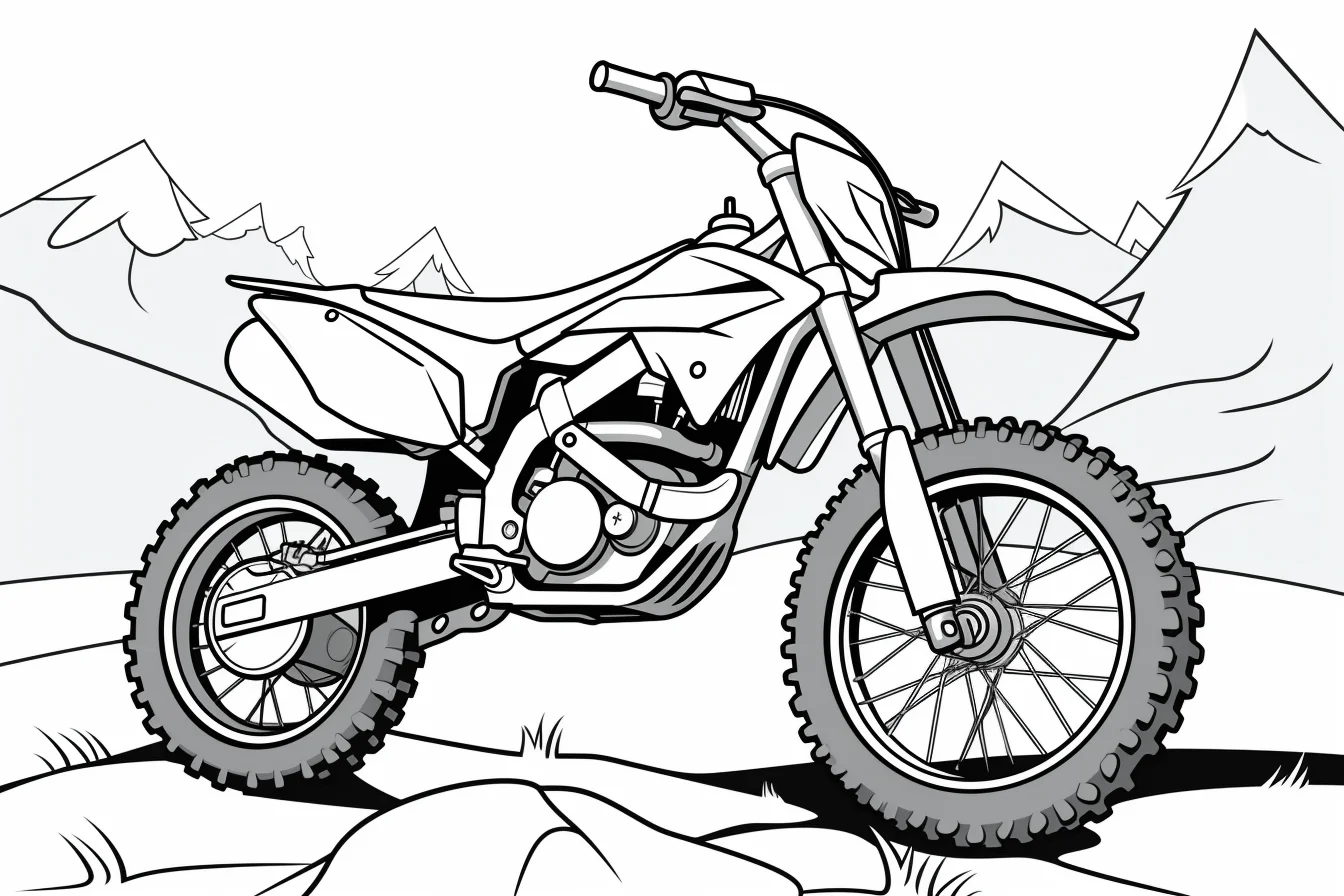
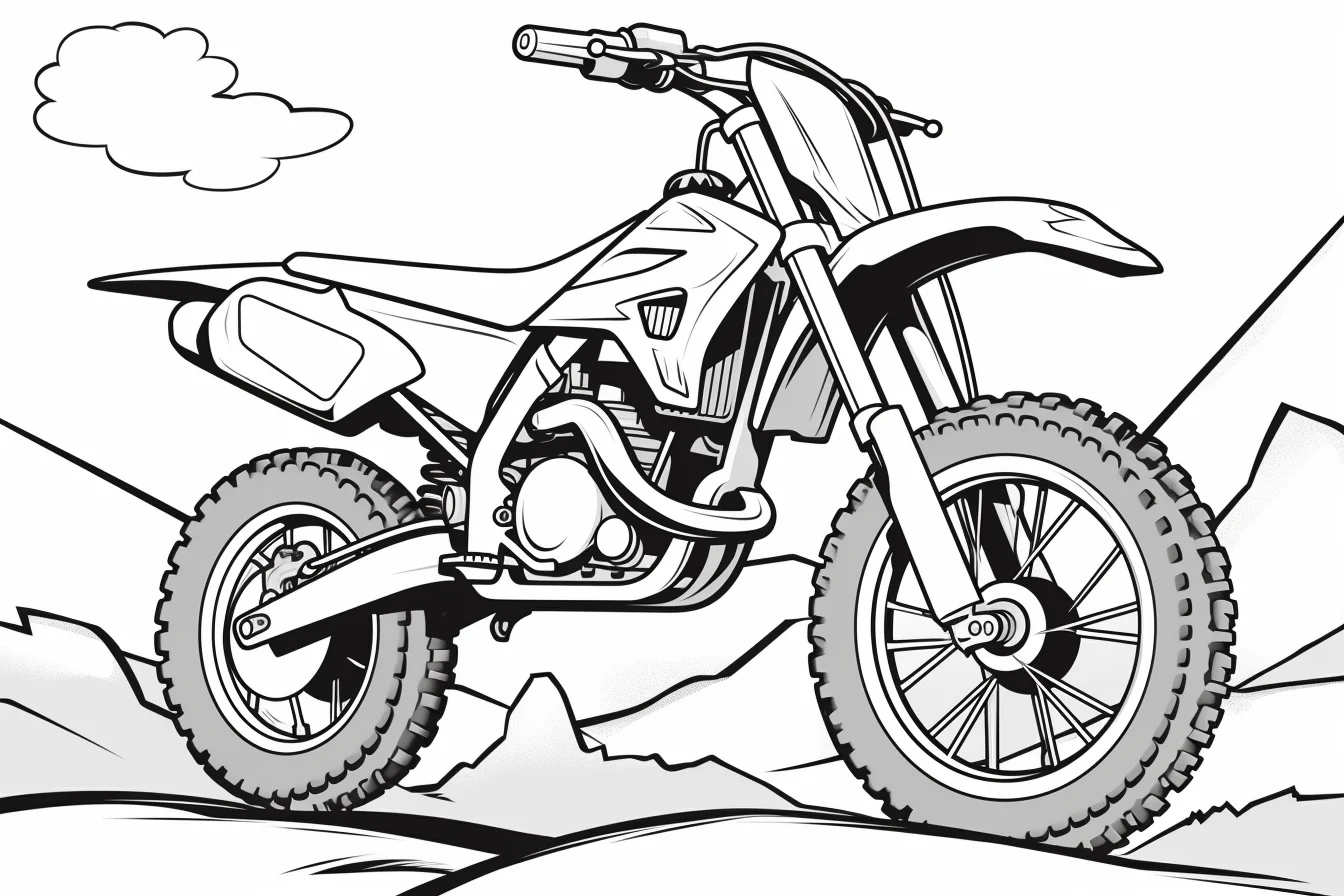
The first group is useful for learning the basic visual structure of a dirt bike before tackling dense spokes and engine parts. Pick one bright body-panel color, one neutral mechanical color and a separate tire color. That small palette makes it much easier to see which shapes belong together.
These are the best starting points when the wheel spokes and engine detail on a full motocross bike feel like too much.
General off-road dirt bikes — Sheets 7–13
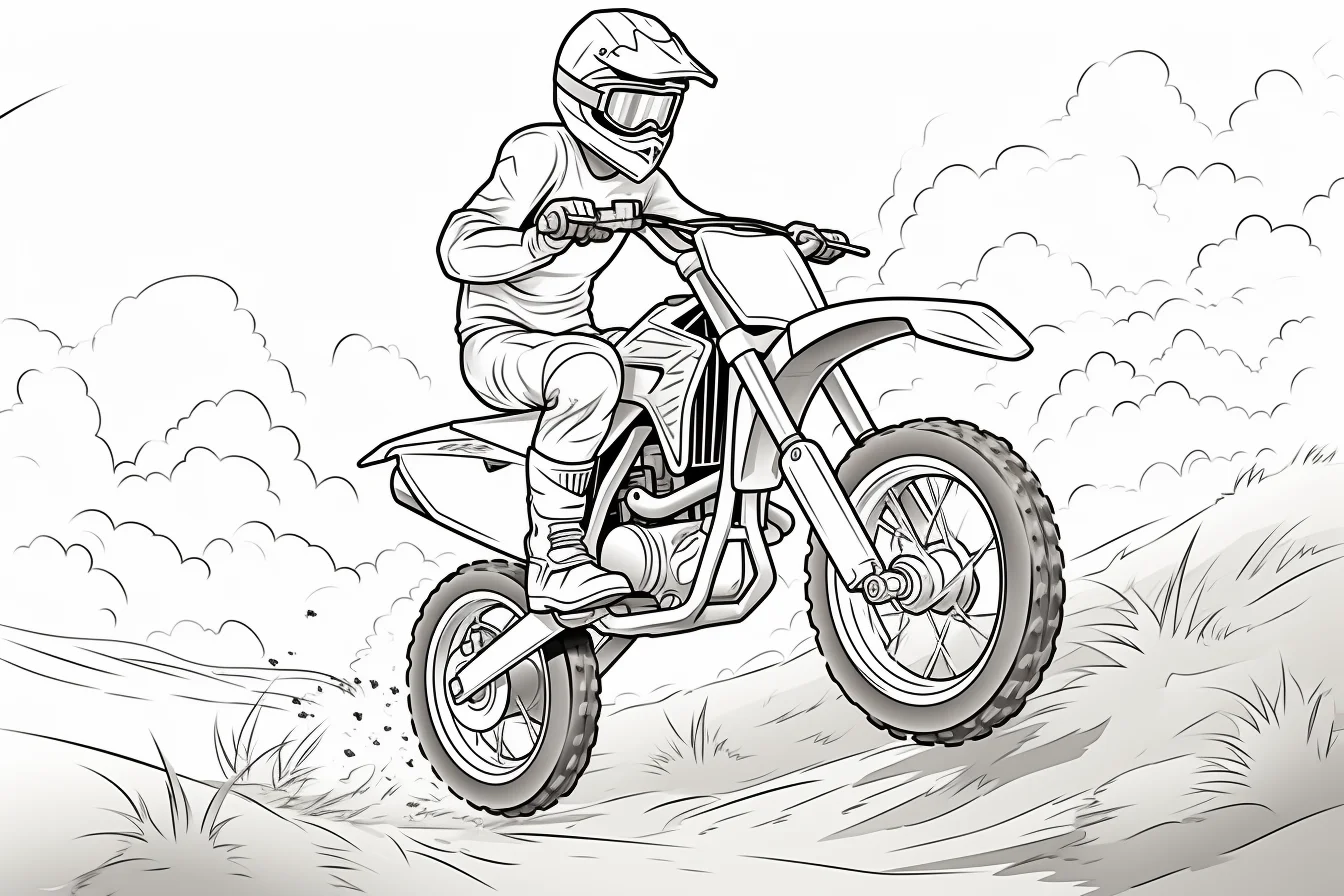
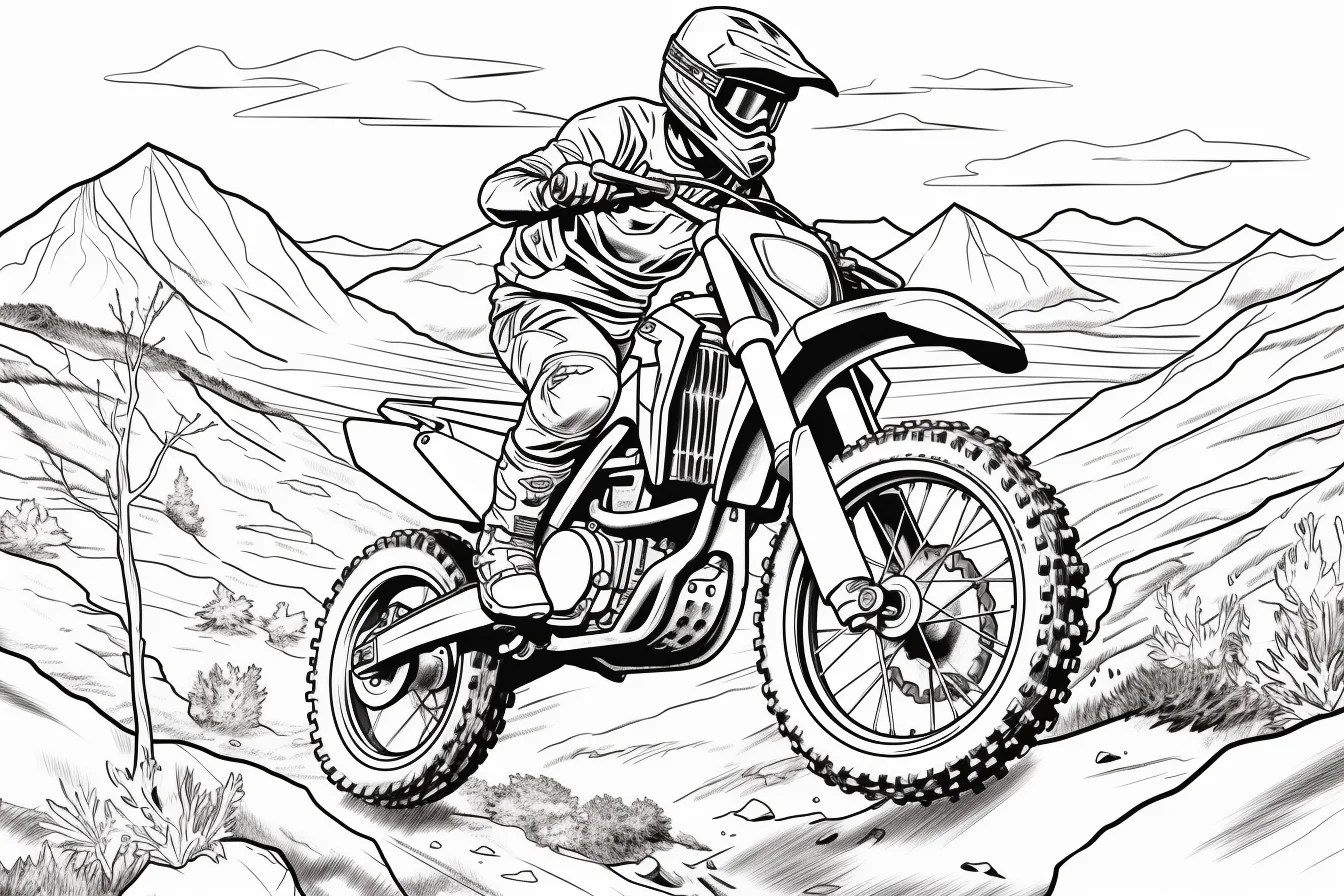
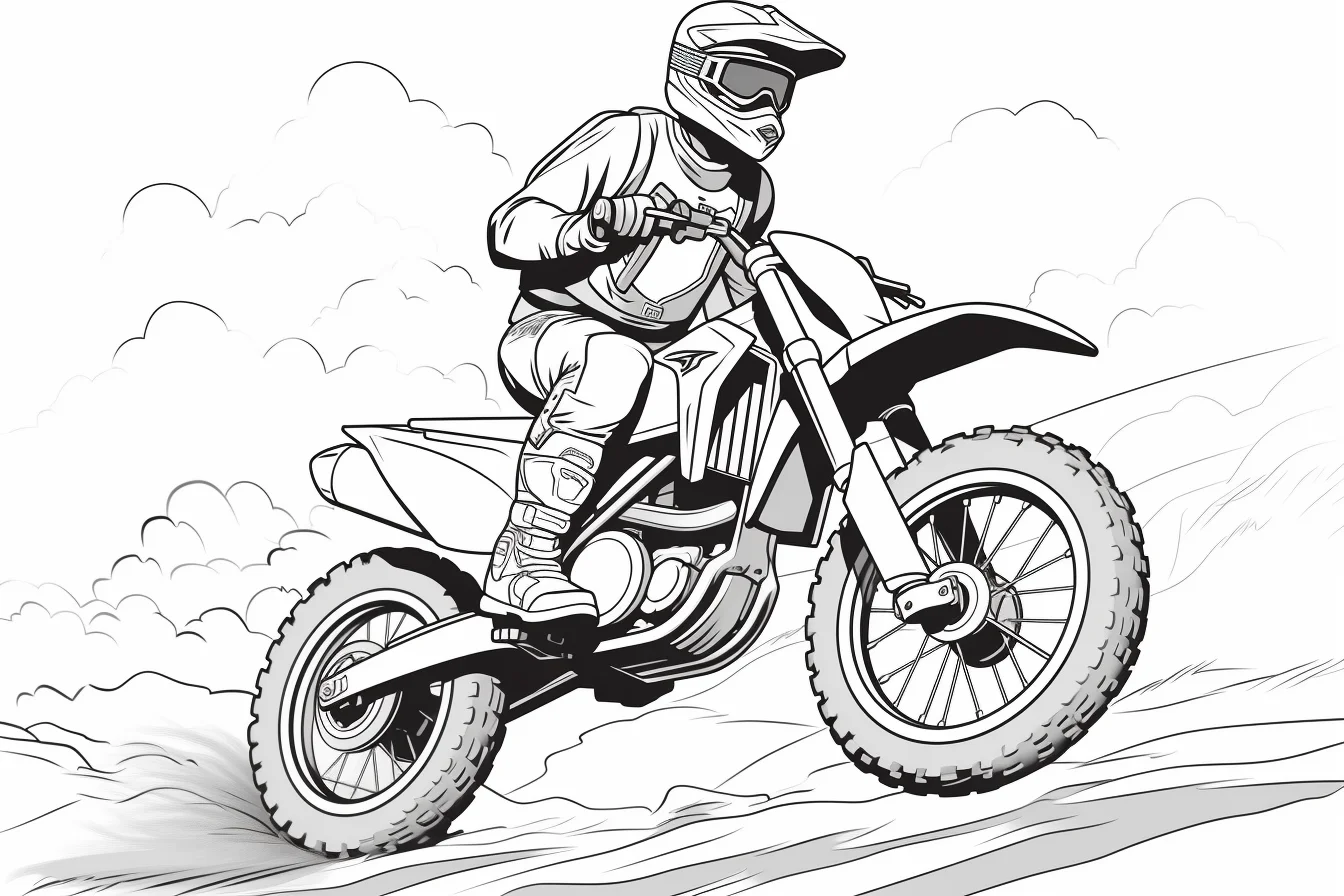
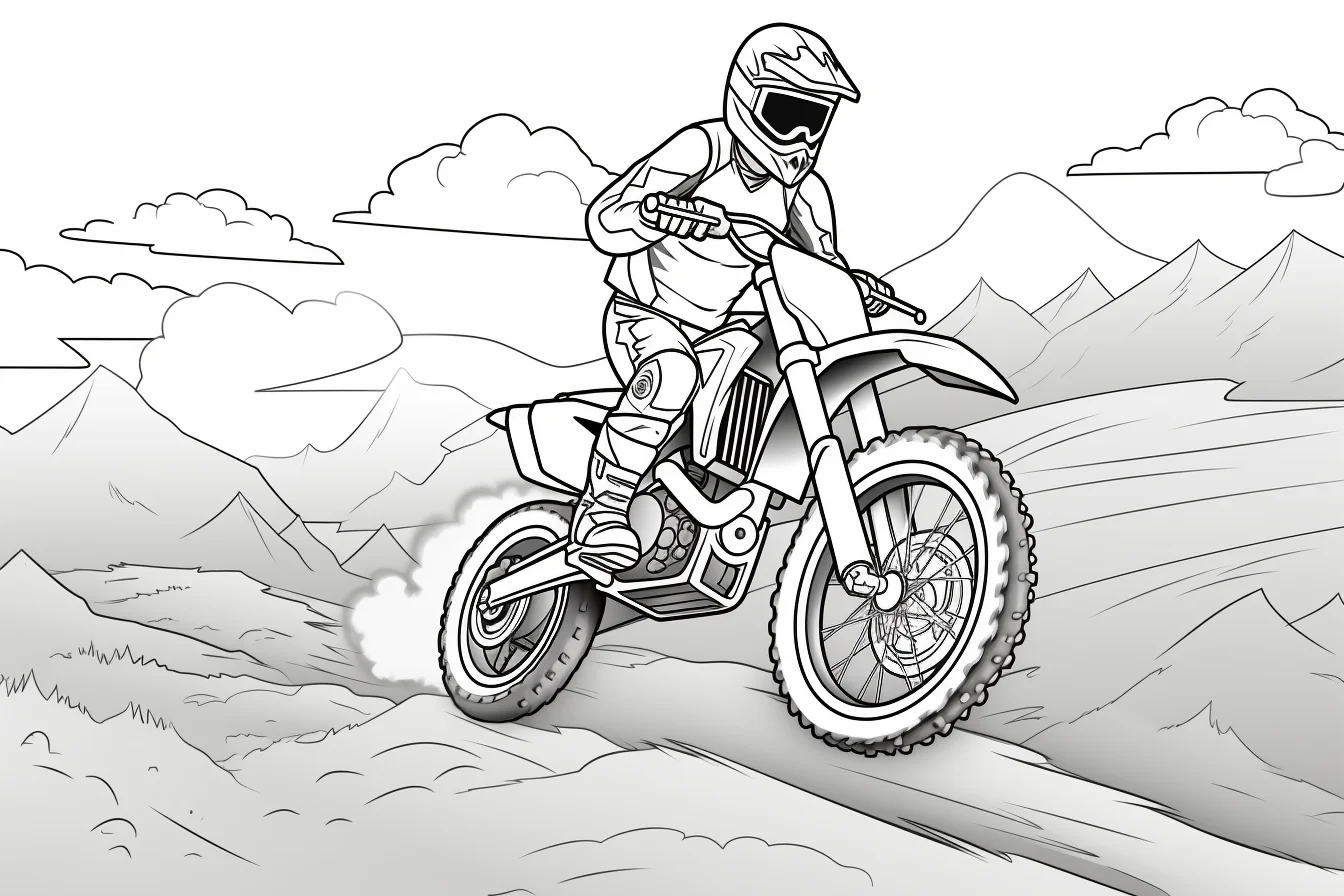
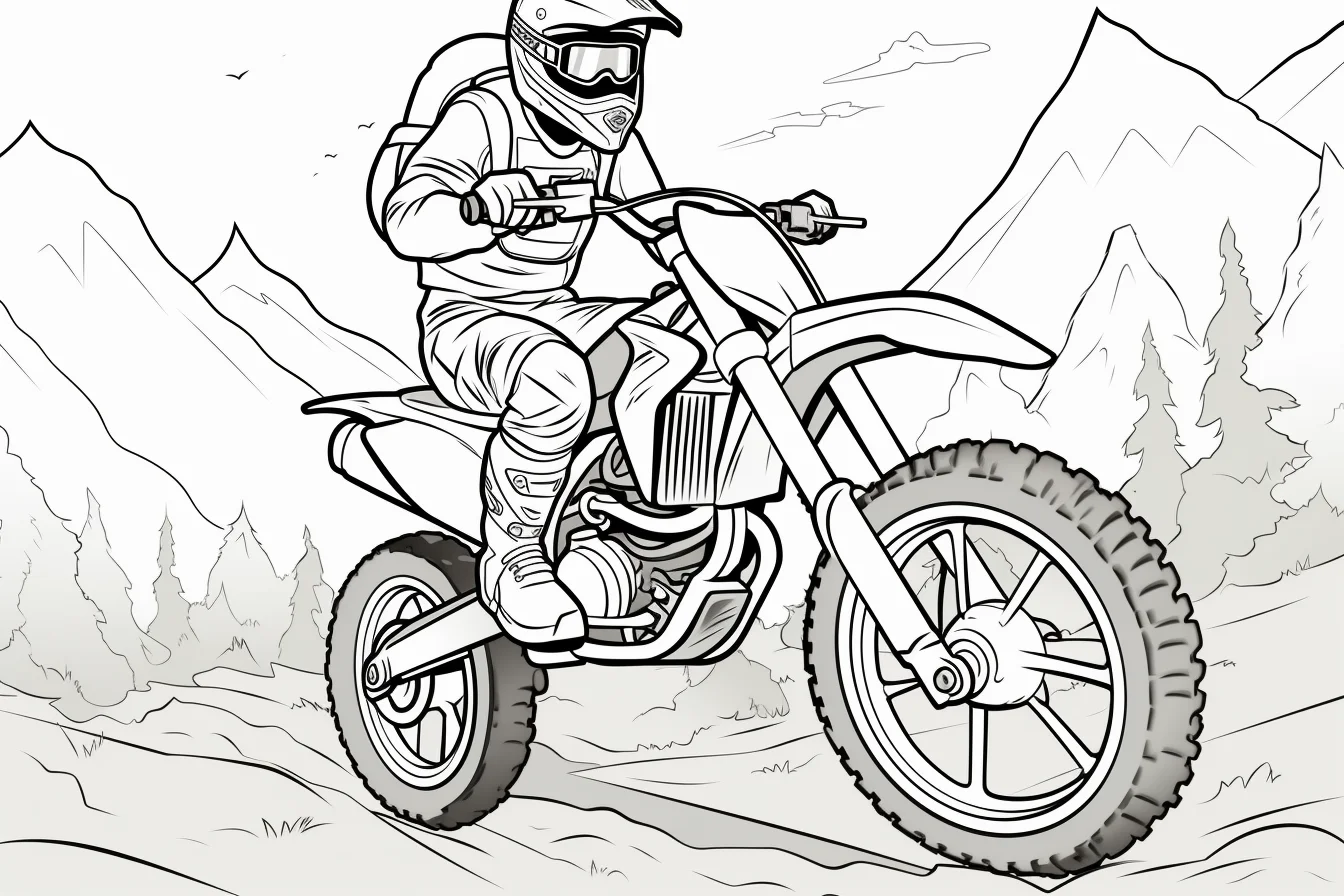
These pages add more visible frame, wheel and suspension detail. Colored pencils give you enough control to separate the mechanical parts without making the bike look too dark.
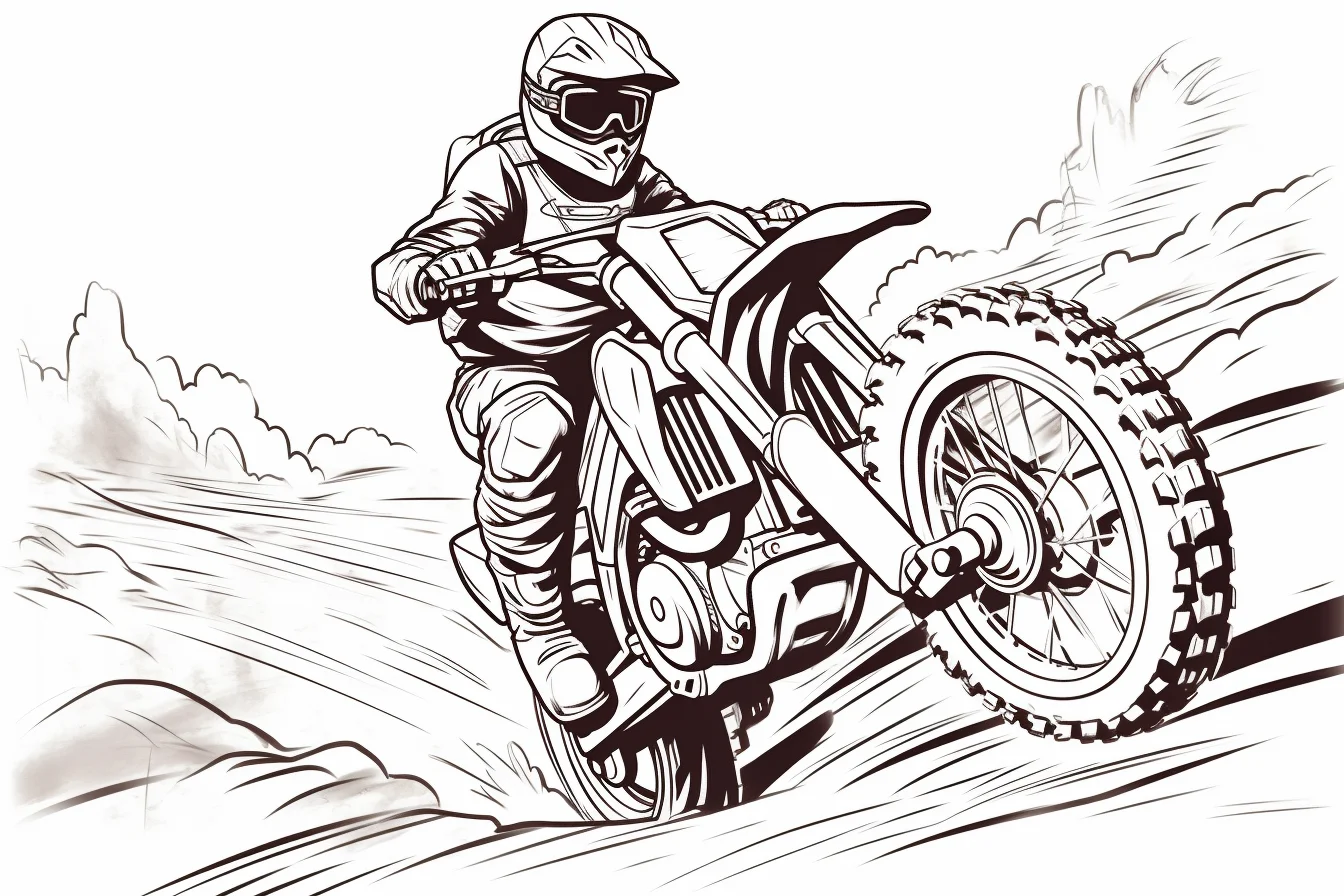
Build control with a three-sheet progression
- Start with a simple side view. Color the body panels first, then identify the frame, engine, tires and suspension as separate groups. Aim for clean coverage rather than shading.
- Move to an off-road sheet. Use a sharpened pencil on the spokes and narrow frame sections. Add a slightly darker shade beneath the seat, engine and fenders to practice depth without covering the line art.
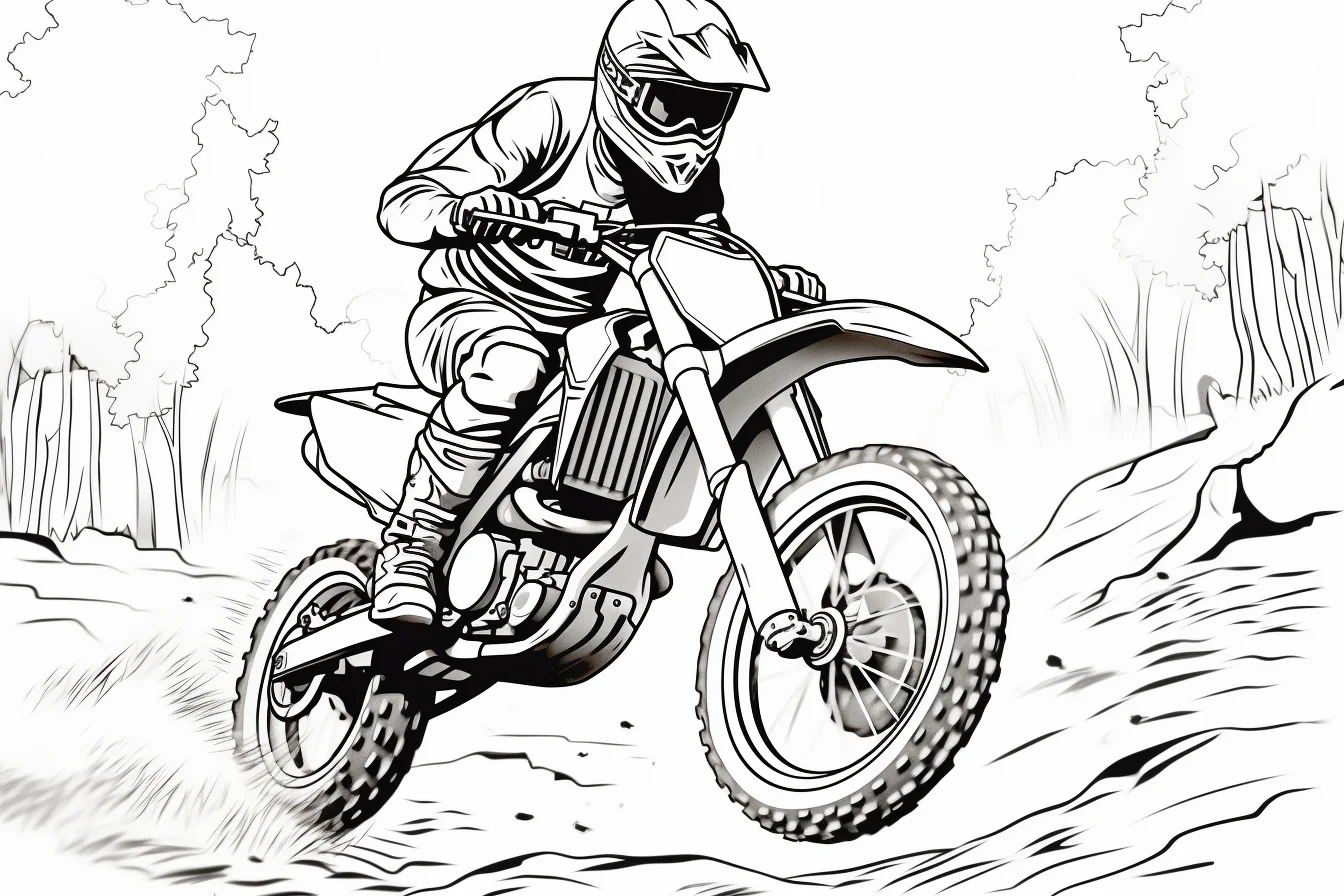
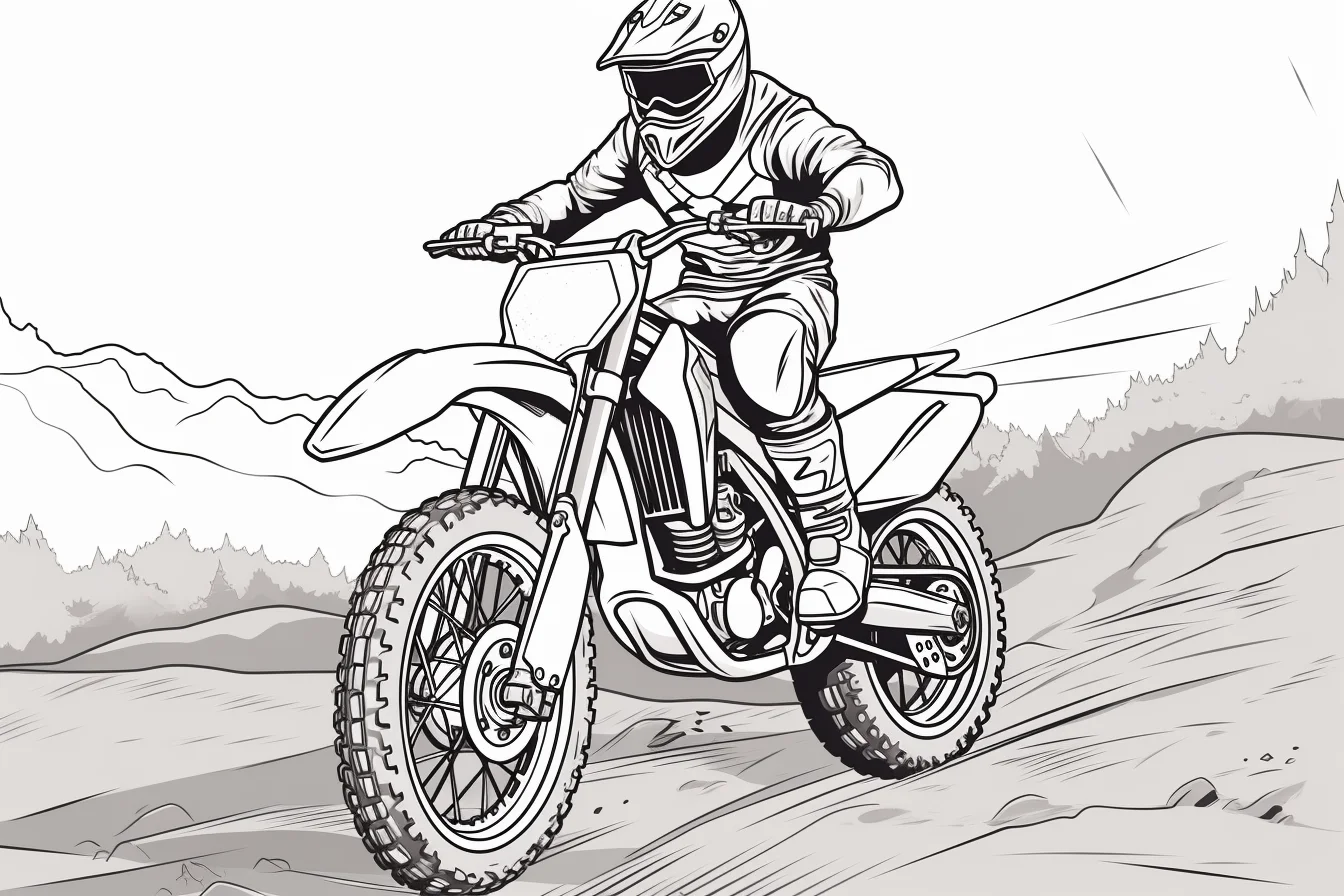
- Finish with a racing page. Decide where you want the eye to go before coloring. Keep the bike or rider bright and let dirt, track details and mechanical parts use quieter colors.
This progression trains accuracy where dirt-bike drawings are genuinely difficult: narrow spokes, overlapping frame tubes and several mechanical shapes packed into the center of the bike.
A five-minute control drill before a detailed sheet
Before starting Sheets 14–18, use a scrap of the same paper and make three small tests. First, draw a narrow ring and fill it without crossing the edge; this rehearses tire and rim control. Second, shade three adjoining rectangles light, medium and dark gray so they remain visibly separate; use those values for rim, engine and frame. Third, layer your chosen body-panel color from light pressure to heavy pressure. If the darkest layer becomes waxy or streaky too quickly, build it with several lighter passes on the printable instead.
On the actual bike, work from large shapes to small ones. Stop after the plastics, tires and main frame are colored and look at the page from arm’s length. If the silhouette is already clear, the remaining engine lines and spokes need definition, not more competing colors. This checkpoint prevents the common mistake of treating every mechanical compartment as a separate color decision.
Coloring spokes, tires and engine detail
For wheels, color the tire before the spokes but leave the hub until last. Dark gray usually works better than pure black because the tread lines stay visible. Use a sharp colored pencil for individual spokes; trying to fill them with a broad marker makes it easy to merge the wheel into one dark circle.
On the engine and frame, choose two neighboring neutral tones rather than coloring every component identically. For example, use medium gray for the engine casing and darker charcoal for the frame. A small highlight left uncolored along one edge can suggest metal without requiring realistic rendering.
The plastics are where stronger colors work best. If you want a racing look, repeat the main panel color once on the front fender or number plate instead of introducing a different bright color for every section.
Common dirt-bike coloring problems
| Problem | What usually causes it | Fix |
|---|---|---|
| Wheel looks like a black disk | Tire, rim, spokes and hub are all equally dark | Use dark gray on the tire and a lighter neutral on the spokes and rim. |
| Engine detail disappears | Every mechanical part uses one solid shade | Separate the frame and engine with two neutral values and lighter pressure. |
| Bike looks visually chaotic | Too many strong colors compete across small parts | Limit bright color to the plastics, number plate or rider gear. |
| Marker bleeds across spokes | The tip is wider than the enclosed spaces | Switch to a sharp pencil or fine-tip marker for the wheel and engine area. |
| White gaps appear near outlines | Broad strokes stop too early around tight mechanical shapes | Trace the inside edge lightly first, then fill the larger center area. |
Motocross and supercross — Sheets 14–18
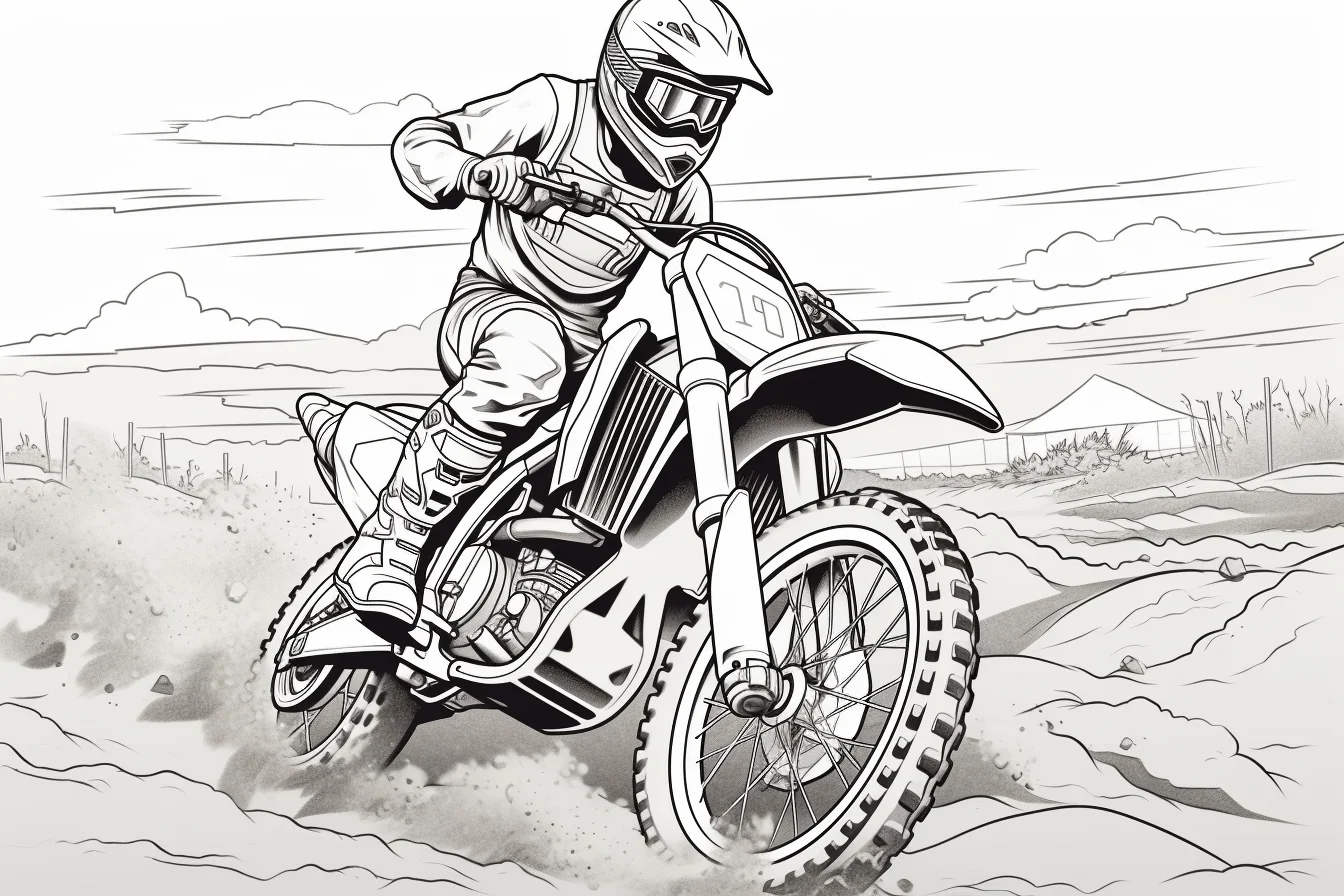
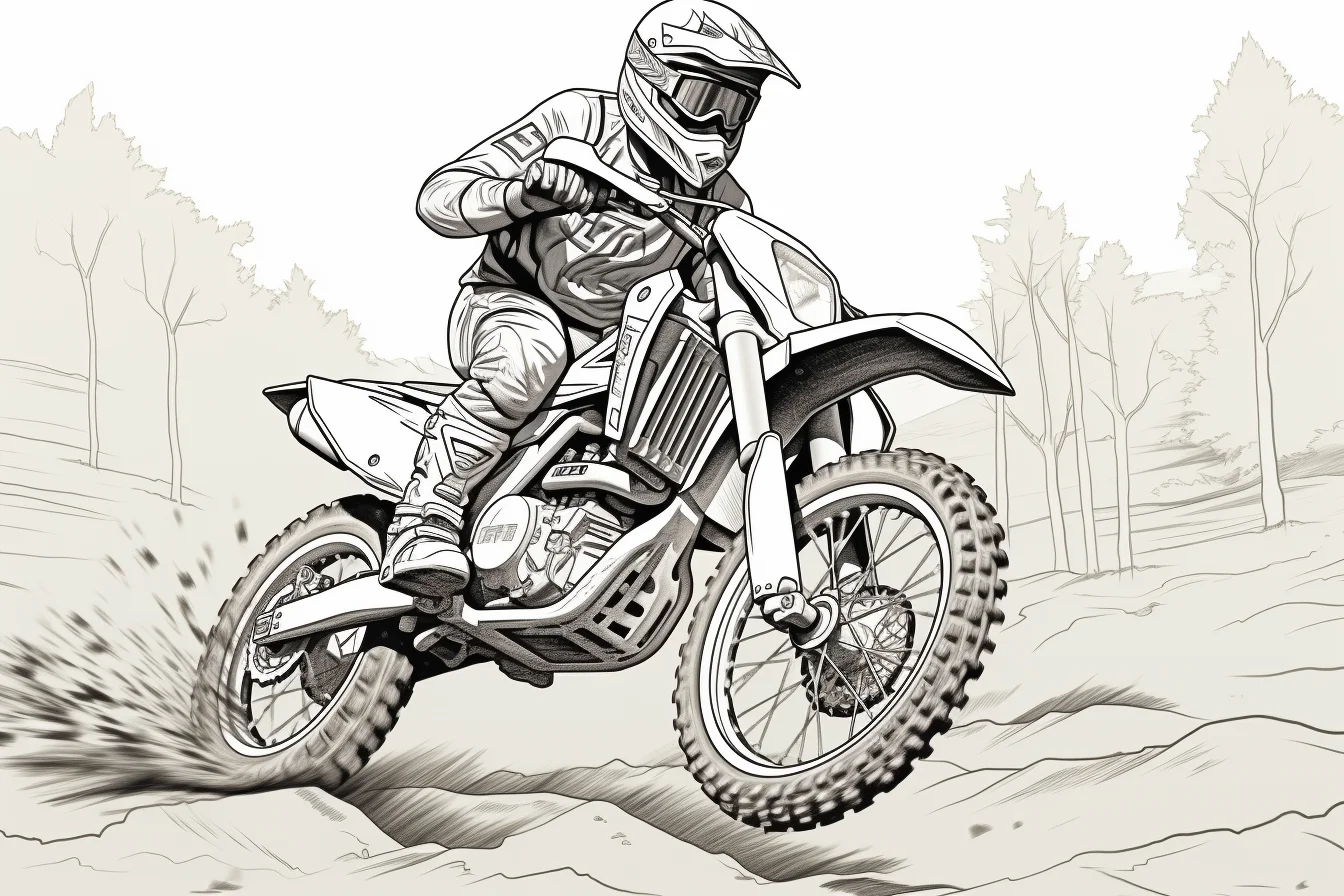
These are the busier racing pages. Use the brightest colors on the body panels or rider gear and keep the mechanical parts comparatively neutral so the action remains easy to read.
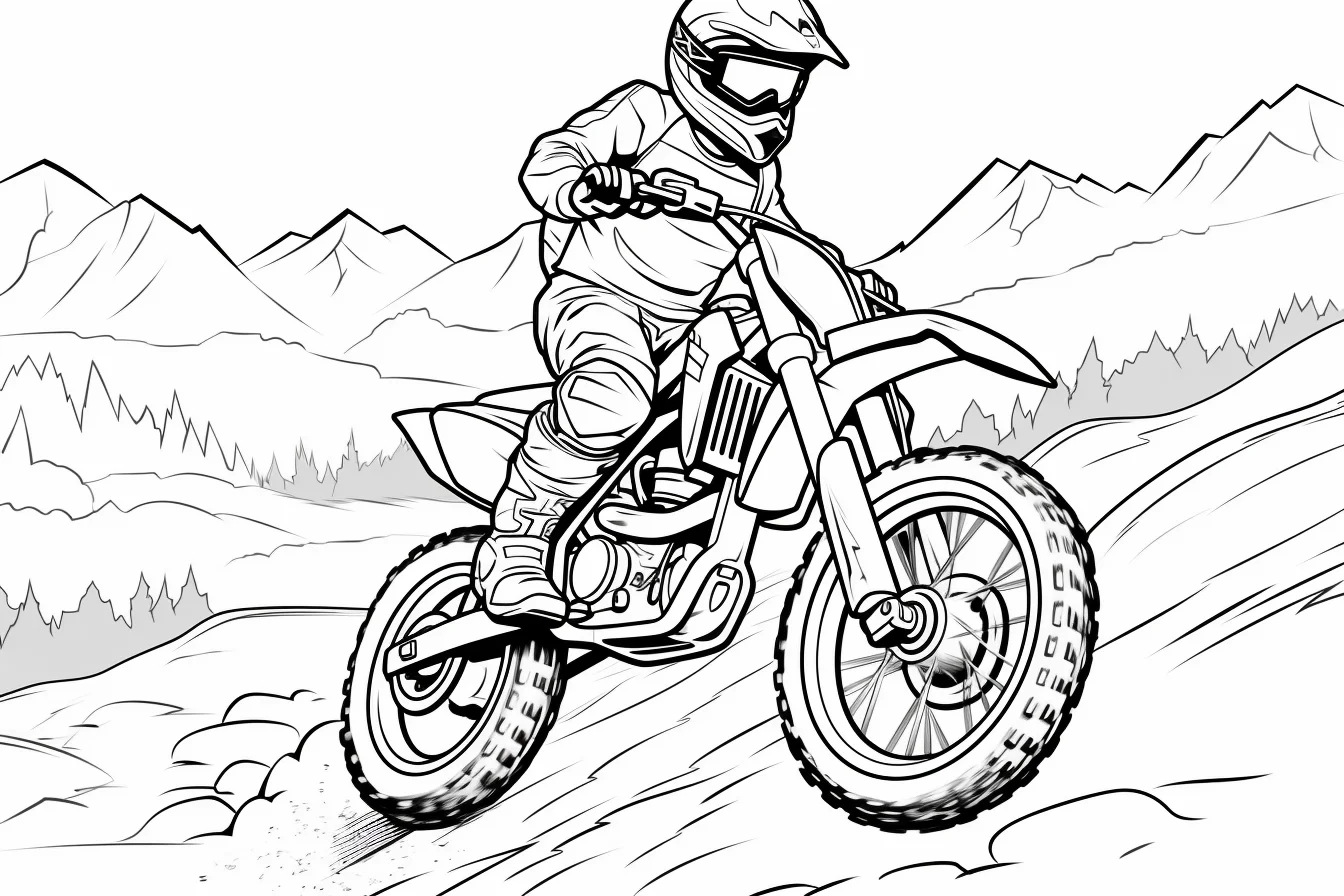
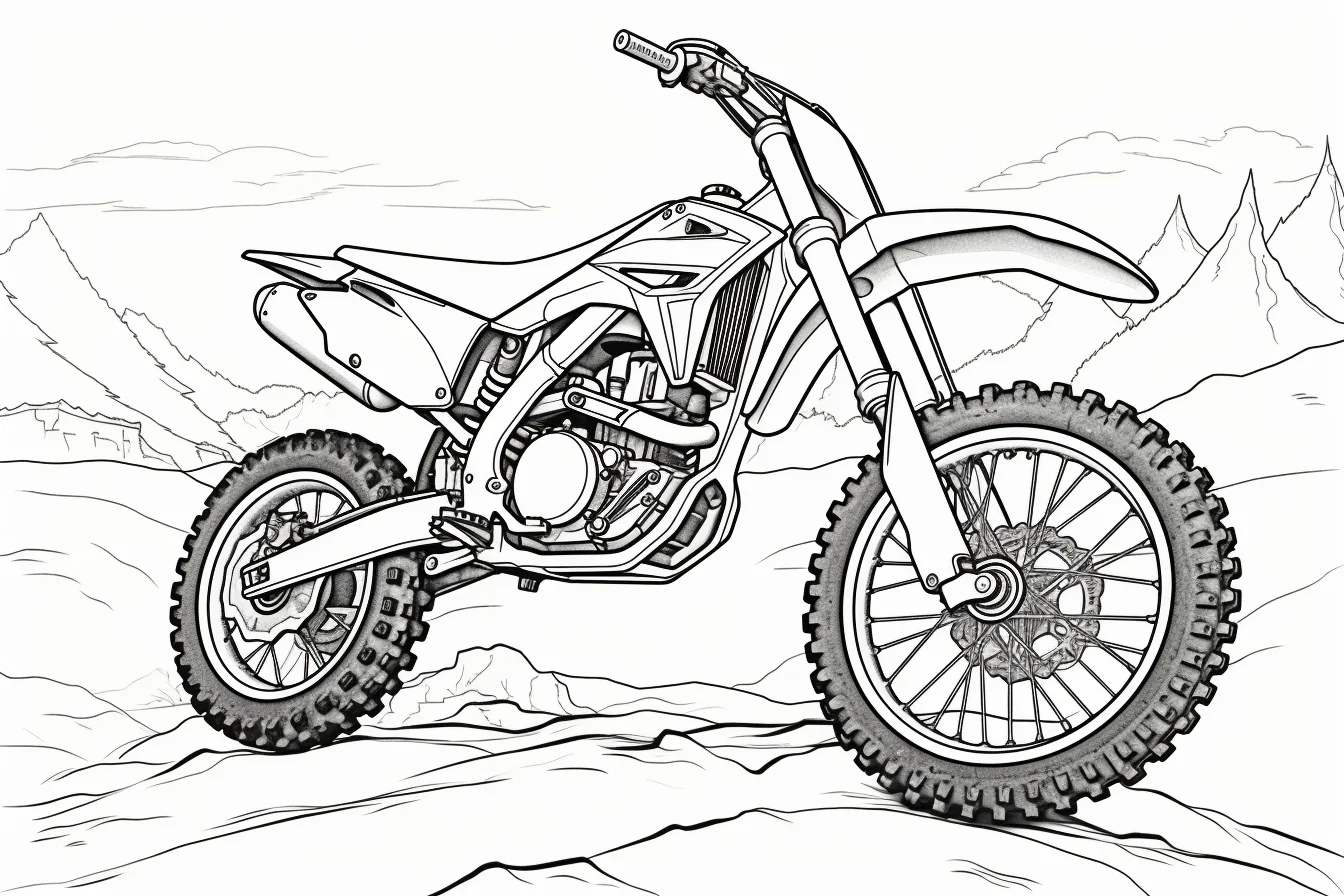
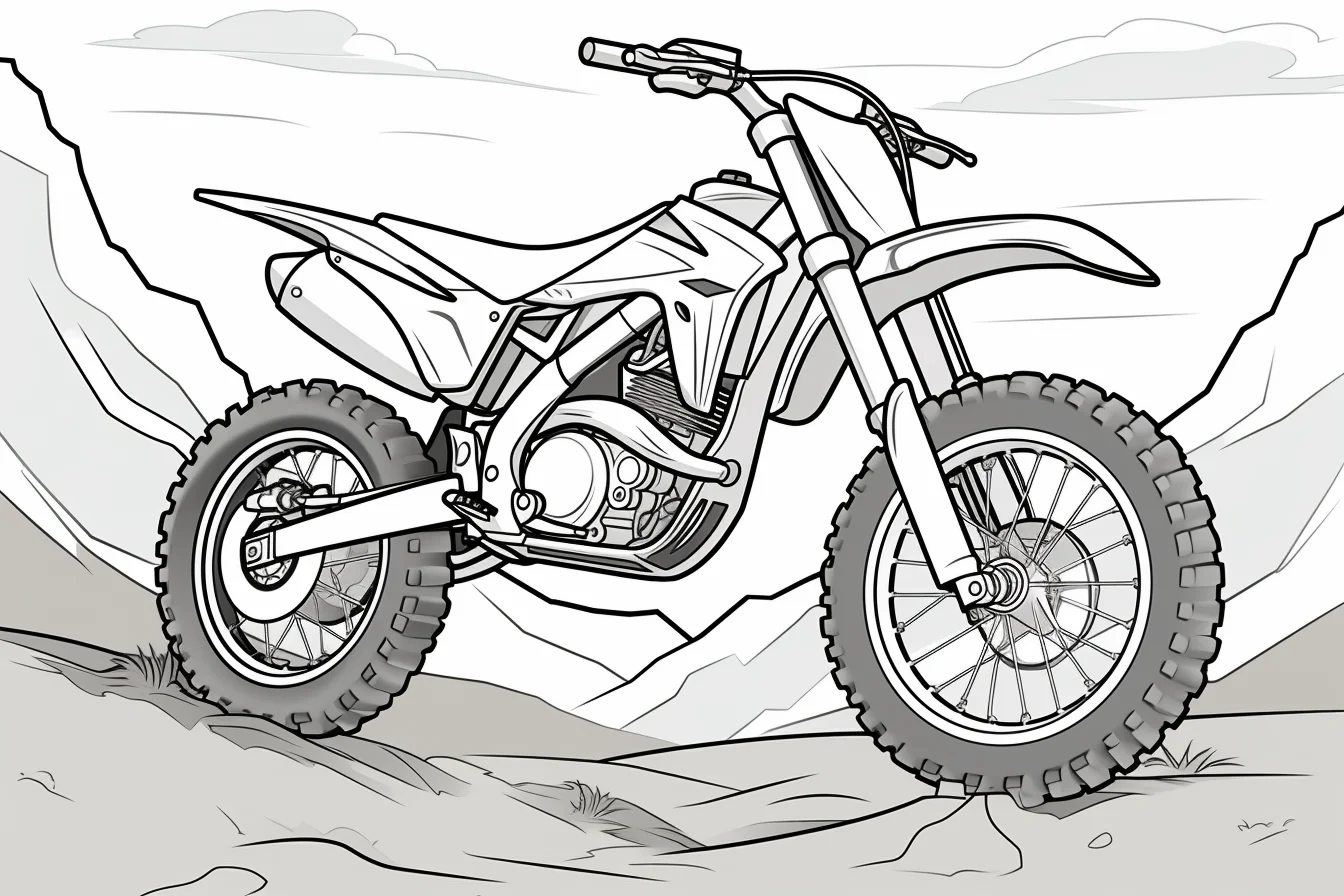
Quick questions before you print
Which pages are easiest for crayons?
Start with sheets 1–6. Their larger body shapes leave more room for broad strokes. The later off-road and racing pages reward the extra control of colored pencils.
How do I make a motocross bike look fast?
Use your strongest contrast on the bike or rider and keep surrounding dirt or track shapes lighter. Directional pencil strokes in the background can suggest movement without adding new lines to the printable.
Should I copy real Honda, Kawasaki, KTM or Yamaha colors?
You can use real-world schemes as inspiration, but you do not need to. These work just as well as design exercises: choose one dominant panel color, a smaller accent and neutral mechanical parts. That produces a convincing bike even with an invented scheme.
What paper works best?
Regular printer paper is adequate for crayons and pencils. If you plan to layer markers, heavier paper reduces wrinkling and bleed-through; still place a spare sheet underneath. Always check the landscape print preview before committing to a full-size sheet.

