
These 26 lizard coloring pages move from broad, easy reptiles to kawaii designs, patterned sheets and realistic detail. Younger children can start with the large shapes; older colorists can use the later pages for gradients, markings and scale texture.
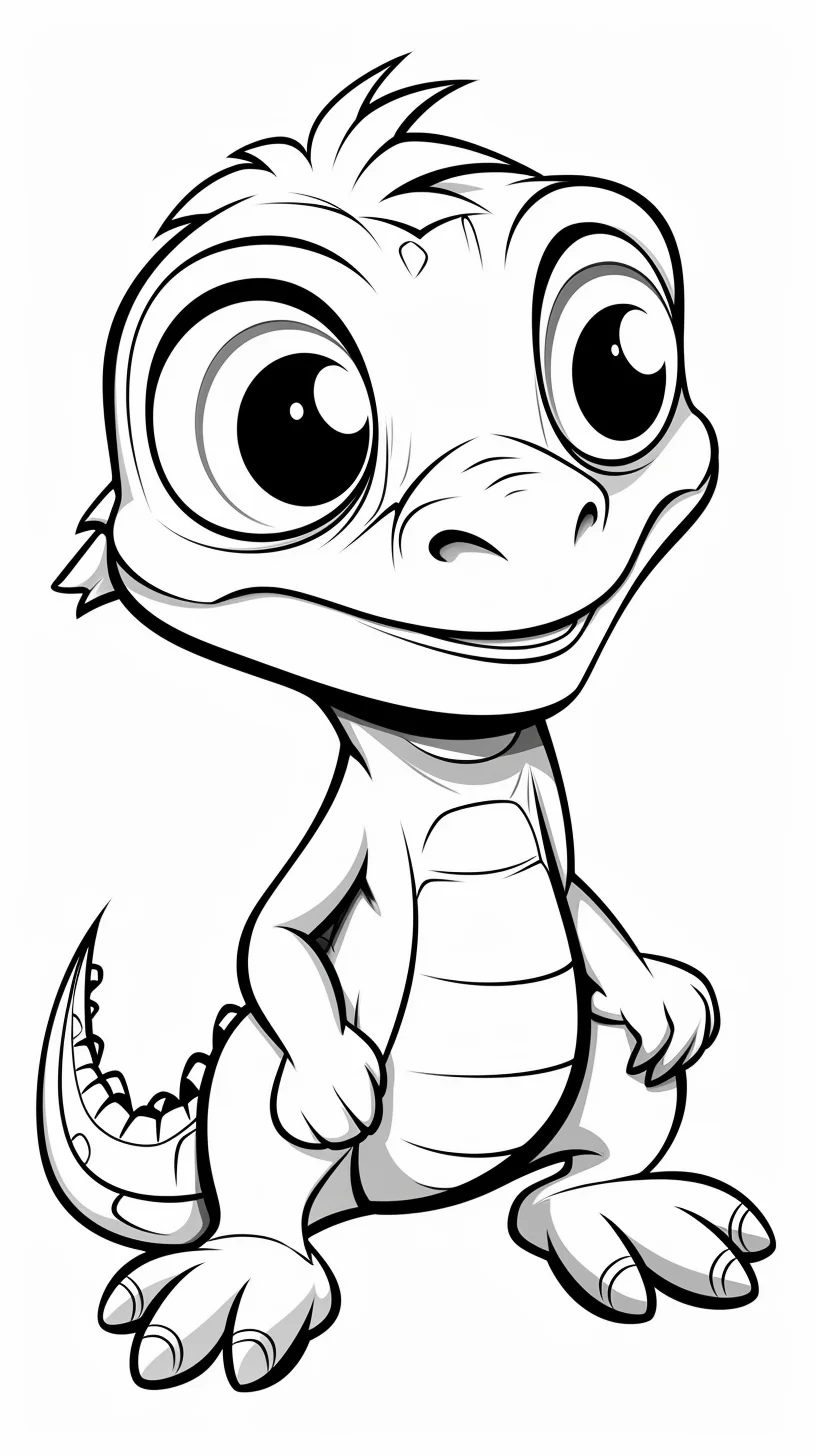
A 60-second lizard page test
Before choosing a sheet, check the smallest toes, eye details and scale sections against the tool you plan to use. If a crayon tip is wider than those spaces, pick one of the broad easy lizards rather than fighting a detailed page.
- Make three swatches. Test a pale belly value, a medium body value and a darker marking value. If the three still look almost identical from arm’s length, increase the value difference before coloring the lizard.
- Protect the eye and toes. These tiny landmarks disappear quickly under dark marker or heavy pencil. Color around them first and return to them at the end.
- Choose one pattern job. Decide whether the visual interest will come from spots, a dorsal stripe, scale texture or a tail gradient. Using all four at equal strength usually makes the body harder to read.
- Check the tail transition. On a gradient, overlap neighboring colors through a short section instead of changing color at one hard line.
For preschoolers: ignore scales and gradients. Use one body color plus a lighter belly, then finish the eye. That gives a clear result without turning small details into a fine-motor test.
Choose a lizard page by difficulty
| If you want… | Start here |
|---|---|
| Preschool or easy lizards | Sheets 1–10 |
| Cute or kawaii reptiles | Sheets 11–14 |
| General printable lizards | Sheets 15–21 |
| Mandala, teen/adult or realistic detail | Sheets 22–26 |
Give the back, belly and tail different jobs
A lizard becomes easier to read when you do not fill the whole body with one flat green. Use the lightest shade on the belly, a medium base over most of the body, then put the strongest color or pattern along the back, tail or spots. Even a simple page starts to look more intentional once those three areas are separated.
For a natural palette, two or three related greens, browns or grays are enough. For a tropical or fantasy lizard, keep the belly calmer and let the tail carry the brighter gradient. A yellow-green body fading into turquoise or blue can work especially well on long tails without making the face too busy.
Do not color every scale as a separate object
On a realistic or mandala-style page, block in the main body color first. Then darken selected rows, patches or pattern sections. If every tiny scale receives the same dark outline, the lizard can become visually noisy and flatter than before. Colored pencils are better for soft body transitions; fine-tip markers make more sense when the page is built from enclosed mandala shapes.
Try this texture drill before sheet 26: print or use a spare lizard and choose a patch about the width of two fingers. Put down one very light body layer across the whole patch. Add a second layer only along the spine-side edge, then draw five to eight short, broken scale marks instead of outlining every scale. Look at the patch from arm’s length. If you can still see a clear light-to-dark body shape before you notice the individual marks, the texture is helping. If the marks read first, erase or soften roughly half of them.
For legs, change the stroke direction rather than simply making them darker: use short strokes that follow each limb away from the body. On the tail, let marks become slightly narrower and farther apart toward the tip. That change in direction and spacing makes the anatomy easier to read without adding another color.
A simple lizard-coloring order
- Color the belly or light underside first.
- Add the main body color without pressing too hard.
- Build the back markings, spots or stripe next.
- Use the tail for a gradual color shift if you want more drama.
- Finish with the eye, toes and smallest scale details.
Printing
This collection mixes portrait and landscape files. Open the full-size sheet, then let the print preview choose portrait or landscape automatically and use “Fit to page” on A4 or US Letter paper. For other reptiles, continue with the crocodile and alligator pages; for a broader browse, use the animal coloring collection.
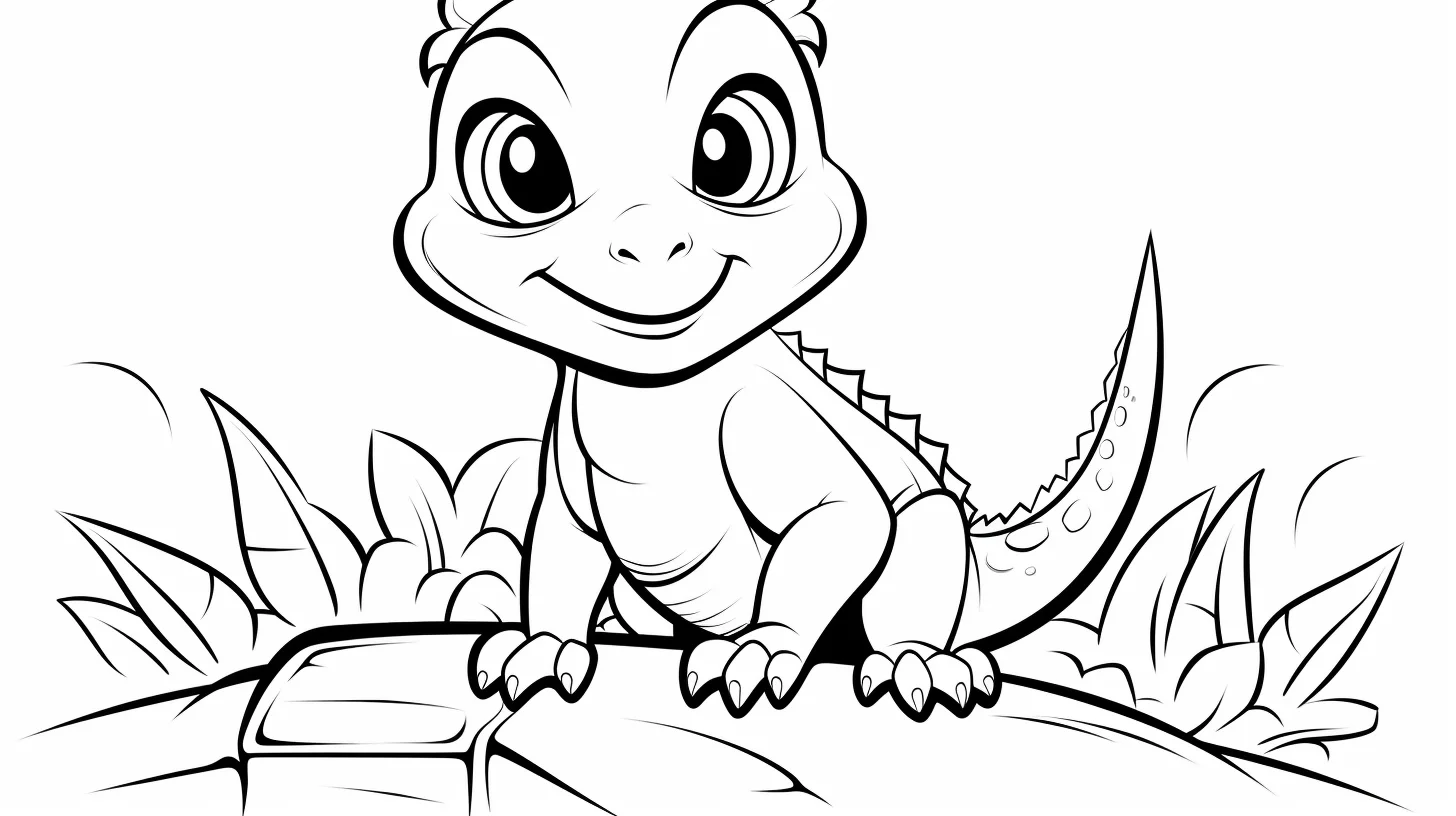
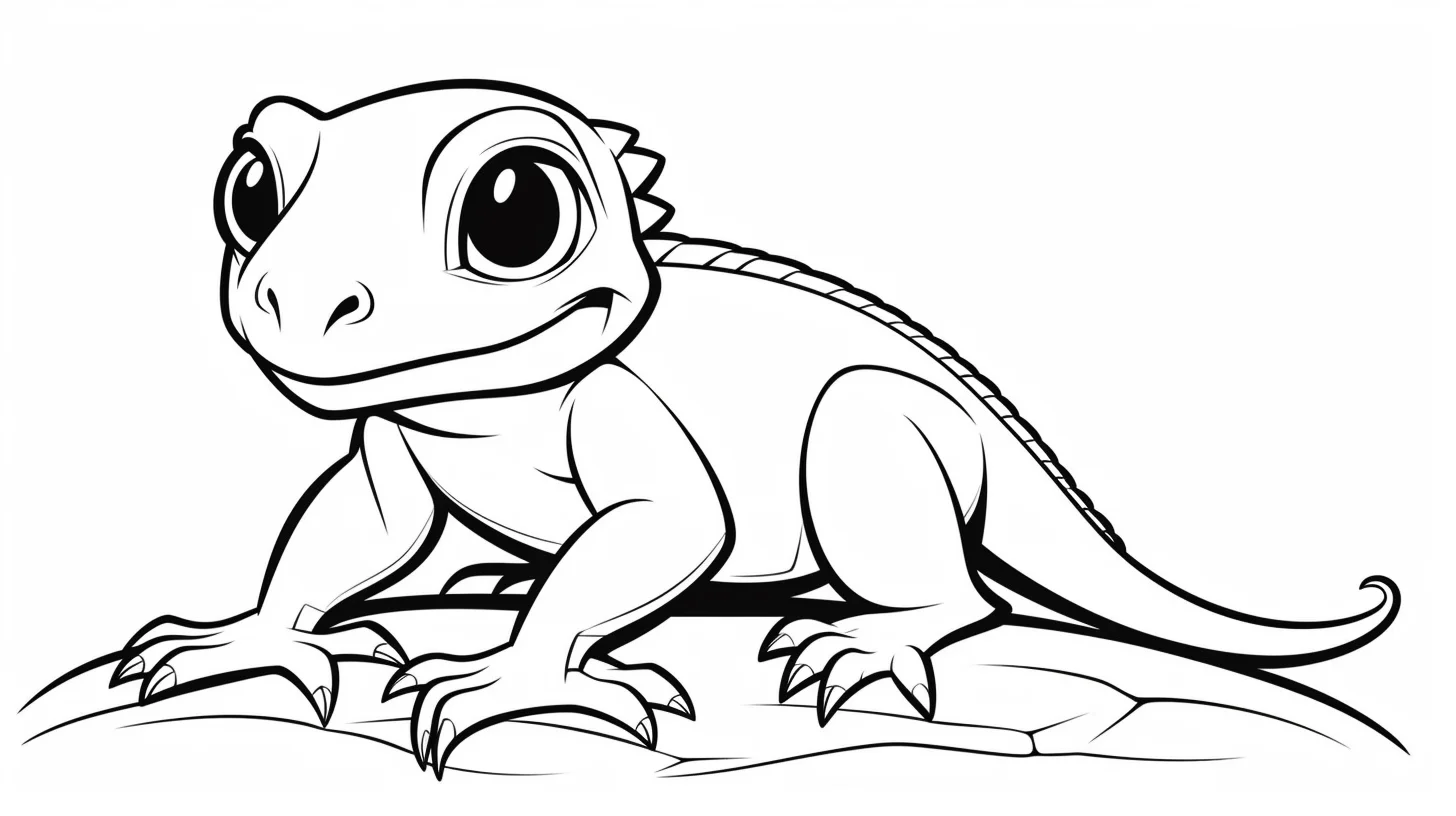
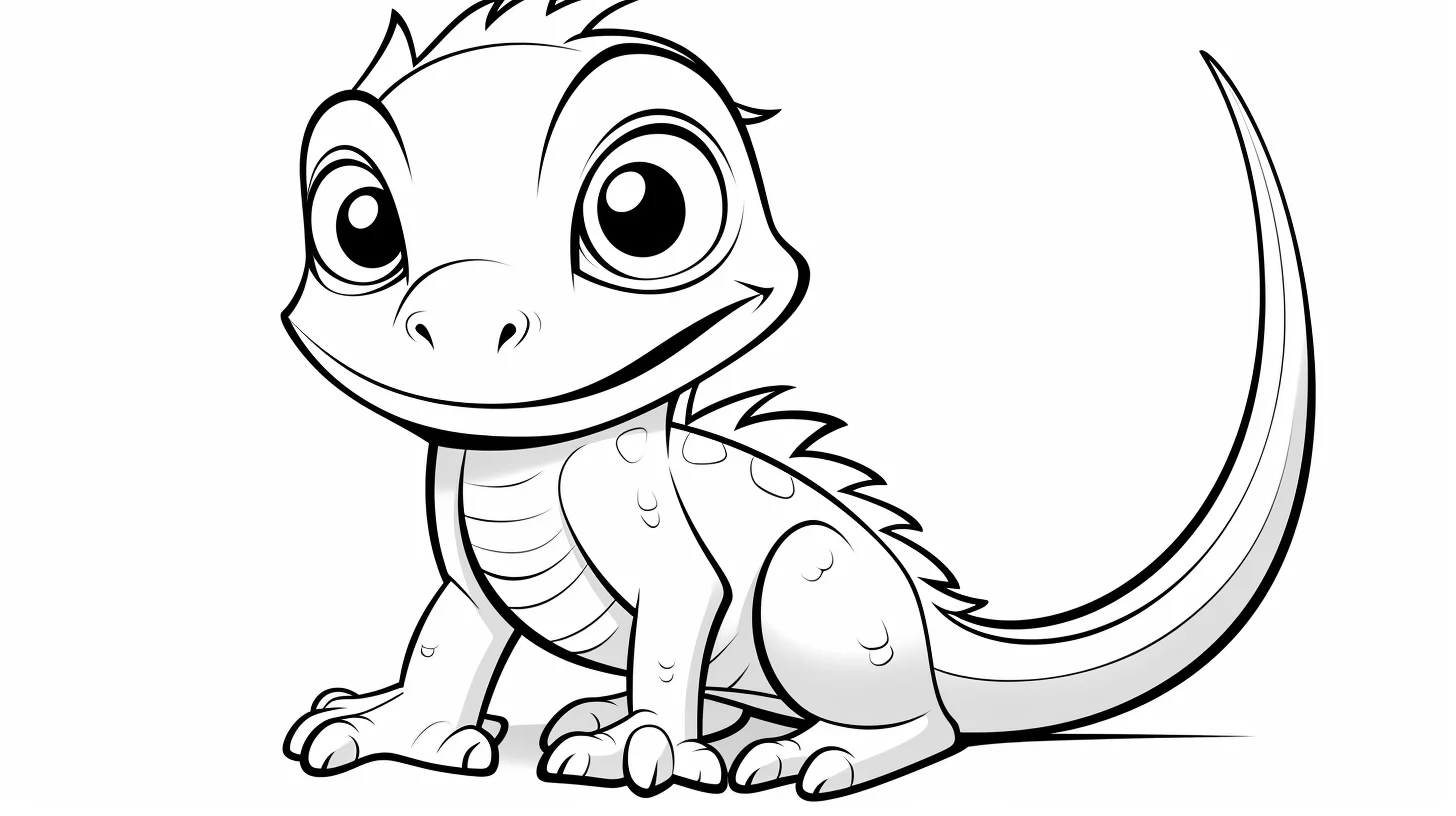
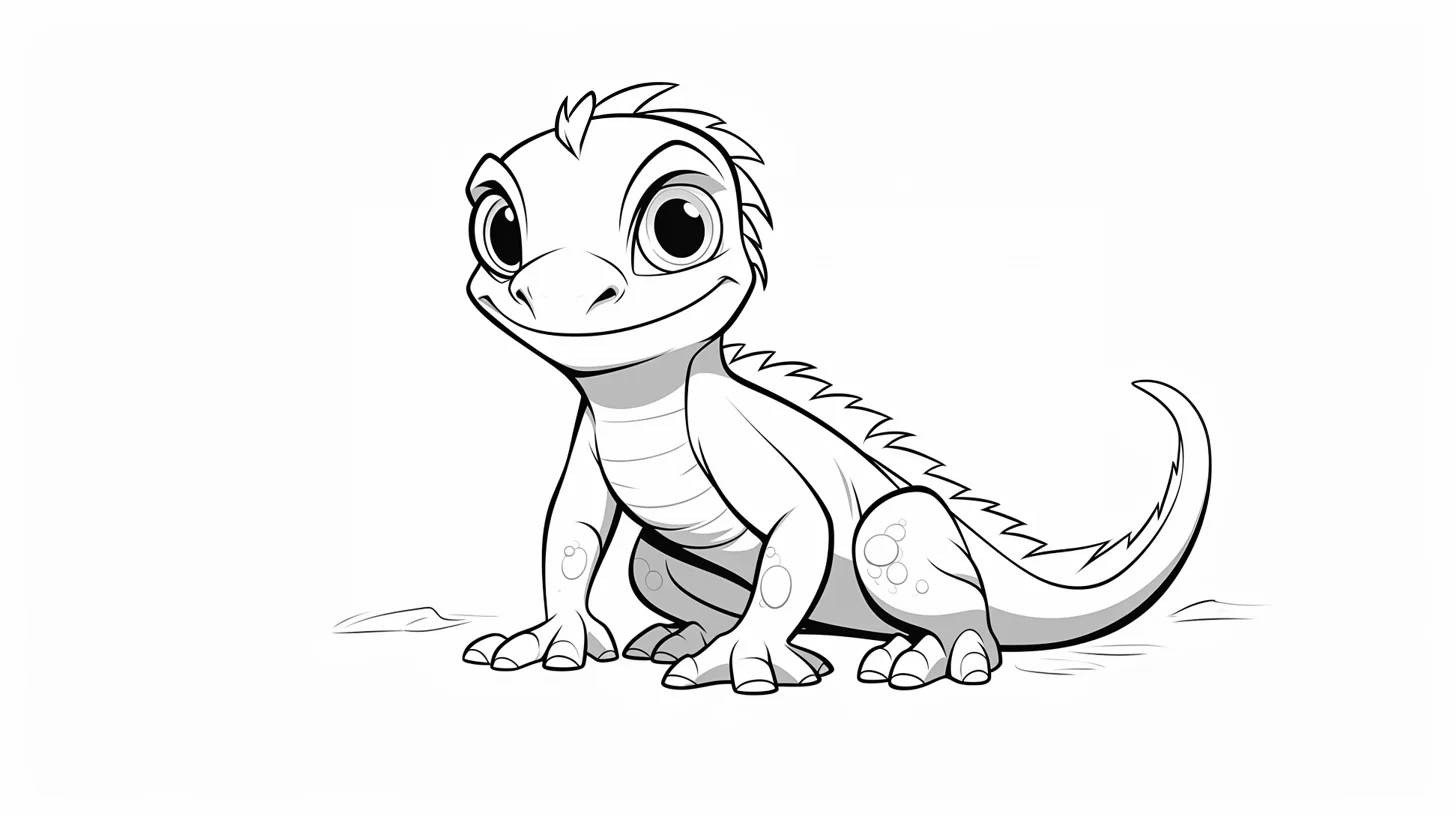
Easy and preschool lizards — Sheets 1–10
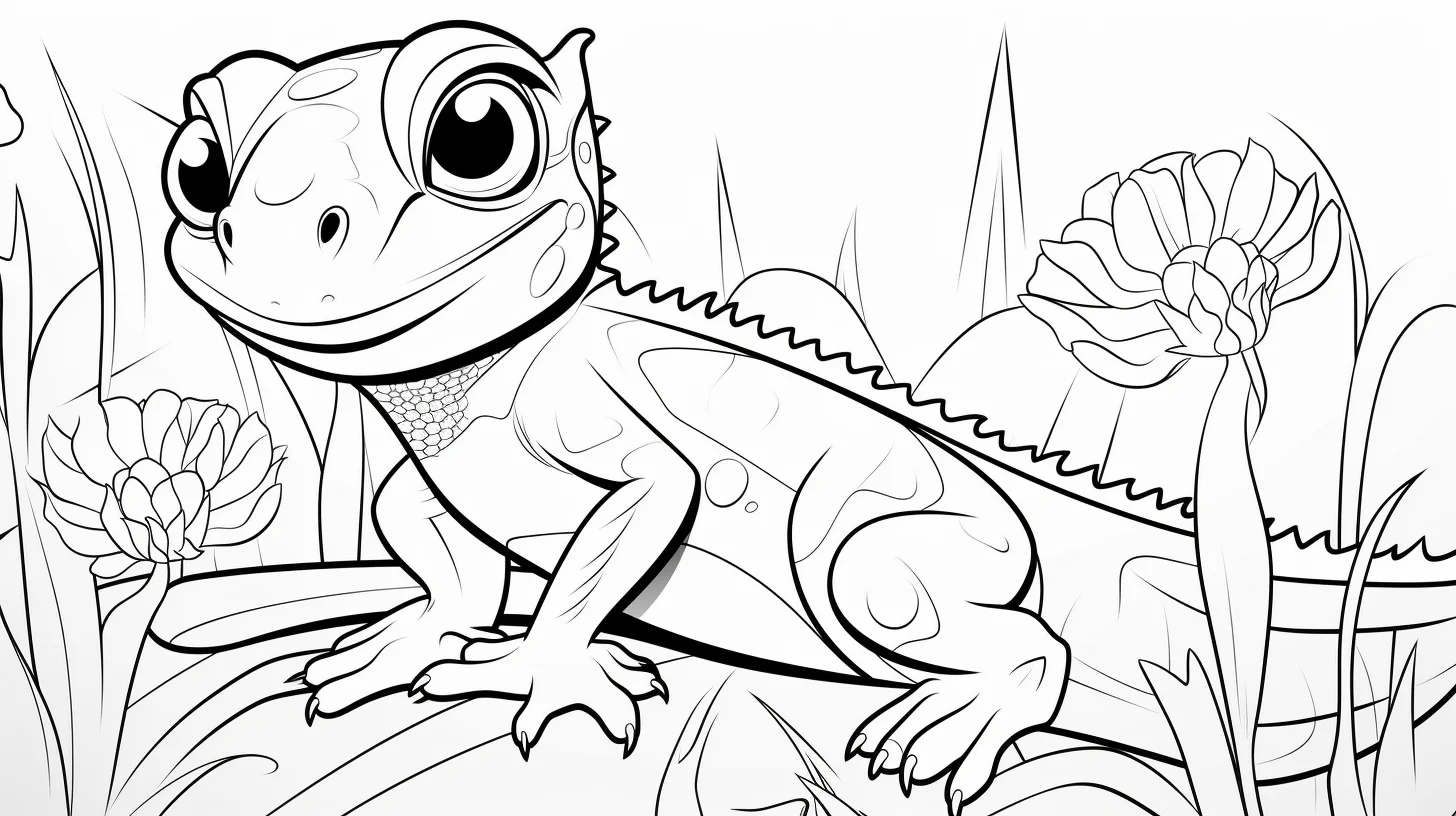
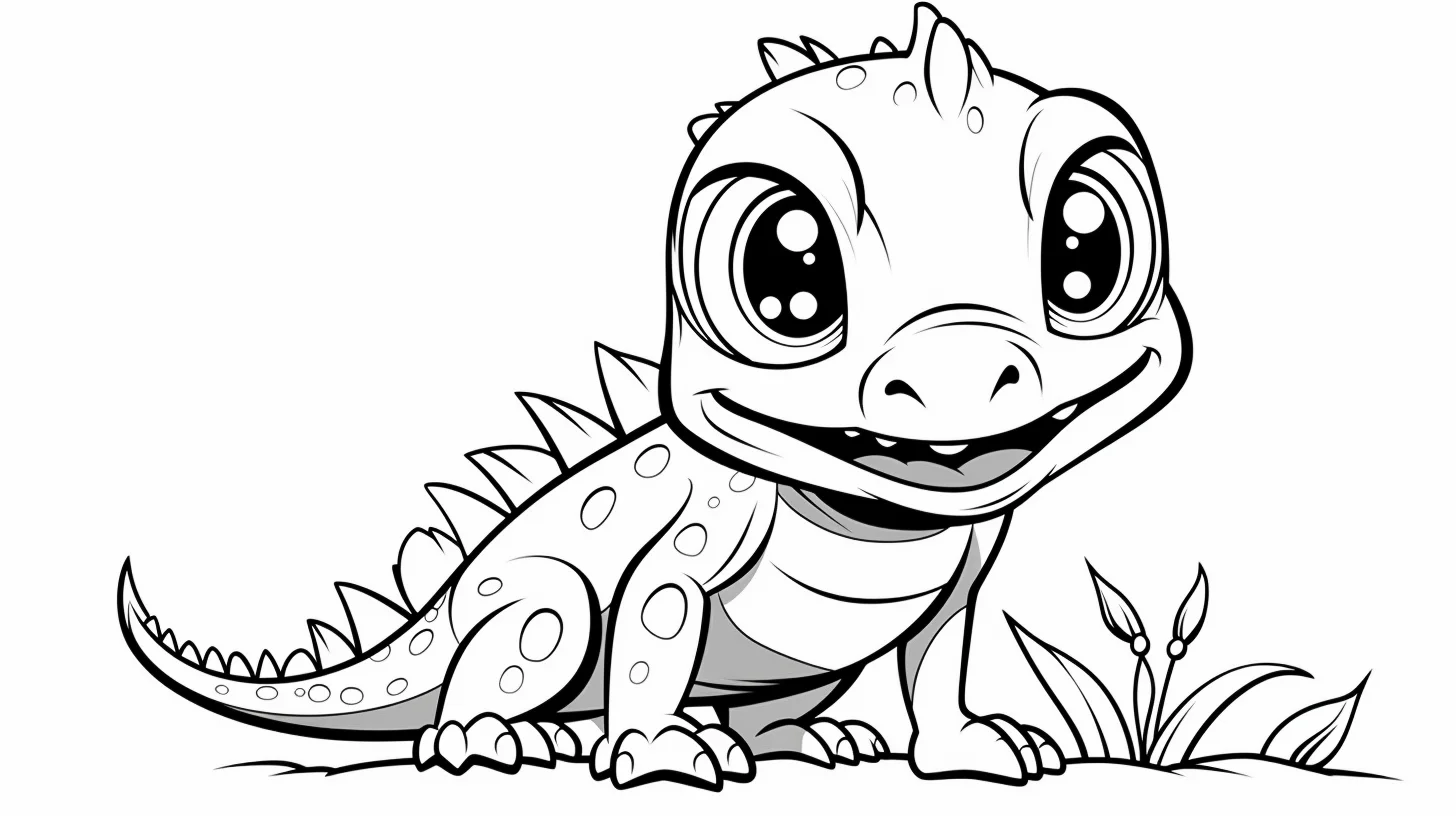
These are the quickest pages in the collection. Broad bodies and simpler outlines leave enough room for crayons and washable markers without requiring careful work around every scale.
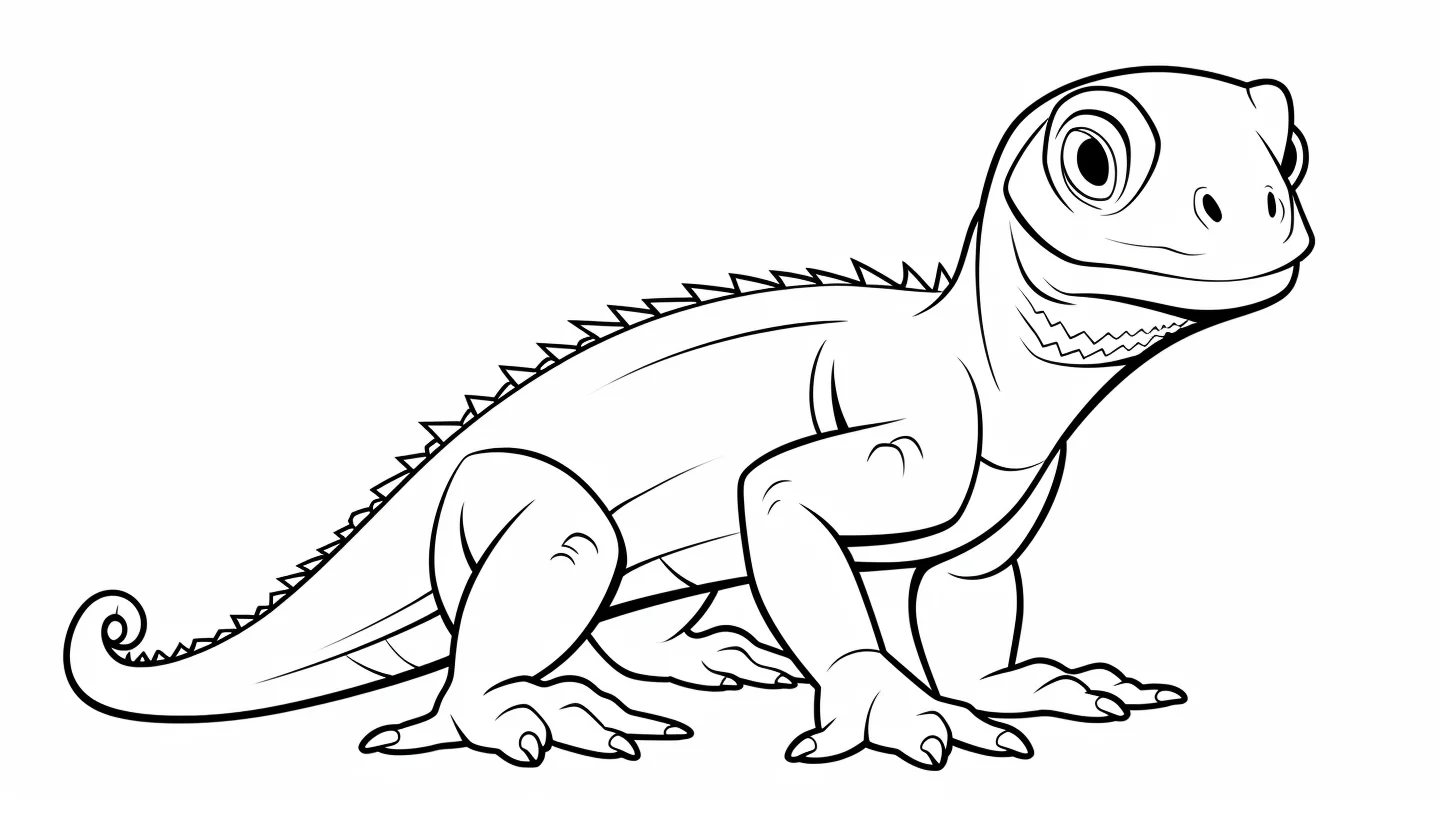
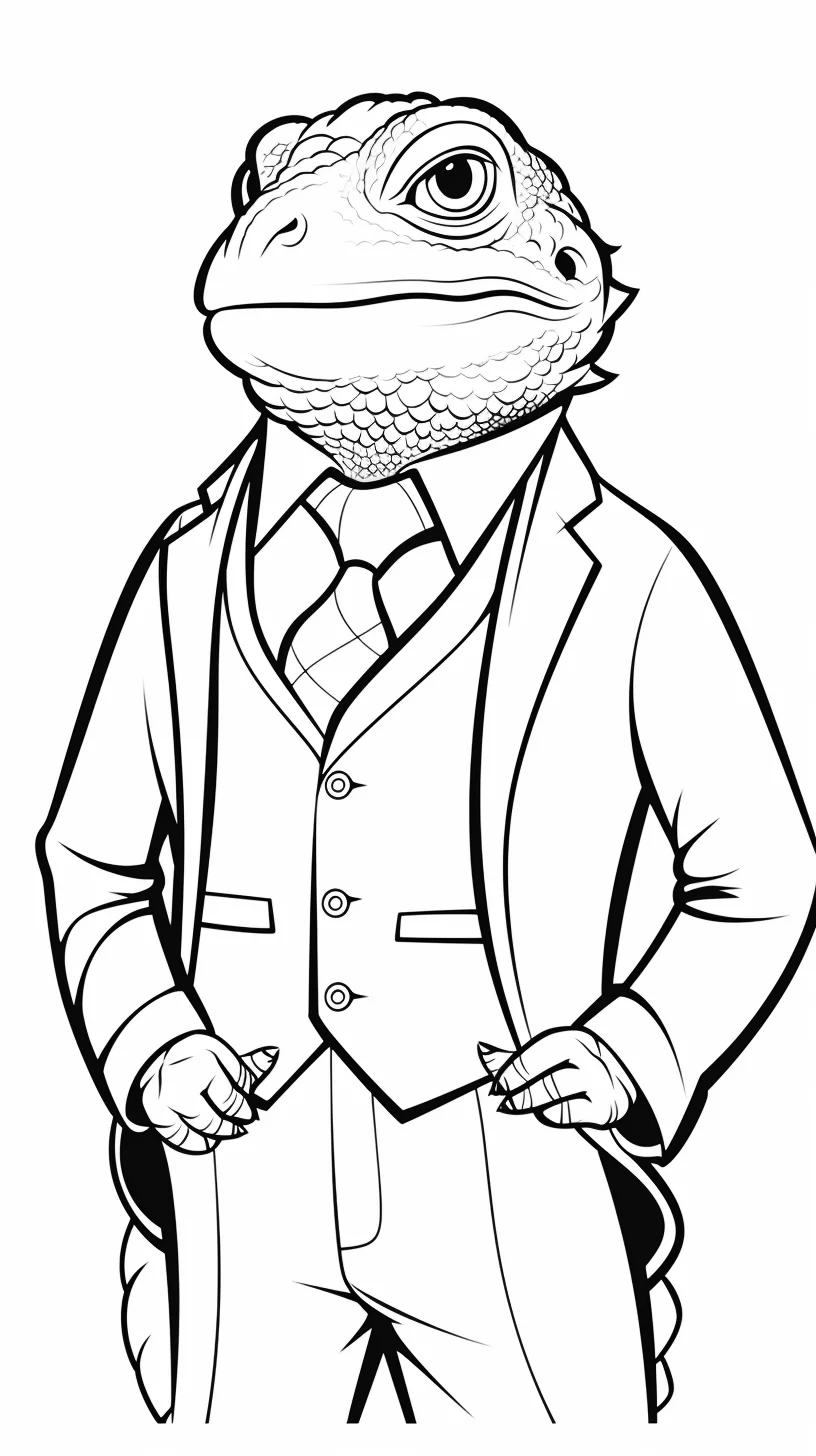
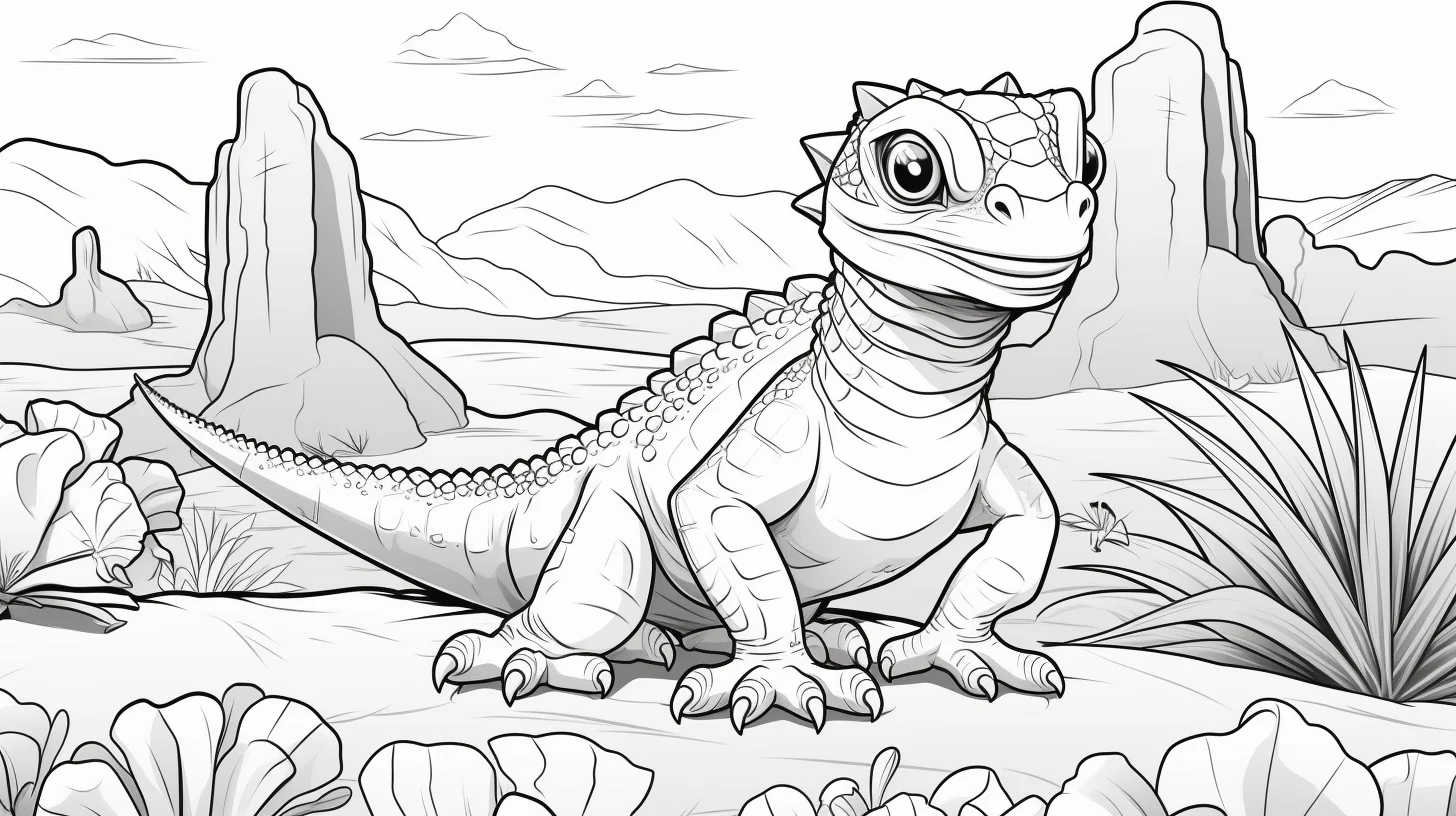
Open full-size lizard sheet 10
Cute and kawaii lizards — Sheets 11–14
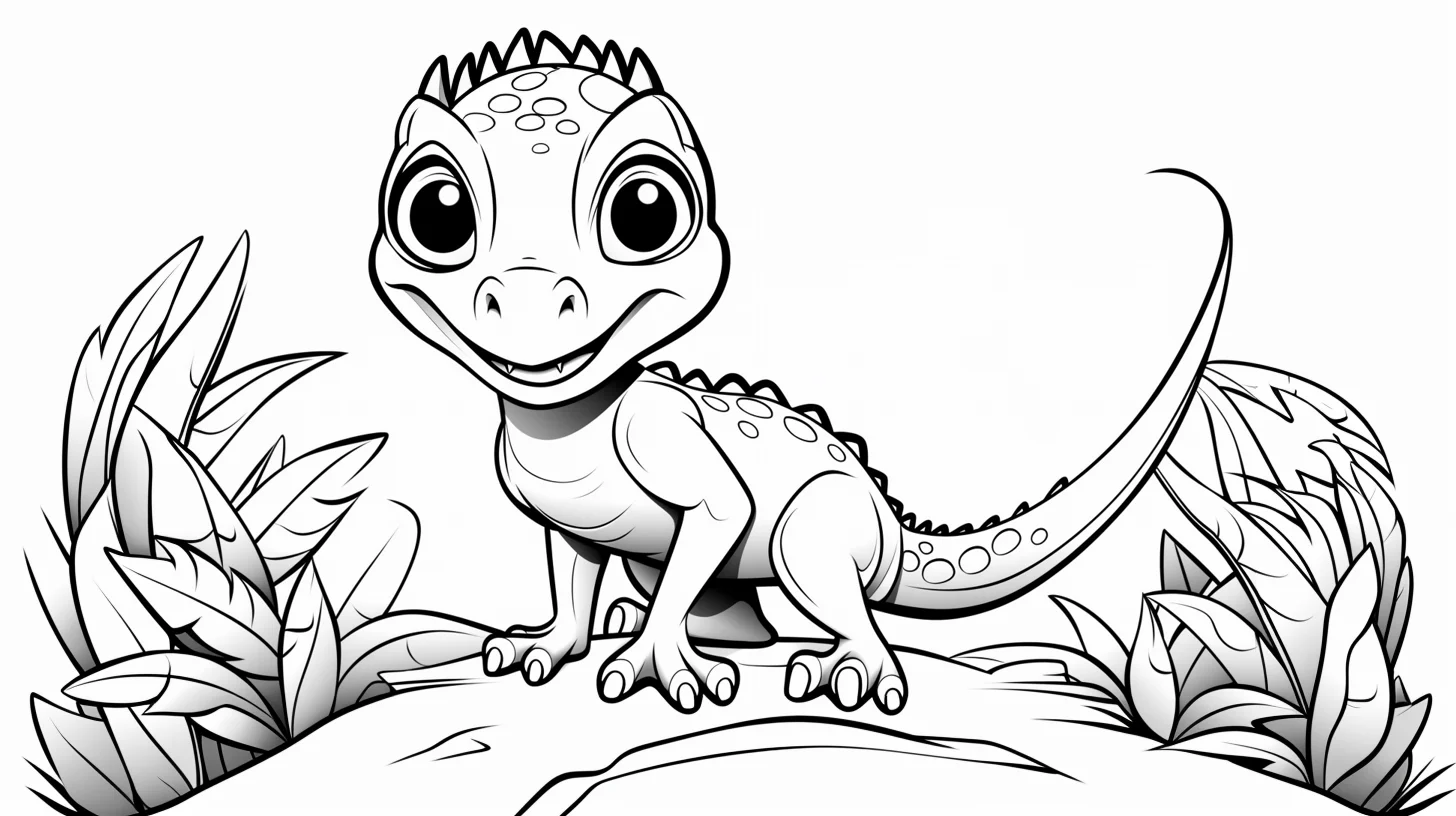
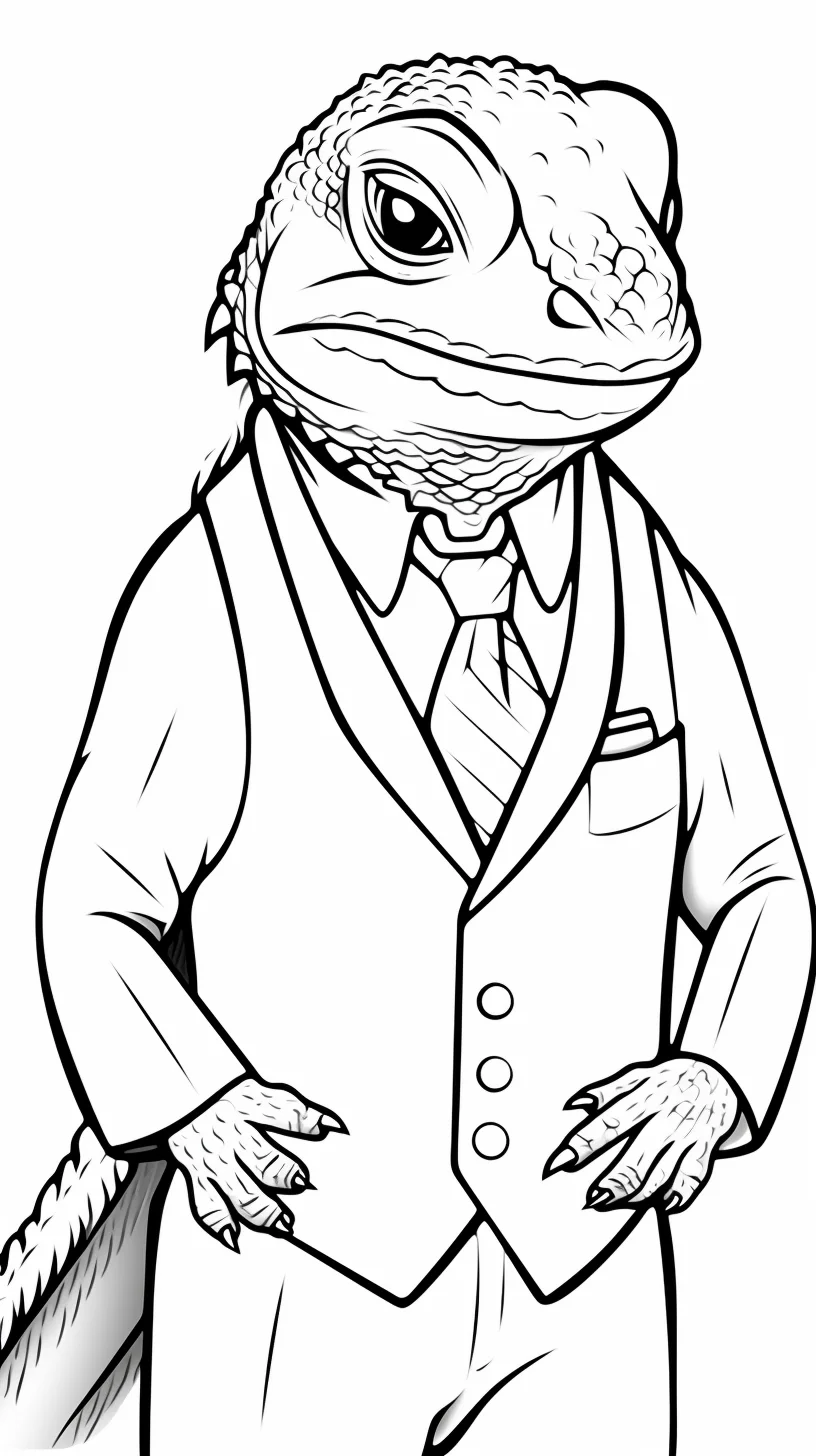
These pages suit brighter palettes well. A calm belly plus a stronger back color, spots or a gradient tail is enough to make a cartoon lizard interesting without filling every tiny section differently.
Open full-size lizard sheet 11

Open full-size lizard sheet 12
Open full-size lizard sheet 13

Open full-size lizard sheet 14
General printable lizards — Sheets 15–21
This middle group is useful when you want a straightforward reptile without the preschool look or the dense mandala treatment. Use two or three related body colors and let the linework do most of the texture work.
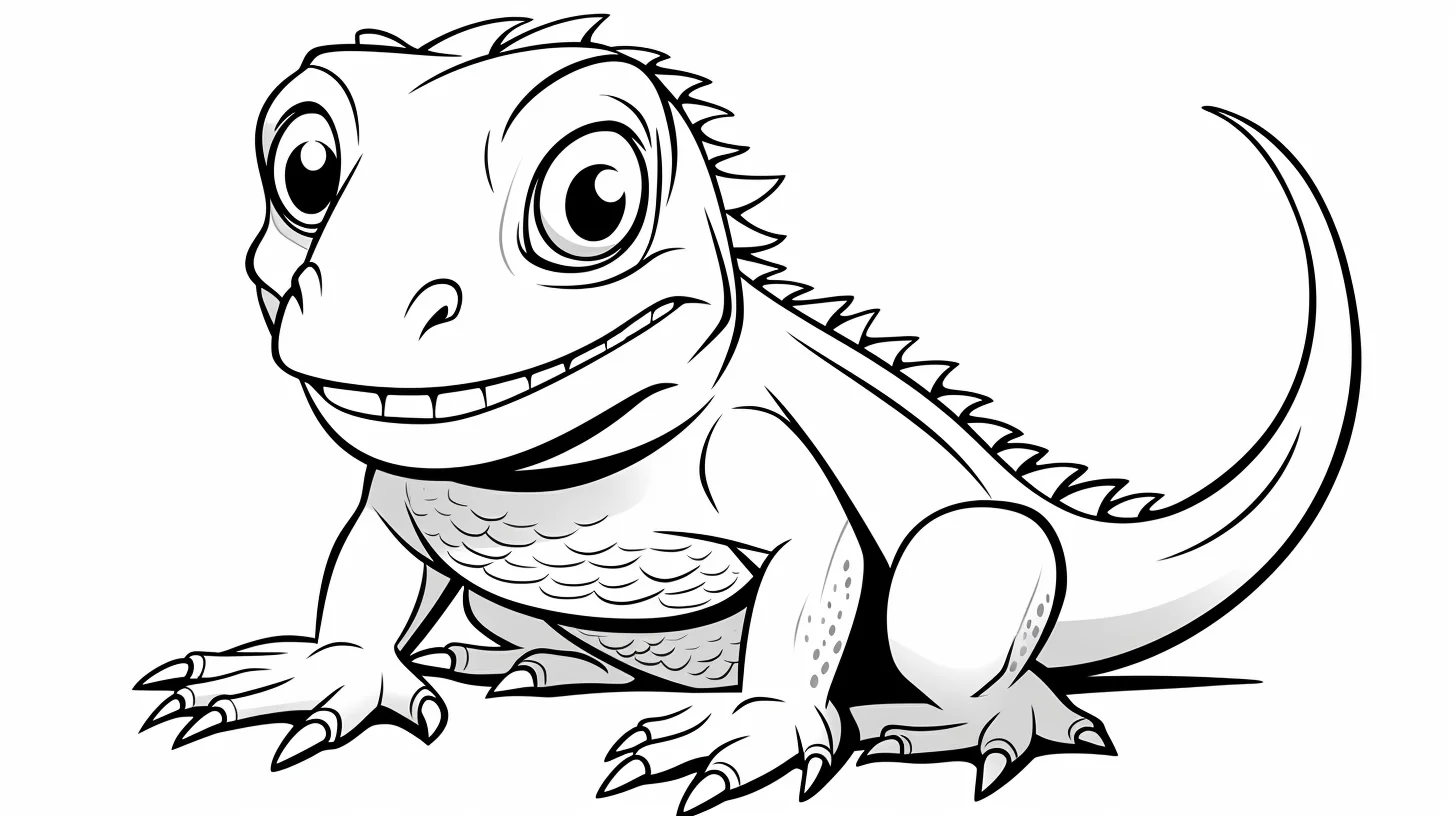
Open full-size lizard sheet 15
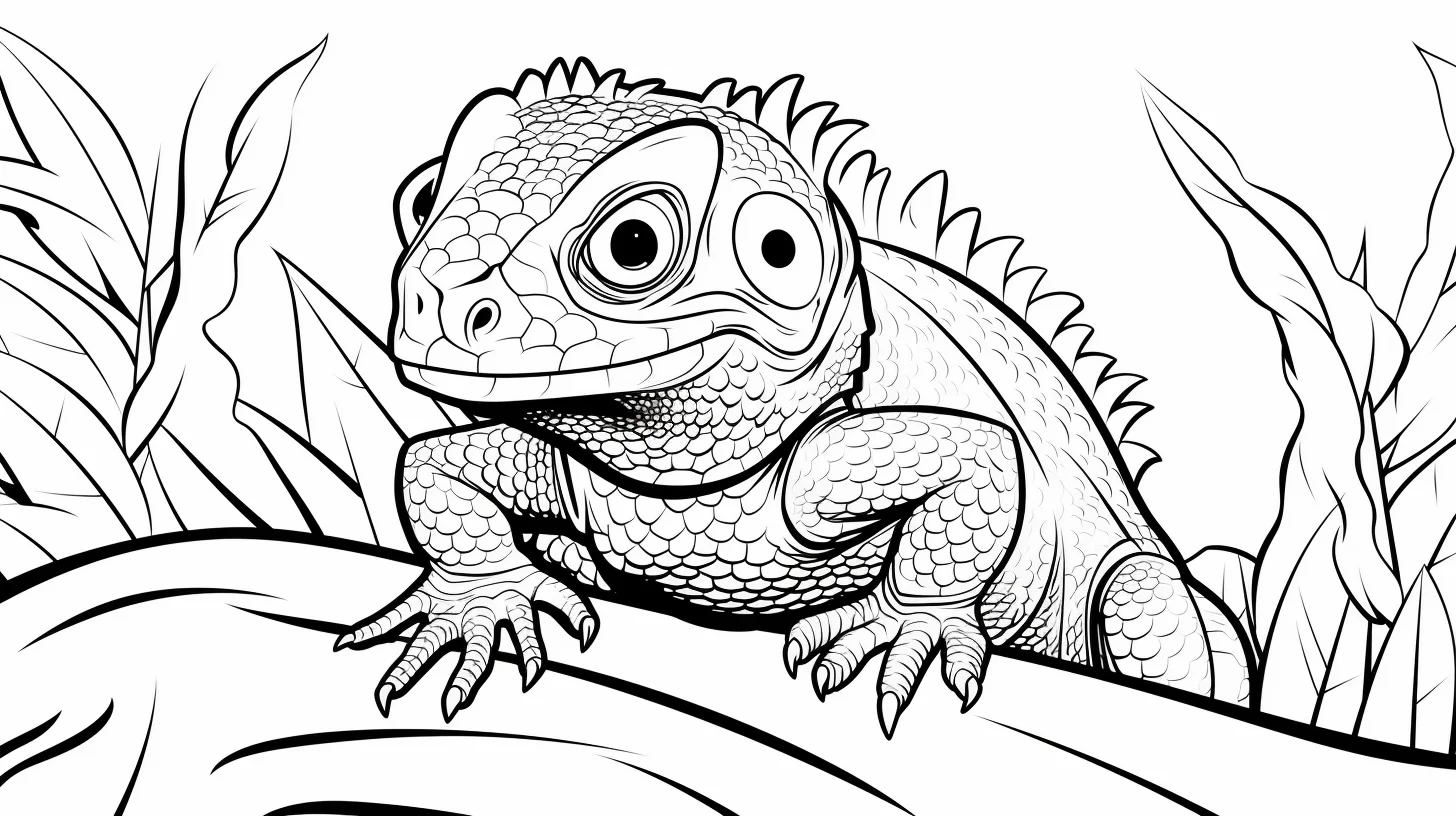
Open full-size lizard sheet 16
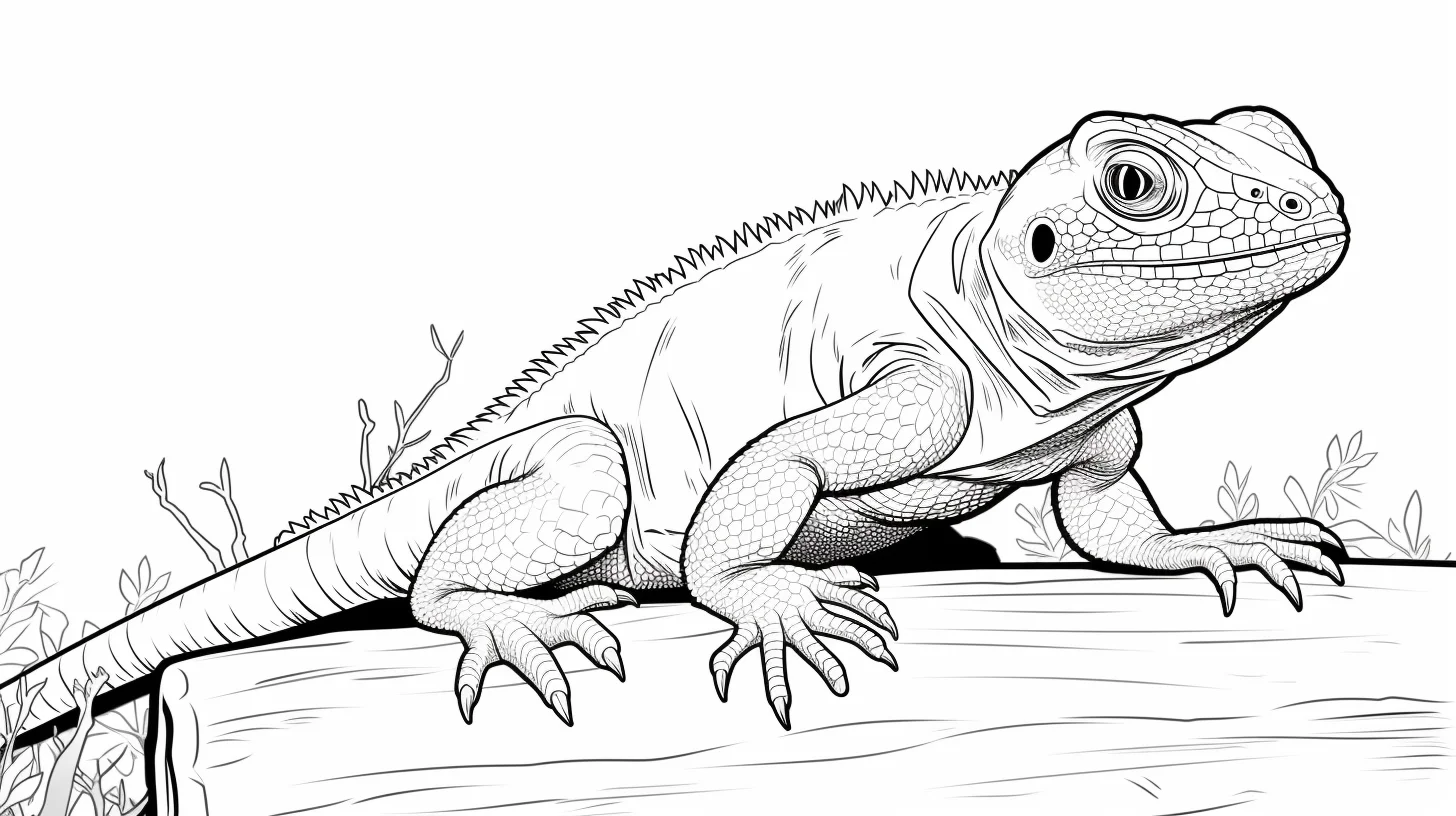
Open full-size lizard sheet 17
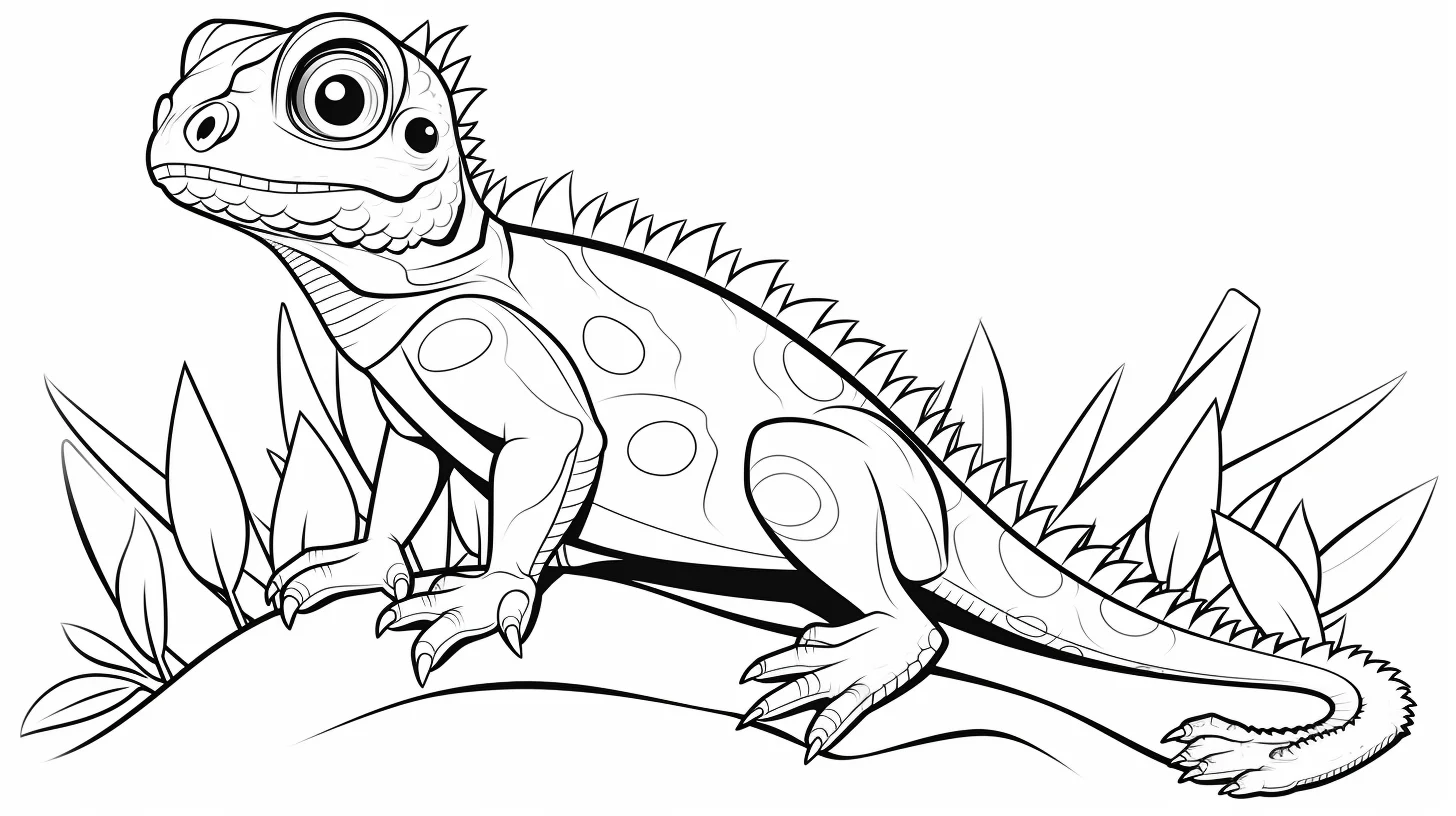
Open full-size lizard sheet 18
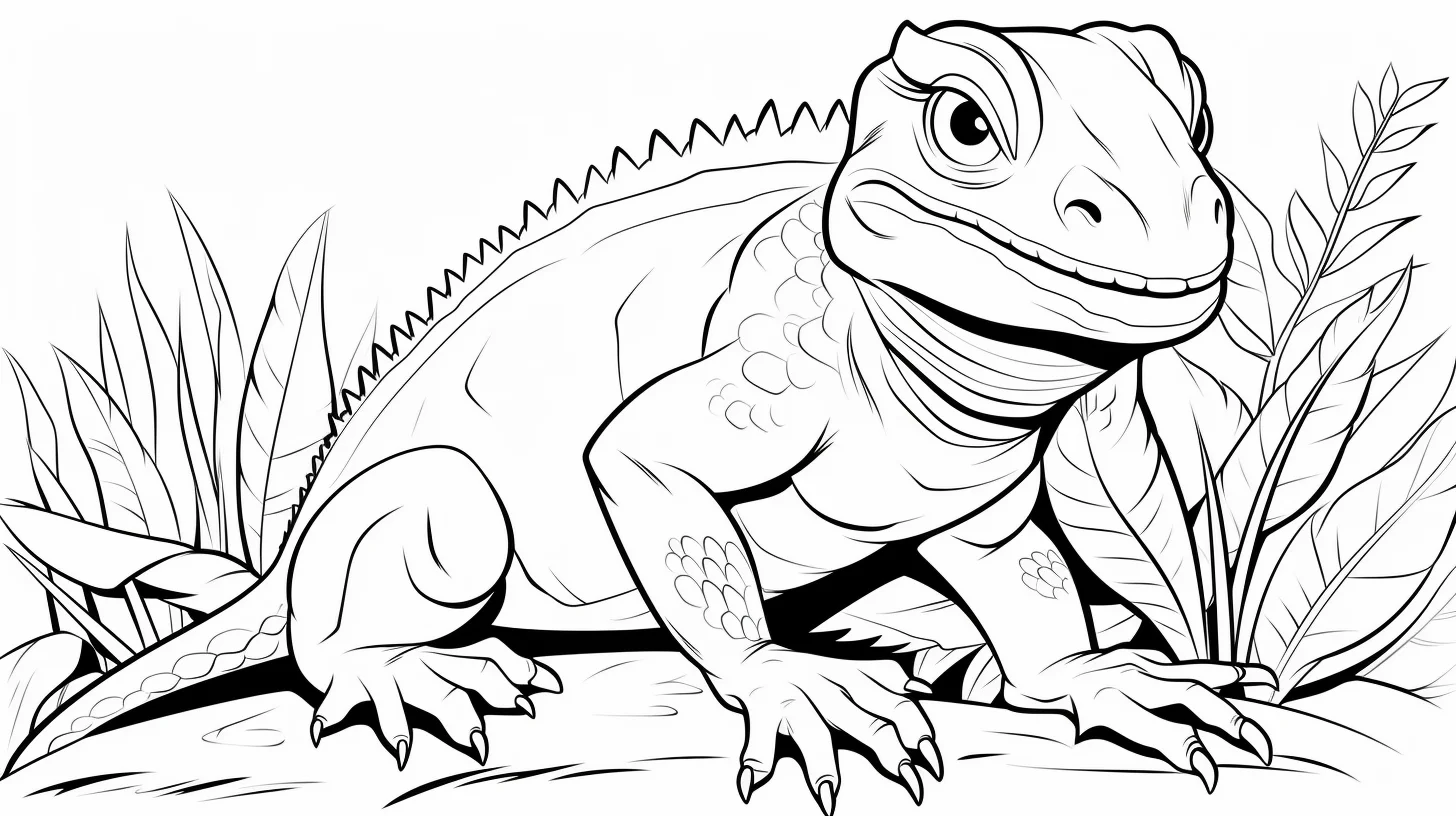
Open full-size lizard sheet 19
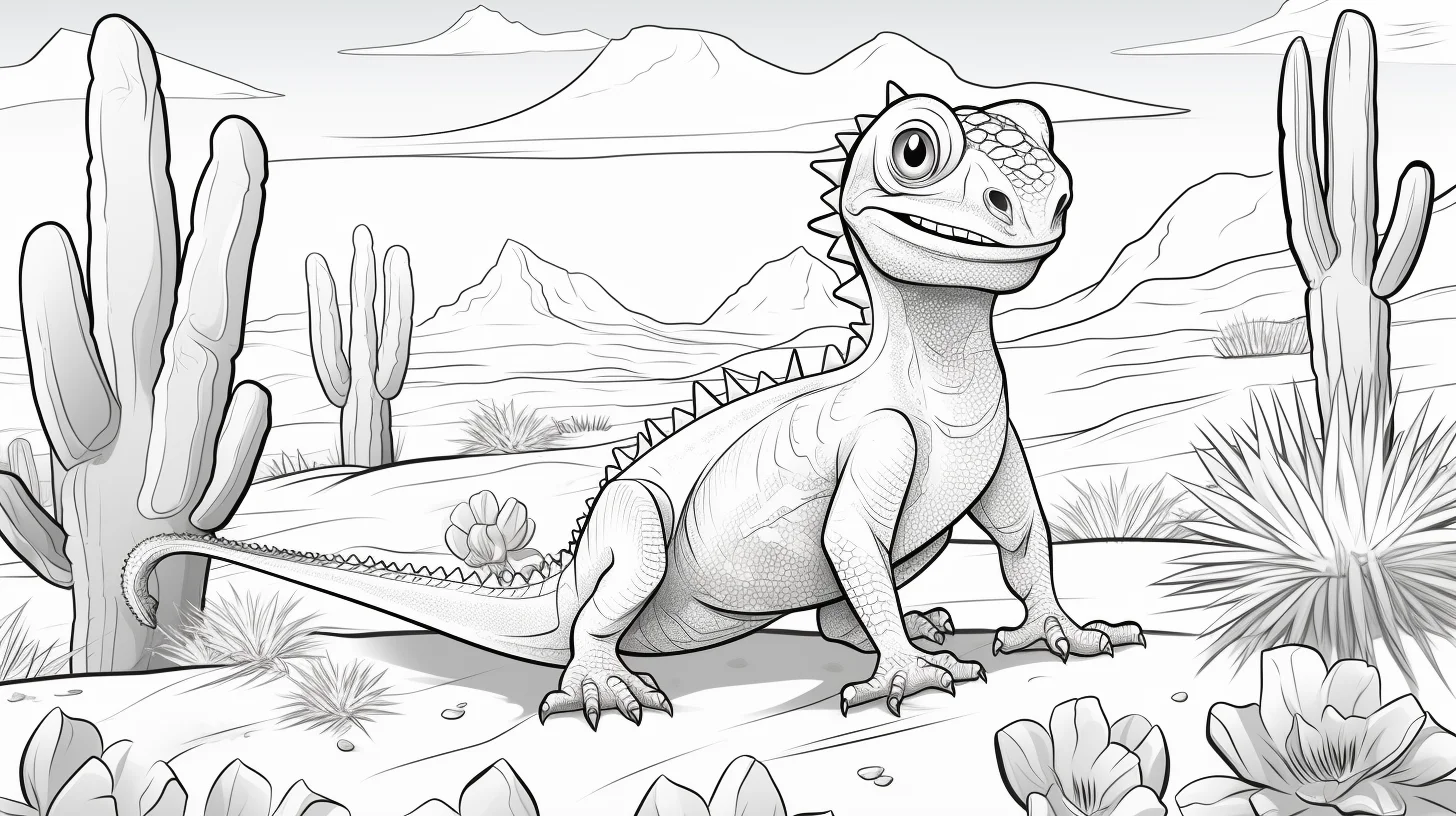
Open full-size lizard sheet 20
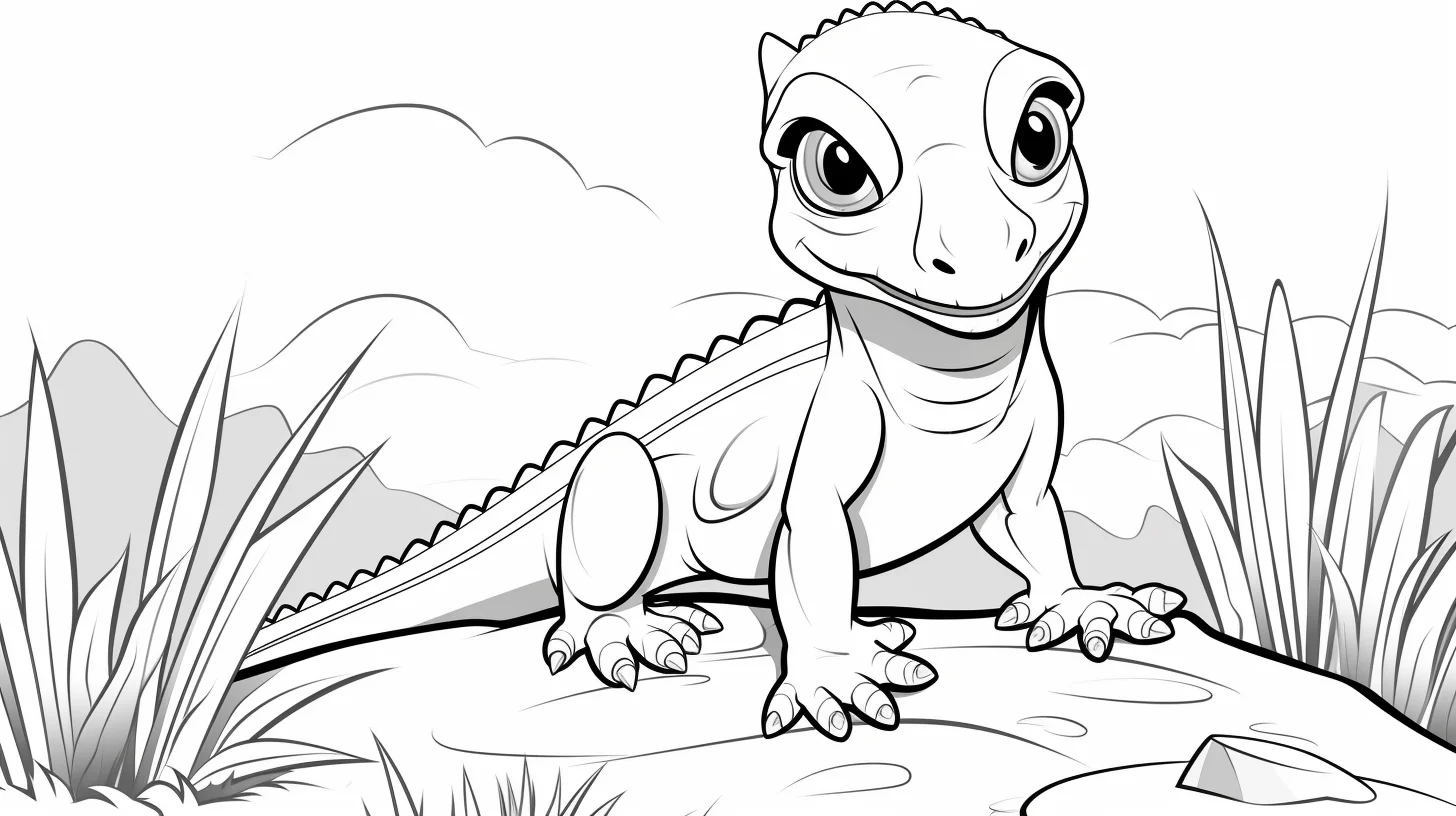
Open full-size lizard sheet 21
Mandala and realistic lizards — Sheets 22–26
The final five reward slower coloring. On the mandala pages, repeat a small palette instead of inventing a new color for every enclosed shape. On the realistic page, use lighter body layers and build darker markings gradually.
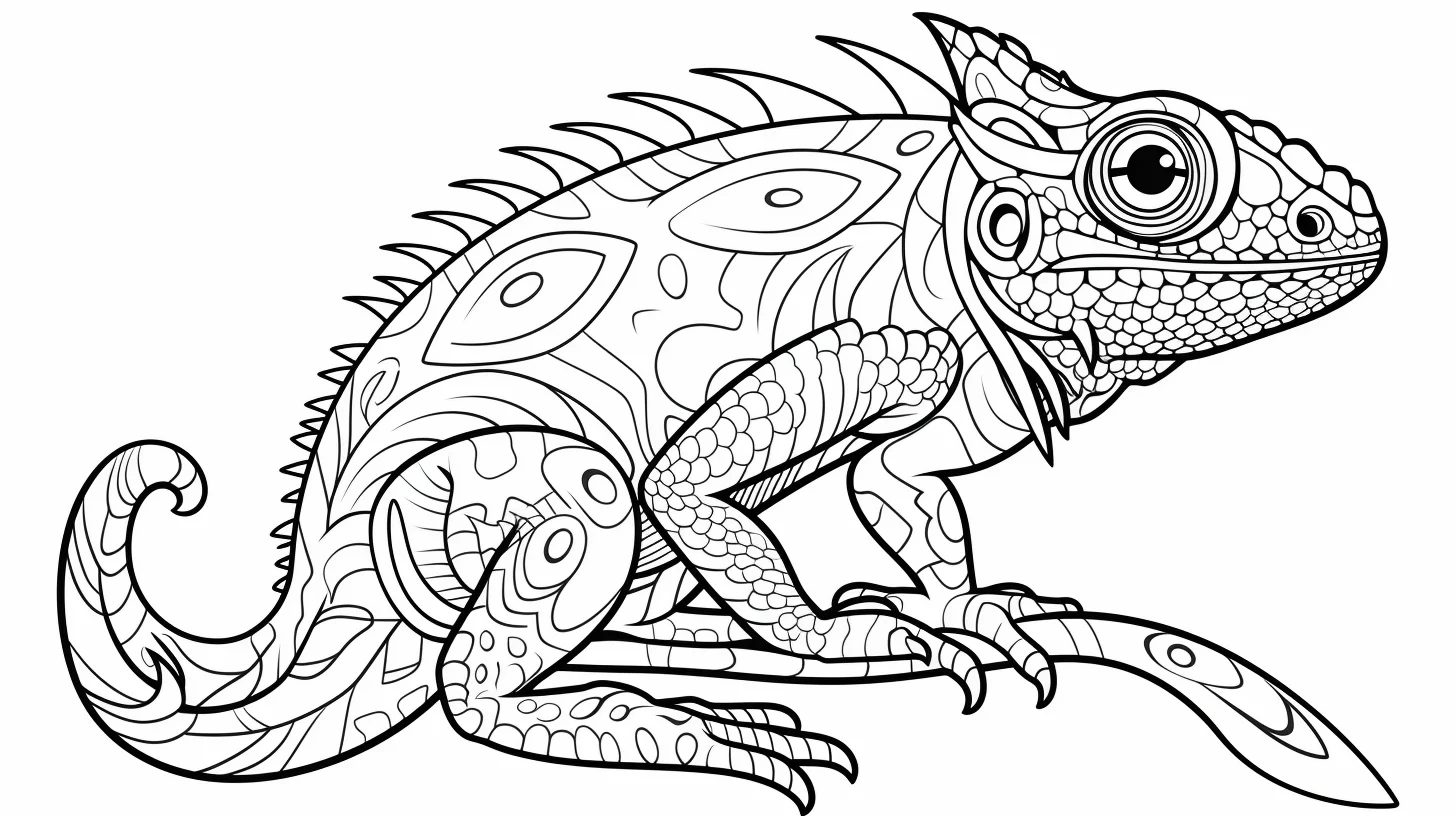
Open full-size lizard sheet 22
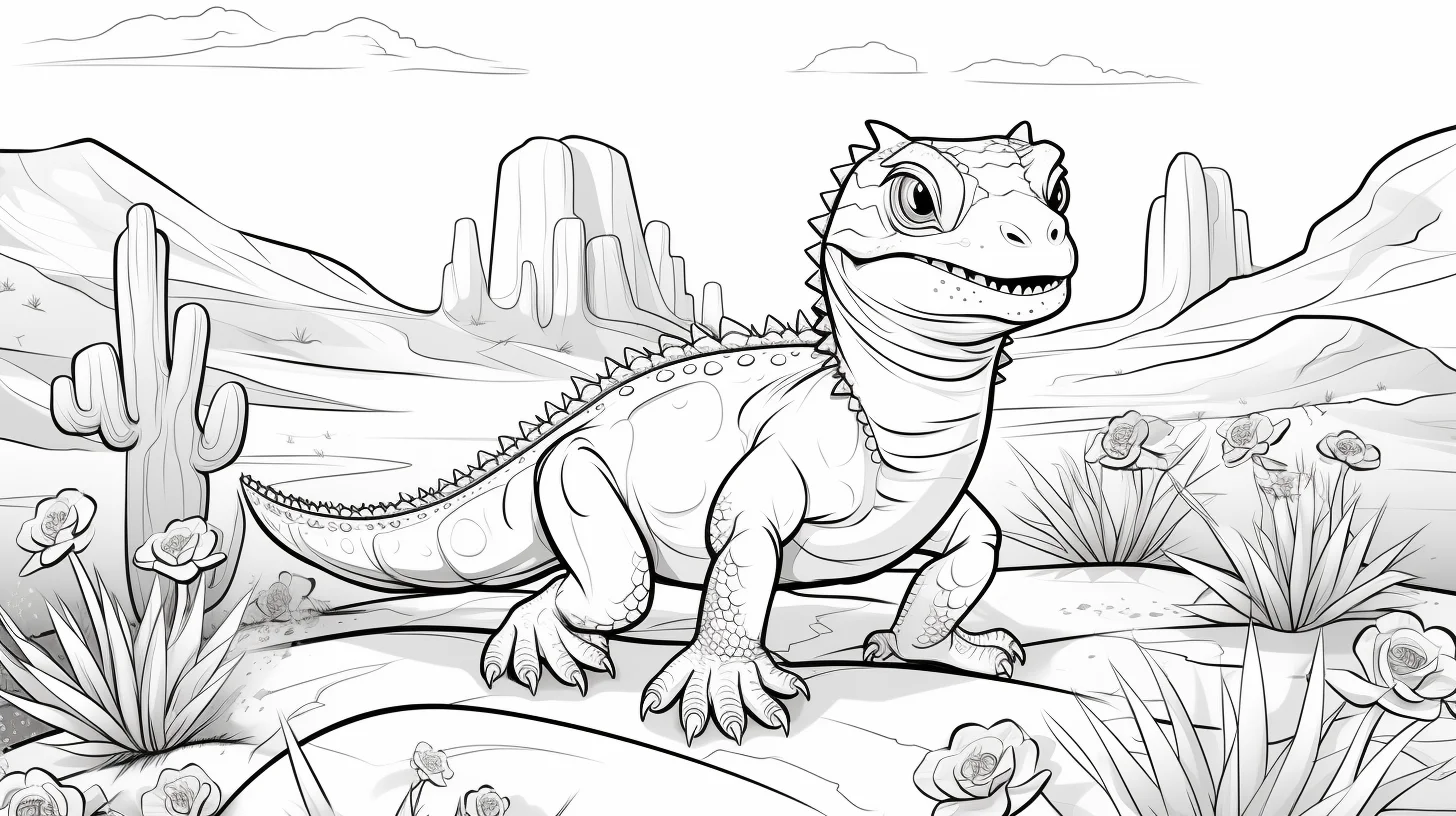
Open full-size lizard sheet 23
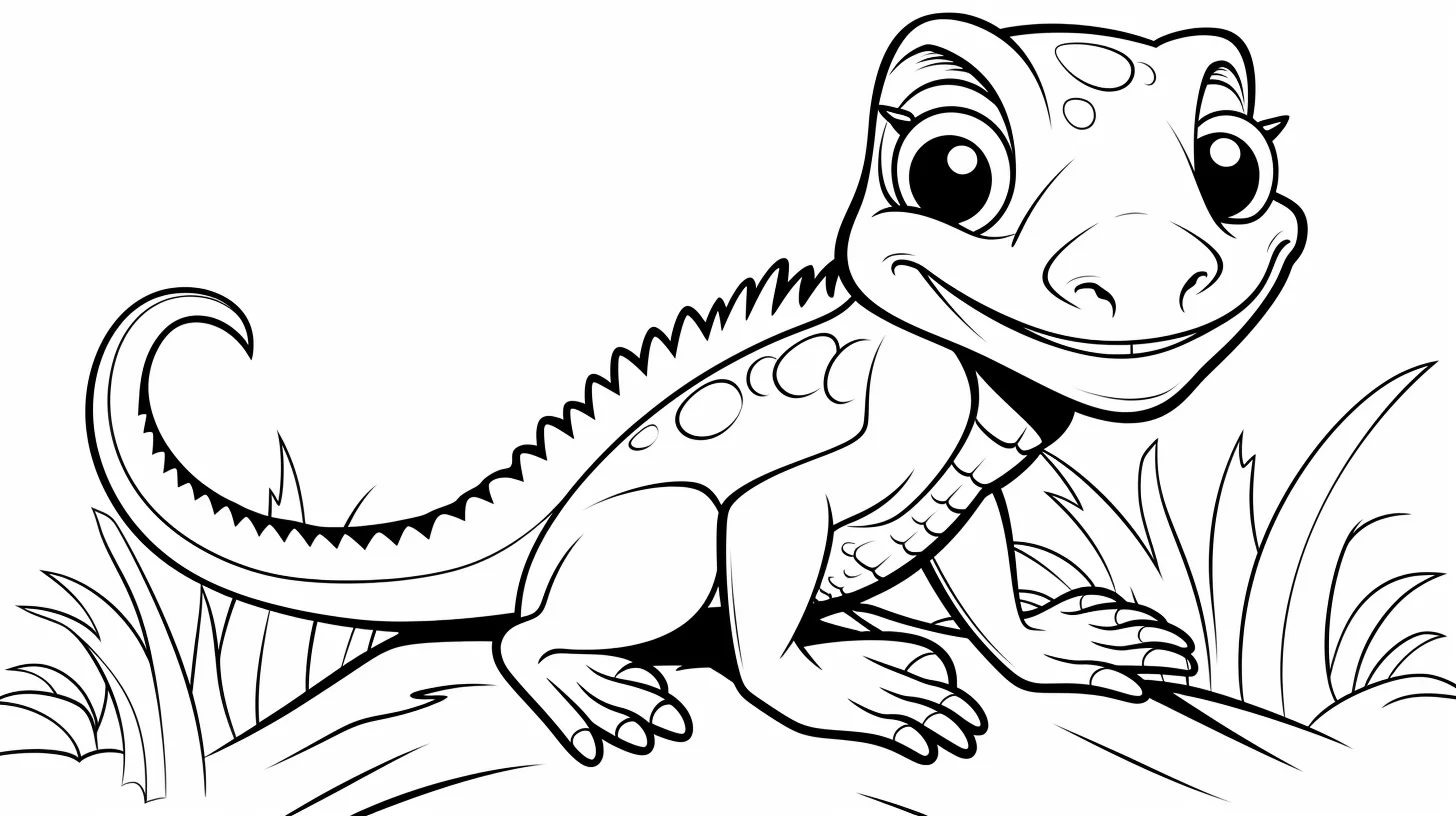
Open full-size lizard sheet 24
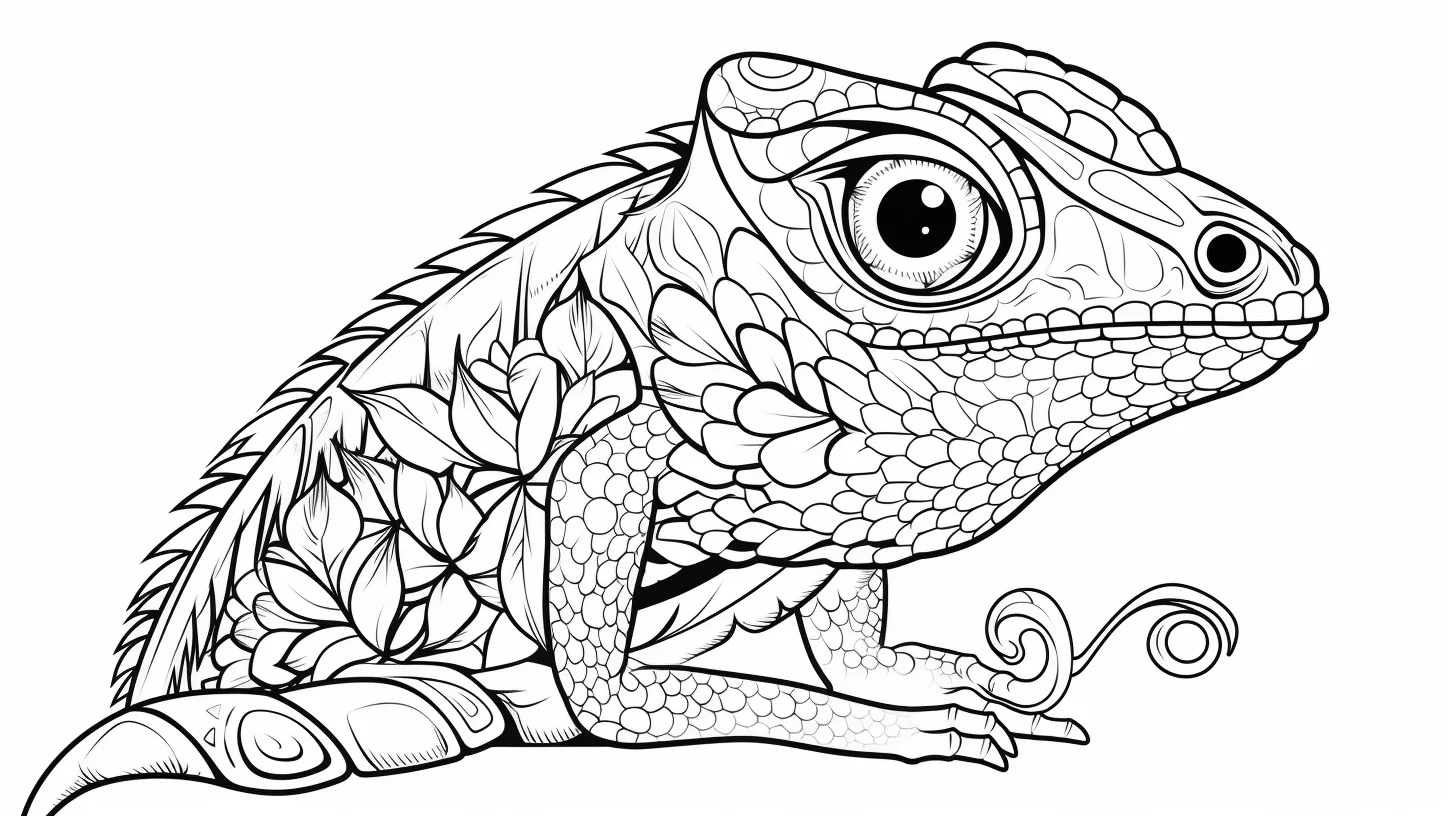
Open full-size lizard sheet 25
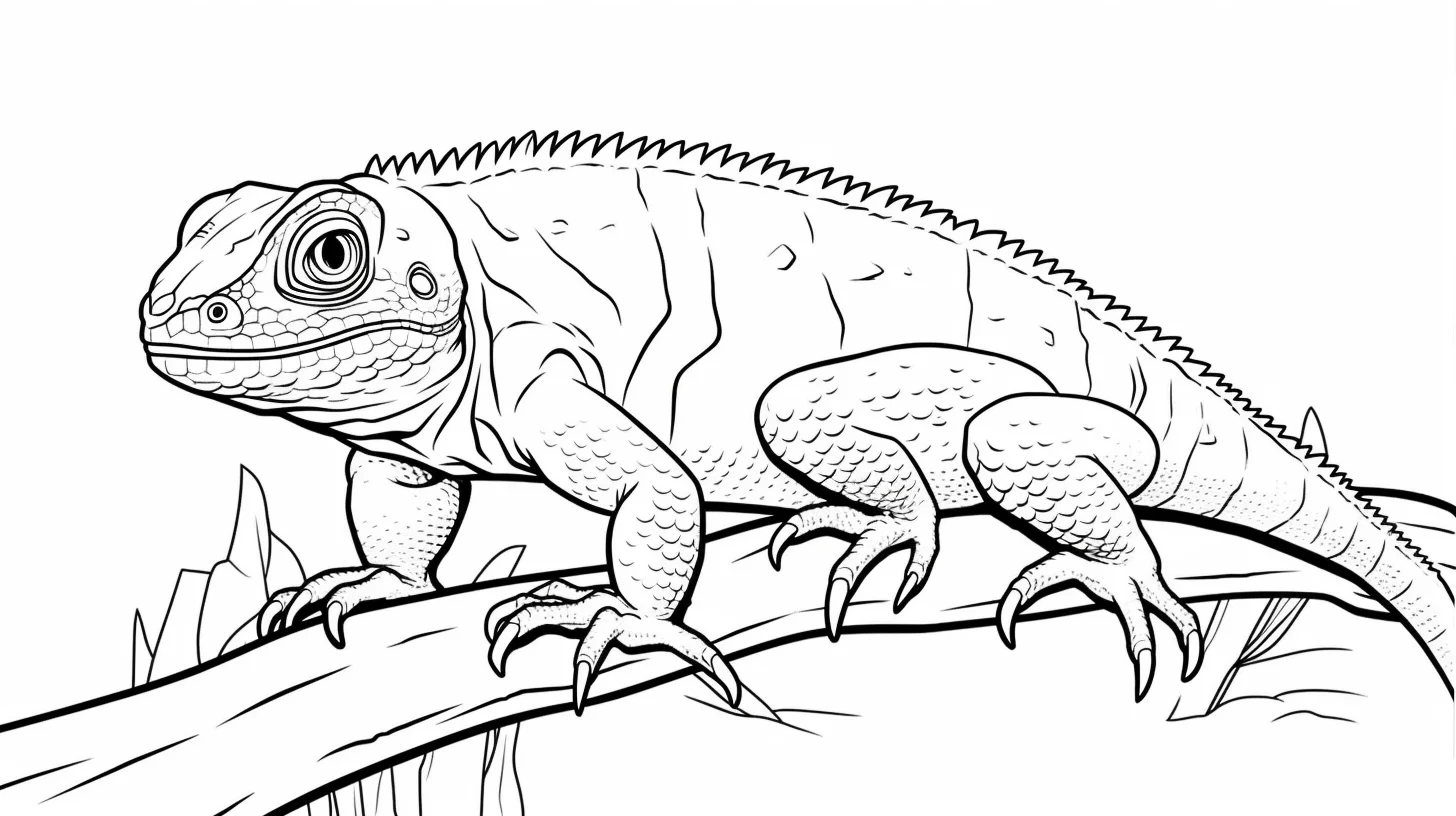
Open full-size lizard sheet 26
Practice lizard texture without making the page muddy
If you want to improve across several sheets, use three pages for three different skills instead of trying every technique at once. On an easy sheet, practice separating the pale underside from the back with only two values. On a general printable, add one controlled pattern—spots, a dorsal stripe or a tail gradient. Save the detailed sheet for texture: build scales or markings over a light base so the line art remains readable.
| If the lizard looks… | Likely cause | Try this |
|---|---|---|
| Flat | Back, belly and legs have the same value | Keep the belly lighter and deepen color along the spine and far side of the body |
| Too busy | Every scale or enclosed shape has a different color | Repeat a small palette and let some sections share the same base |
| Muddy | Too many dark layers were added early | Start lightly and reserve the darkest pencil or marker for markings and shadow |
| Disconnected | Tail colors change abruptly | Overlap neighboring colors through a short transition zone |
| Hard to read | Eye and toes disappeared into the body color | Finish those small landmarks last with stronger contrast |
| Overworked | Every empty area was filled | Leave some belly, background or pattern areas quieter |
Match the tool to the sheet
Crayons suit the broad easy shapes because they cover quickly and tolerate uneven pressure. Colored pencils are the most flexible choice for realistic lizards: use light circular layers on the body, then sharper strokes for markings and creases around the legs. Markers work especially well on the kawaii and mandala sheets, but test them on a spare print if you are using thin paper because alcohol-based ink can bleed through.
For a mixed approach, lay down a light marker base only in large enclosed areas, let it dry, then use pencil for shadows, spots and transitions. This keeps the result crisp without forcing a marker tip into tiny toes or scale details.
Three palettes to try
- Woodland: olive green, moss, warm brown and a pale cream belly.
- Desert: sand, terracotta, muted brown and a small charcoal accent around the eye or markings.
- Fantasy tropical: yellow-green through turquoise to blue, with coral or orange used sparingly as an accent.
On realistic sheets, color placement matters more than owning many shades. A limited palette with a clear light side, shadow side and repeated marking color usually gives the body more dimension than six unrelated greens.
Quick lizard-coloring questions
Do lizards have to be green?
No. Brown, gray and muted earth tones can look natural, while turquoise, orange, yellow and purple work well on the cute pages.
How do I make the tail more interesting?
Use a gradual shift rather than hard stripes: start with the main body color near the hips and blend toward a second color at the tail tip.
What is best for mandala lizards?
Fine-tip markers or sharpened colored pencils. Pick three to five colors and repeat them through the pattern instead of treating every small shape as a new decision.

