
Pandas look simple because the palette is familiar, but the black areas need a little planning. If the eye patches, ears, shoulders and legs all become one heavy block, the face and body lose shape. The trick is to keep the white areas genuinely open and use the background, bamboo or props for most of the extra color.

Pick the right sheet in 60 seconds
Before printing, look at the panda’s eyes, paws and any bamboo leaves—the smallest spaces on the page. Compare those gaps with the tip of the crayon, pencil or marker you plan to use. If the tool is wider than several of those spaces, choose one of Sheets 1–6 rather than fighting a detailed design with a blunt tip.
- Check the face first: the eye, eye patch and muzzle should be three readable shapes before you add any color. If they already look crowded at screen size, print a simpler sheet or use a fine pencil for the face.
- Count the competing dark areas: ears, patches, shoulders and legs should not visually merge. Plan to leave a clean white boundary wherever two black markings sit close together.
- Choose where the color will live: on a simple panda, let bamboo or one background shape carry the brighter colors. On a busier kawaii page, limit yourself to two or three accent colors so the panda remains the focal point.
- For preschoolers: skip shading entirely. Use black for the markings, one green for bamboo and one optional background color. Stopping there usually produces a clearer page than trying to fill every small detail.
This quick check is about matching the page to the tool and the colorist. The black test farther down the page solves a different problem: how heavily your particular black pencil or marker can be layered without swallowing the facial details.
Choose a panda page
| If you want… | Start here |
|---|---|
| Baby pandas or easy pages for kids | Sheets 1–6 |
| Cute or kawaii pandas | Sheets 7–14 |
| General printable panda sheets | Sheets 15–26 |
Color the black areas last
Start with anything that is not black: bamboo, clothing, props and the background. Then fill the ears, eye patches, shoulders and legs. This order makes it much easier to keep the white face and belly clean.
With black marker, leave a tiny sliver of white around narrow facial lines instead of flooding right up to every contour. With pencils, try very dark gray on the edges of the black areas and true black in the center. That gives a little shape without changing the panda’s familiar markings.
Keep the face readable
The eye patches are dark, but the eyes inside them still need separation. Use a softer gray around the inner edge of the patch or leave a small highlight in the eye. The nose and mouth should stay visually distinct from the surrounding black so the expression does not disappear.
Use bamboo and props for the brighter palette
Greens, yellows and soft browns work naturally around a panda, but there is no need to make every background realistic. A pale blue, peach or lavender background can make the black-and-white animal stand out even more. On kawaii pages, keep the panda itself simple and let bows, clothing or props carry the playful colors.
A simple panda-coloring order
- Color the bamboo, props or background first.
- Leave the face, belly and other white fur areas untouched.
- Add ears, eye patches, shoulders and legs.
- Finish the eyes, nose and mouth carefully.
- Add only a little gray shadow to white fur if the page needs more depth.
Printing
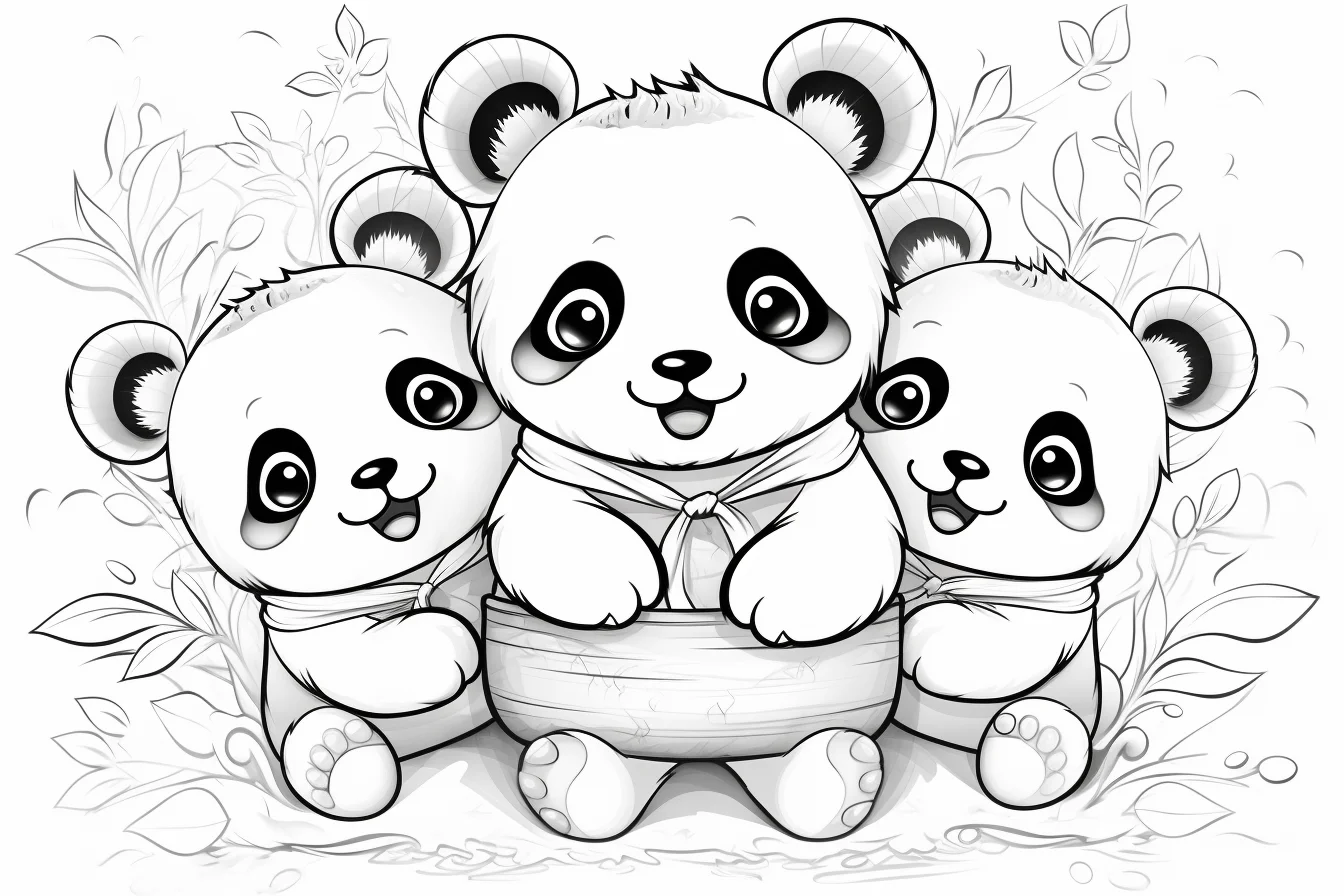
These sheets are landscape-oriented. Click the image you want to open the full-size file, then use “Fit to page” on A4 or US Letter paper. If you want an even simpler baby-panda set, use the separate baby panda collection. For other animals, browse the cute animal coloring pages.
Baby and easy panda pages — Sheets 1–6
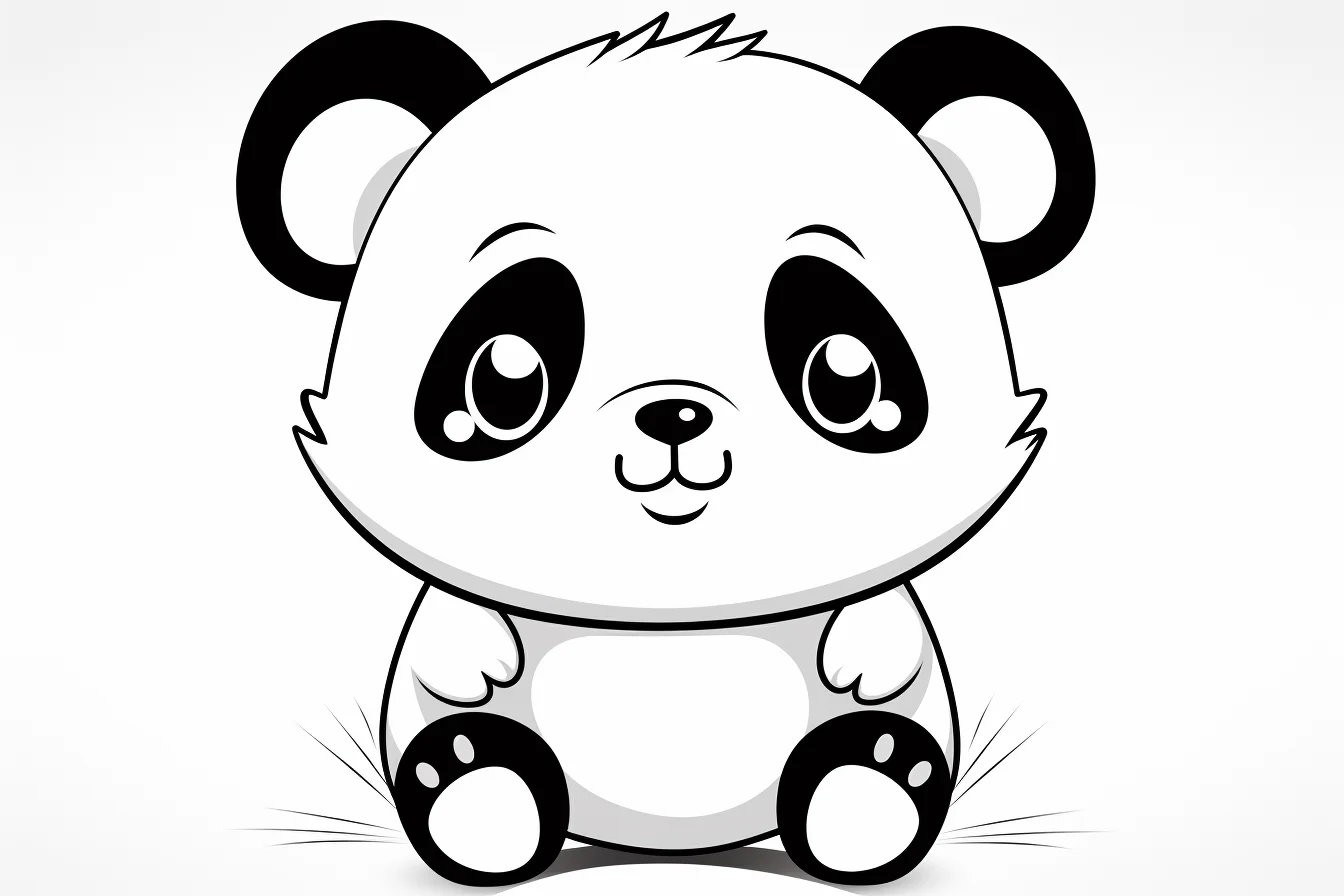
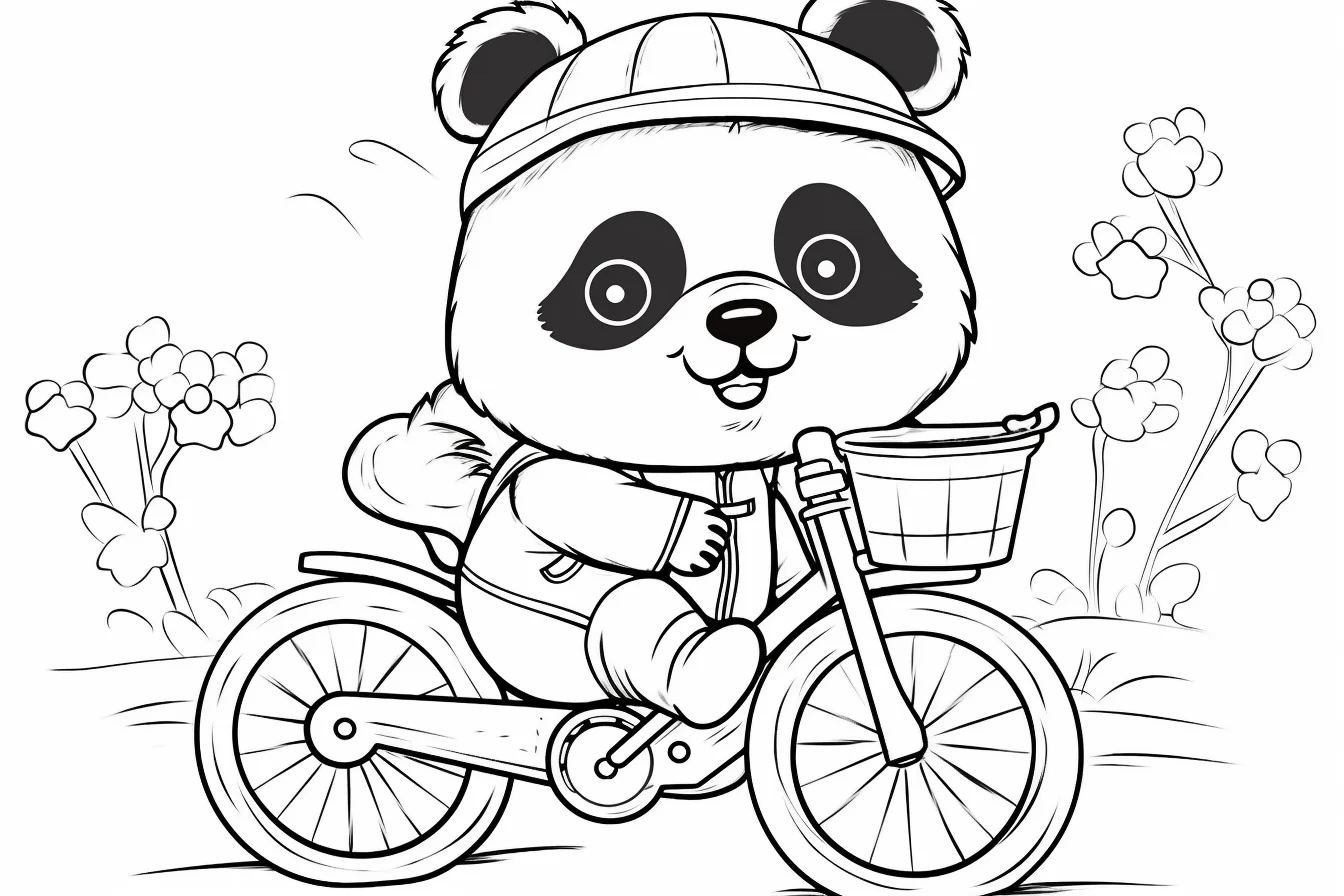
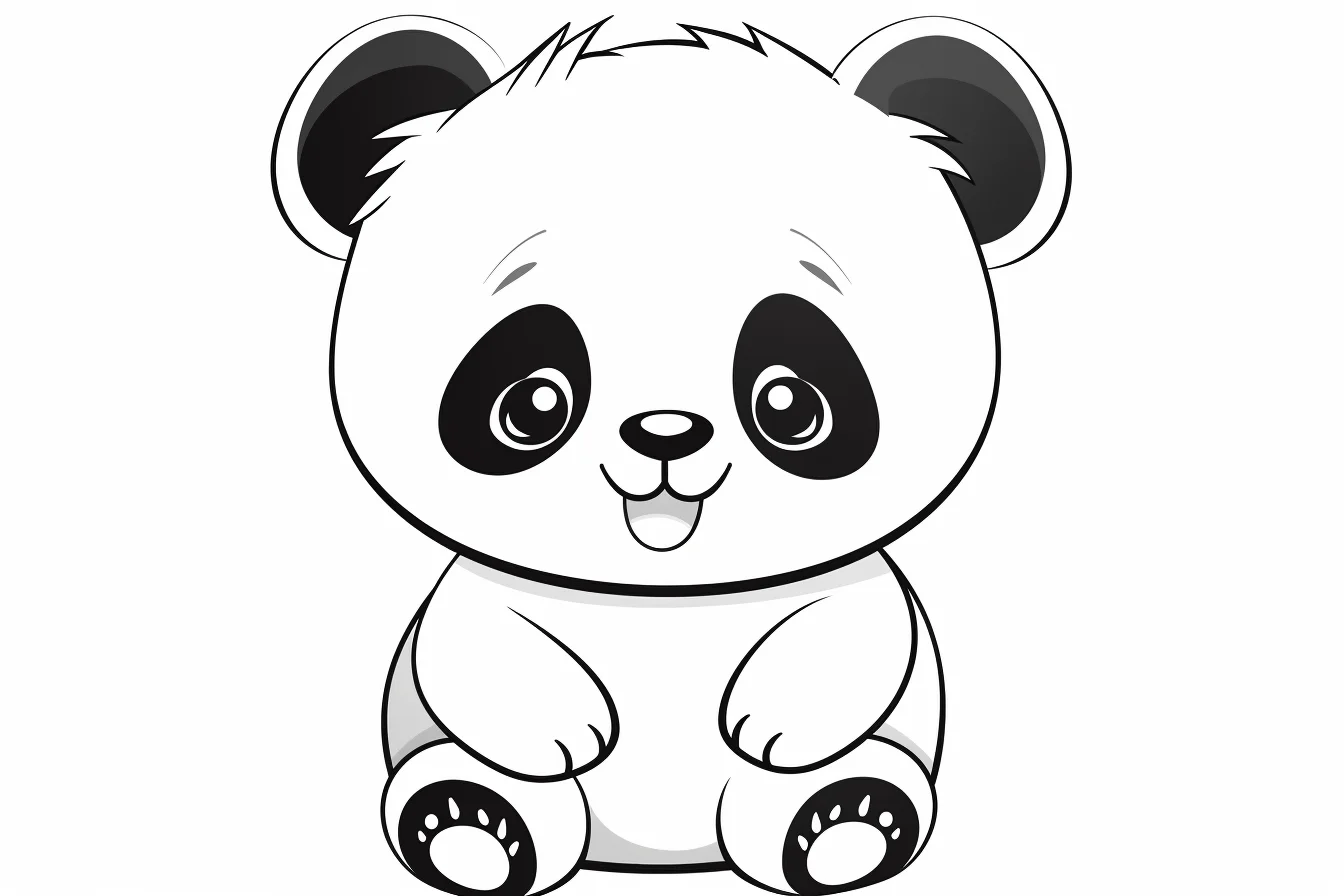
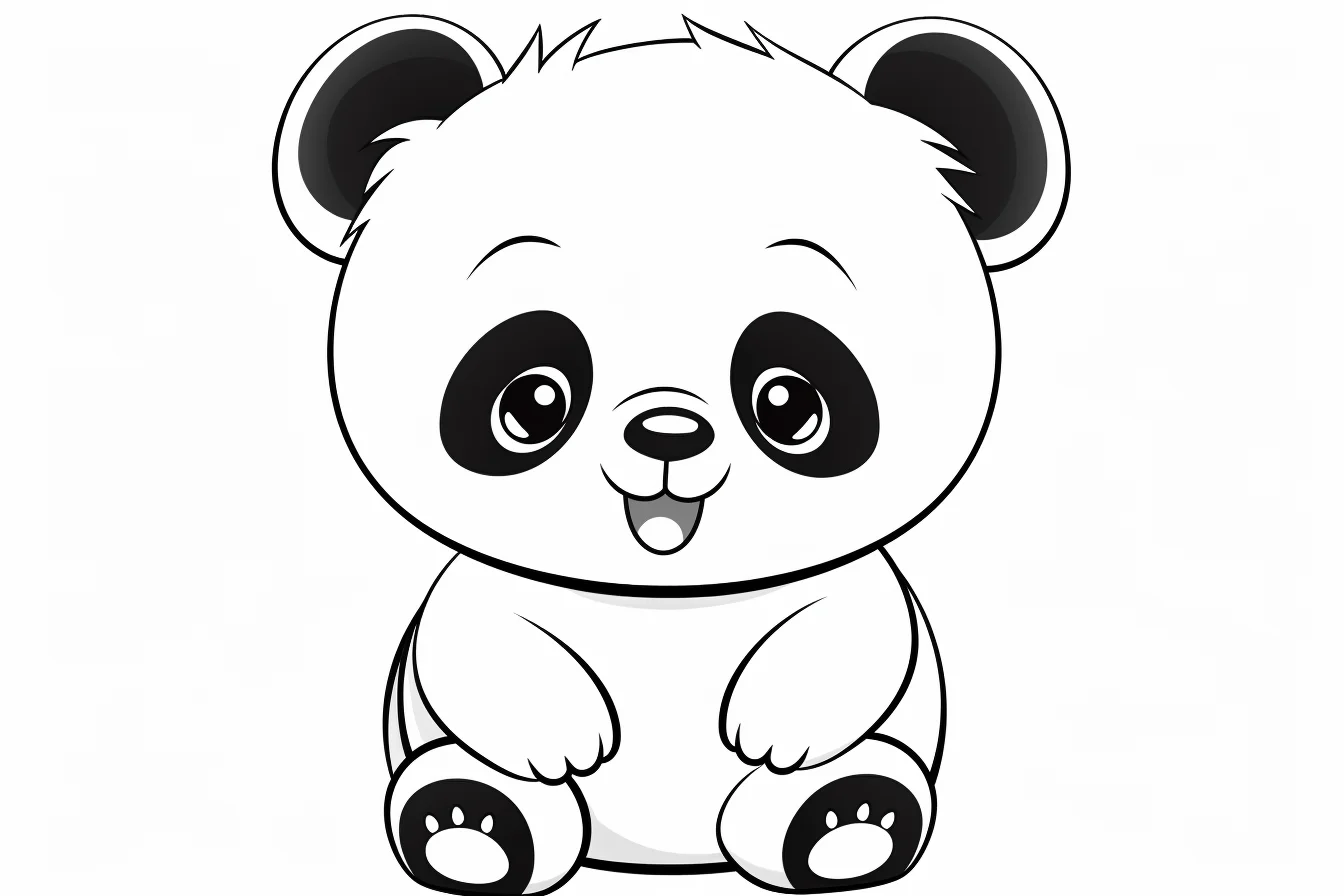
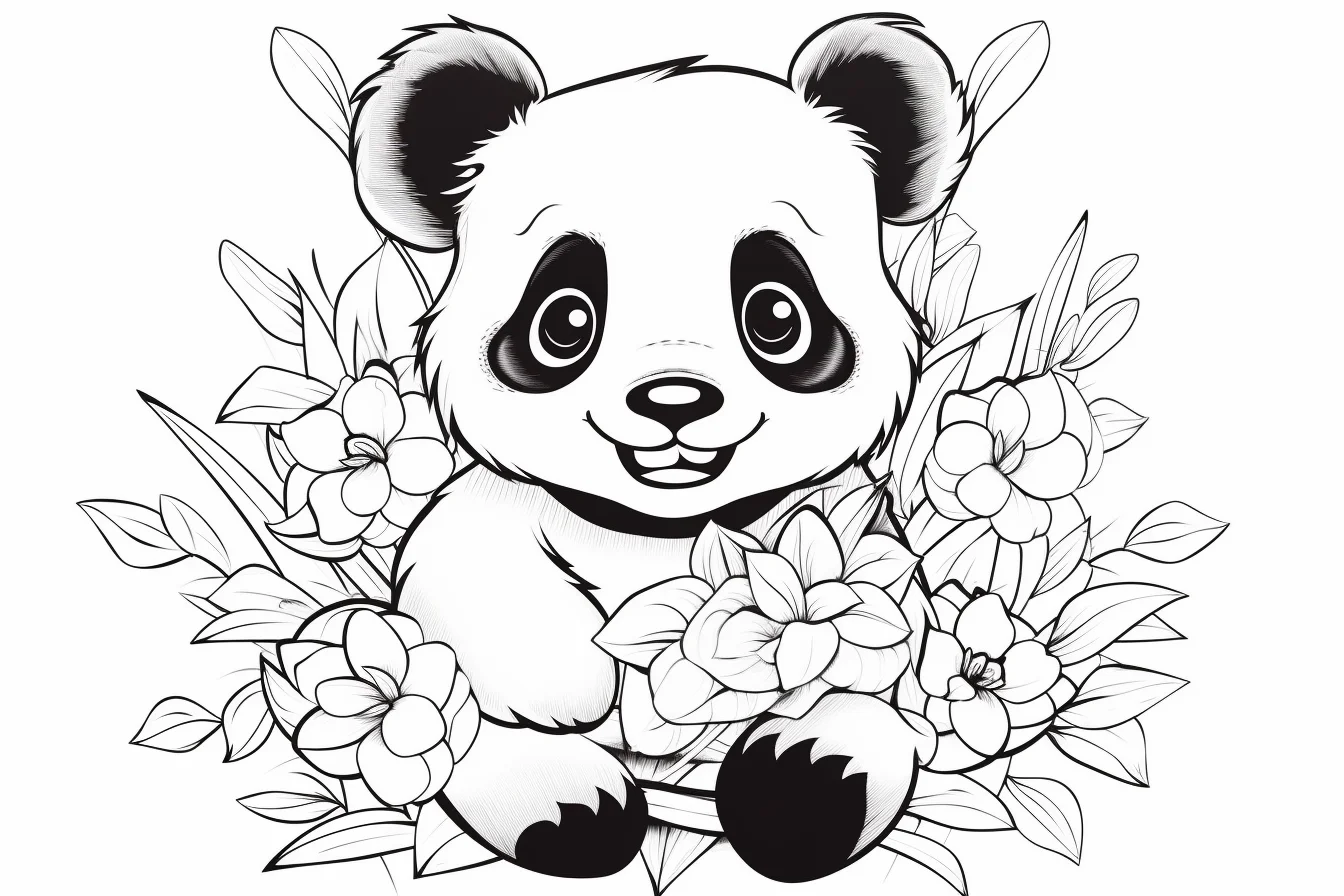
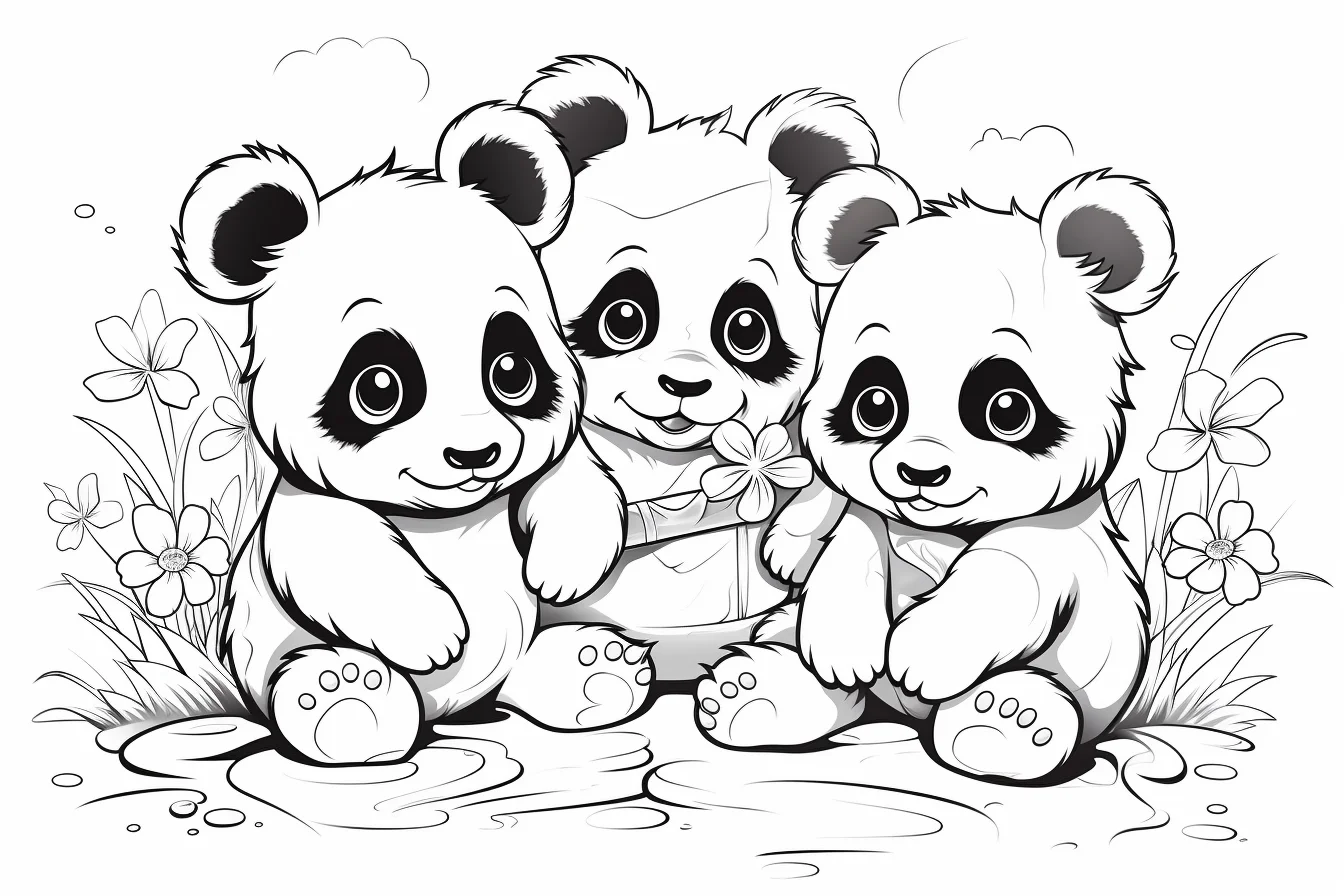
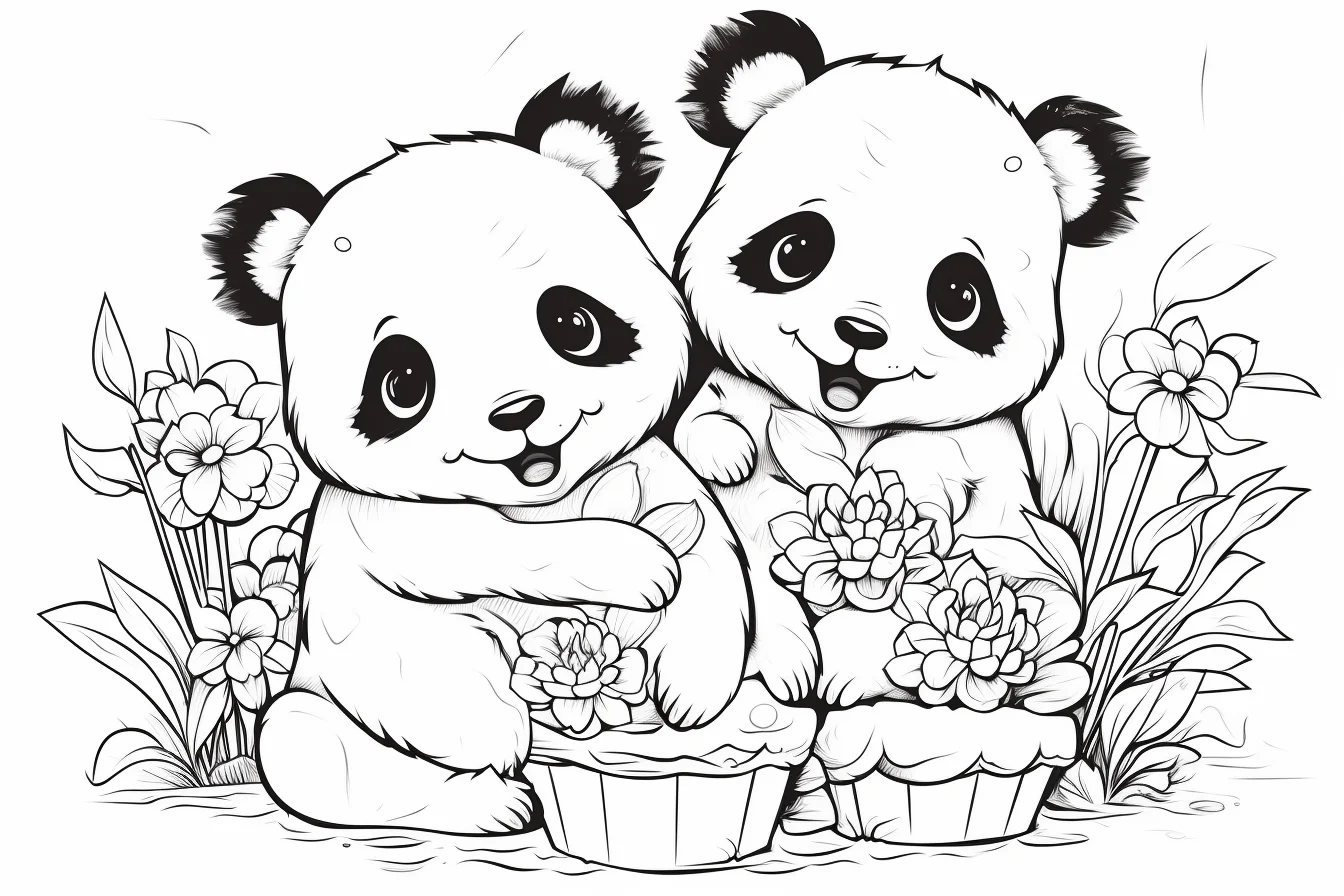
These are the best choices for younger kids or anyone who wants large black-and-white shapes without much visual clutter. Sheet 1 is shown above so you can start with the simplest contrast exercise before browsing the rest of this group.
Cute and kawaii pandas — Sheets 7–14
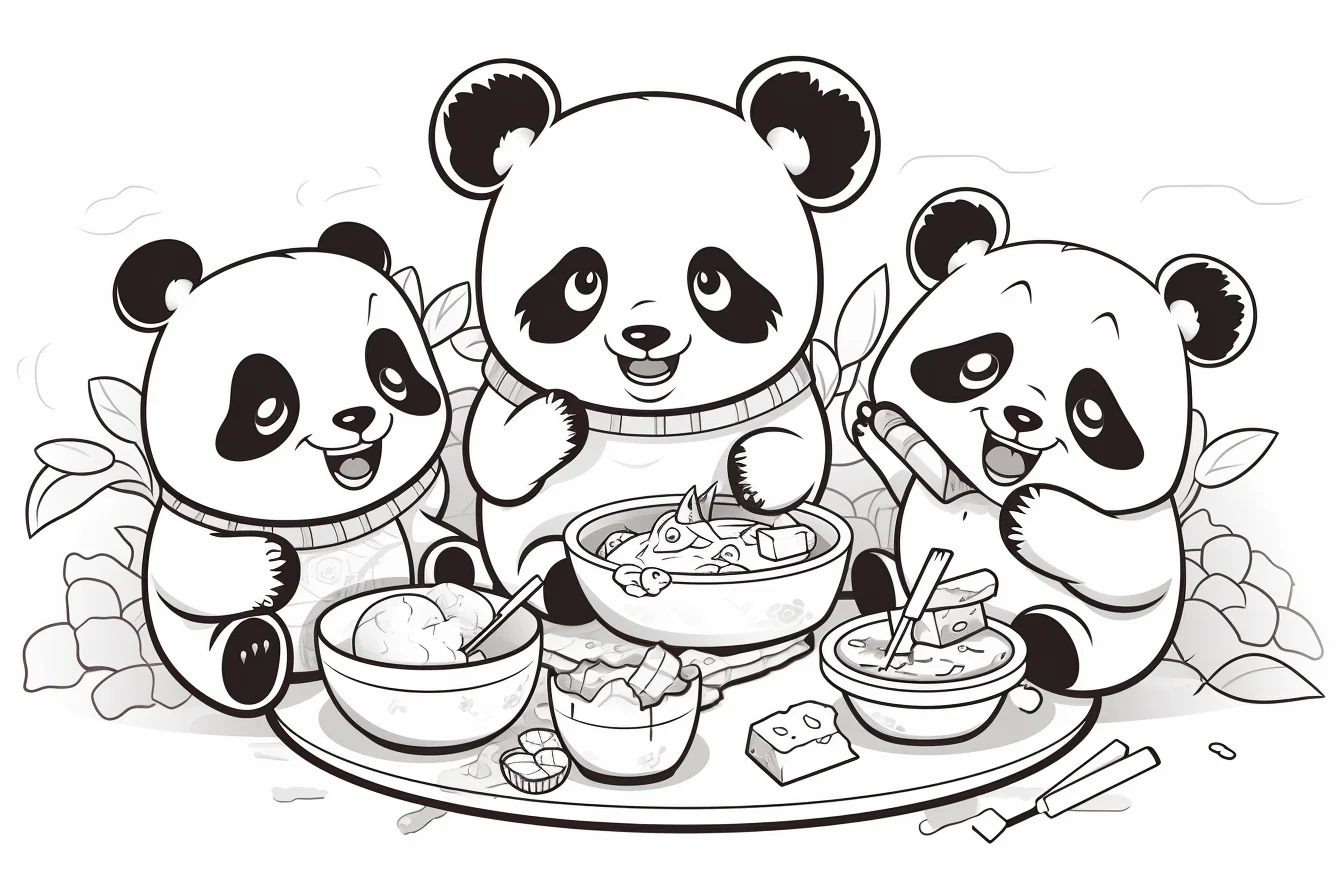
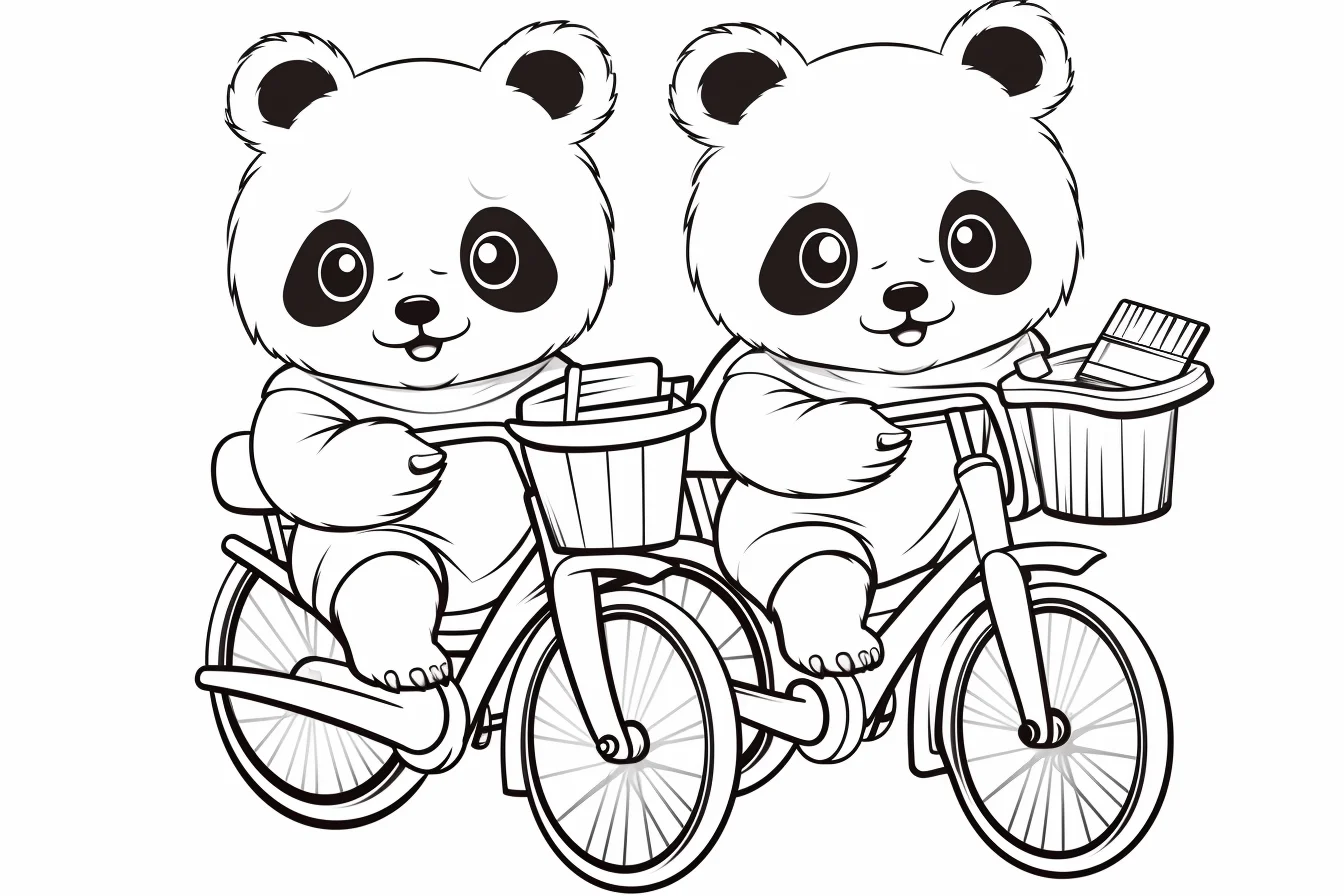
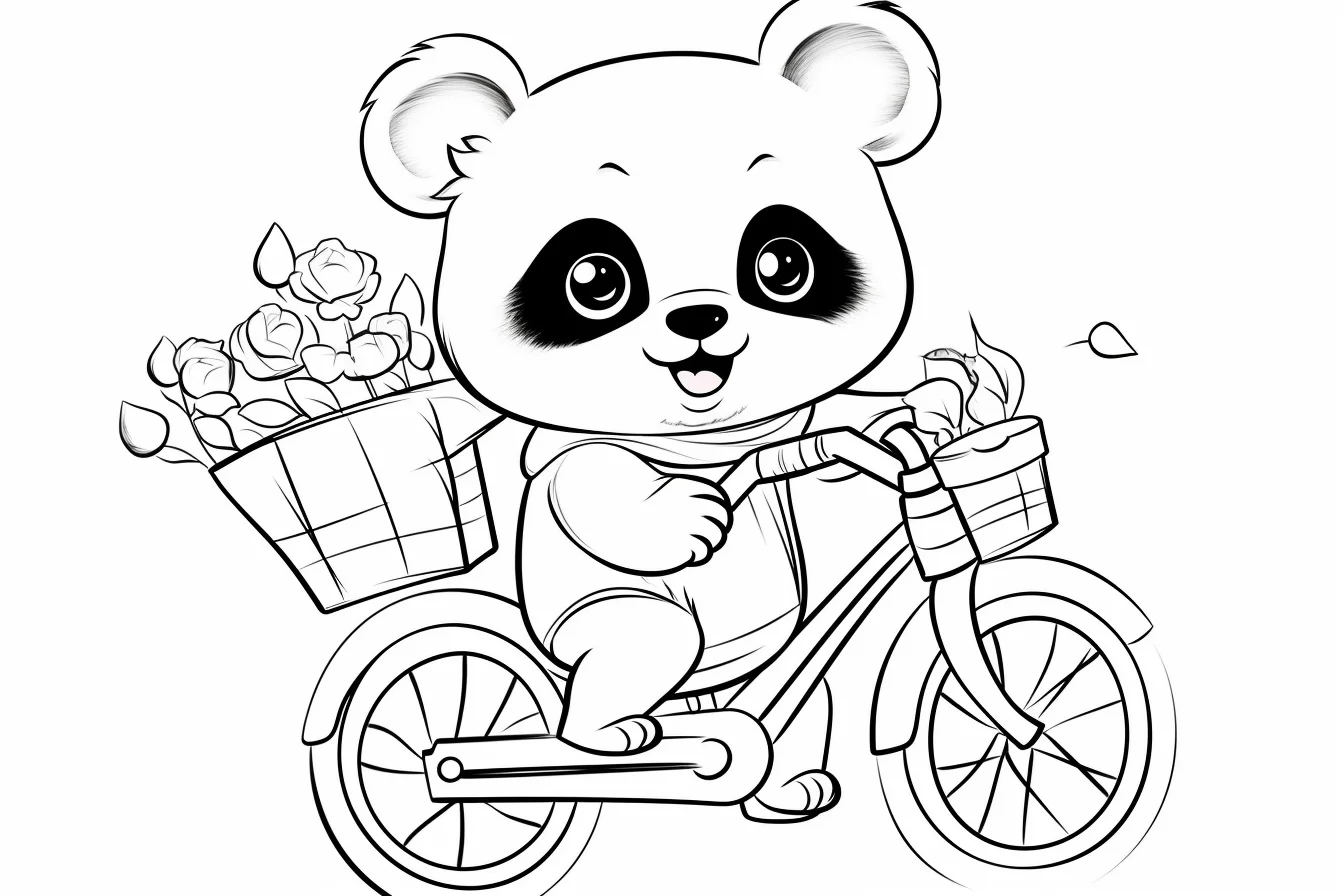
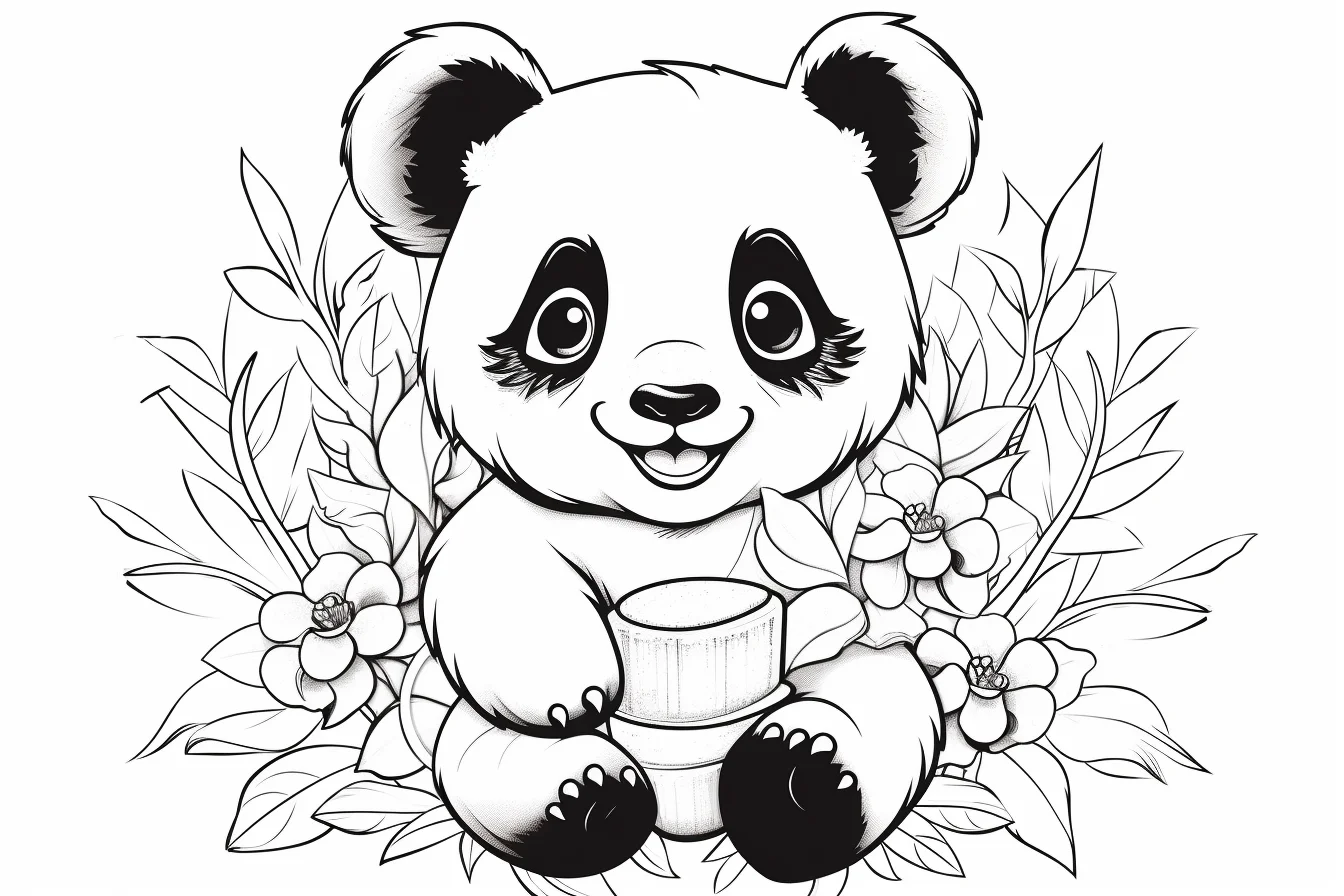
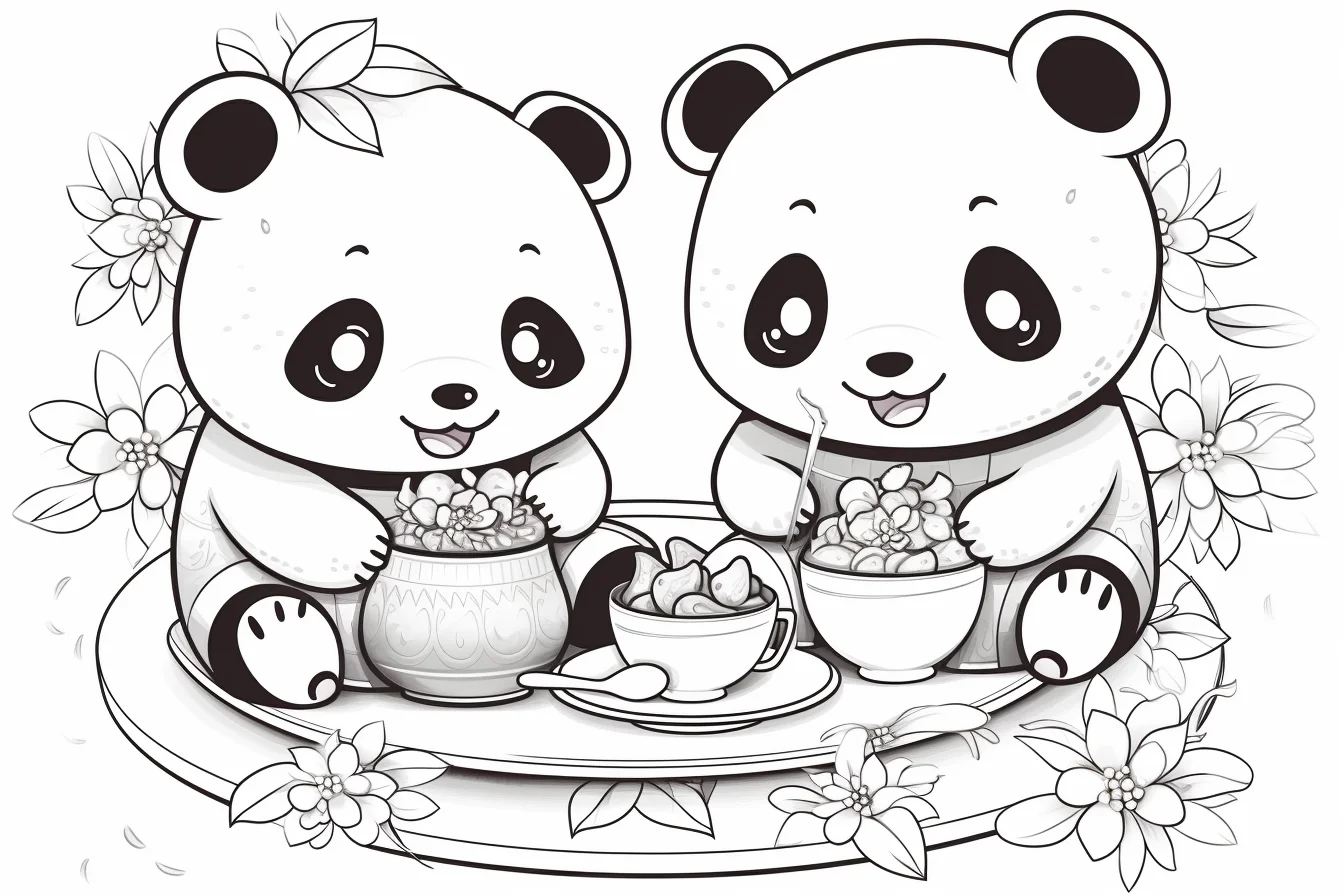
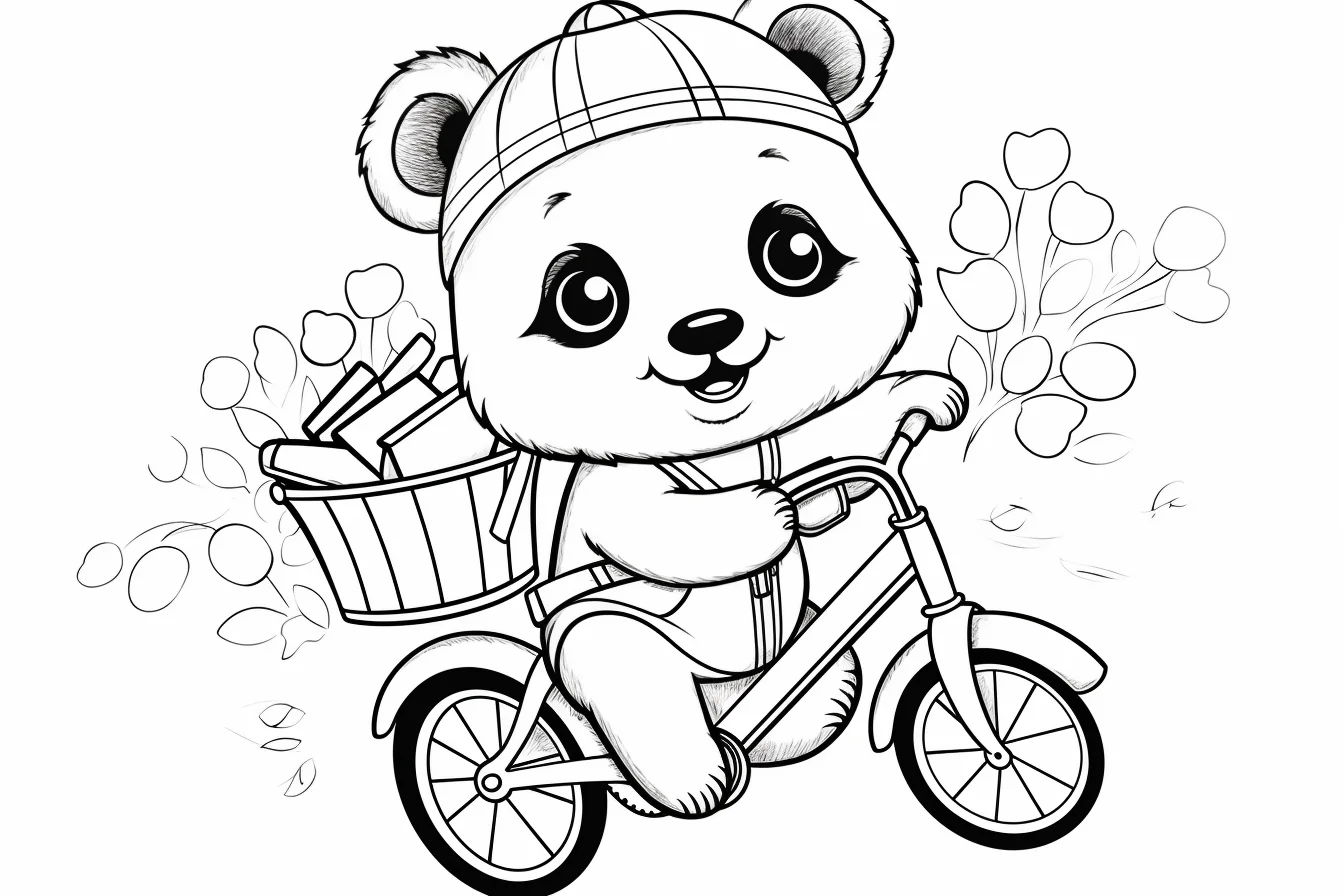
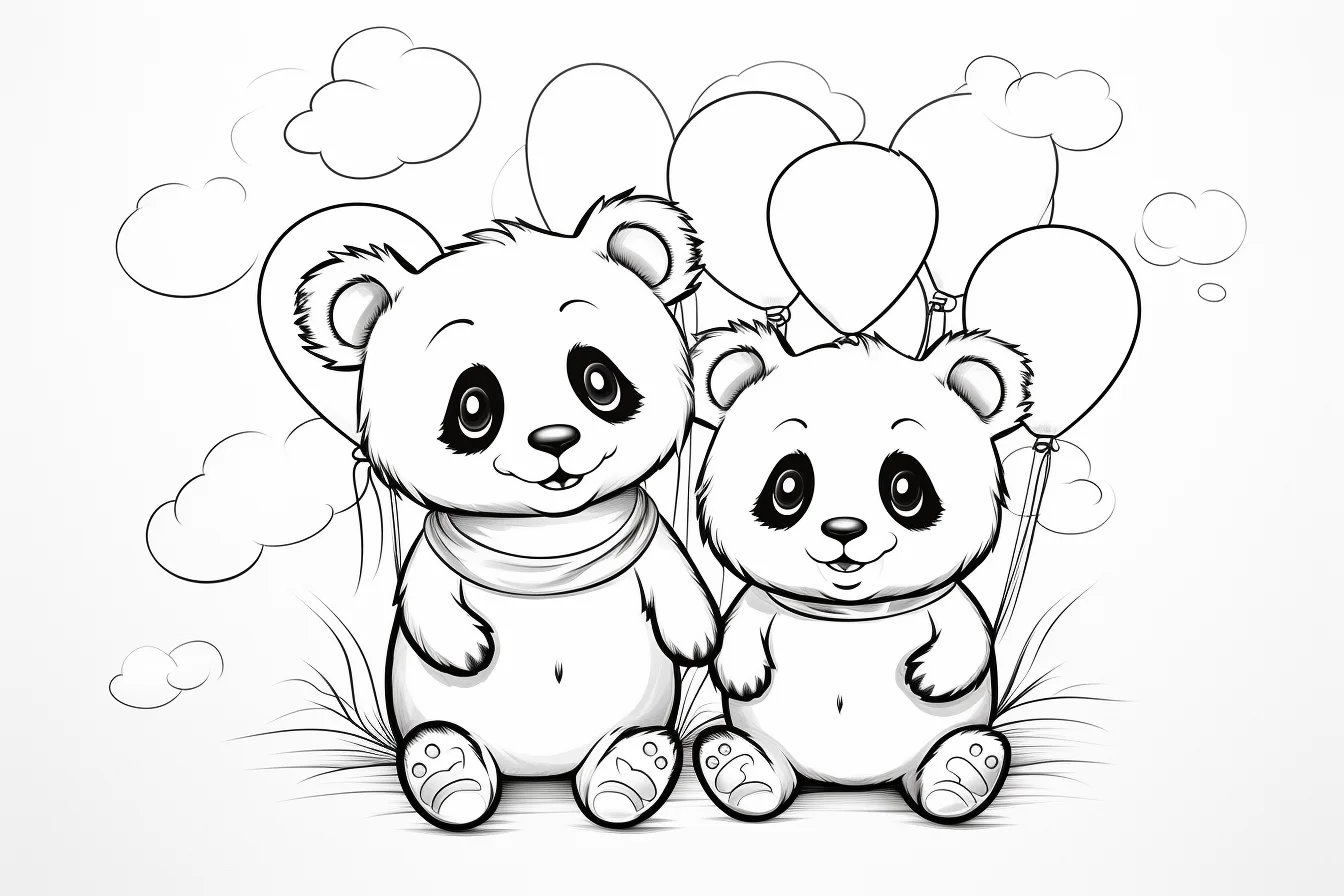
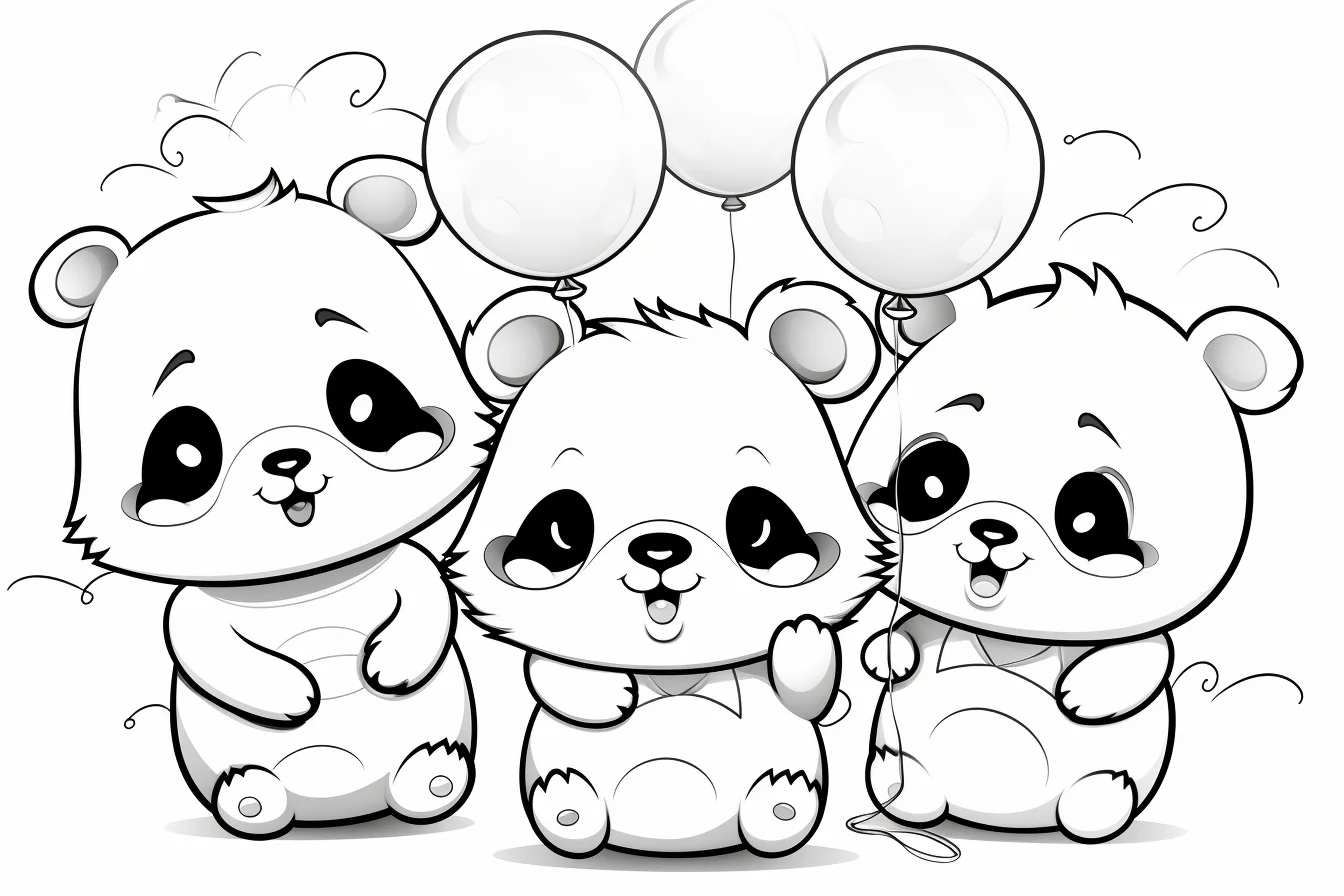
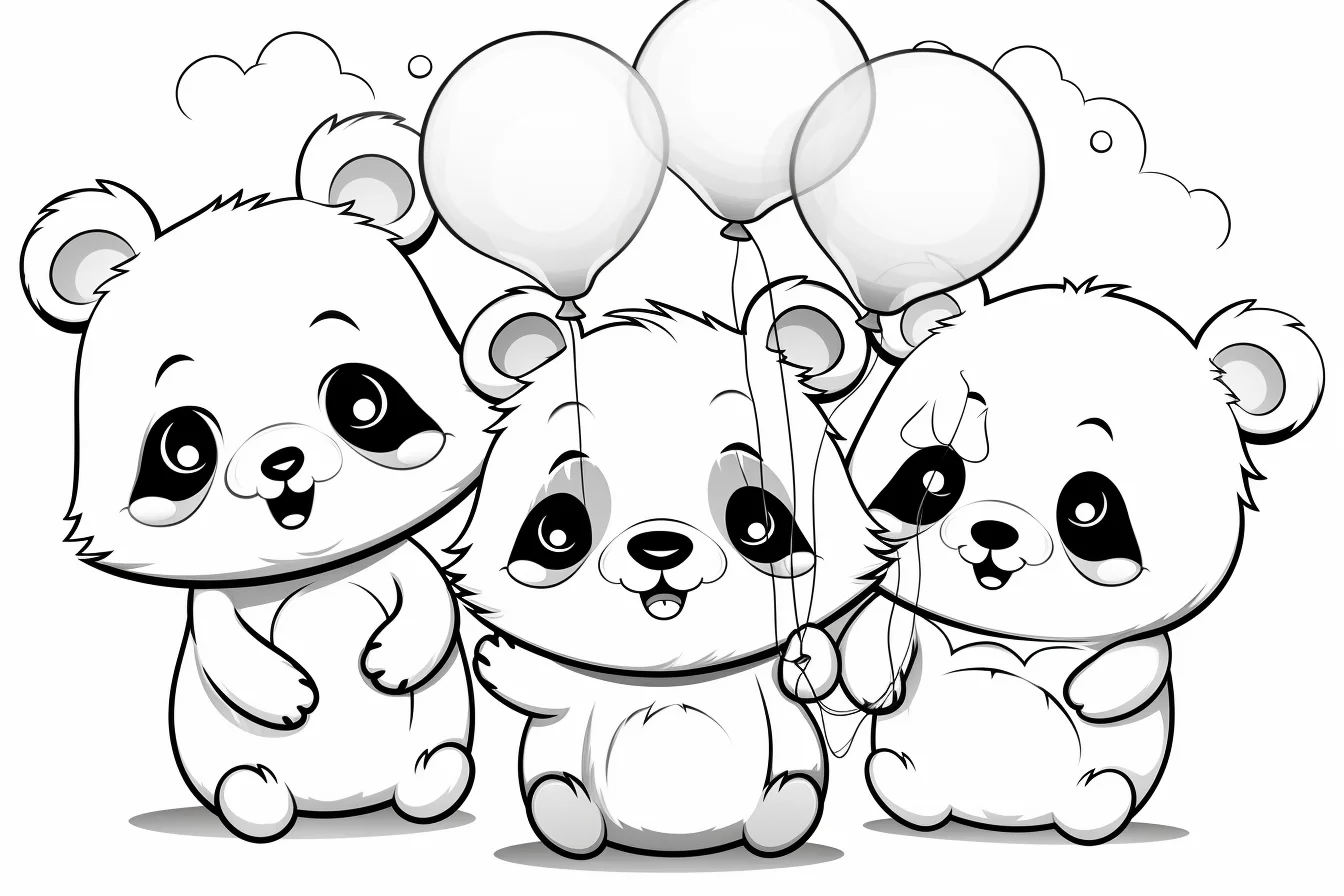
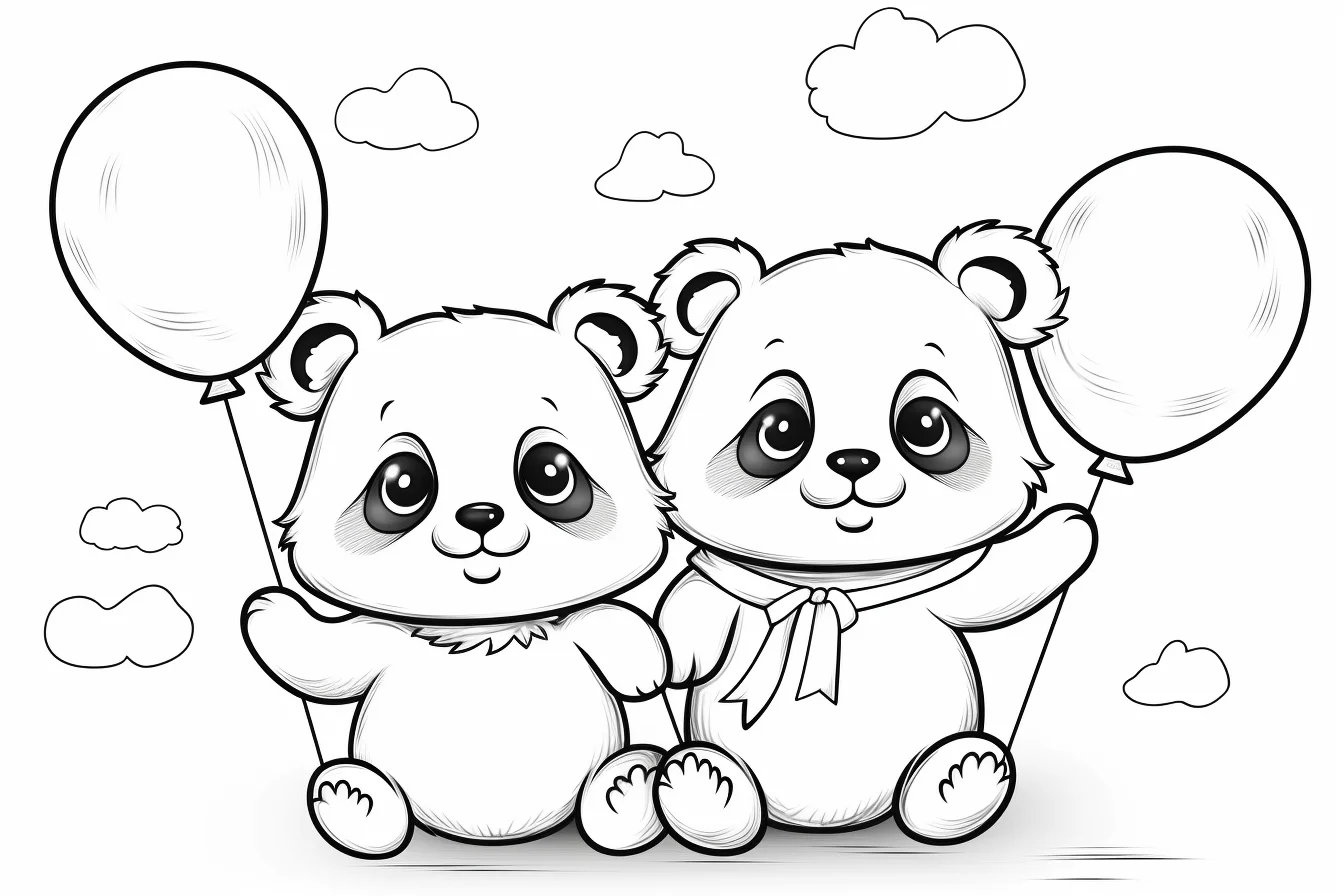
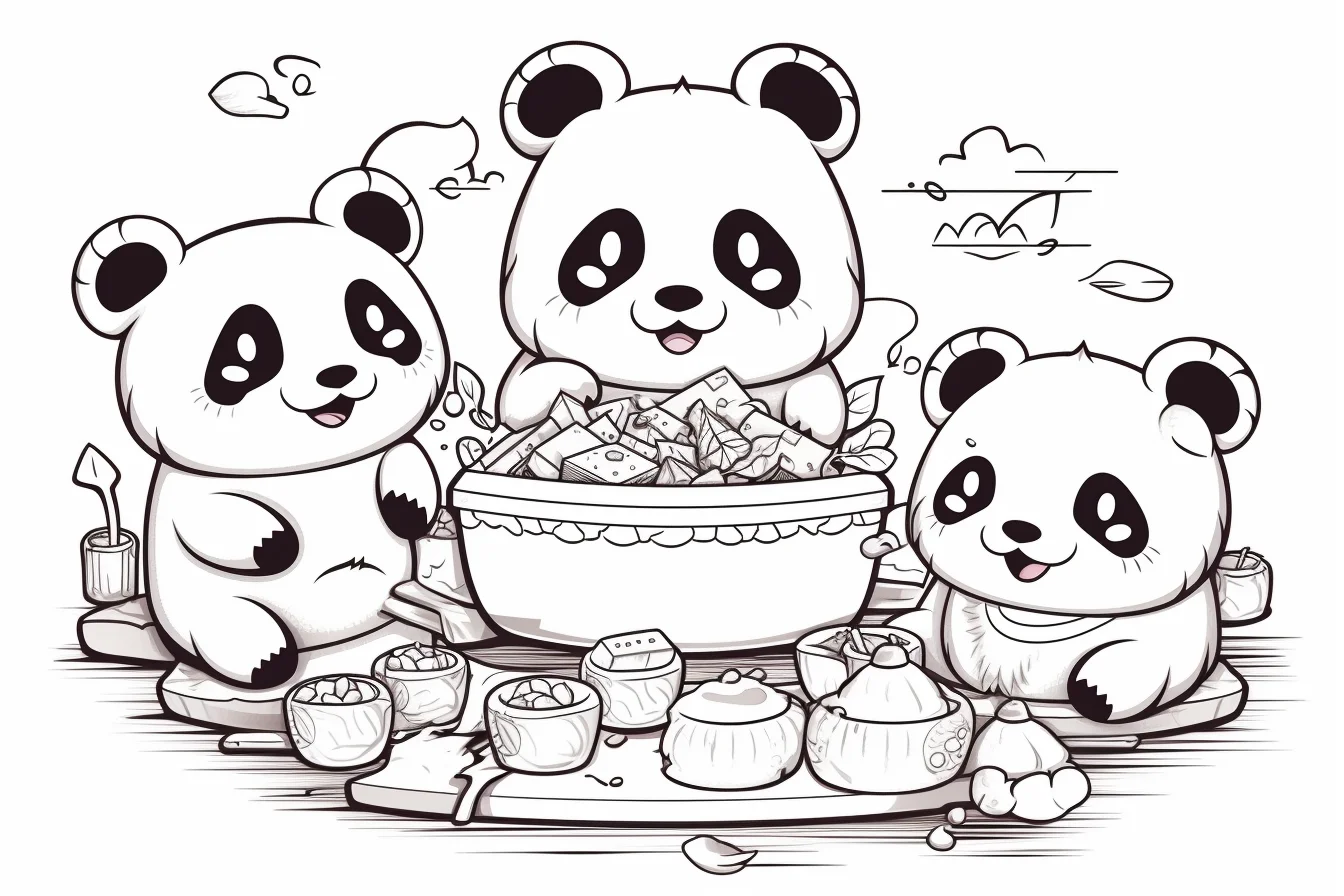
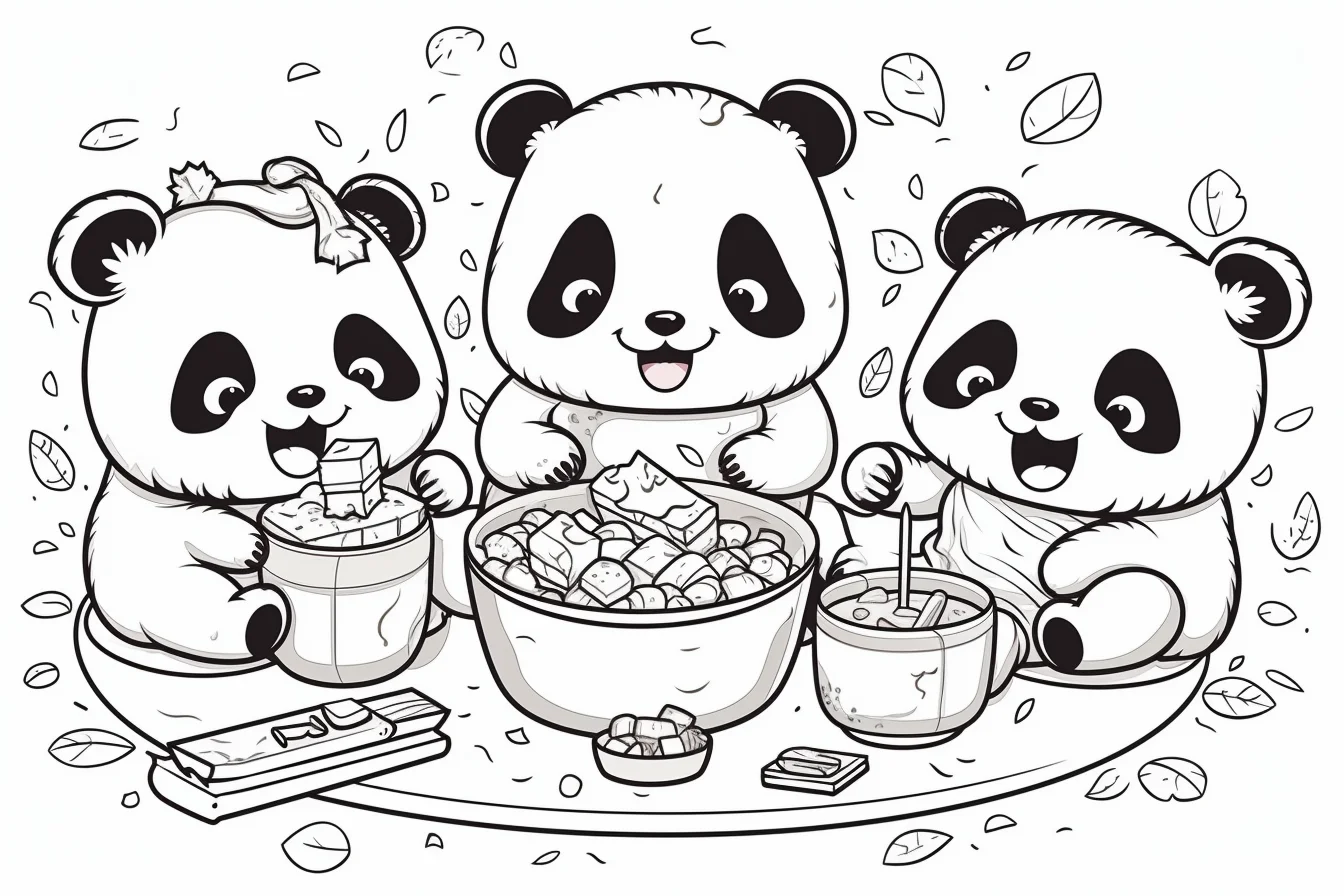
These work well with brighter backgrounds and props. Keep the panda markings simple, then use the surrounding details for most of the color.
General printable pandas — Sheets 15–26
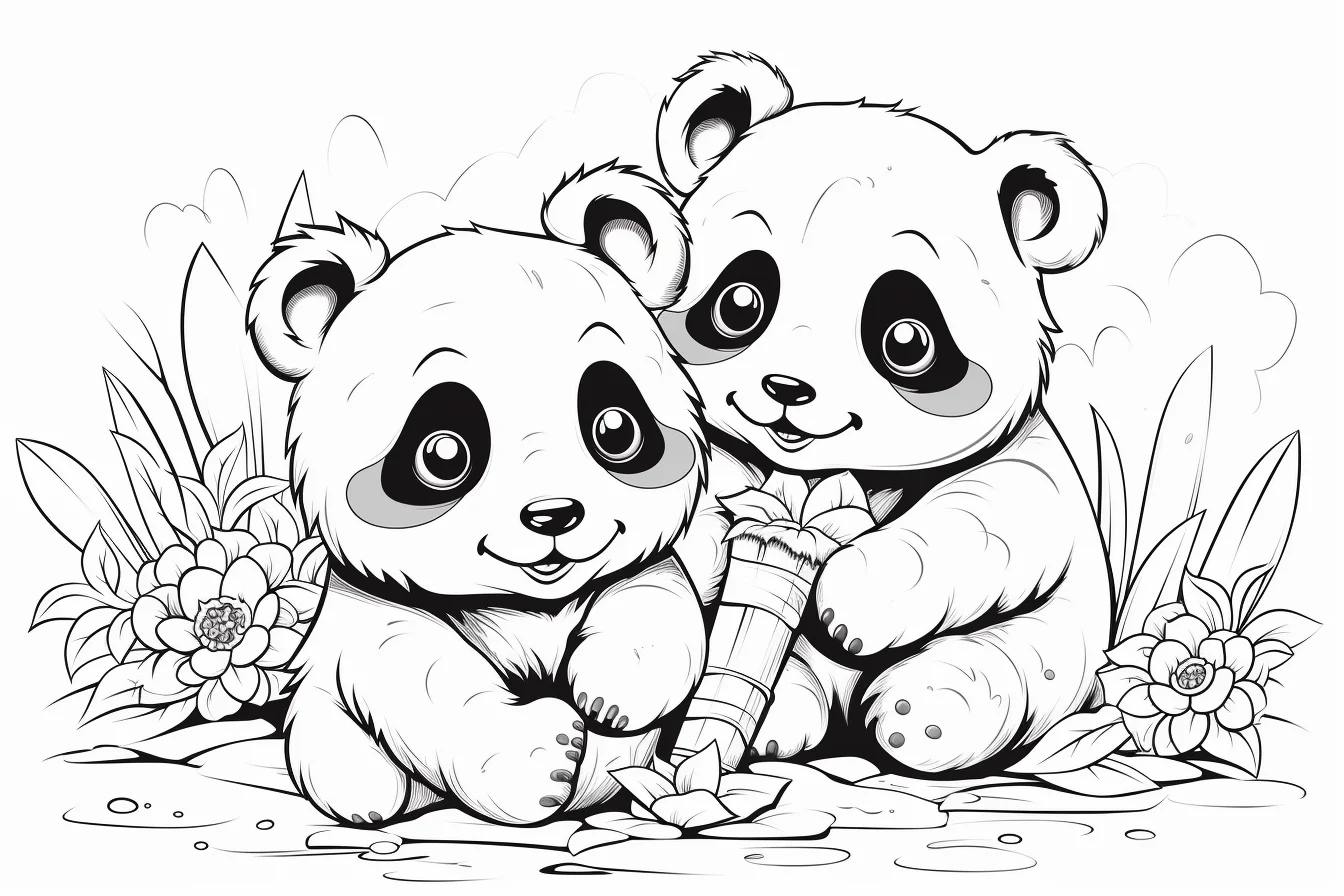
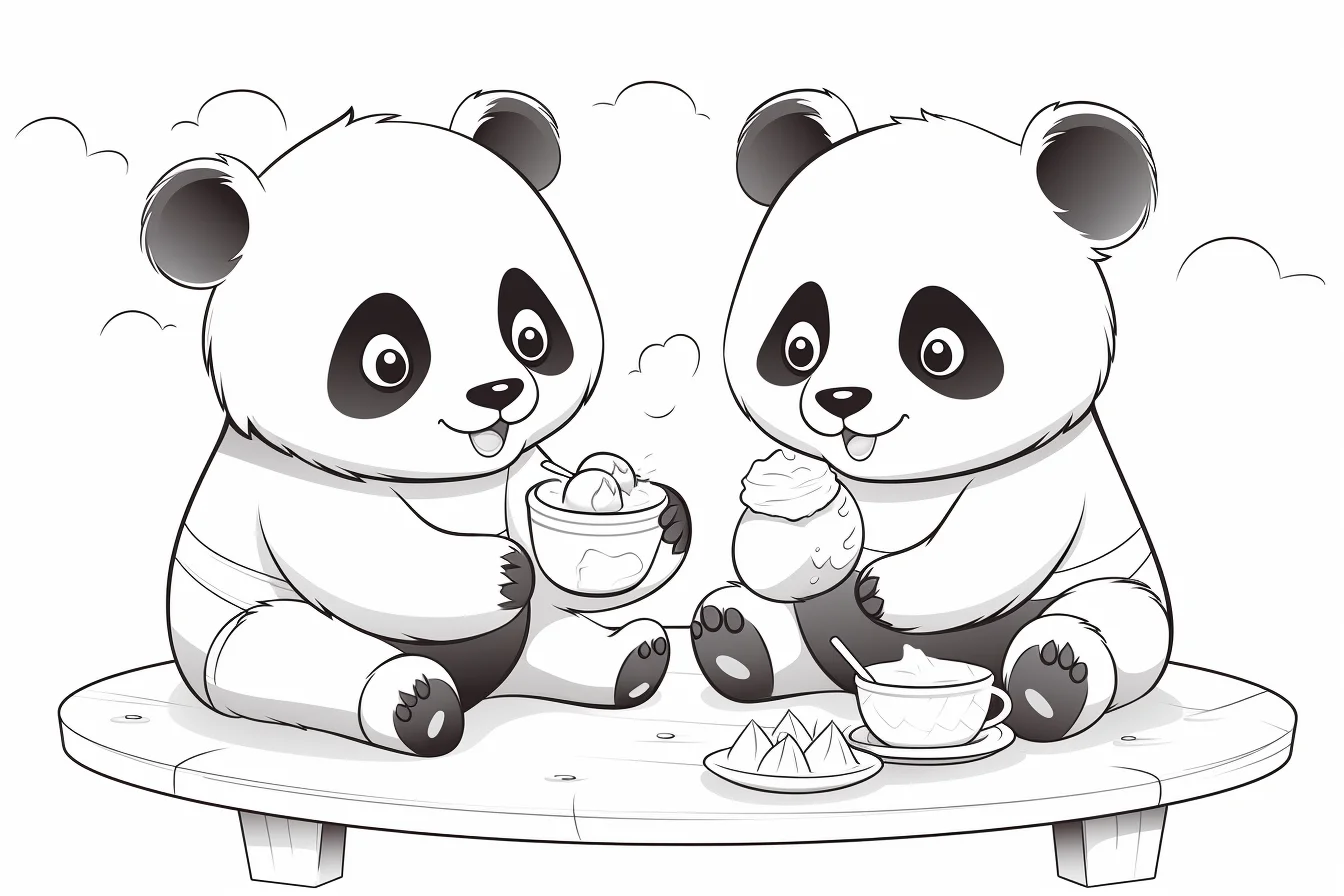
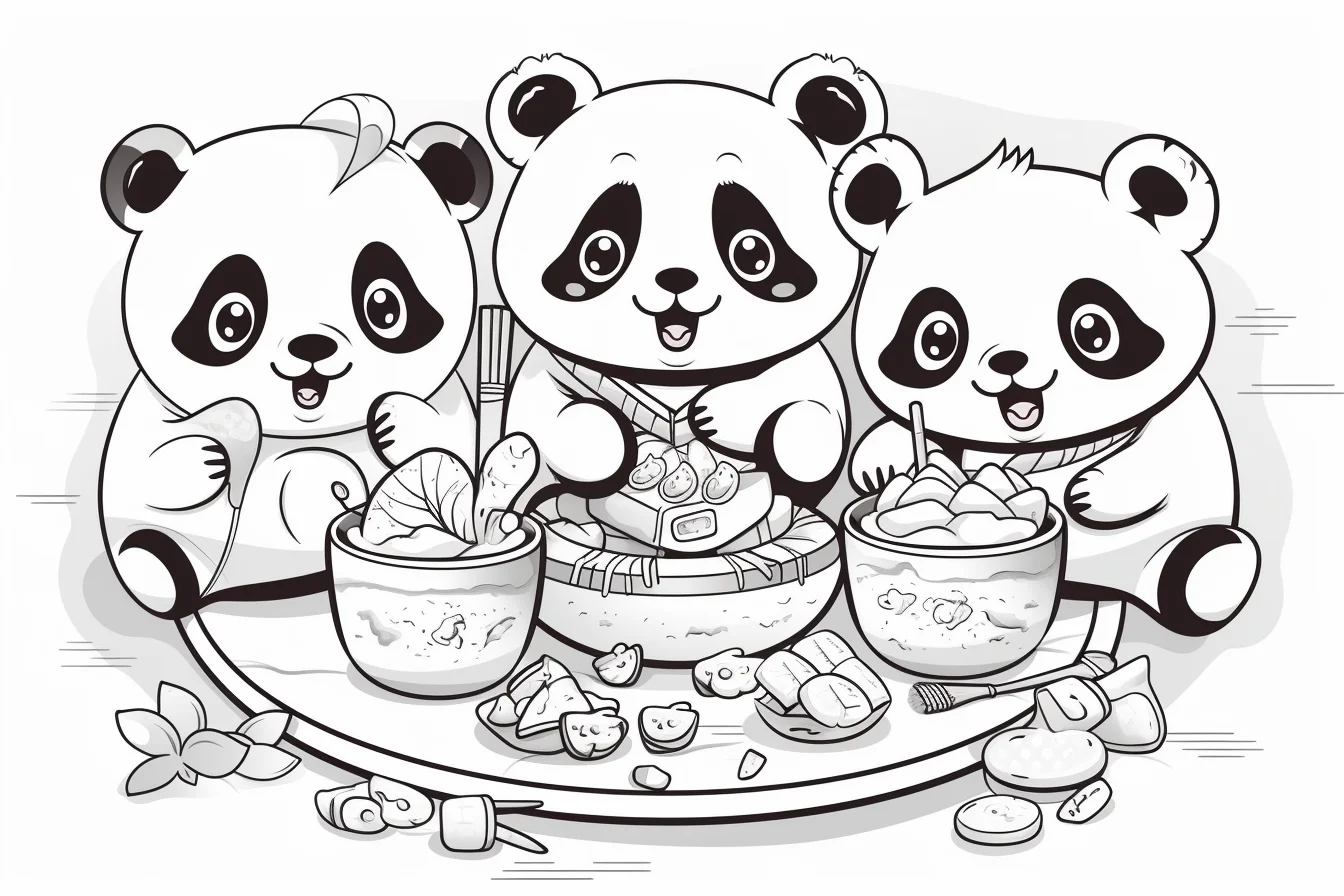
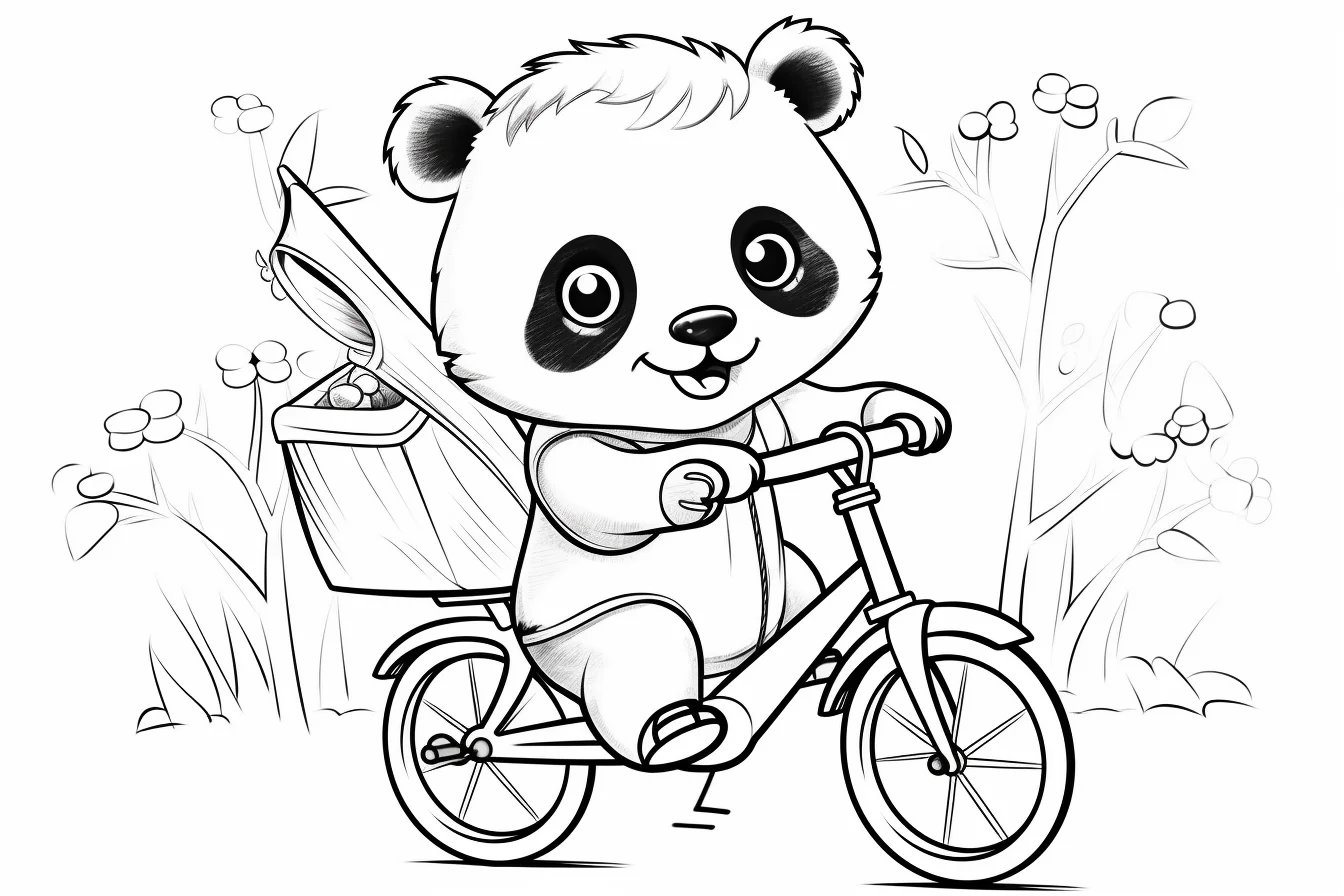
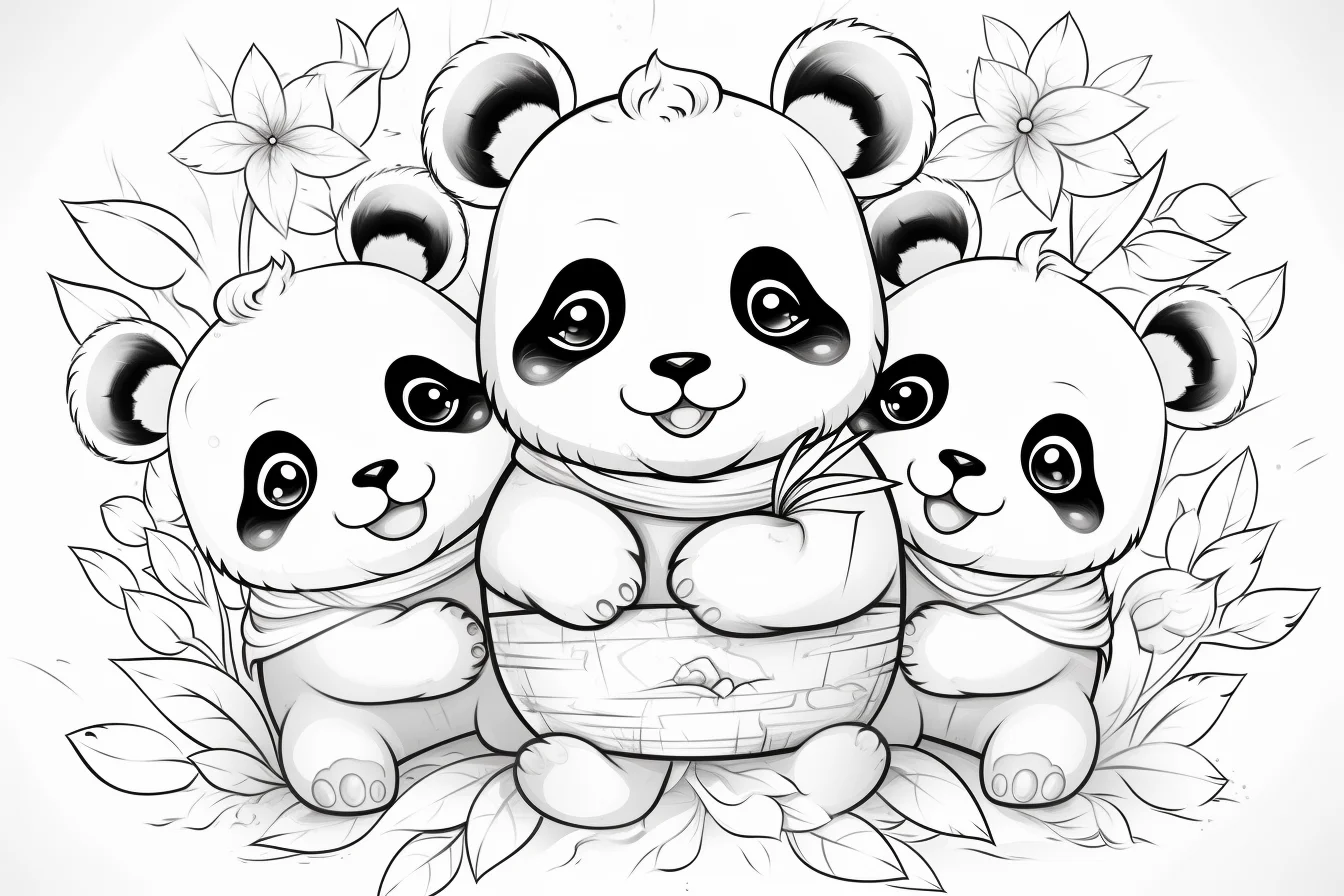
The remaining sheets are broader panda printables. They are useful when you do not specifically need the baby or kawaii look.
Do a two-minute black test before committing
On a scrap of the same paper, make three small swatches with the black tool you plan to use: one light pass, one second pass over the same area, and one fully saturated patch. Then draw a thin white gap between two dark swatches. This tells you two useful things before you touch the panda: whether your paper can tolerate another layer without getting shiny or rough, and how wide a white boundary must be to stay visible beside heavy black.
Use that result on the face first. If a marker spreads past your test line, do not fill the eye patches from edge to edge in one stroke. Work inward from the outline and leave the last millimeter for a finer tip or pencil. With colored pencil, build the eye patches in two directions with light pressure, then deepen only the darkest center. The goal is not simply “solid black”; it is a dark marking whose eye, muzzle and outer contour still read instantly.
Practice black-and-white contrast on three pages
Pandas are useful practice subjects because you cannot rely on lots of colors to separate one form from another. Try three sheets in sequence instead of coloring them all the same way.
- First page — clean boundaries: use a simple Sheet 1–6 design and concentrate on keeping the white muzzle, belly and eye details crisp against the black markings.
- Second page — form without extra color: use dark gray before black on the ears, legs and shoulder markings. Leave the center or light-facing edge slightly softer so those areas do not read as flat cutouts.
- Third page — separate panda from setting: choose a busier sheet and make the background lighter or more colorful than the animal. Check the finished page from a few steps away: the panda silhouette and face should still be obvious.
Fix the most common panda-coloring problems
| If this happens… | Try this |
|---|---|
| The eyes disappear inside the patches | Leave a tiny eye highlight and avoid filling the patch right over narrow eye contours. |
| The white fur looks blank | Add a very light cool gray or pale blue only under the chin, belly edge and overlapping limbs. Keep most of the paper white. |
| The black fur looks like one flat shape | Use dark gray at an outer or light-facing edge, then deepen selected areas with black. |
| Black marker bleeds into the face | Color up to the boundary with a finer tip, or stop just short and finish the edge with pencil. |
| The page feels colorless | Keep the panda accurate and put stronger color into bamboo, clothing, toys or a simple background. |
| The background competes with the panda | Reduce either its saturation or its darkness. The face should remain the strongest contrast area. |
Three panda palettes that stay readable
- Bamboo grove: black, white and cool gray panda; leaf green and yellow-green bamboo; pale sky blue background.
- Soft kawaii: black and white panda; blush pink, peach and lavender props; very pale cream background.
- Autumn bamboo: black and white panda; olive and warm green leaves; muted ochre and light brown accents.
For crayons, press lightly on the white-fur shadows so they remain visibly lighter than the black markings. Colored pencils give the most control around eyes and small facial lines. If you use markers, test black on spare paper first: heavy ink can spread farther than lighter colors, especially on ordinary printer paper.
Quick panda-coloring questions
Do I need to fill the black areas completely?
No. With pencils, a dark gray edge plus black center can preserve a little shape. With markers, a solid black fill is fine as long as the eye, mouth and white fur boundaries stay clear.
What colors work with pandas?
Green bamboo is the obvious choice, but soft blue, peach, yellow or lavender backgrounds all give good contrast with black-and-white fur.
Which sheets are easiest for younger kids?
Start with Sheets 1–6. They are grouped specifically around baby and child-friendly panda designs.

