
Tiger coloring pages can go in two very different directions: quick, bold cartoons or slow, detailed stripe work. These 32 sheets cover both. There are baby tigers and kawaii faces for an easy page, plus more realistic drawings where the coat pattern and shading matter much more.
If you want a low-effort page, pick one with a large face or a simple standing tiger. The denser drawings are better when you want to spend time layering color around the stripes and fur.
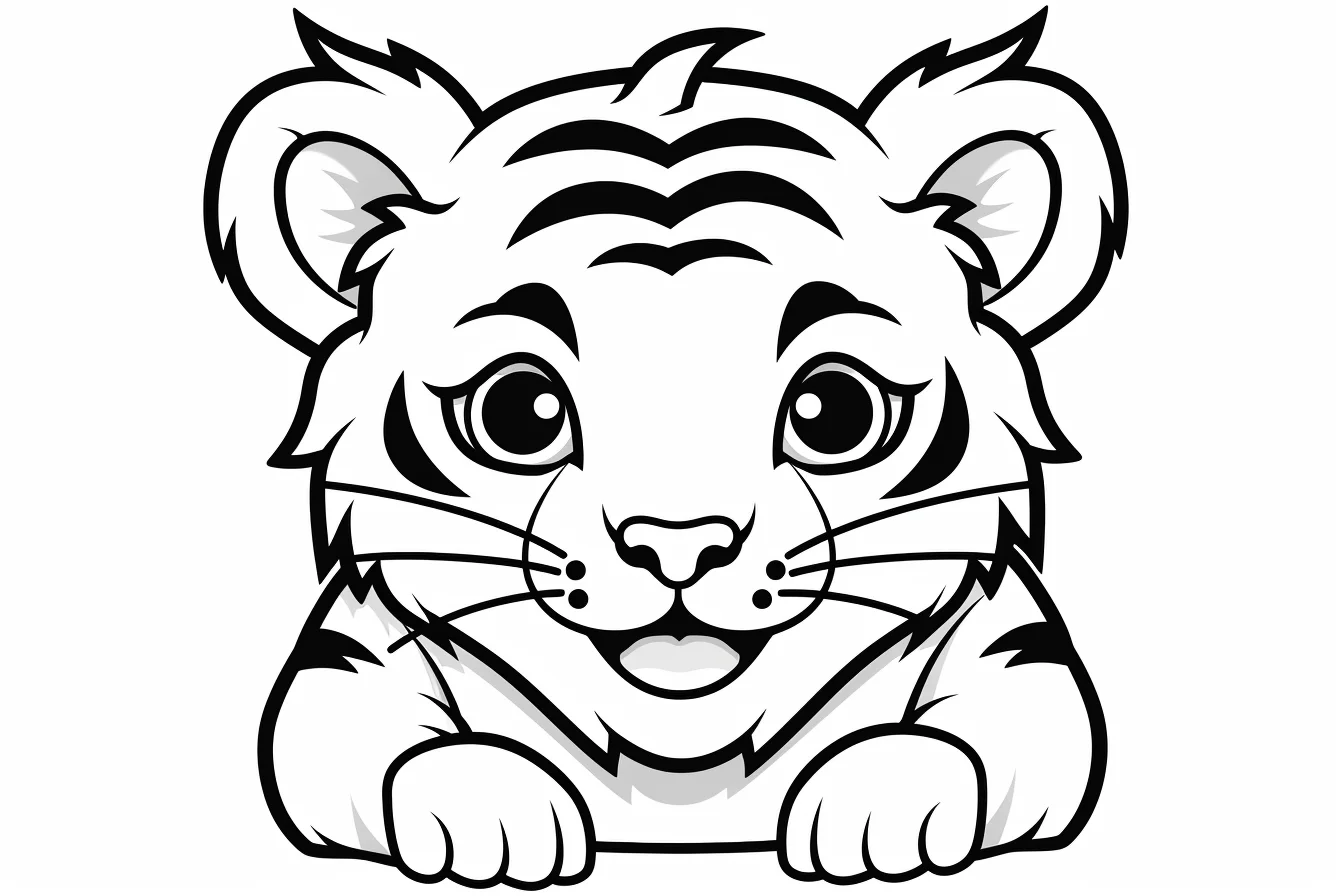
Do a 60-second stripe test before choosing a page
Look at the narrowest stripe near the tiger’s eyes, paws or tail and compare it with the tip of the tool you plan to use. If a crayon tip is wider than that space, choose a tiger with larger markings rather than fighting the outline. Fine colored pencils suit the denser realistic sheets; broad crayons and washable markers are more comfortable on the simpler cubs and cartoon tigers.
- Test the coat: make three small orange swatches with light, medium and firm pressure. If you can clearly tell all three apart, you already have enough range to shape the body without adding extra colors.
- Test the stripes: place your darkest swatch beside the medium orange. If the black or dark brown overwhelms it, use lighter pressure on the stripes or deepen the coat before adding them.
- Protect the face: find the eyes and muzzle before coloring. Keep the area immediately around them lighter so small facial features do not disappear into nearby markings.
- Check the background: if the page includes leaves, grass or scenery, keep those colors quieter than the tiger until the animal is finished. You can strengthen the background later if the page still feels empty.
For a younger child, simplify the test to two choices: one body color and one stripe color. Pick a page where both can be applied with a broad crayon without repeatedly crossing tiny boundaries. That is a better difficulty test than the child’s age alone.
Printing and coloring notes
Open the image you want, save the full-size file, then print it on A4 or Letter paper with the printer set to fit the page. Regular printer paper is fine for crayons and pencils; heavier paper is worth using if you plan to use markers.
Orange, black and cream will give you the familiar tiger look, but the drawings also work well with rust, muted brown or completely invented colors. For more detailed wildlife, try the realistic wolf pages; for a broader mix, the animal coloring collection is the better starting point.
Free printable tiger coloring pages
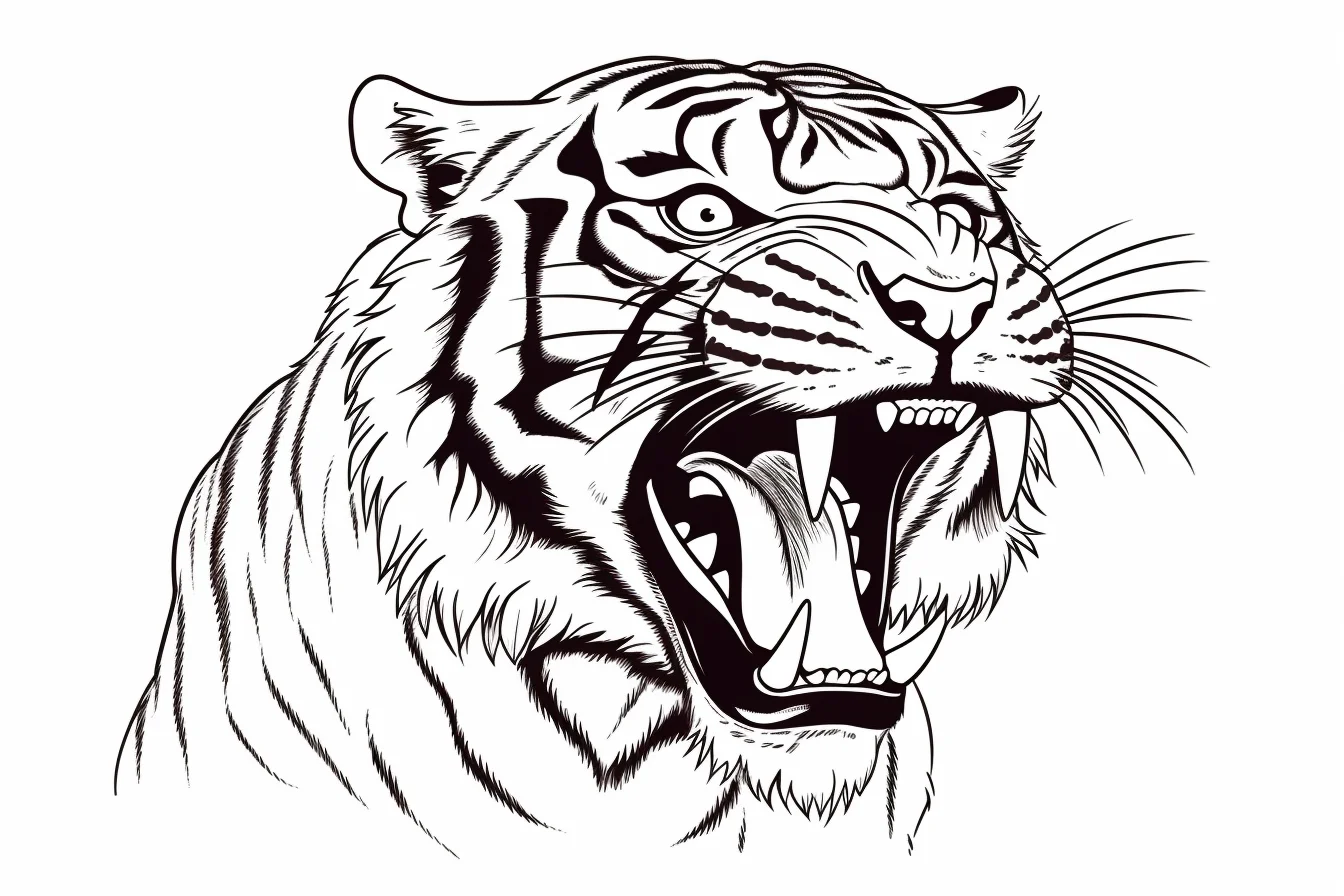
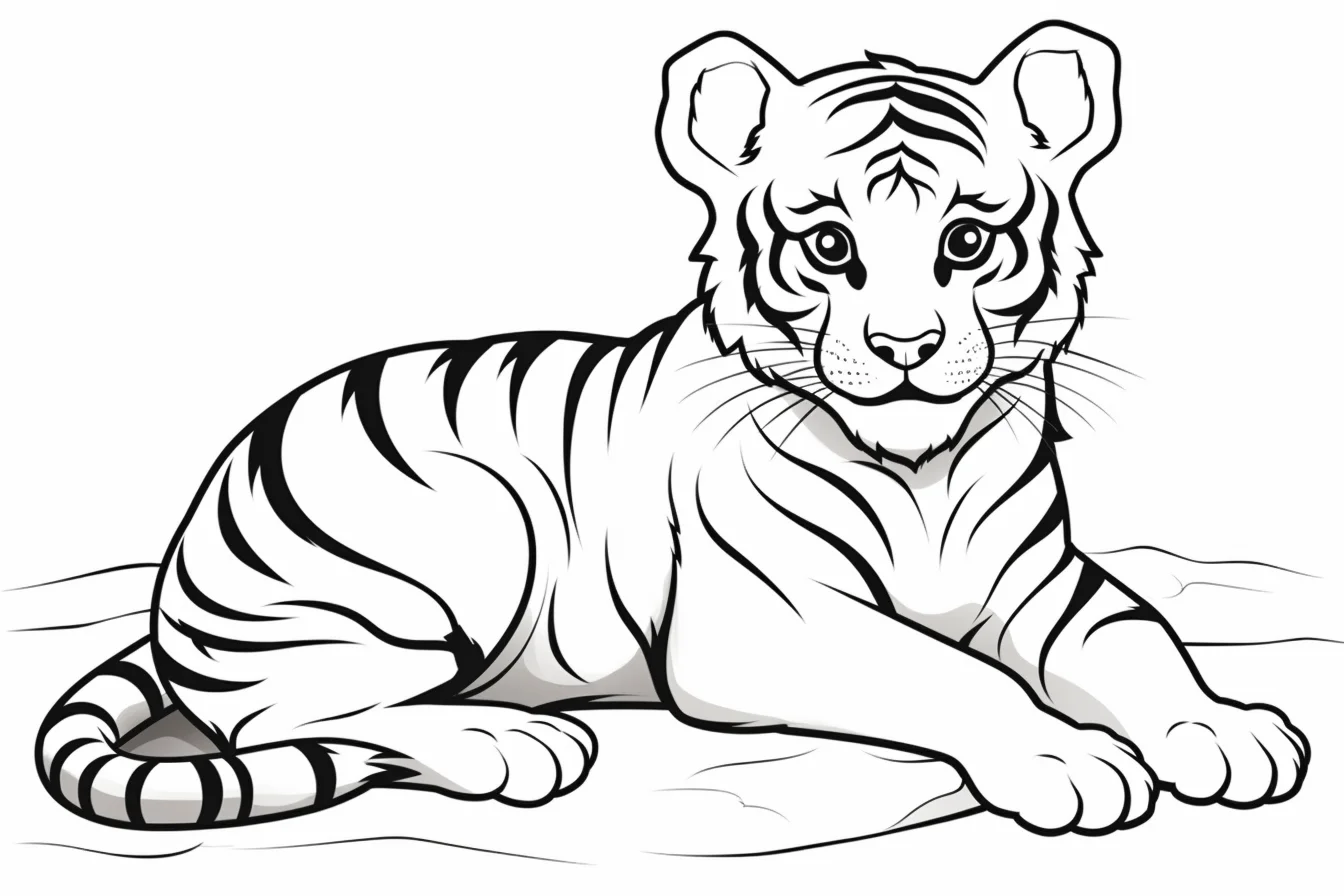
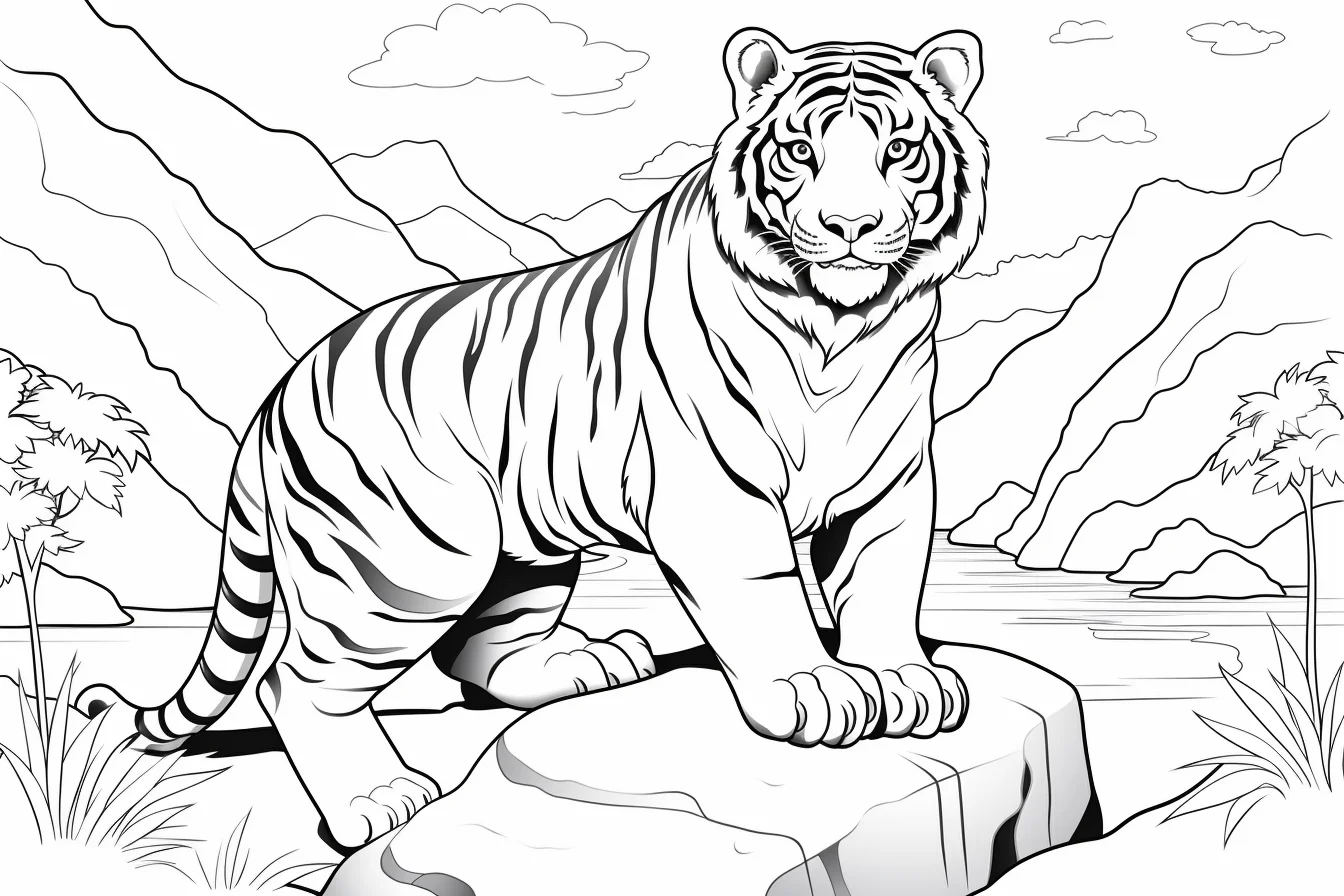
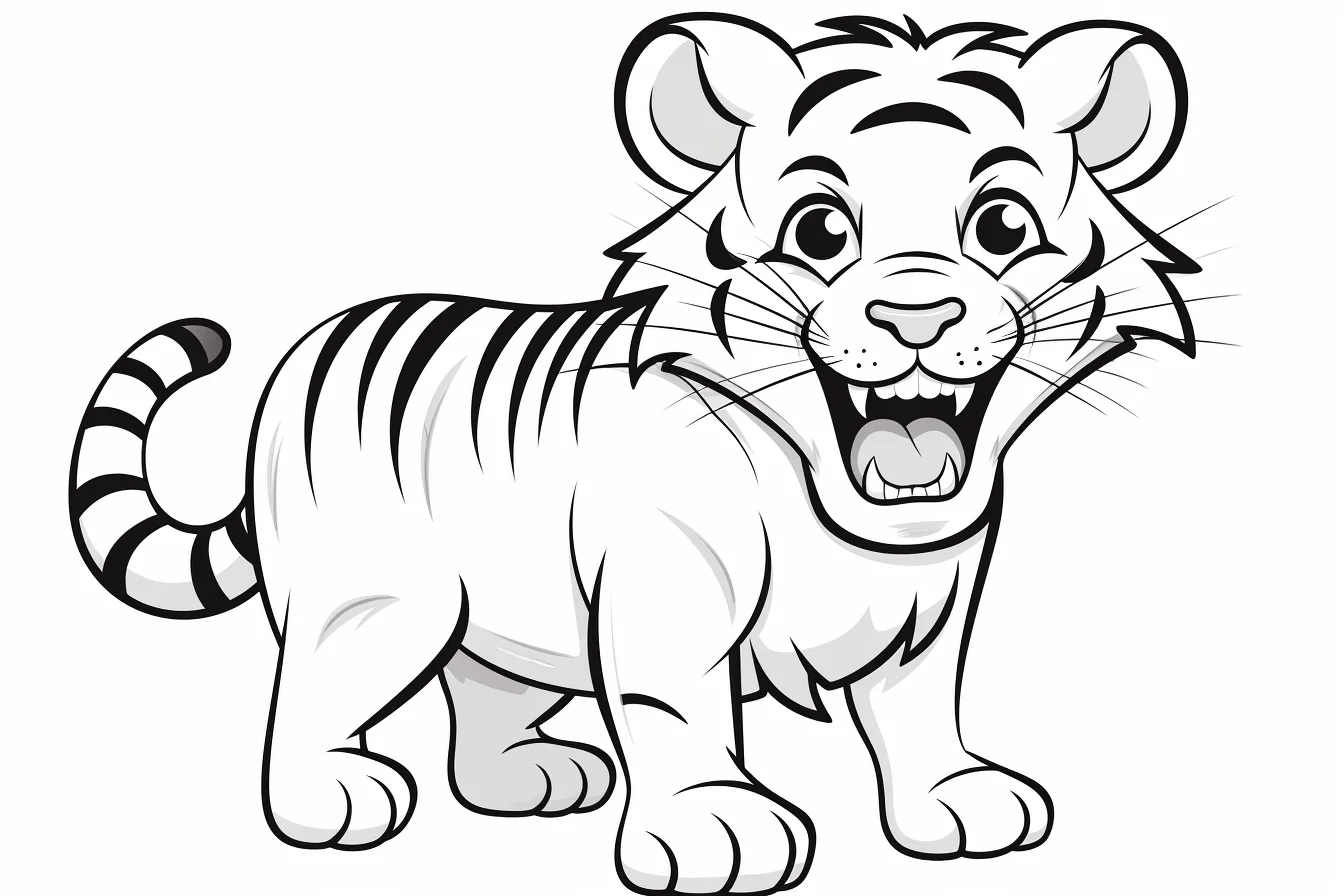
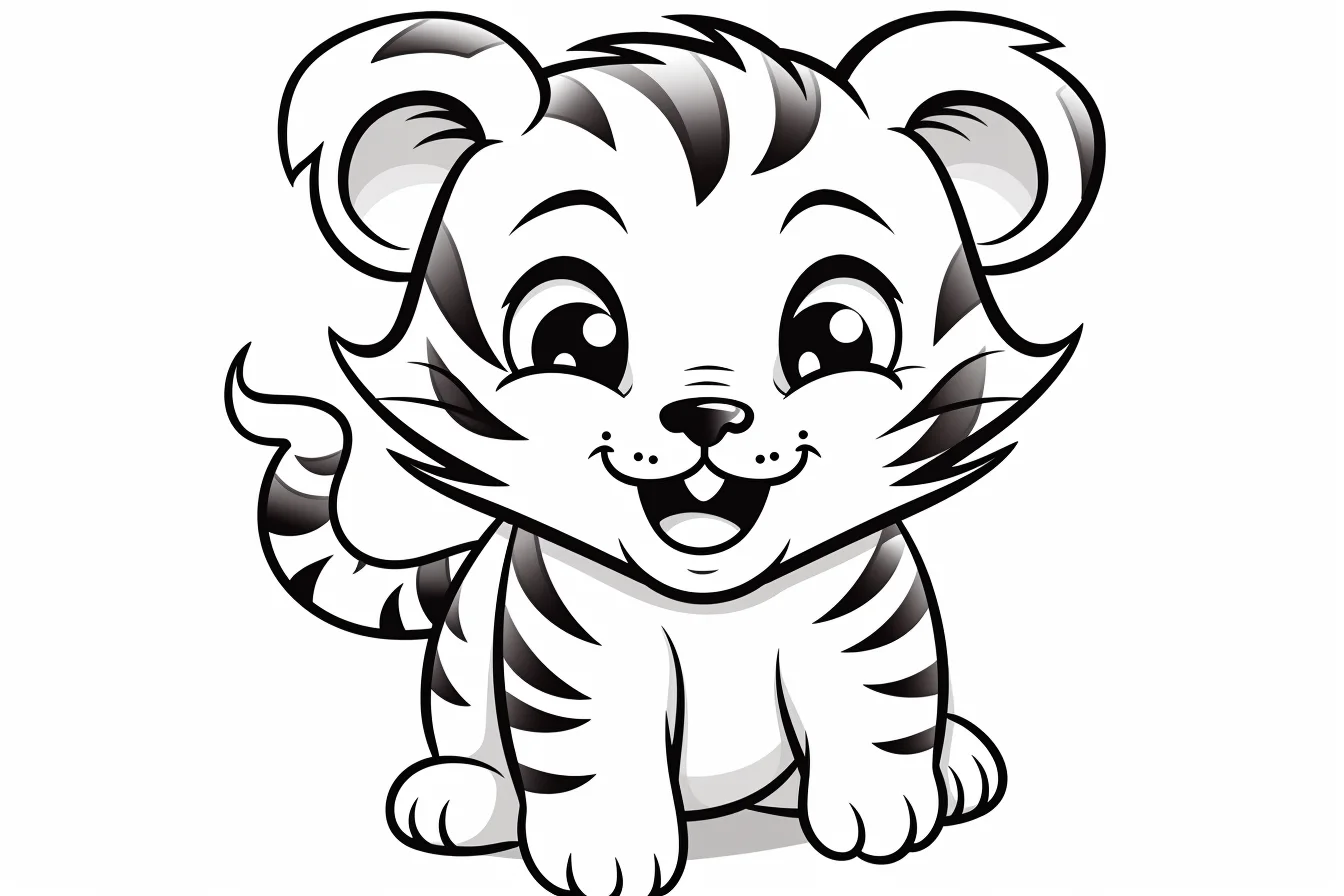
For younger colorers: the toddler and child-oriented sheets work best with a simple two-step approach: fill the body first, then add the dark stripes. Trying to color around every stripe from the beginning usually makes an easy page harder than it needs to be.
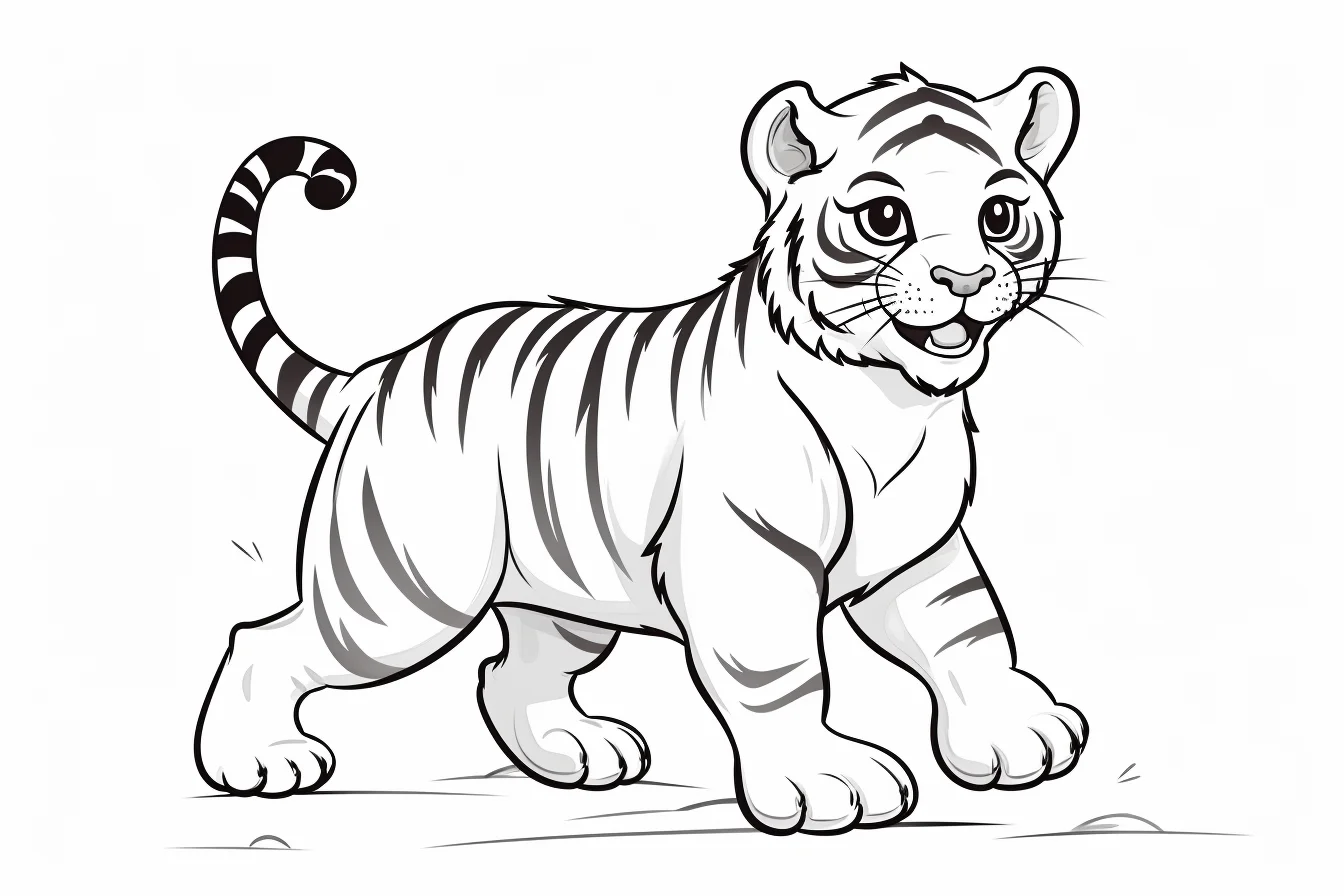
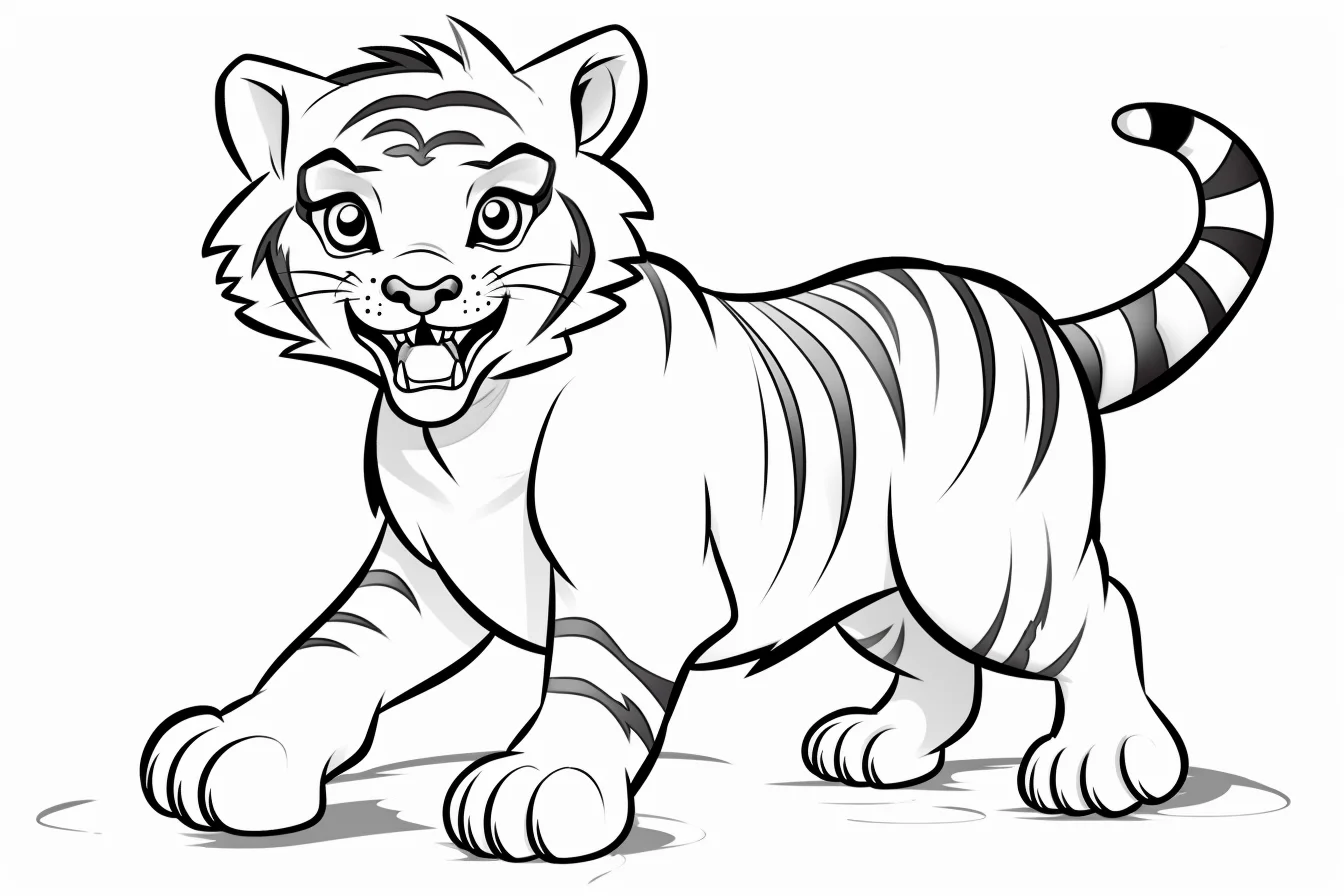
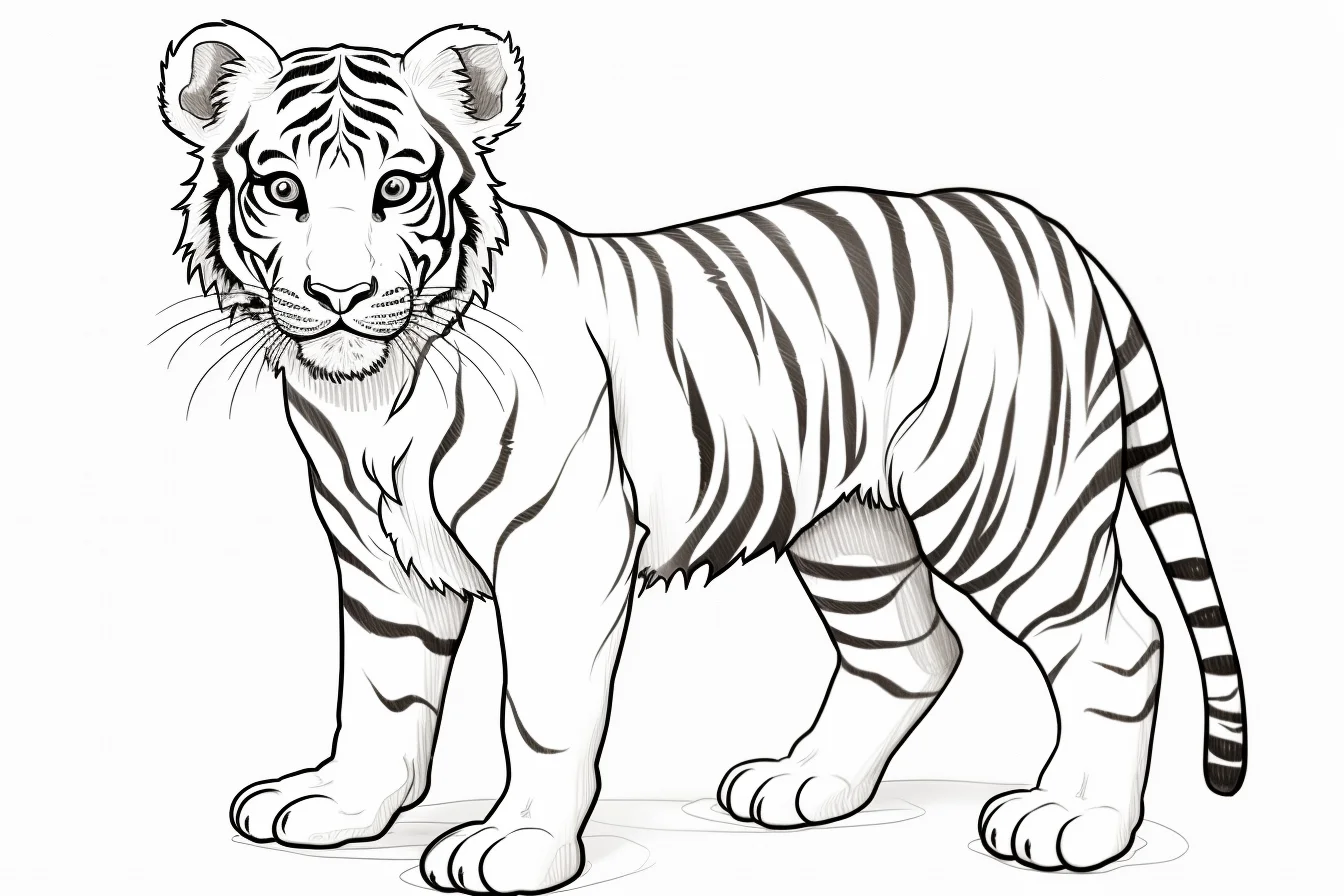
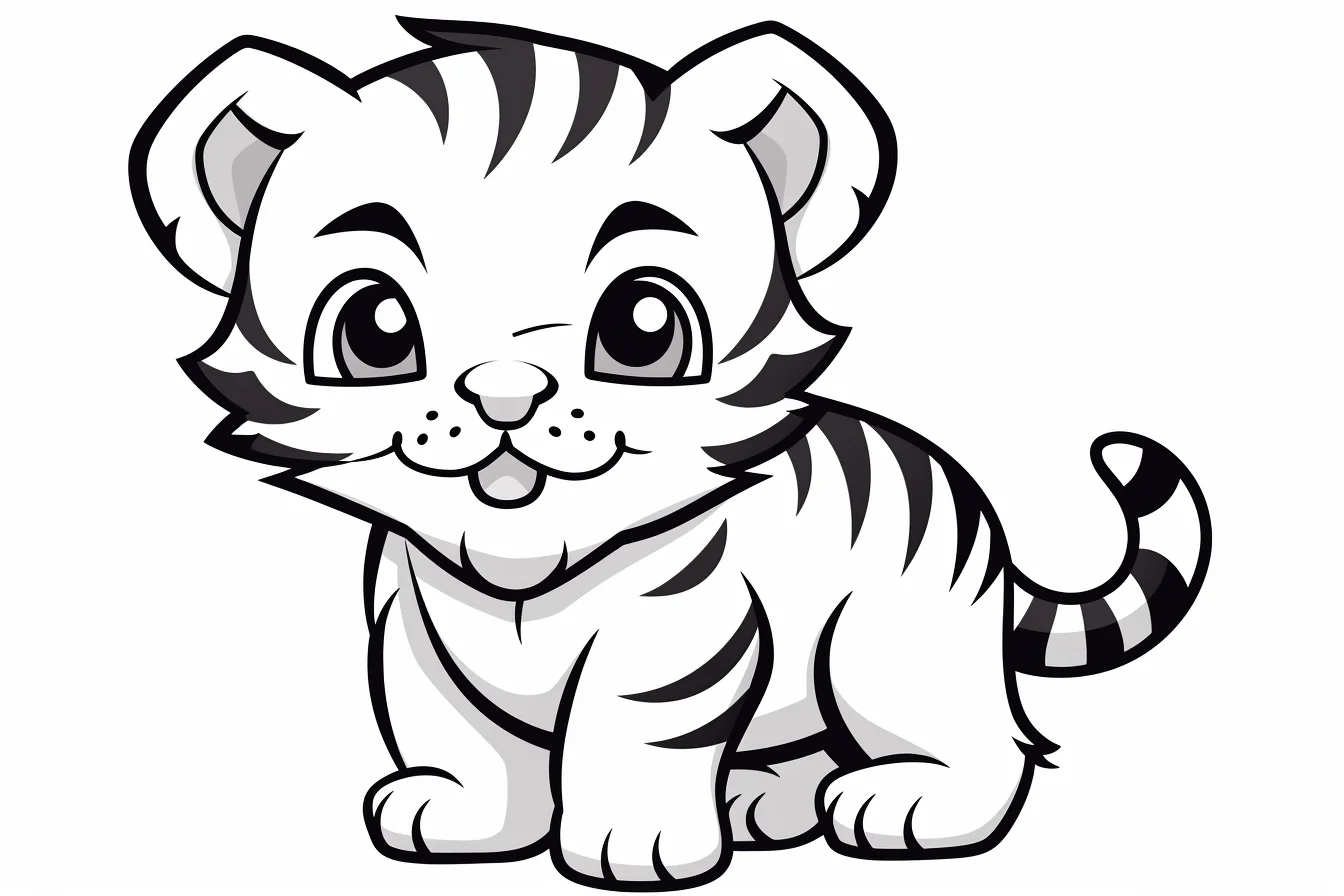
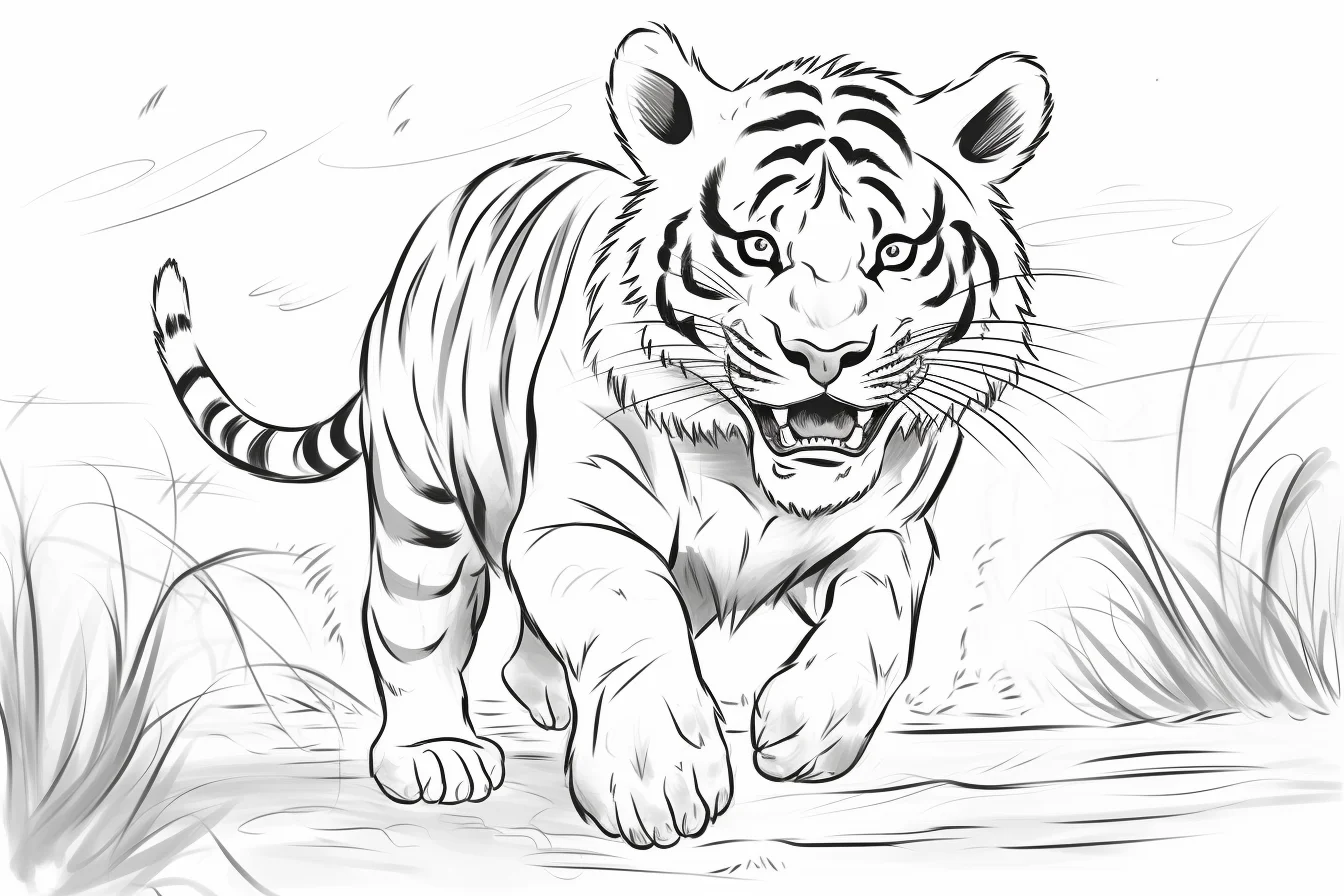
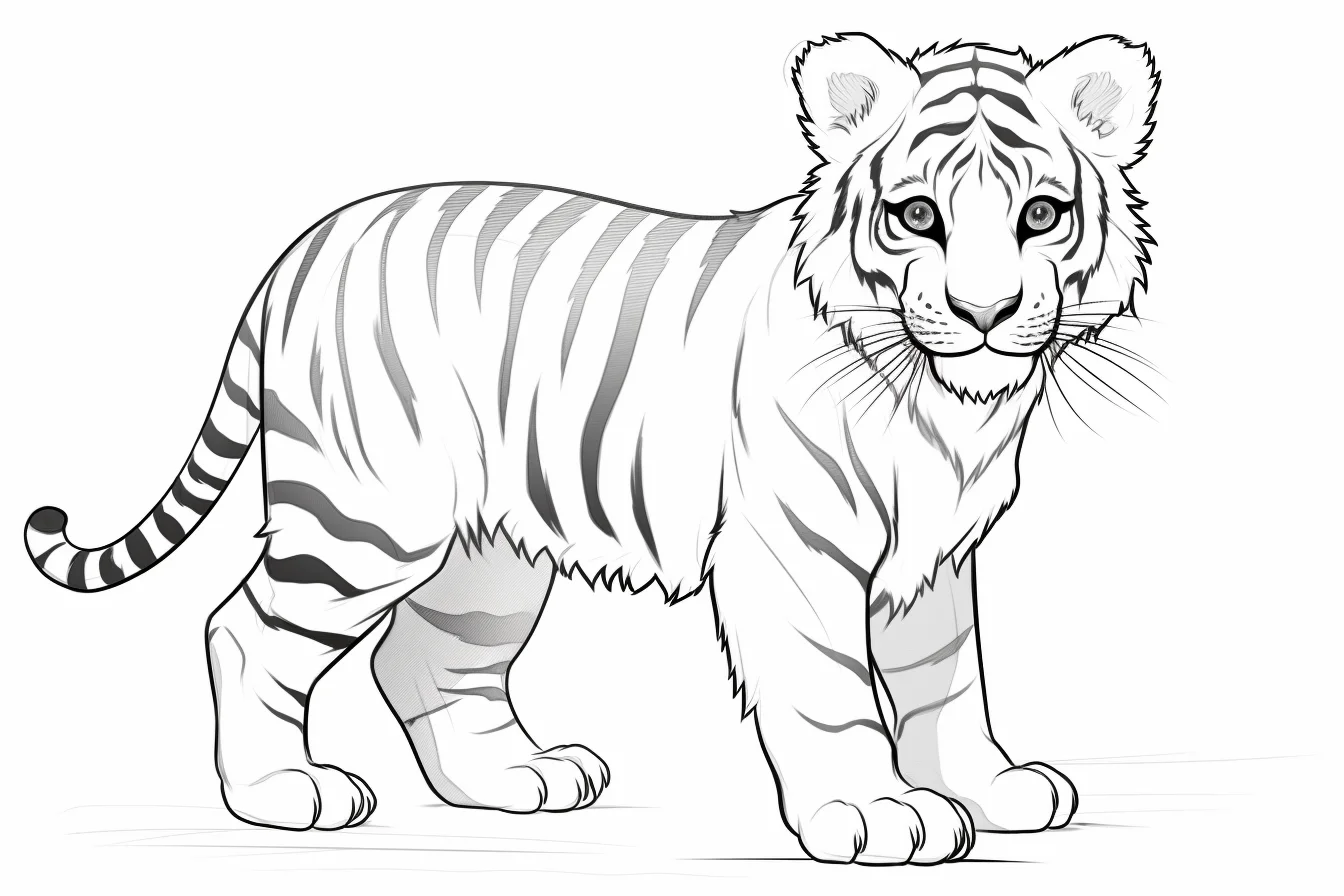
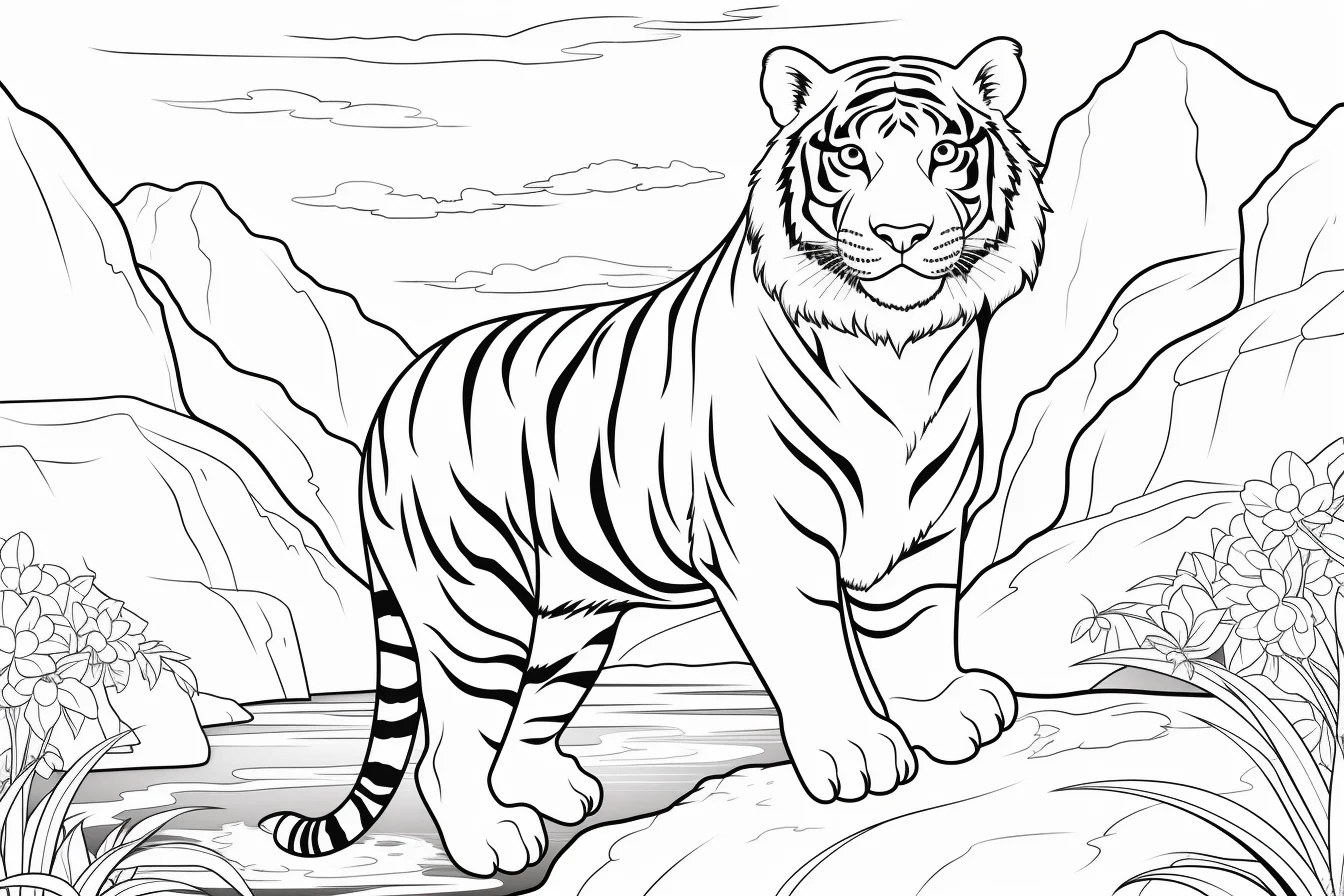
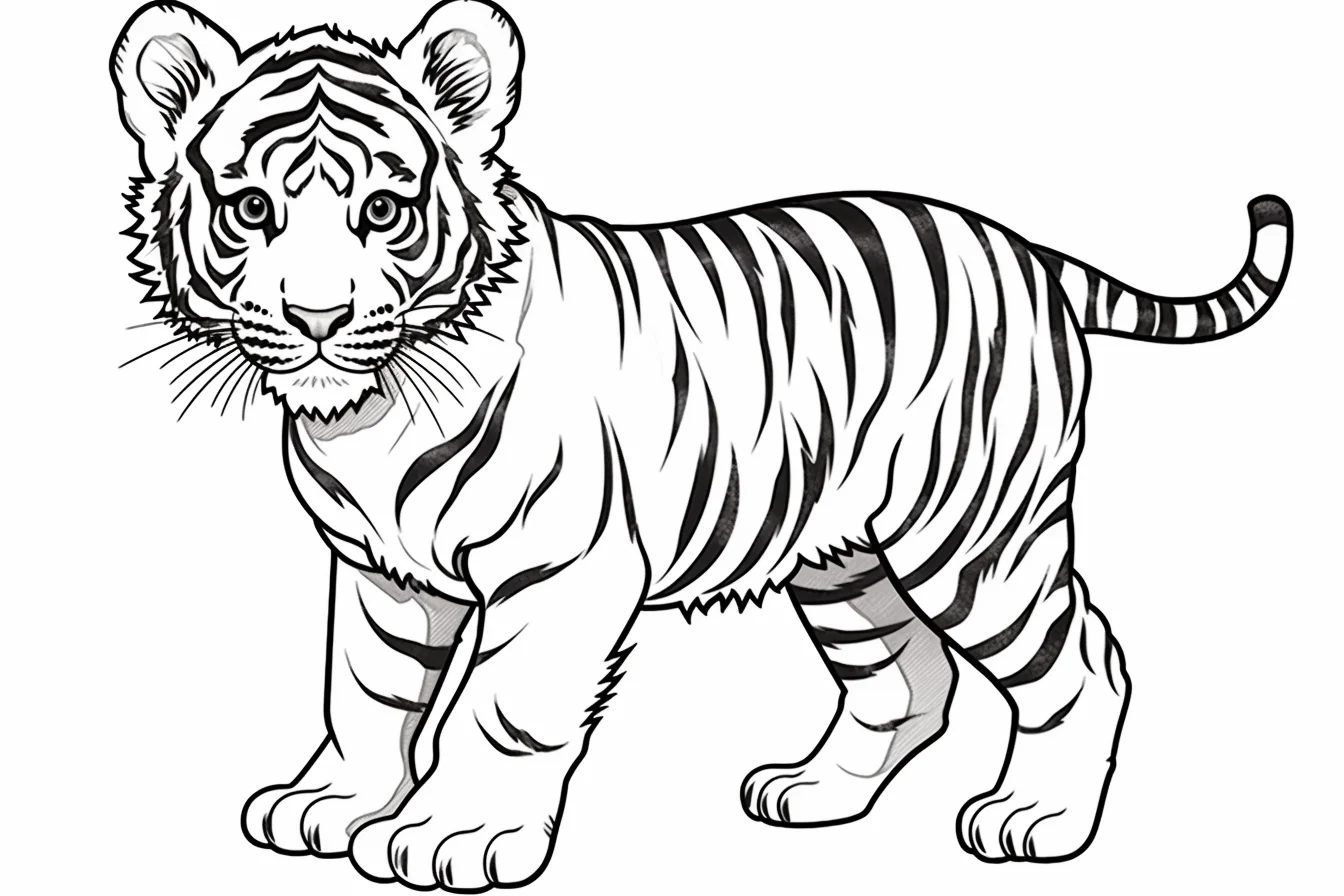
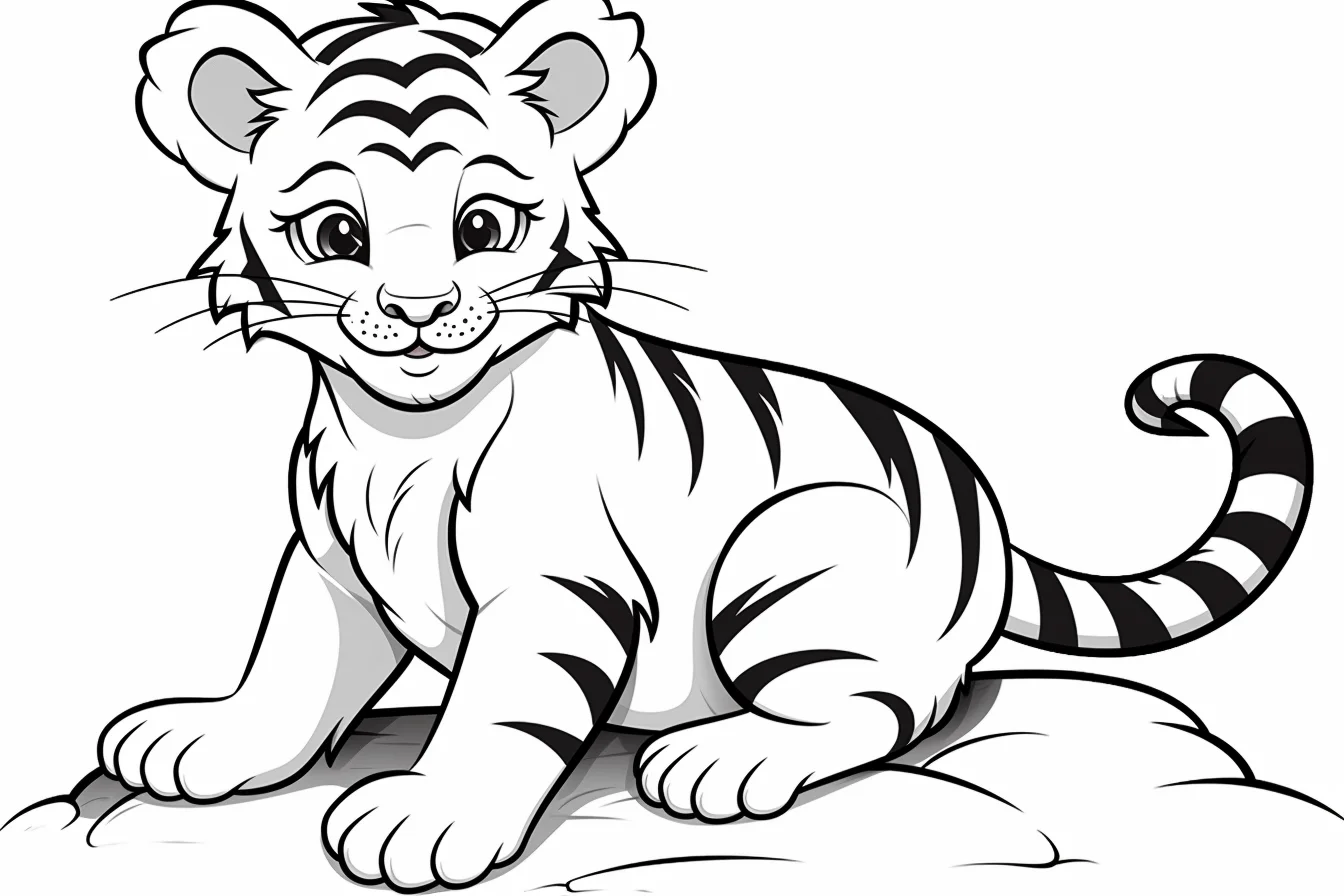
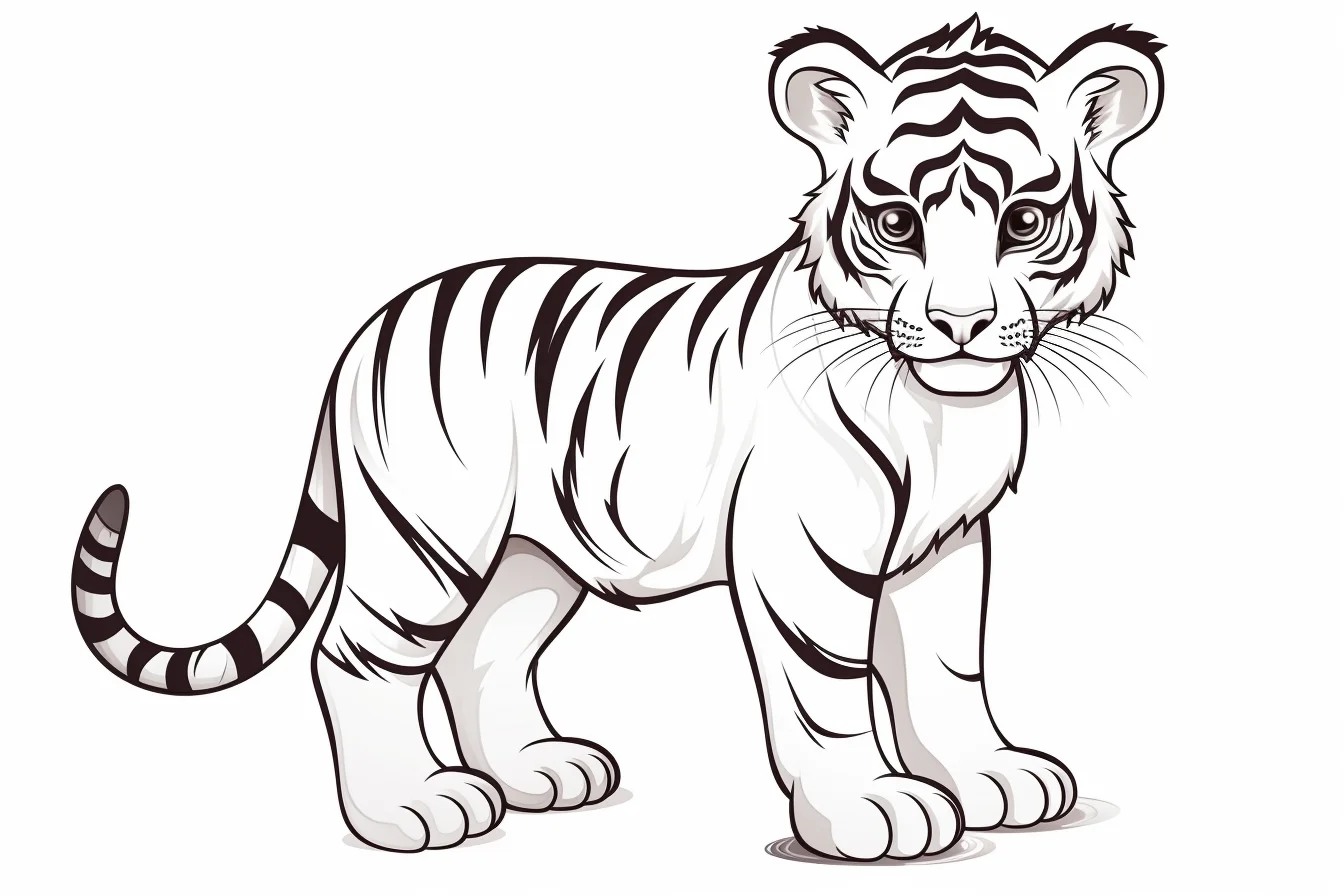
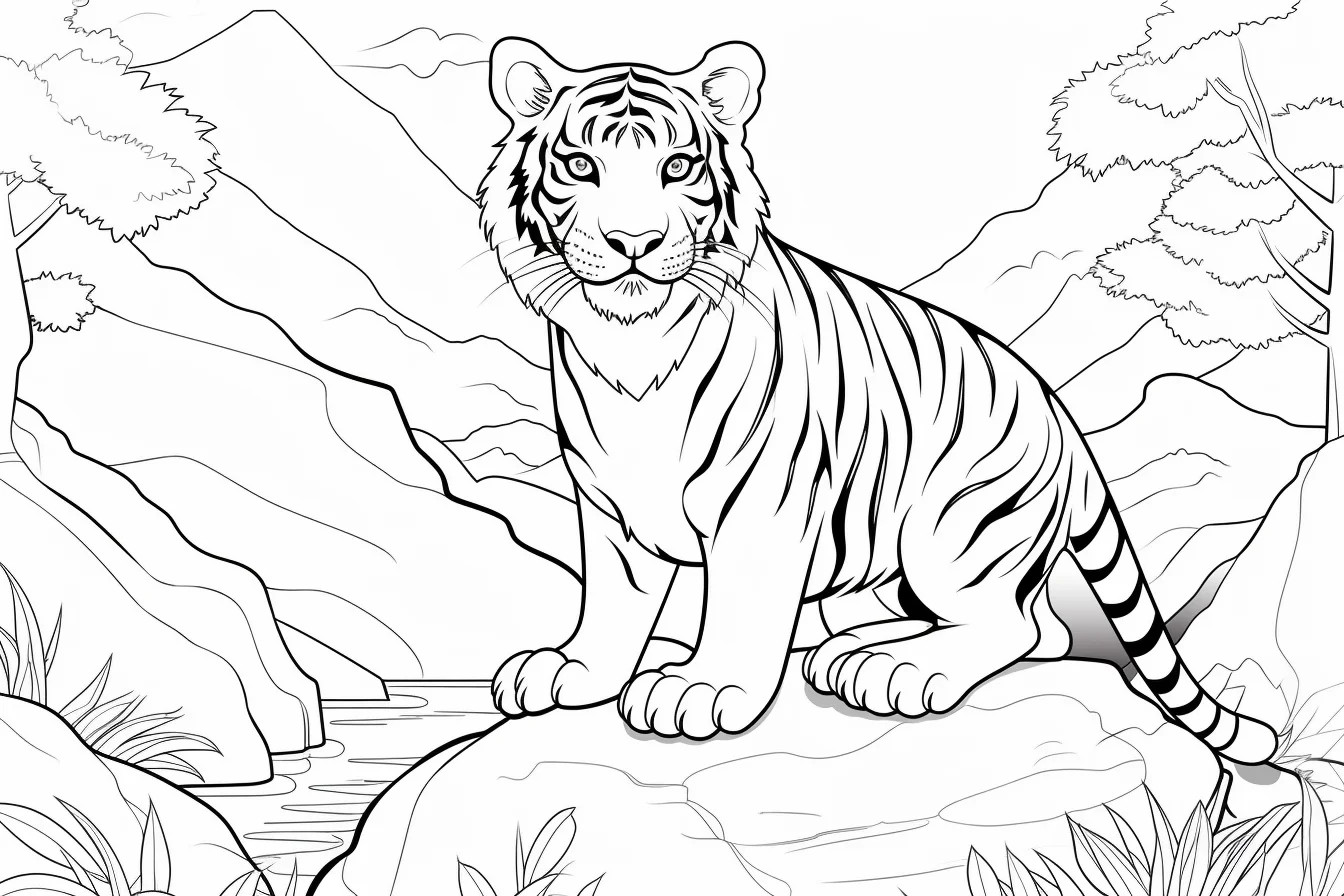
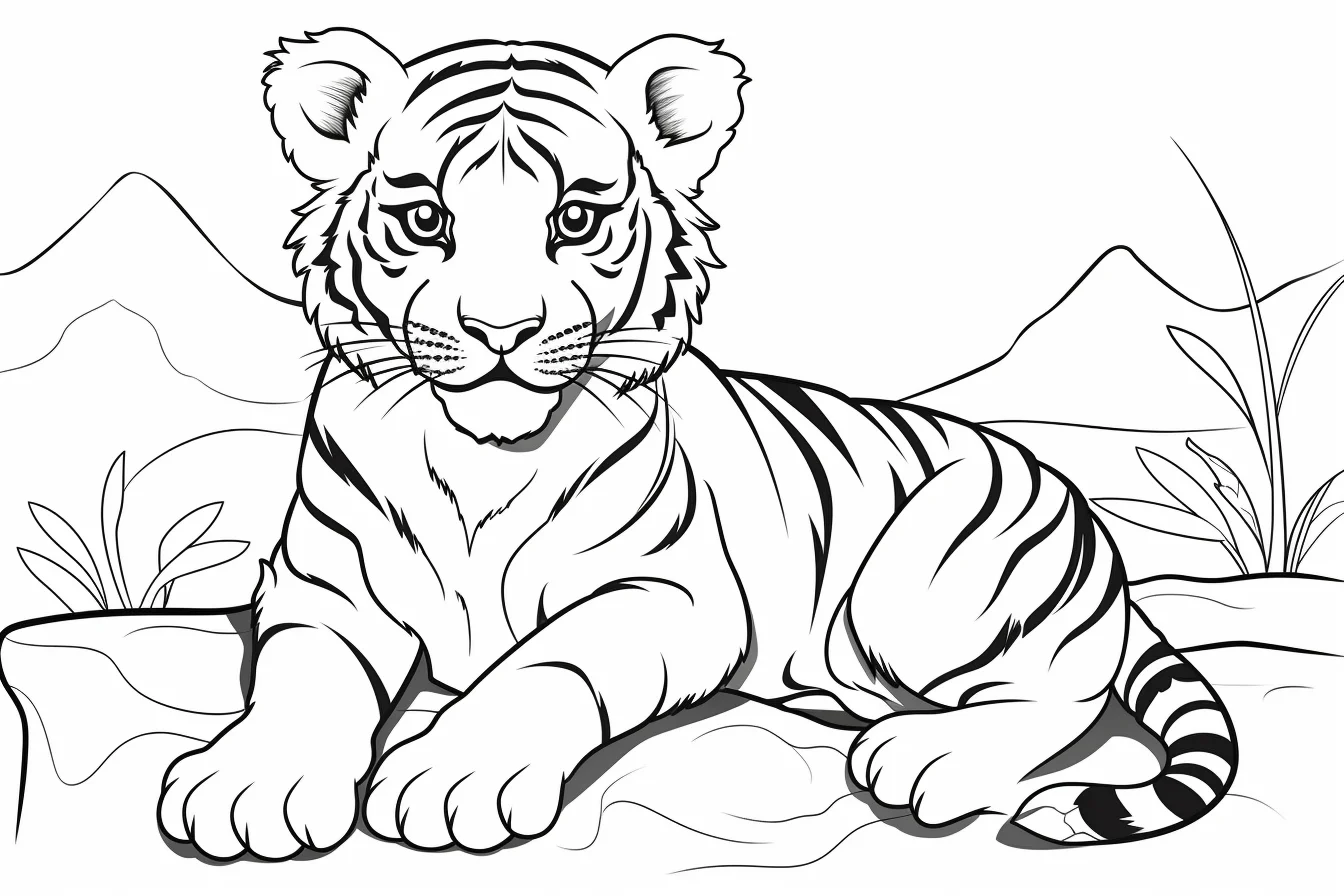
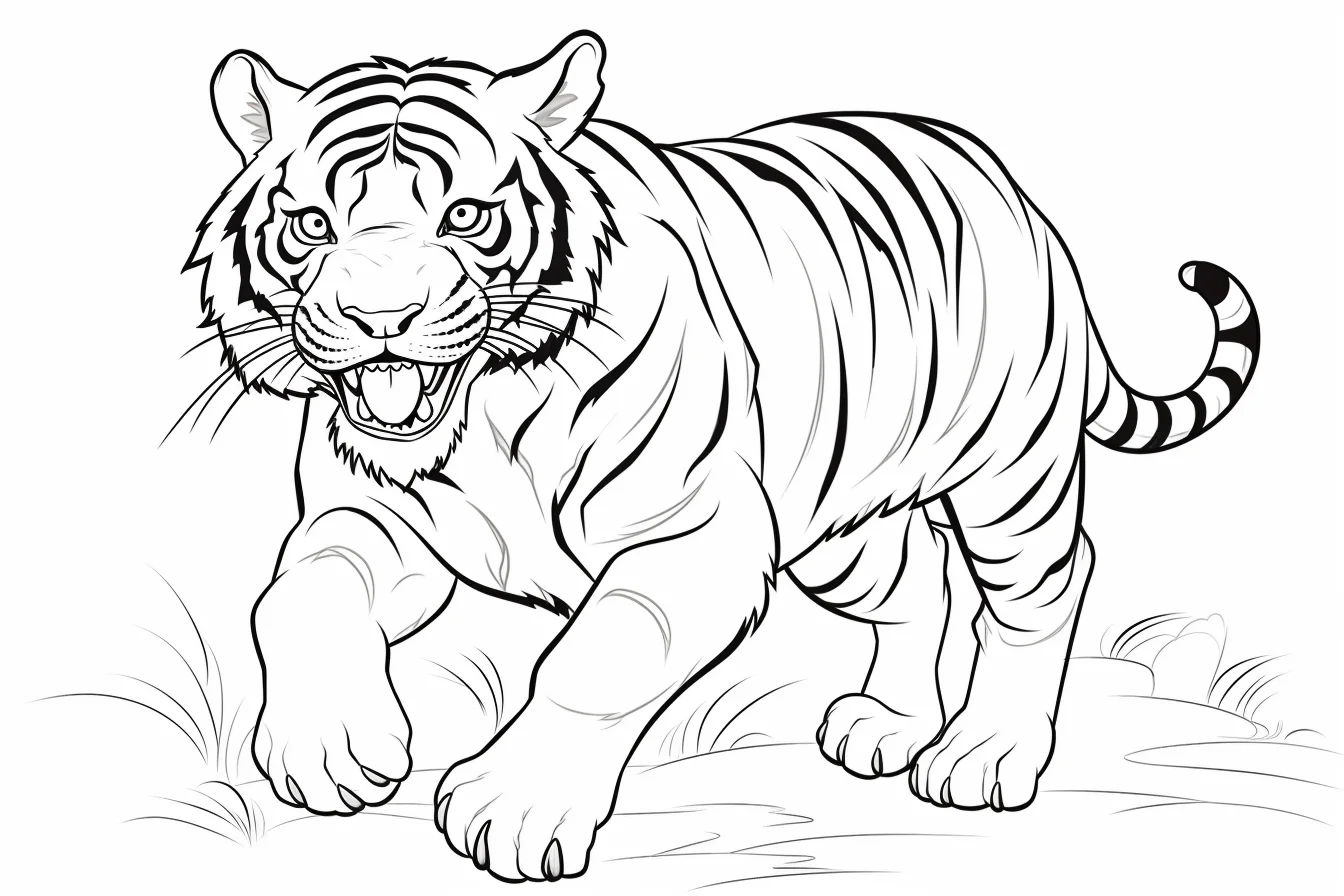
For a more realistic coat: use at least two orange-brown values before adding the black stripes. A lighter underside and muzzle plus slightly darker shoulders or legs will give the tiger more depth without needing to shade every hair.
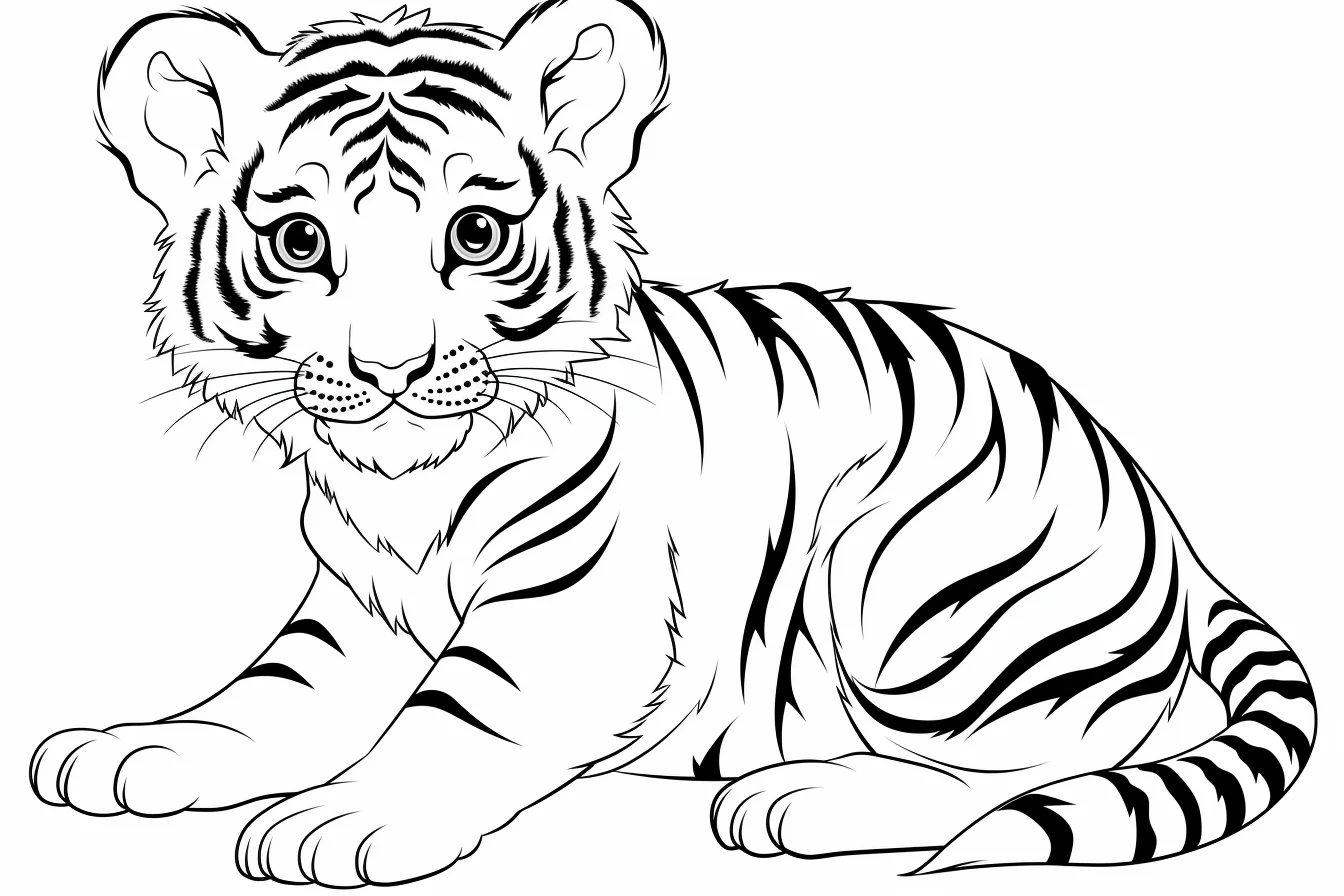
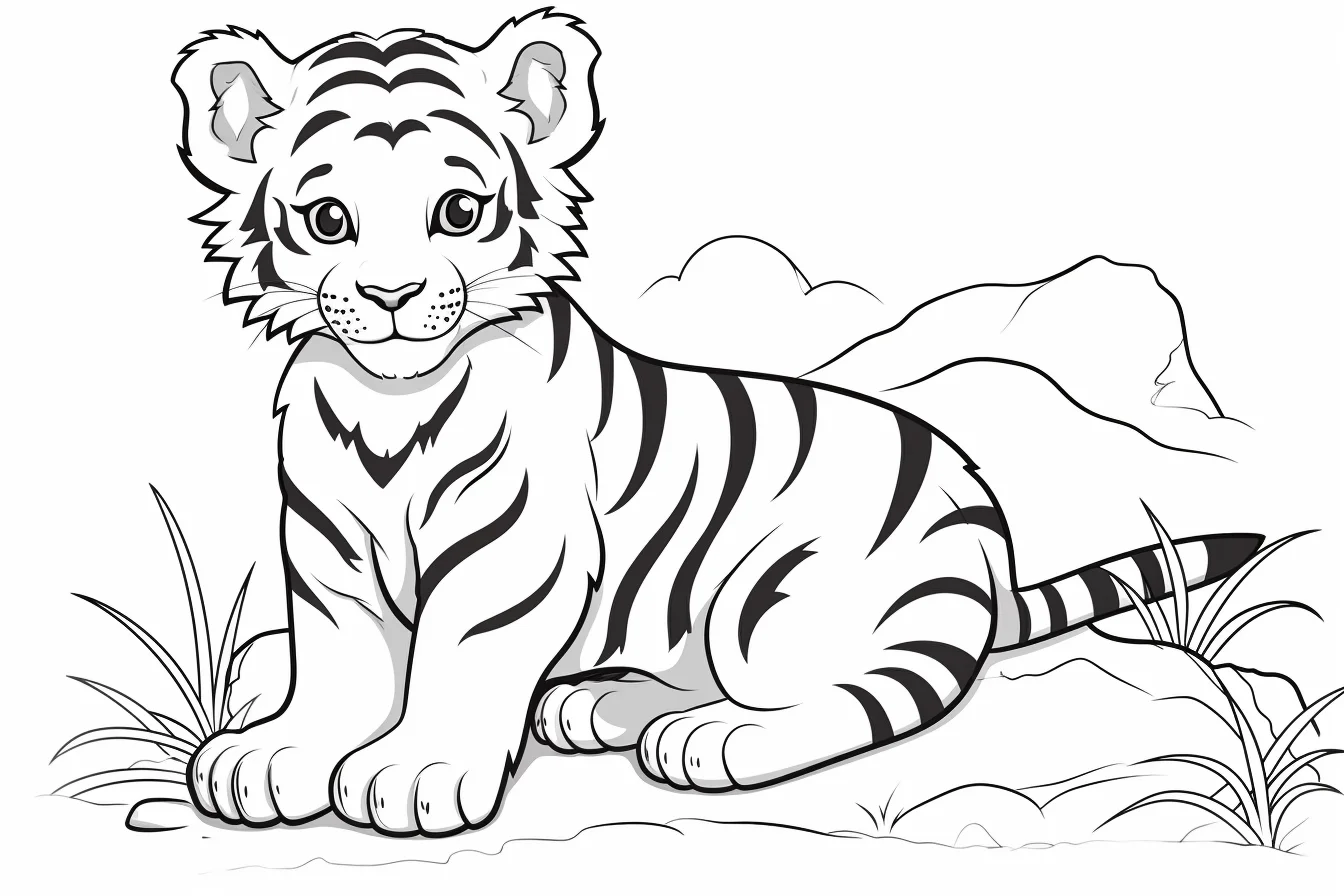
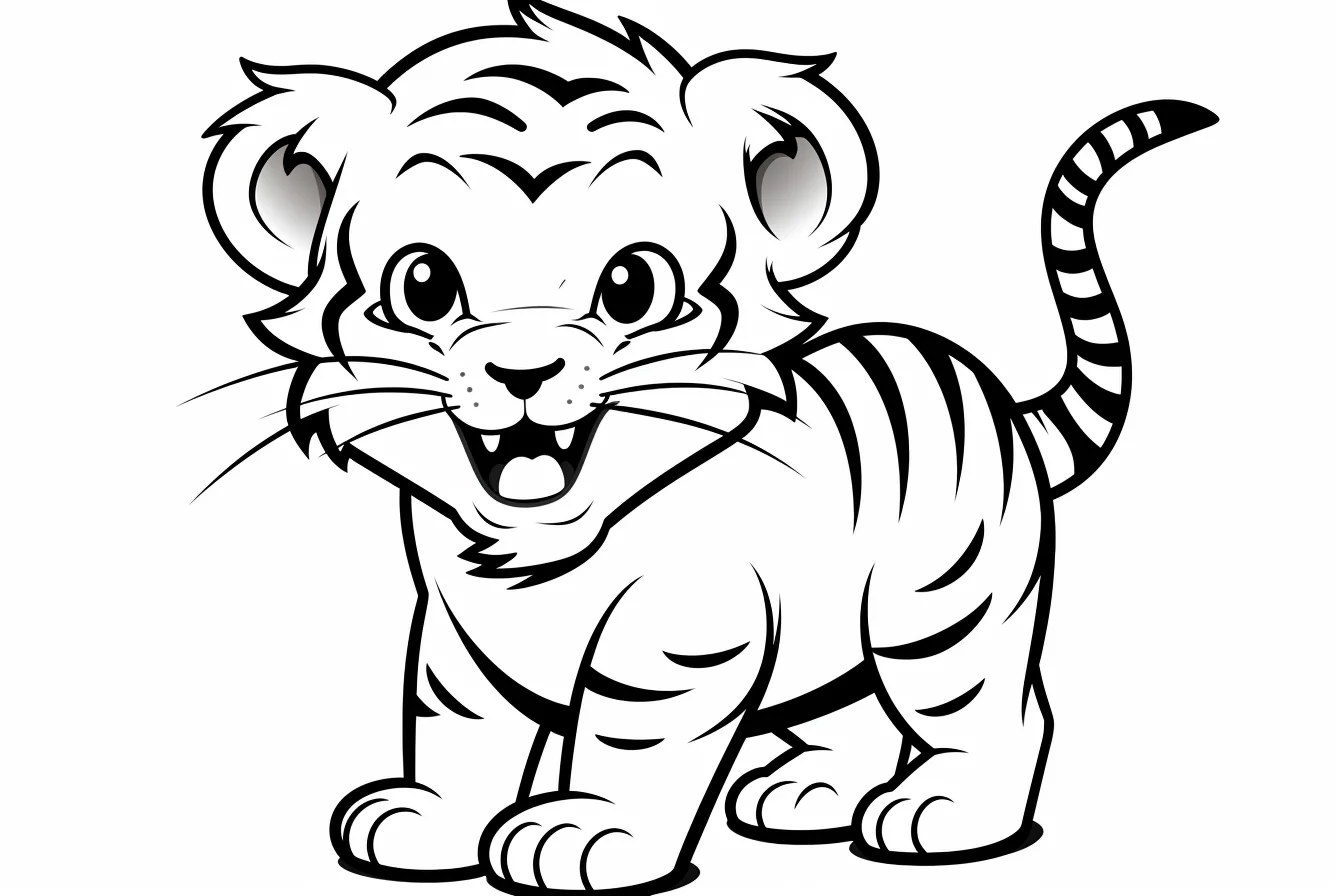
Kawaii, cartoon or easy? use the kawaii and cartoon pages when you want a playful result rather than a natural coat. Those designs can handle brighter oranges, softer browns or completely invented palettes without looking unfinished.
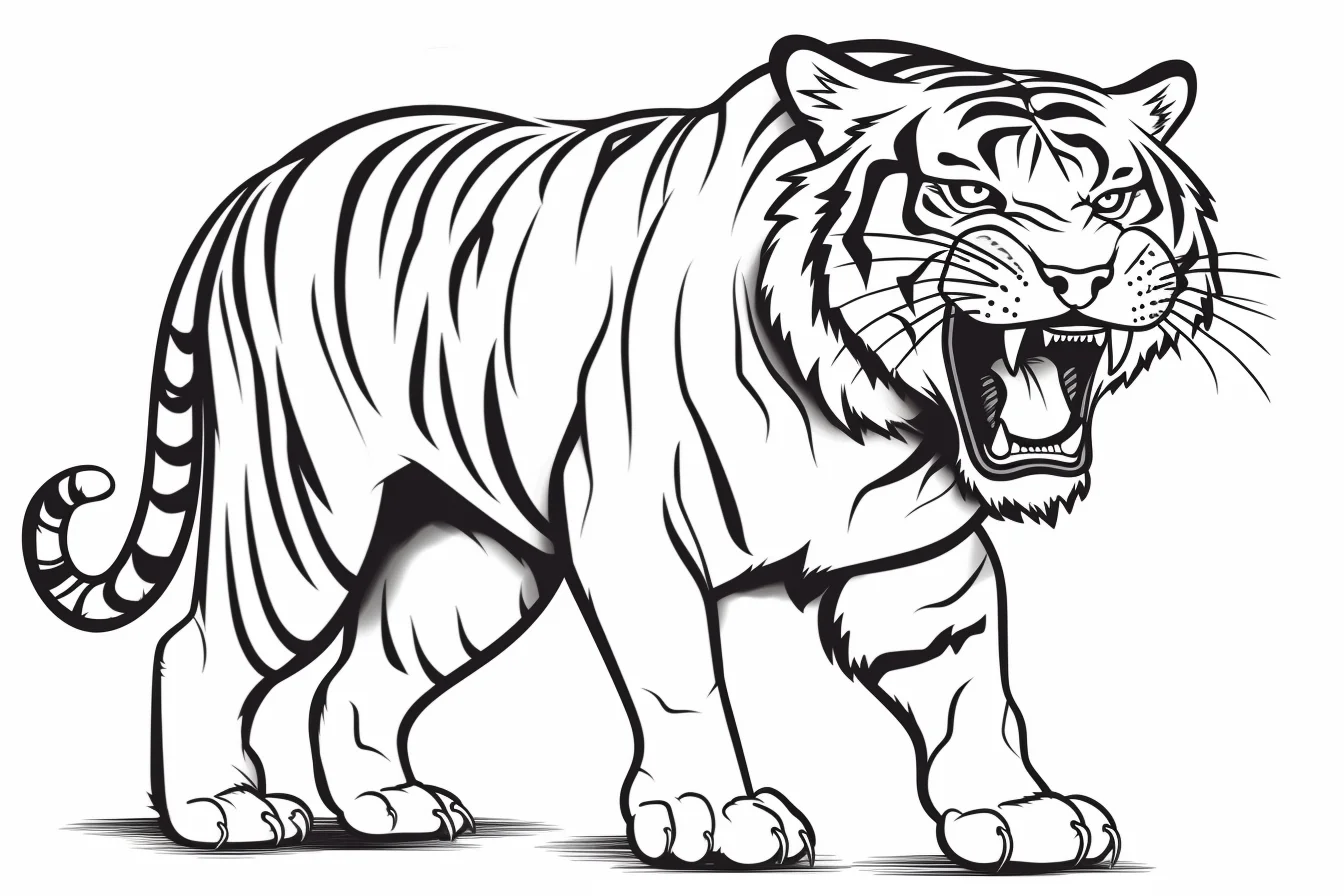
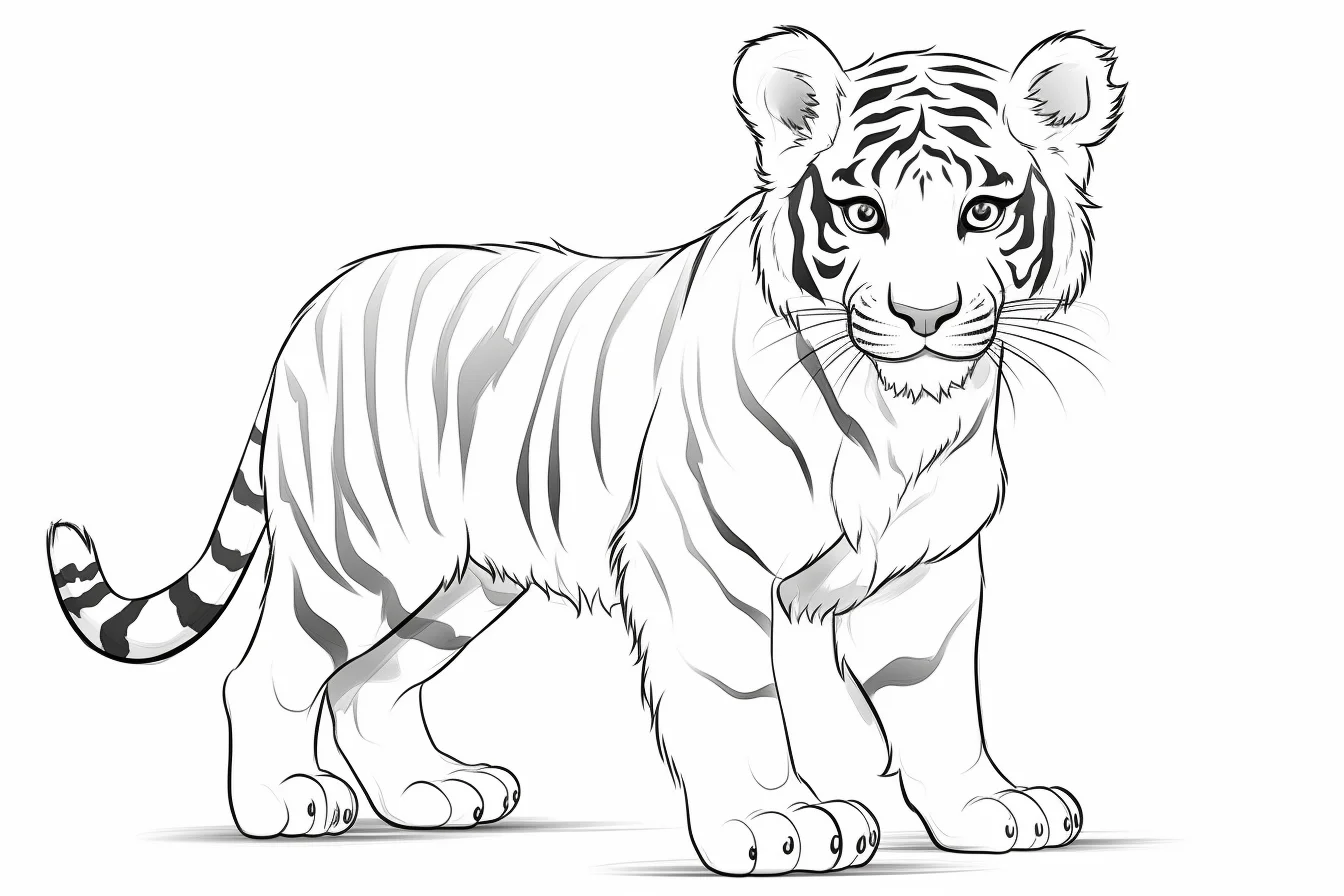
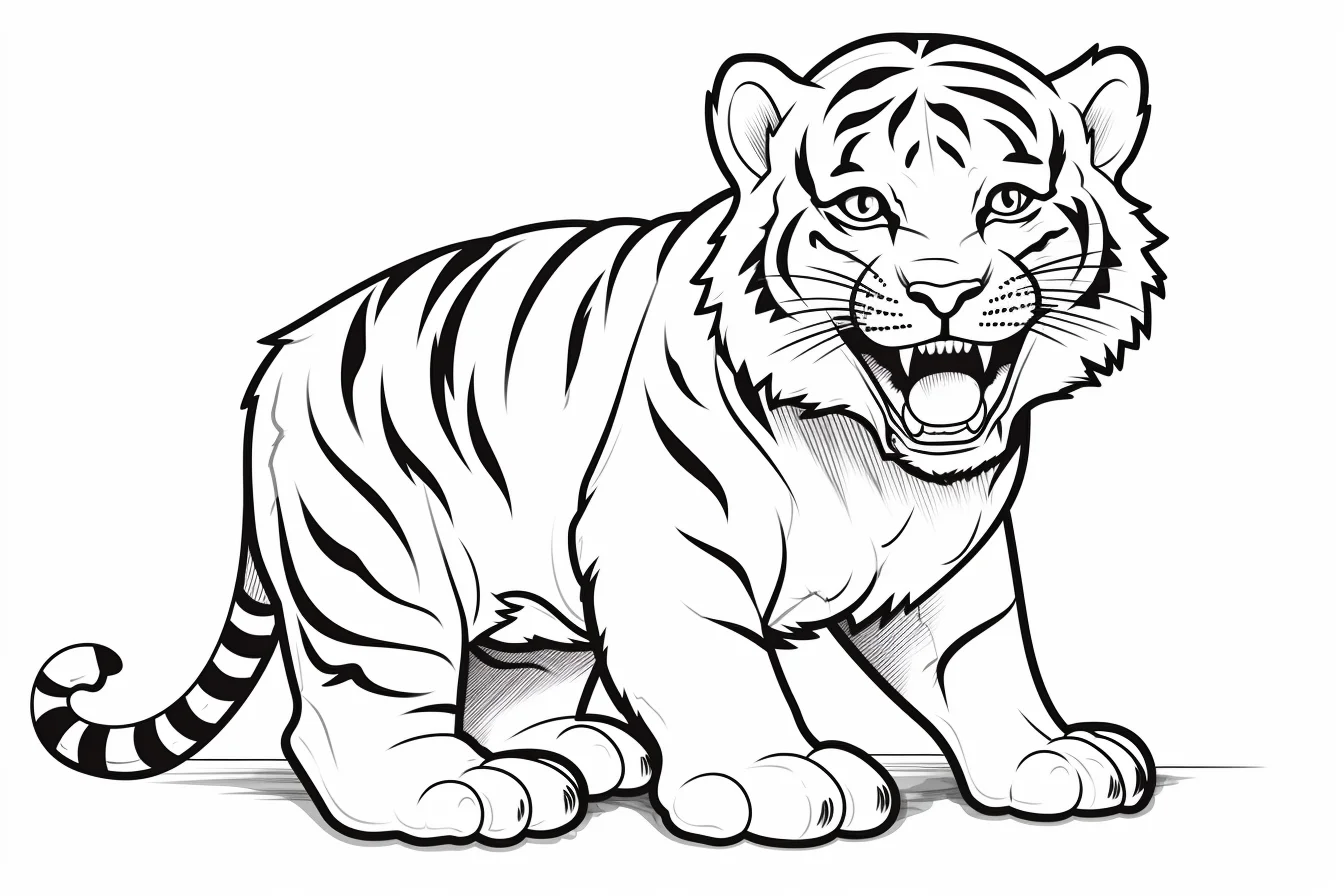
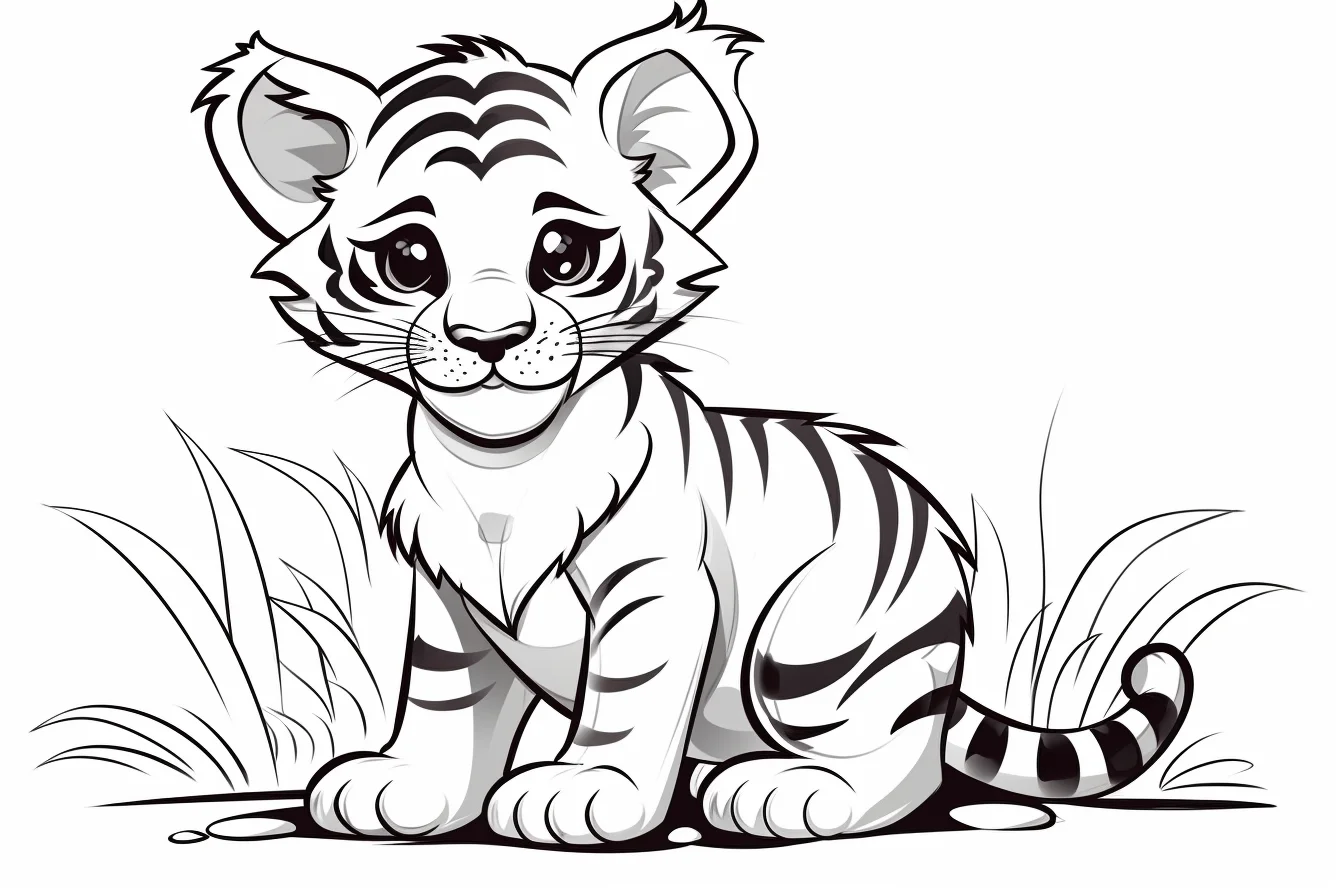
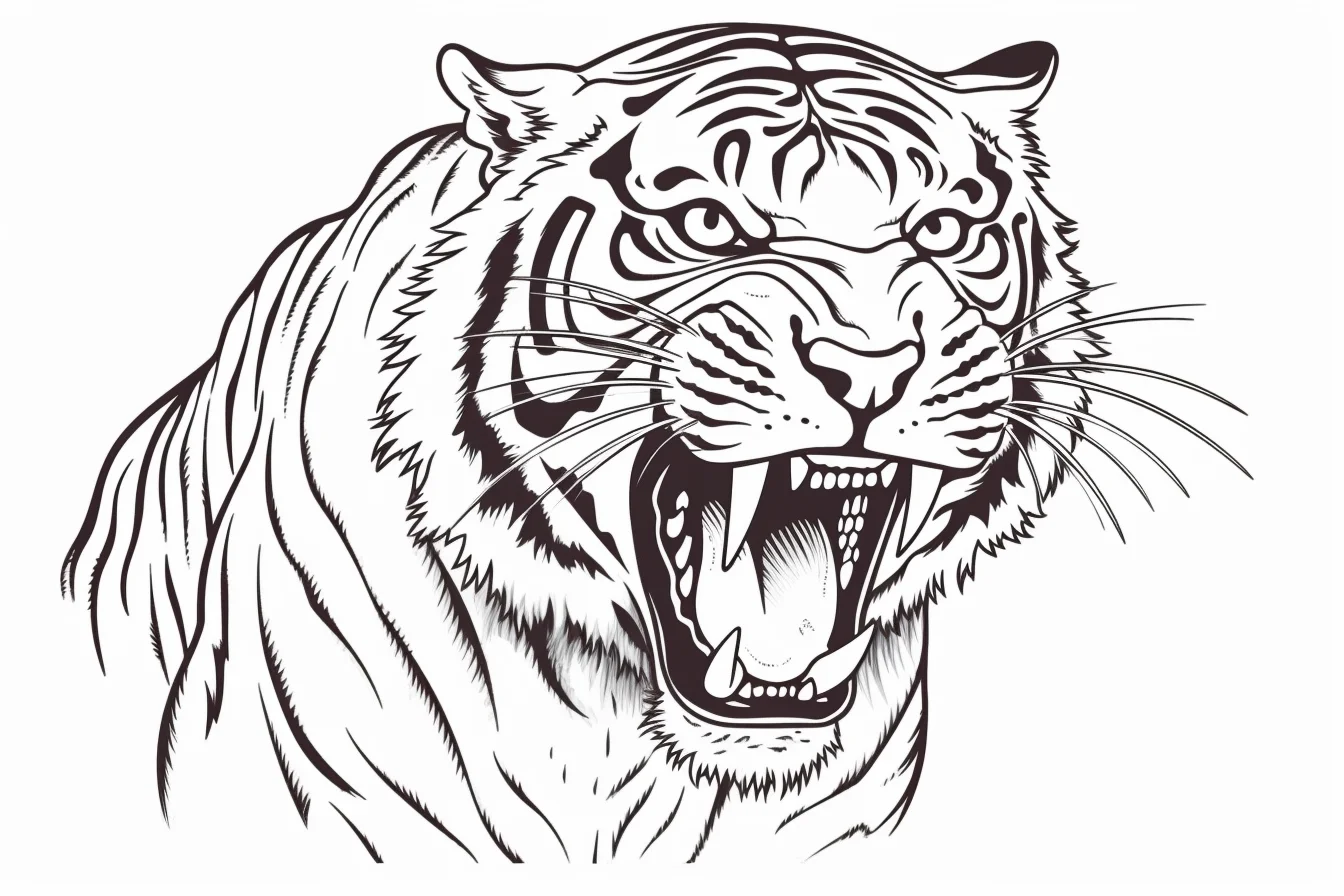
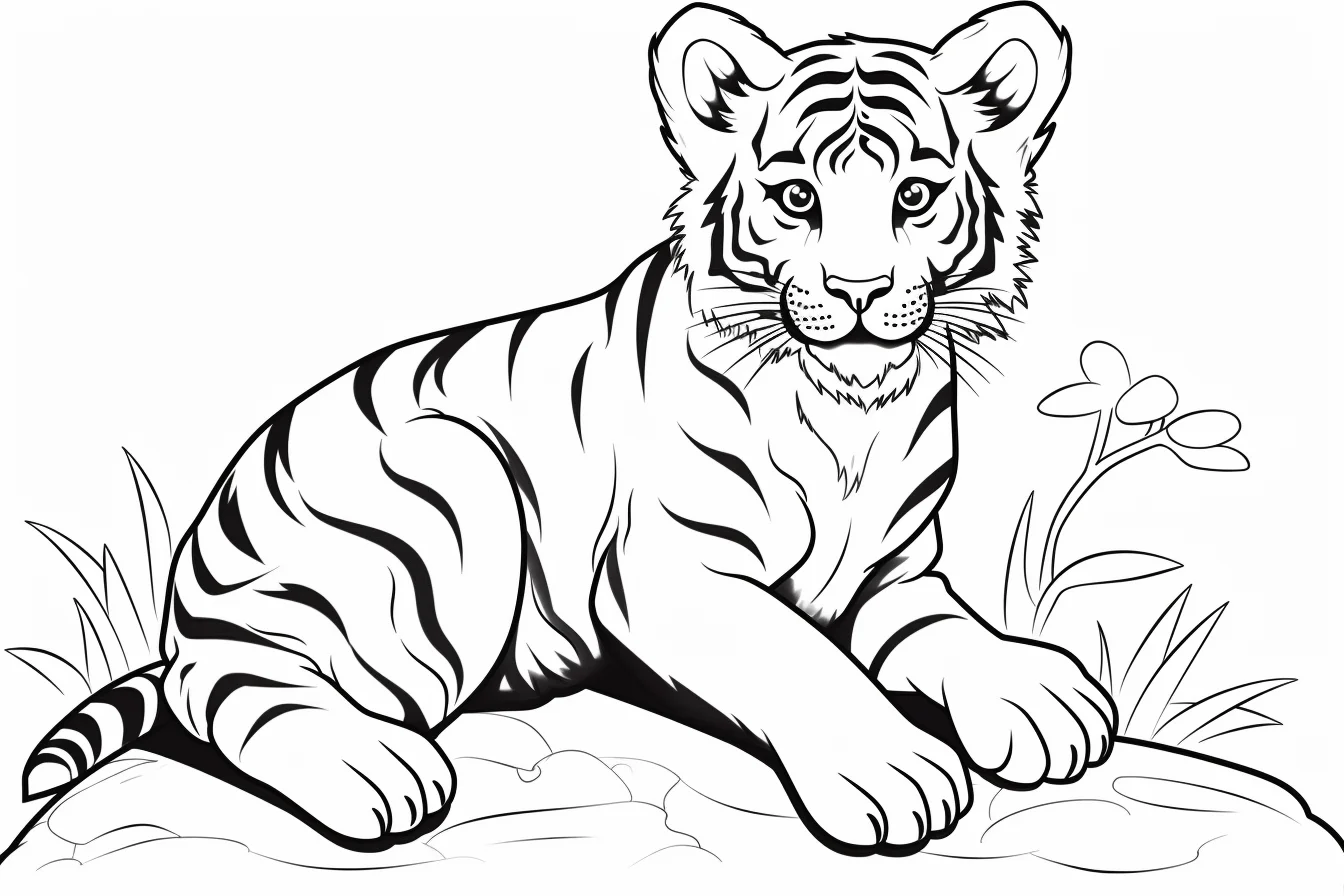
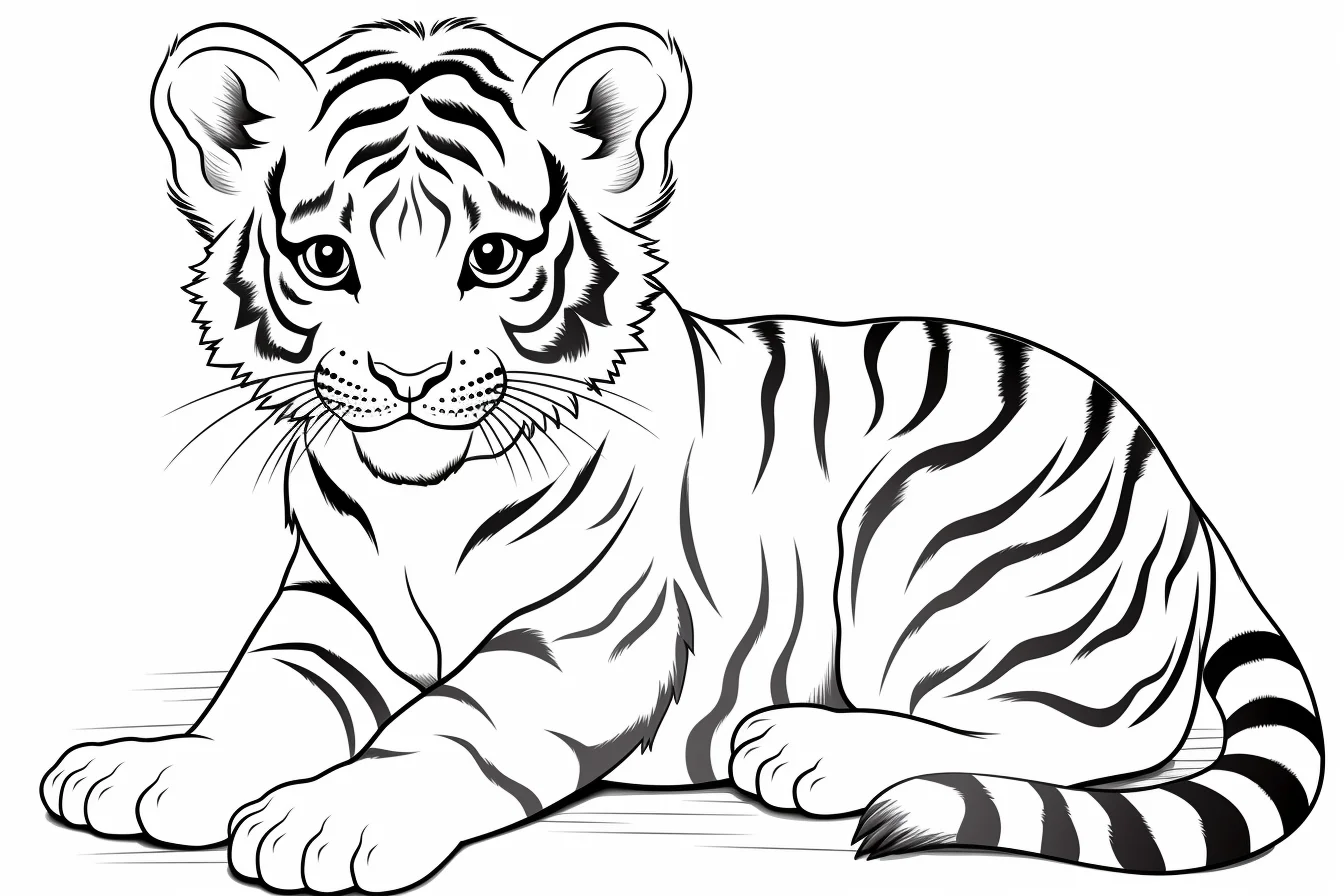
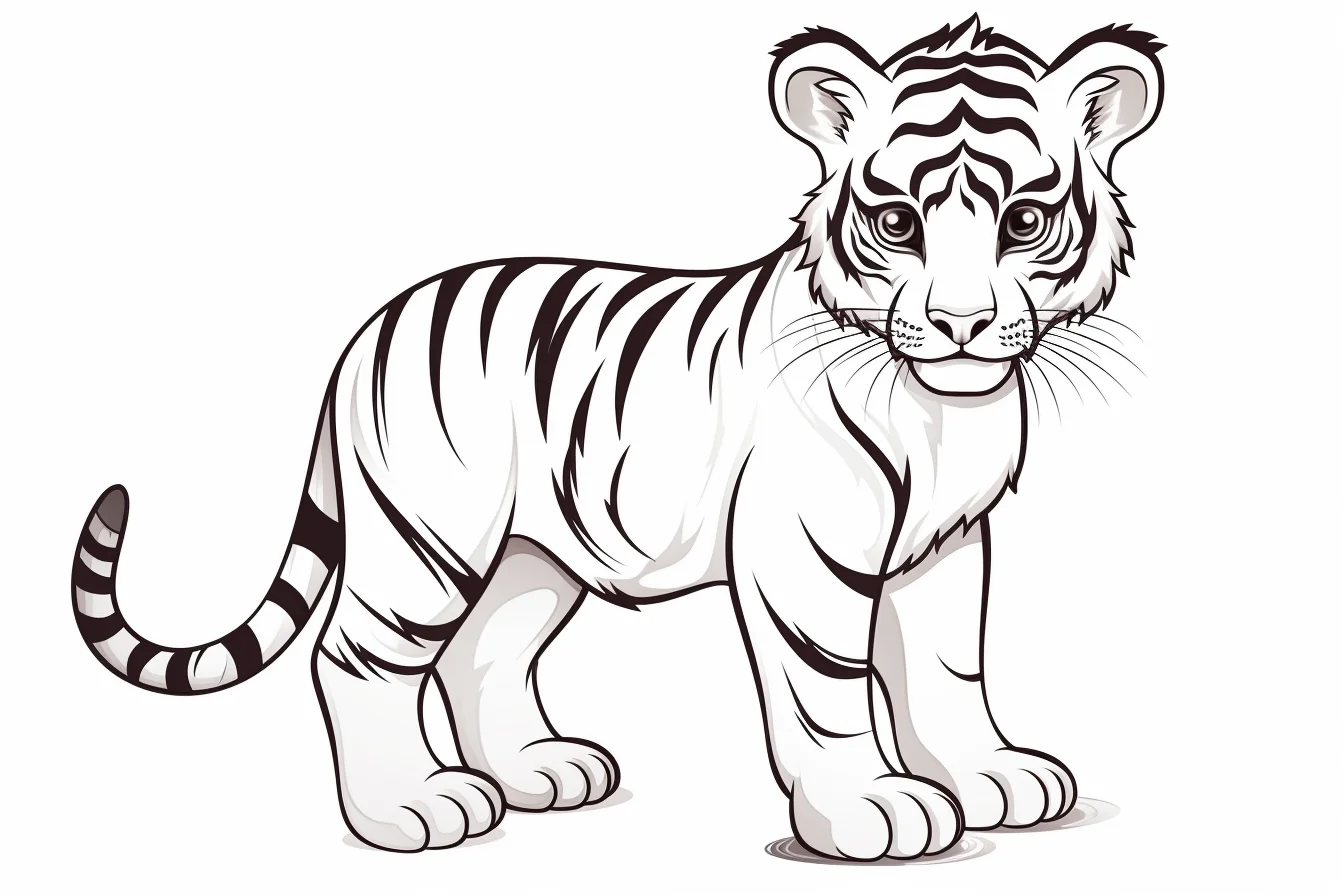
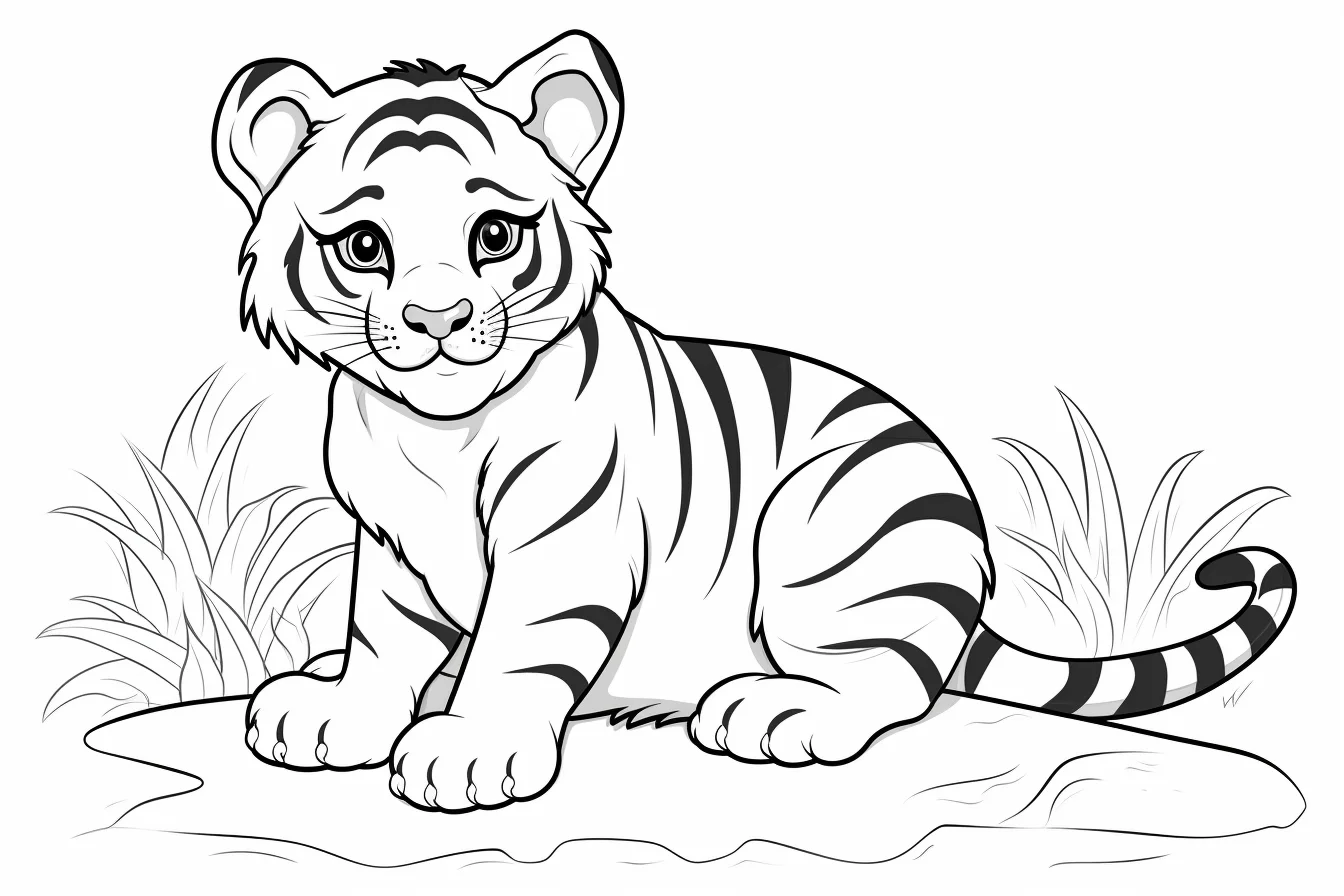
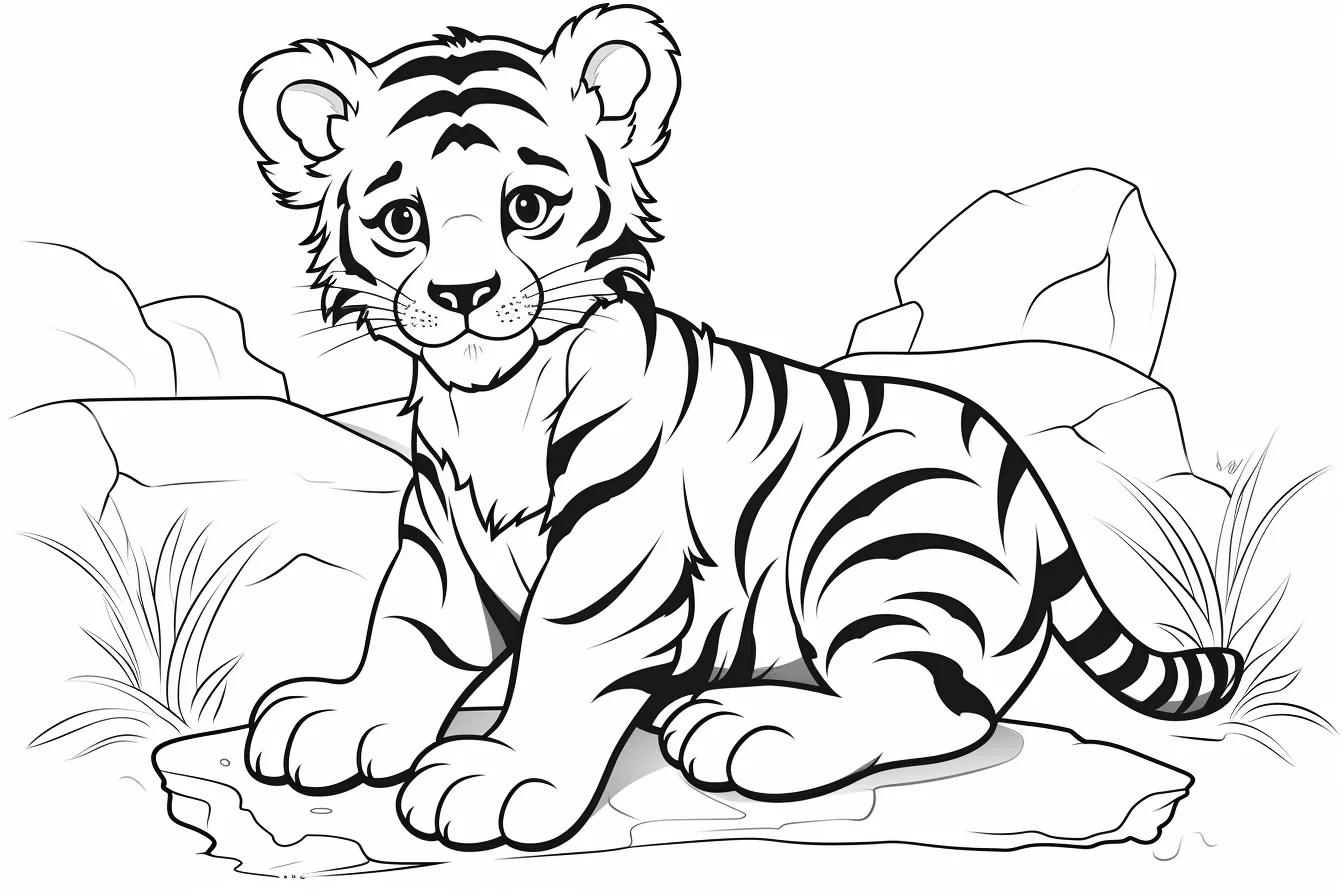
Baby and cute tiger pages: keep the face lighter than the outer coat so the eyes and expression stay easy to read. If you want a softer result, use dark brown or charcoal stripes instead of pure black.
If you only want the simplest child-friendly designs, the separate 14 cute and easy tiger coloring pages are a faster place to browse.
Build a convincing tiger coat in three passes
Tiger stripes look better when they sit on top of a coat rather than becoming the whole drawing. Start by filling the main coat with a light orange or ochre, leaving the muzzle, chest and inner legs cream or very pale. Add a slightly darker orange-brown around the shoulders, back and outer legs. Only then strengthen the stripes with black, charcoal or deep brown. This order keeps the animal readable even on pages with dense markings.
- Pass 1 — coat: establish orange and cream areas with light, even pressure.
- Pass 2 — form: deepen the orange on the far side of the body, under the belly and around overlapping legs.
- Pass 3 — stripes: darken the printed stripe shapes last, keeping their edges cleaner than the softer fur shading.
With colored pencils, let a few short strokes follow the direction of the fur around the cheeks, chest and elbows. You do not need to draw individual hairs across the whole tiger. A small amount of directional texture beside a smooth base is enough to suggest fur without making the page scratchy.
Make the face readable before adding detail
The eyes, nose and muzzle are small compared with the striped coat, so they need deliberate contrast. Keep the fur immediately around the eyes slightly lighter, darken the upper eyelid or printed eye outline, and avoid filling every nearby stripe with the same heavy black. On cute tiger pages, this matters even more because the expression is usually the focal point.
For the muzzle, use cream rather than leaving it completely untouched. A pale warm gray or beige shadow beneath the nose and lower jaw gives white fur shape while keeping it visibly lighter than the orange coat. If whisker lines are printed, color underneath them rather than tracing them repeatedly; heavy whiskers can quickly overpower a small face.
Practice tiger stripes from easy to realistic
If stripe-heavy pages feel difficult, use three sheets as a progression instead of jumping directly to the most detailed tiger.
- Easy cartoon tiger: use one orange, one cream and one dark stripe color. Concentrate on clean separation.
- Full-body tiger: add a second orange-brown and use it to show the underside, legs and overlap between body parts.
- Realistic tiger: soften the coat transitions with layered pencil, then keep the stripes comparatively crisp so the pattern does not disappear into the shading.
The goal is not to make every stripe identical. Real tiger markings vary in width and direction, and even stylized drawings look more convincing when the dark shapes feel integrated into the body rather than like a repeated zebra pattern.
Tiger coloring problems and quick fixes
| Problem | Try this | Why it helps |
|---|---|---|
| The tiger looks flat | Add a darker orange-brown beneath the belly and on the far legs. | The body gains form without covering the printed linework. |
| Stripes dominate everything | Use charcoal or dark brown instead of solid black on some pages. | Softer contrast lets the face and body shape remain visible. |
| The face disappears | Keep the muzzle and eye surrounds lighter than the outer coat. | A light facial zone separates small features from nearby stripes. |
| Orange pencil looks patchy | Build two or three light layers with overlapping strokes. | Gradual coverage is smoother than pressing hard in one pass. |
| White areas look unfinished | Add a very light beige or cool-gray shadow near edges. | White fur gains dimension while still reading as white. |
| The background competes with the tiger | Use a quieter green, blue-gray or pale tan behind the animal. | Lower background contrast keeps the striped coat as the focal point. |
Useful tiger color palettes
- Classic Bengal-inspired: golden orange, burnt orange, cream, black and a muted green background.
- Soft cub: peach-orange, warm tan, cream and dark brown stripes.
- Cool contrast: rust orange, cream, charcoal and a pale blue-gray background.
- Fantasy tiger: choose one light, one middle and one dark version of the same unusual hue, then keep the muzzle pale so the face remains clear.
These palettes are for coloring practice rather than strict species identification. If you want a more natural result, use a tiger photograph to observe where the coat becomes lighter and how the stripes change direction around the legs and face instead of trying to copy every individual marking.
Which tiger coloring page should you choose?
- Easy pages: choose large tiger outlines with fewer stripes and little background detail.
- Baby and kawaii tigers: use these for a softer cartoon look and brighter color combinations.
- Realistic tigers: colored pencils work well when you want to layer orange, brown and black without covering the smaller stripe details.
- Adult coloring: choose the fuller scenes with more texture and background areas.
When coloring stripes, leave the lighter coat areas first and add darker stripes afterward. This makes it easier to control contrast. A pale gray or blue background can also help an orange tiger stand out without competing with the pattern.

