
This collection has 23 realistic kitten and cat coloring pages, mostly in wide landscape format. The designs include resting kittens, playful cats and pages with more natural body proportions and fur detail than our kawaii cat sets.
Colored pencils are the easiest tool for whiskers, fur markings and light shading. Crayons or broad markers work better on the simpler pages with larger open areas.
Most sheets are wide, so landscape orientation usually gives the best print size on A4 or US Letter paper. Use “Fit to page” so ears, tails and paws stay inside the printable area.
For a mixed starting point, use our 15-page cat hub. For kawaii kittens, choose the 38 cute cat and kitten pages.
How to make realistic kitten fur look soft
Start with the broad coat color and leave the muzzle, chest or paws lighter when the drawing allows it. Add stripes, patches and darker fur after the base is established. Short directional pencil strokes work best around the cheeks, ears and silhouette; large body areas can stay smoother.
- Eyes and nose: keep these among the darkest points so the face remains expressive.
- Whiskers: leave them white where possible instead of drawing dark lines over them.
- Fur markings: build them gradually rather than pressing hard on the first pass.
- Background: keep it quieter than the kitten if the page includes scenery.
23 realistic kitten coloring pages
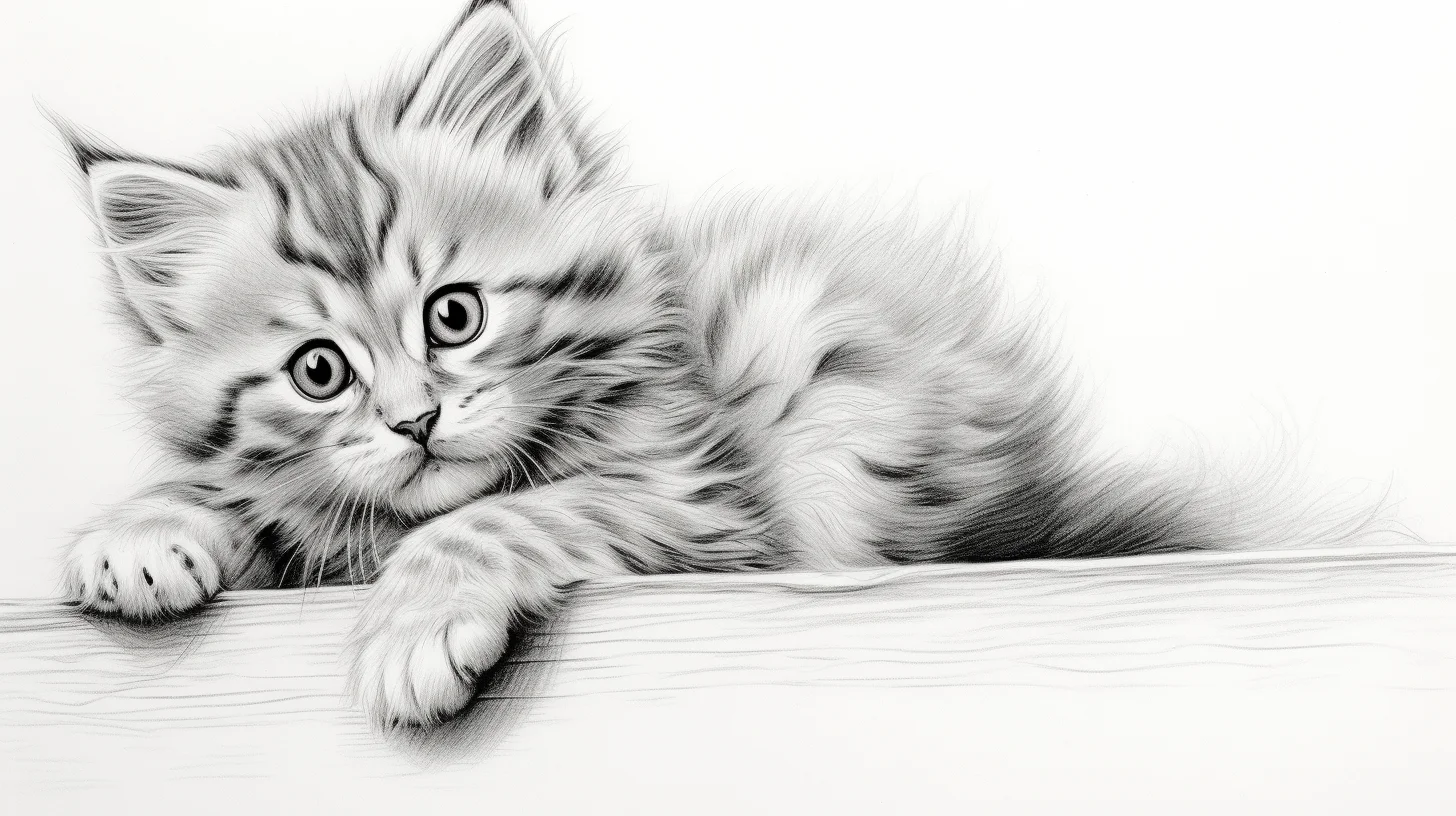
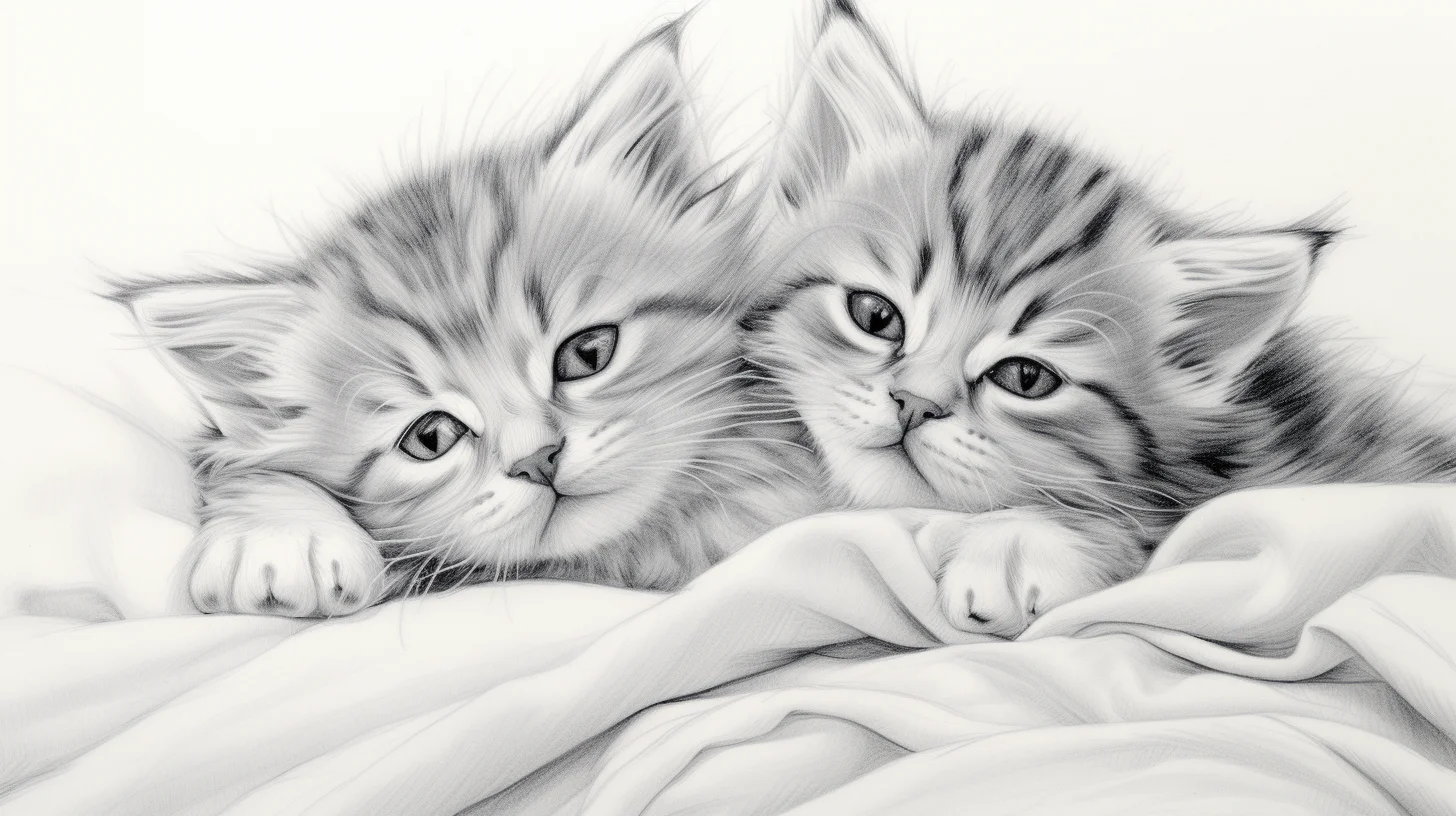
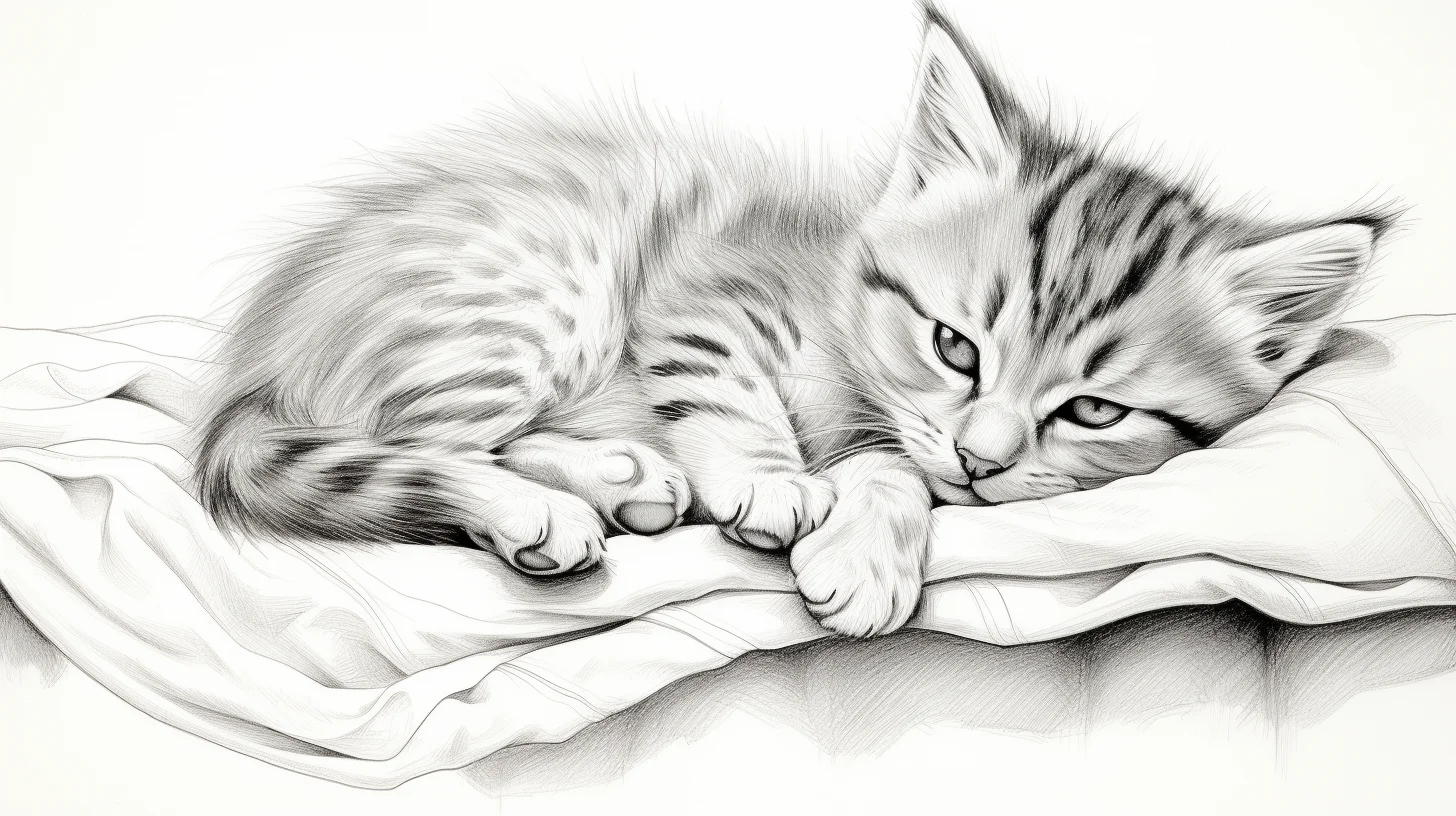
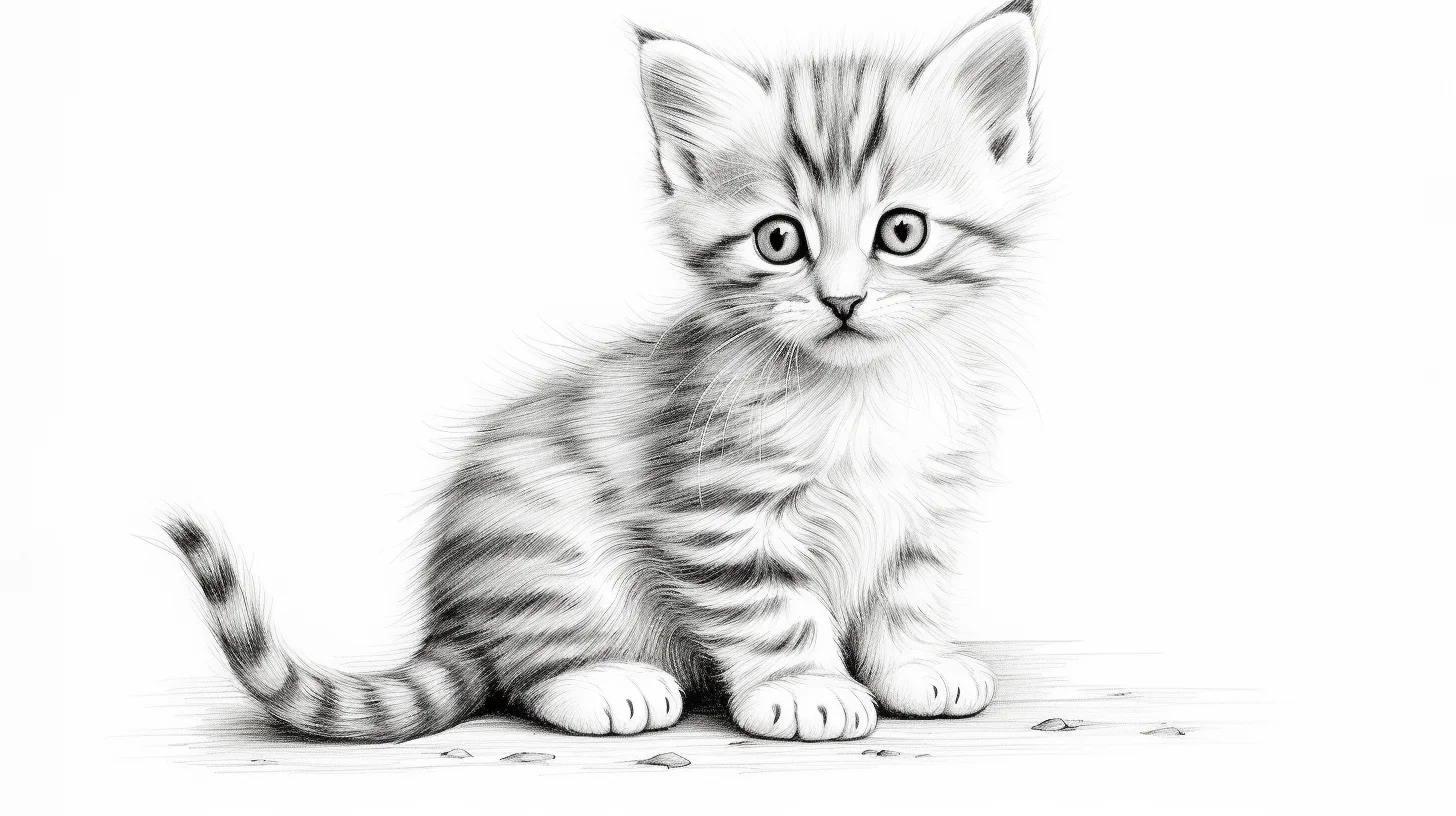
Realistic kitten group: use two or three values of the same coat color instead of outlining every fur section. A lighter face and chest plus slightly darker ears, back or legs creates depth without making the page look striped unless the cat design actually calls for it.
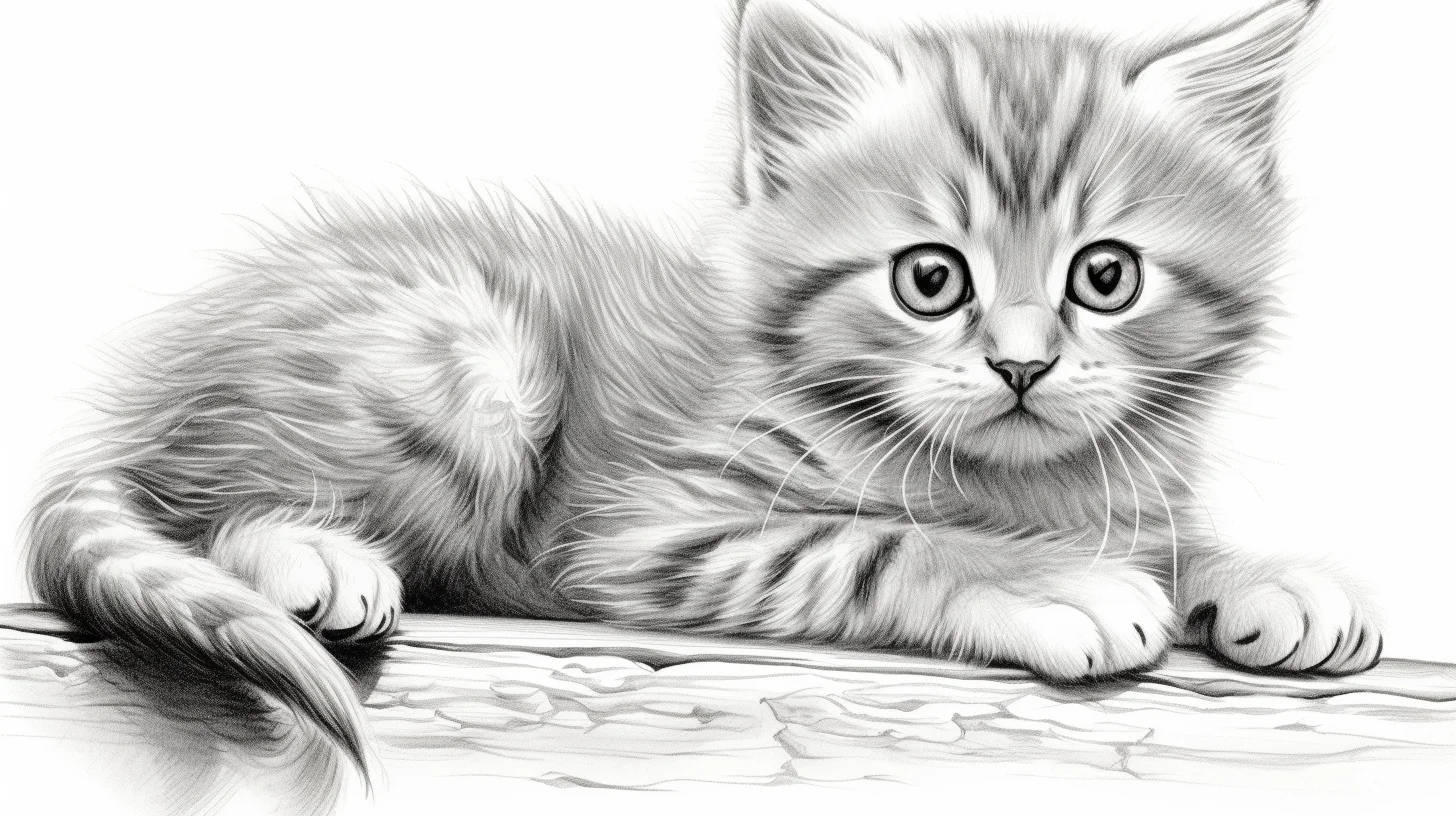
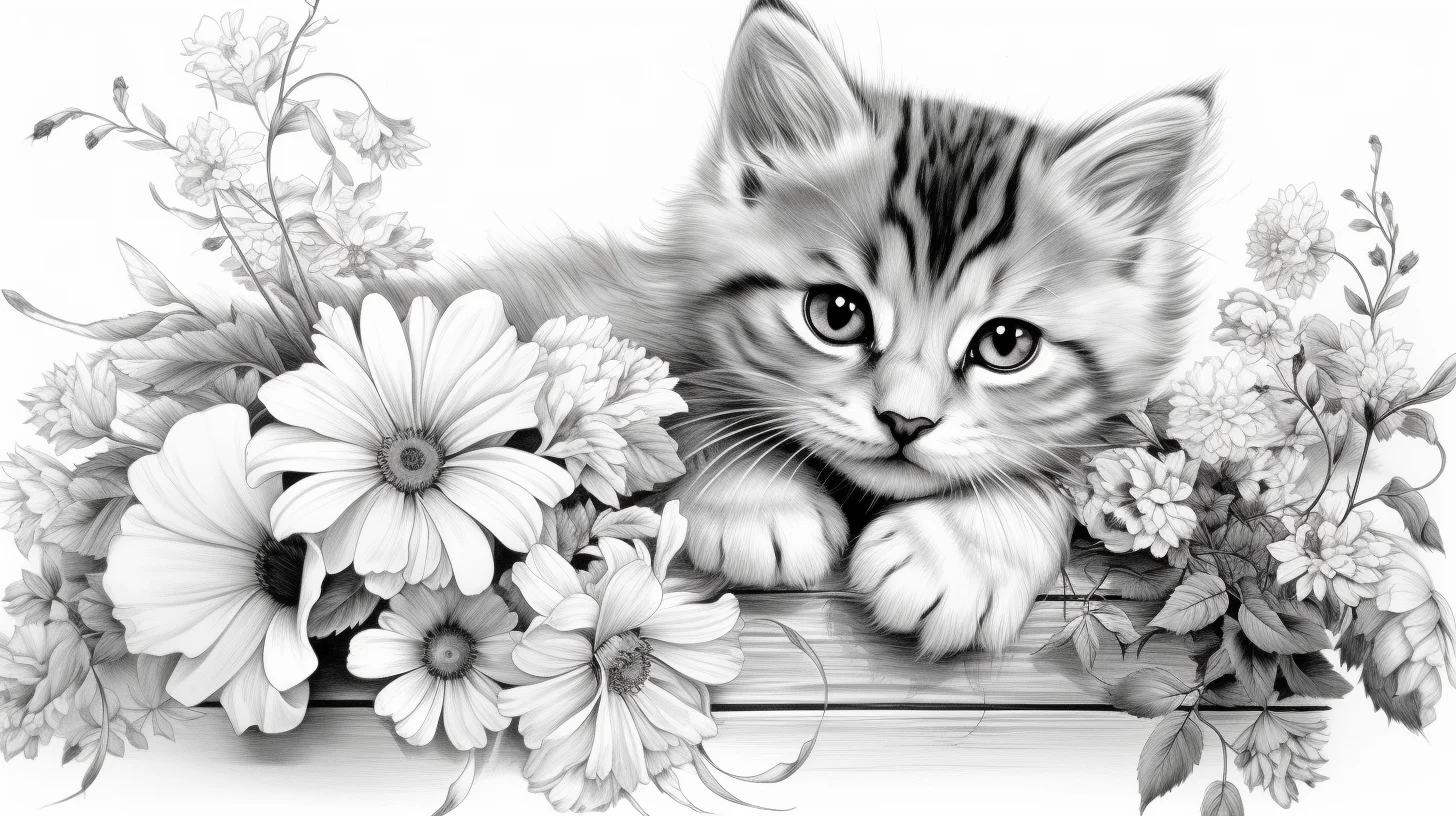
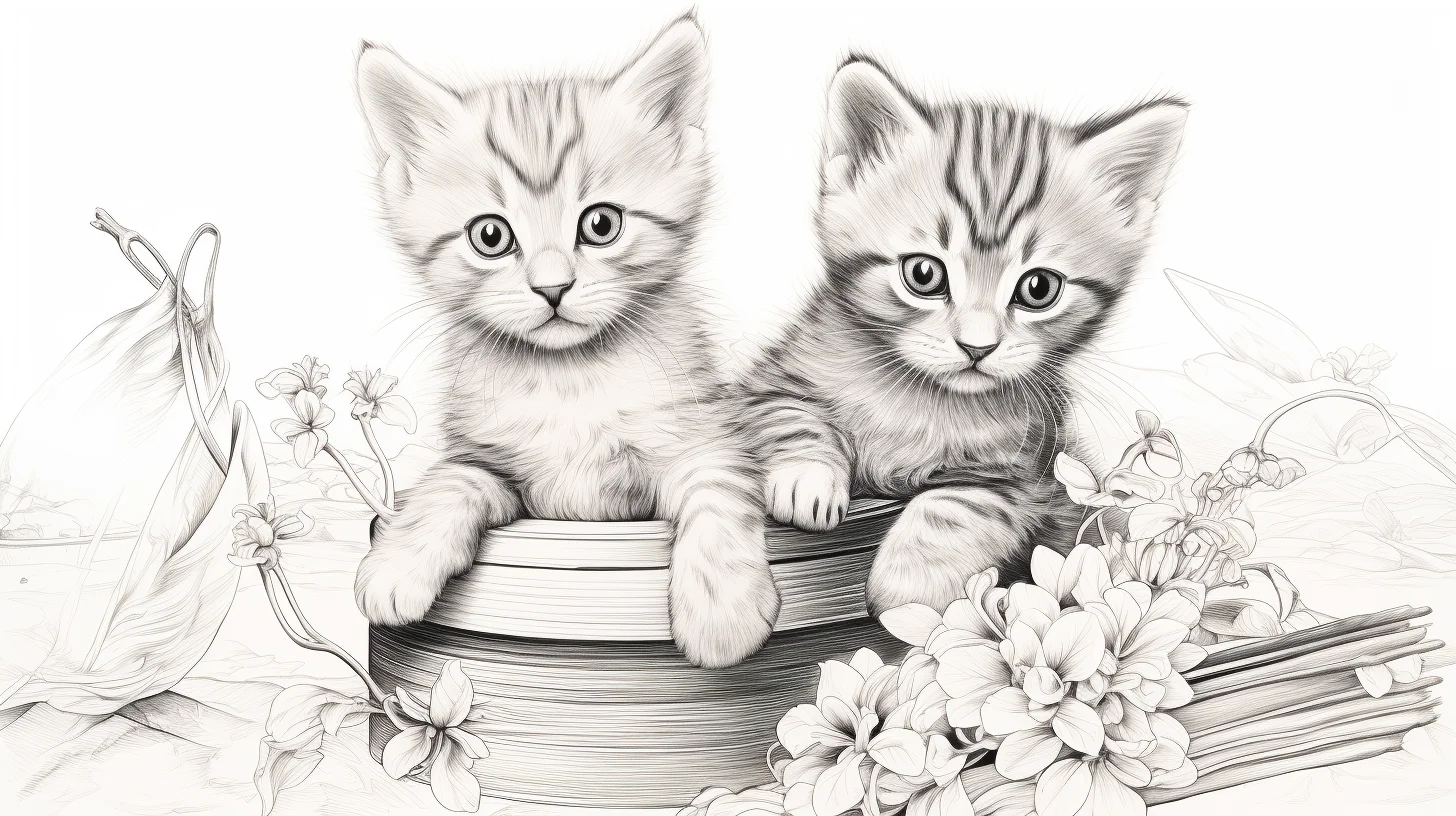
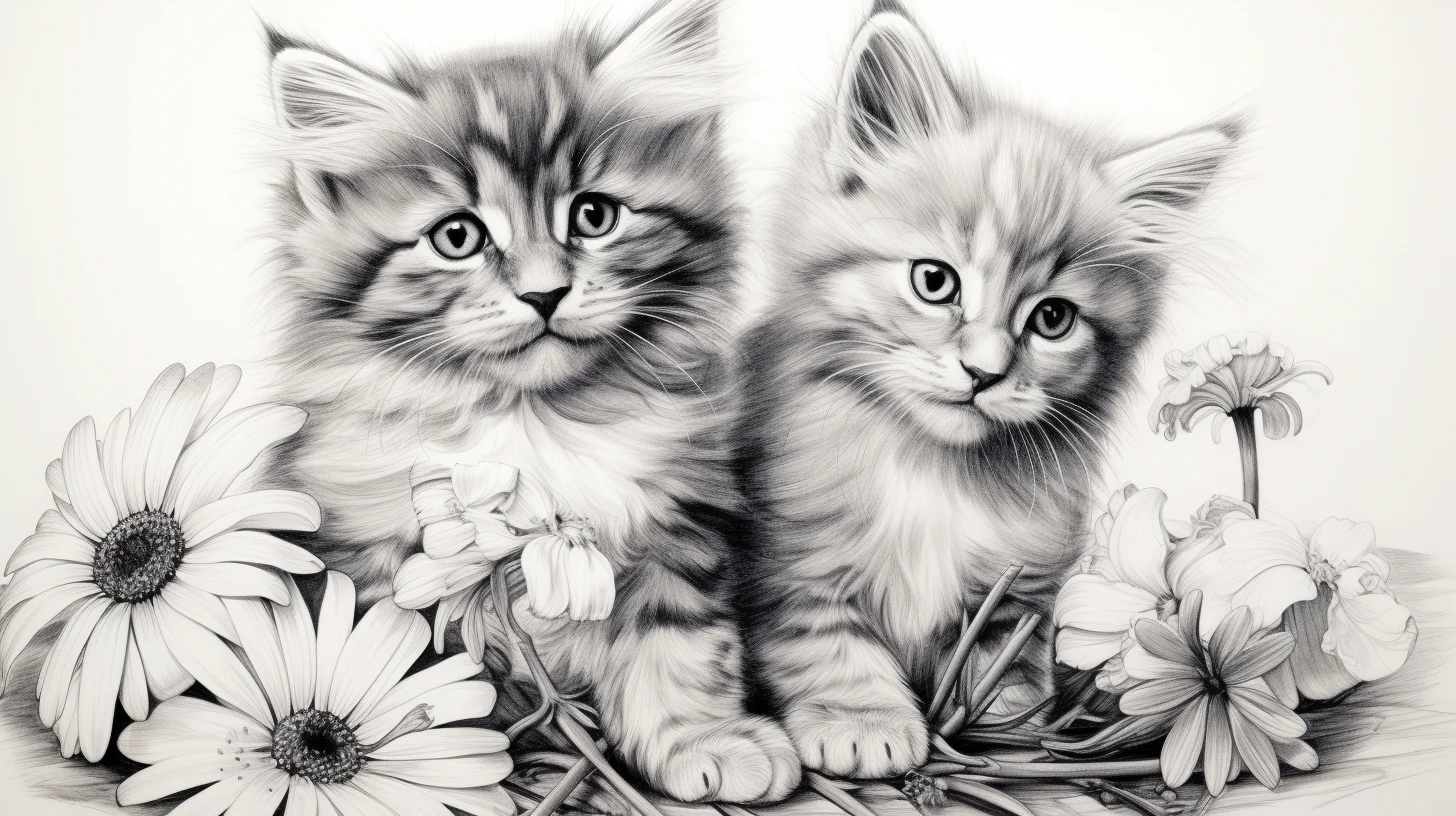
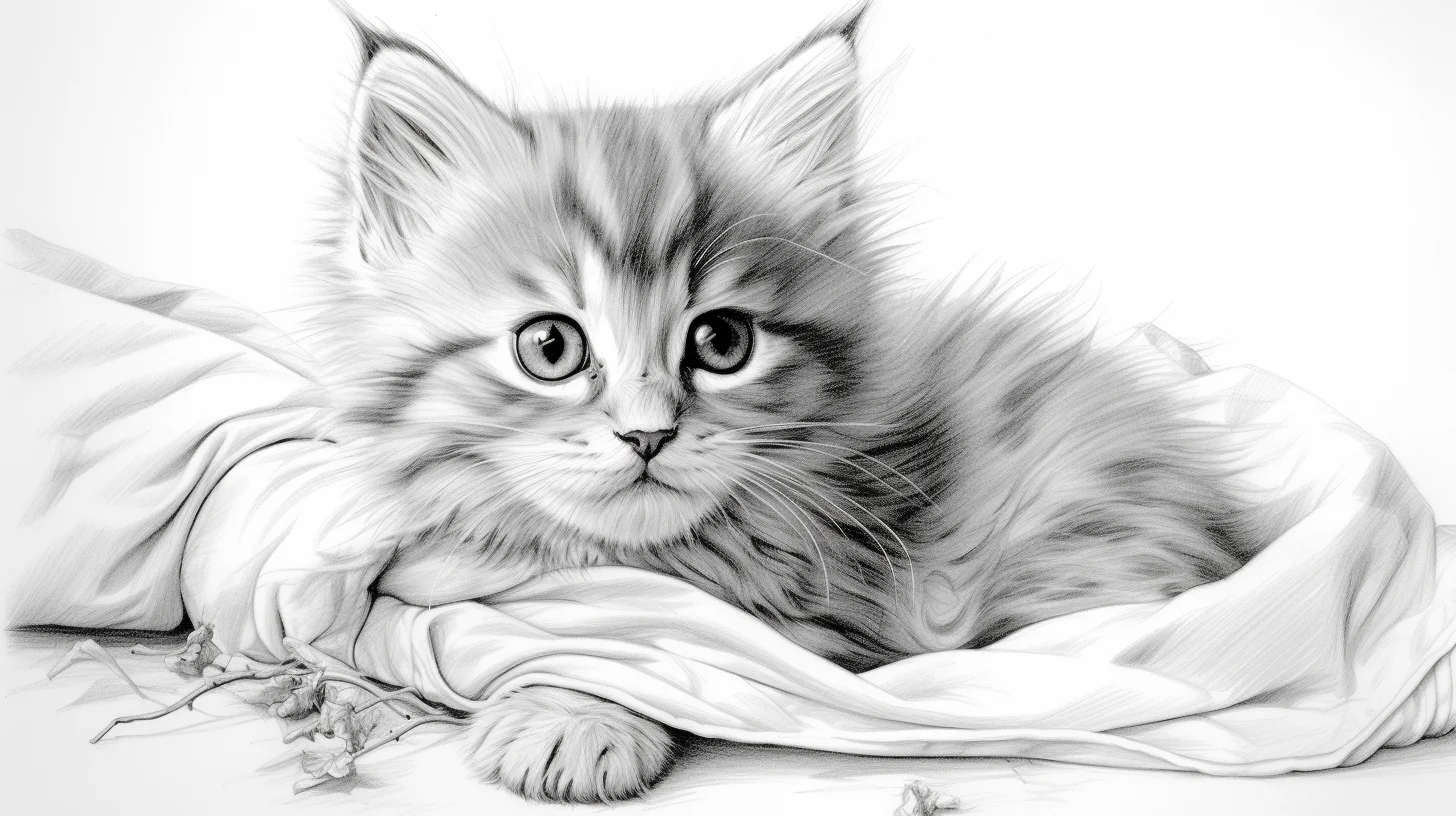
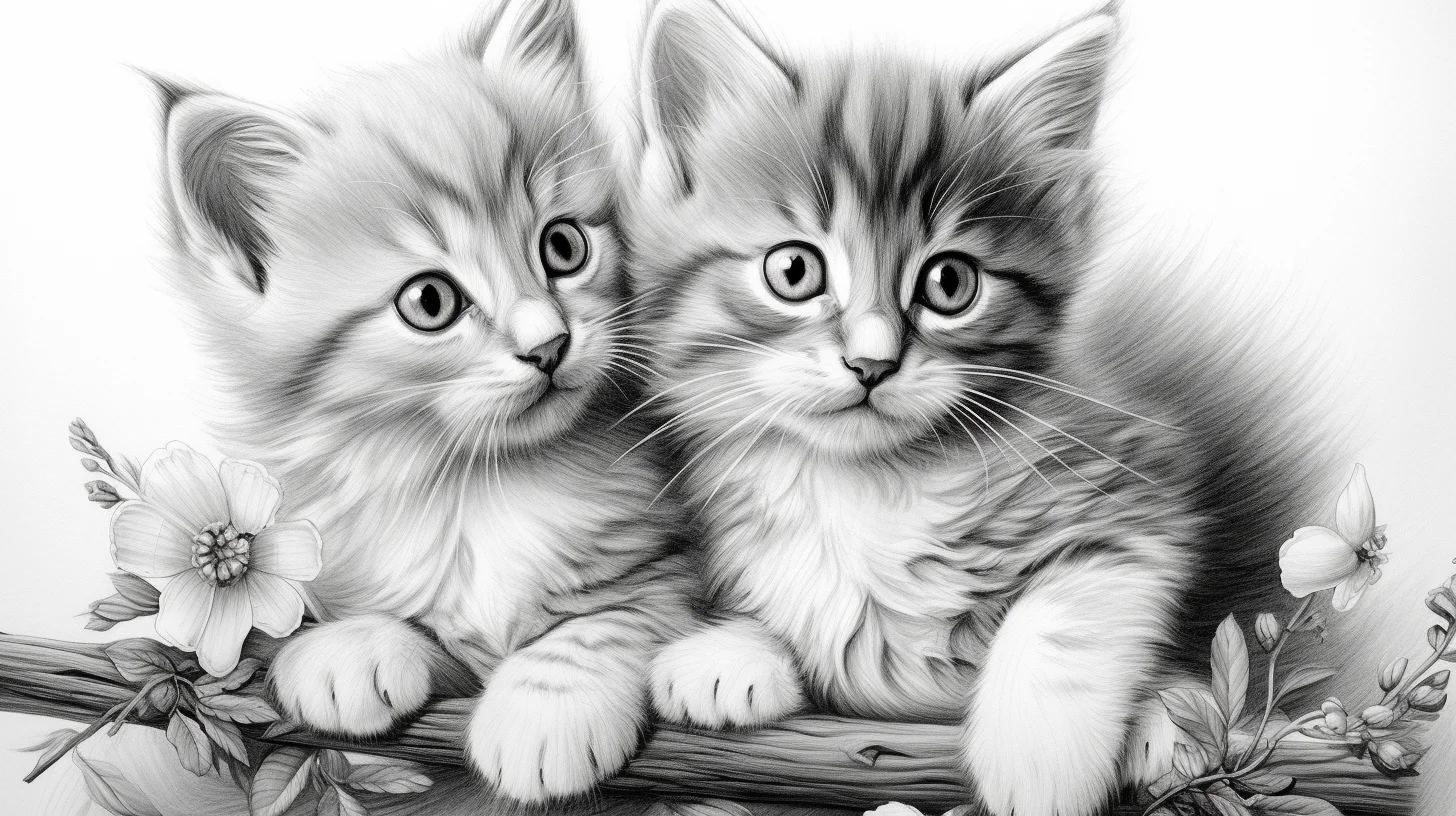
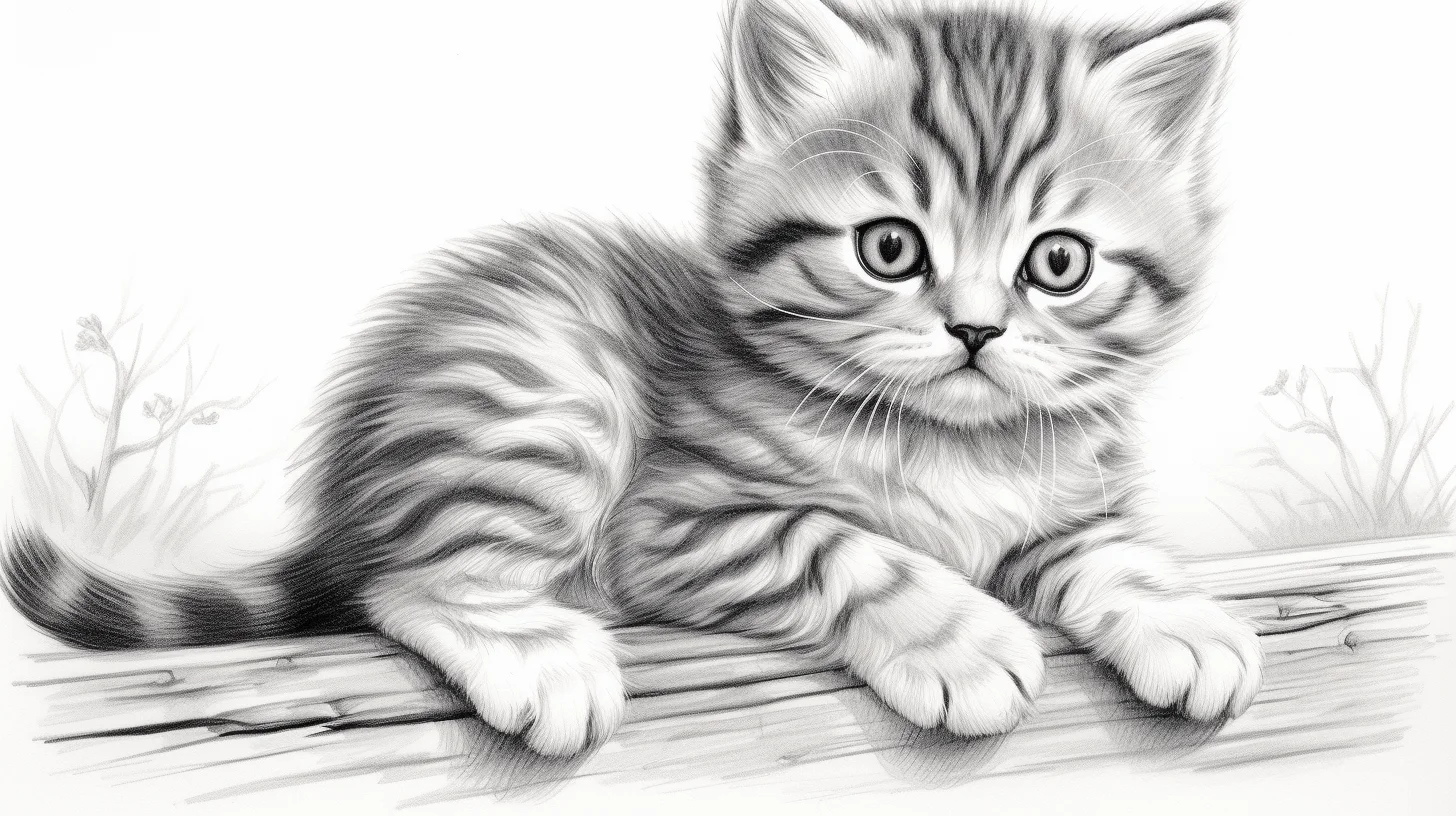
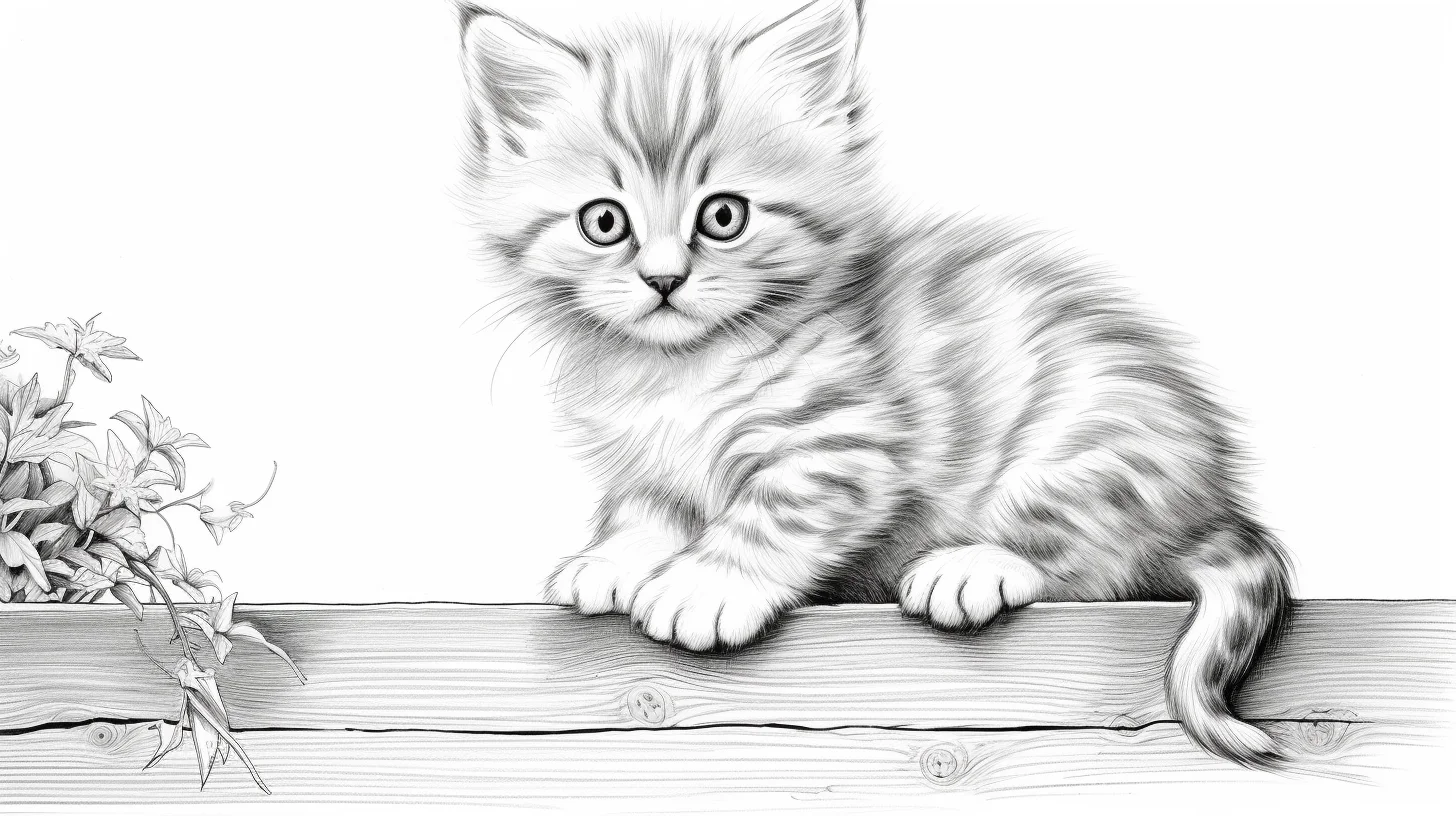
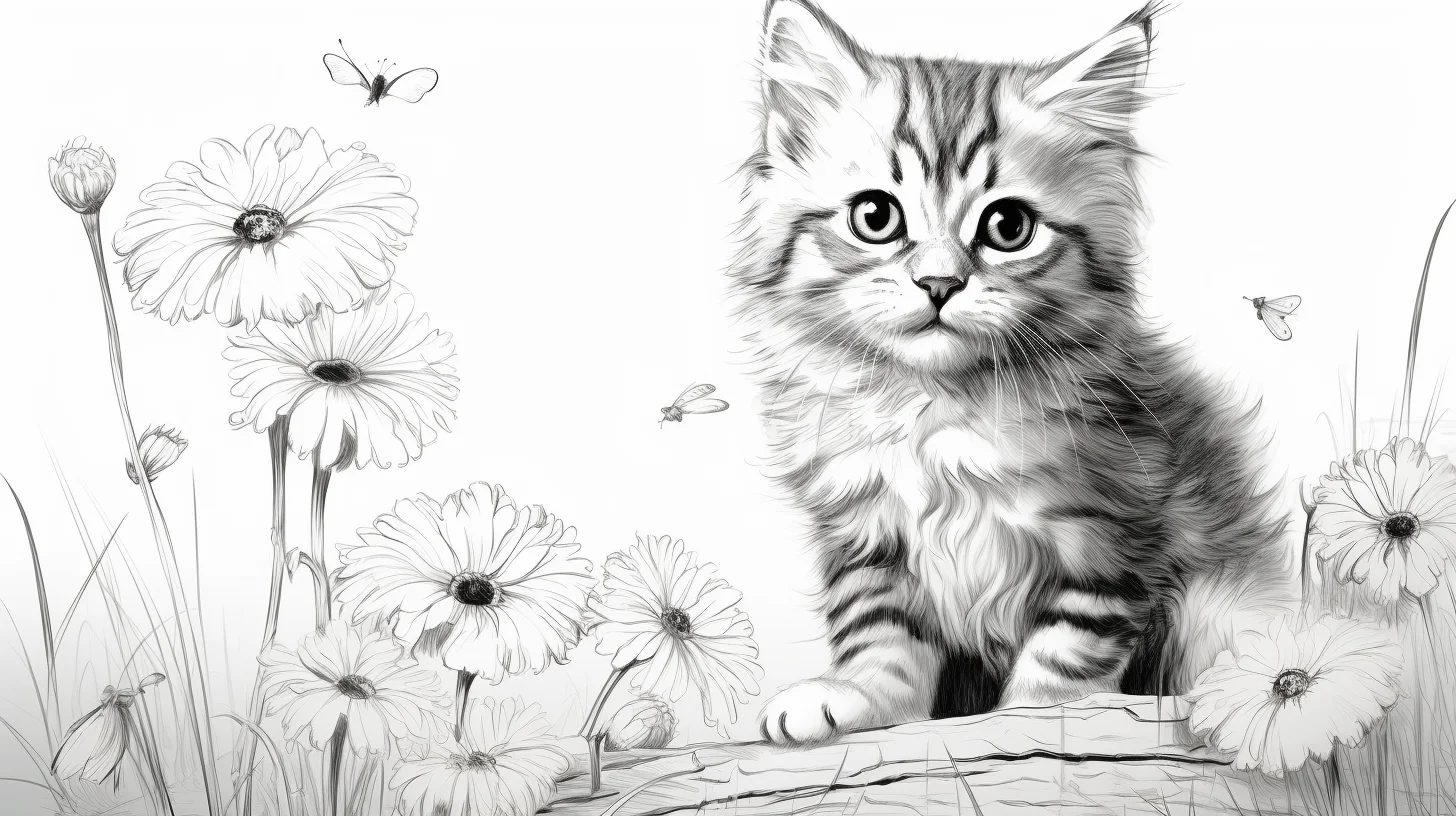
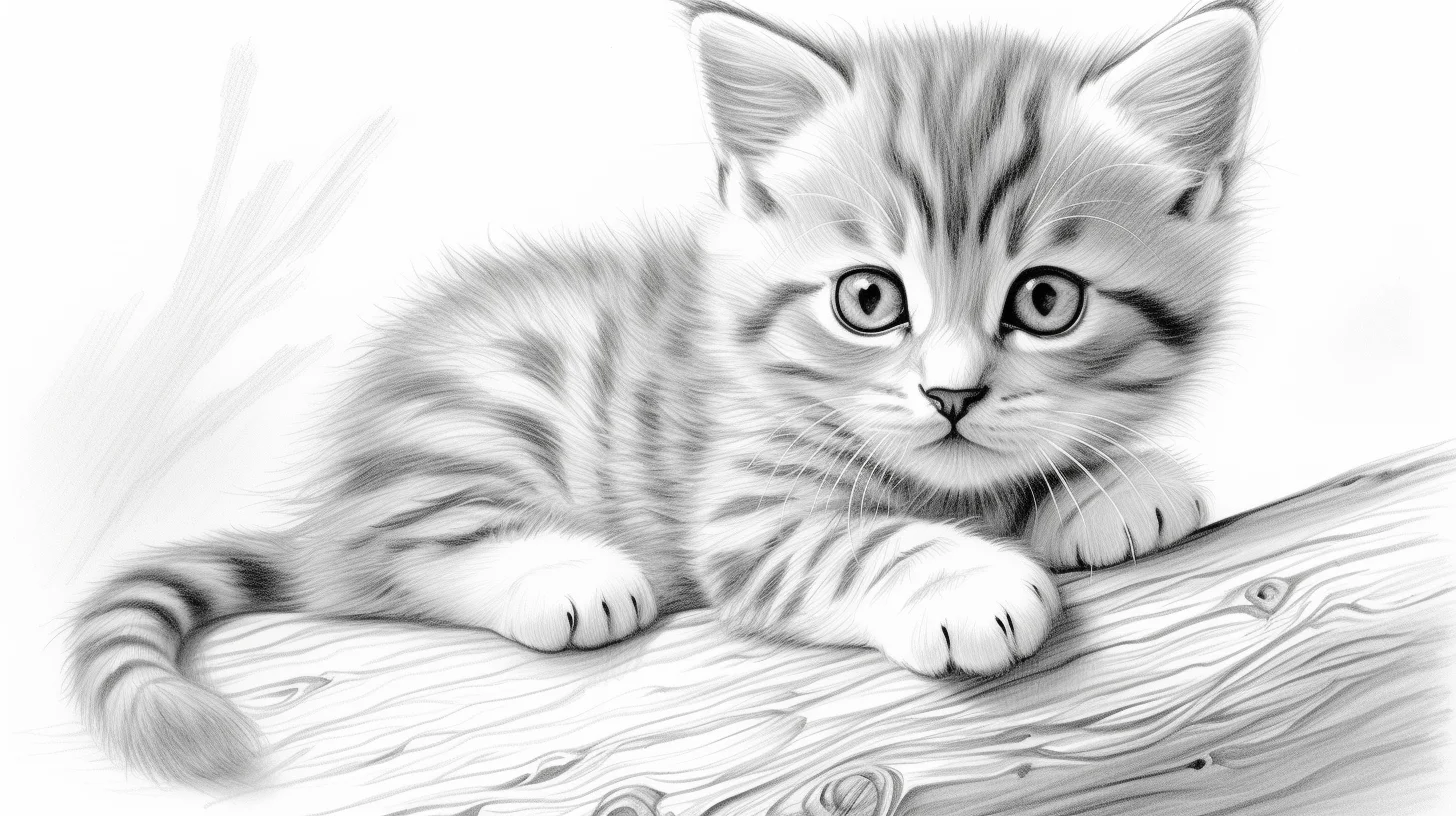
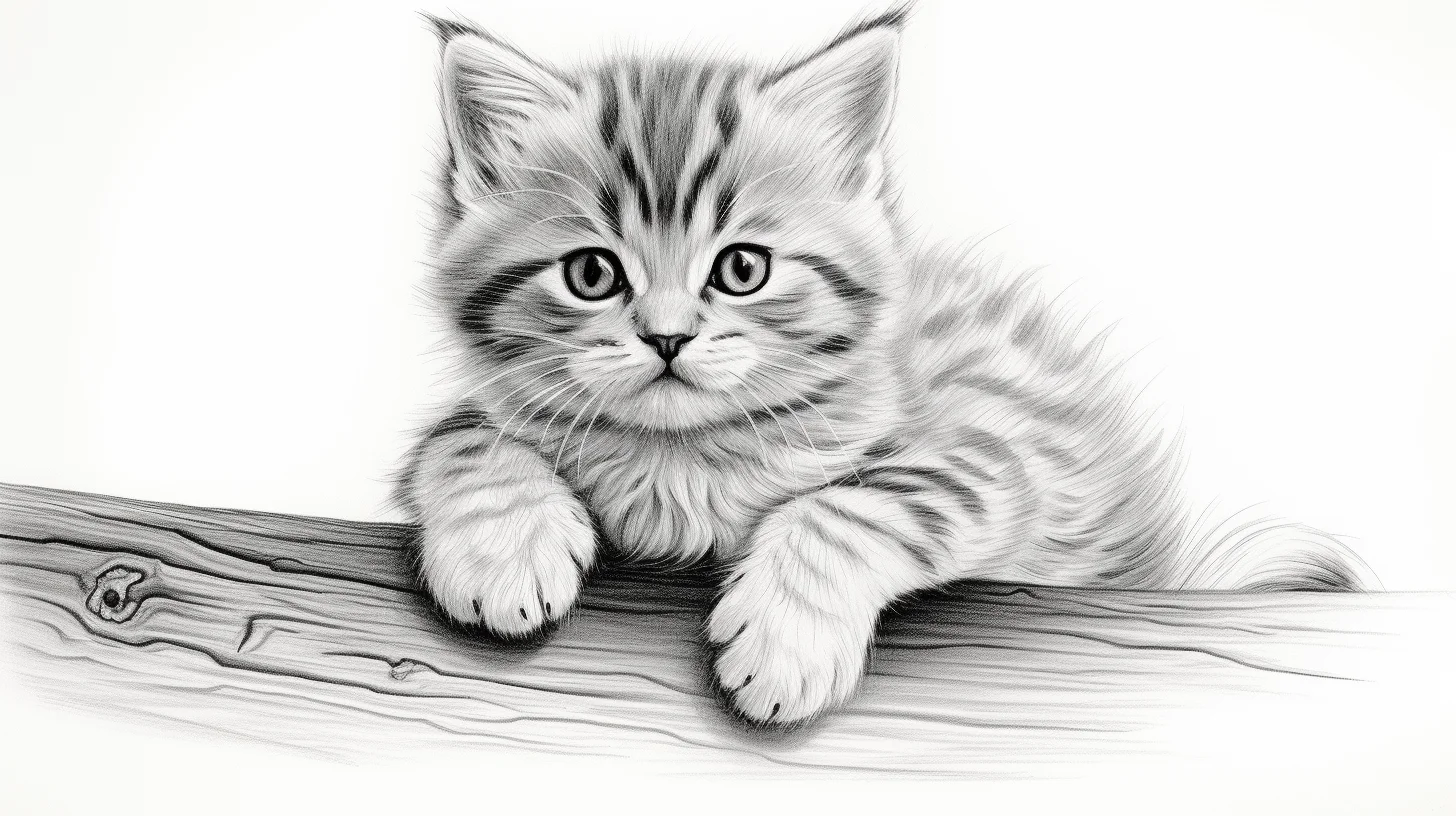
Adult-oriented cat page: colored pencils are the best fit when the fur lines get smaller. Work from light to dark and reserve heavy pressure for the deepest shadows around the eyes, ears and overlapping legs rather than tracing every line equally.
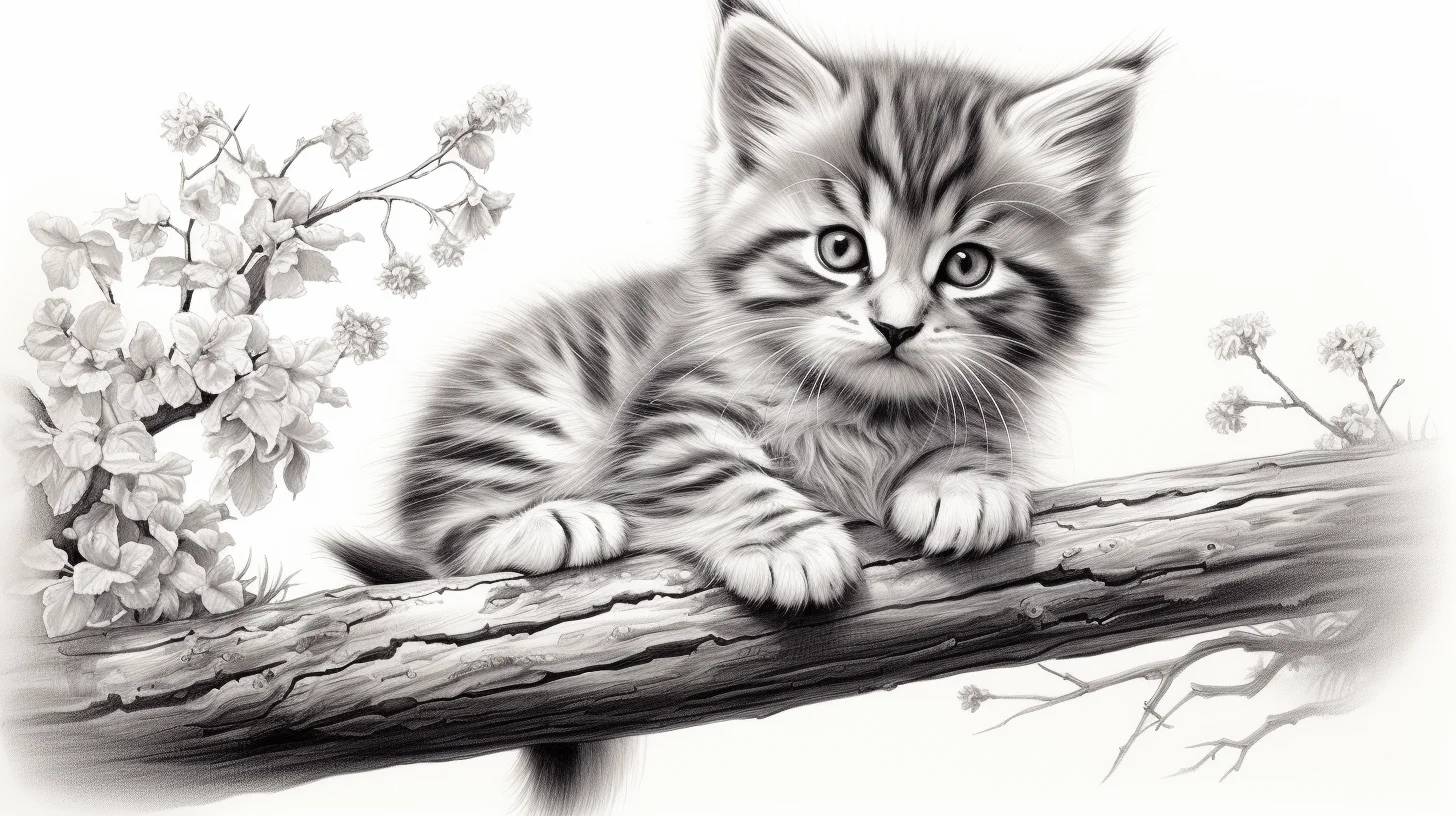
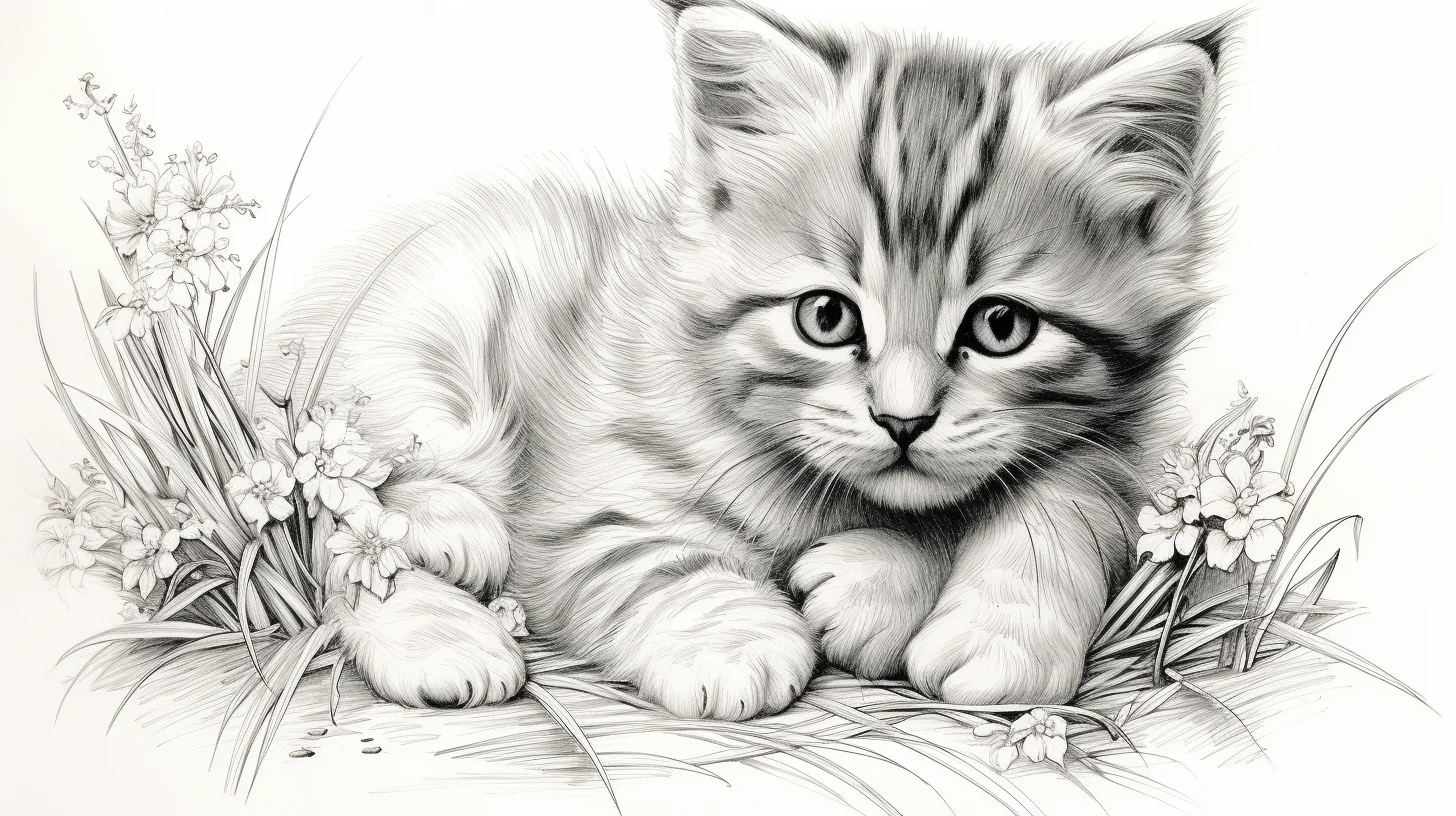
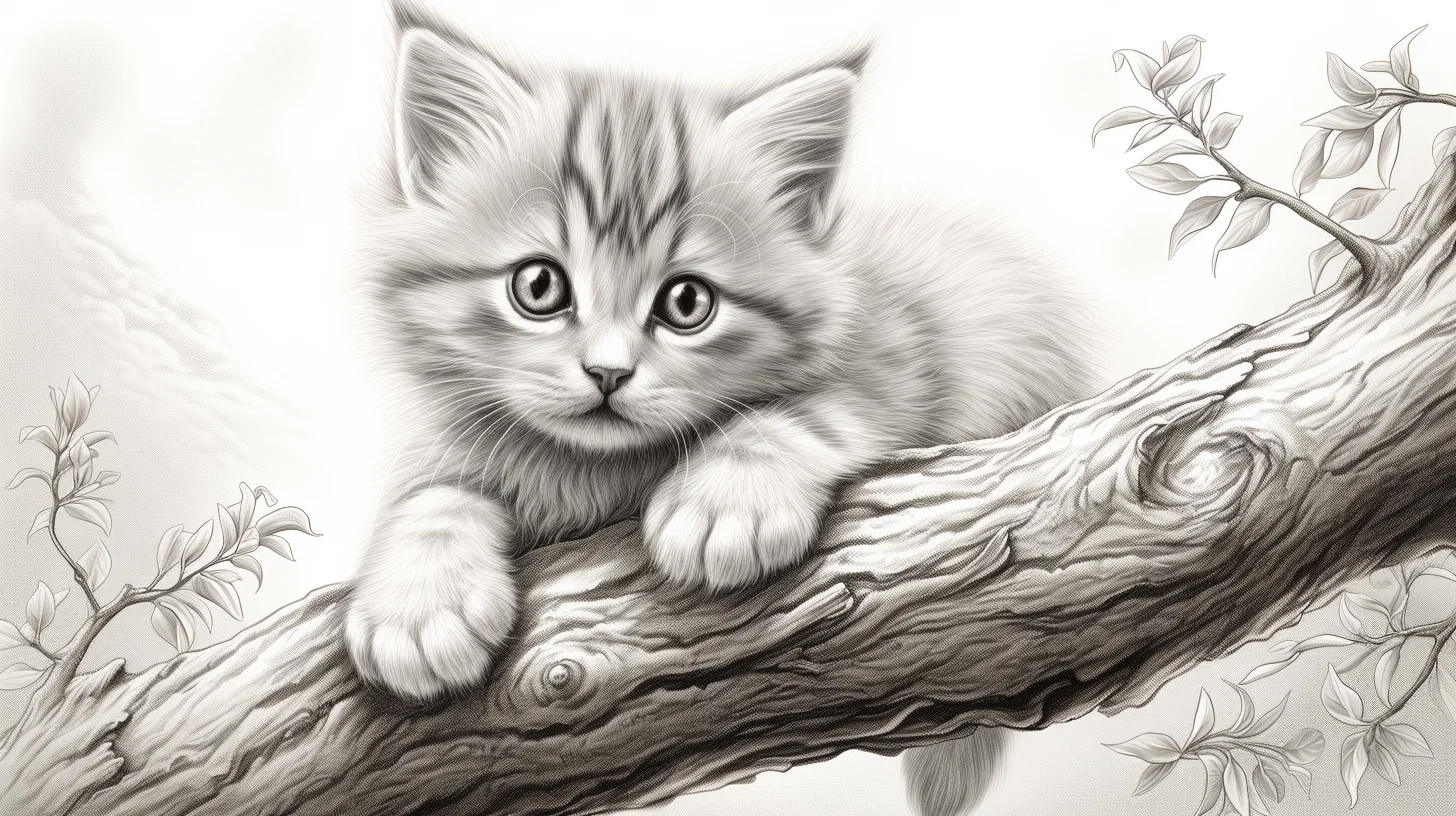
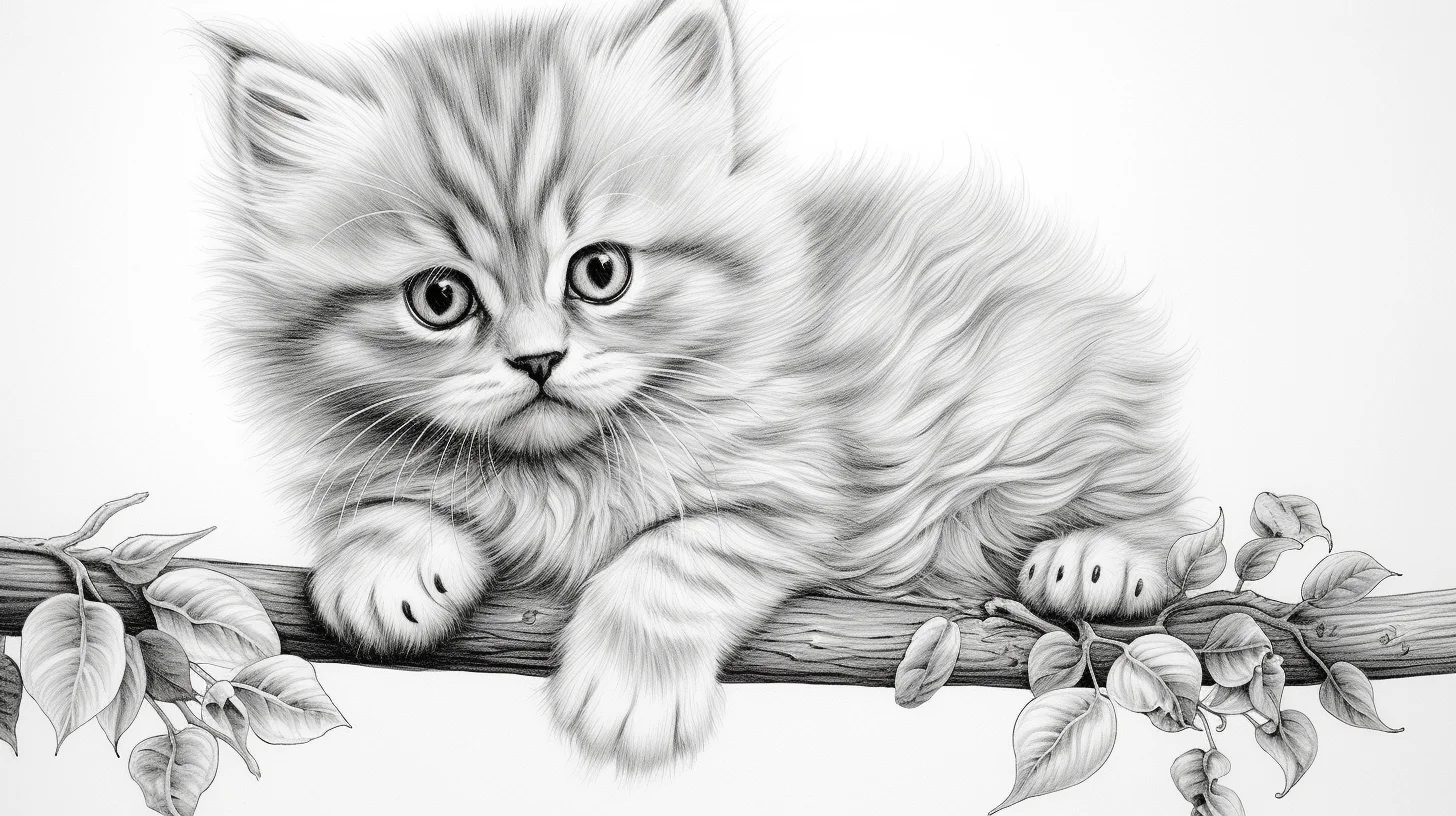
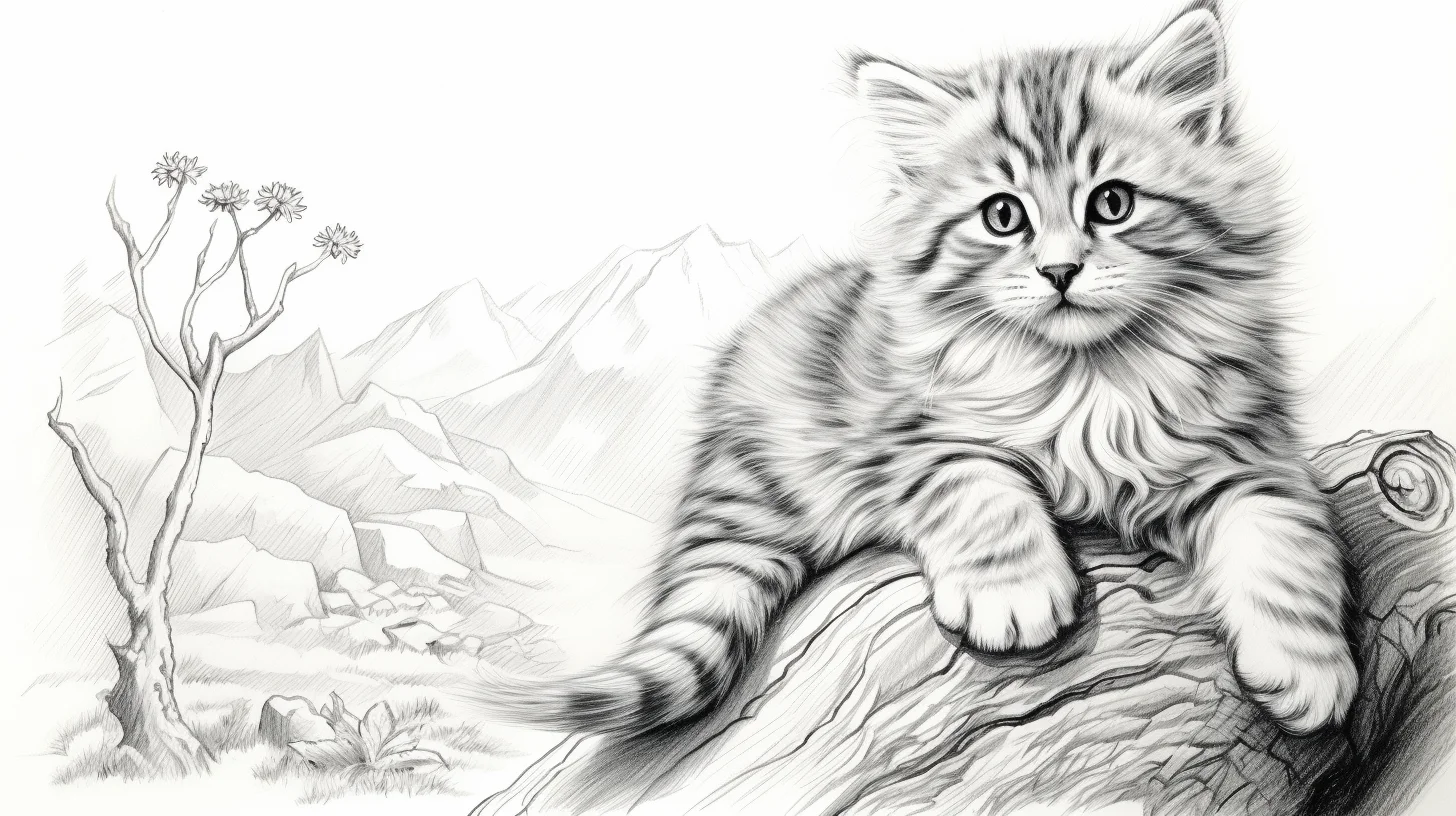
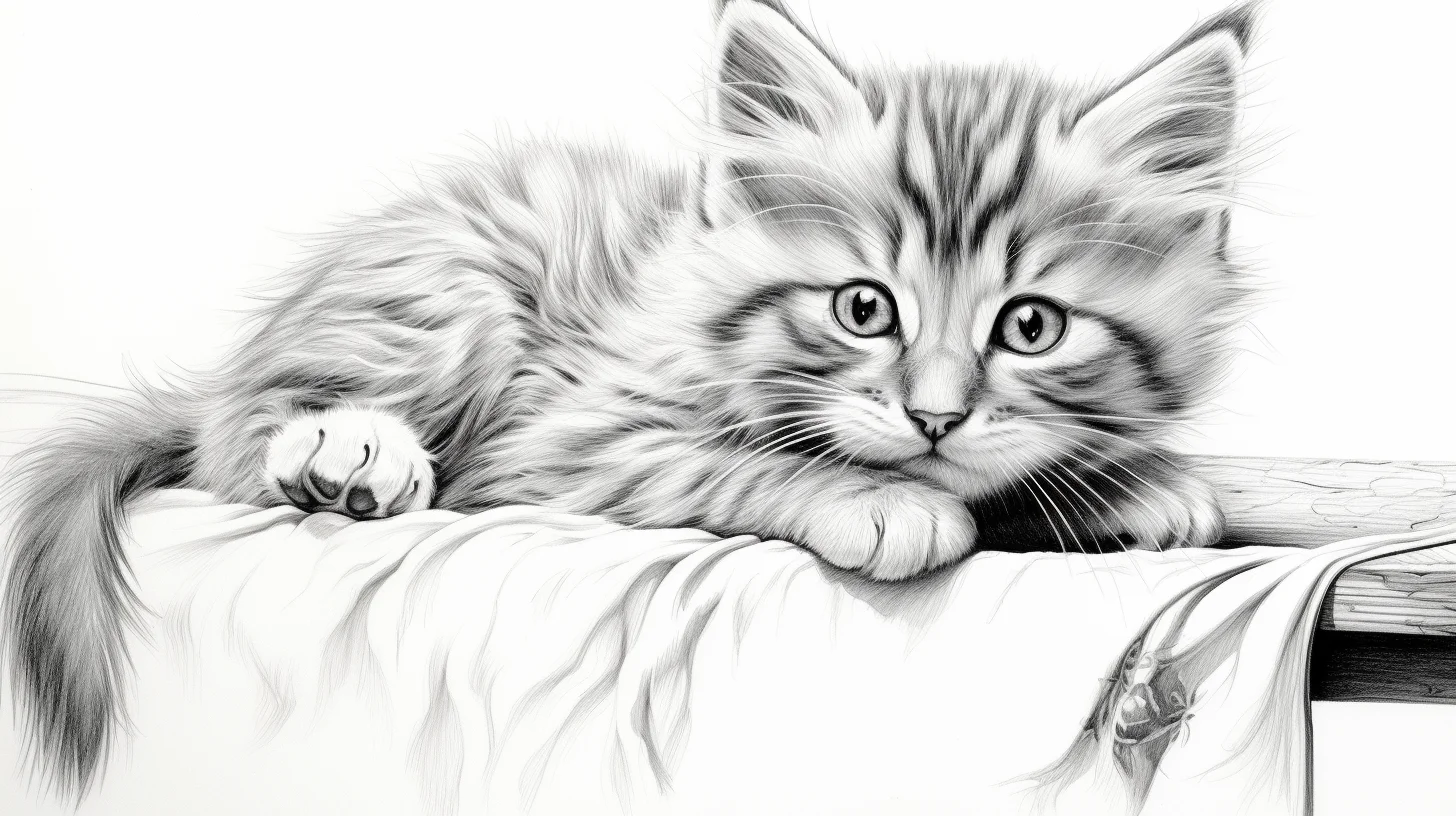
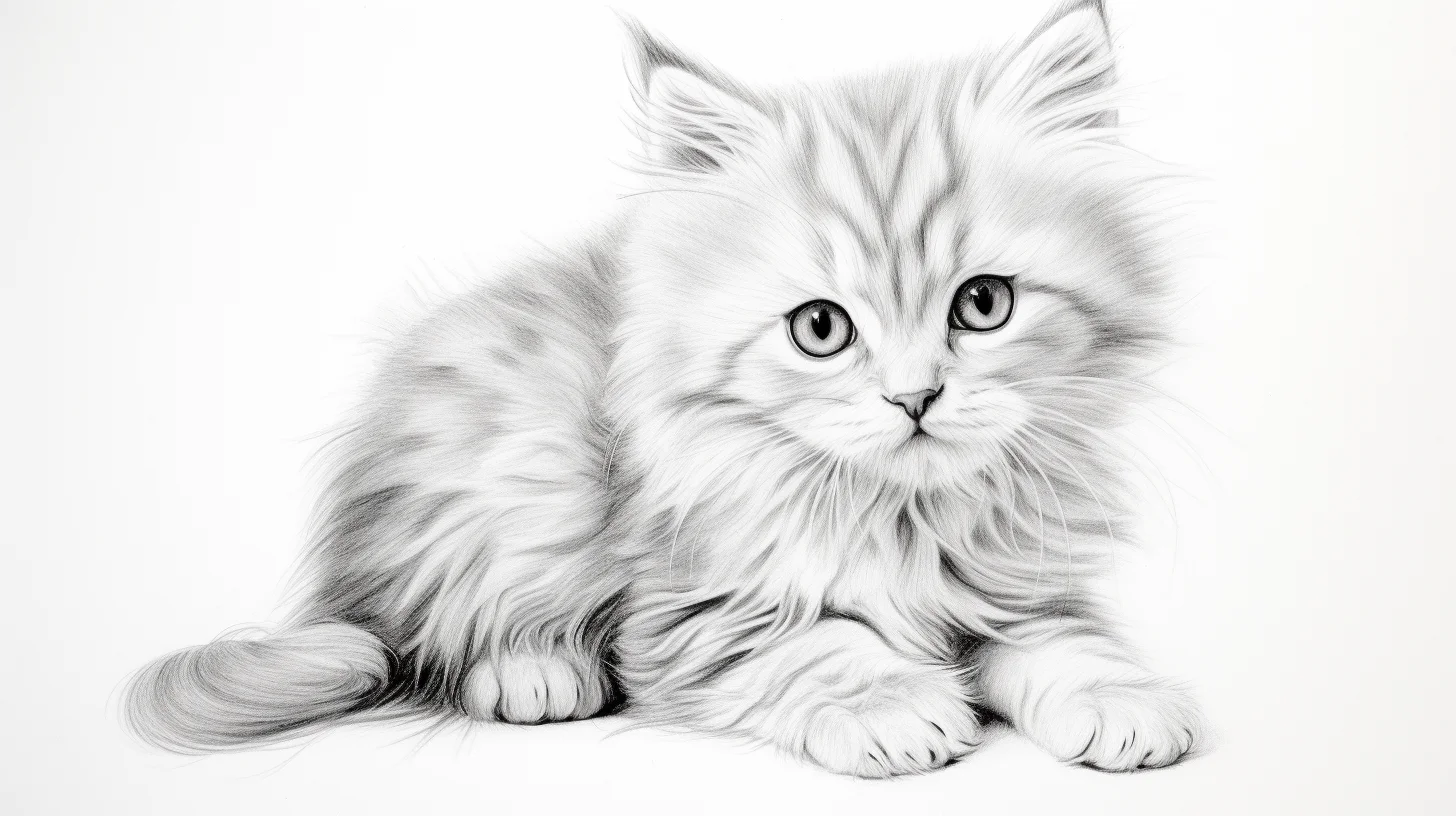
Easier page: if the realistic sheets feel too slow, use the simpler design as a break. Crayons or broad markers are fine when the areas are large; one main fur color plus a lighter face and darker ears is enough contrast.
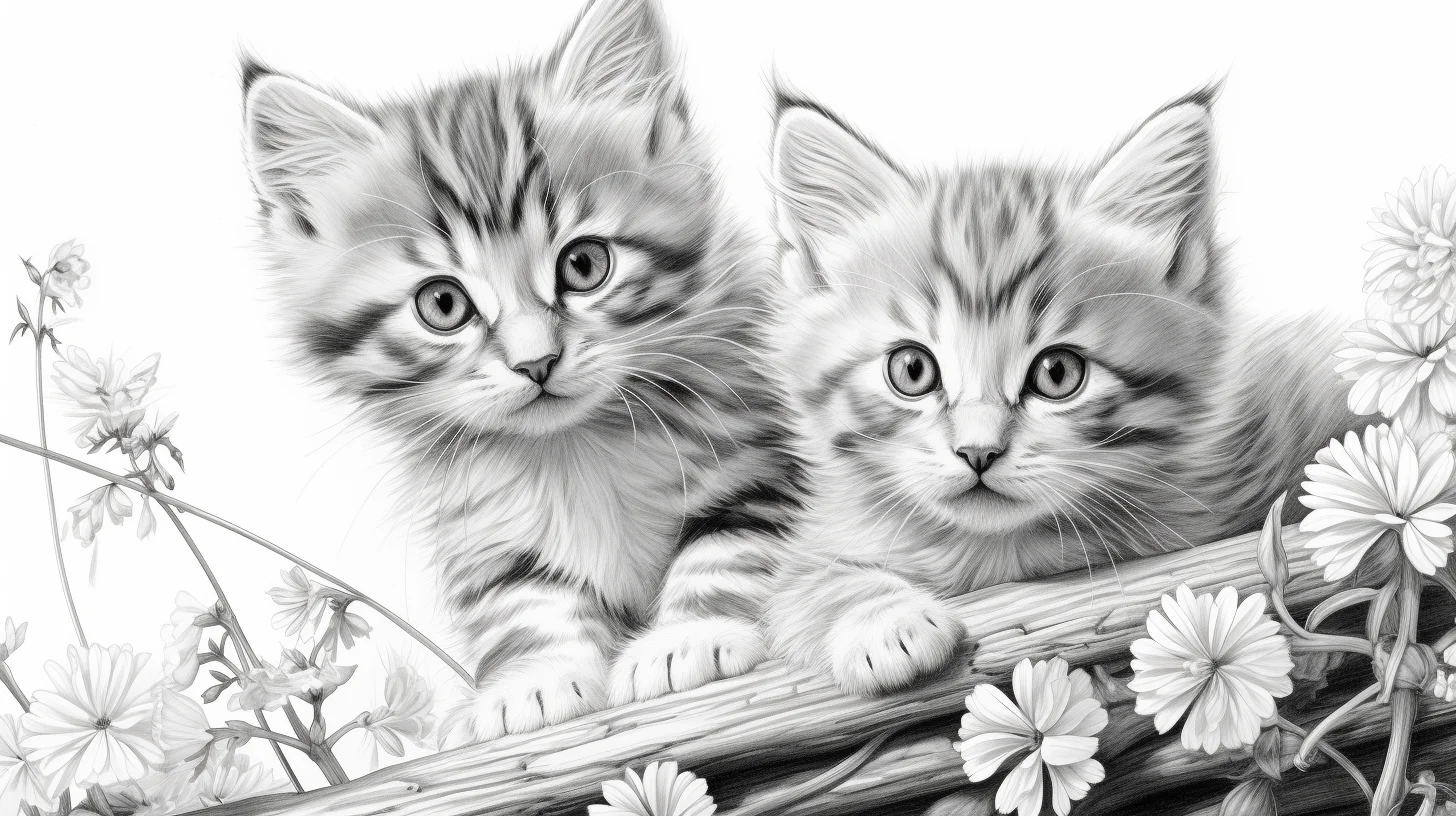
Practice realistic fur in three passes
A convincing coat is less about drawing hundreds of hairs than about controlling direction, value and edges. Pick one of the clearer kitten sheets and work through it in three passes instead of trying to finish each patch immediately.
- Pass 1 — map the coat: cover the main fur areas with very light pressure. Leave white markings and the brightest parts of the muzzle untouched.
- Pass 2 — describe the form: deepen the underside of the chin, the far side of the body and places where one leg overlaps another. Keep the center of rounded forms slightly lighter.
- Pass 3 — suggest fur: add short tapered strokes only where they help: cheeks, chest, ear edges, legs and the outside silhouette. Follow the direction the coat would grow instead of scribbling in every direction.
This order matters. If dark stripes and individual hairs go in first, there is little room left to establish the larger light-and-shadow pattern that makes the kitten look three-dimensional.
Match the pencil stroke to the part of the cat
| Area | Stroke direction | Keep in mind |
|---|---|---|
| Forehead | Short strokes moving upward and outward | Keep the area between the eyes relatively quiet so the face stays readable. |
| Cheeks | Fan outward from the muzzle | Use softer, lighter strokes near the whisker pads. |
| Chest | Mostly downward, with small changes in angle | A few broken edges suggest fluff better than a solid dark border. |
| Back and sides | Longer strokes following the body | Use broader, smoother layers underneath before adding fur texture. |
| Legs | Follow the length and curve of each leg | Darken overlap shadows rather than outlining every leg heavily. |
| Tail | Follow the tail from base toward tip | Curve strokes with the tail instead of using straight cross-lines. |
Make the eyes look glossy without overworking them
The eyes usually carry more visual weight than any individual patch of fur. Establish the dark pupil first, keep a tiny highlight uncolored, then build the iris around it. A darker rim around the iris can help, but avoid turning the entire eye into one black shape. If the drawing gives you only a small eye area, one clean highlight is more effective than trying to add several tiny details.
Keep the nose and mouth slightly softer than the pupils. On pale kittens especially, an extremely dark muzzle can compete with the eyes. For the whisker pads, light shading around the area often works better than coloring directly over every whisker line.
Realistic kitten coloring problems and fixes
| If this happens… | Try this | Why it helps |
|---|---|---|
| The fur looks like random scribbles | Stop adding hairs and return to larger light and dark coat areas. | Form has to read before texture can look convincing. |
| A tabby looks too striped | Soften some markings with the base coat and vary their edges. | Real fur markings sit within the coat rather than looking pasted on top. |
| The kitten looks flat | Darken under the chin, belly and overlapping paws while leaving upper planes lighter. | Value changes describe volume even when the line art is simple. |
| White fur disappears into the paper | Add pale gray, cream or cool blue only in shadow areas. | The untouched paper then becomes the brightest white fur. |
| The face becomes muddy | Reduce texture around the eyes and muzzle and preserve a few clean light shapes. | Quiet areas make the important facial features easier to read. |
| Colored pencil will not blend | Use several light layers before increasing pressure. | Heavy pressure too early flattens the paper surface and limits later layering. |
Try three common coat patterns
Tabby kitten
Lay down the underlying brown, gray or orange coat first. Add forehead marks, leg bands and body stripes afterward, keeping some markings softer than others. Dark markings should follow the body rather than cutting across its form mechanically.
Tuxedo or bicolor kitten
Decide which areas stay white before coloring. Build the darker coat gradually and use a little reflected gray in the white chest or paws so those areas still have shape. A clean boundary between the two coat colors is more important than adding lots of fur strokes.
White or very pale kitten
Do not fill the entire animal with gray. Leave most of the paper white and place pale shadow selectively under the chin, inside the ears, beneath the body and where legs overlap. This gives white fur volume without making it look gray.
A short realistic-kitten practice sequence
- First sheet: ignore individual hairs. Use only three values—light, middle and dark—to make the body feel rounded.
- Second sheet: choose a simple coat pattern and concentrate on making its markings follow the kitten’s form.
- Third sheet: combine both skills, then add selective fur strokes and facial details at the end.
If the third page looks busier but not more realistic, remove detail from the next attempt rather than adding more. Soft fur is often communicated by restrained texture and carefully placed edges.
Realistic kitten coloring questions
Which colored pencils work best for these pages?
You do not need a large set. A light, middle and dark version of the coat color, plus a neutral gray or brown, is enough for most kittens. What matters more is being able to layer lightly and sharpen the pencil for small facial details.
Should I outline the kitten after coloring?
Usually not if realism is the goal. The printed outline already defines the drawing. Reinforcing every edge with a dark pencil can flatten soft fur; instead, strengthen only a few shadowed edges and let some lighter edges remain understated.
How can children use the realistic pages without getting frustrated?
Choose a page with larger coat areas and skip the fur-texture stage. One main coat color, a lighter muzzle and chest, and darker eyes and ears can produce a complete-looking kitten without detailed pencil work.
Can markers be used for realistic cats?
Yes, but use them differently from pencils. Markers are better for clean flat coat shapes and bold patches than for soft layered fur. Test on scrap paper, put a spare sheet underneath to catch bleed-through, and avoid repeatedly soaking small facial areas.
Print these wide kitten pages in landscape
Most of this set is 1456 × 816, so landscape orientation usually uses the paper better than portrait. Open the full-size image, choose A4 or US Letter and use “Fit to page.” If you want a quicker child-friendly page instead of realistic fur work, use the 14 cat pages arranged by difficulty.

