
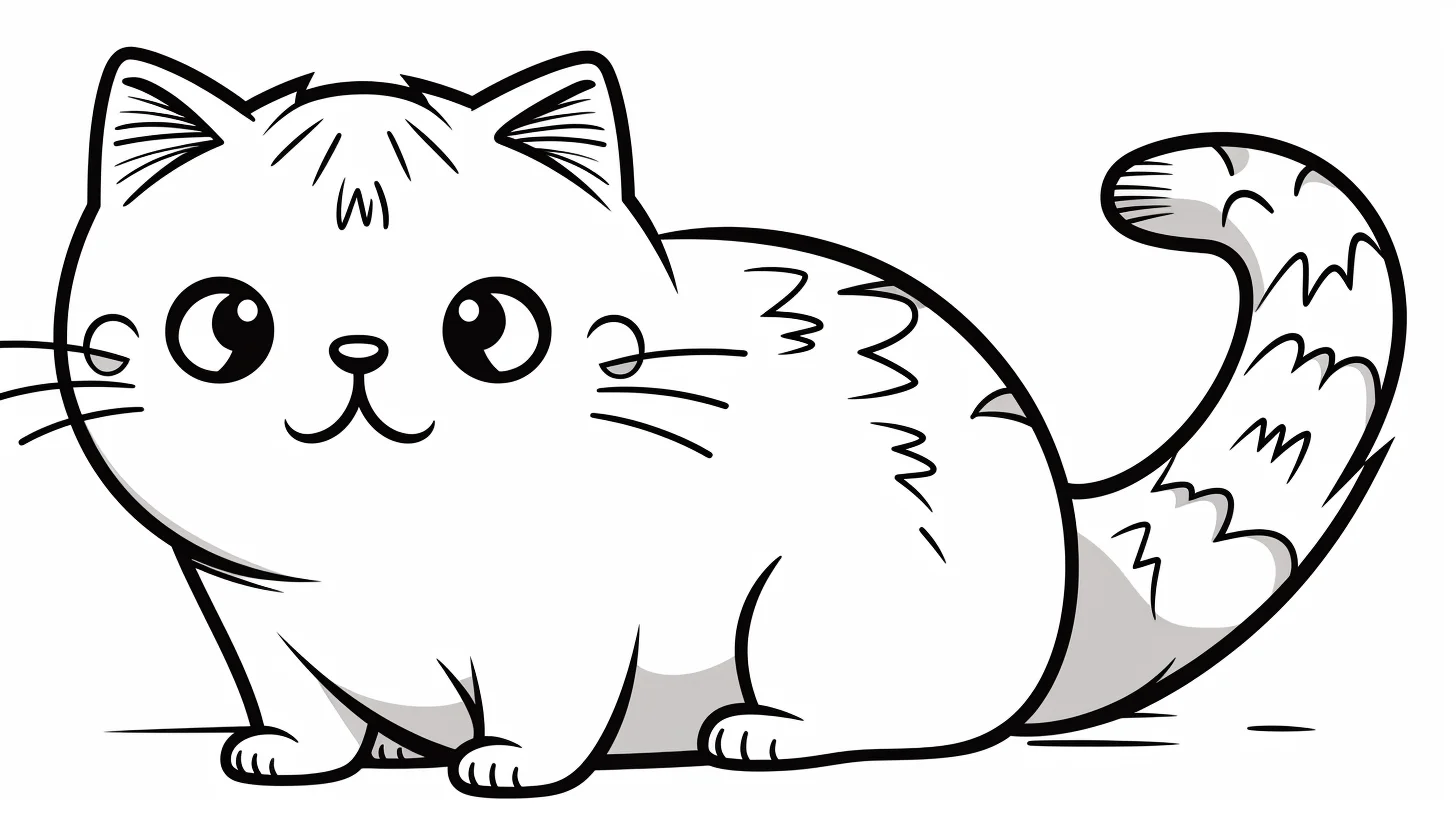
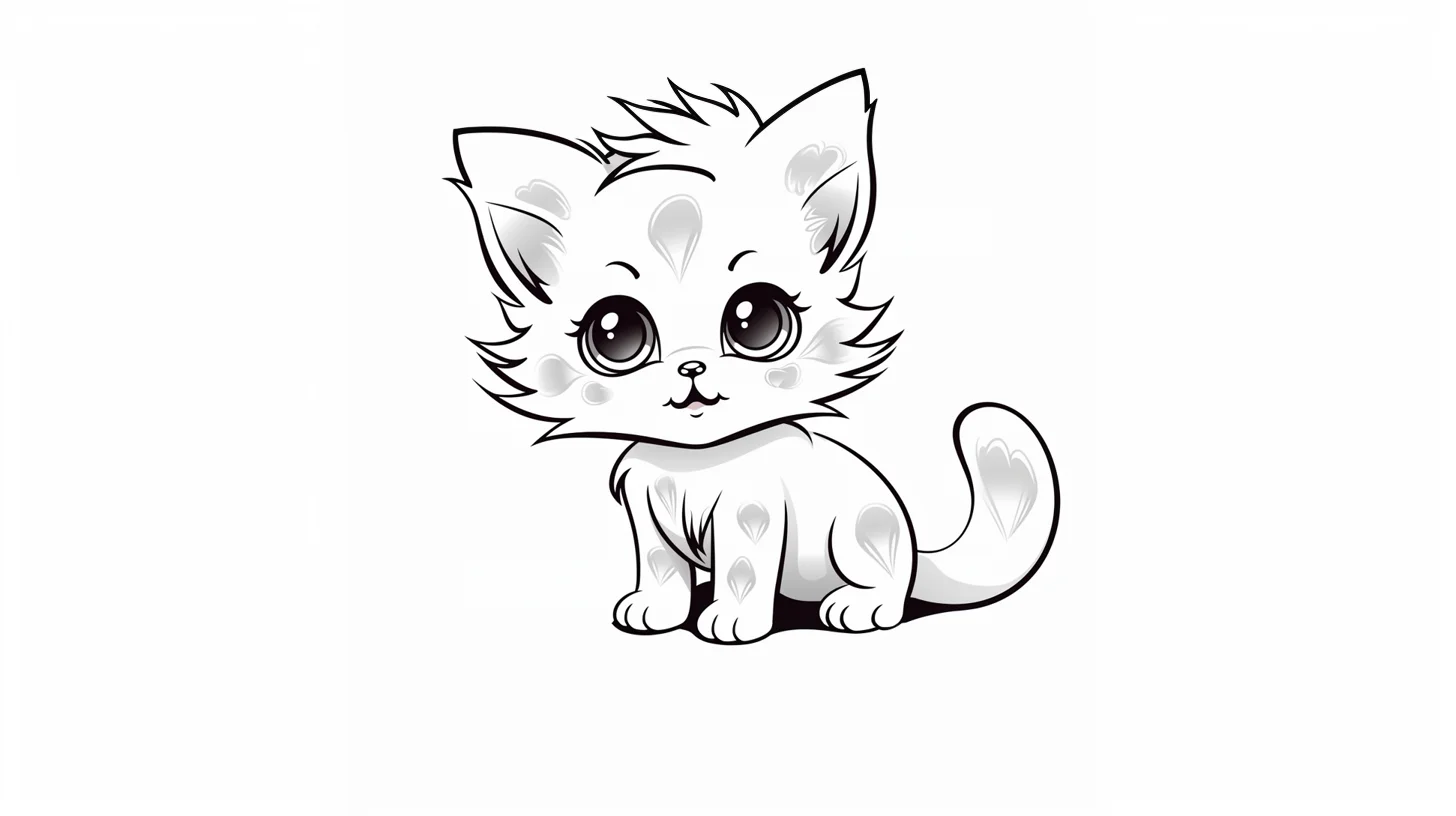
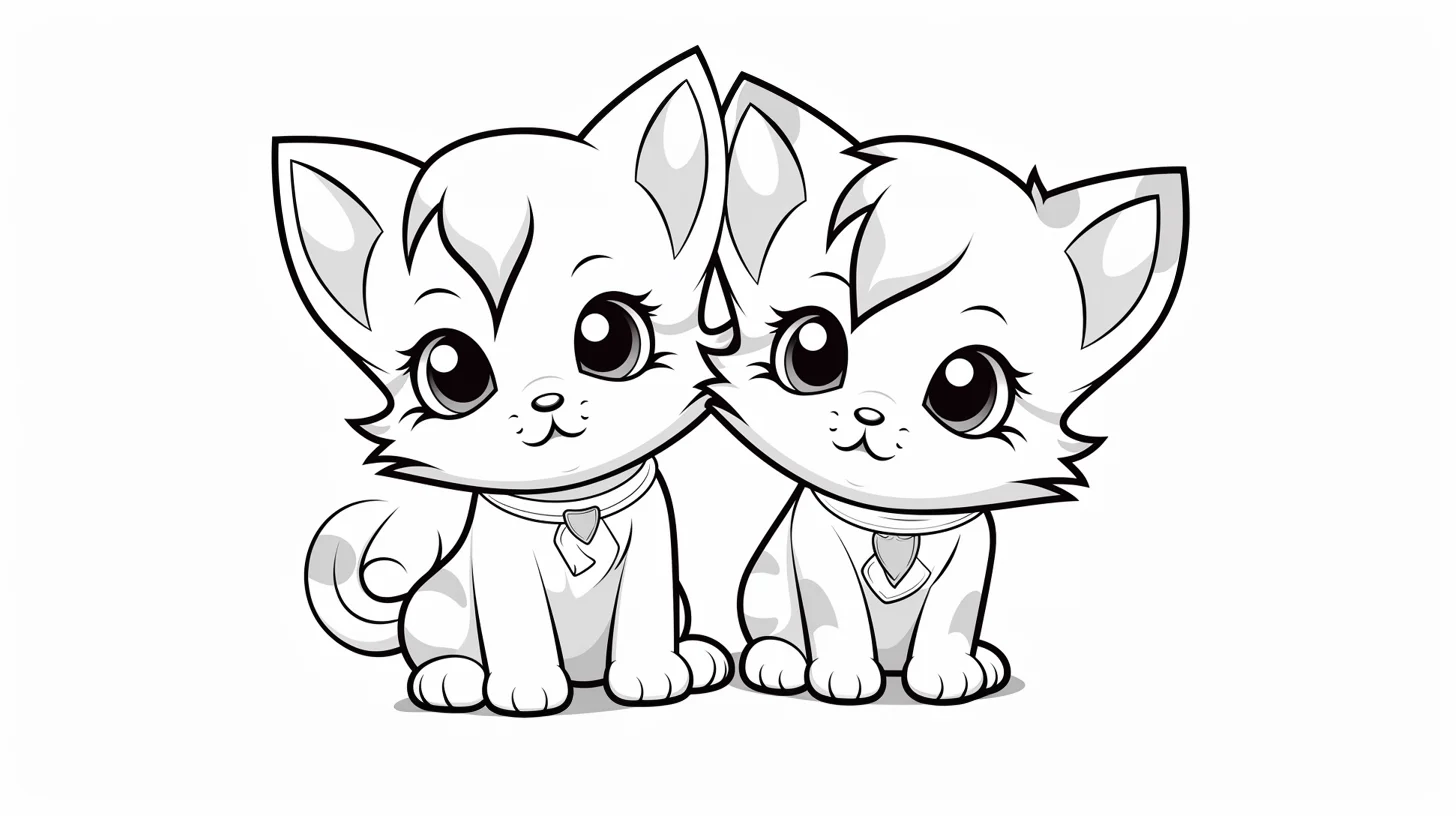
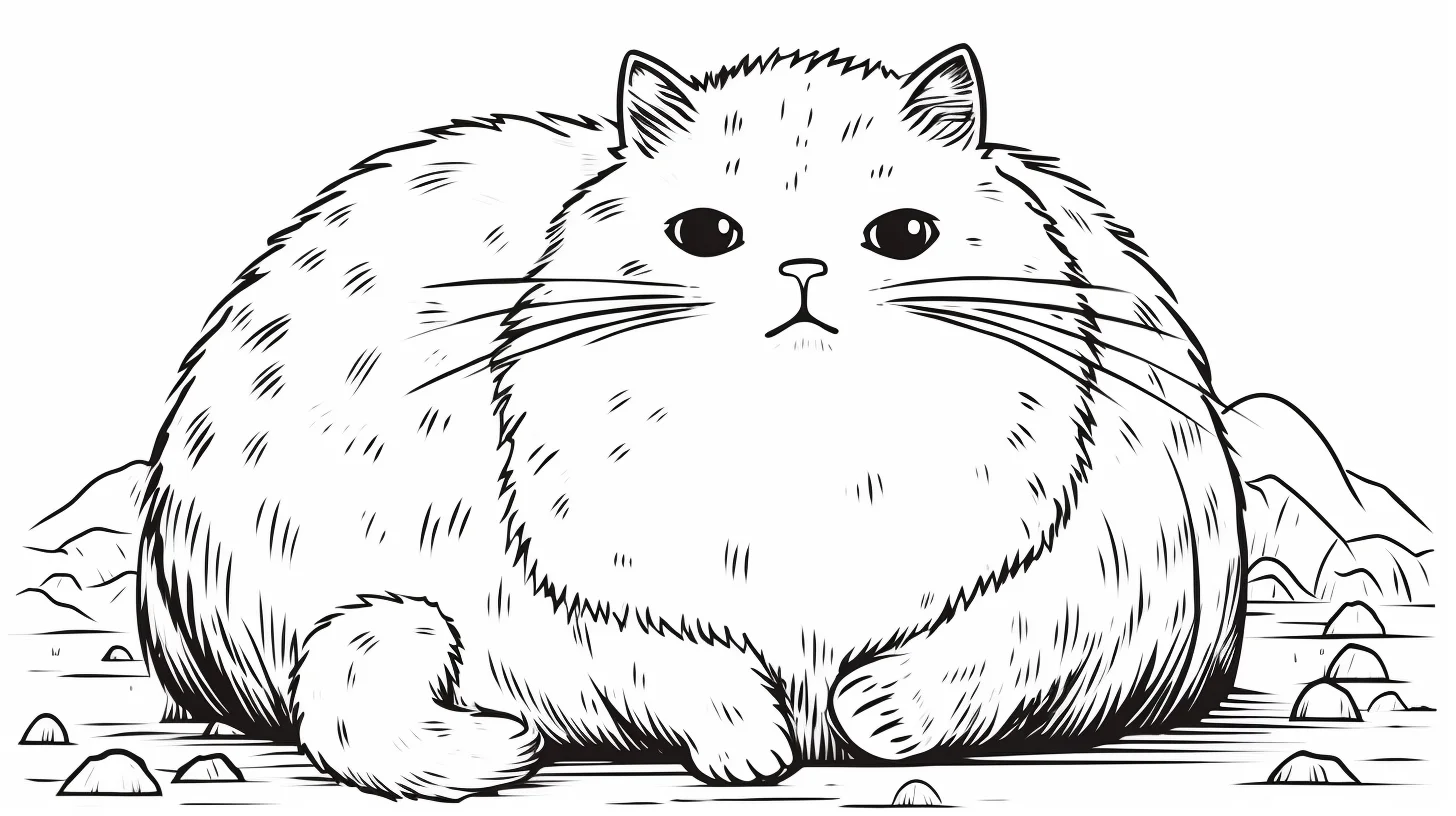
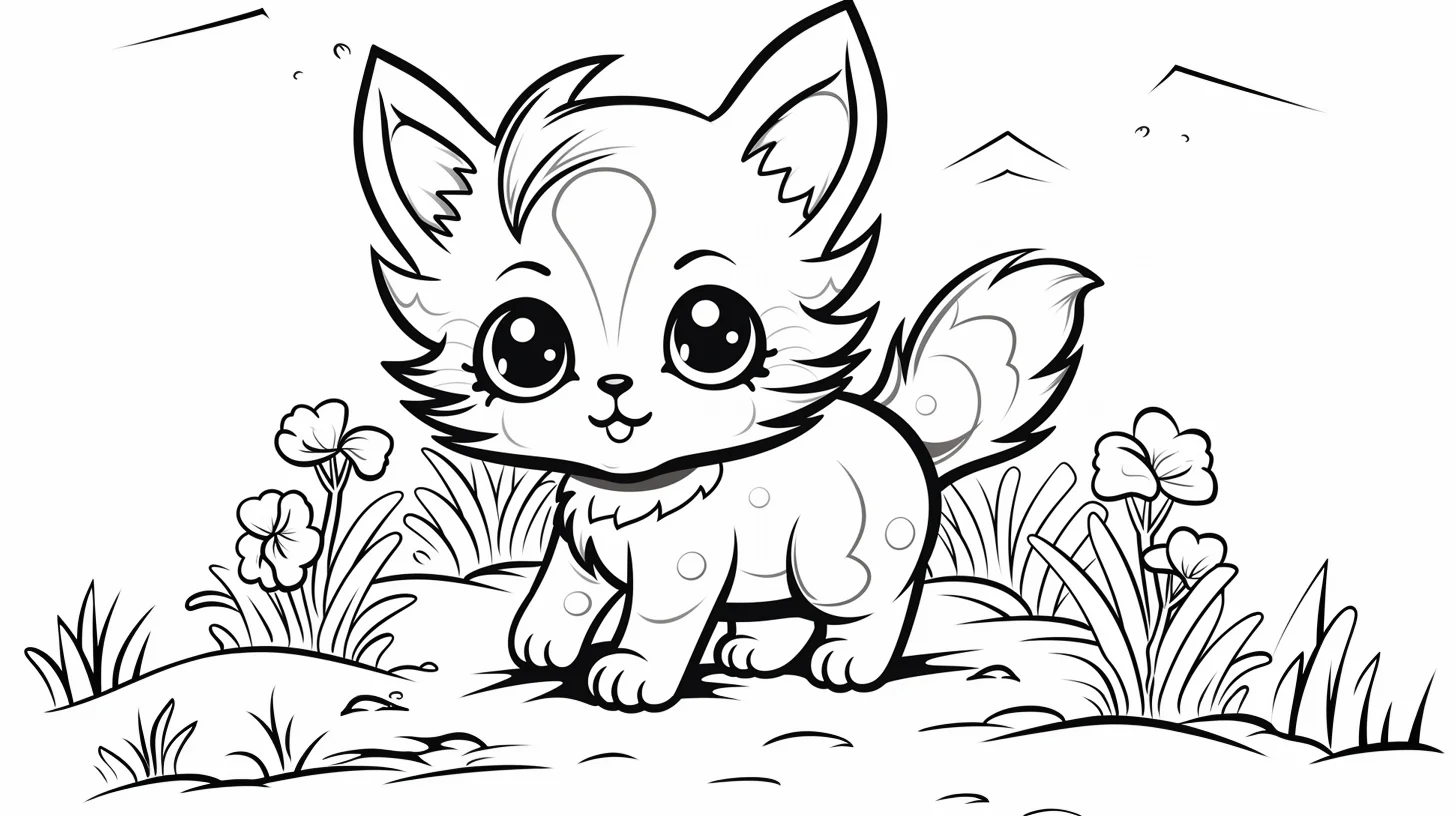
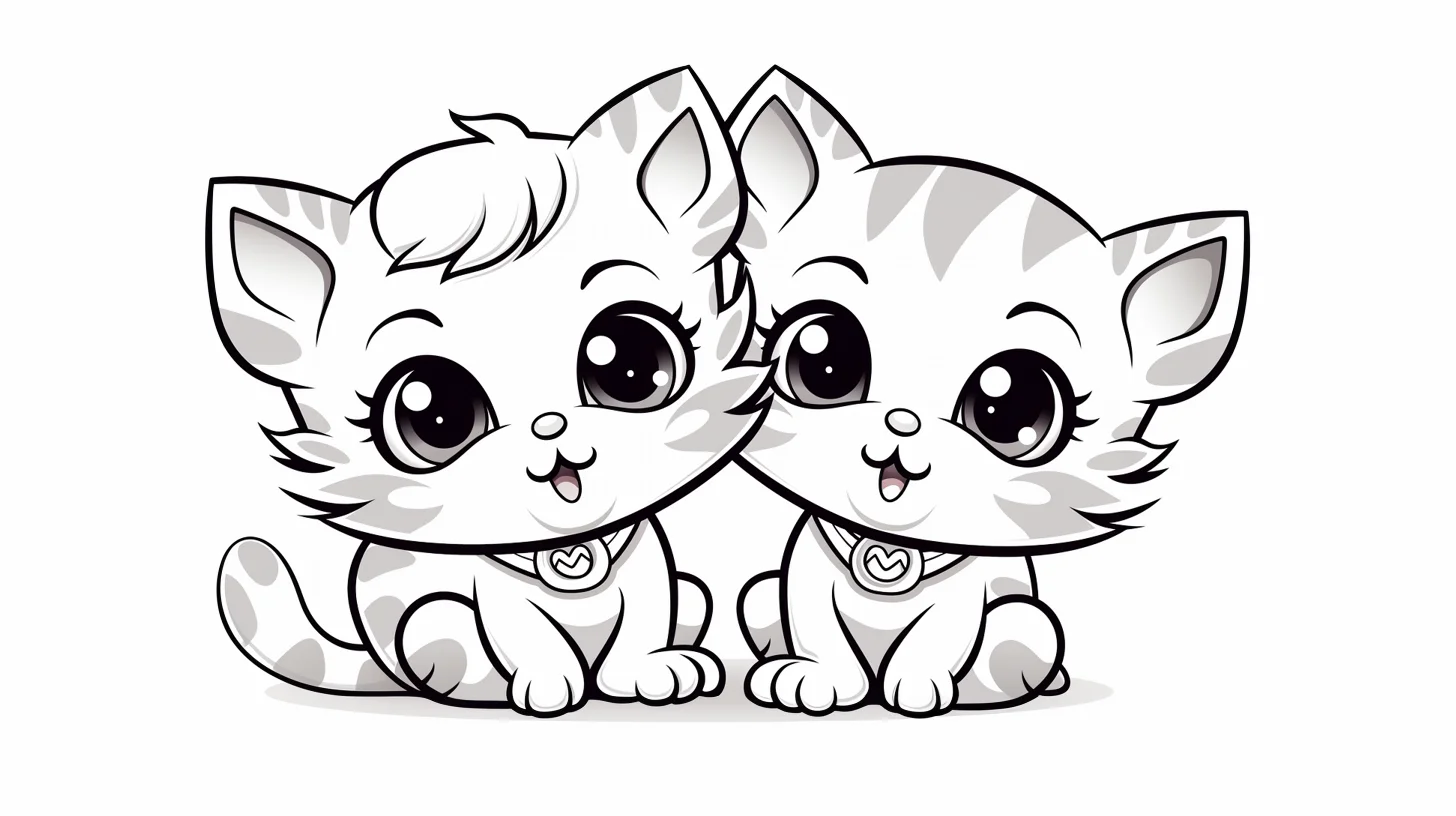
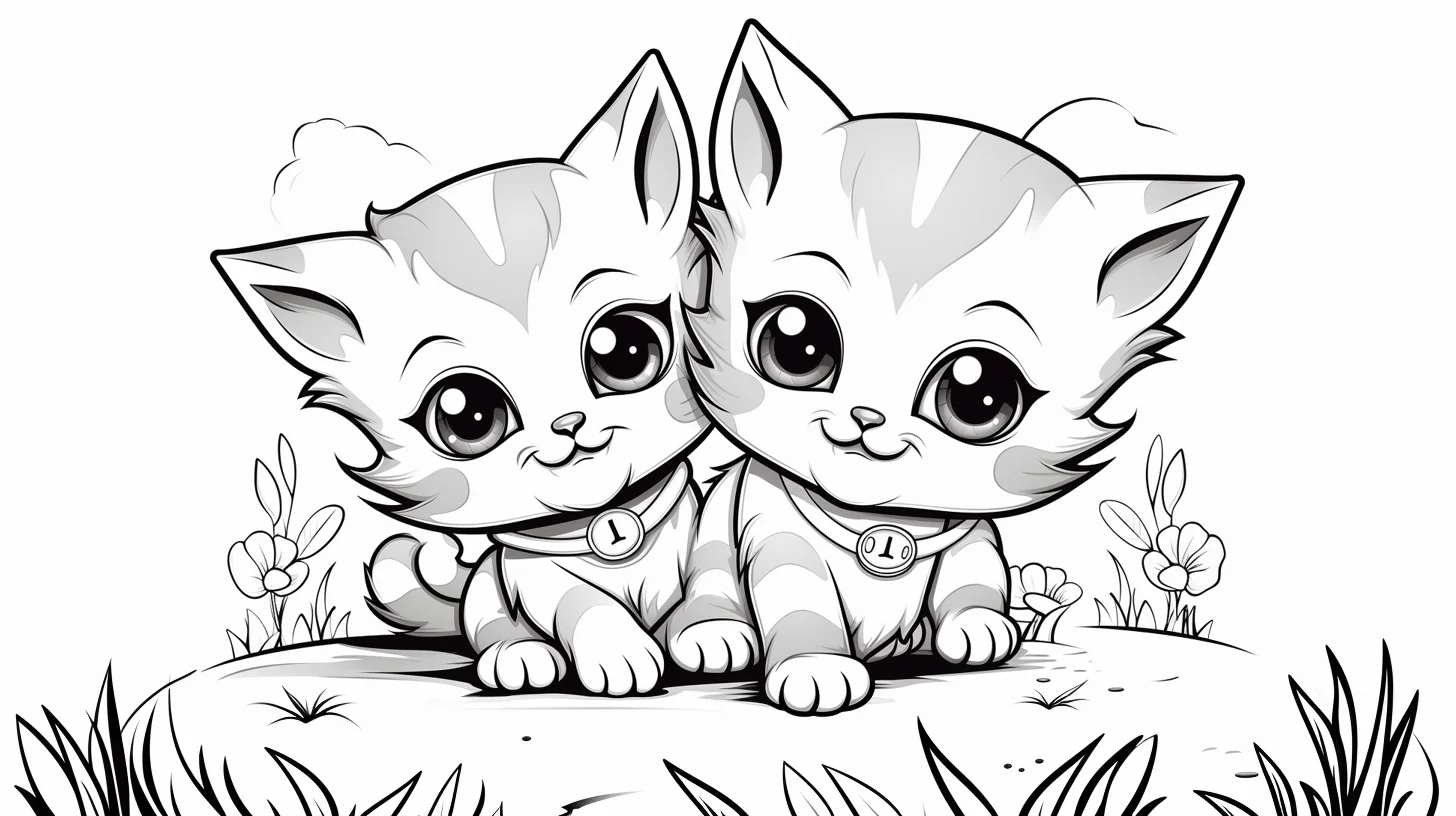
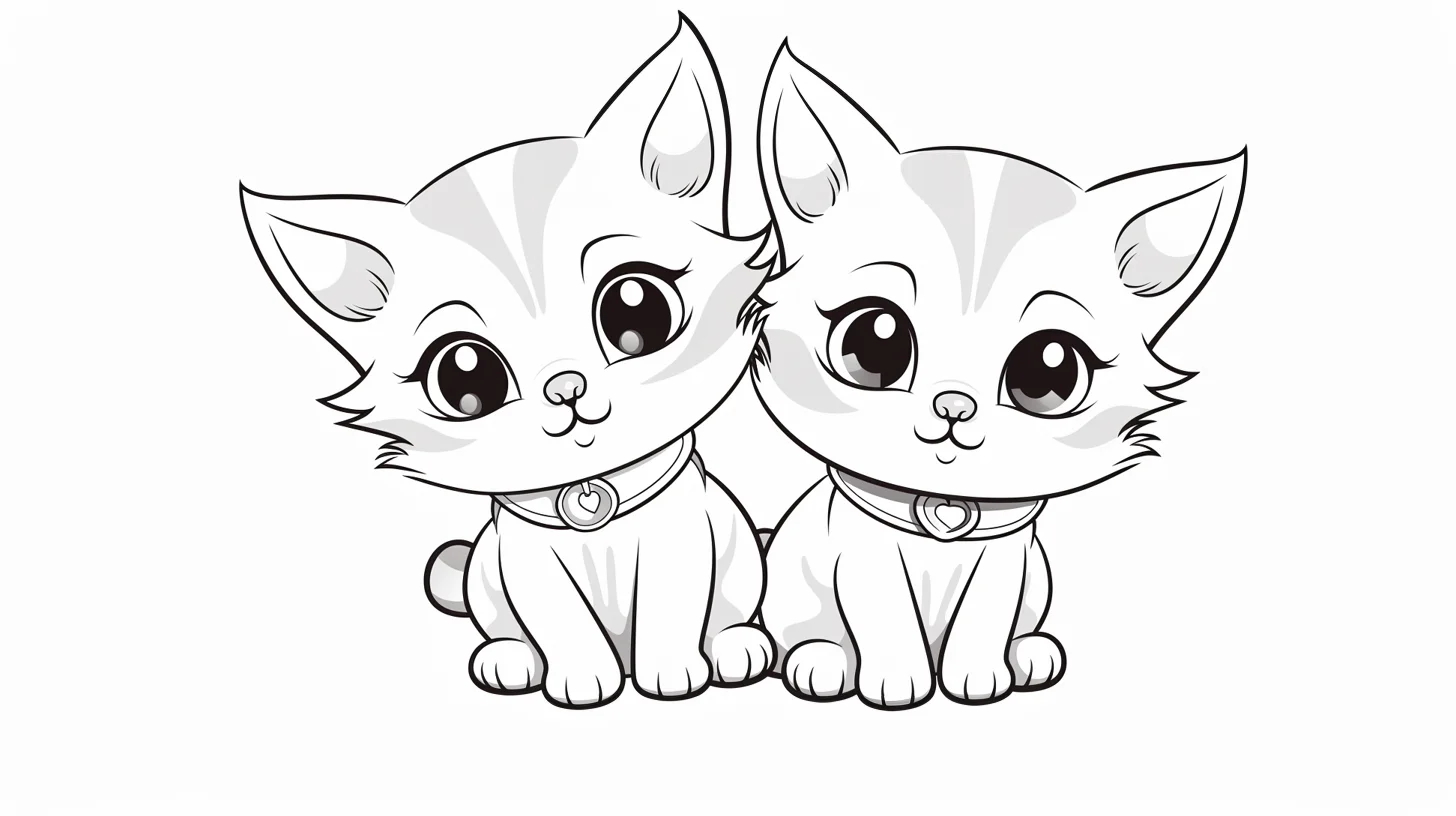
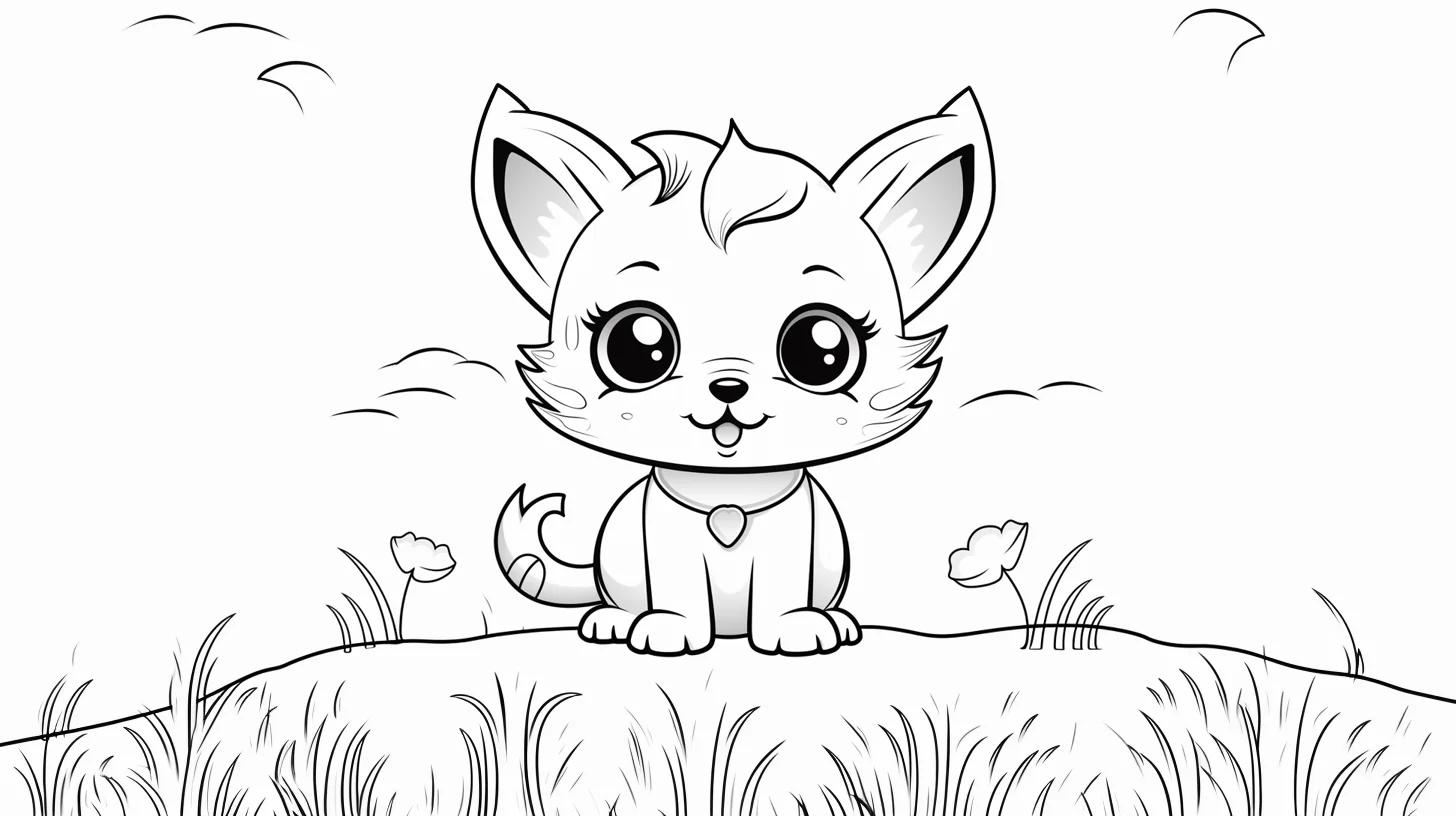
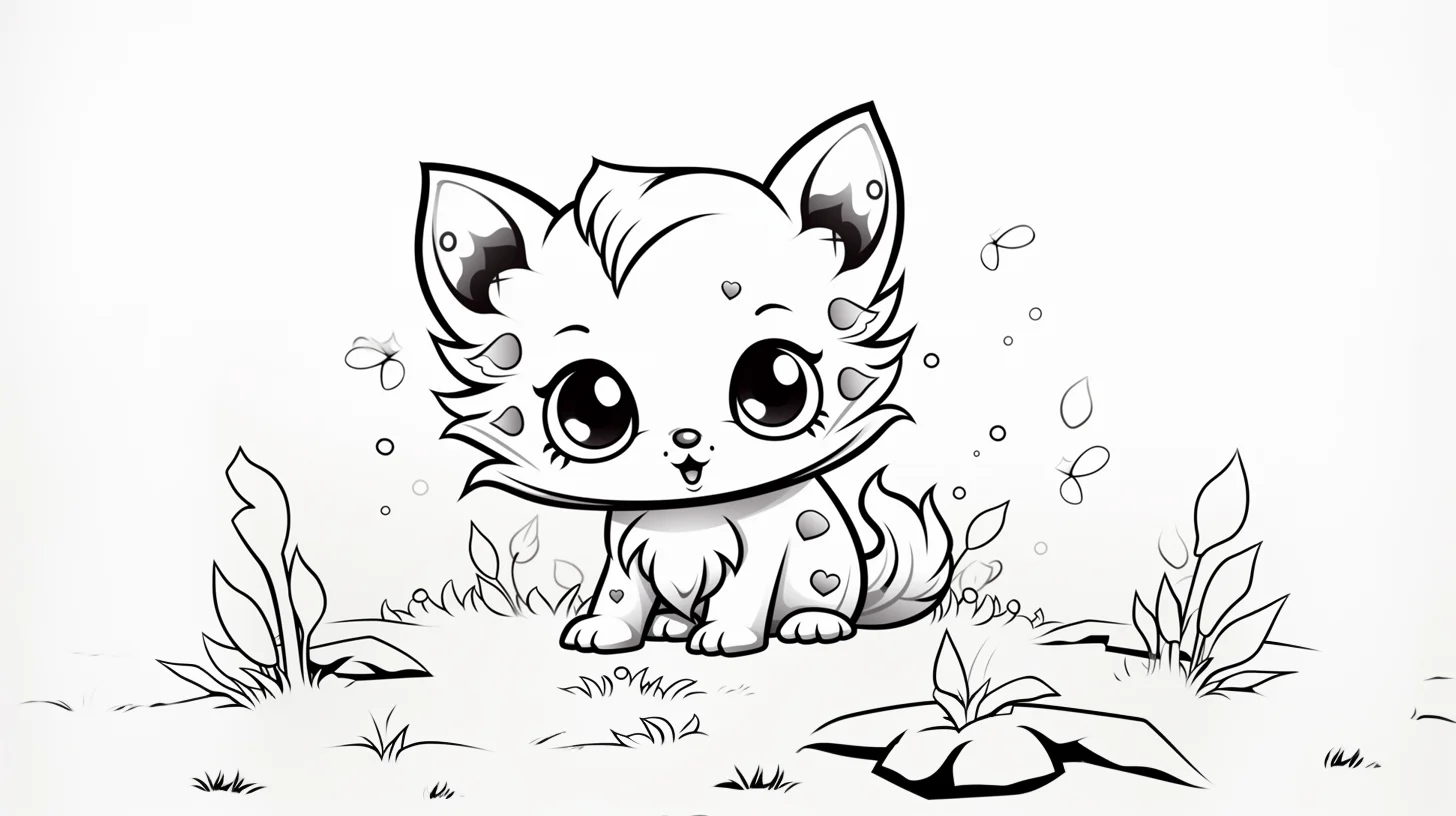
These 14 landscape cat coloring pages are built for wide printing: simple kittens, expressive cartoon cats and several designs that can take more realistic fur markings. The horizontal format gives the cat room to stay large on A4 or US Letter paper while leaving useful space for a windowsill, blanket, garden or other simple setting.
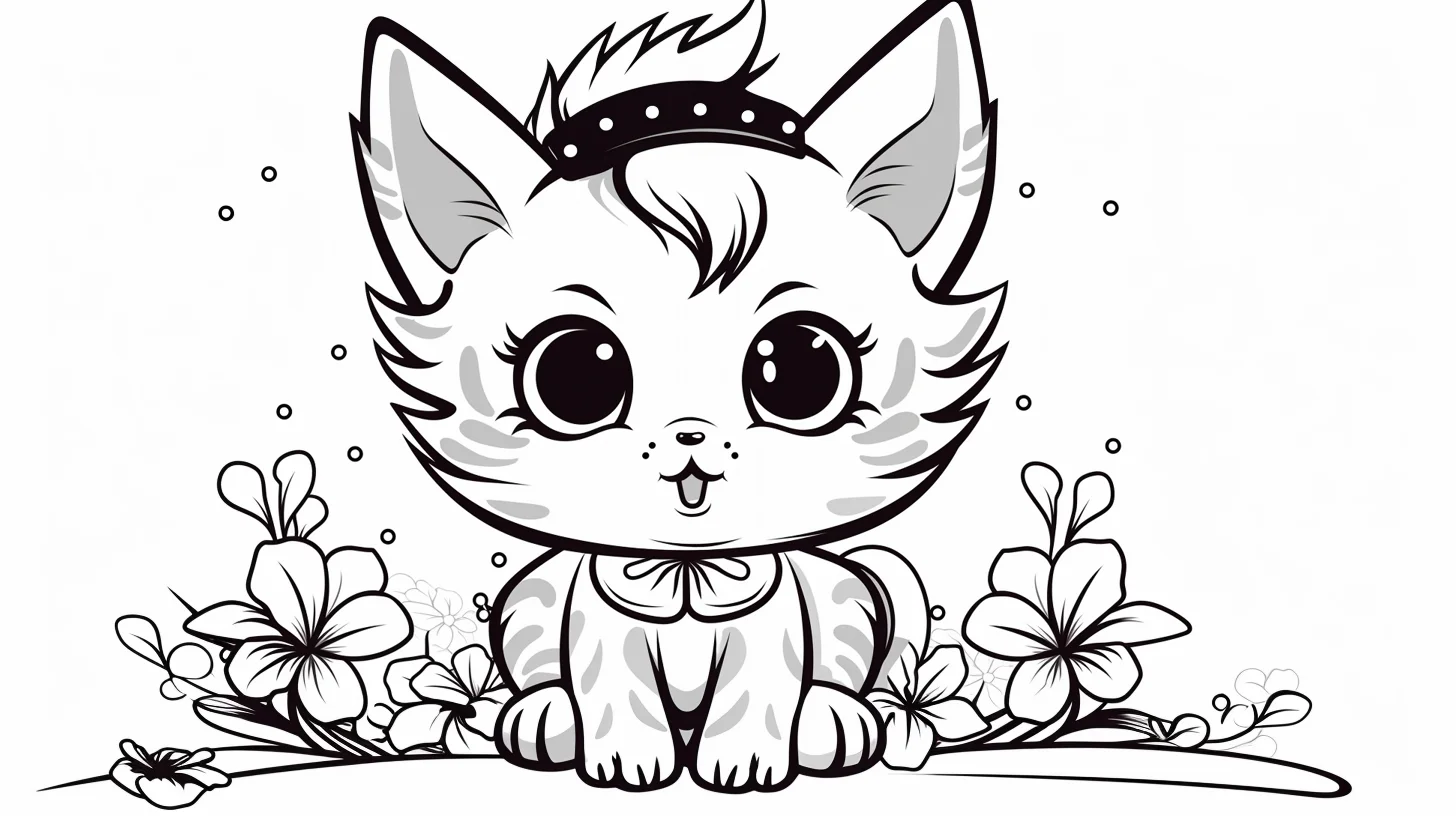
Want to start immediately? Print one of the simpler cats, choose two or three colors for the animal and one contrasting background color, then finish the large shapes before adding stripes, patches or fur strokes.
What is in this collection?
- Cute kittens: simple faces and larger areas for easy coloring.
- Cartoon cats: playful shapes and expressive features.
- More realistic cats: better if you want to add fur markings or pencil shading.
When printing, choose landscape orientation and “fit to page.” Check the preview first; forcing a wide image into portrait orientation can make the cat unnecessarily small. If your printer offers borderless printing, you can use it for a larger image, but ordinary “fit to printable area” is safer because it prevents the outer lines from being clipped.
Choose a page by how you want to color
- Quick session: choose a cat with large open areas and a simple face. Crayons or broad markers work well here.
- Pattern practice: use a clearer cat silhouette and invent tabby stripes, tuxedo patches, calico spots or your own markings.
- Shading practice: choose one of the more realistic cats later in the collection and use colored pencil in the direction the fur grows.
- Background practice: the wide format gives you extra room around the cat. Add a windowsill, garden, blanket, night sky or simple room without crowding the subject.
For younger children, the easiest page is usually not the one with the cutest subject; it is the one with the largest enclosed spaces and fewest narrow details. That makes it easier to stay inside the main shapes and finish the picture without fatigue.
For portrait-format sheets, use our 15 cat coloring pages. For decorated designs with flowers, hats and scarves, see the cute cat collection.
14 wide cat coloring pages
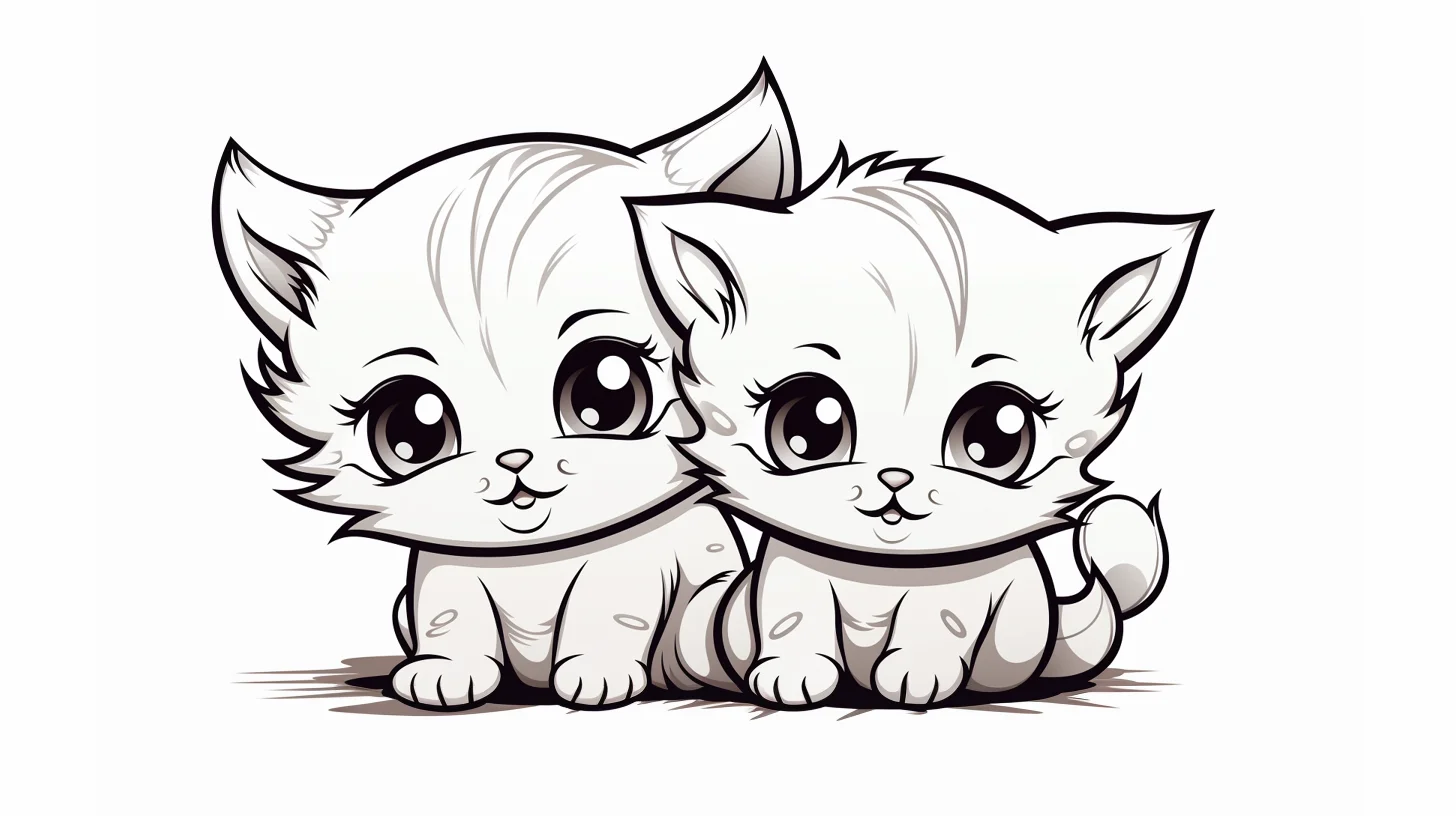
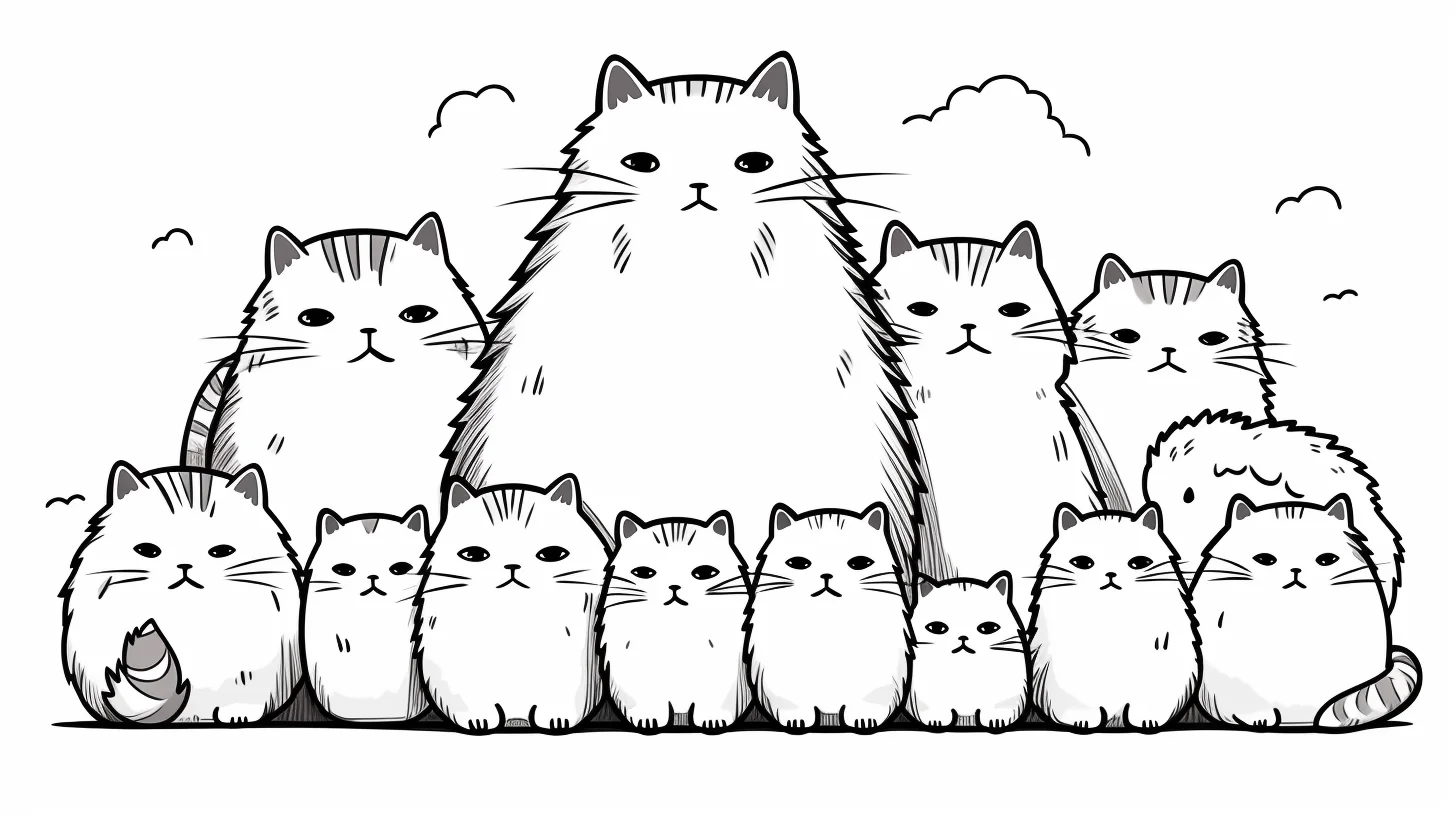
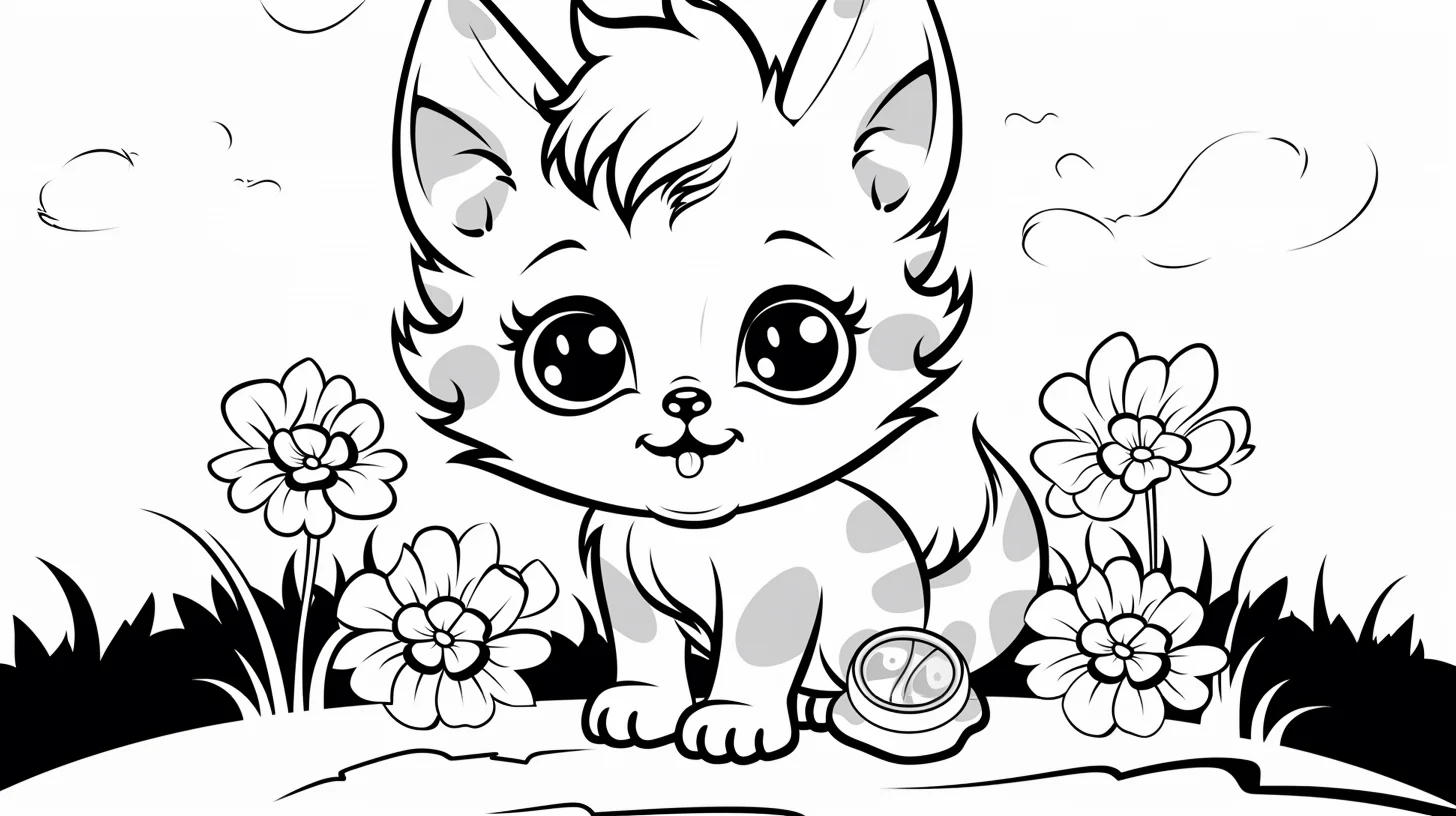
A 90-second cat-and-background check before you commit
Before coloring the whole sheet, use one ear, cheek or shoulder as a test area. This catches the problems that are hardest to fix after the page is filled.
- Test three pressures. Make a light, medium and dark version of your main fur color. If they look almost identical, use a softer pencil pressure or choose a genuinely darker second pencil instead of pressing harder everywhere.
- Protect the face. Keep the eyes, nose and mouth readable before adding stripes or dark patches. If a marking crosses the face, lighten it near the eyes so the expression does not disappear.
- Follow the body, not the paper. On a realistic cat, turn short strokes around the cheek, chest and legs. If every stroke runs in the same direction, the fur can look flat even when the colors are good.
- Separate cat from setting. Squint at the page or hold it at arm’s length. If the silhouette blends into the background, change the background value rather than outlining the entire cat with a dark border.
- Stop before the background competes. The landscape format invites extra scenery, but the cat should still be the first thing you notice. Use fewer details and lower contrast as you move away from the animal.
For younger children: skip the shading test. Pick one fur color and one background color, fill the largest enclosed shapes first, then add only the eyes, nose and one simple marking. Finishing a clear two-color picture is better practice than struggling through every small detail.
Three cat color schemes that are easy to control
You do not need dozens of pencils to make a cat page feel finished. Start with a small palette and create variety through lighter and darker versions of the same colors.
- Natural tabby: warm gray or brown base, darker stripes, cream muzzle or chest, and green or amber eyes.
- Tuxedo: black or deep gray with white chest, paws and muzzle. Leave a little lighter paper inside the darkest areas so the fur does not become one flat block.
- Fantasy cat: lavender, blue or pink fur with one contrasting eye or accessory color. A limited palette makes unusual colors look intentional.
How to make fur look softer with colored pencil
- Lay down a light base. Cover the main fur area gently rather than pressing hard immediately.
- Decide the fur direction. Let strokes fan away from the nose and follow the body rather than filling every area with the same scribble.
- Add markings with short tapered strokes. Avoid turning every stripe into a hard solid bar.
- Darken overlaps. Add deeper value under the chin, around the ears and where one leg overlaps another.
- Keep highlights quiet. Leave a few lighter zones instead of outlining every patch in white.
This suggests fur without trying to render every hair. On cartoon pages, simplify the same method to a flat base color plus a few darker markings.
Use the landscape format instead of ignoring it
The extra horizontal space is useful. For a sitting cat, a windowsill and two curtain edges can establish a room. For a kitten, a blanket shape underneath gives the picture a base. Outdoors, one horizon line plus a few grass shapes may be enough. Keep the background simpler and lower-contrast than the cat when you want the animal to remain the focal point.
A 10-minute cat-marking exercise
- Print the same simple cat twice.
- Color the first as a tabby using one base color and one darker stripe color.
- Color the second with large invented patches instead of stripes.
- Compare which markings describe the body shape better around the face, legs and tail.
Because the line art stays identical, you can see how pattern placement alone changes the character of the cat.
Crayons, pencils or markers?
- Crayons: easiest for younger colorists and large shapes.
- Colored pencils: best for fur direction, layered markings and gradual shading.
- Markers: best for bold cartoon color. Place scrap paper underneath and avoid repeatedly soaking the same area.
Fix these common coloring problems
- The dark fur looks flat: leave small lighter zones on the forehead, cheeks or back and deepen only the shadows and markings.
- The stripes look pasted on: curve them slightly around the body instead of drawing every stripe as a straight band.
- The cat disappears into the background: reduce background contrast or choose a background color noticeably lighter or darker than the cat.
- The page feels unfinished: repeat one or two colors from the cat in a small background detail so the whole sheet feels connected.
- Marker color is streaky: work in smaller adjoining sections while the ink is still wet rather than repeatedly scrubbing over a drying area.
Landscape cat coloring page questions
What print setting should I use?
Use landscape orientation and “fit to page” or “fit to printable area.” Check the preview before printing so none of the outer line art is cropped.
Which pages are easiest for children?
Choose cats with larger enclosed areas, fewer tiny fur details and simple backgrounds. Crayons or washable markers are usually easier than trying to shade realistic fur.
How can I make a white cat visible?
Do not fill the whole cat with gray. Keep most of the paper white, add a little cool gray or pale blue in shadow areas, and use the background to create contrast around the silhouette.
What paper is best for colored pencils?
Ordinary printer paper works for casual coloring. A slightly heavier matte paper is better if you want to layer pencil repeatedly without wrinkling or wearing through the sheet.
More cat coloring pages
For portrait-format sheets, use our cat coloring pages by difficulty. For decorated designs with flowers, hats and accessories, see the cute cat coloring collection. If you want more realistic animal shading practice, try the realistic kitten coloring pages.

