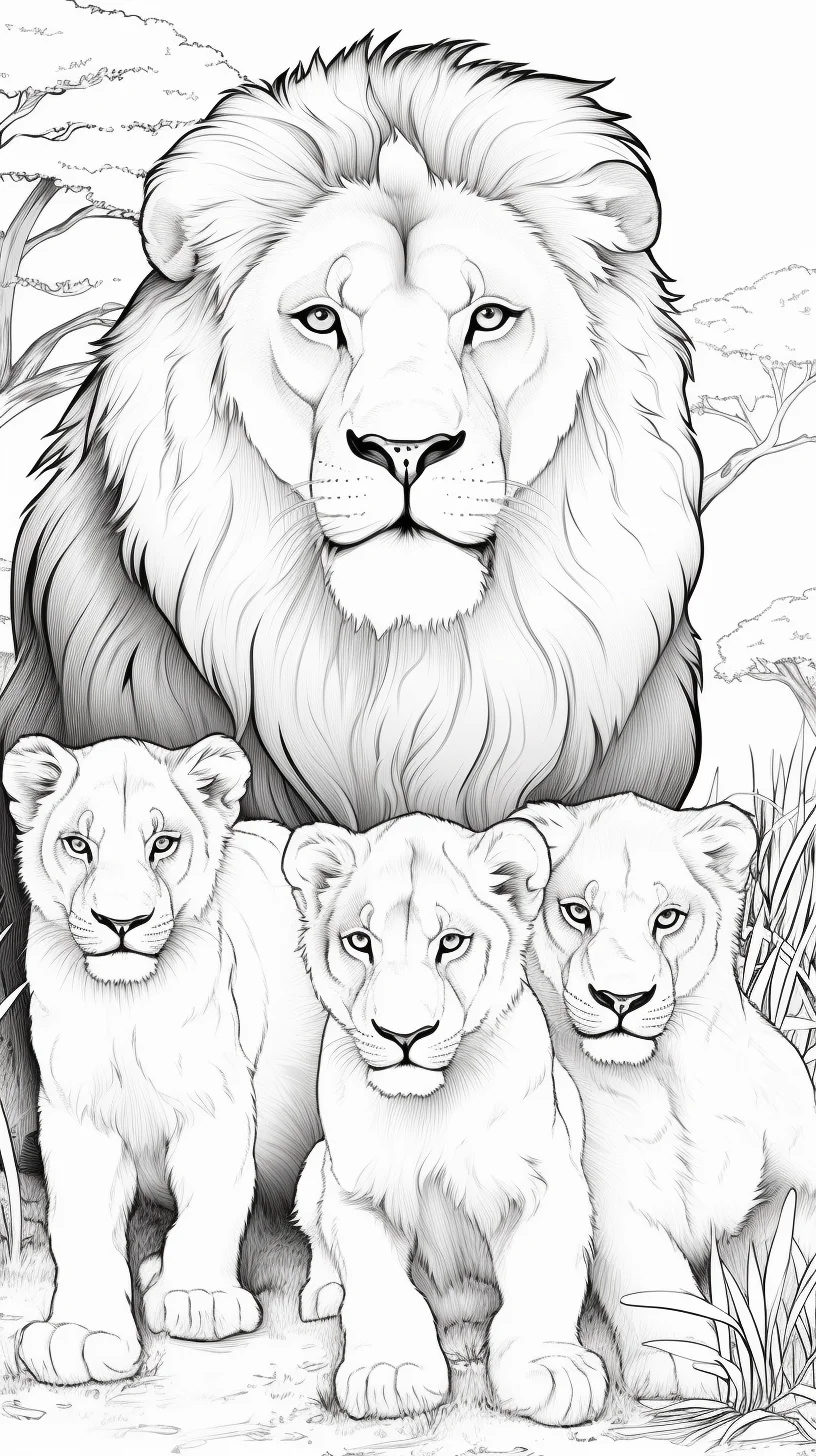
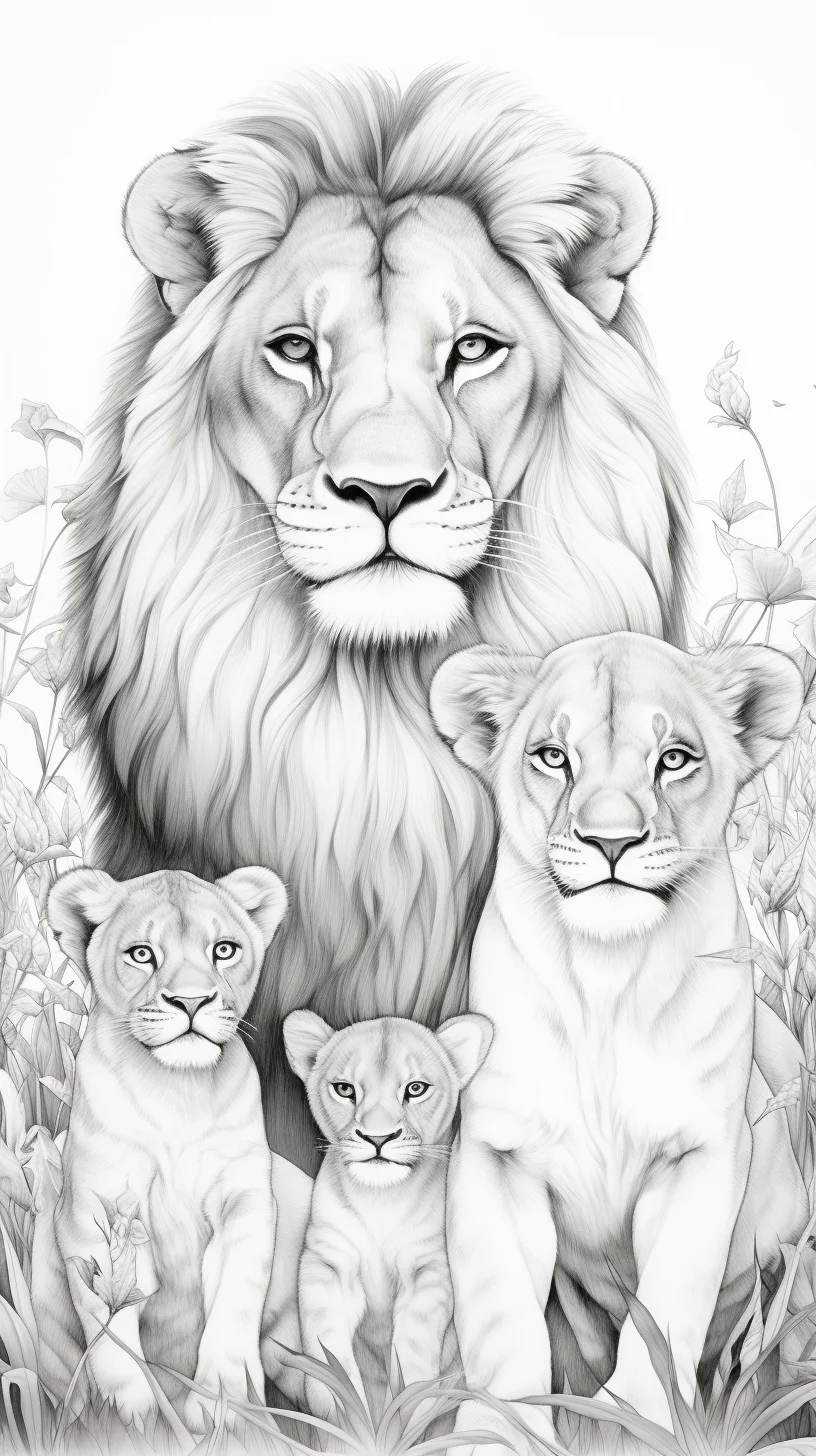
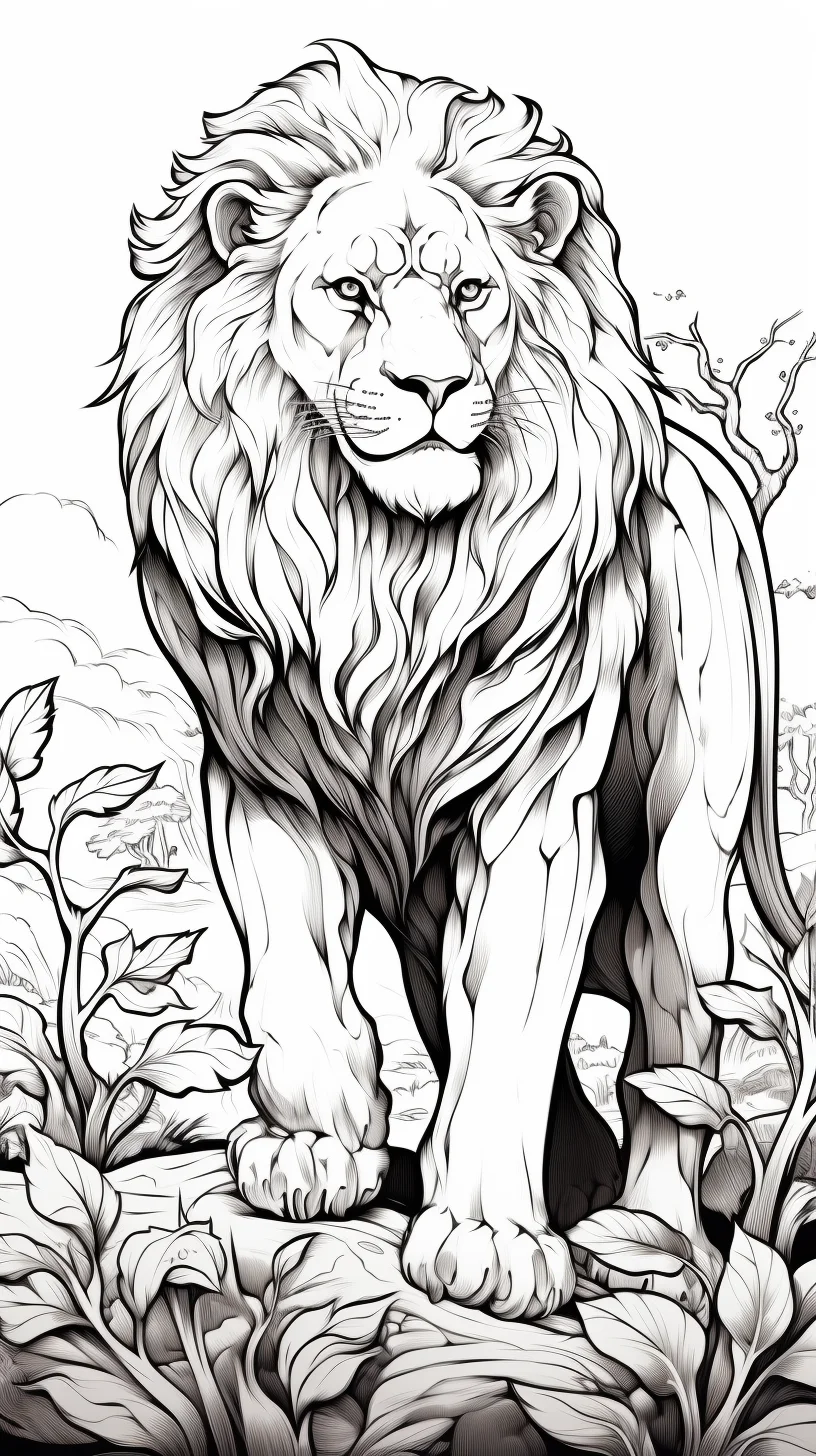
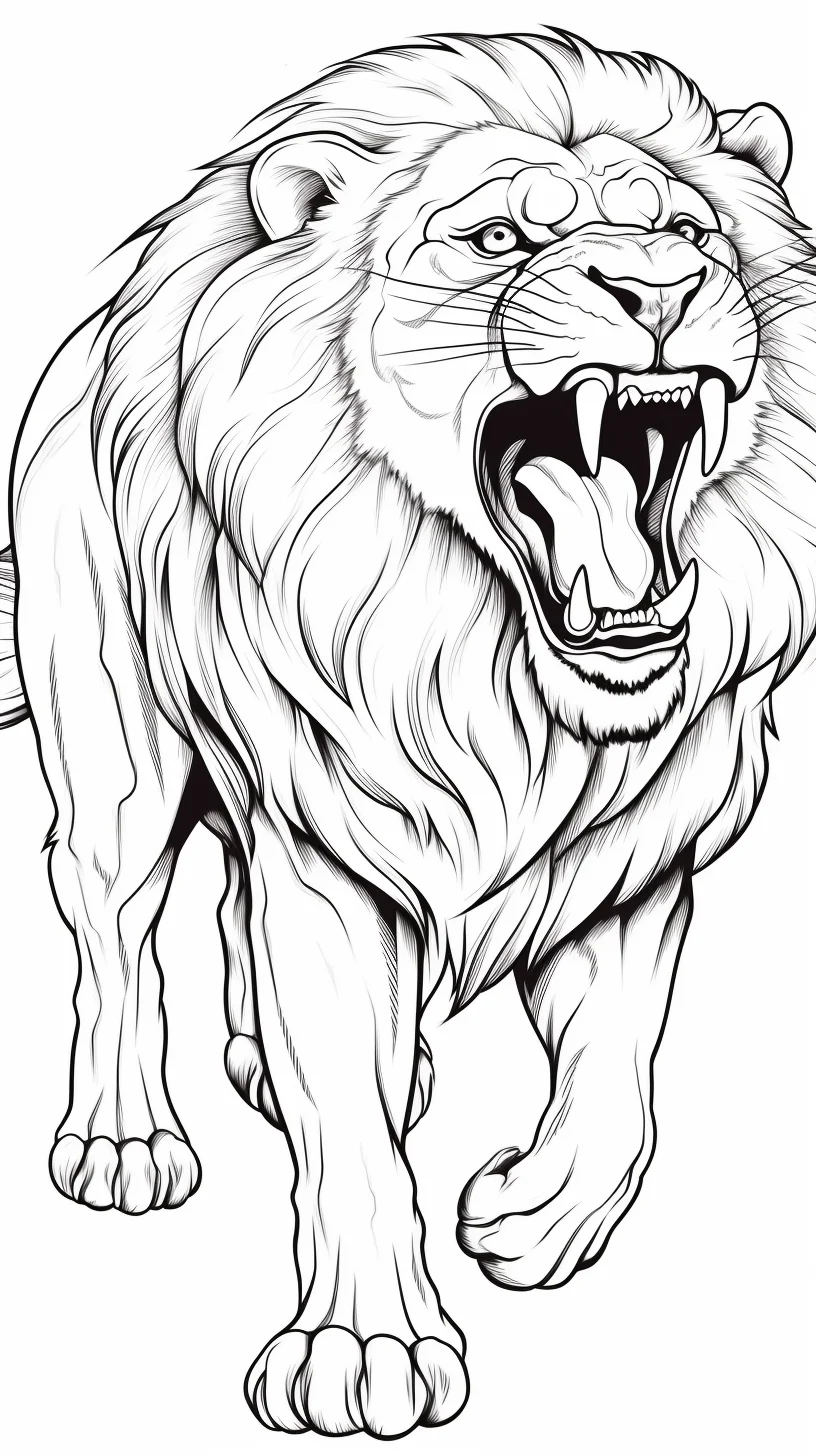
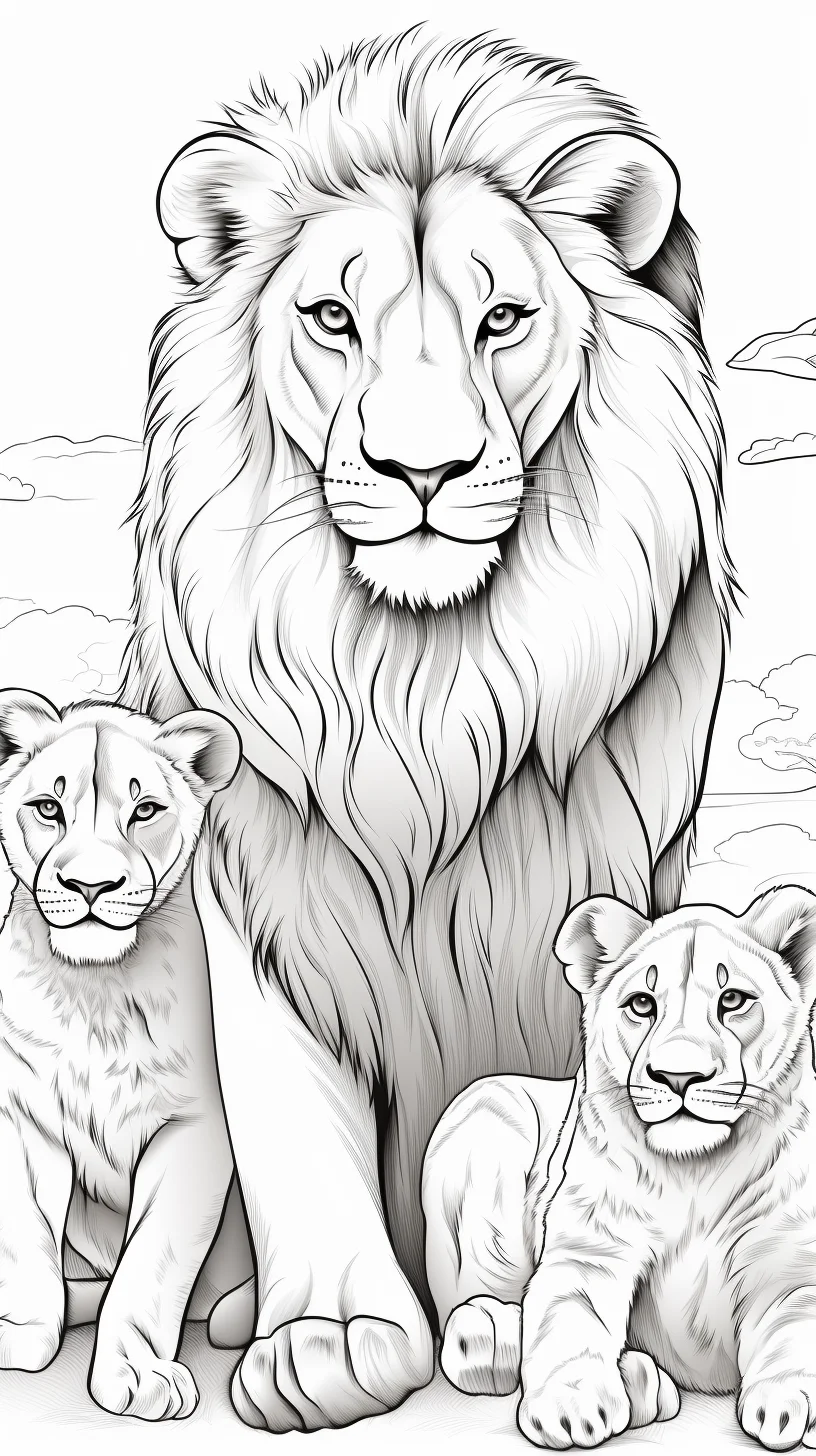
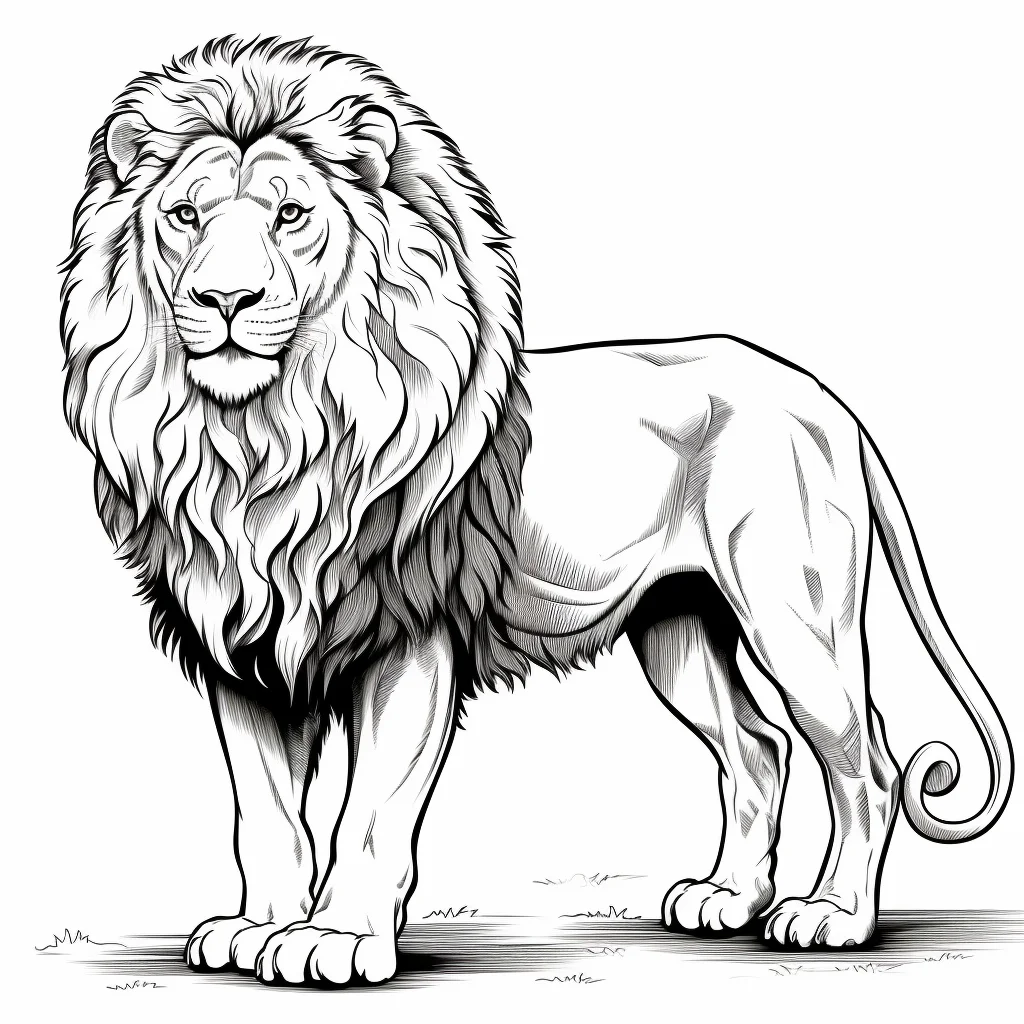
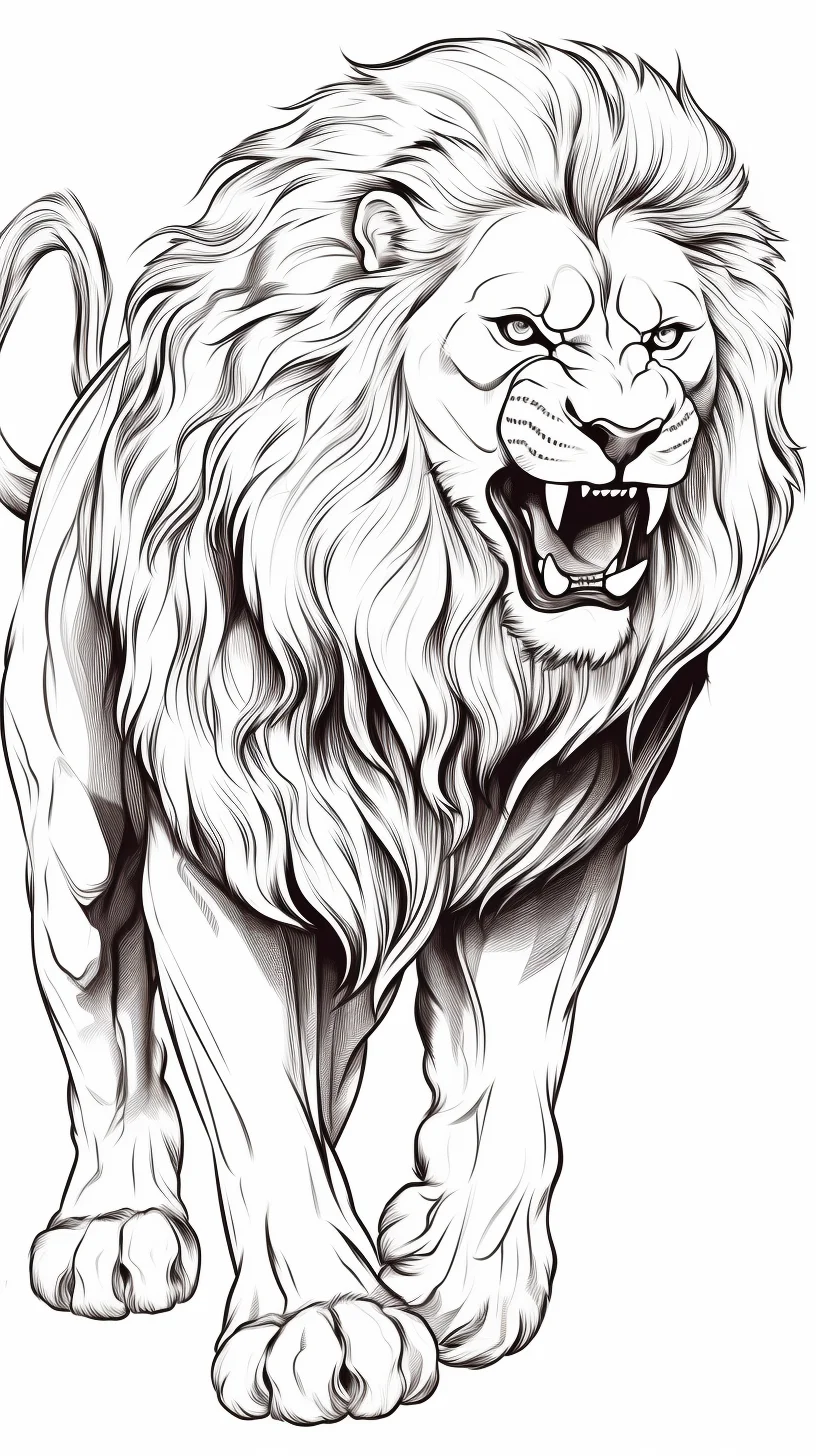
Realistic lion pages work best when you think in light and dark shapes first, not individual hairs. A lion can be beautifully colored with only a few pencils if the face stays readable, the mane is darker than the muzzle and chest, and the legs have enough shadow to feel grounded.
How to color a lion realistically
Start with a restrained base
Lay down a light tan, ochre or warm beige across the body without pressing hard. Keep the muzzle, inner legs and areas around the eyes lighter. This first layer should still leave room for darker browns later.
Separate the mane from the face
Do not fill the mane with one flat dark brown. Use two or three related values and follow the direction of the hair with short strokes. Darken the deepest parts near the neck and beneath overlapping locks, while leaving a few lighter edges where the mane catches light.
Use the face as the focal point
The nose, eye rims and small shadows around the mouth can carry more contrast than the rest of the drawing. Add them near the end. If those features become too dark too early, the face can look heavy before the softer fur tones are established.
Build fur selectively
You do not need a stroke for every hair. Add texture mainly along the silhouette, cheeks, chest and mane. Across broad areas of the body, smooth layered shading usually looks more convincing than dense repeated lines.
- Colored pencils: best for gradual fur and mane layers.
- Markers: useful for a clean graphic result; test dark browns before filling large areas.
- Mixed approach: use a light marker base and add fur texture with pencil after it dries.
If you want a stylized lion rather than a natural one, the same value structure still helps: keep the face readable, separate mane from body, and reserve your darkest color for a few important accents.
Print and explore more big-cat pages
- Choose a lion design below.
- Open or save the full-size image.
- Print on A4 or Letter paper using “fit to page.”
For simpler lion and cub designs, see our lion coloring pages. You can also browse our tiger coloring pages and animal coloring pages.
Free printable realistic lion coloring pages
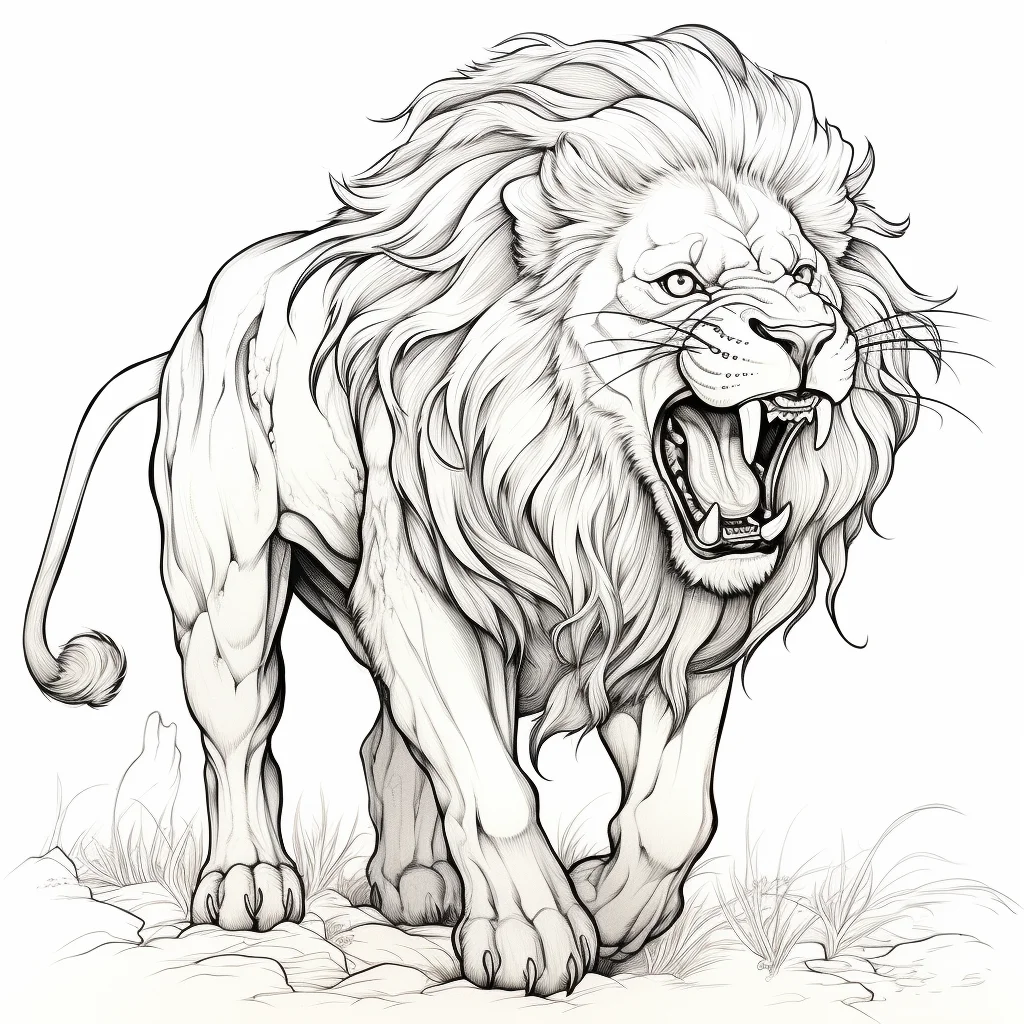
Start with the face: on a realistic lion, the muzzle, nose and eye area do more to create expression than dozens of tiny fur strokes. Keep those areas clear and save your darkest pencil for the eye rims, nostrils and deepest mane shadows.
A three-page practice route for realistic lion fur
If realism is the goal, do not try to perfect every technique on one sheet. Use three printables as separate exercises. This makes it much easier to see which part of the process is actually improving.
- Page one — values: use only three colors: a light tan, a middle brown and a dark brown. Ignore individual hairs. Your goal is simply to make the muzzle lighter than the face, the mane darker than the body, and the underside darker than the back.
- Page two — fur direction: keep the same simple palette, but change the direction of your pencil strokes as you move around the animal. Use shorter outward strokes on the cheeks, downward strokes on the chest, and longer strokes through the mane.
- Page three — focal detail: keep most of the body soft and spend your detail budget on the eyes, nose, whisker pads and a few mane edges. The contrast between quiet areas and sharp areas makes the result feel more photographic.
Where should lion fur strokes point?
| Area | Useful stroke direction | What to avoid |
|---|---|---|
| Forehead | Short strokes upward and slightly outward | Long parallel lines across the whole face |
| Cheeks | Outward from the muzzle toward the ears | A hard dark outline around the cheek |
| Muzzle | Very light, short strokes; leave paper showing | Filling it with the same tan as the forehead |
| Chest | Downward, overlapping strokes | Uniform scribbling in every direction |
| Body | Mostly smooth shading with sparse fur texture | Drawing every hair individually |
| Mane | Curved clusters following each lock | One solid ring of dark brown |
A useful test is to view the page from arm’s length. If the lion reads clearly before you notice individual pencil marks, the large values are doing their job.
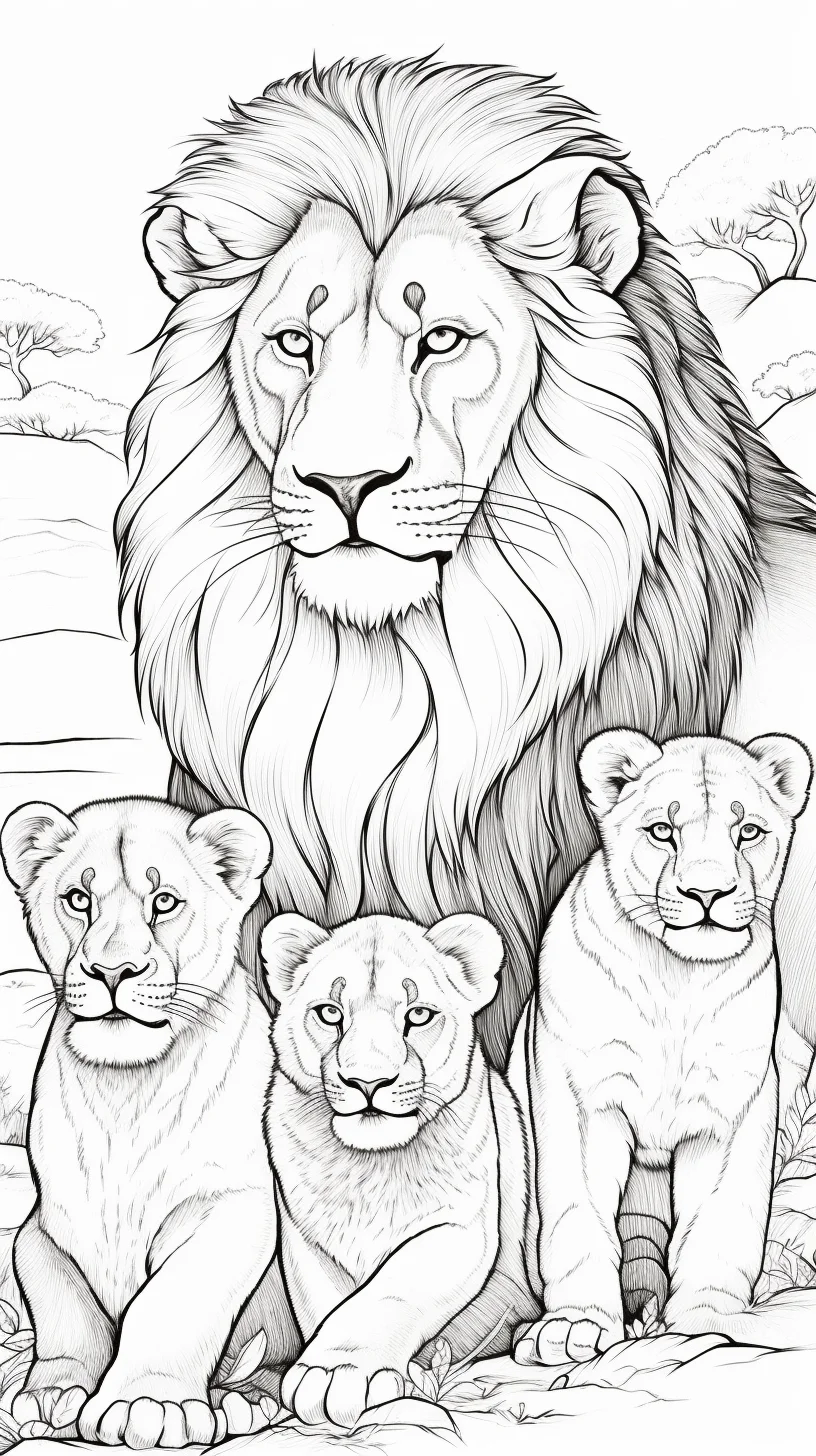
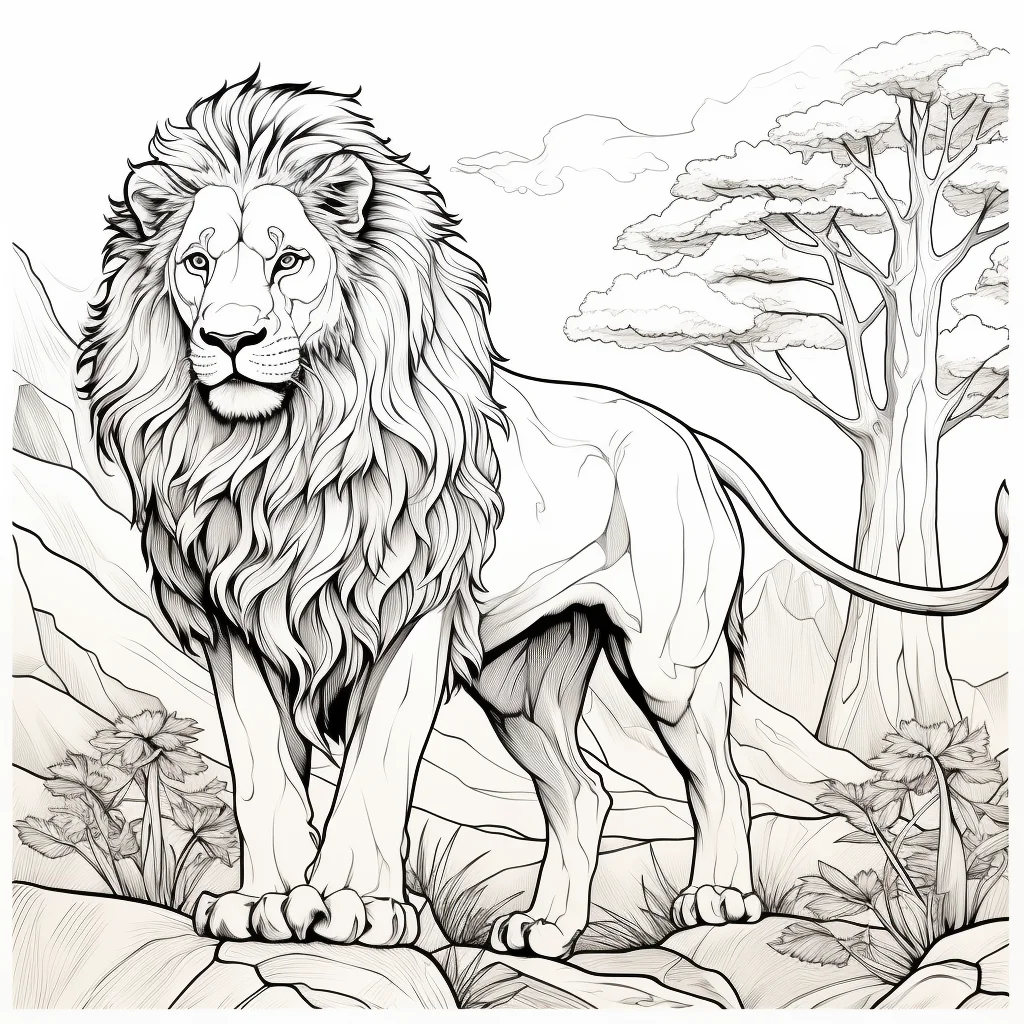
Mountain lion pages need a different palette
A mountain lion is a cougar (Puma concolor), not the same species as the African lion (Panthera leo). Unlike an adult male African lion, a mountain lion does not have a mane. A natural palette is mostly tawny tan or light golden brown with a paler throat, belly and inner legs. The National Park Service has a useful real-animal reference if you want accurate coloring.
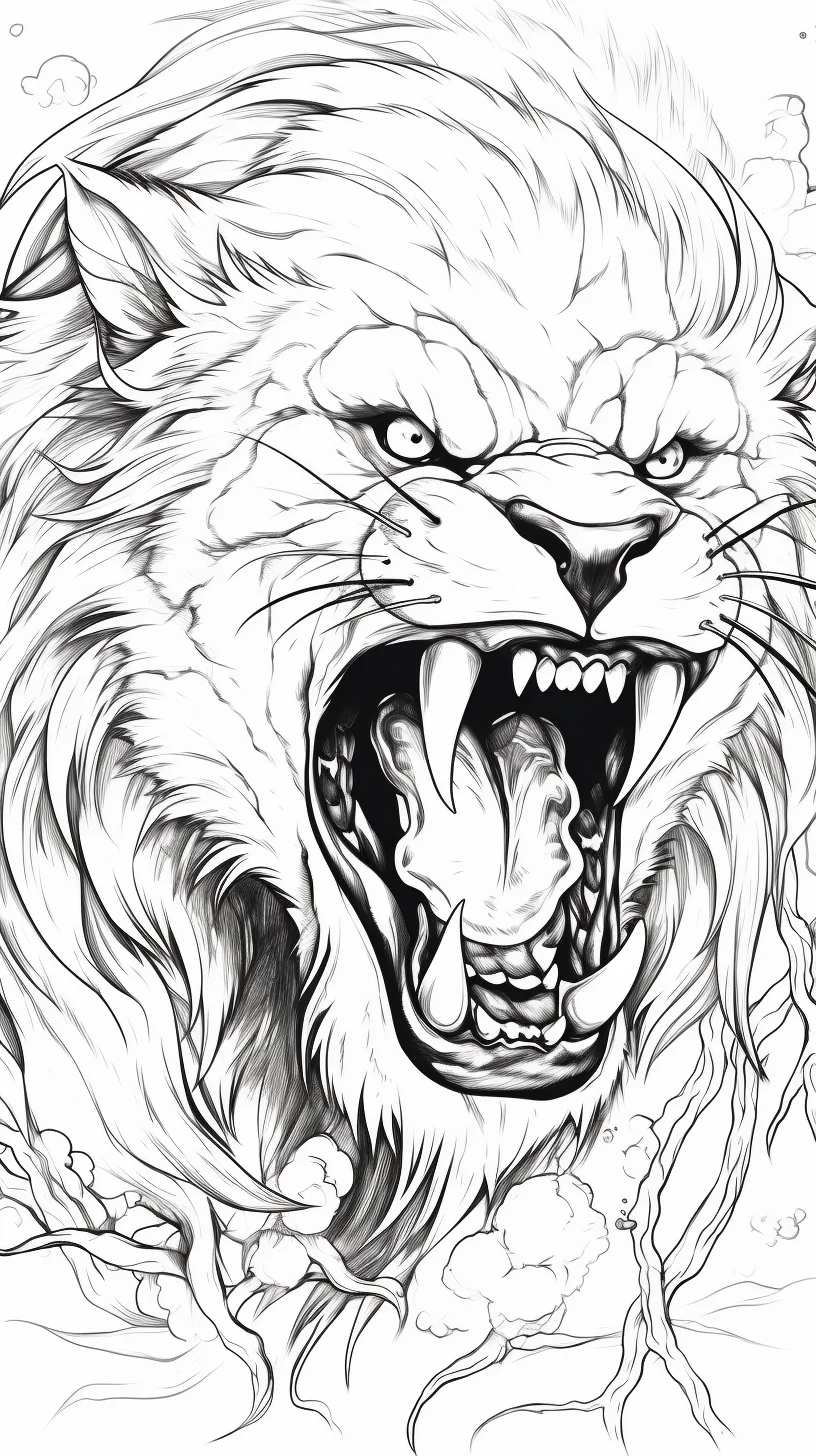
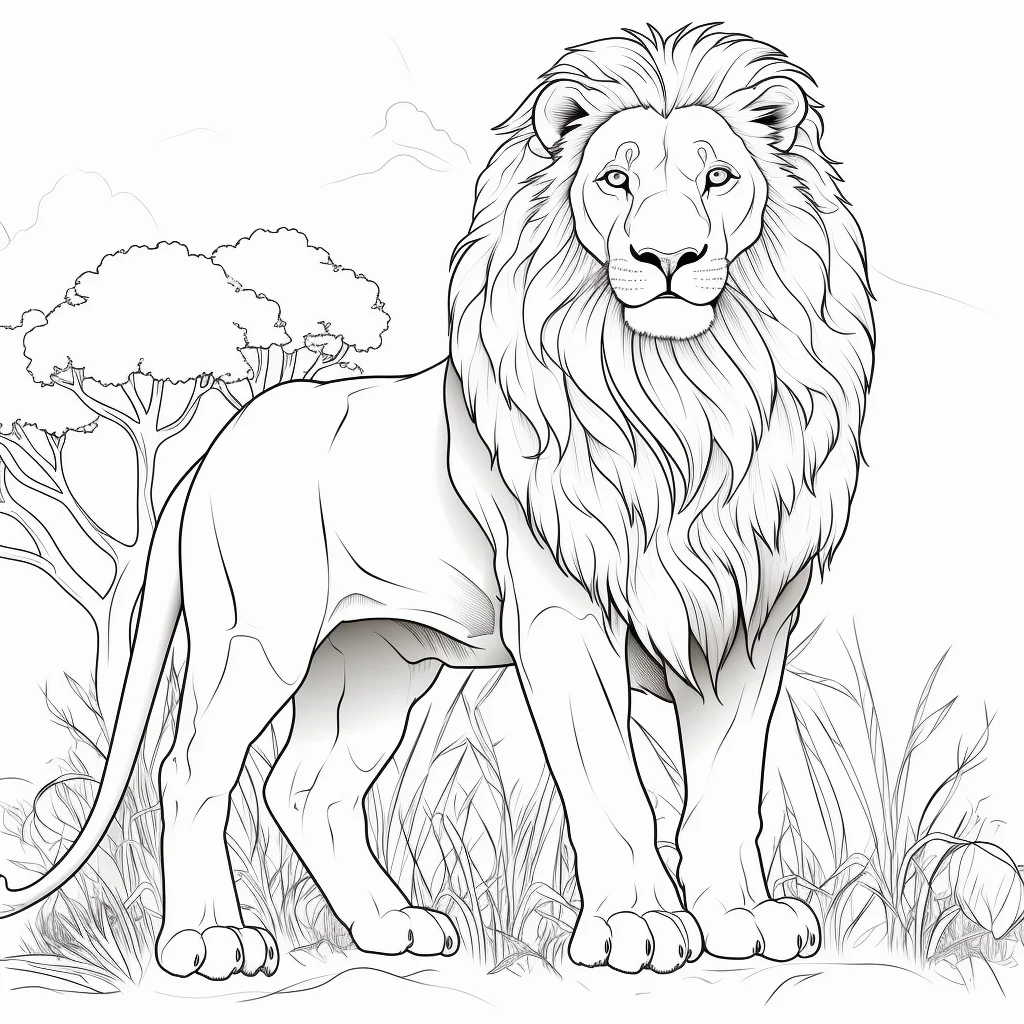
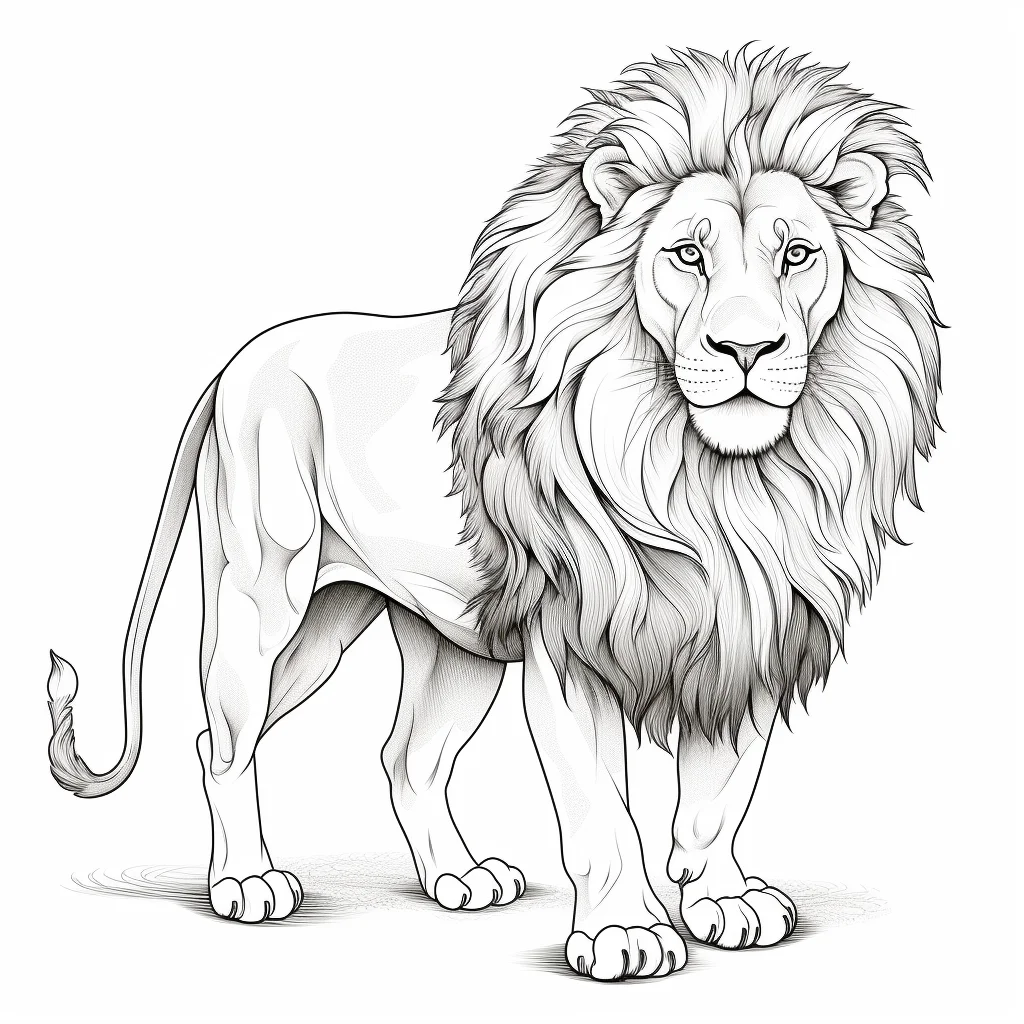
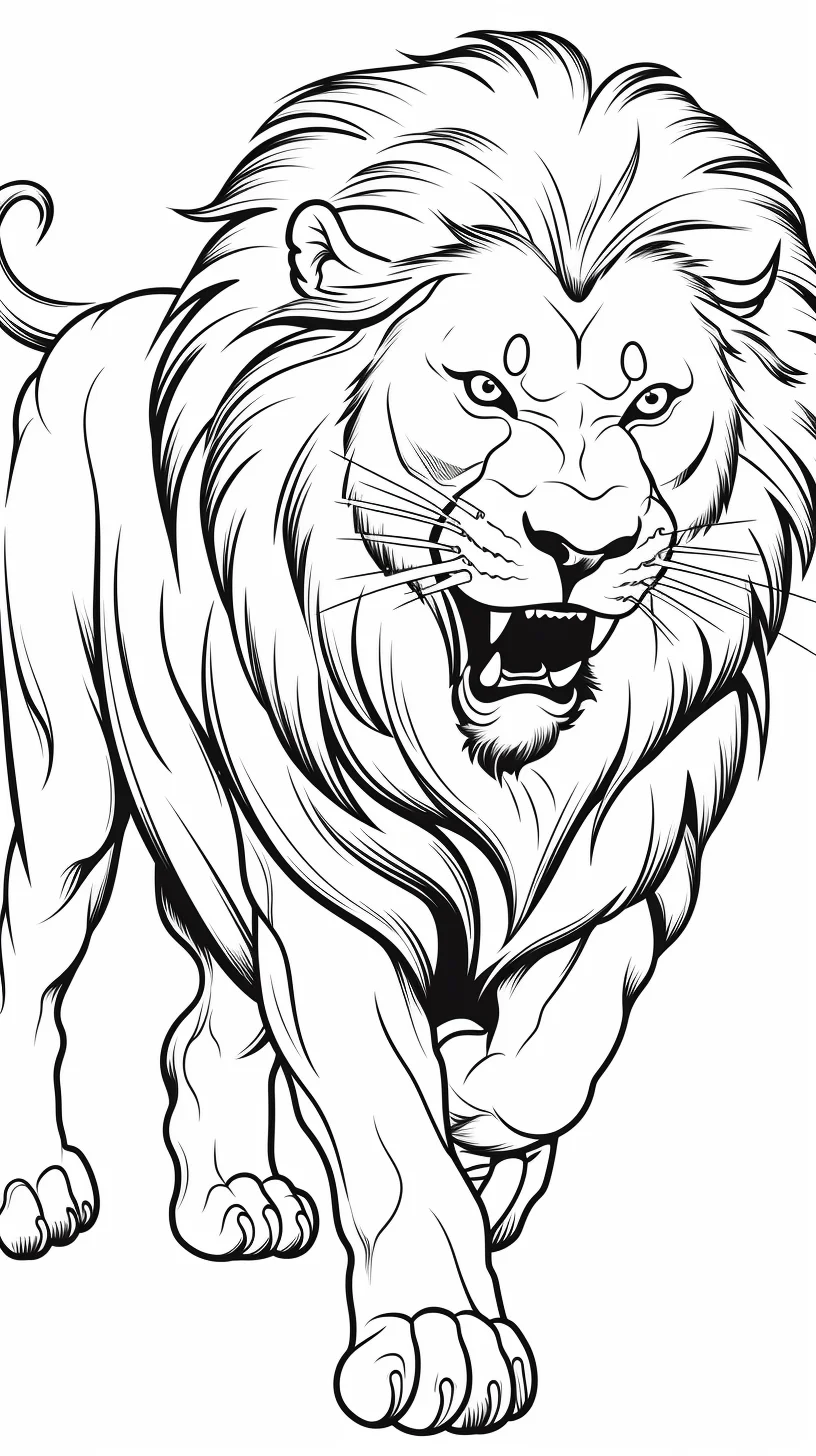
Detailed lion page: work from large value areas to small texture. Shade the mane in two or three broad light/dark masses first; only then add selected hair strokes along the outer edge and around the cheeks. That usually looks more realistic than outlining every strand.
Fix the result before adding more detail
When a realistic coloring page looks wrong, adding more fur often makes the problem harder to fix. Diagnose the larger issue first.
| If the lion looks… | Likely cause | Try this |
|---|---|---|
| Flat | Body and mane have similar values | Deepen shadows beneath the chin, chest and inner mane while keeping the muzzle pale. |
| Stripy | Fur strokes are too dark and evenly spaced | Glaze a light base color over them and add only a few sharper hairs at edges. |
| Too orange | One warm color covers the whole animal | Layer muted ochre, beige or light brown over selected areas instead of adding more orange. |
| Heavy-faced | Eyes, nose and mouth were outlined too early | Soften nearby fur with lighter layers and keep the strongest darks to tiny accents. |
| Like a brown ring around the head | The mane is one uniform value | Break it into light, middle and dark clumps; put the deepest darks near overlaps and the neck. |
| Busy everywhere | Every area has equal texture | Smooth the torso and legs; keep sharper texture around the face, chest and mane silhouette. |
Four believable lion palettes
- Warm savanna: cream, yellow ochre, golden brown, burnt umber and a small amount of dark brown.
- Muted natural: ivory, sand, raw sienna, taupe and sepia for a less saturated coat.
- Older dark-maned male: warm beige body with medium brown, dark umber and restrained charcoal in the mane. Leave some lighter locks so the mane keeps its volume.
- Mountain lion: tawny beige, muted golden brown and a pale cream underside, without the mane contrast used for an African male lion.
These are starting points rather than paint-by-number rules. Real coats shift with age, individual variation and lighting, so value relationships matter more than matching one exact pencil name.
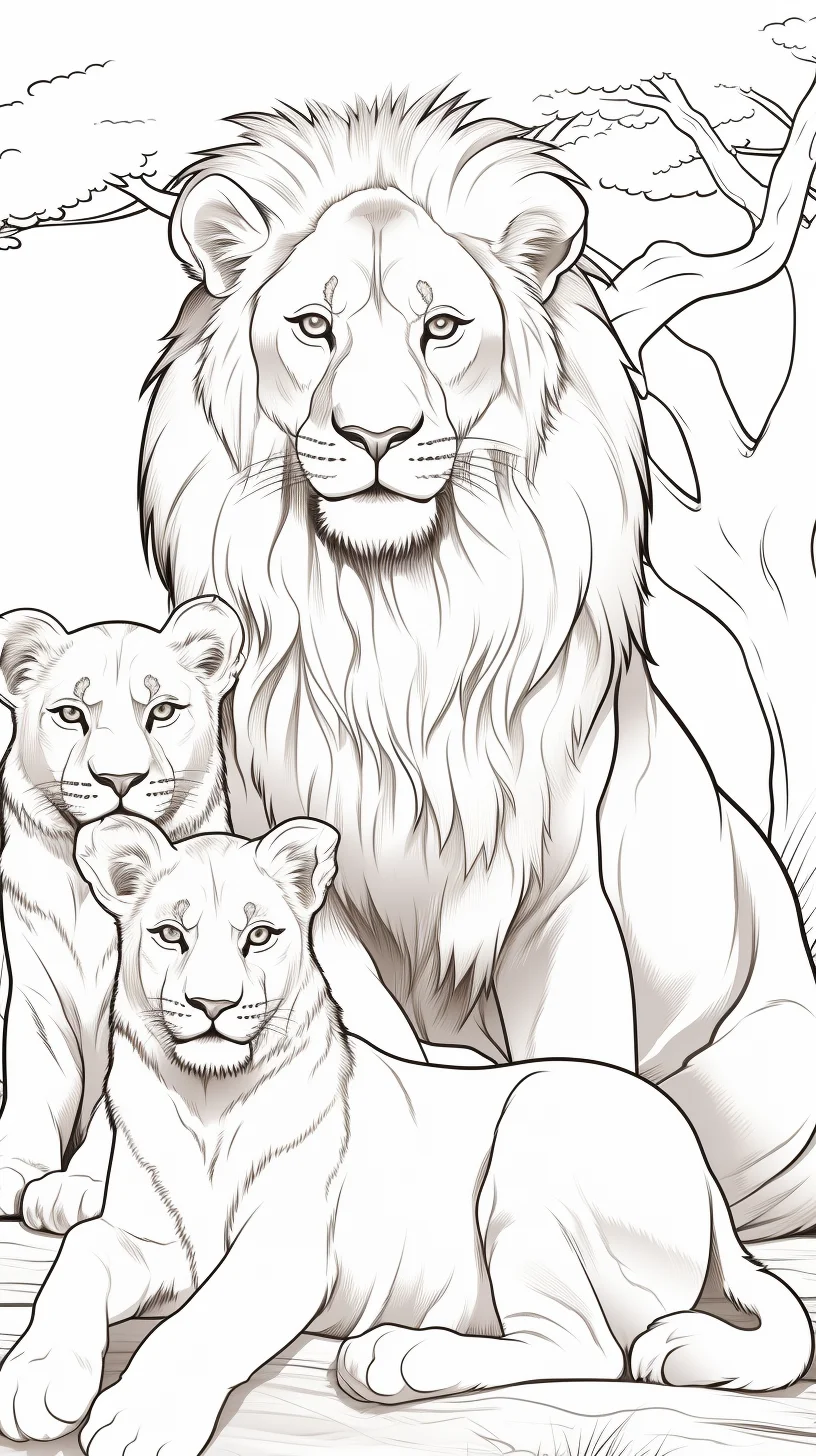
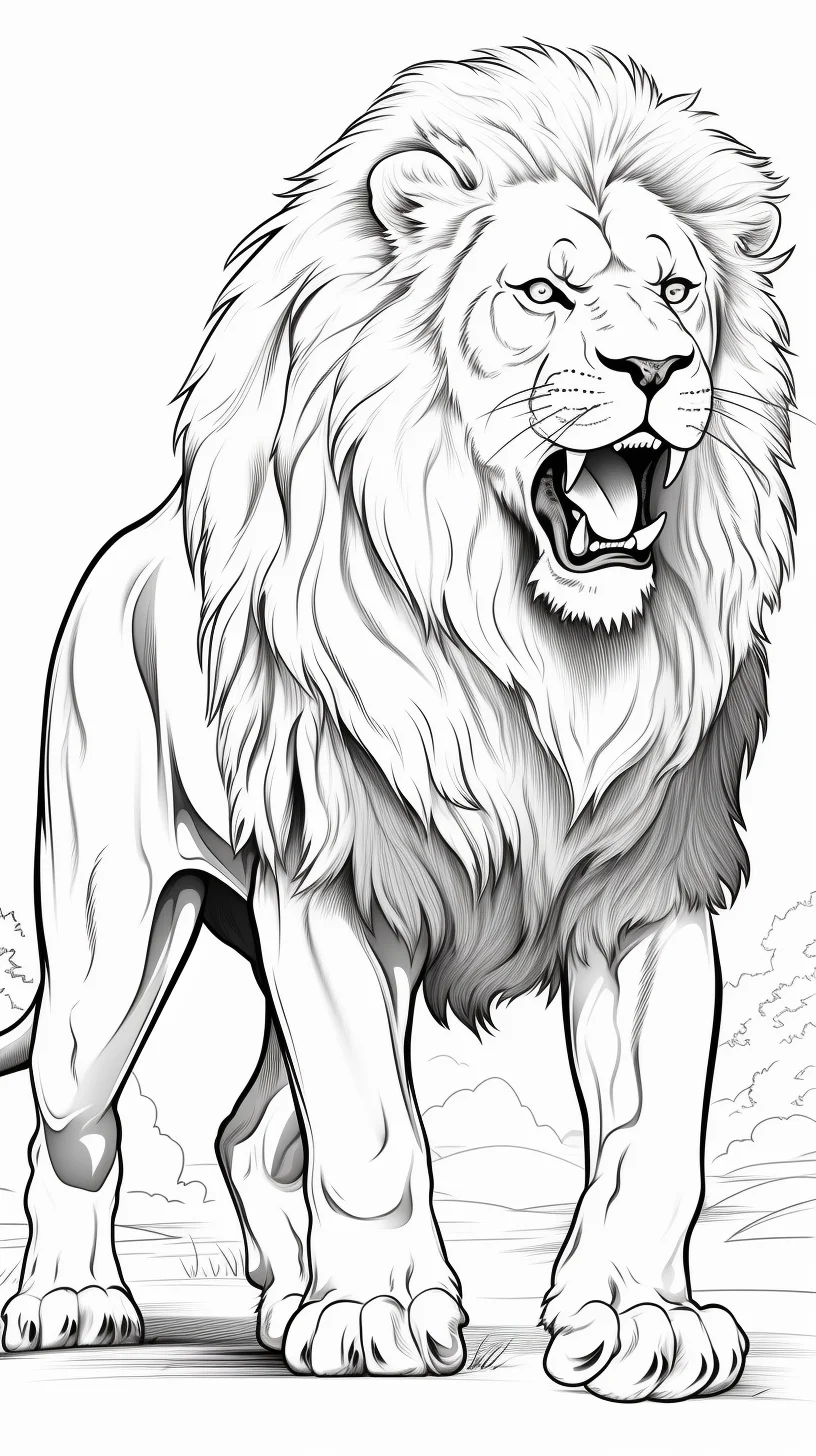
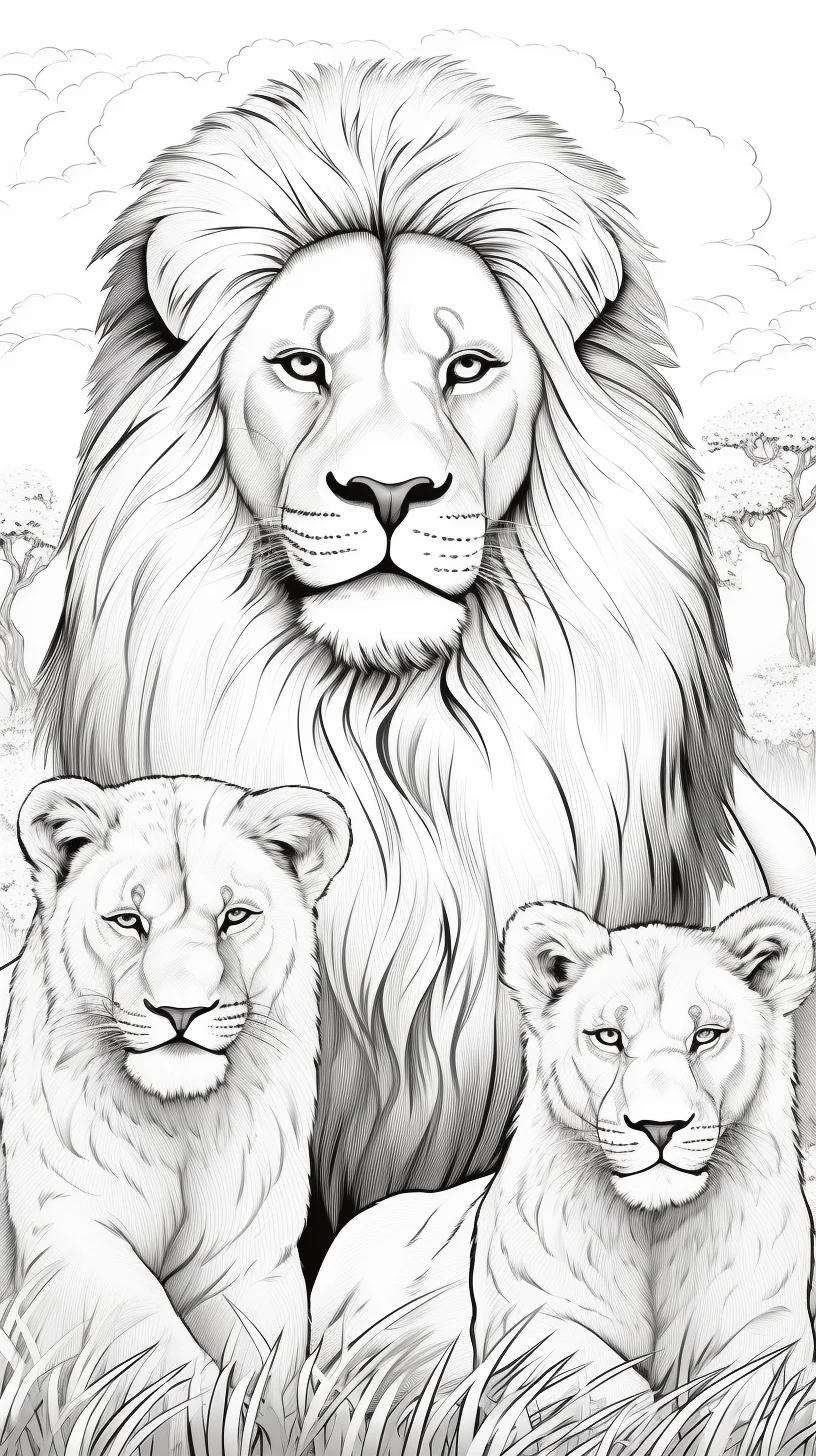
For a longer coloring session: the adult-oriented pages reward slow layering. Build the body with ochre and beige, deepen the mane with brown or burnt umber, and use black only for the smallest accents so the drawing does not lose its softer fur transitions.
Realistic lion coloring FAQ
Which pencils are most useful for lion fur?
A small range is enough: cream or ivory, ochre, a light warm brown, a deeper brown and optionally sepia. A sharp pencil helps around the eyes and mane edges, while a slightly blunter point is better for broad body layers.
Should I use black in the mane?
Usually sparingly. Very dark brown or sepia gives you room to deepen selected shadows later. If black covers large sections too early, the mane can lose its layered appearance.
How do I make the muzzle look lighter without leaving it blank?
Use ivory, cream or a very pale warm gray with light pressure. Add a little shadow beneath the nose and around the mouth, but preserve the overall light shape of the whisker pads.
What should I practice first if fur feels difficult?
Practice value separation before texture. A lion with simple smooth shading and convincing light/dark structure will usually look more realistic than one covered in hundreds of carefully drawn hairs but lacking form.