
The 33 pages here are a mix of straightforward patrol cars, older/classic vehicles, chase scenes and a few exaggerated designs such as monster-truck or sports-car police vehicles. The single-car sheets are easiest; the action scenes take longer because the road, sky and background compete for attention.
If you are choosing for a child or a short coloring session, ignore the vehicle brand and judge the drawing itself. A large side-view car with broad doors and a blank background is much easier than a smaller car surrounded by roads, buildings, smoke or other vehicles.
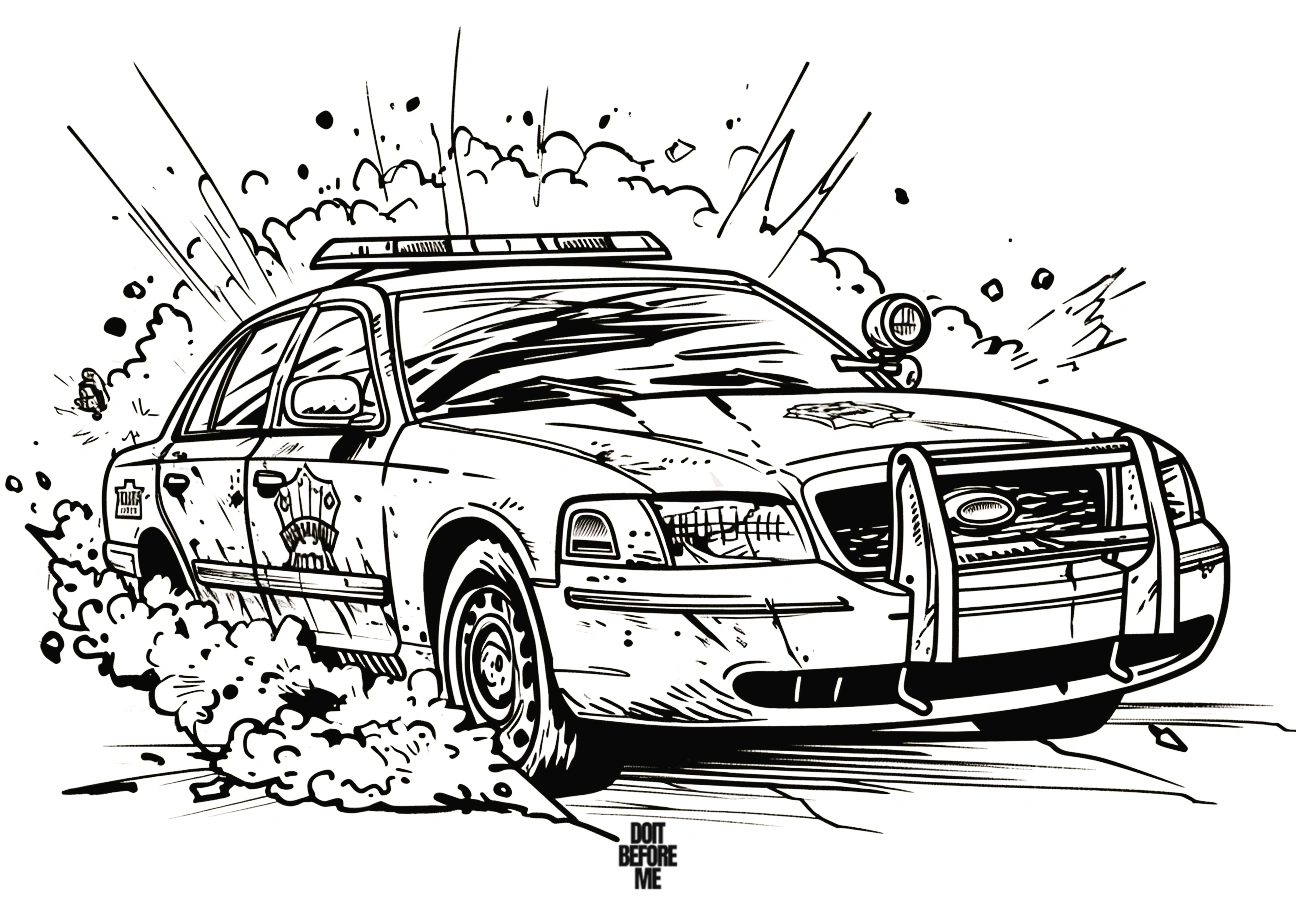
Open full-size police car coloring page 1
There is no single “correct” police-car palette. Different services use very different liveries, so black, white, blue, silver and high-visibility accents are all reasonable starting points. On darker vehicles, leave a few small highlights on windows and body panels instead of filling every surface solid black.
Choose a police car page by difficulty
| Page type | Best for | What makes it harder |
|---|---|---|
| Single patrol car on white background | Young children, crayons, quick sessions | Mostly just body panels, windows and wheels |
| Classic or realistic patrol car | Older children and vehicle-detail practice | More grille, trim, wheel and light-bar detail |
| Street or chase scene | Colored-pencil practice | Road, buildings and background need separate values |
| Fantasy police supercar or monster truck | Creative palettes | More complex shapes, but no need to copy a real fleet |
A useful test is to look at the smallest area you intend to color—the grille openings, wheel spokes or light-bar sections. If your crayon or marker tip is wider than those spaces, either switch to a sharper pencil for the details or choose a simpler sheet. That is more reliable than choosing by an age label.
Keep the car as the focal point
In a chase or street scene, color the vehicle first. Use stronger contrast on the light bar, windows and wheels, then keep the road and background slightly quieter. Colored pencils are easier than broad markers for grilles, mirrors, wheel rims and smaller lights.
Do a two-minute body-panel test first
Before coloring a full car, use a scrap of the same paper and draw three small rectangles. Fill the first with one flat layer of your body color, the second with two light layers, and the third with two layers plus a darker strip along one edge. Hold the paper at arm’s length. If the second and third rectangles look identical, your pressure is already too heavy; start the actual car more lightly. If the darker edge is clearly visible without looking like a black outline, you have enough range left to describe door seams, wheel arches and the underside of the car.
For a white patrol car, run the same test with pale gray or pale blue instead of a body color. The useful result is a shadow you can see beside untouched white paper but that still looks much lighter than the tires and windows.
Build chase-scene depth in three passes
- Lock in the vehicle. Finish the main car’s body, windows, tires and light bar first so you know the darkest and brightest values on the page.
- Separate the road. Make the road one step quieter than the tires. If both are equally dark, preserve a thin lighter edge around the tire or use a softer road value so the wheels stay readable.
- Push the distance back. Reduce pencil pressure and detail as buildings, smoke, road markings or other vehicles recede. Then view the sheet from arm’s length: if a background object grabs your eye before the light bar or windshield, lighten that object rather than making the police car darker.
How to print these police car pages
- Open the full-size image using the link beneath the vehicle you want.
- Print on A4 or Letter paper and select “fit to page.”
- Use colored pencils or fine-tip markers for light bars, grilles, mirrors and wheel details.
For other vehicles, see the sports car, race car and monster truck pages.
33 police car coloring pages
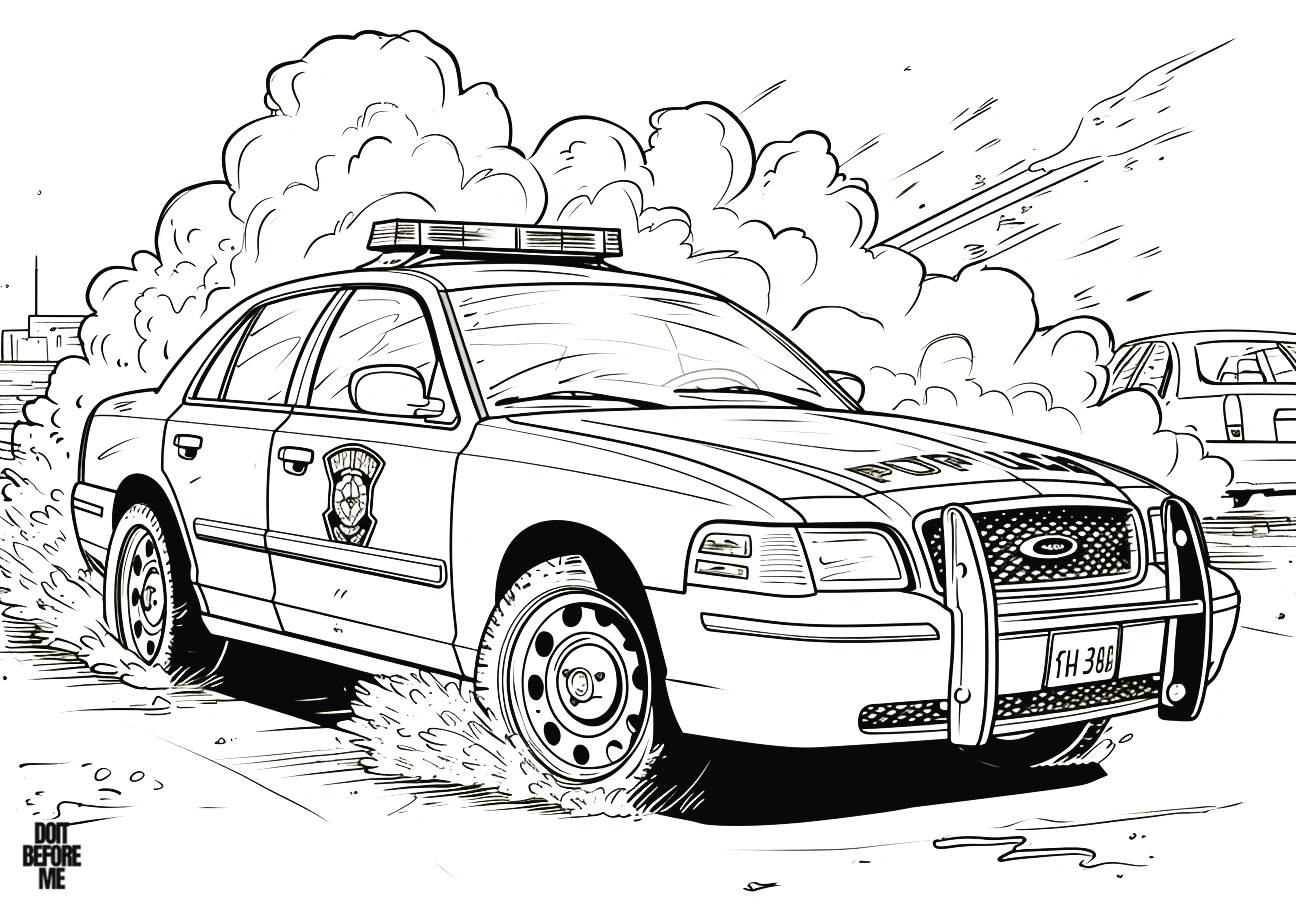
Open full-size police car coloring page 2
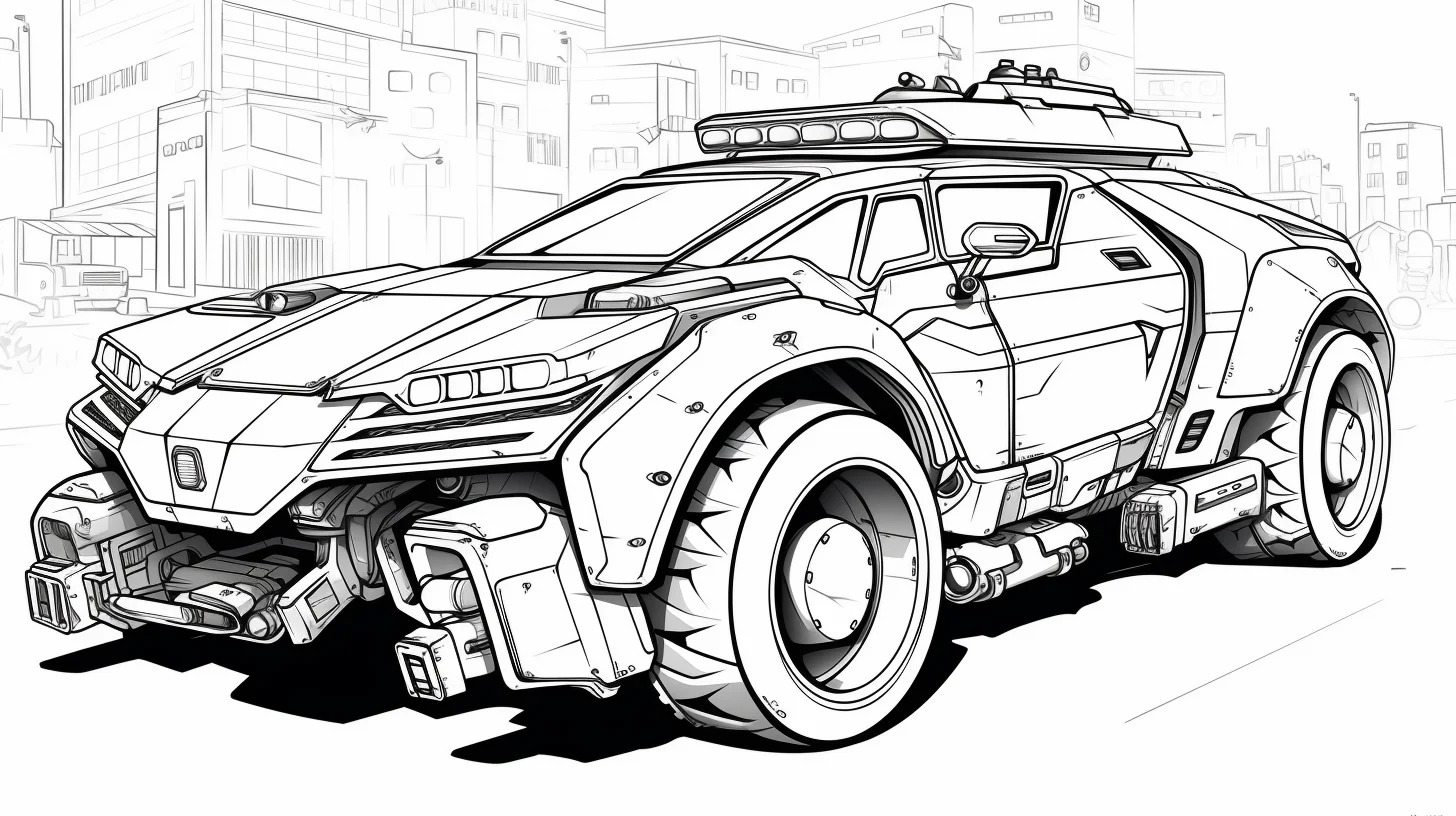
Open full-size police car coloring page 3
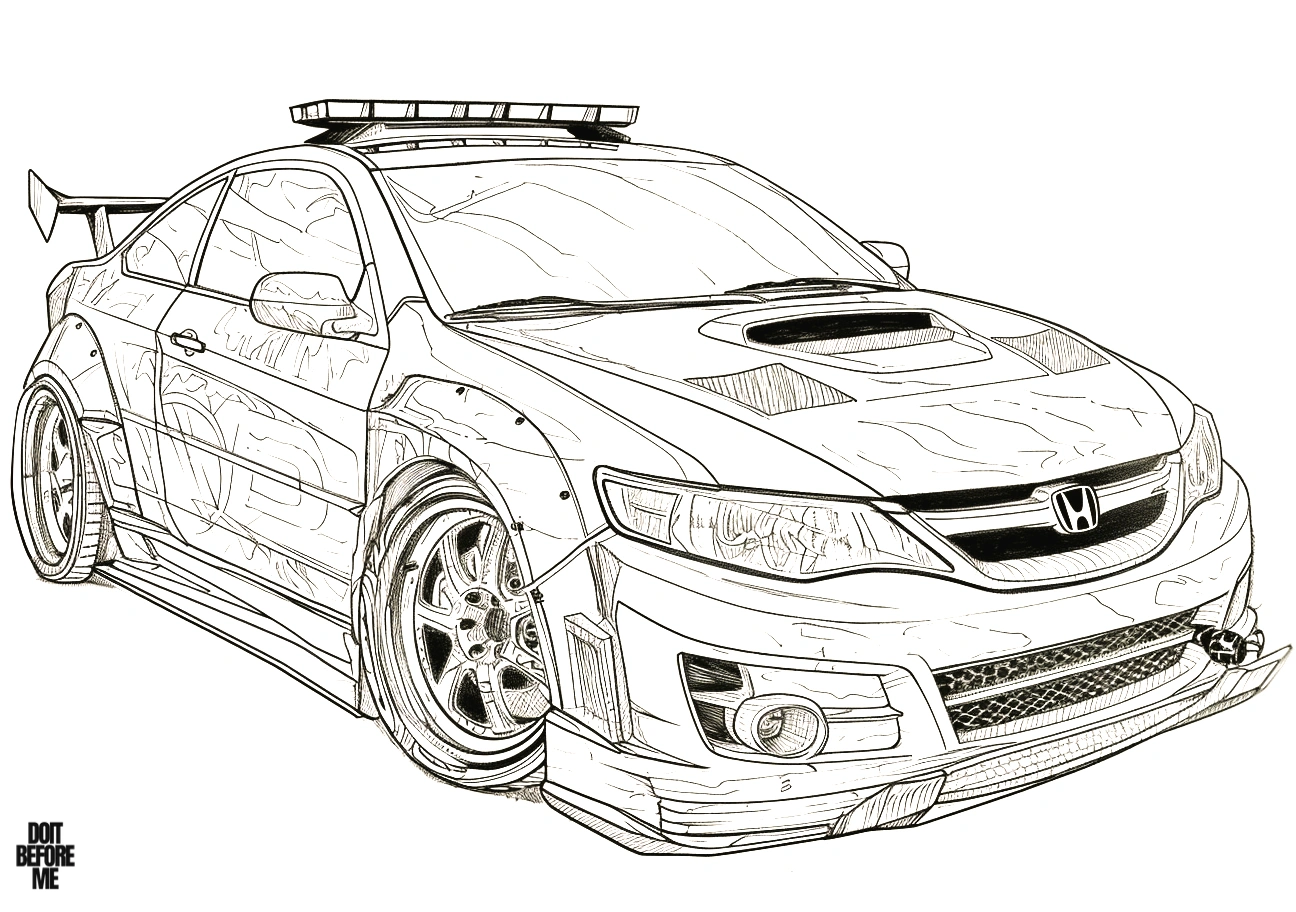
Open full-size police car coloring page 4
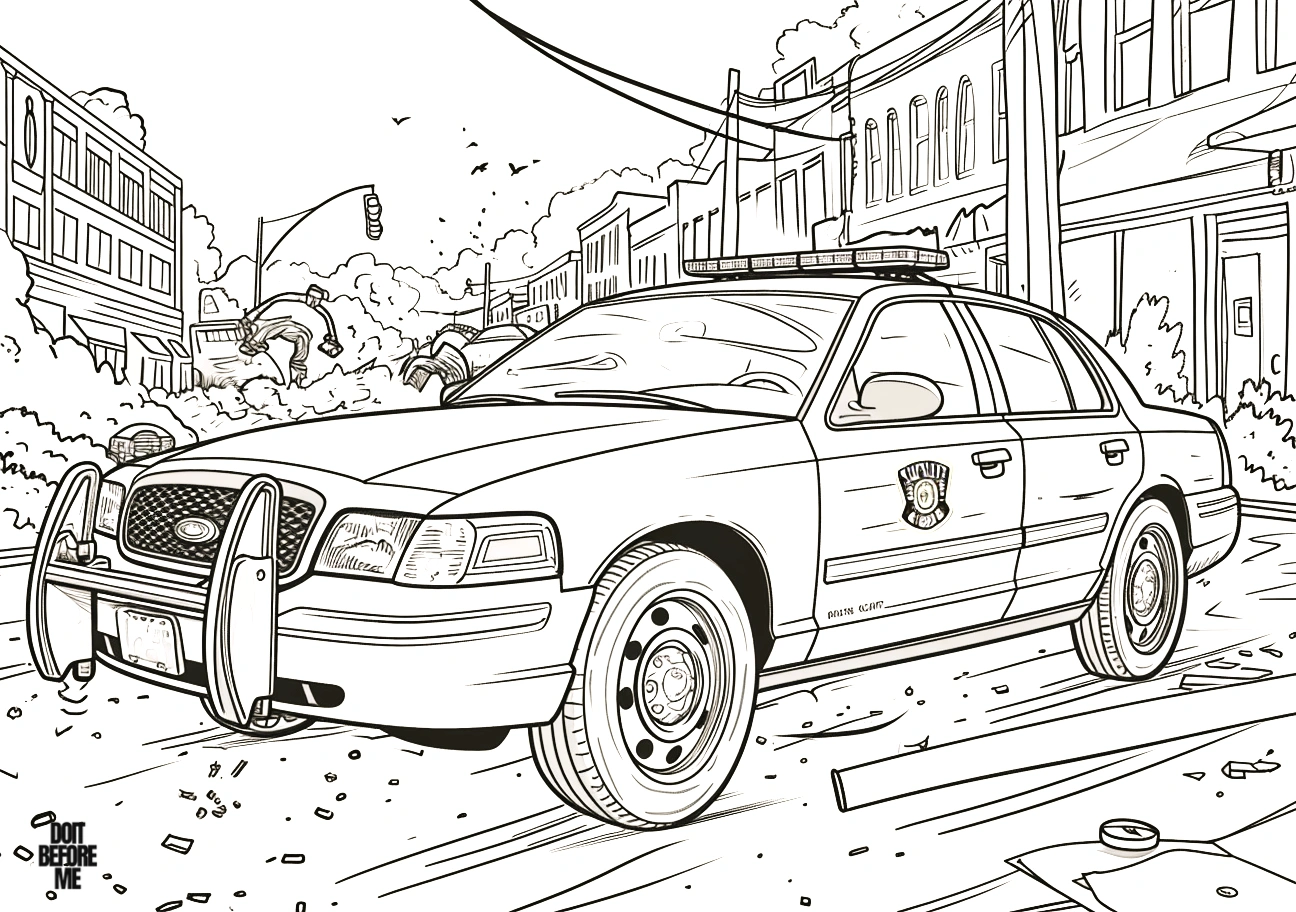
Open full-size police car coloring page 5
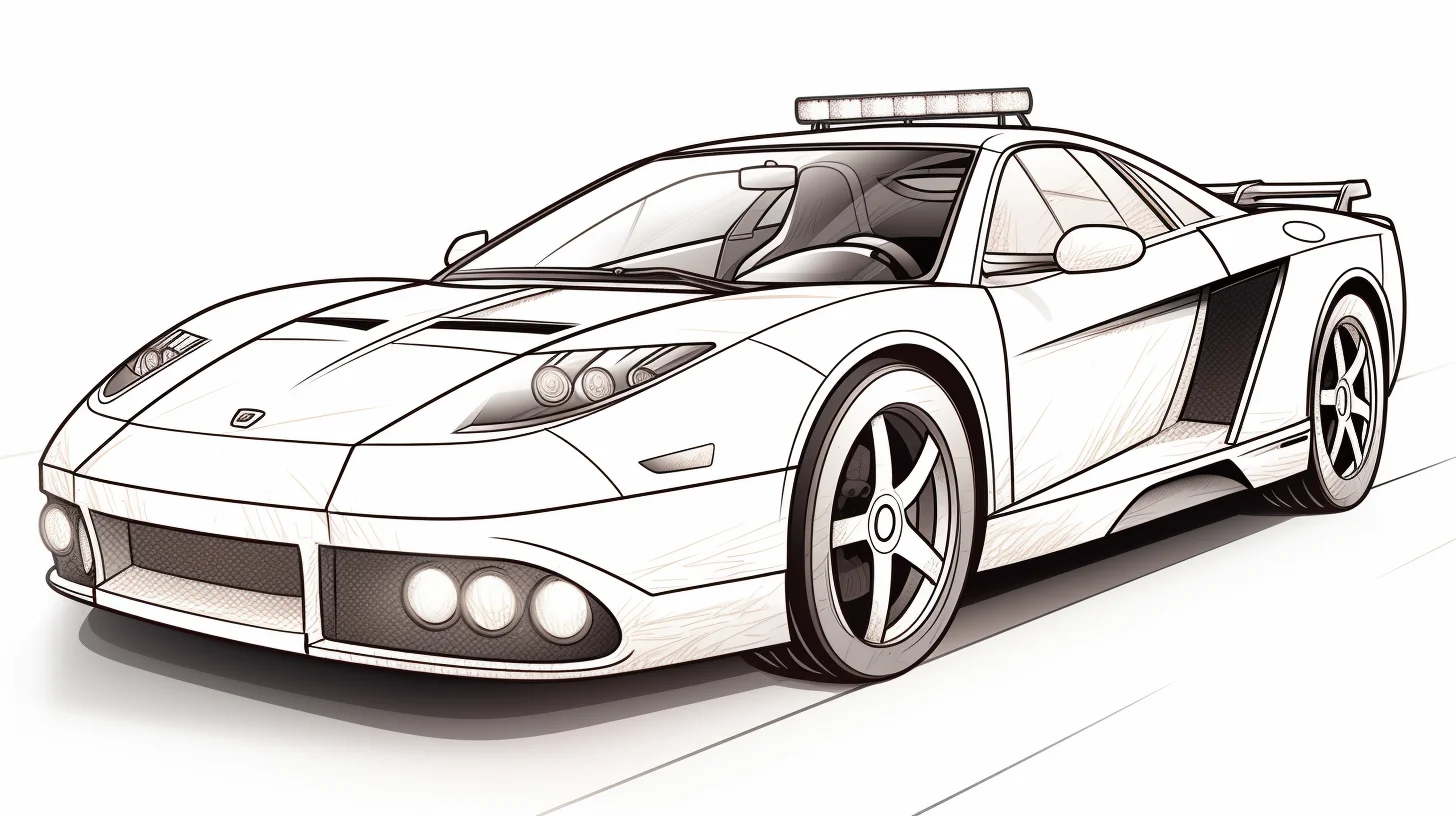
Open full-size police car coloring page 6
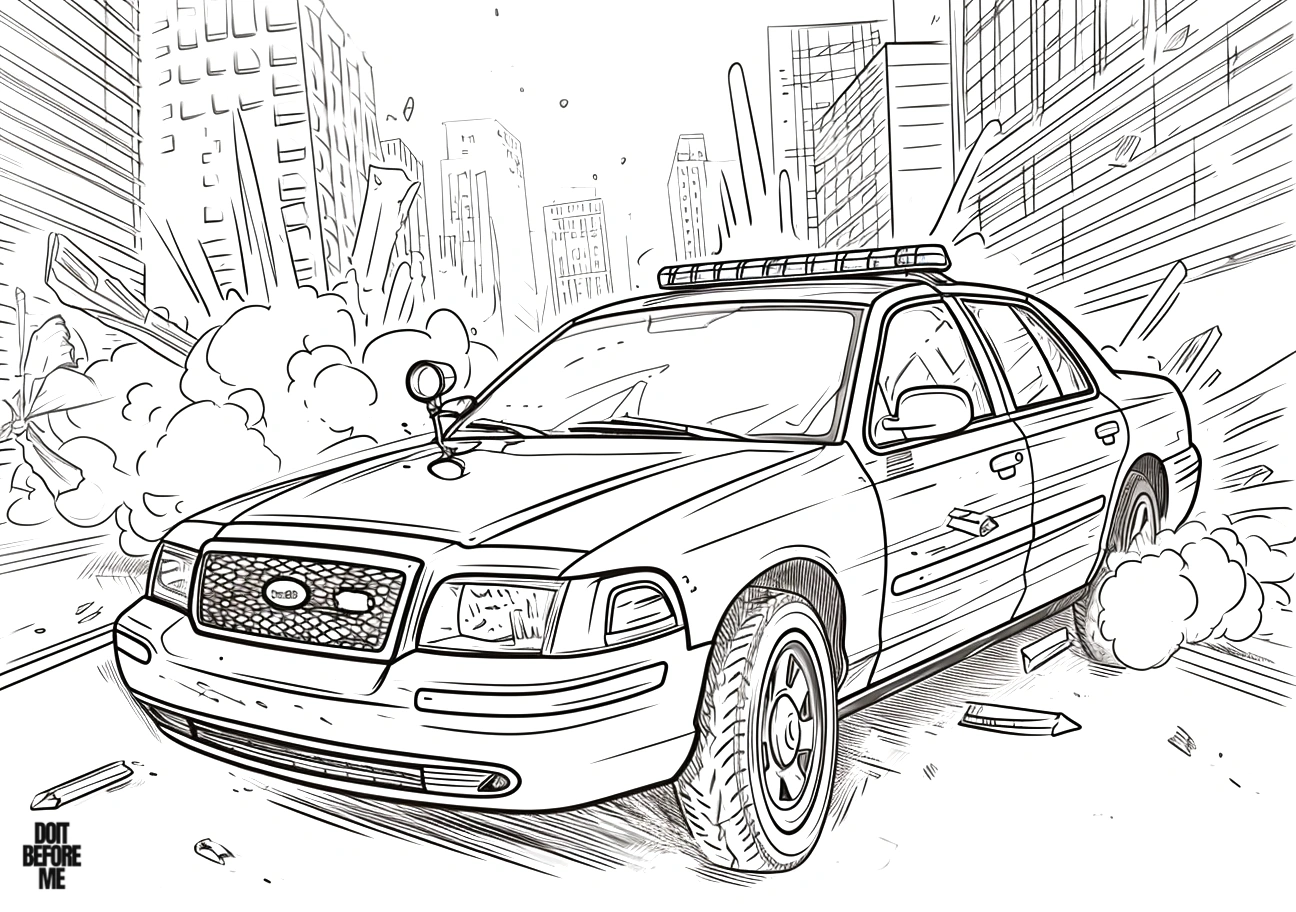
Open full-size police car coloring page 7
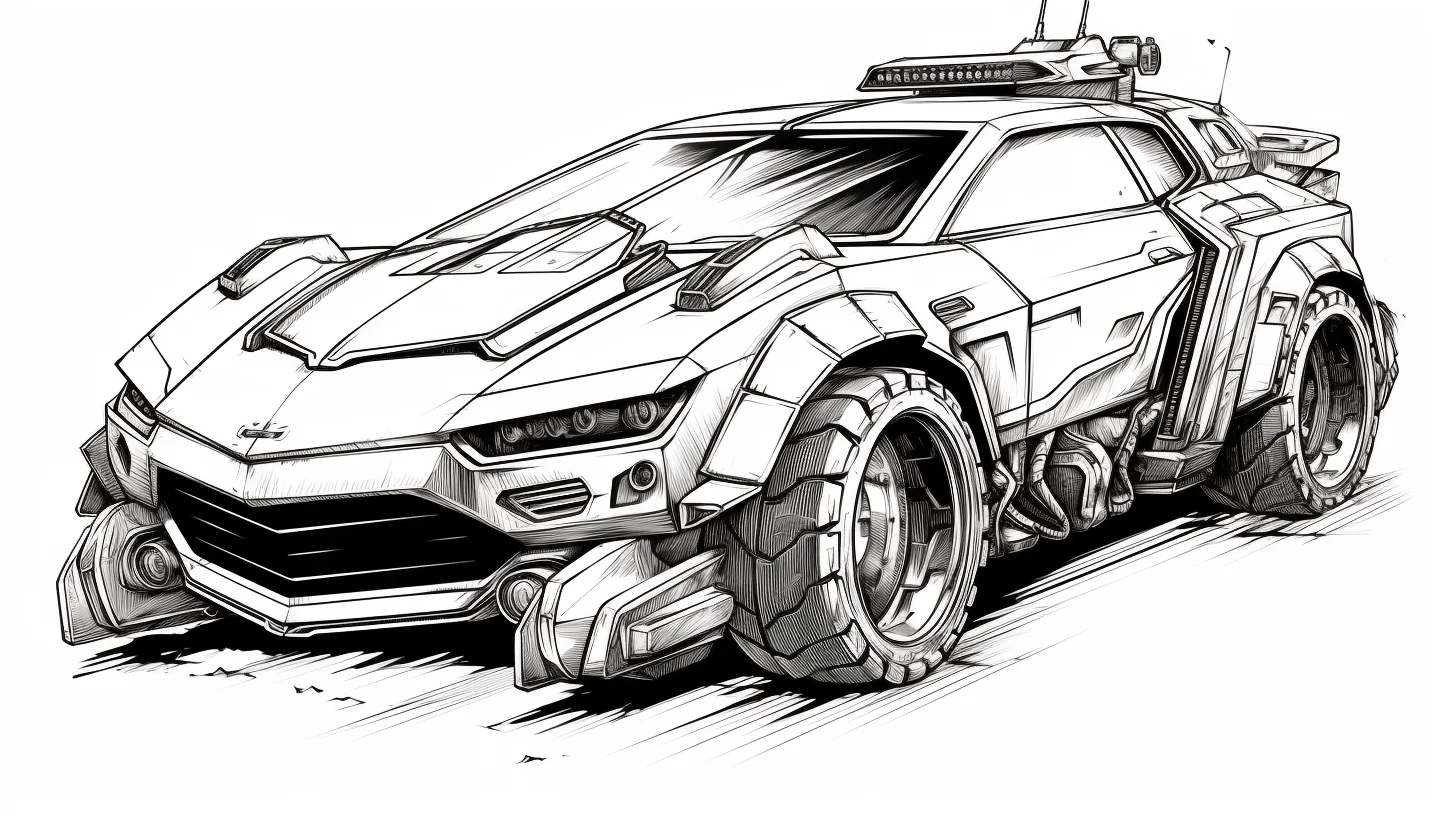
Open full-size police car coloring page 8
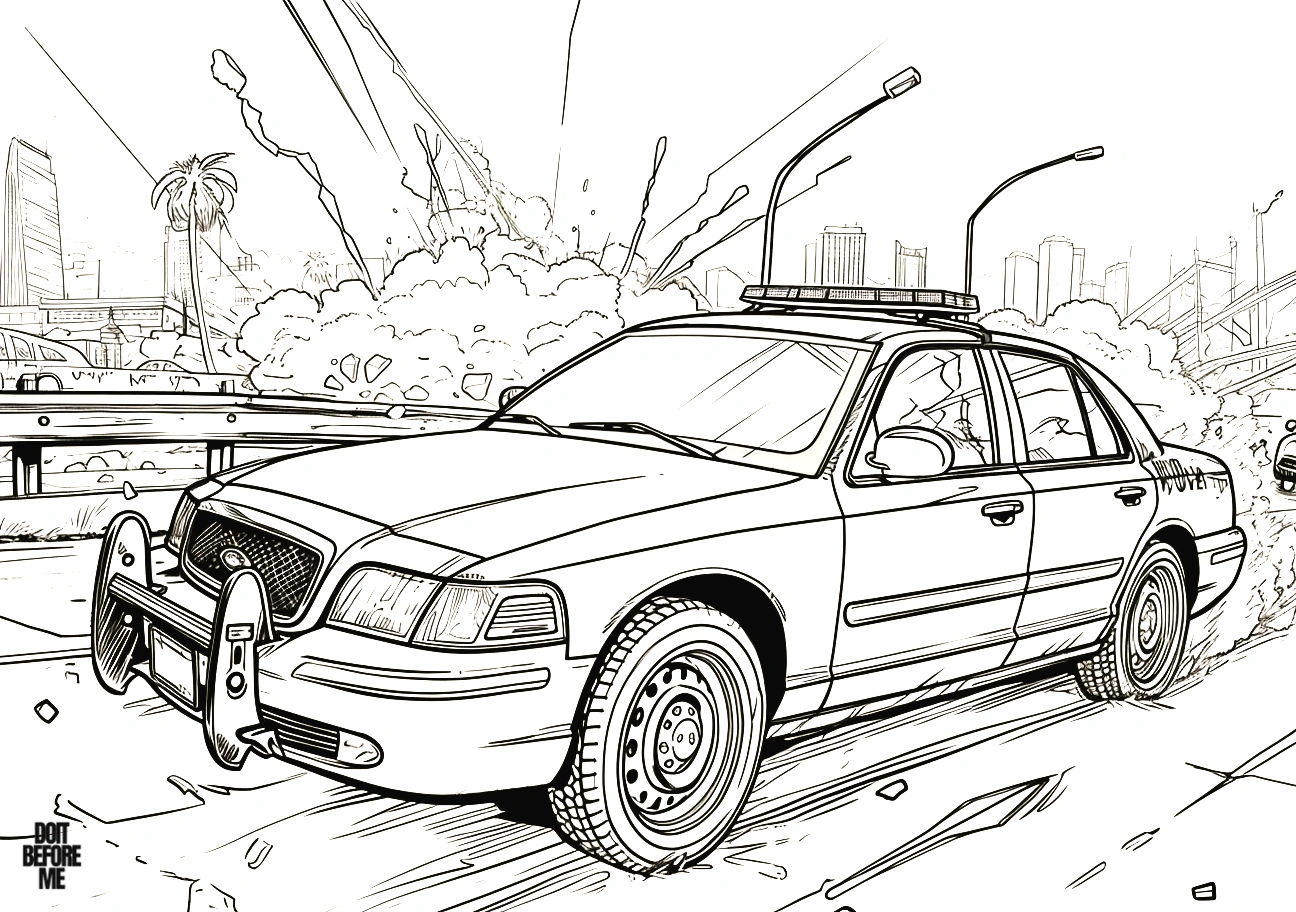
Open full-size police car coloring page 9
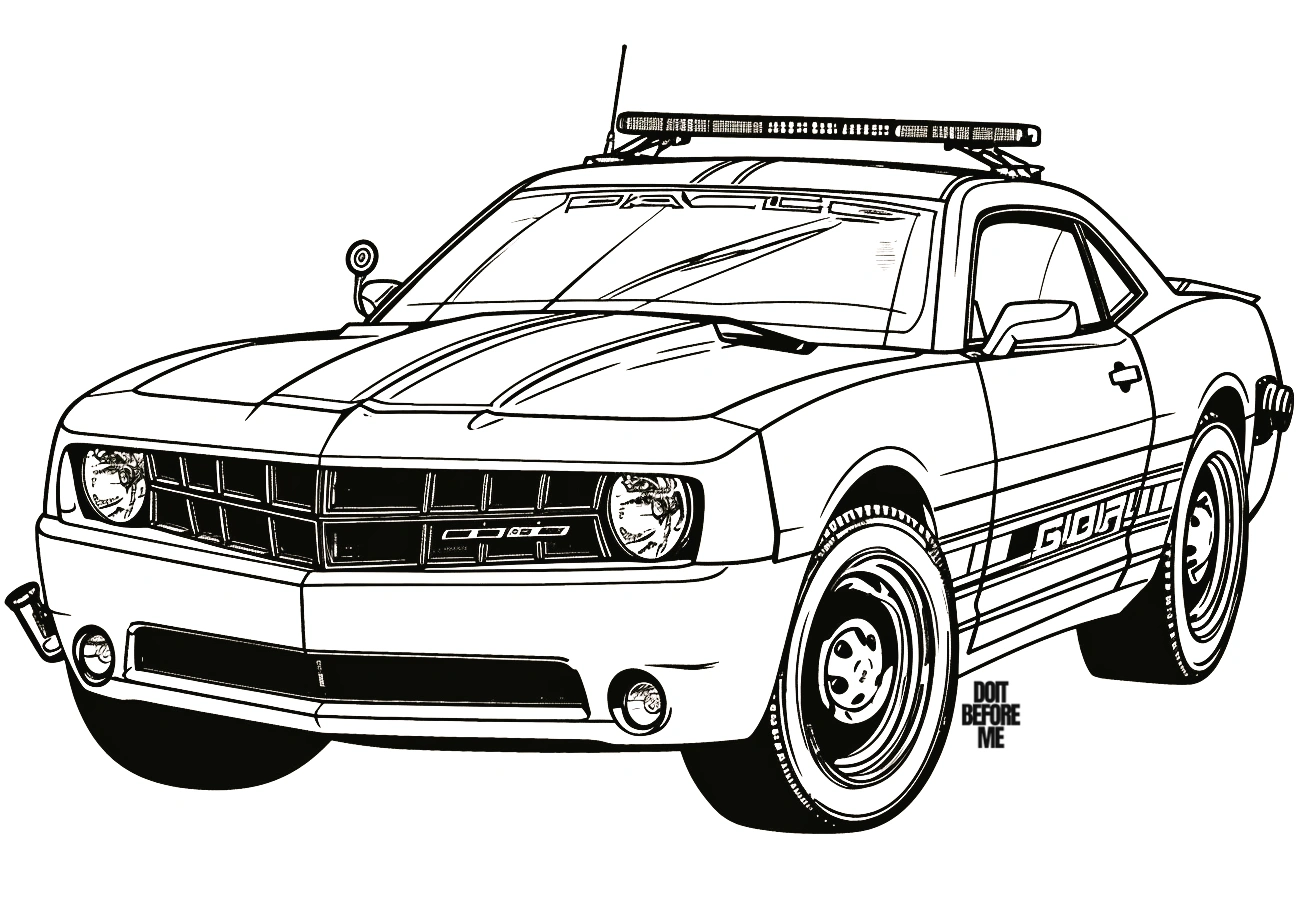
Open full-size police car coloring page 10
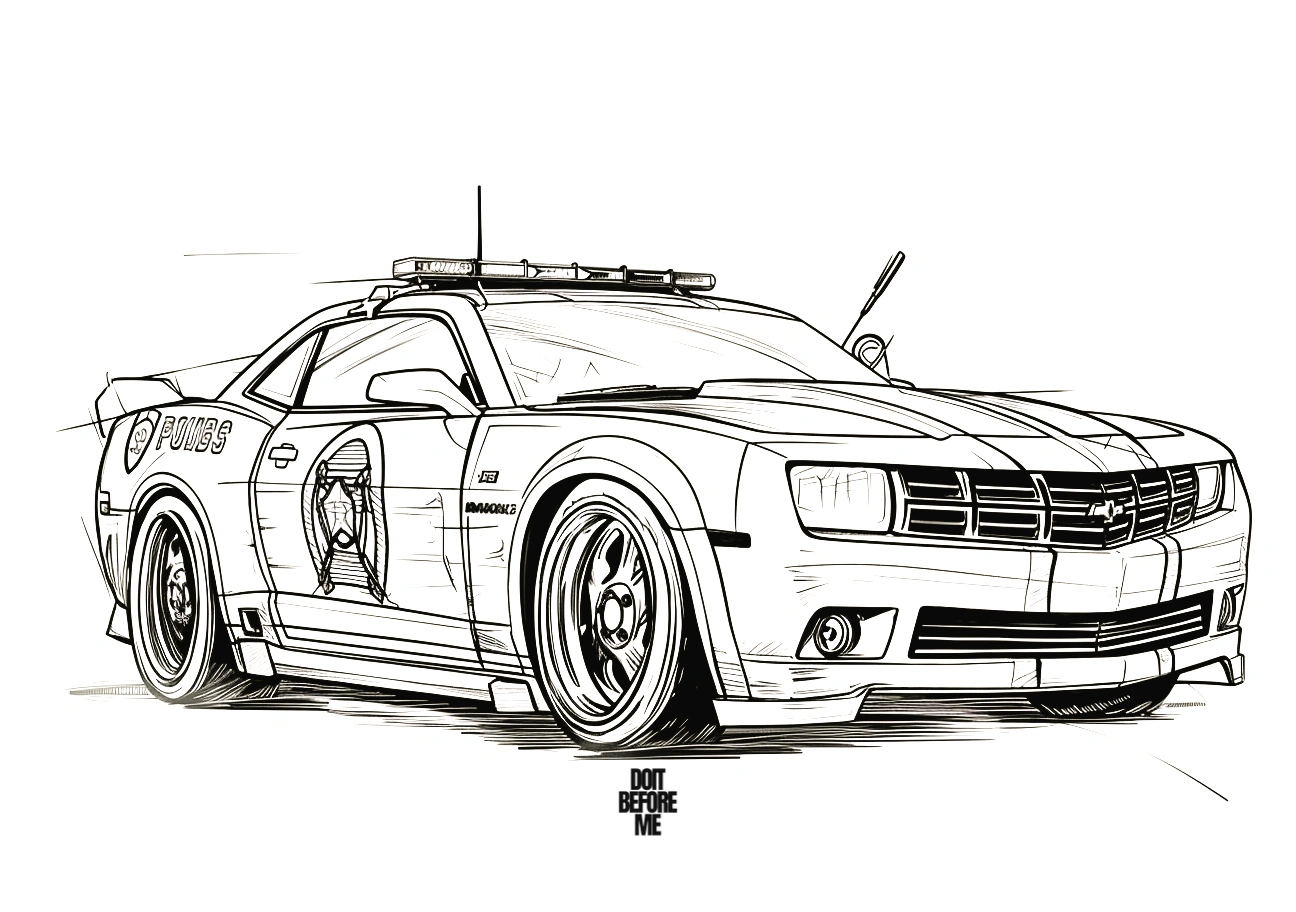
Open full-size police car coloring page 11
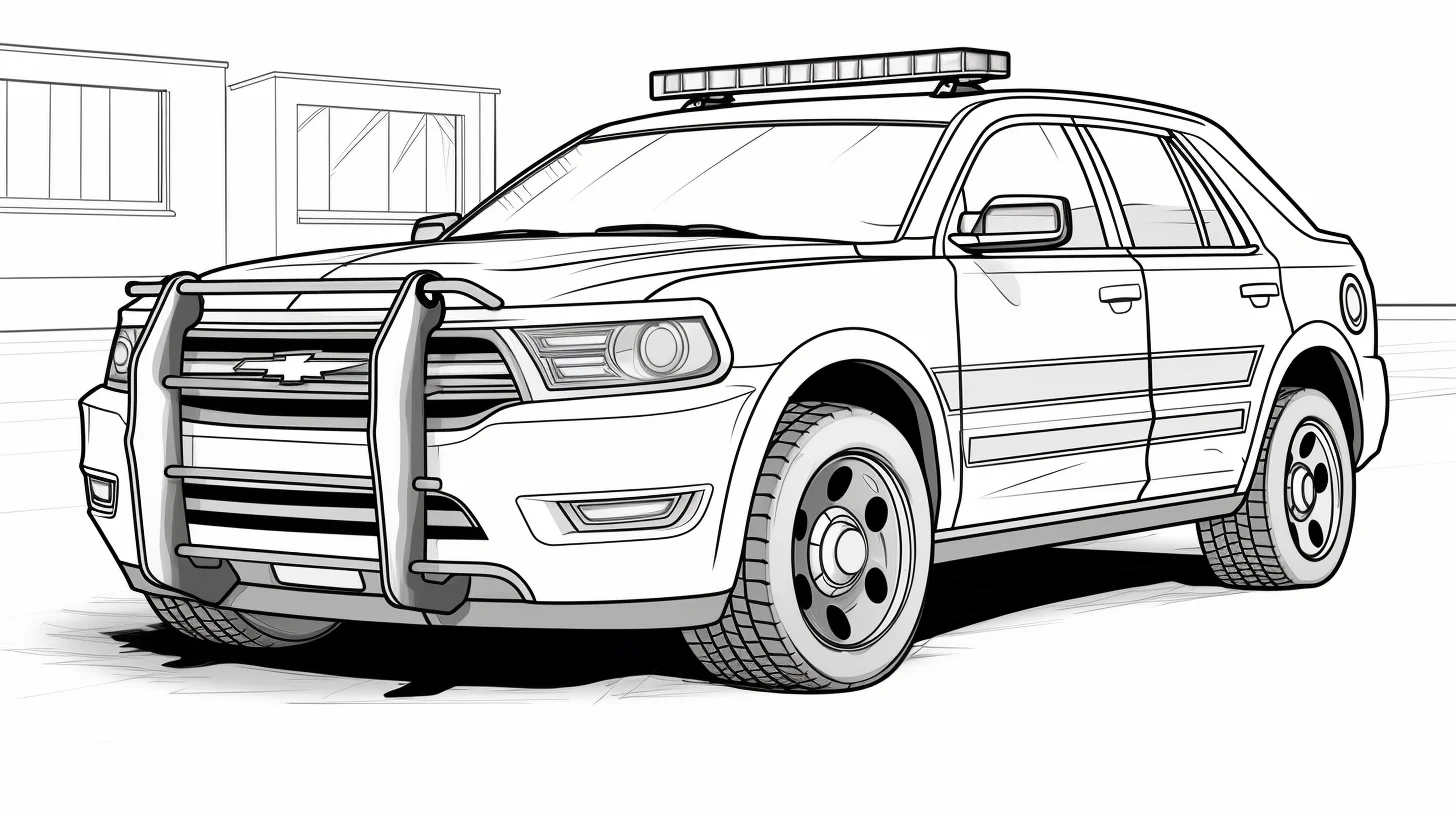
Open full-size police car coloring page 12
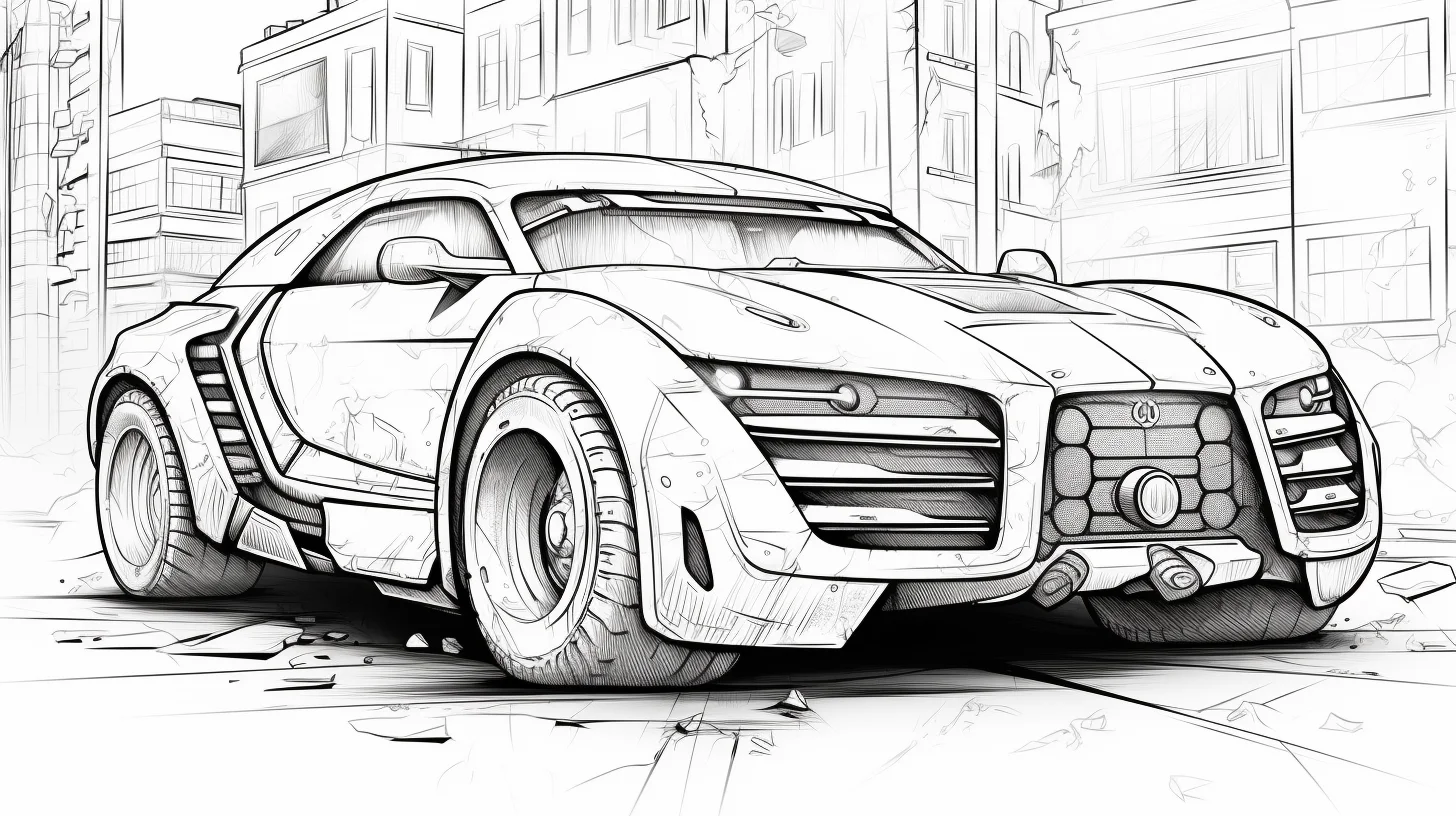
Open full-size police car coloring page 13
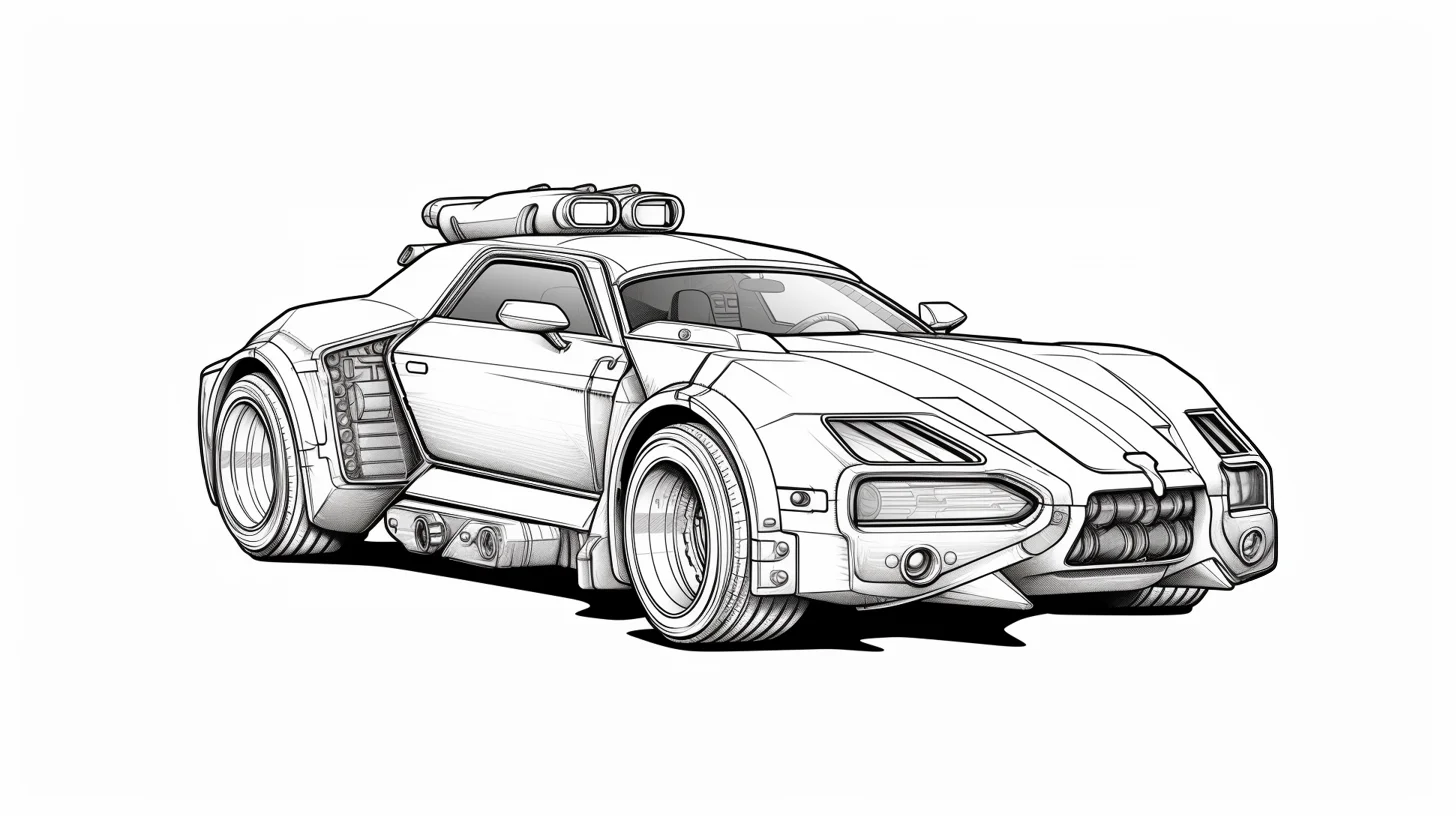
Open full-size police car coloring page 14
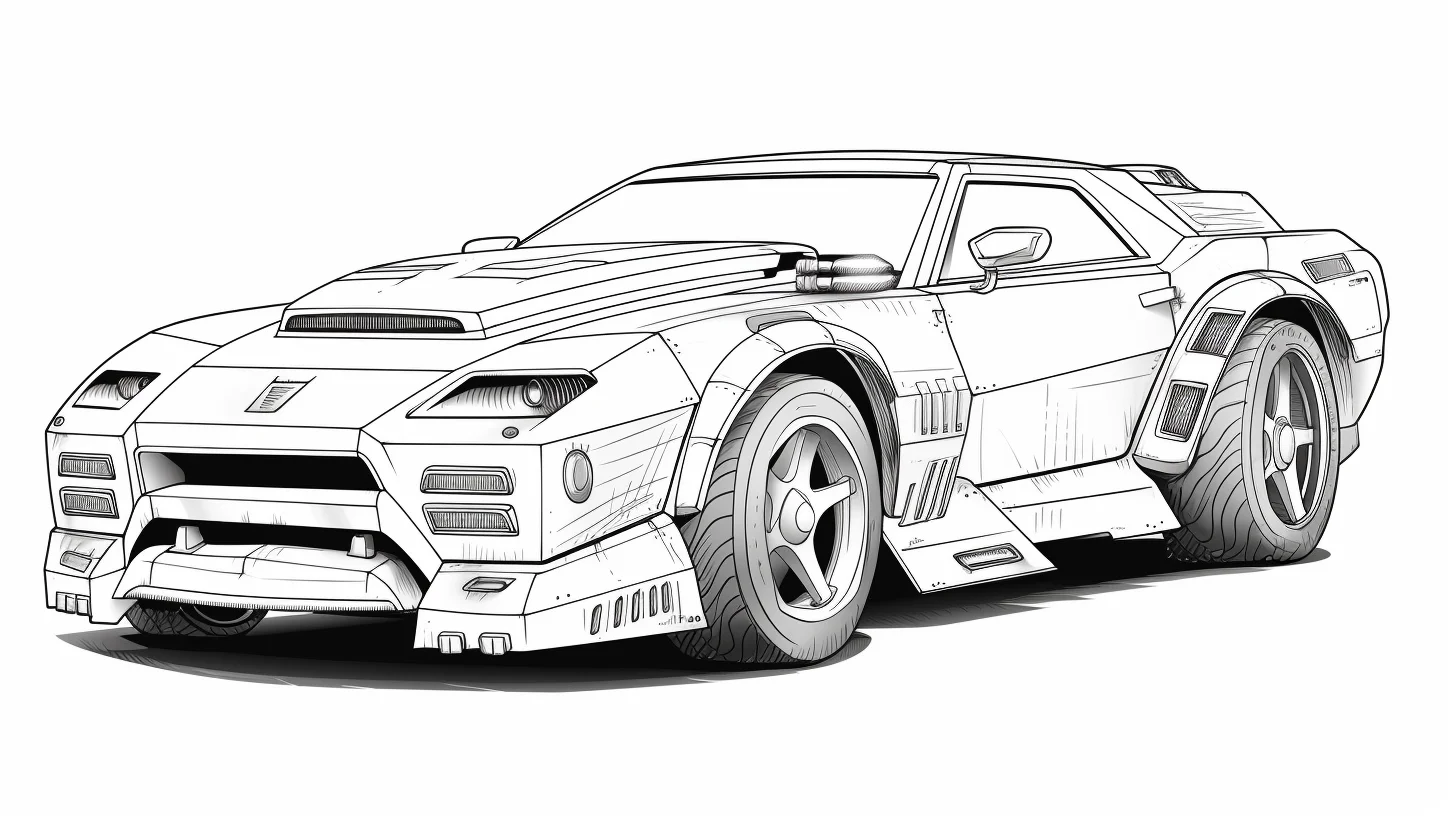
Open full-size police car coloring page 15
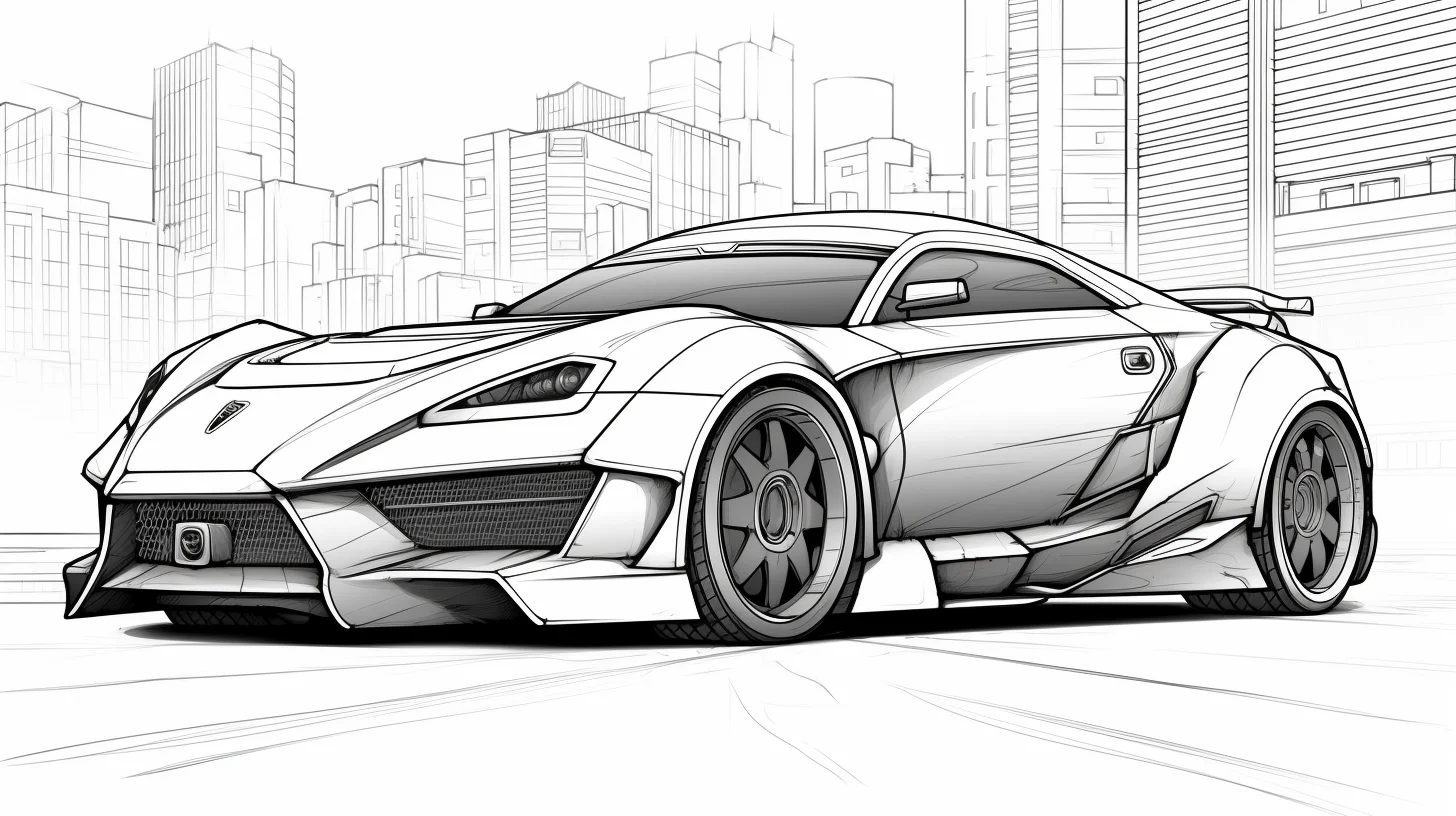
Open full-size police car coloring page 16
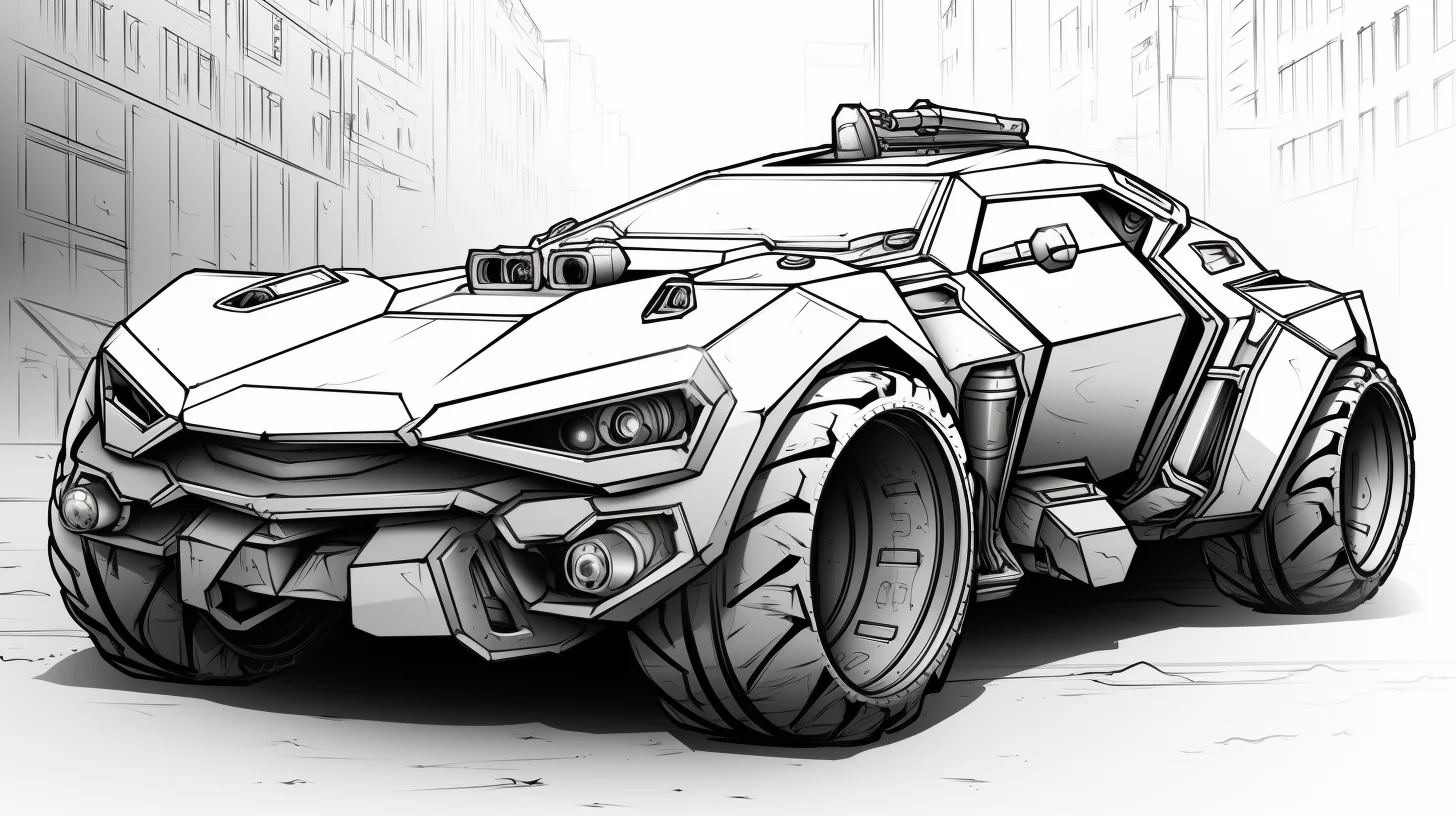
Open full-size police car coloring page 17
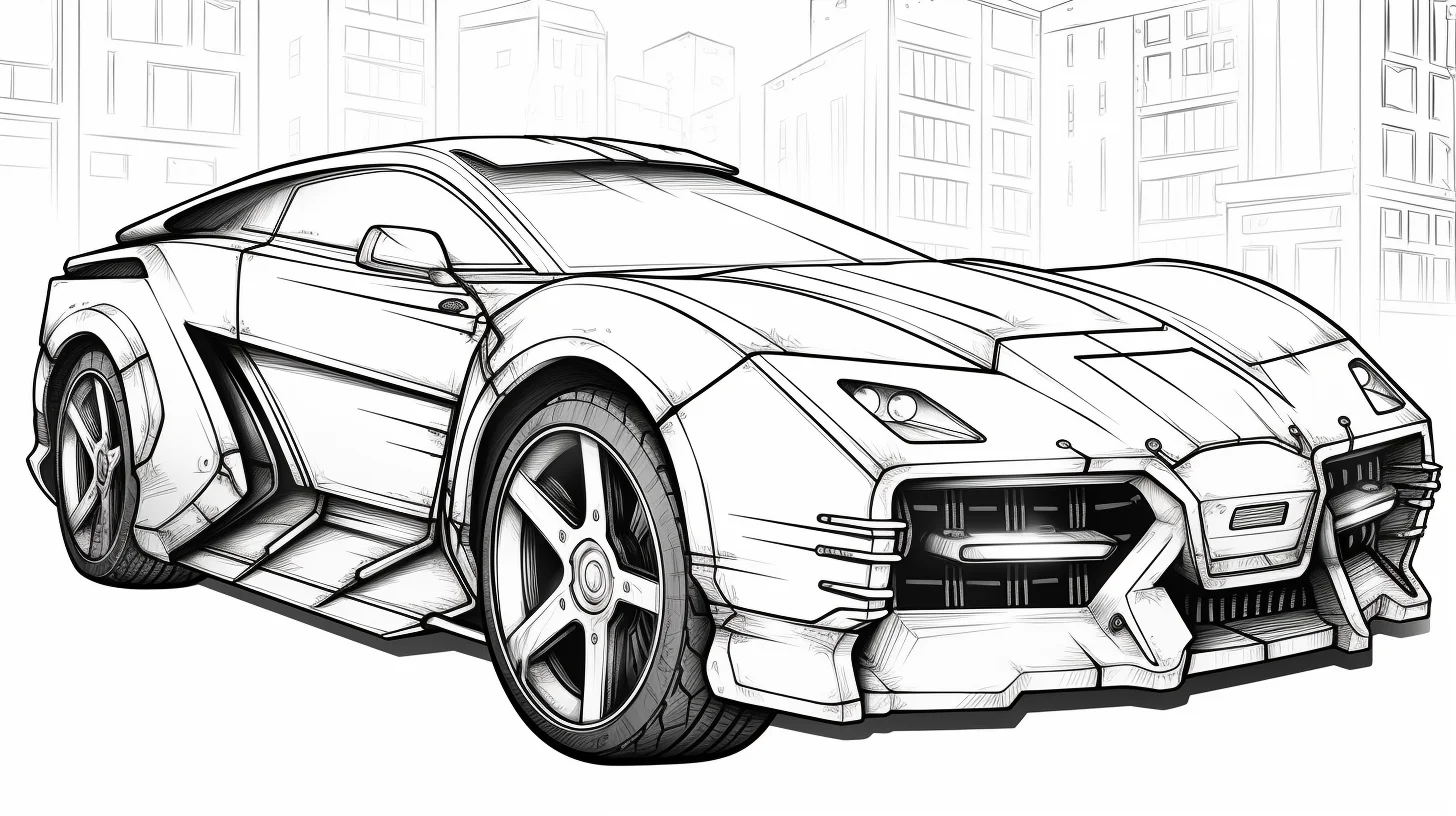
Open full-size police car coloring page 18
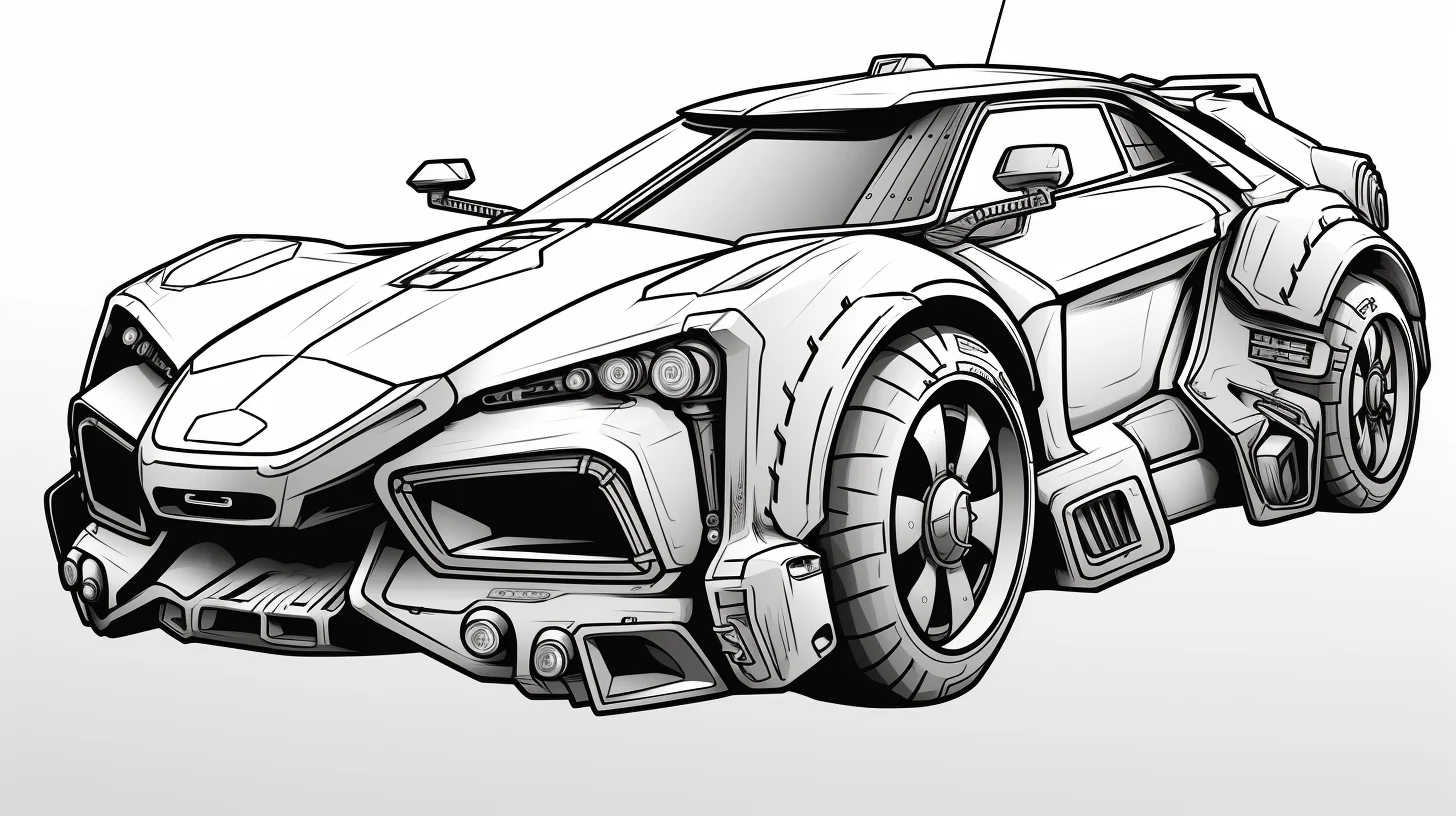
Open full-size police car coloring page 19
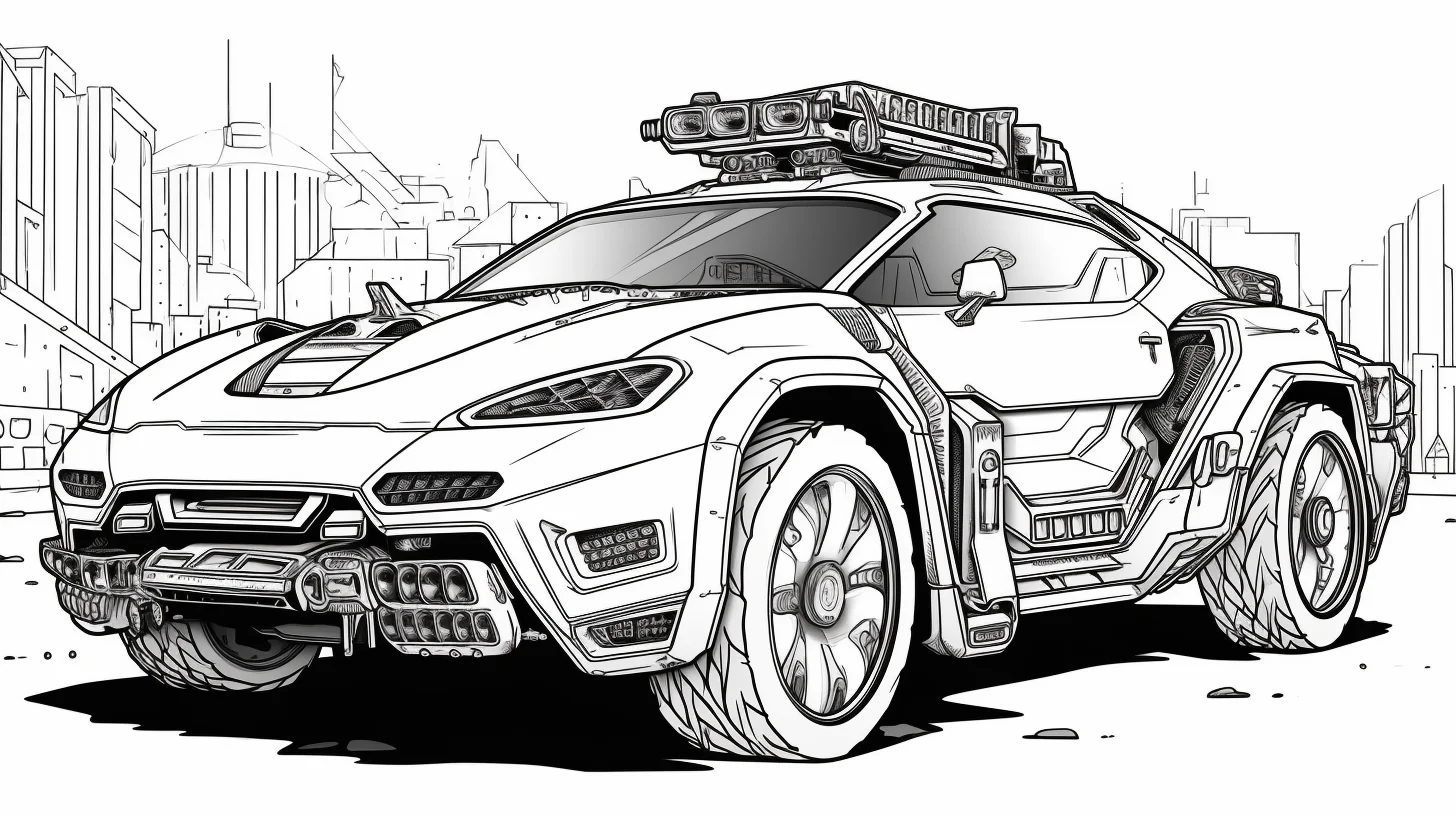
Open full-size police car coloring page 20
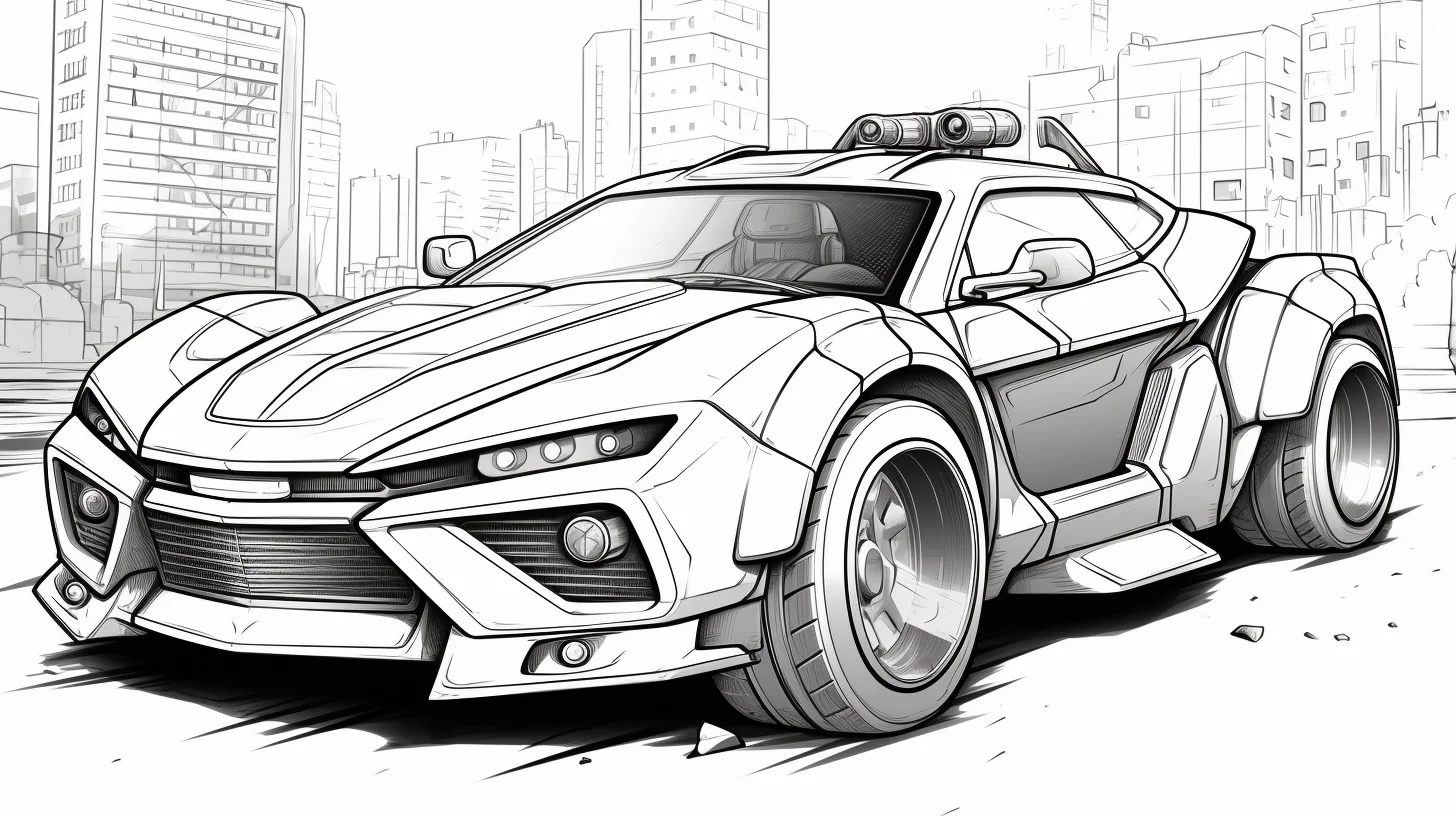
Open full-size police car coloring page 21
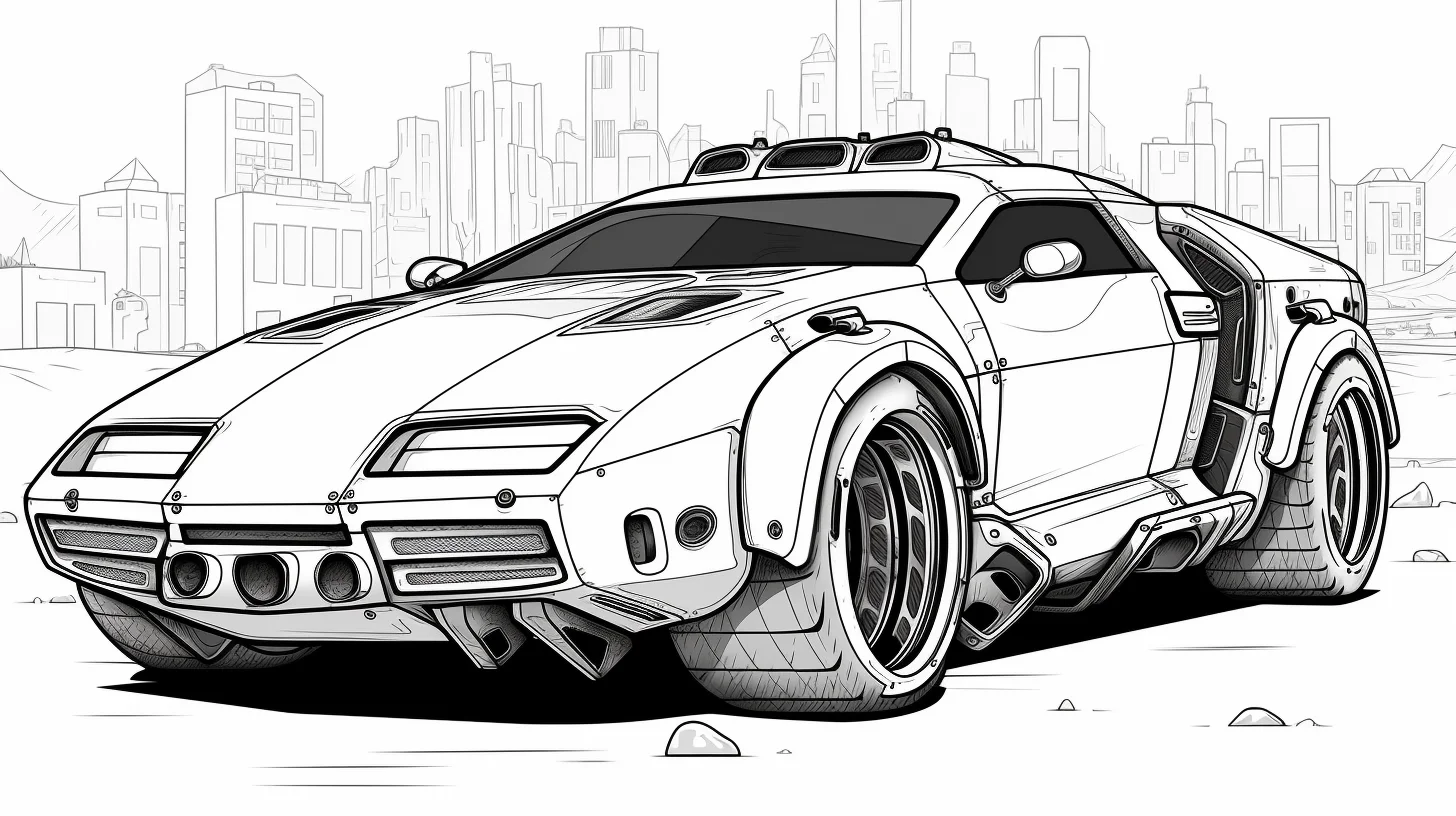
Open full-size police car coloring page 22
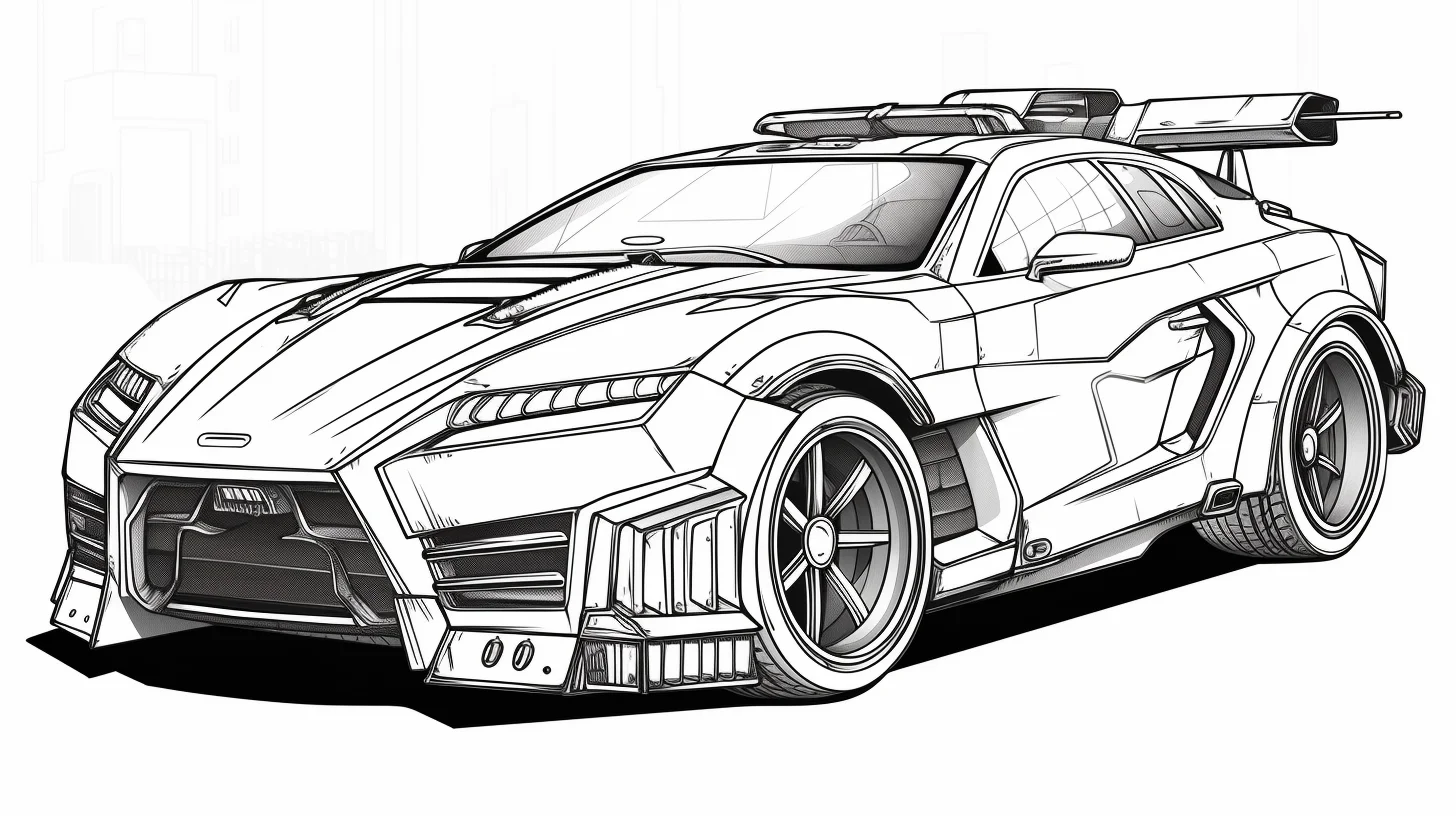
Open full-size police car coloring page 23
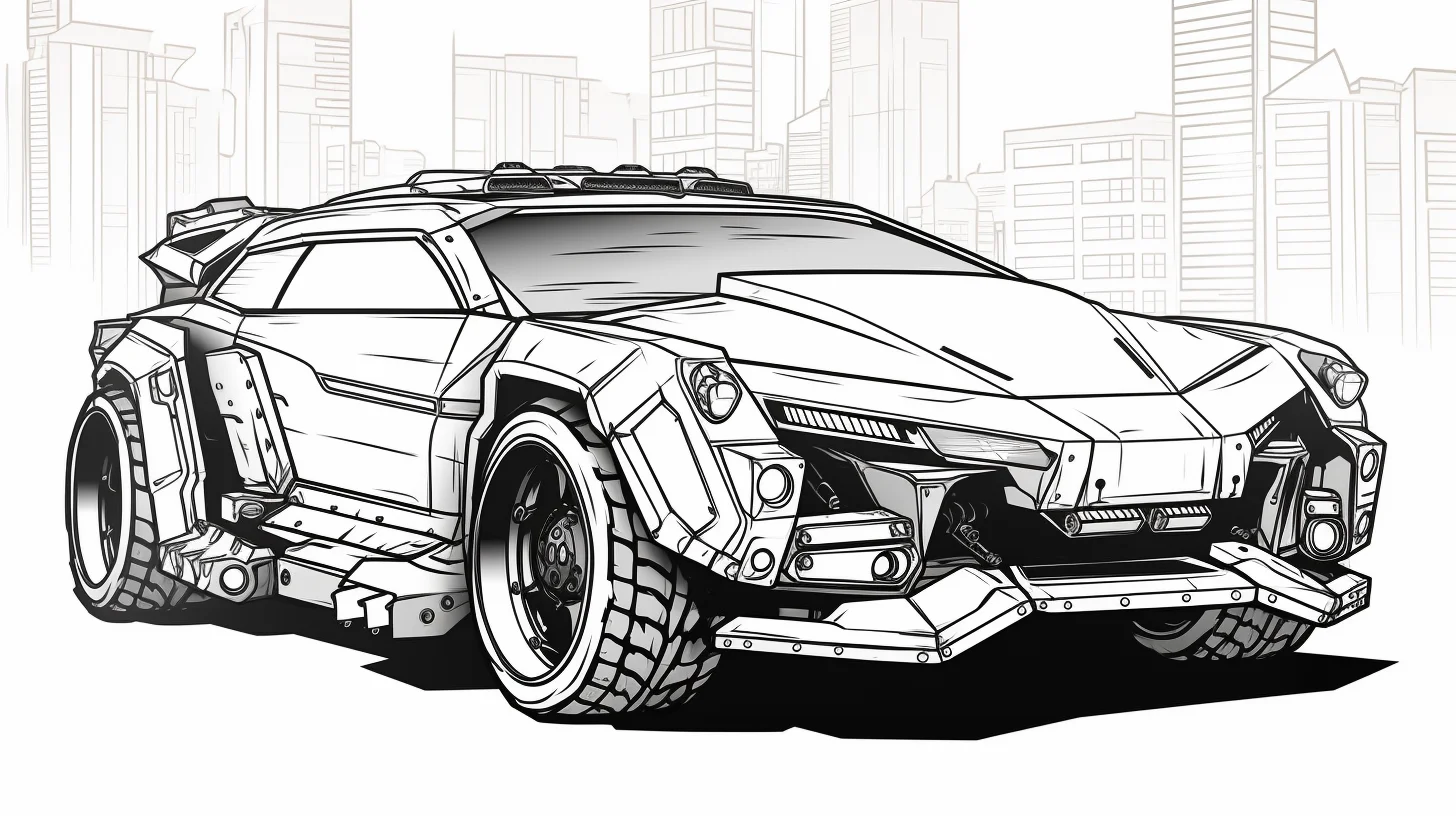
Open full-size police car coloring page 24
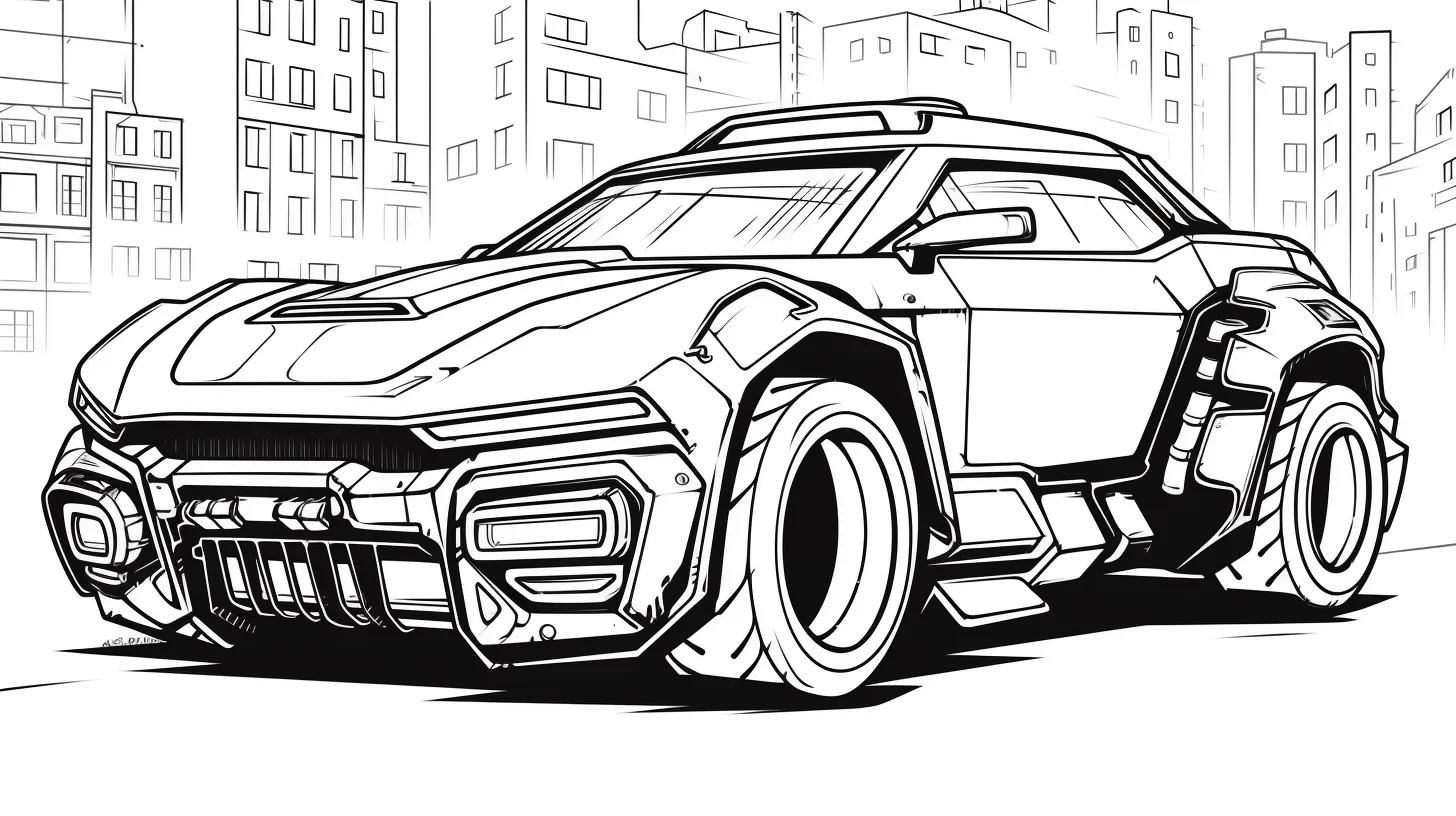
Open full-size police car coloring page 25
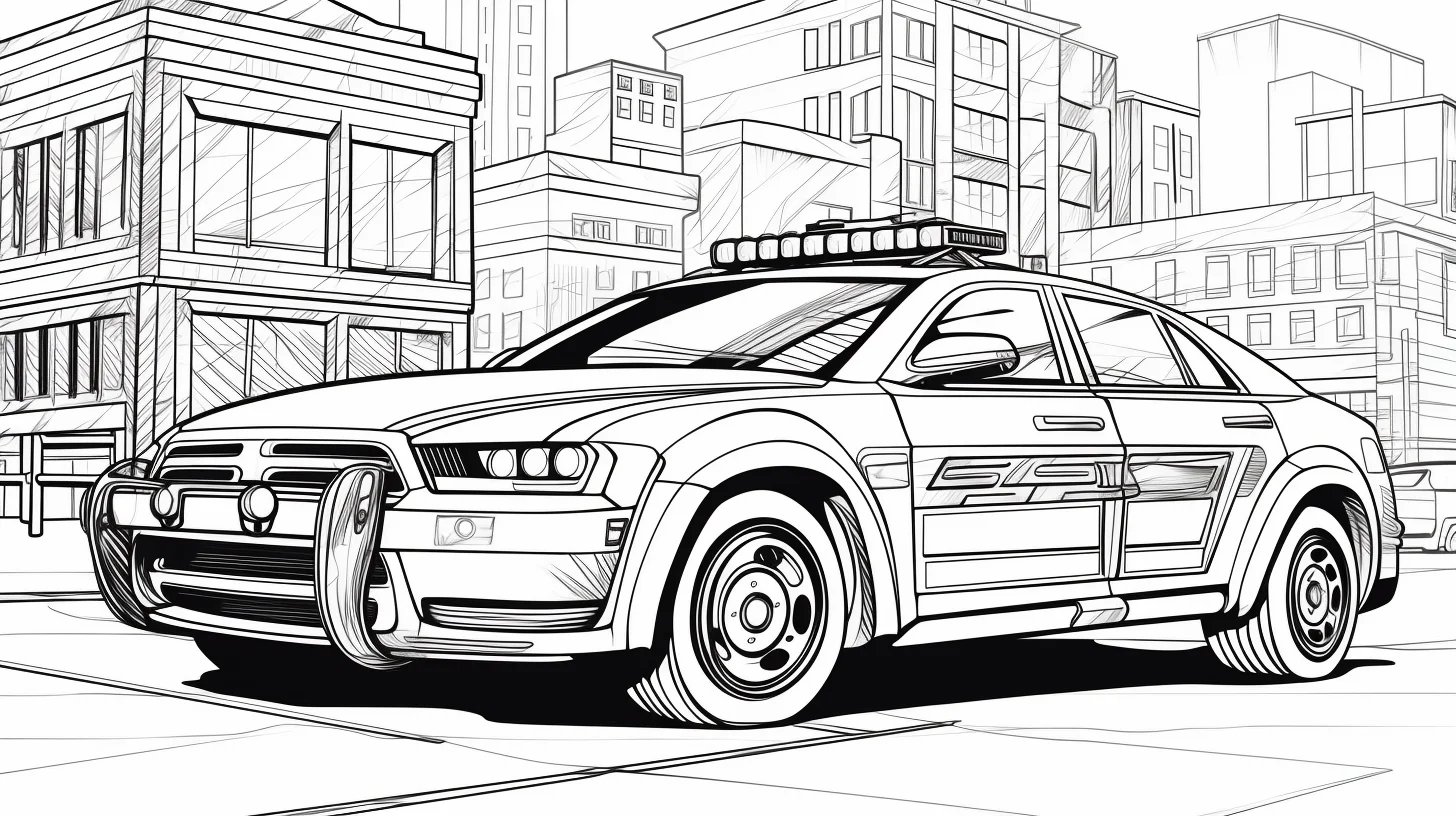
Open full-size police car coloring page 26
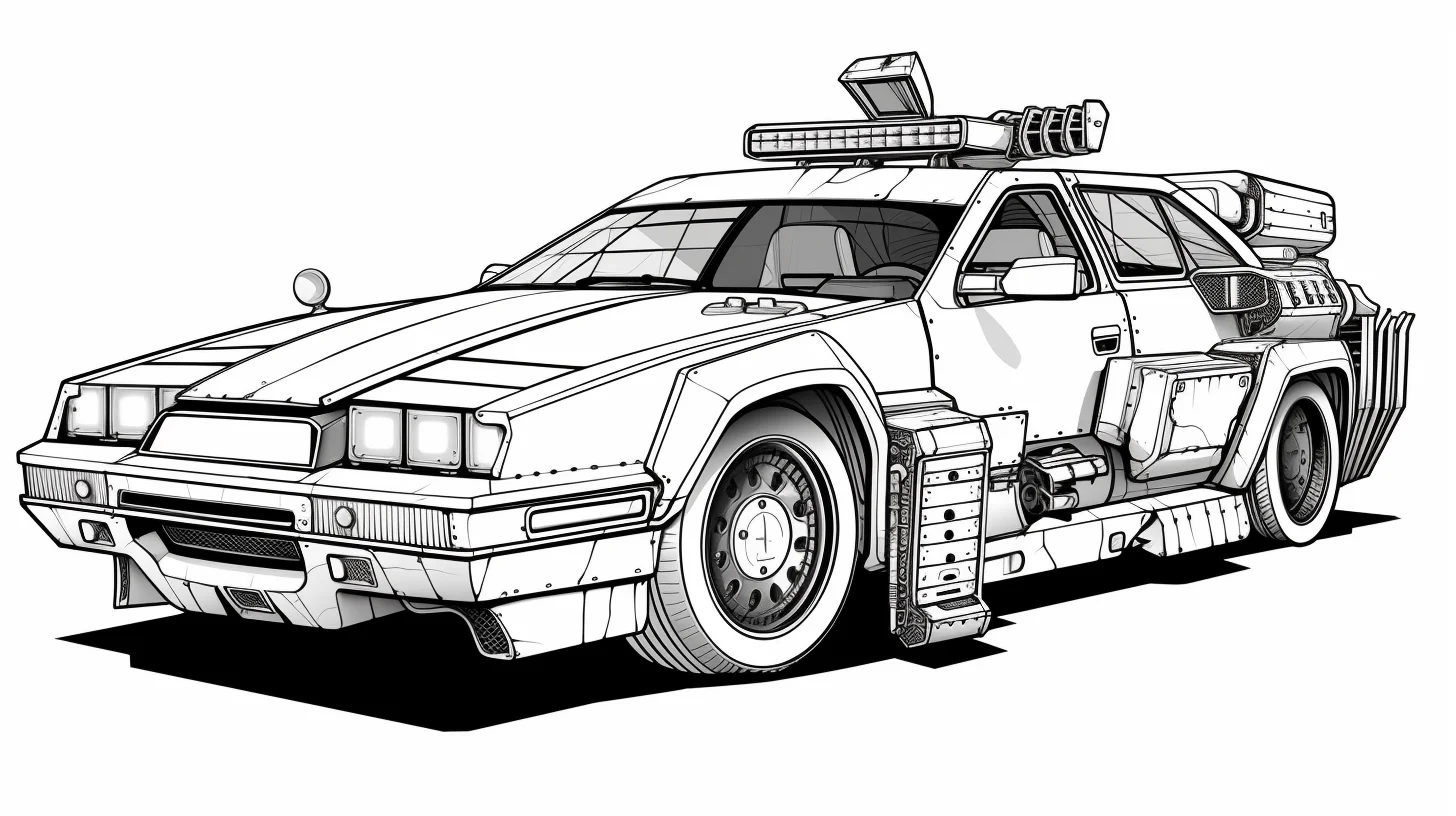
Open full-size police car coloring page 27
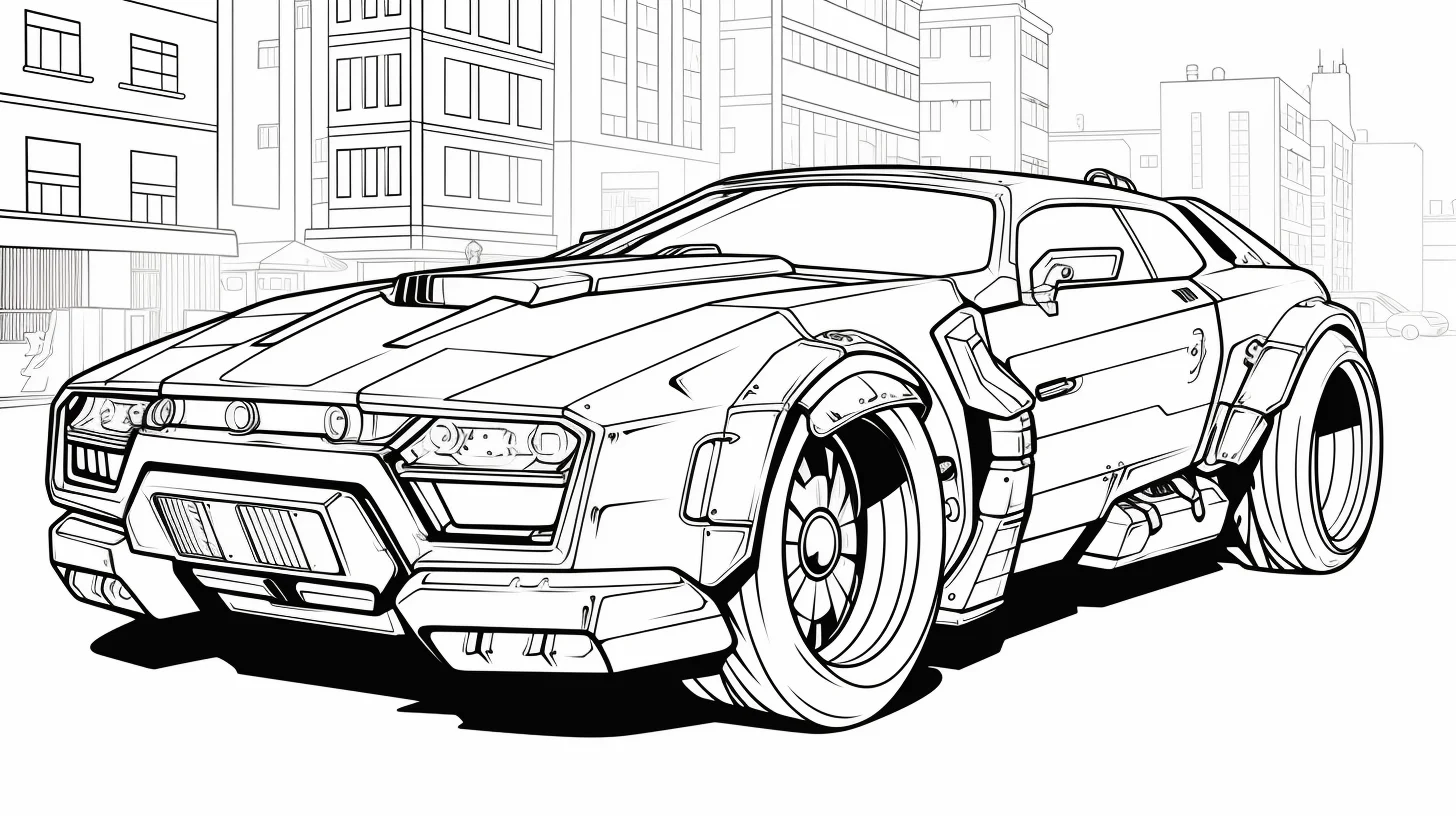
Open full-size police car coloring page 28
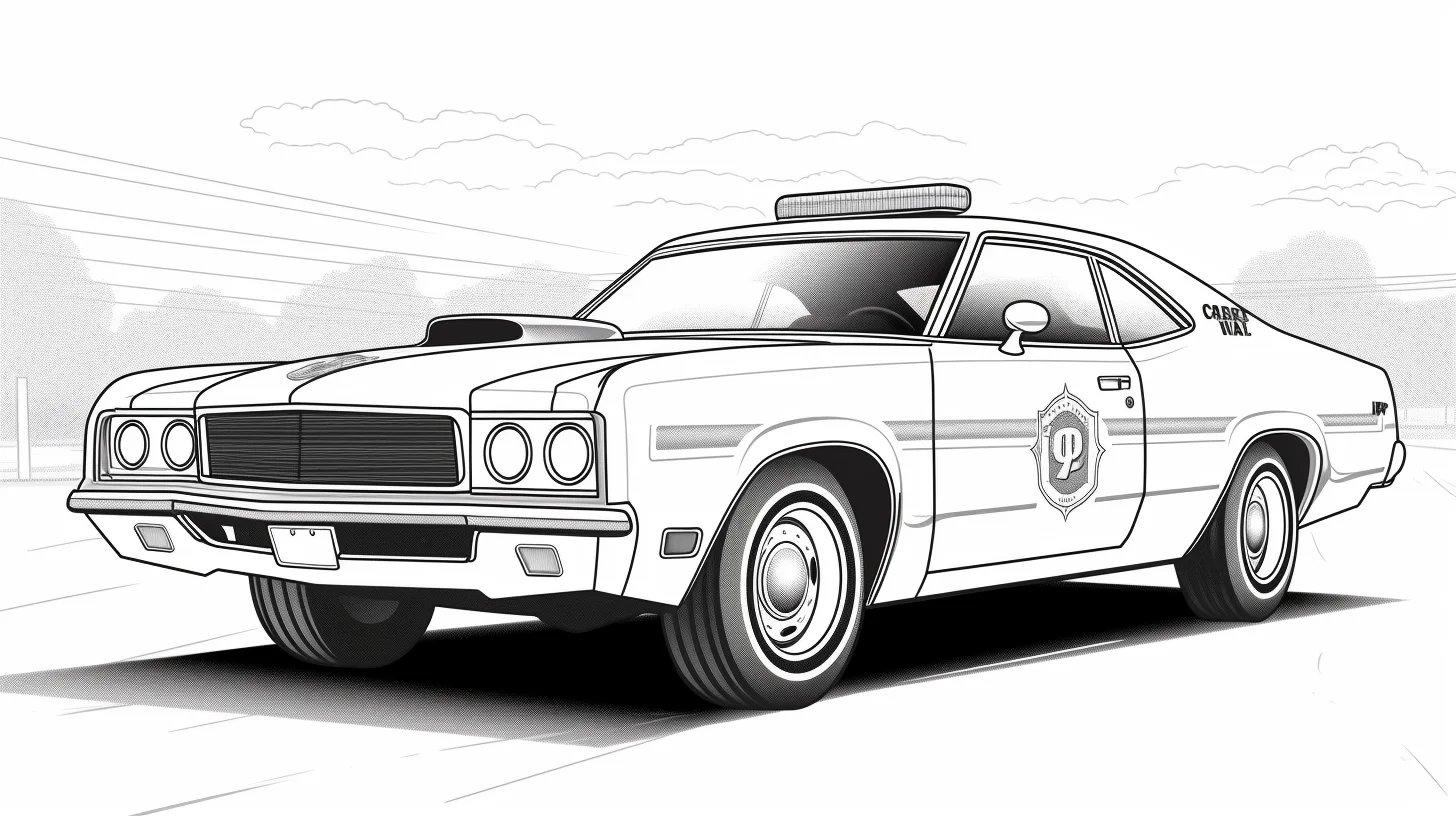
Open full-size police car coloring page 29
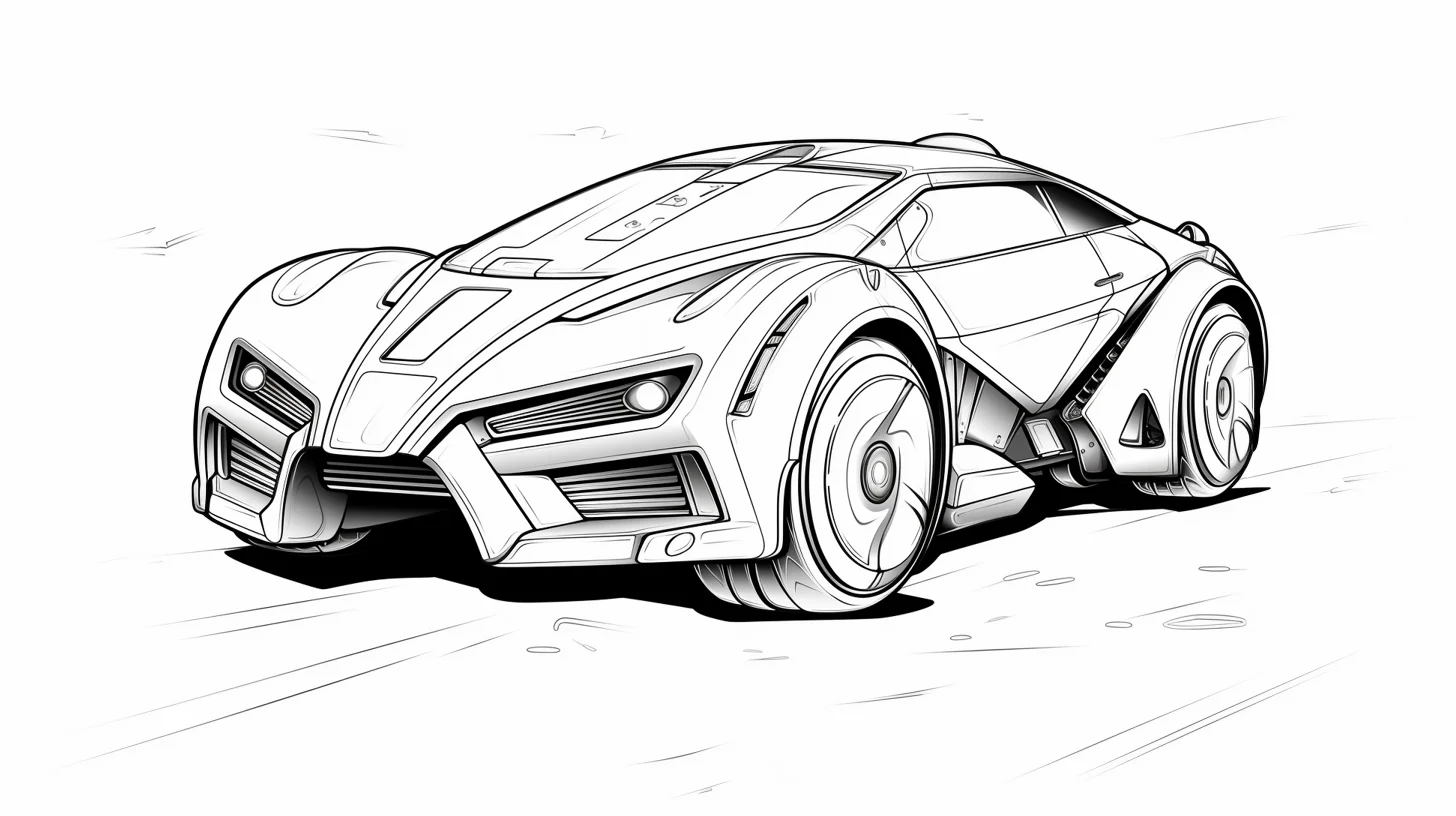
Open full-size police car coloring page 30
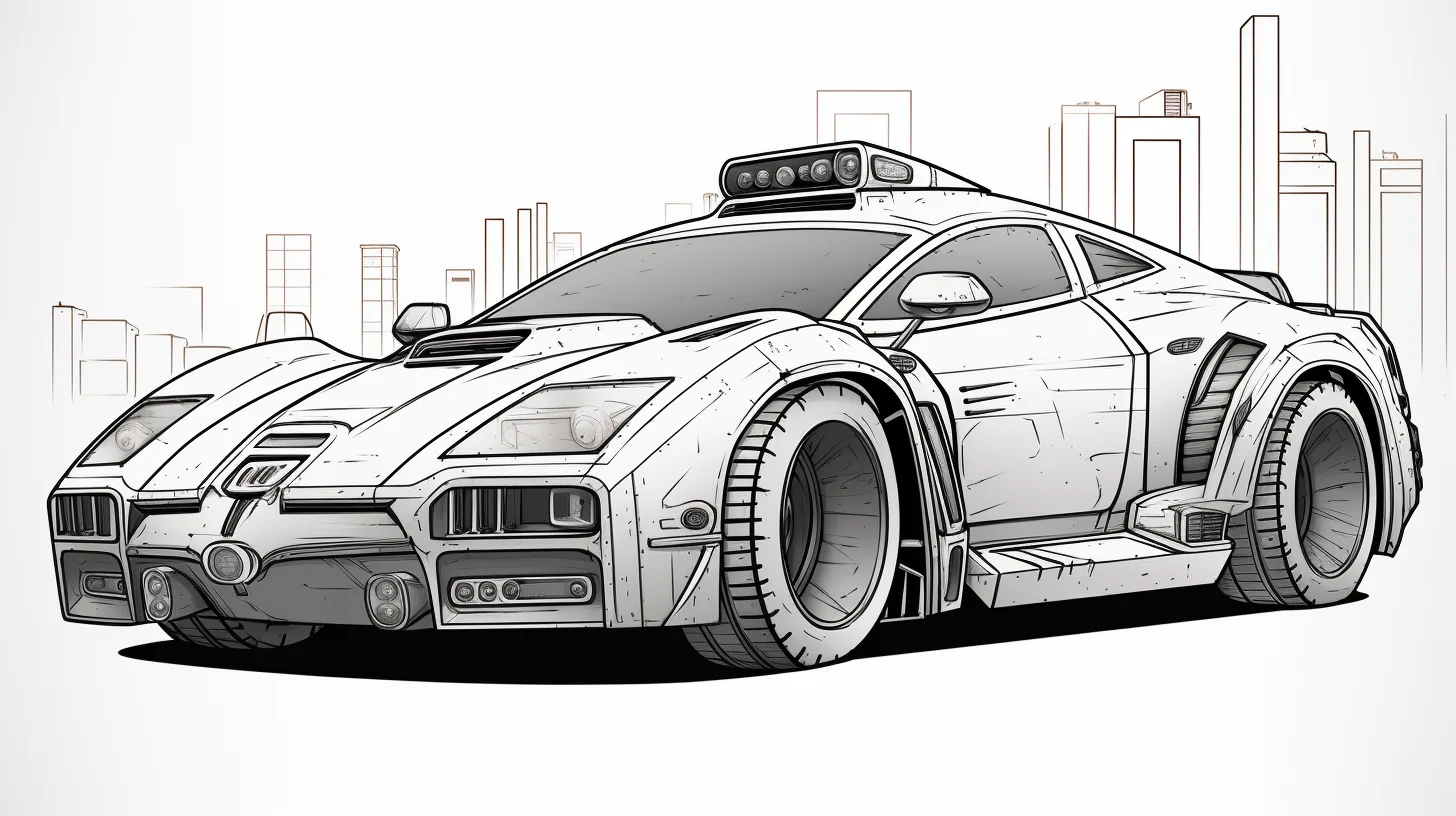
Open full-size police car coloring page 31
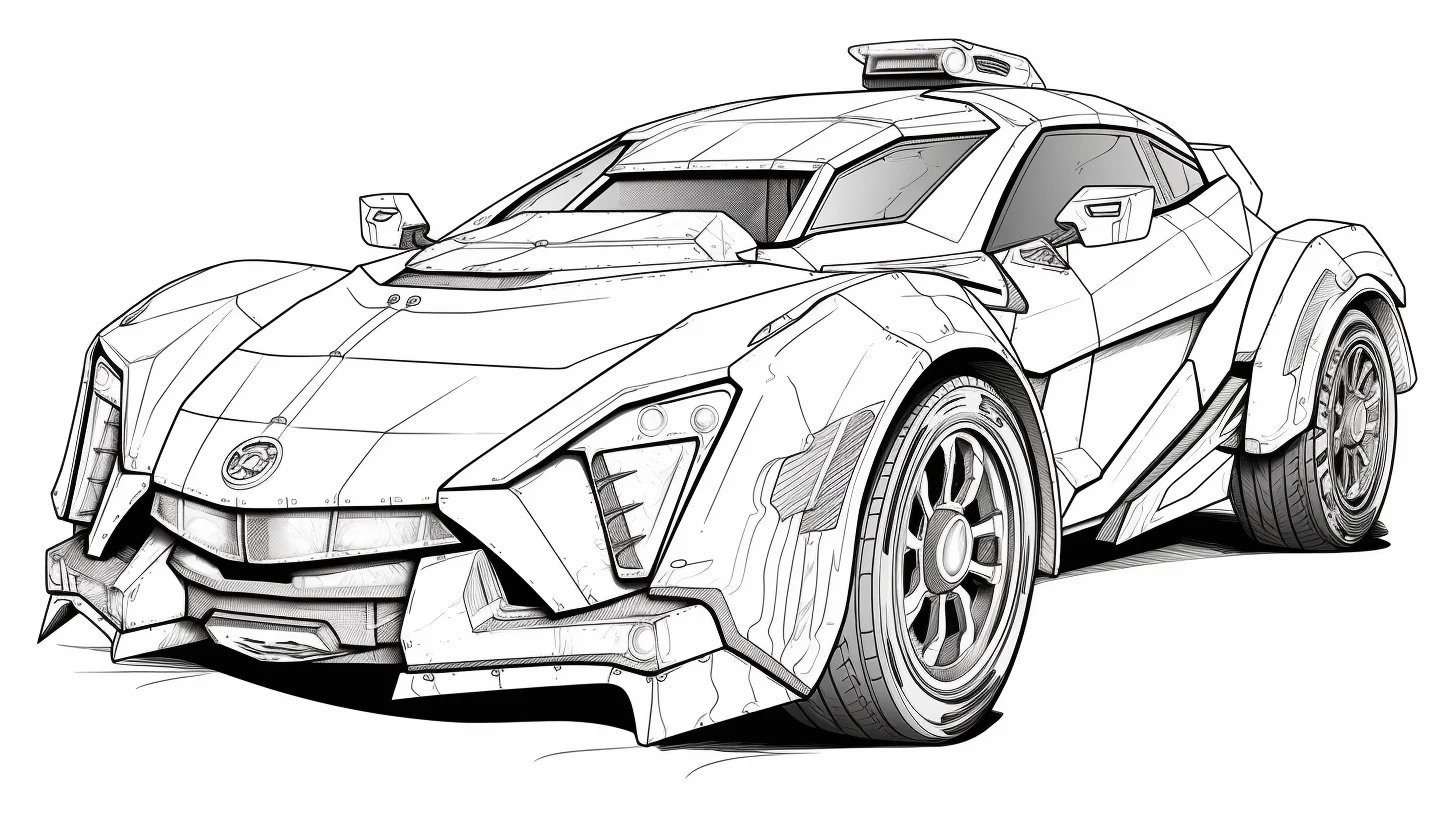
Open full-size police car coloring page 32
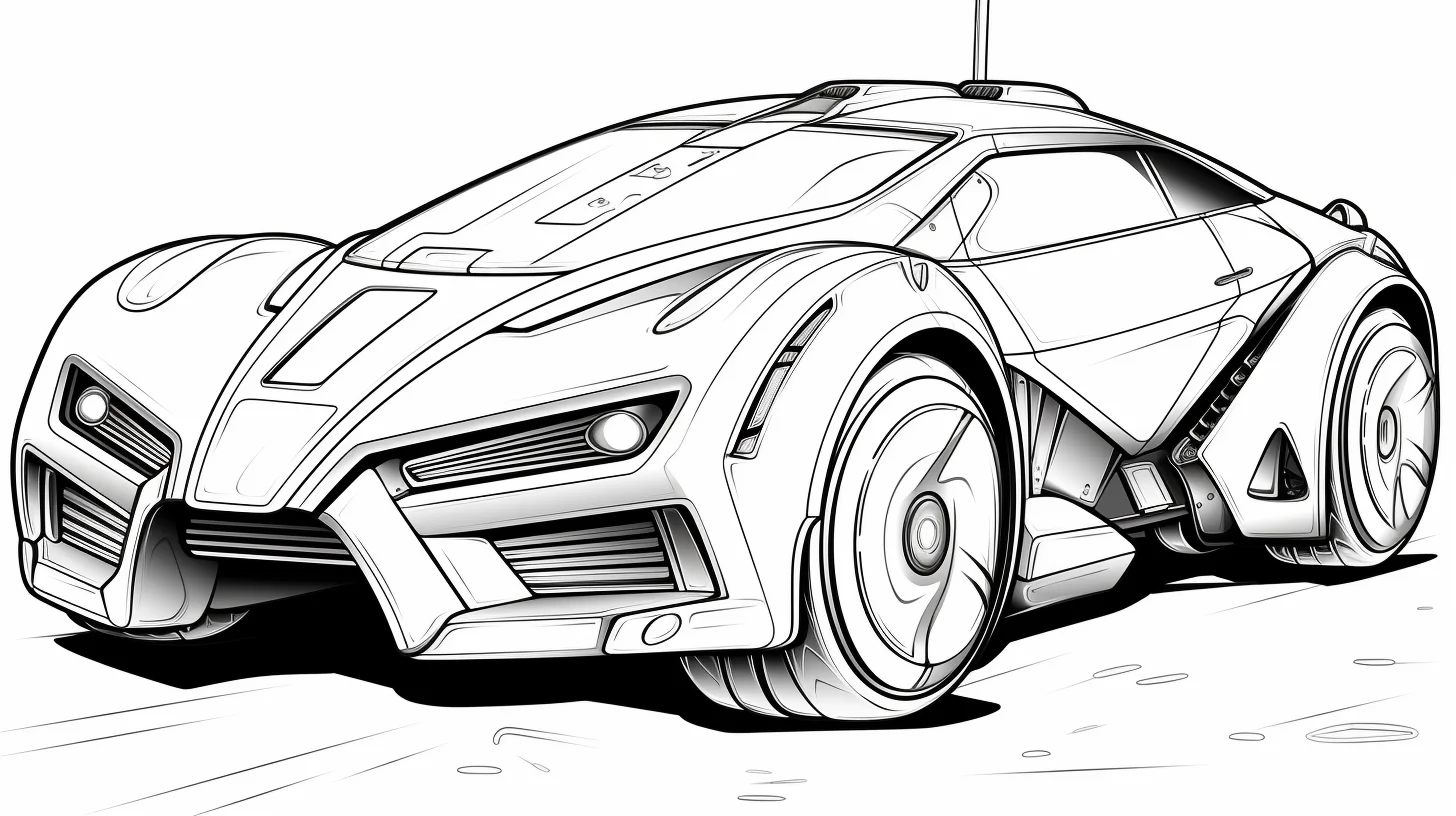
Open full-size police car coloring page 33
If the page uses an unrealistic supercar or monster-truck body, treat it as a fantasy vehicle instead of trying to match a real police fleet. The shape matters more than brand accuracy on those designs.
A three-page police car practice
If you want to improve rather than simply fill the shapes, use three different sheets from the gallery. Repeating a few decisions across them makes it much easier to see what is working.
- Start with a single patrol car. Use no more than four main colors. Concentrate on staying inside the body panels and making the windows, tires and light bar clearly different from the car body.
- Move to a street or chase scene. Color the police car first, then deliberately reduce the contrast in buildings, road and sky. The car should still be the first thing you notice when you hold the page at arm’s length.
- Finish with a detailed or fantasy vehicle. Add reflections to windows and bodywork instead of filling every surface evenly. Try one light source and keep the same highlight side on the hood, roof and doors.
How to make windows, lights and metal read clearly
Three surfaces cause most of the trouble on vehicle pages because they should not all be colored in the same way. For windows, leave a narrow white highlight and shade the rest with blue-gray, cool gray or another dark color. For the light bar, keep a small pale patch inside each colored section; that tiny uncolored area makes the plastic look brighter. For body panels, use broader, smoother strokes and darken beneath bumpers, wheel arches and the lower edge of the doors.
Black tires also look better when they are not completely black. A dark gray tire with a deeper edge around the tread leaves room for the wheel well and shadow to become darker. If everything is filled with the darkest pencil, those parts merge together.
Fix common police car coloring problems
| Problem | What to change |
|---|---|
| The black-and-white car looks flat | Leave the light panels mostly white and add pale gray only beneath edges, mirrors and wheel arches. Use darker shading on the black panels instead of one solid fill. |
| The light bar does not look bright | Leave a tiny white highlight inside the red, blue or amber sections and make the surrounding roof slightly quieter. |
| The car disappears into a busy street | Keep the strongest dark/light contrast on the vehicle. Use lighter pressure and fewer competing colors in distant buildings and road details. |
| Windows look like painted body panels | Use a cooler hue than the body, then add one diagonal or curved pale reflection instead of coloring the glass uniformly. |
| Wheels become a black blob | Separate tire, rim and wheel well into three values: dark gray, lighter metal and the deepest shadow. |
| Markers bleed through small details | Use marker only on larger panels and switch to a sharp colored pencil for mirrors, grille lines, lights and lettering. |
Four palette ideas that work on these sheets
- Classic contrast: black and white body, blue-gray windows, red and blue lights, dark gray tires.
- Cool patrol car: navy and white body, pale blue windows, silver wheels and restrained red accents.
- High-visibility design: white or silver body with yellow, lime or blue accent panels and a bright light bar.
- Fantasy pursuit car: deep blue, charcoal or red body with a contrasting stripe and exaggerated neon-style light colors.
These are coloring ideas rather than claims about any particular police department. If you want to copy a real vehicle, use a reference photo for that specific service instead of assuming one universal police livery.
Police car coloring questions
Which pages are easiest for younger colorers?
Choose a sheet with one large car, a mostly blank background and broad body panels. Pages with city streets, explosions, multiple vehicles or lots of grille and wheel detail require more control and usually take longer.
How can I color a white police car without leaving it unfinished?
Keep most of the paper white, but add very light gray or pale blue beneath the bumpers, mirrors, door seams and lower body. Those small shadows describe the shape while preserving a genuinely white vehicle.
What should I color first in a chase scene?
Start with the main vehicle, especially its body, windows and light bar. Once its contrast is established, you can judge how softly to color the road, buildings and sky so the background supports rather than competes with it.
Can I invent my own police car colors?
Yes. Several pages are already stylized rather than documentary drawings, so an invented scheme fits them well. Pick one main body color, one contrasting stripe or panel color and a small set of light colors; limiting the palette usually makes the design look more deliberate.

