
This 20-page collection is for people who want wild animals in outdoor settings, not a general pile of animal printables. The scenery matters here: grass, water, trees, open ground and other nature details are part of the picture rather than just empty space behind the animal.
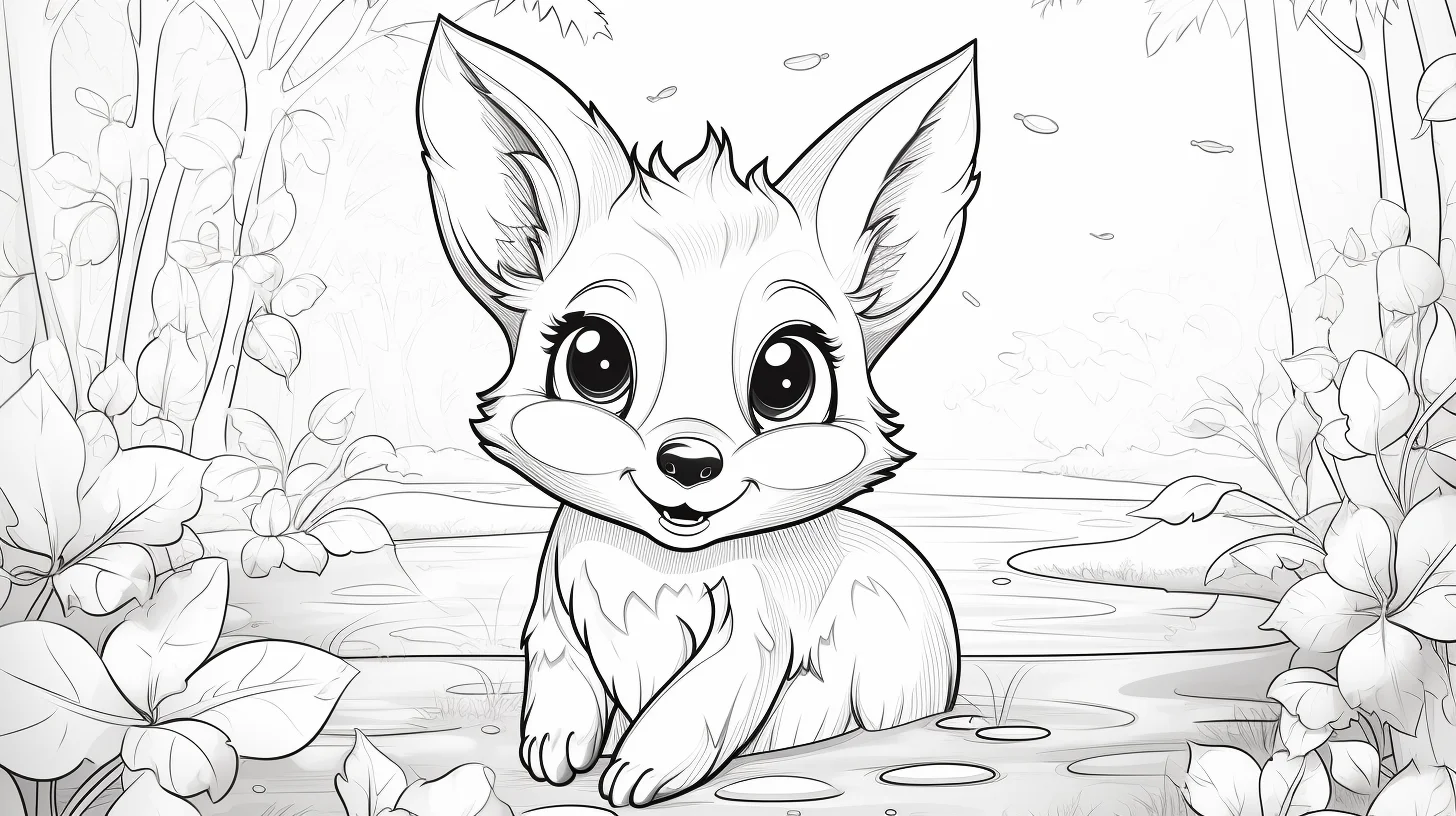
Do a 60-second scene check before coloring
Pick the tool you actually plan to use and compare its tip with the smallest spaces around the animal’s eyes, paws, fur edges, grass and branches. If the tip is wider than those gaps, use that tool for the sky and open ground but switch to a sharpened colored pencil for the animal. Fighting a broad crayon through tiny habitat details usually creates muddy edges before the page has really started.
Next, make three quick swatches on scrap paper: one dark value for the focal animal, one medium value for nearby habitat, and one pale value for distant scenery. Put the swatches side by side. If the animal value does not separate clearly from the other two, change the background value now rather than trying to rescue the silhouette later.
For younger children, simplify the same idea: choose one main color for the animal and one clearly lighter or different color for everything behind it. They do not need to finish every leaf or blade of grass. A readable animal plus a few deliberately colored habitat clues is a better stopping point than filling every small space.
Use this page when the setting matters as much as the animal
If the main goal is a zoo-themed activity, use the zoo animal coloring pages instead. This collection is better for wildlife and nature scenes, especially when you want the child to color both the animal and its surroundings.
| Choose this kind of page | When it works best |
|---|---|
| Large animal, little scenery | Fast coloring, crayons, younger kids |
| Animal plus grass, water or trees | Balanced page with some background work |
| More detailed nature scene | Colored pencils, slower sessions, older kids |
Keep the animal from disappearing into the background
A nature scene can become muddy if every part is colored at the same strength. Start with the animal, then use slightly lighter or less saturated colors in the background. For example, a brown animal can stand out better against muted green grass than against another dark brown area.
- Crayons: best for the pages with larger shapes and open scenery.
- Colored pencils: useful for fur, leaves, water and smaller details because pressure is easier to control.
- Markers: work well for flat, bold areas, but place scrap paper underneath if you are printing on ordinary copy paper.
Color the animal first, then the habitat
Start with the animal so it remains the focal point. Once the fur, skin or markings are established, move outward to the ground, plants and sky. This helps prevent the background from becoming visually louder than the animal itself.
For a broader farm, zoo and jungle mix, use our mixed animal collection. If you specifically want richer full-scene backgrounds, the animal habitat pages go further in that direction.
A simple nature prompt for kids
If you want to make the page a little more interactive, ask one question before coloring: Where would this animal hide, rest or find food? Then use the background colors to support the answer. It adds some observation and imagination without turning the coloring sheet into a worksheet.
Printing
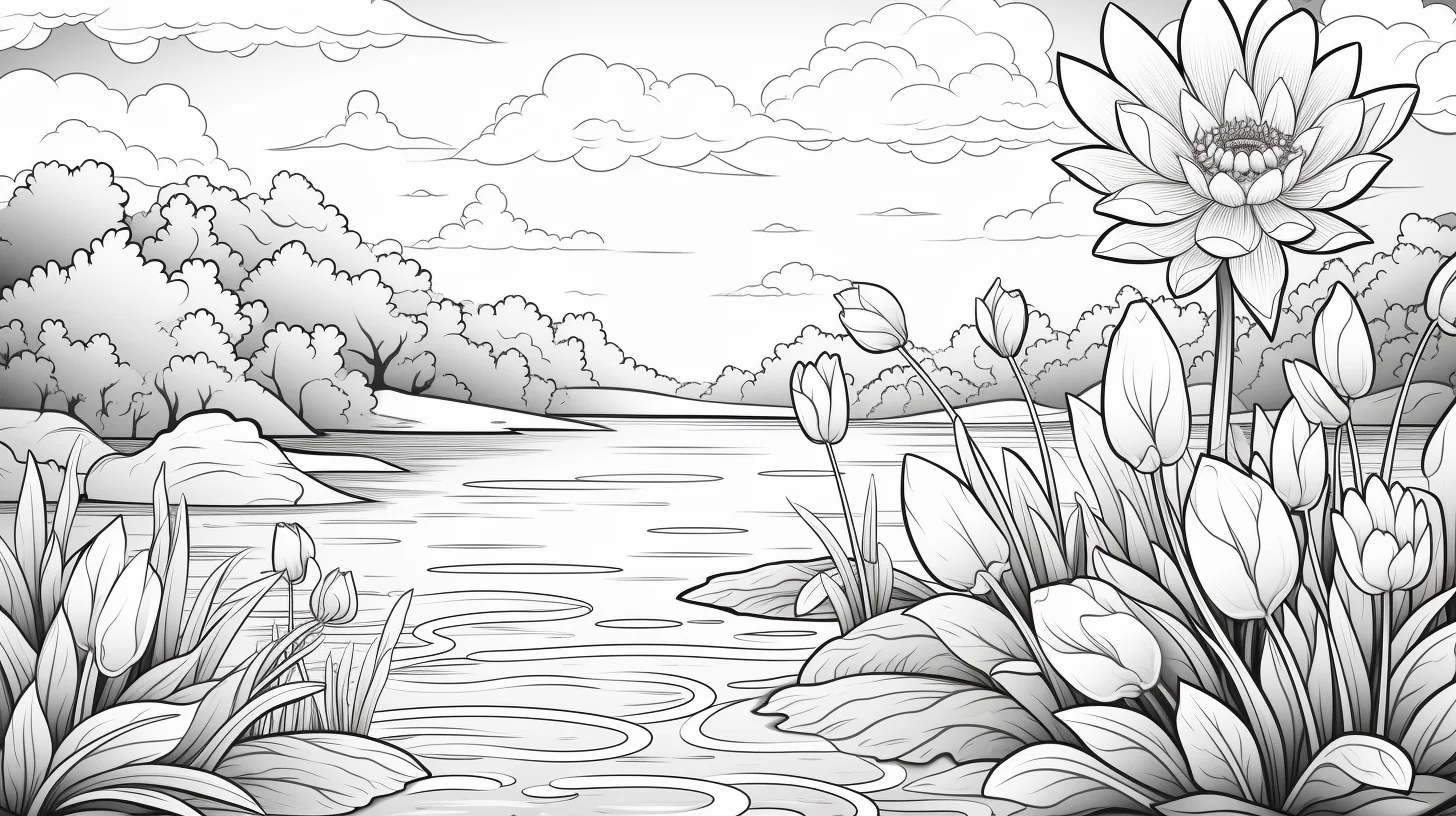
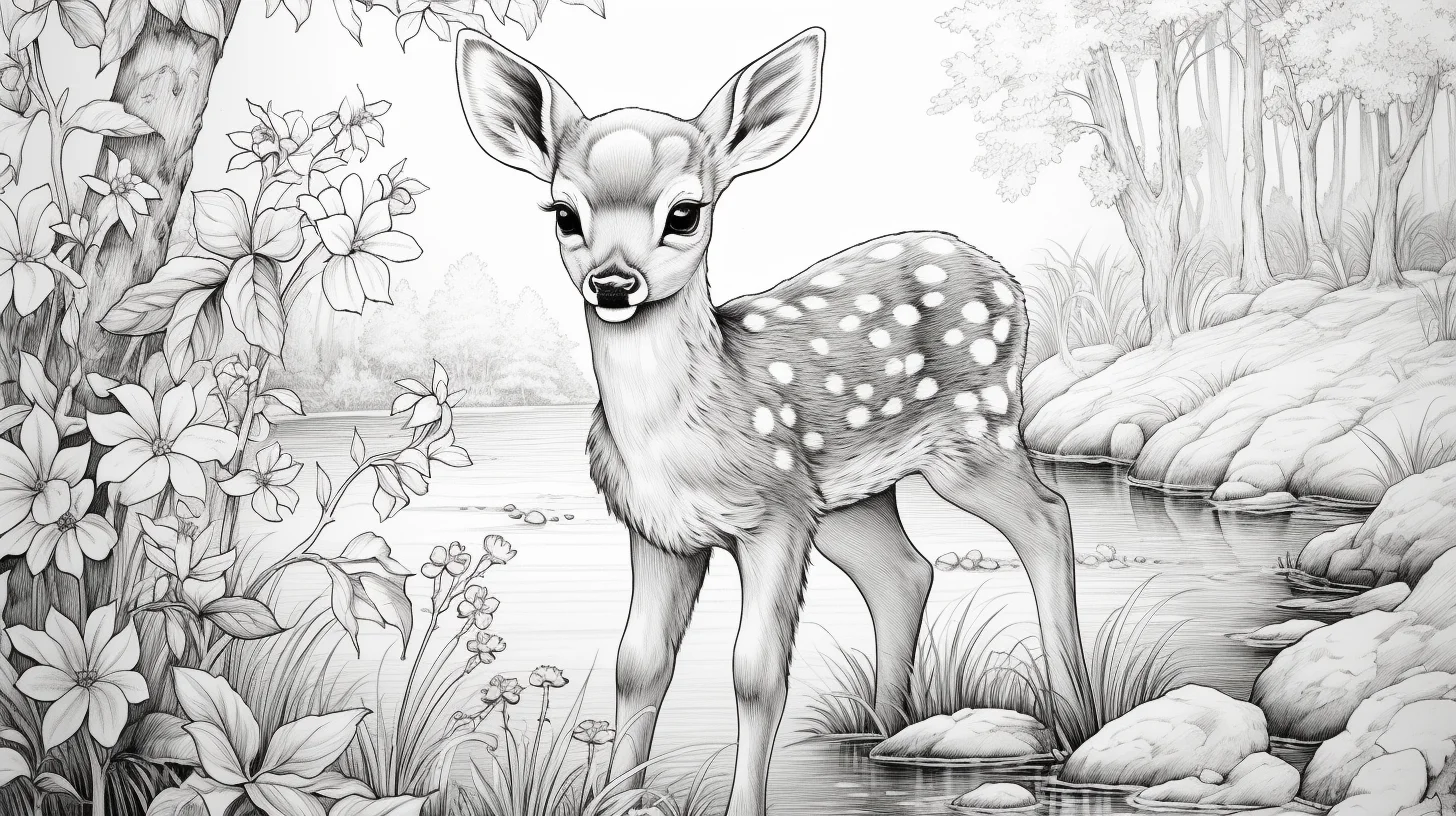
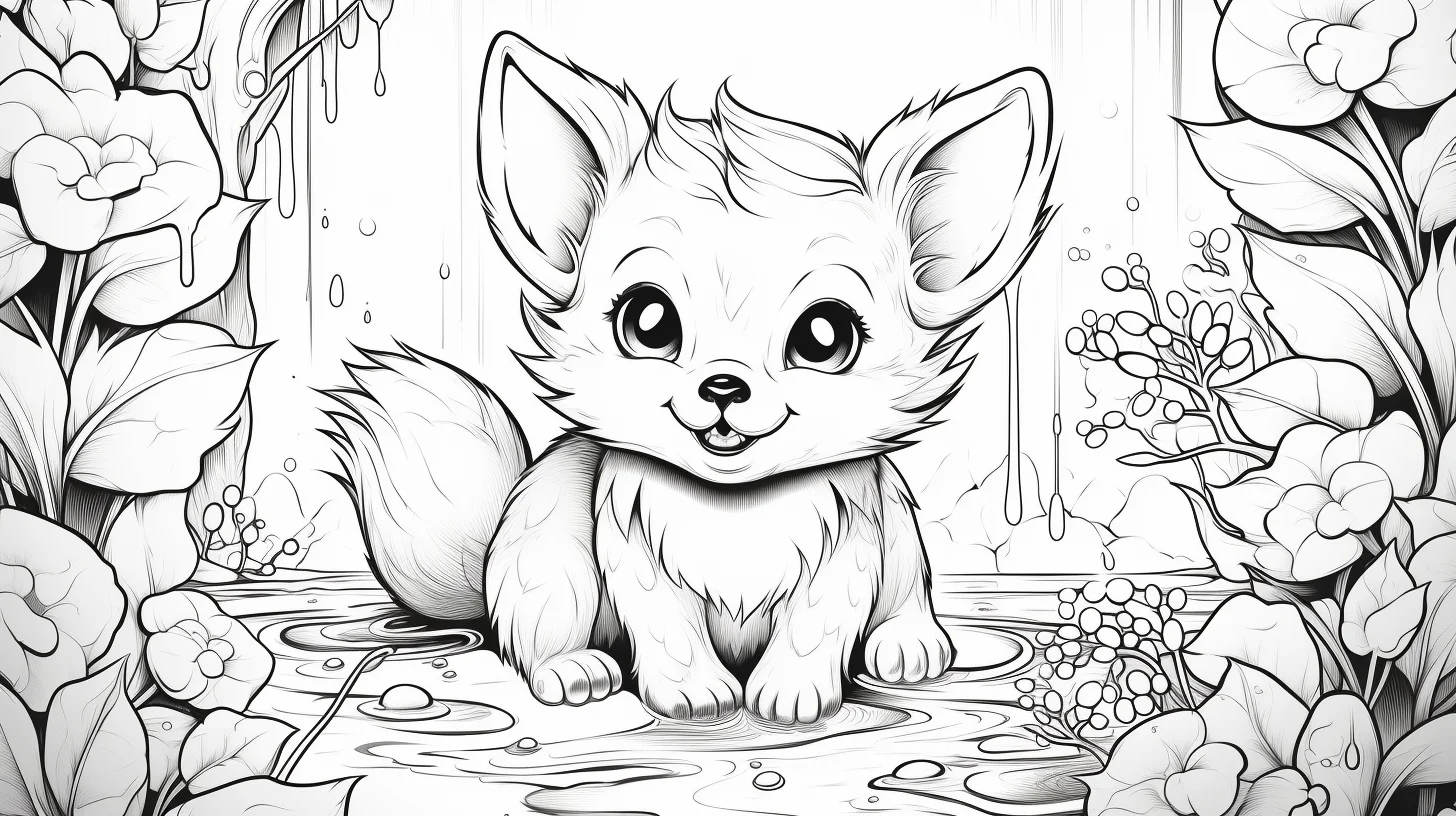
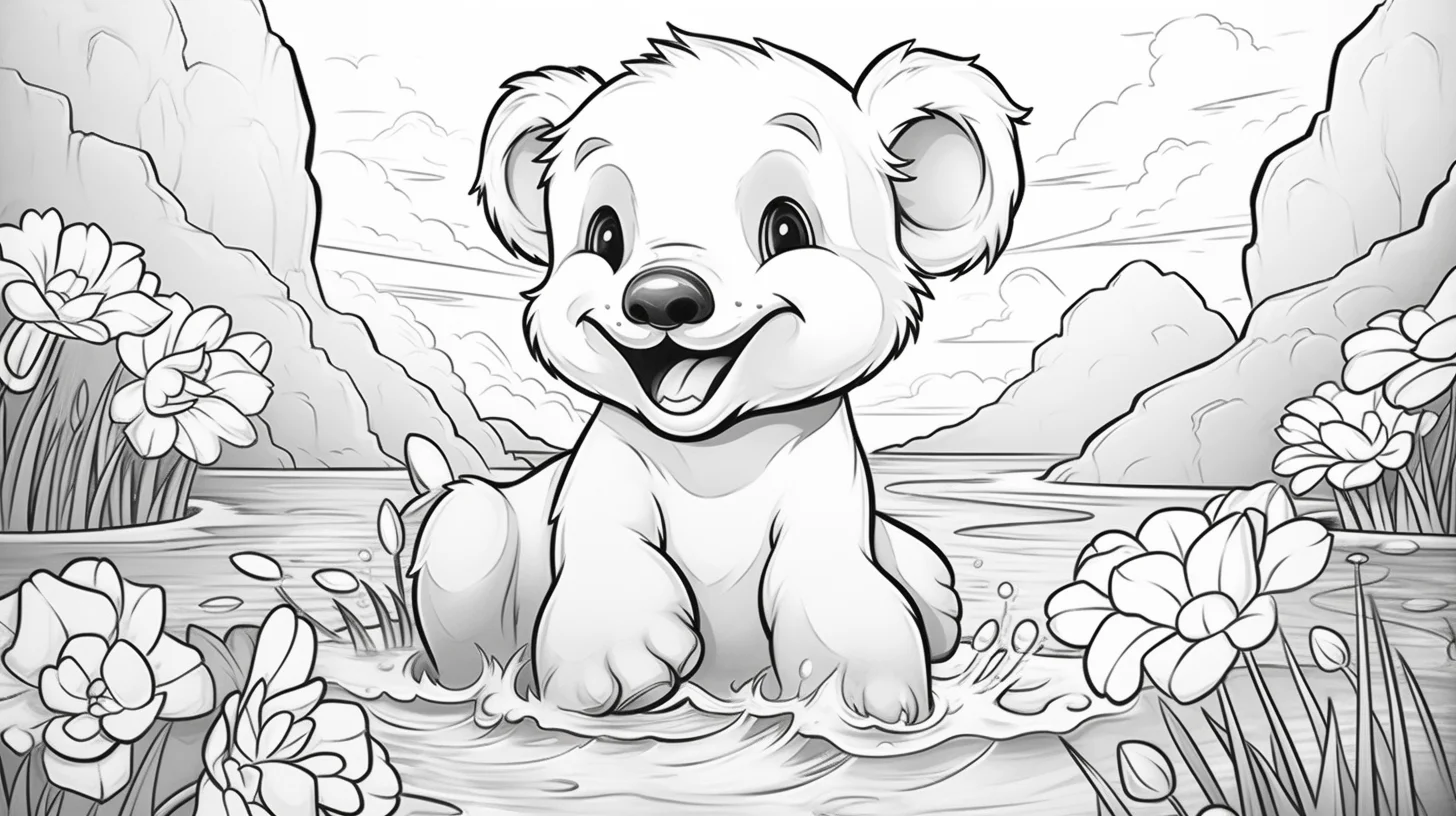
Tap or click any sheet below to open its original full-size file before saving. Most pages are landscape-oriented, so choose landscape mode and “Fit to page” on A4 or US Letter paper. If an edge is cropped, use the Print & Save Help guide rather than shrinking the image blindly.
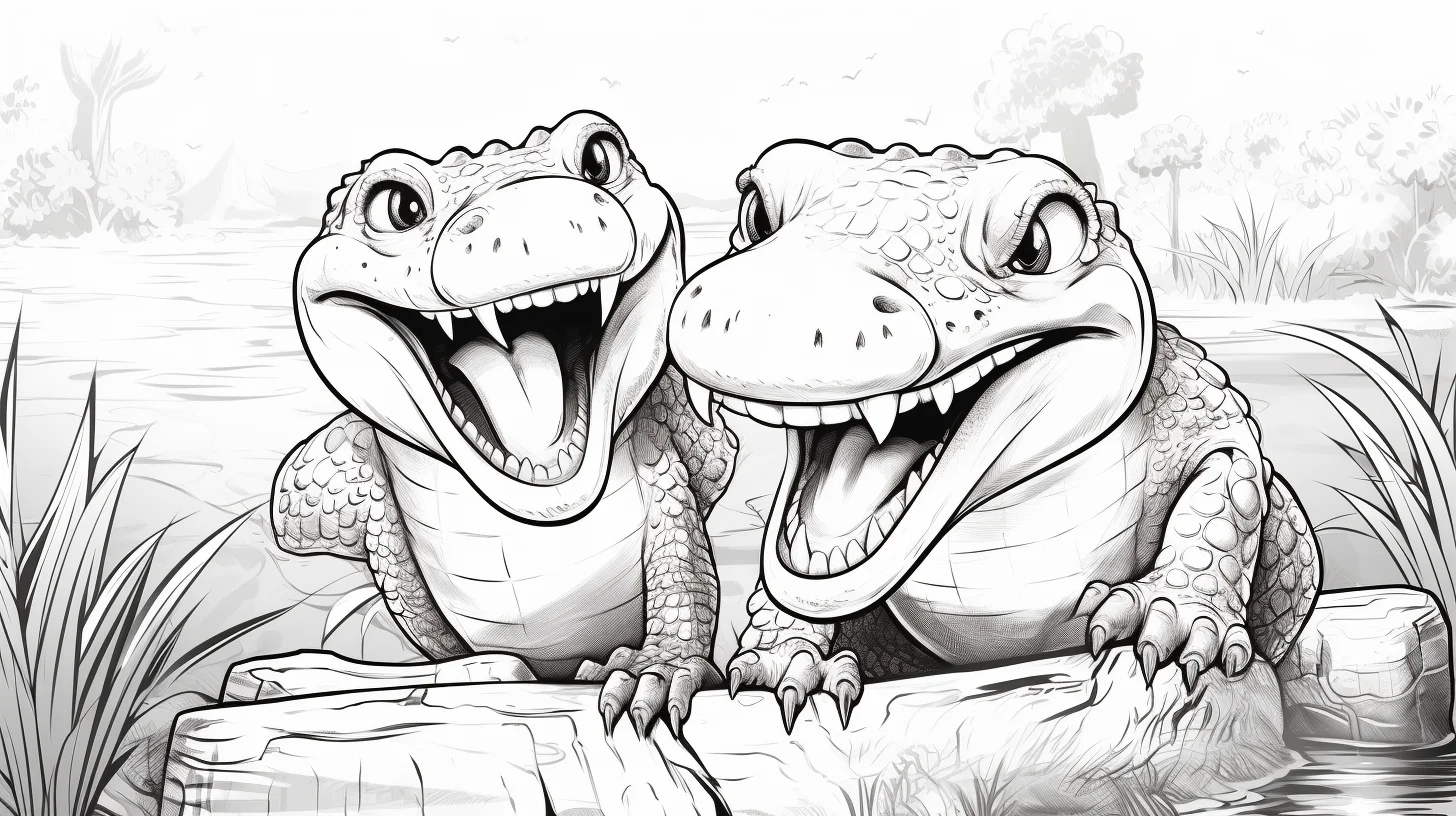
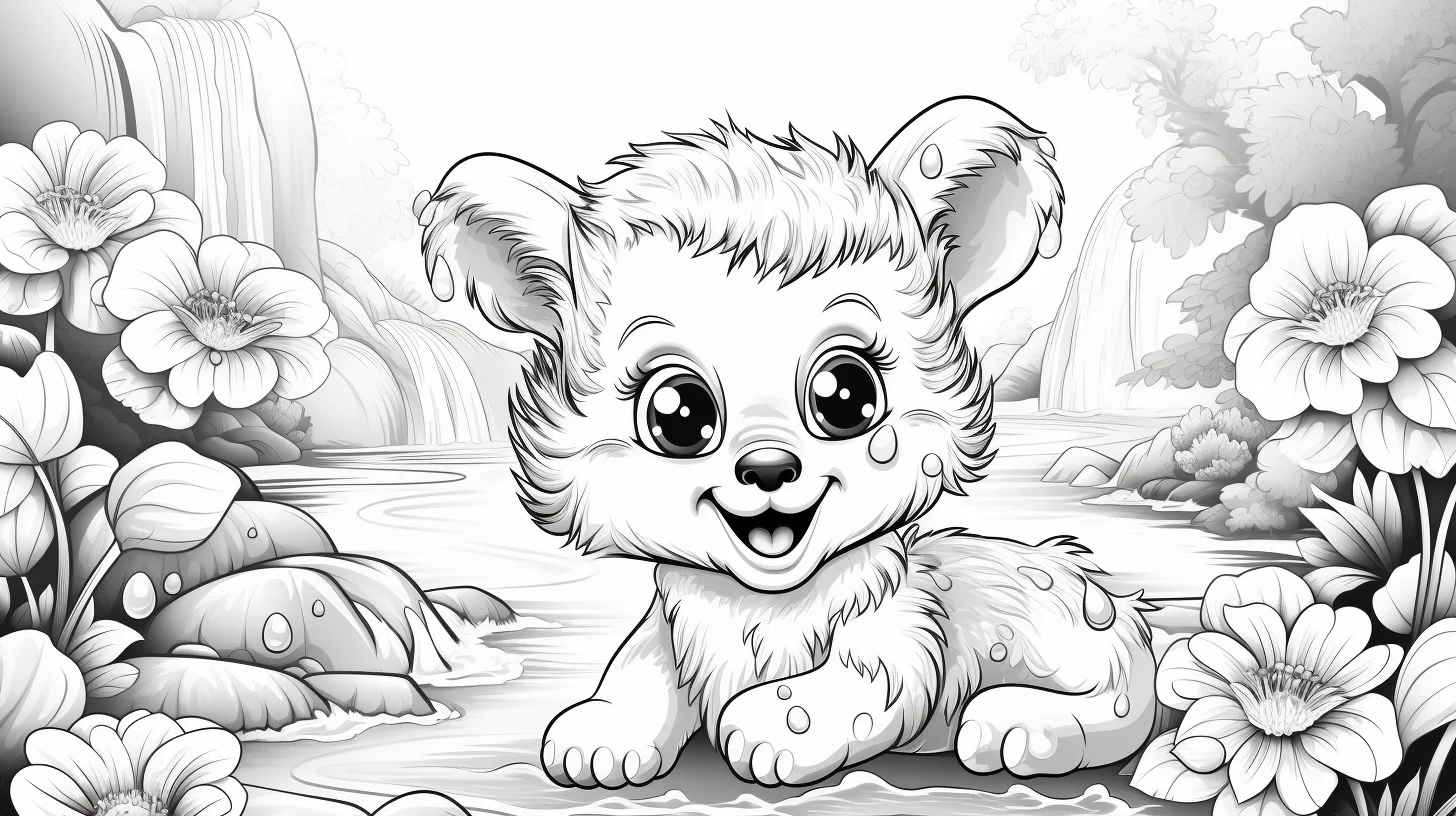
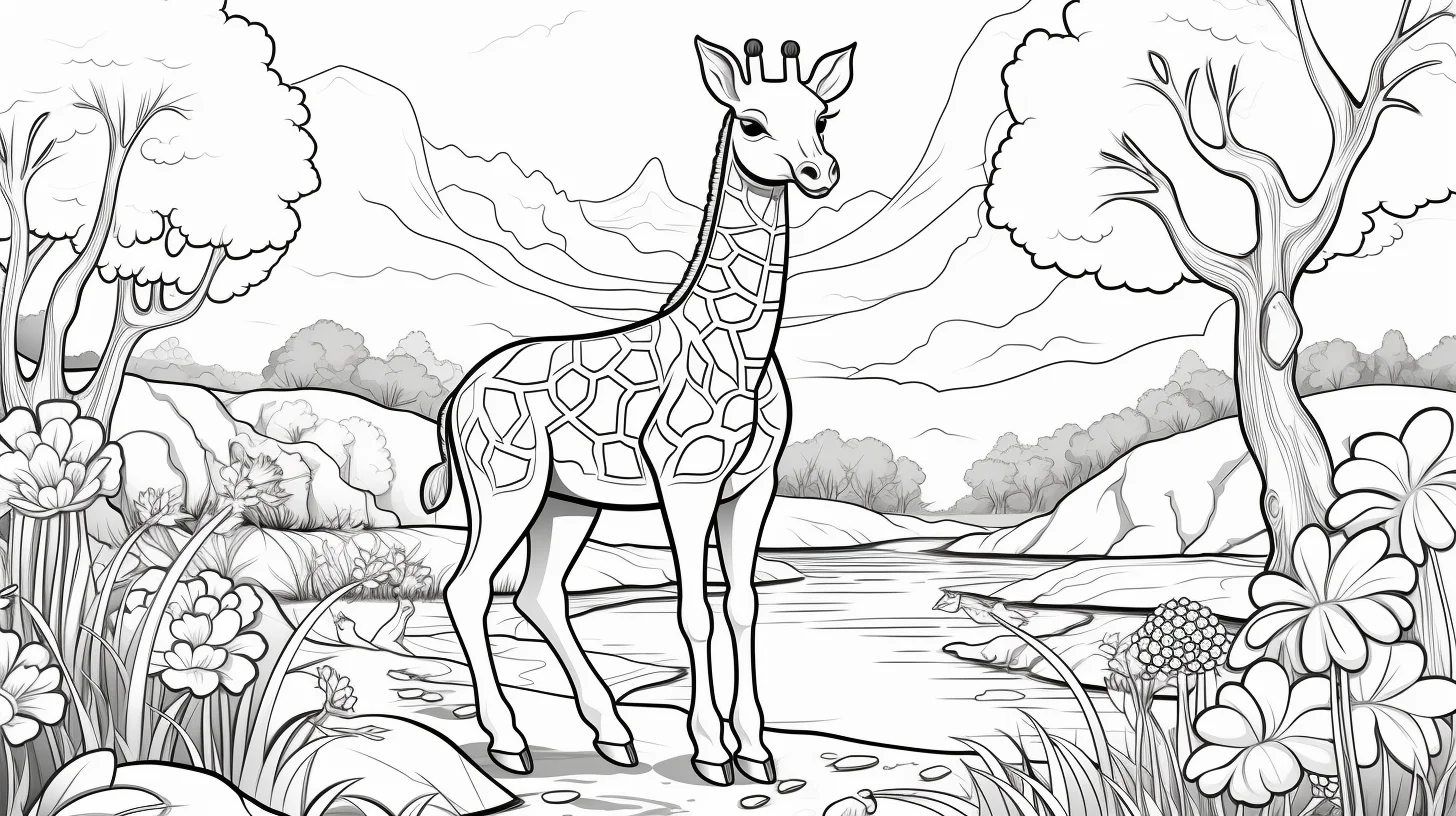
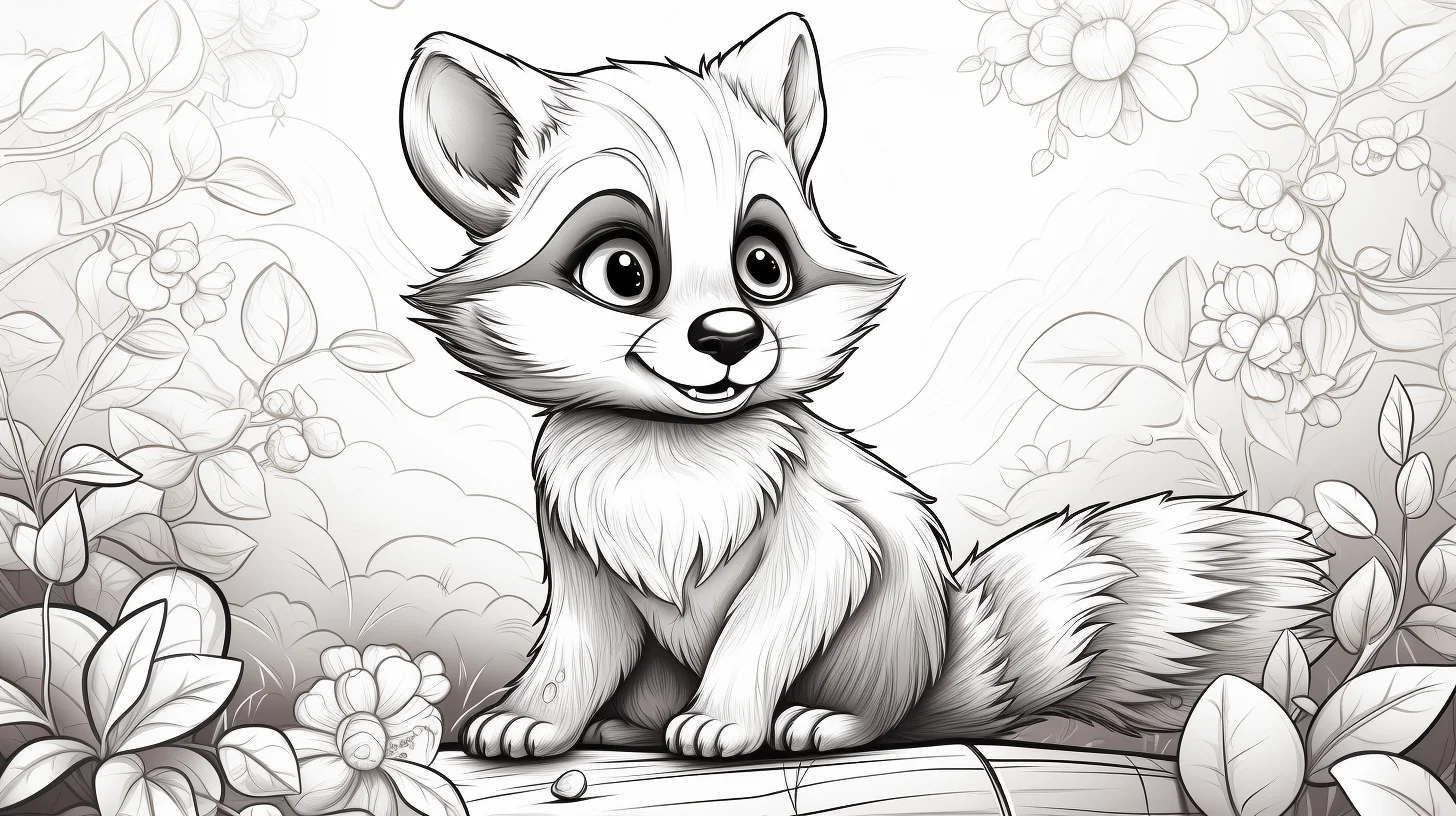
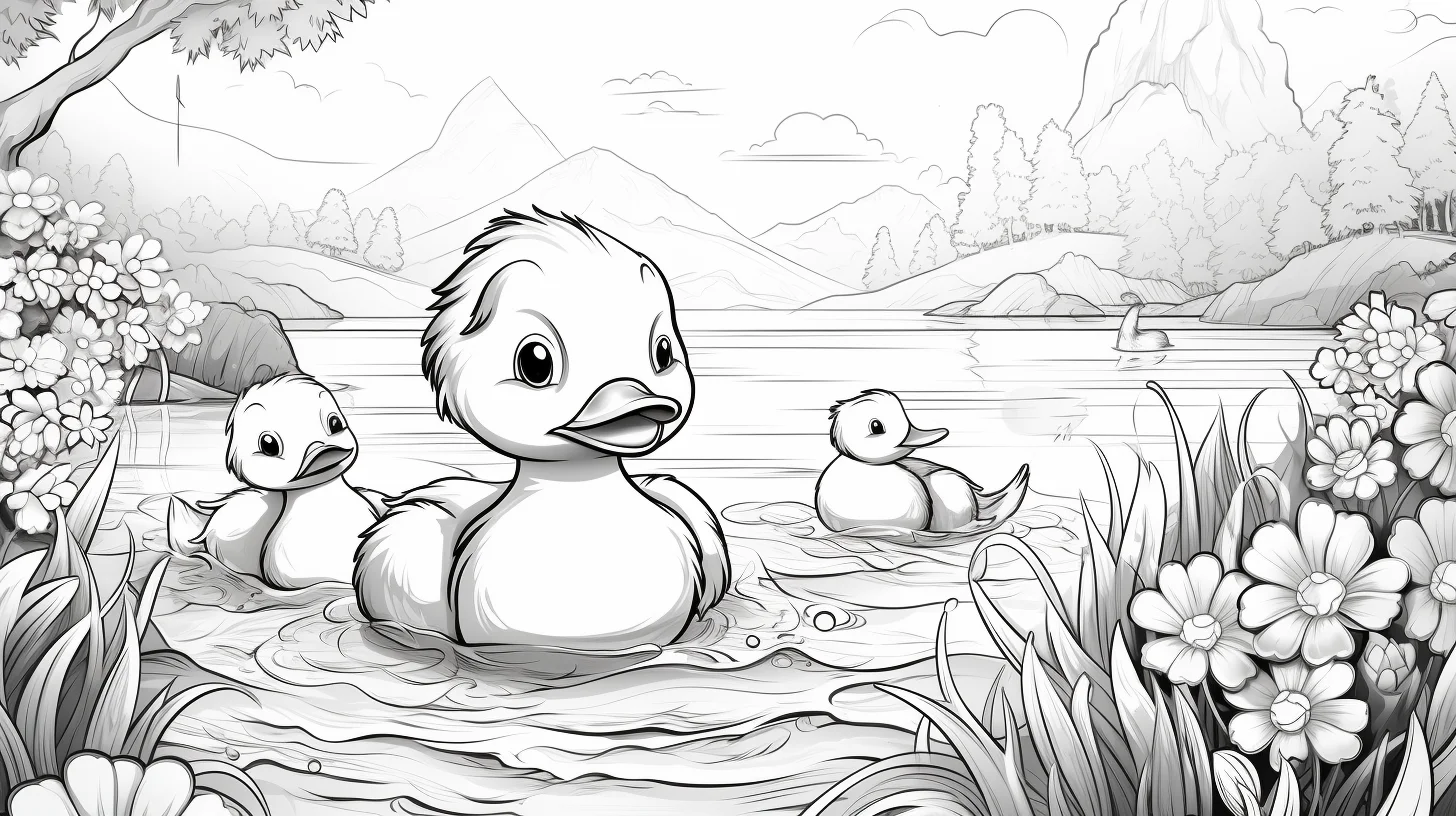
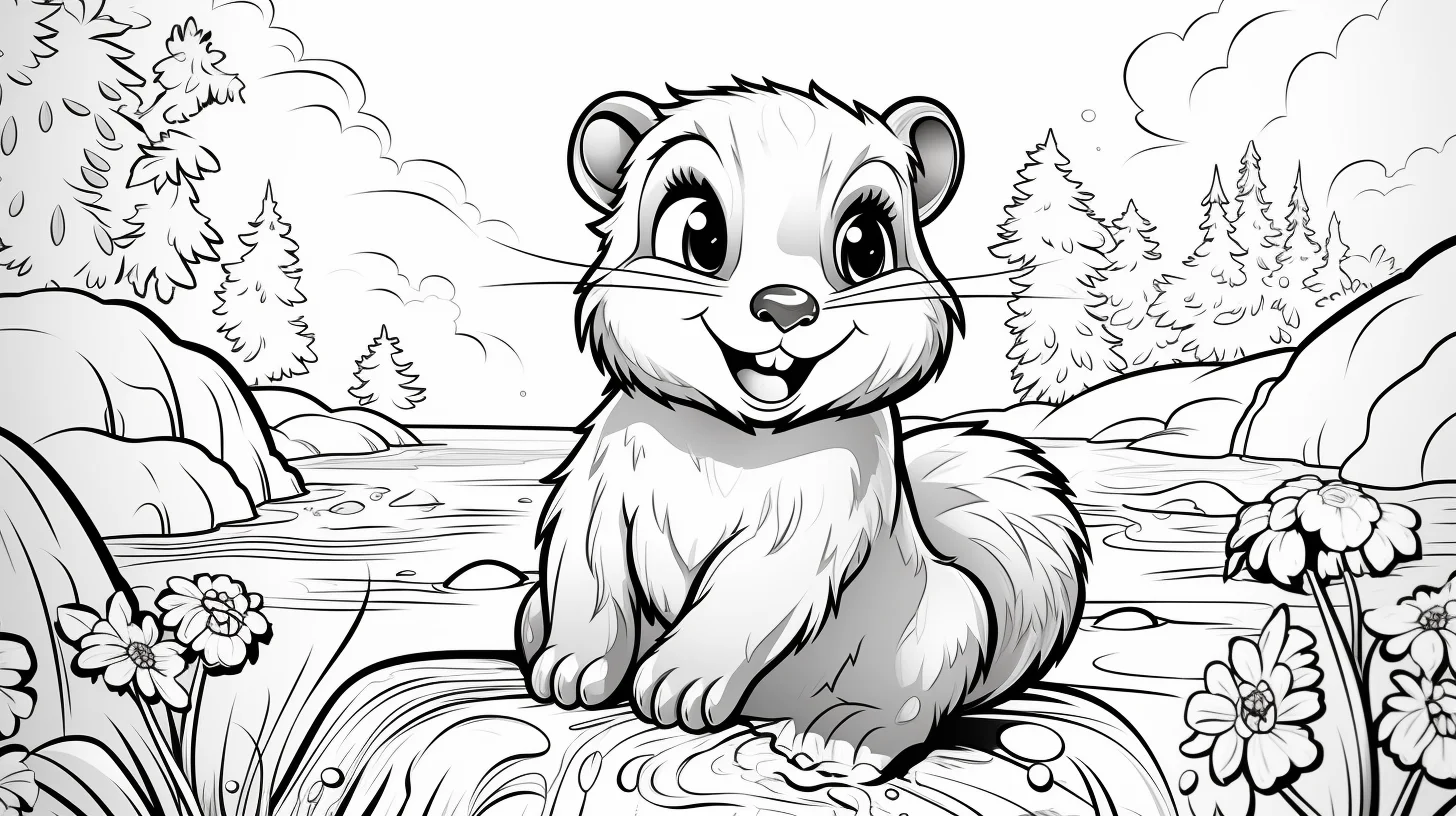
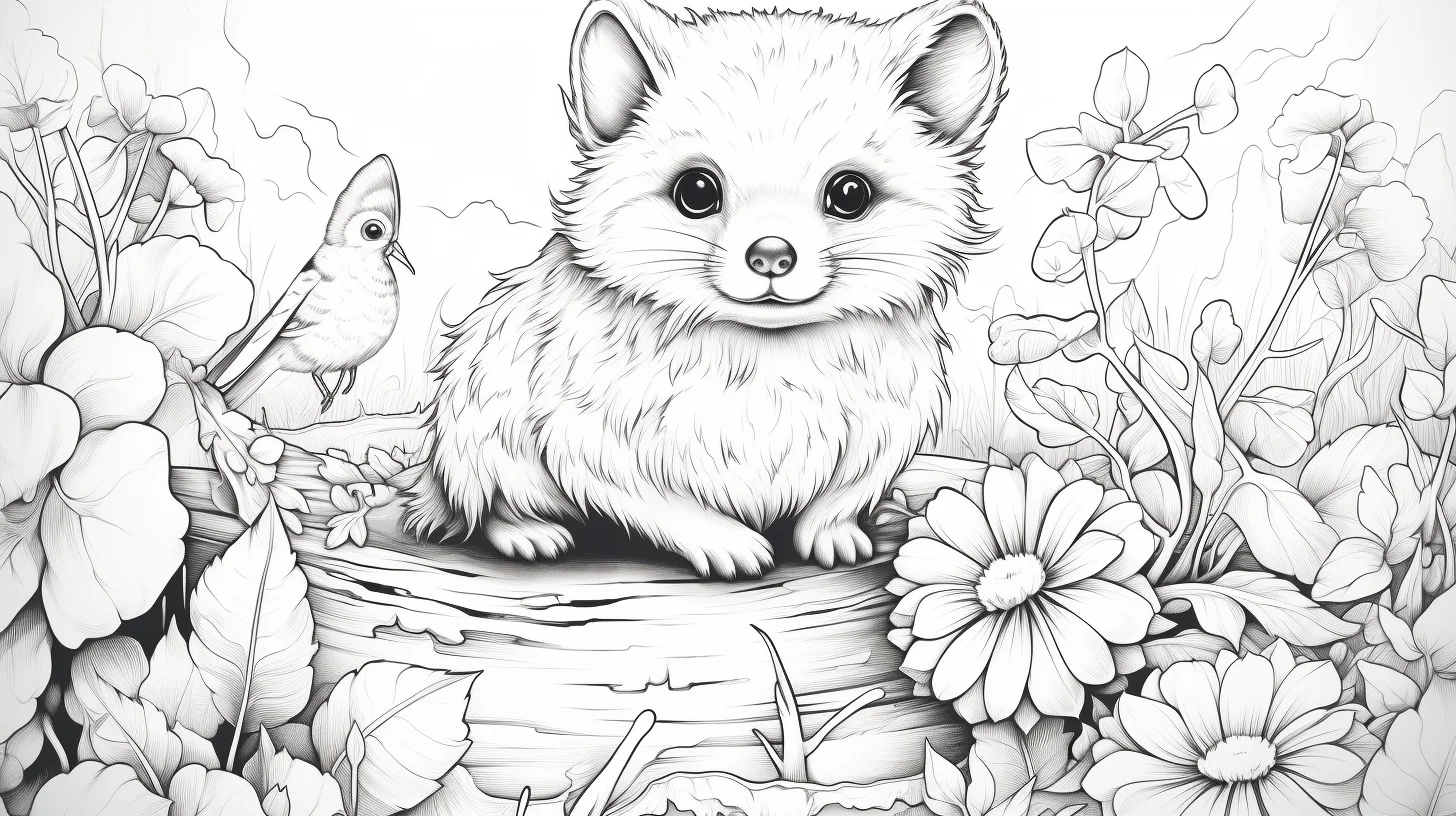
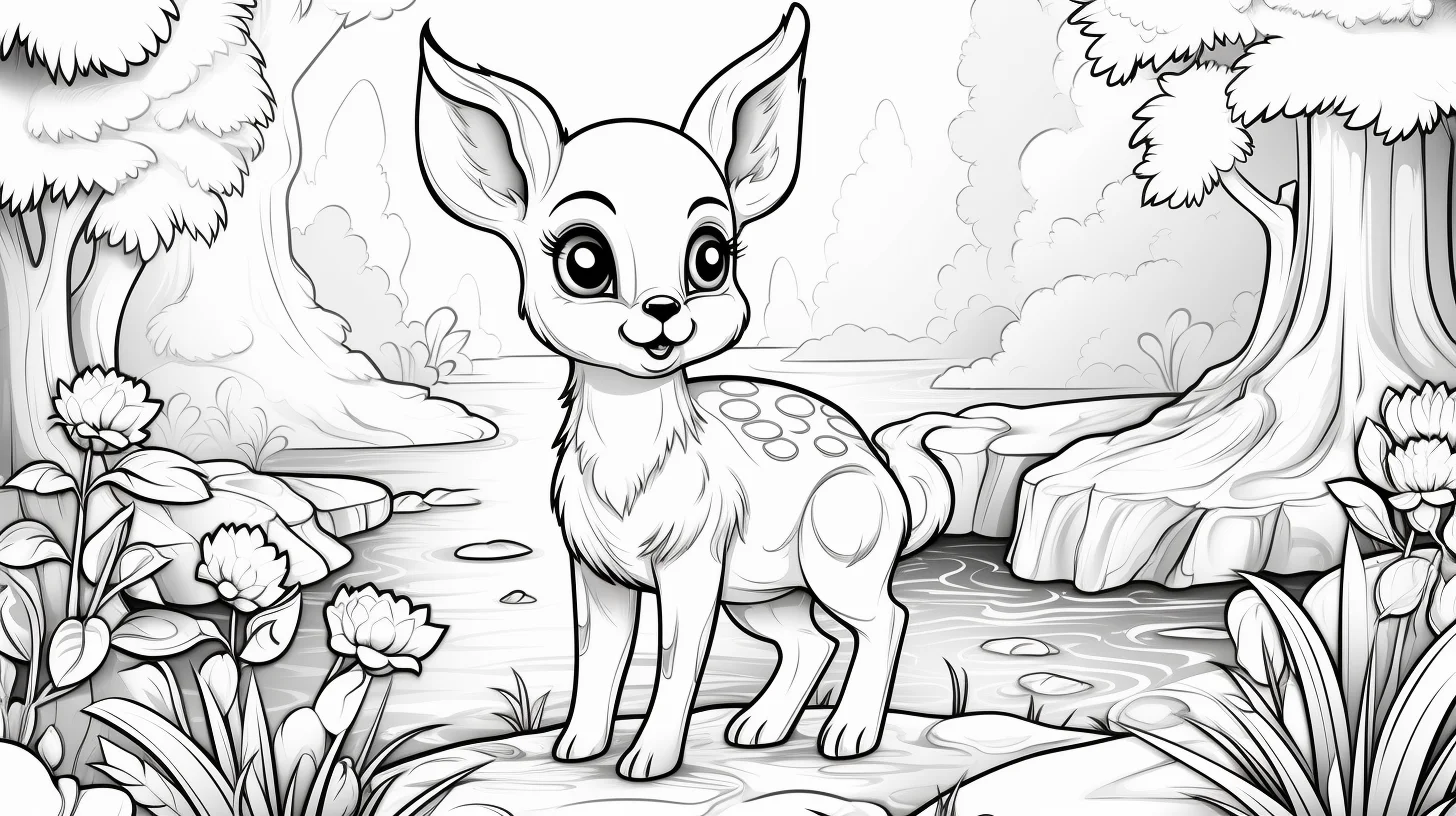
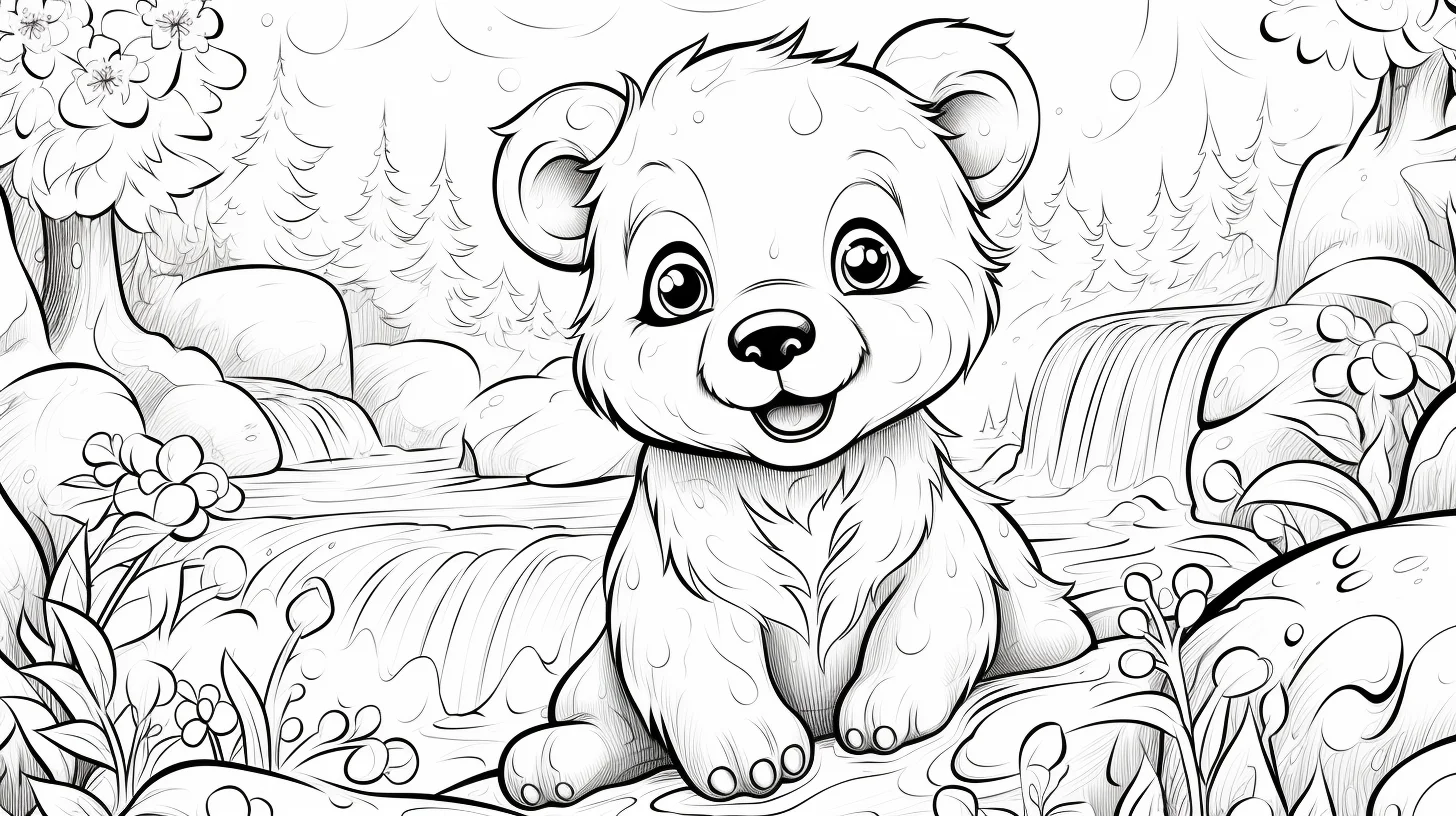
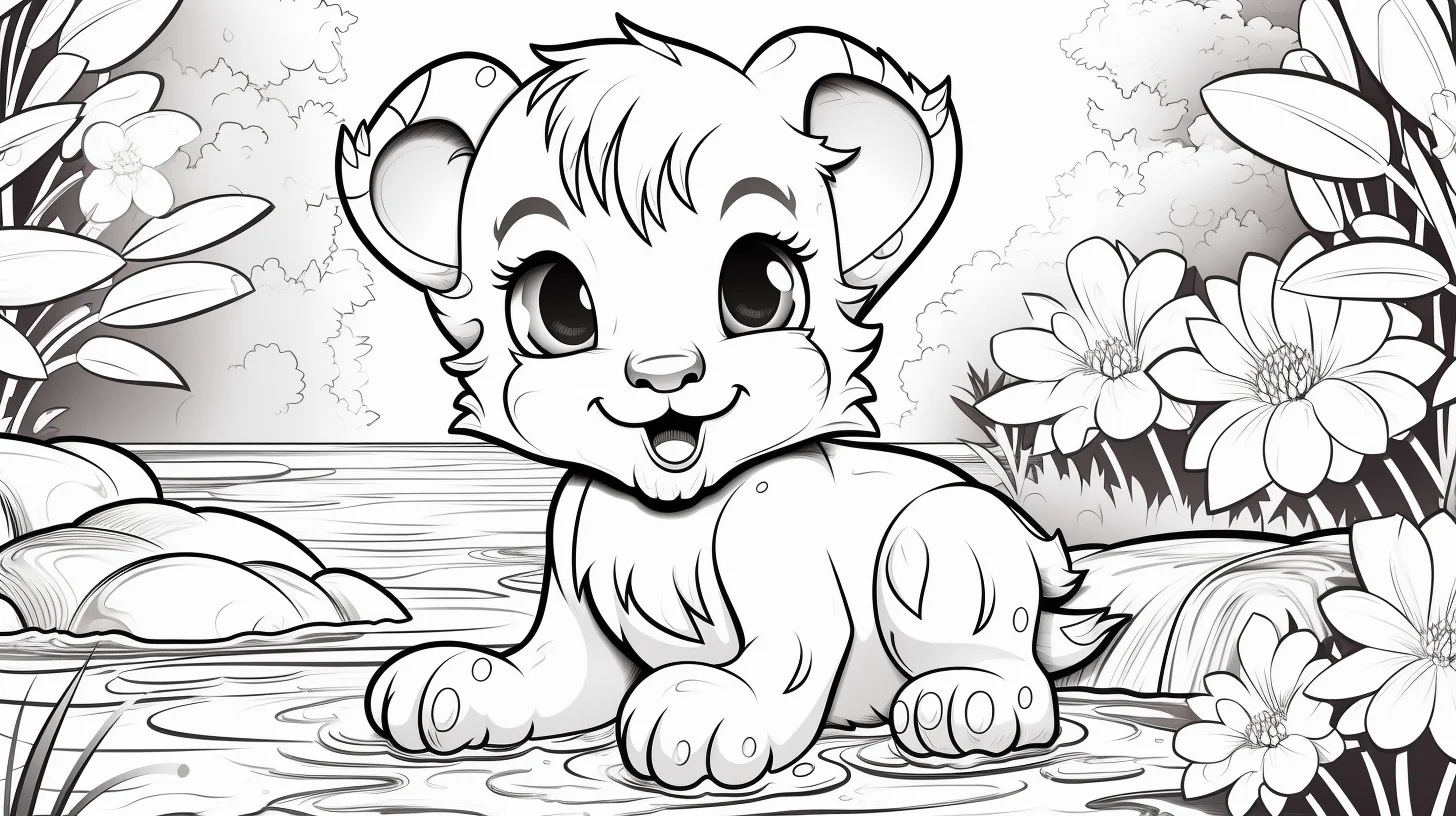
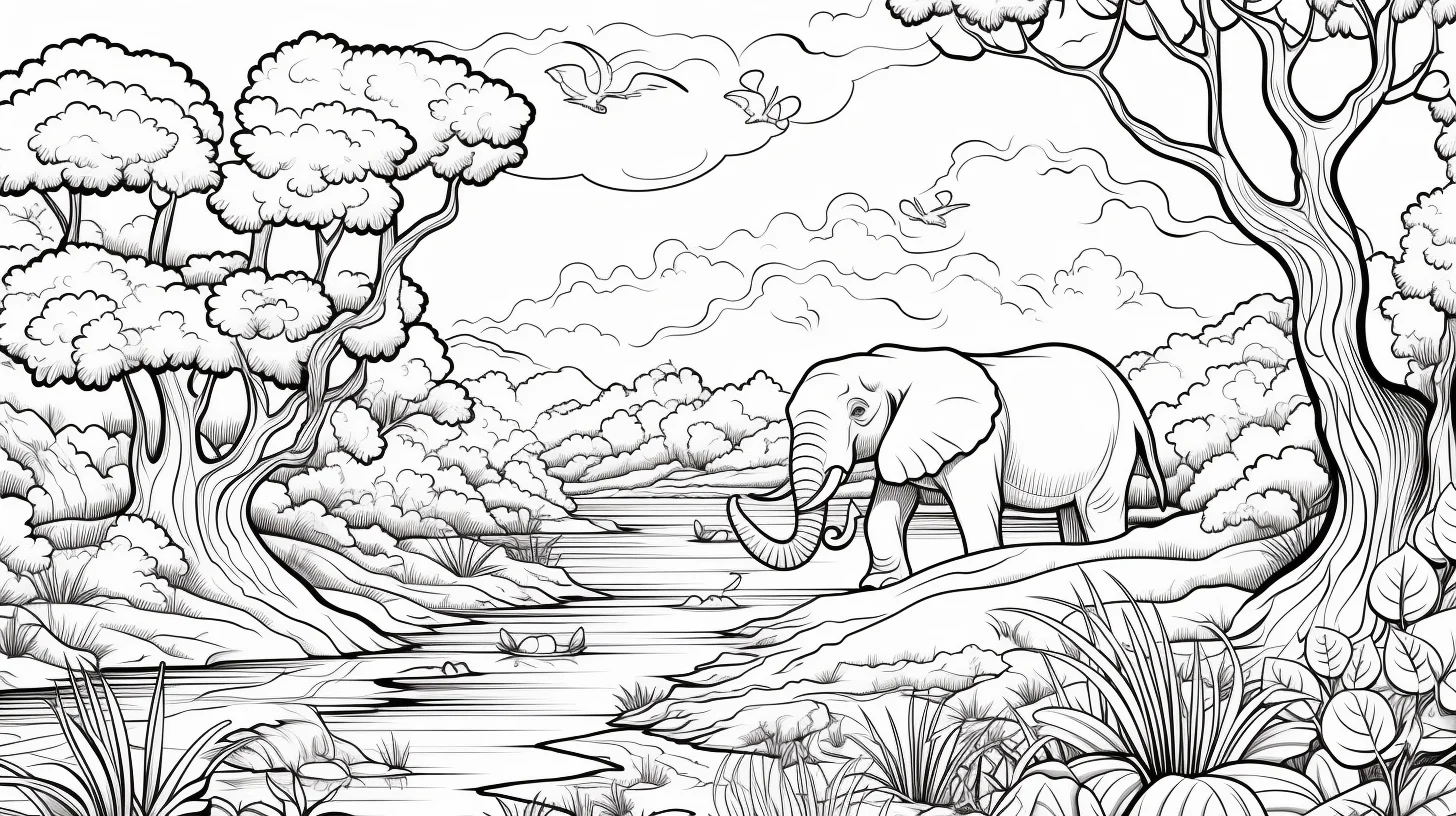
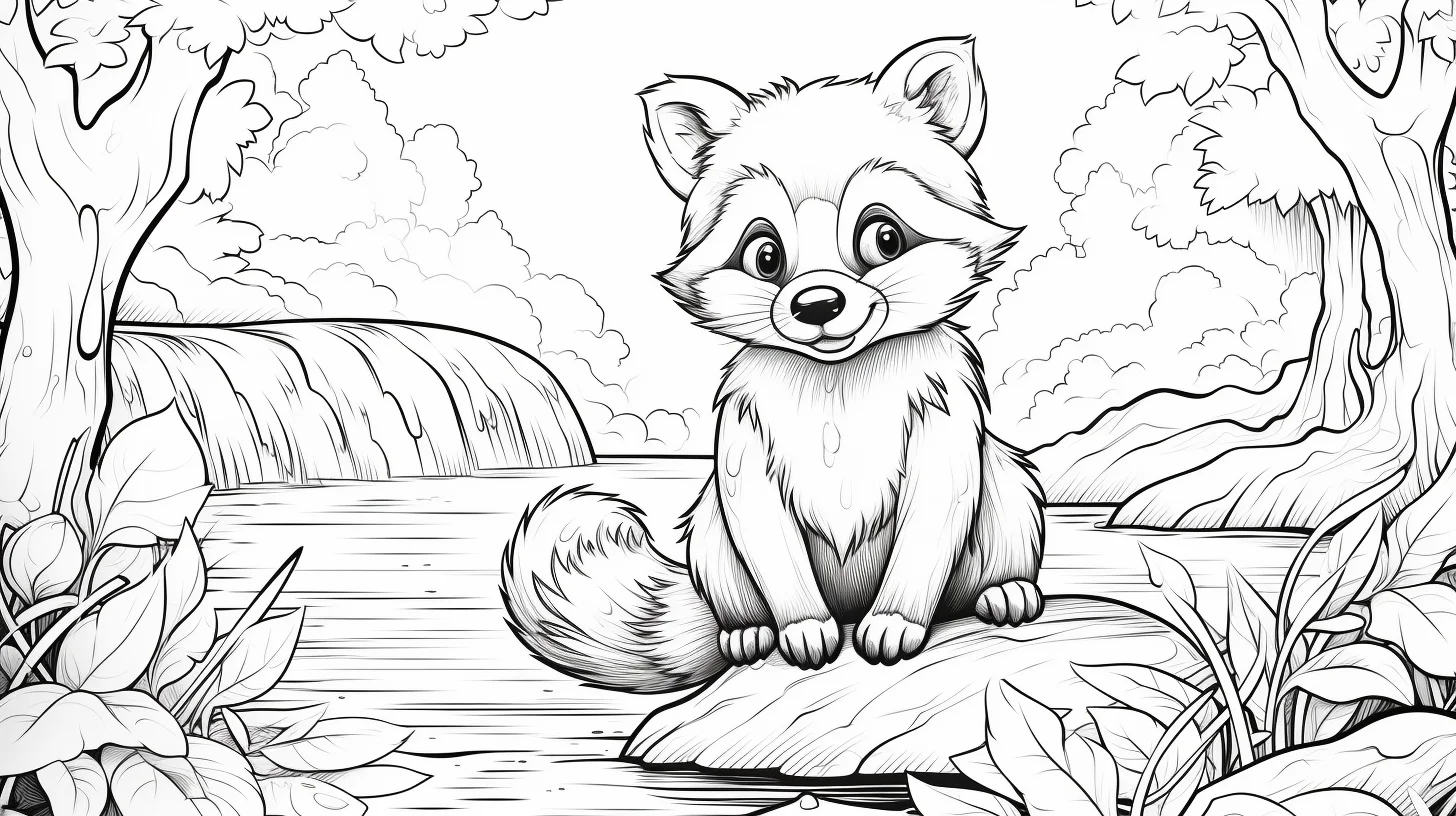
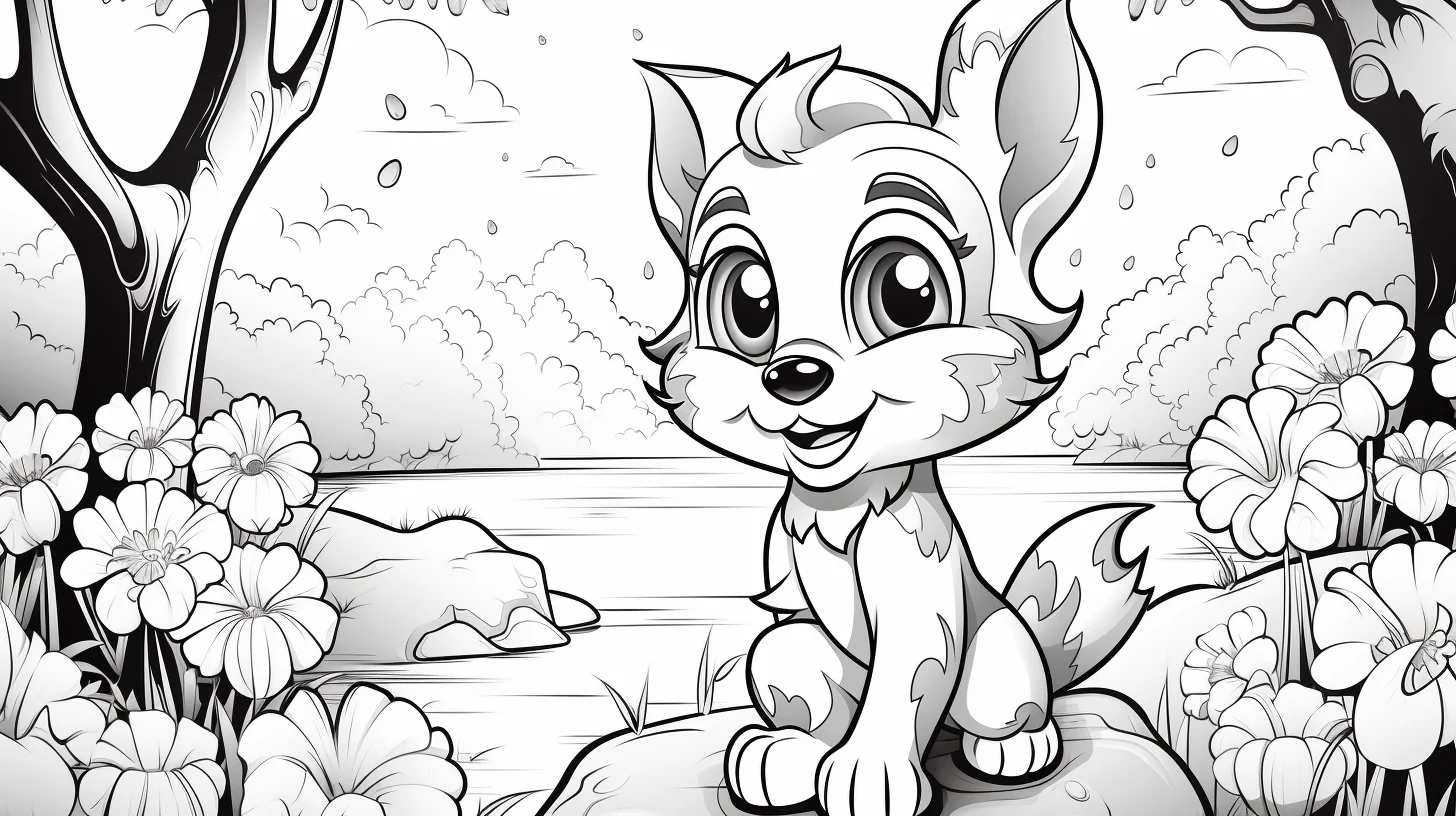
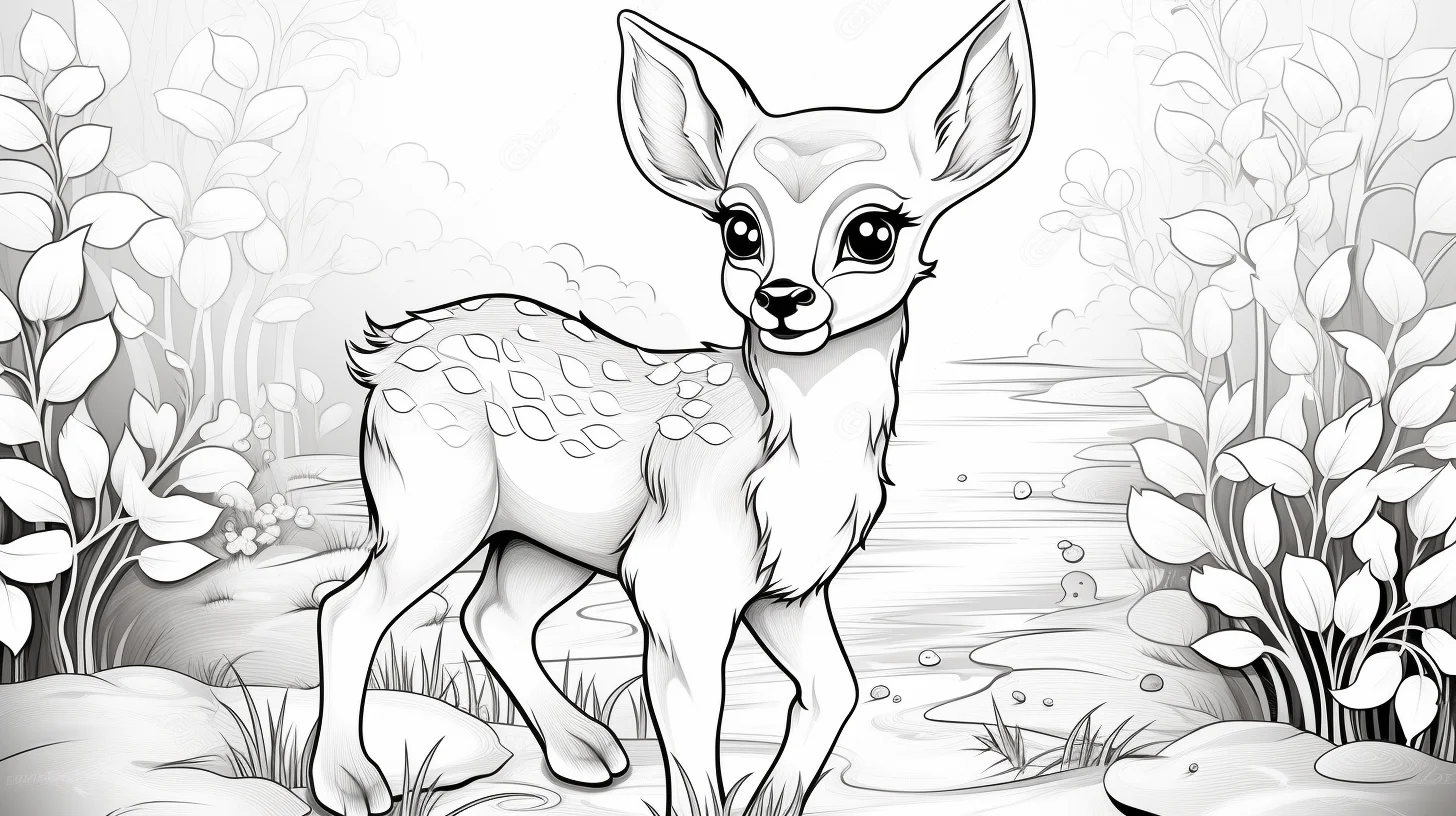
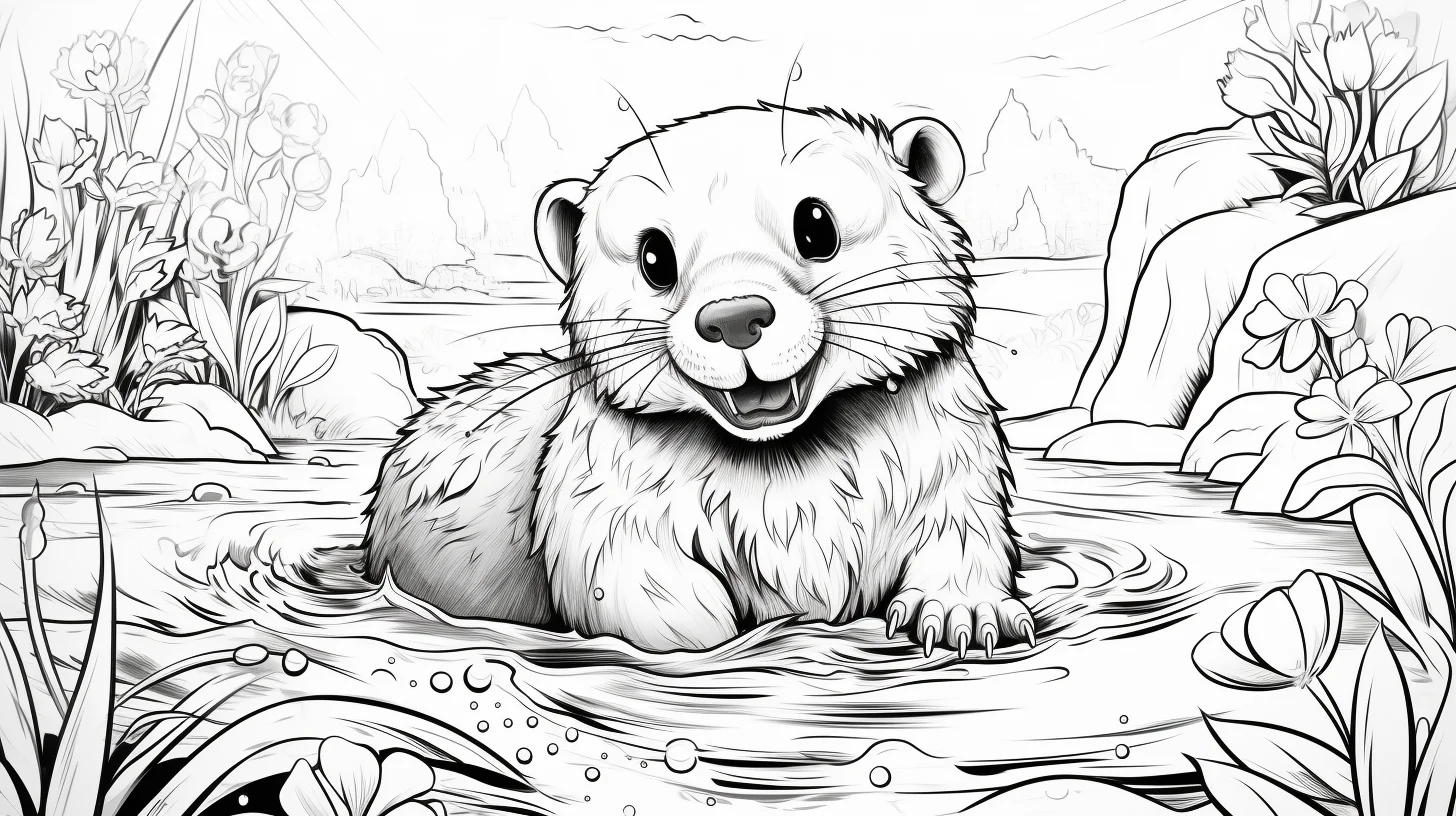
How to build depth in a wildlife scene
Once you have chosen a sheet from the gallery, think in three layers rather than trying to color every object separately. The animal is the foreground, nearby grass, rocks or water form the middle ground, and distant trees or sky sit behind both. Keep the strongest contrast on the animal. Then soften the colors as the scene moves backward. This one change makes even a simple printable feel more like a place than a collection of filled shapes.
- Color the animal first. Decide where the light is coming from and keep that direction consistent across the body.
- Add the nearest habitat details. Grass beside the feet, a branch under a bird or water around an animal can use moderate contrast.
- Quiet the distance. Use lighter pressure, fewer dark outlines and a smaller range of colors for faraway plants, hills or sky.
A three-page wildlife practice sequence
If you want to use these sheets for more than a single coloring session, choose three pages with progressively more scenery. On the first, concentrate only on keeping the animal readable. On the second, practice separating the animal from grass or water. On the third, treat the whole background as part of the composition.
- Page 1 — focal animal: use two or three values on the animal and keep the background pale.
- Page 2 — texture: add short directional marks for fur, grass or feathers instead of filling every area with one flat tone.
- Page 3 — atmosphere: make distant scenery lighter and less detailed than objects near the animal.
The goal is not photorealism. It is learning which parts of a nature scene deserve attention and which parts should support the subject quietly.
Match the technique to the habitat
| Scene detail | Technique that usually works | Common mistake |
|---|---|---|
| Grass | Layer two or three greens with short upward strokes | Using one solid green block around the animal |
| Water | Use horizontal strokes and leave occasional pale gaps for reflected light | Coloring with vertical scribbles that make the surface look like fur |
| Tree bark | Follow the trunk vertically with uneven browns and grays | Outlining every bark mark equally dark |
| Fur | Follow the direction the coat grows and build darker areas gradually | Drawing long hair strokes on an animal with a short coat |
| Sky | Use light pressure and broad, even coverage | Making the sky darker than the focal animal |
When the scene looks muddy
The usual cause is not a bad color choice; it is too many areas competing at the same value. If the animal starts disappearing, stop adding detail to the background. Lighten the area immediately behind the silhouette or choose a cooler, quieter version of the background color. A dark brown animal, for example, is easier to read against sage or pale blue-green than against equally dark forest green.
If everything already feels too dark, do not try to rescue the page by adding more colors. Leave some remaining spaces white or very pale, strengthen only one or two important edges on the animal, and let the rest stay understated.
Turn one printable into a small observation activity
Before coloring, pick three things to decide: where the animal is, what time of day it might be, and which part of the scene is closest to the viewer. Those answers can guide the palette. A dry grassland scene can use warm ochres and dusty greens; a shaded woodland can lean cooler; water scenes can repeat a little of the animal’s color in the reflections to make the picture feel connected.
For a child who wants to invent rather than copy nature, use the same questions without insisting on realistic colors. A purple animal can still sit convincingly in a scene if the foreground, middle ground and background remain visually separated.
Wildlife coloring questions
Should the animal always be colored realistically?
No. Real colors are useful for an observation activity, but imaginative palettes work just as well for ordinary coloring. The more important compositional rule is to keep enough contrast between the animal and its surroundings.
Which tool is easiest for detailed nature backgrounds?
Colored pencils are the most forgiving because pressure can be varied and small leaves, fur and grass are easier to control. Crayons are quicker on open scenes. Markers give bold results but can overpower fine background detail and may bleed through thin paper.
What should I color first on a complicated page?
Start with the focal animal, then the objects touching or overlapping it, and finish with distant scenery. That order makes it easier to judge how strong the background colors should be.
Where can I find a different kind of animal page?
For simpler kawaii designs, see our cute animal coloring pages. For natural anatomy and more detail, browse the realistic animal coloring pages. The animal habitat pages are the better choice when you specifically want fuller habitat compositions rather than this wildlife-focused mix.

