
This 24-page bird collection is the simpler, cuter companion to our larger bird gallery. It focuses on baby birds, kawaii birds and uncomplicated scenes rather than trying to cover every bird species.
Start with the pages that have one large bird and little background detail if you want a quick sheet for crayons or broad markers. Use colored pencils for the pages with feathers, nests, branches or smaller decorative elements.
The gallery mixes landscape and portrait images, so check the print preview before choosing orientation. Use “Fit to page” to keep the wings and tail inside the printable area.
If you want a broader mix with bird families and flying scenes, use our 32 bird coloring pages. For younger-looking baby birds specifically, see our baby bird coloring pages.
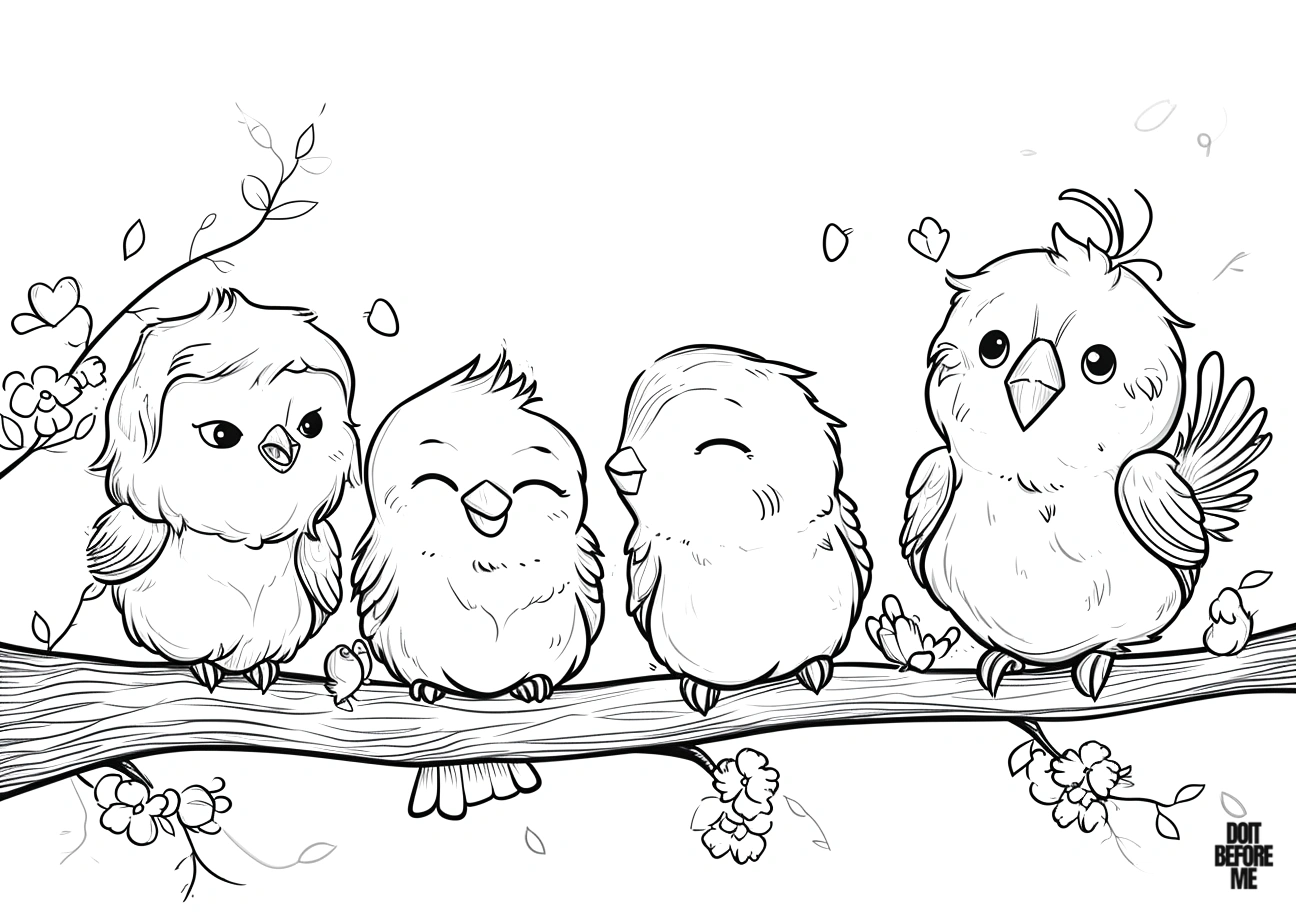
Keep easy bird pages simple
On a kawaii or child-friendly bird, you do not need to color every feather separately. Treat the body, wings and face as the three main areas. One body color, a second wing color and a small accent for the beak or feet is enough to make a clean finished page.
- Crayons: best for the large baby-bird shapes and preschool pages.
- Colored pencils: useful when nests, branches or realistic feathers add smaller sections.
- Markers: work well on simple outlines; use a spare sheet underneath if the paper is thin.
A 60-second bird-page control test
Before coloring the whole sheet, use one wing or another open area as a quick test. Make three small passes with the same crayon or pencil: barely touching the paper, normal pressure, then firm pressure. If all three look almost identical, the tool is too blunt or the child is pressing too hard. Use the lightest comfortable pressure for the body and save the darker pass for the underside of a wing or belly.
- Check the eye first. The eye should still be the clearest small feature after the head is colored. If it disappears, lighten the head rather than outlining everything in black.
- Check the wing edge. The wing only needs to be a little lighter or darker than the body. If you cannot see its shape from arm’s length, increase that difference before adding more colors.
- Check the background last. Cover the bird with your hand. If the nest, flowers or sky are already the loudest part of the page, soften them so the bird remains the focal point.
For preschoolers, skip the pressure exercise: use one crayon for the body and a contrasting crayon for the wing, beak and feet. Stopping there is a complete page. Add scenery only if the child still wants to color.
24 easy and kawaii bird coloring pages
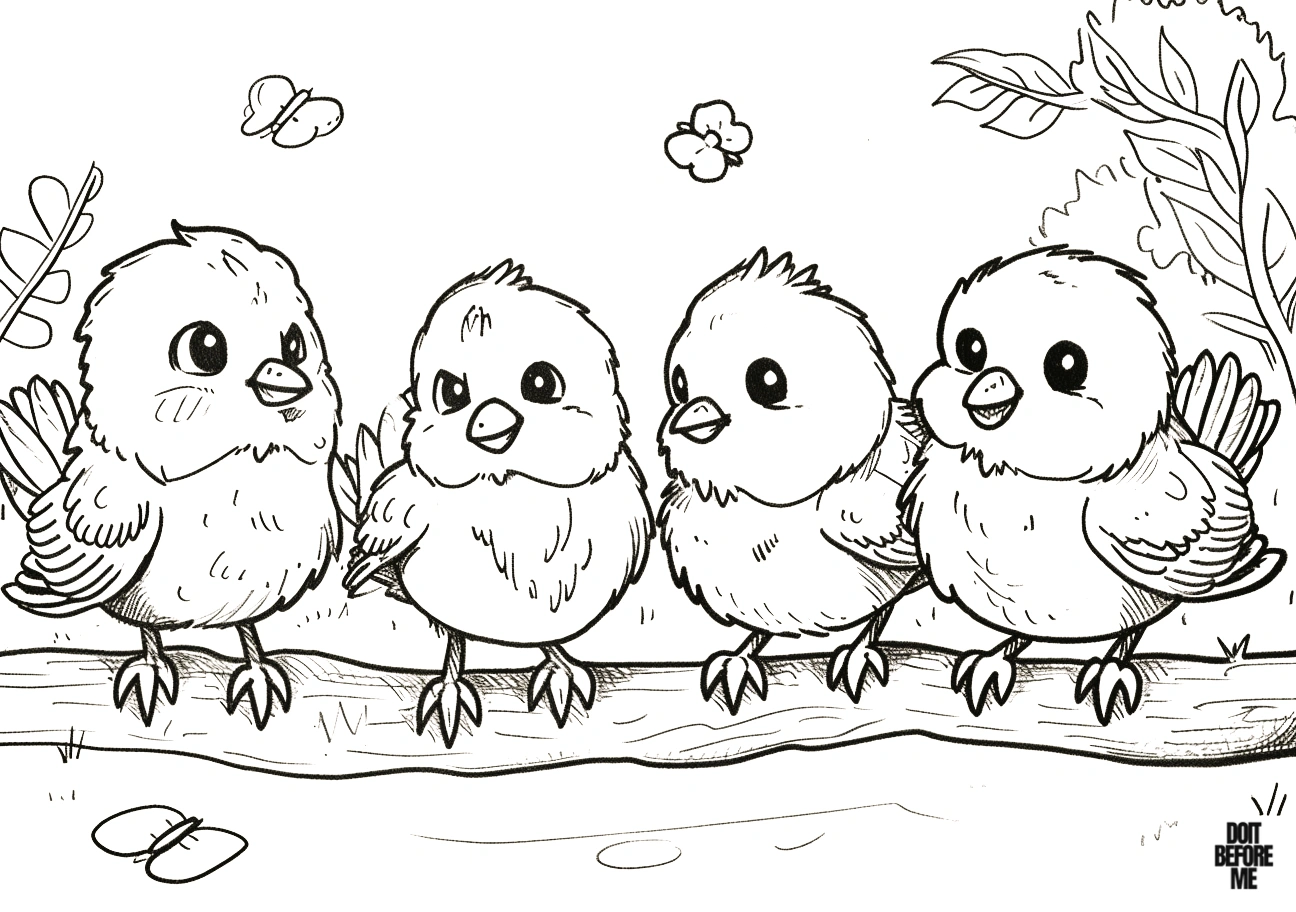
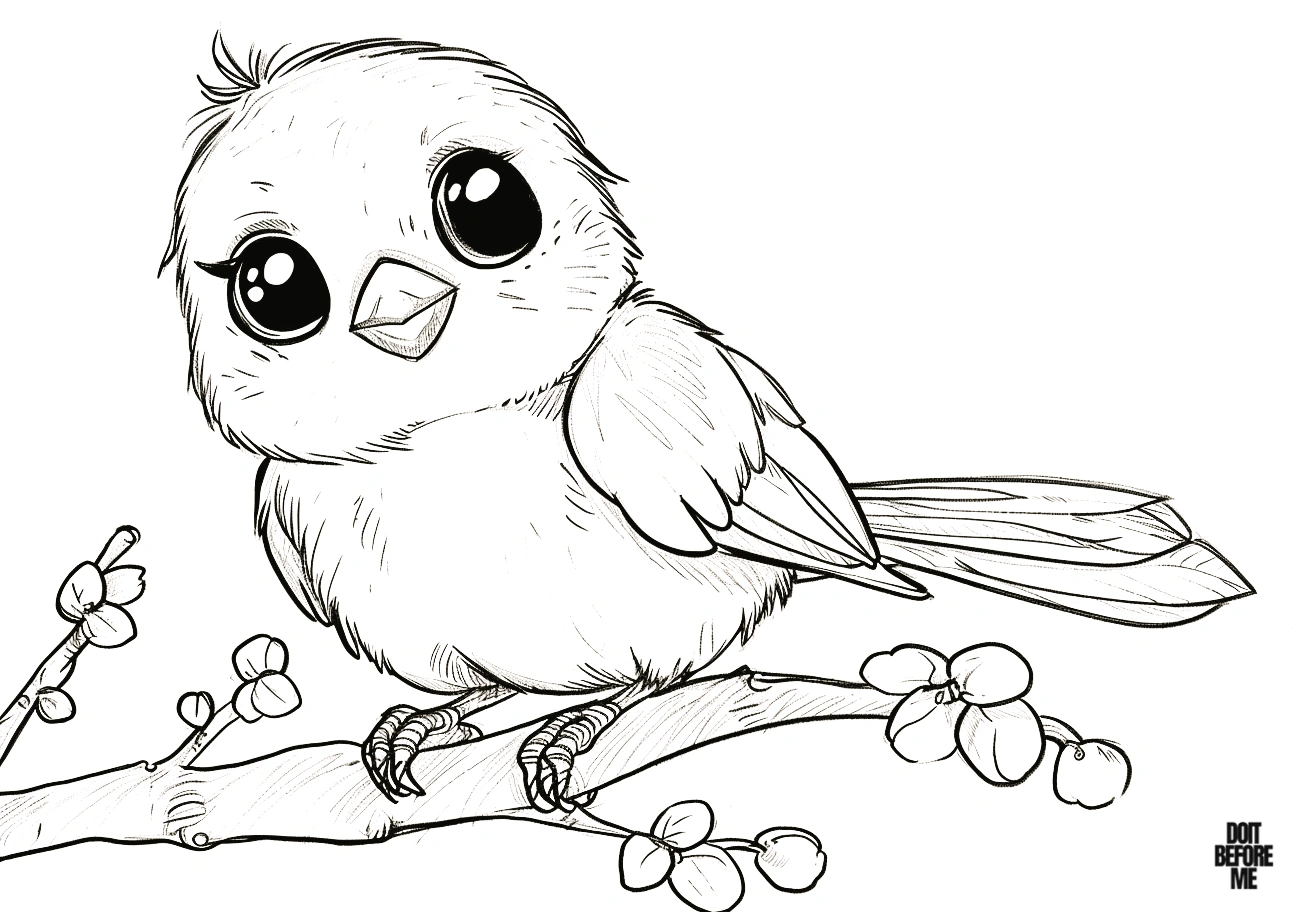
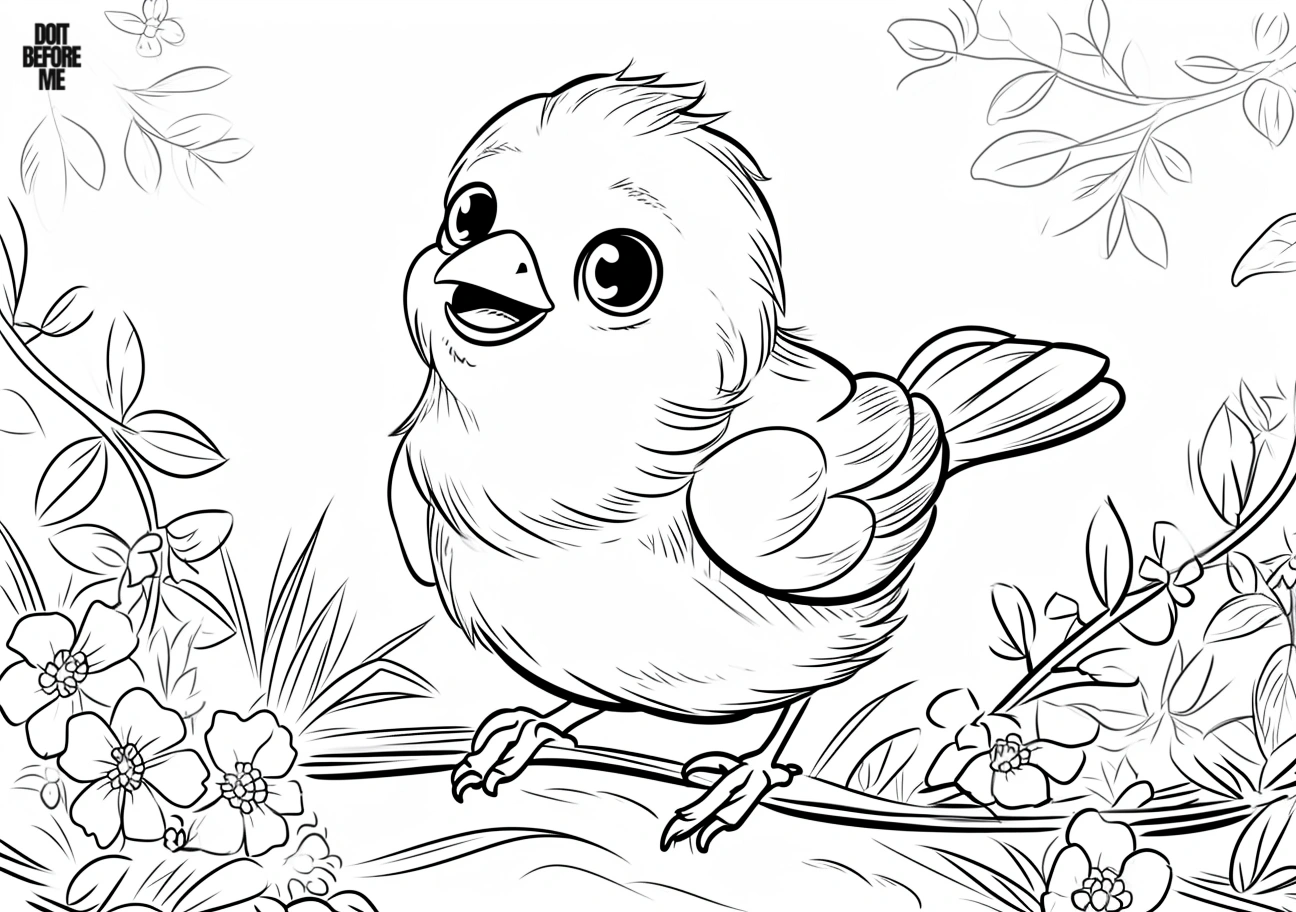
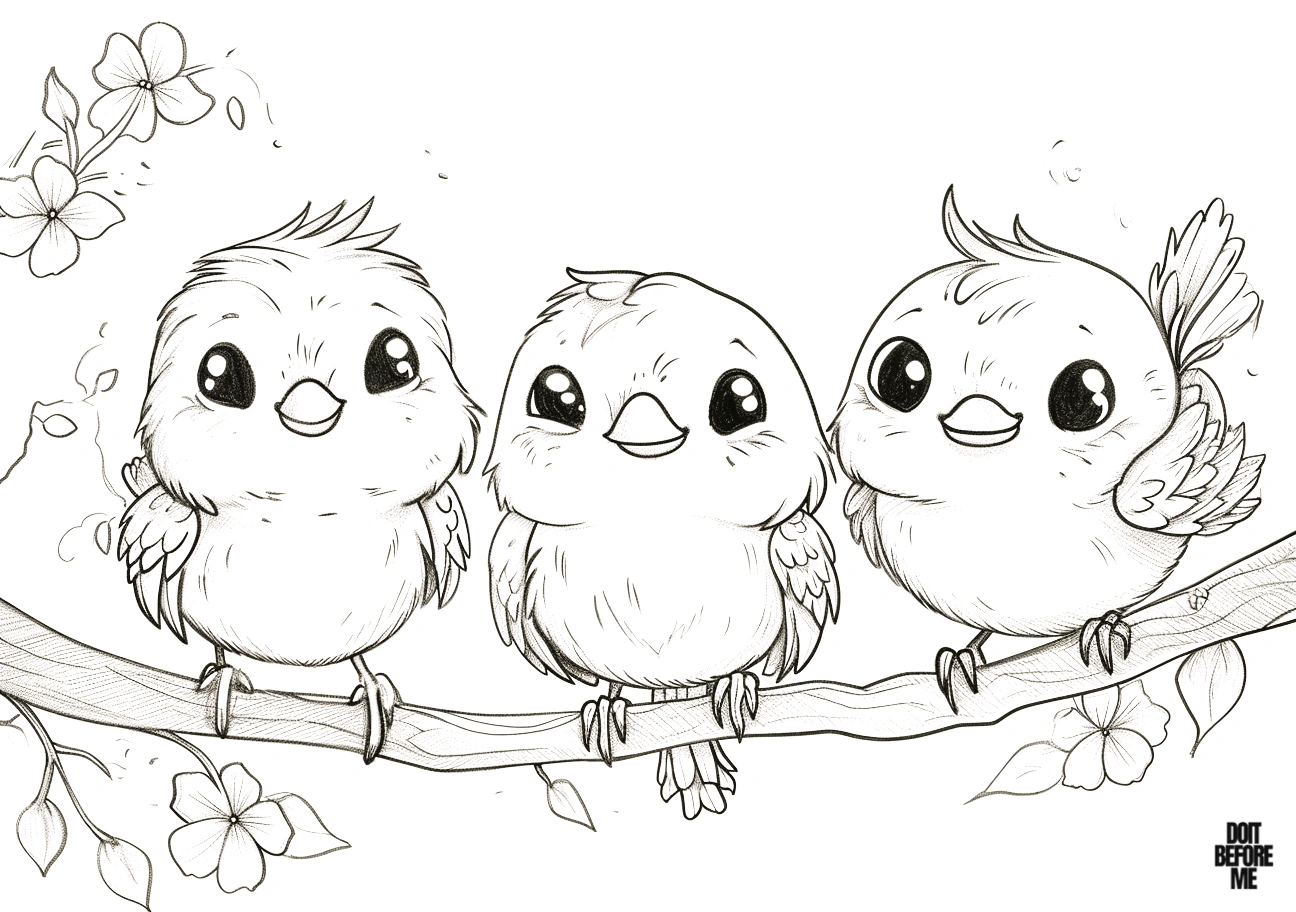
Baby-bird group: keep the face lighter than the wings if you want the big eyes and beak to stay easy to read. Soft yellow, brown, blue or pastel combinations all work; realism is less important here than clear contrast.
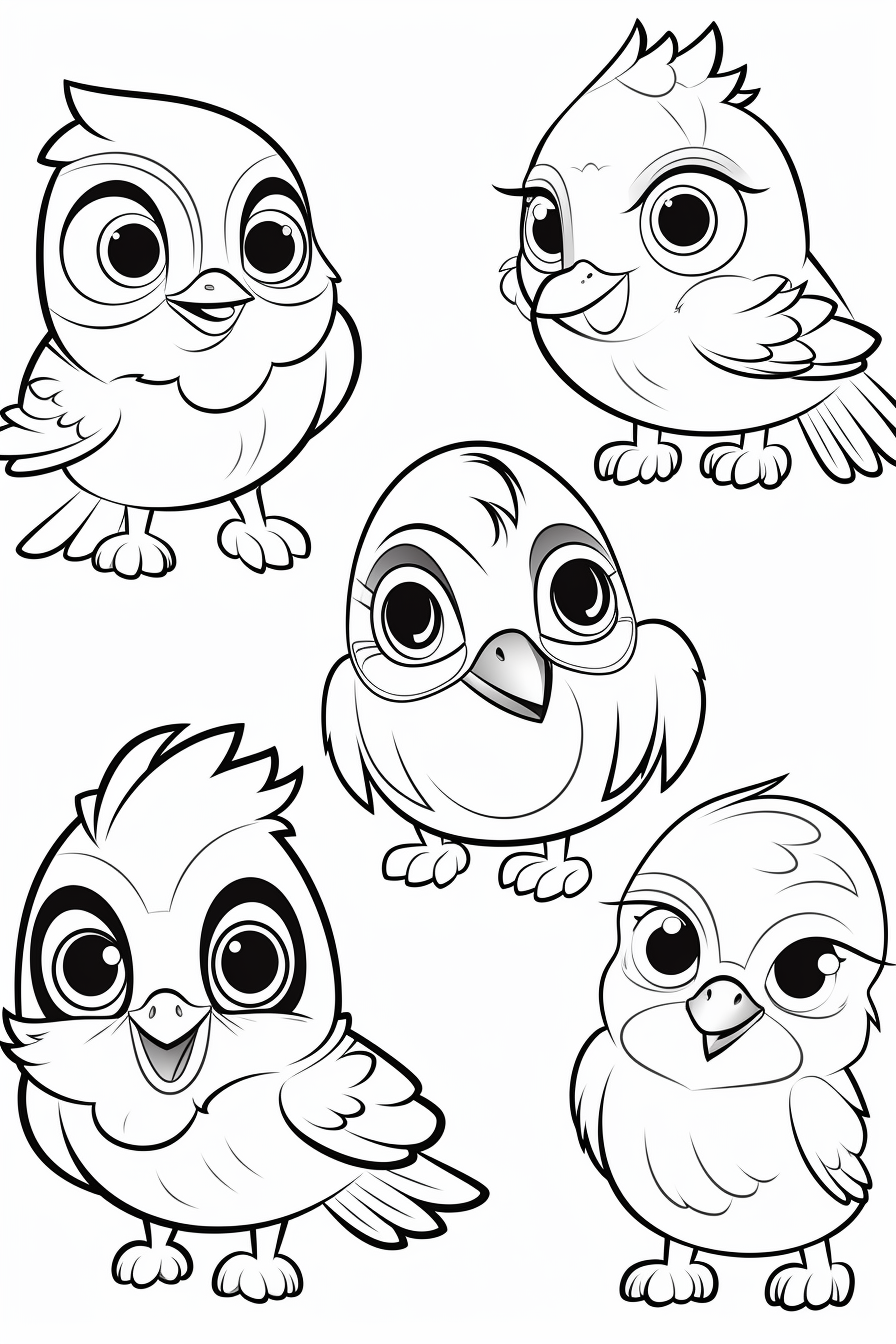
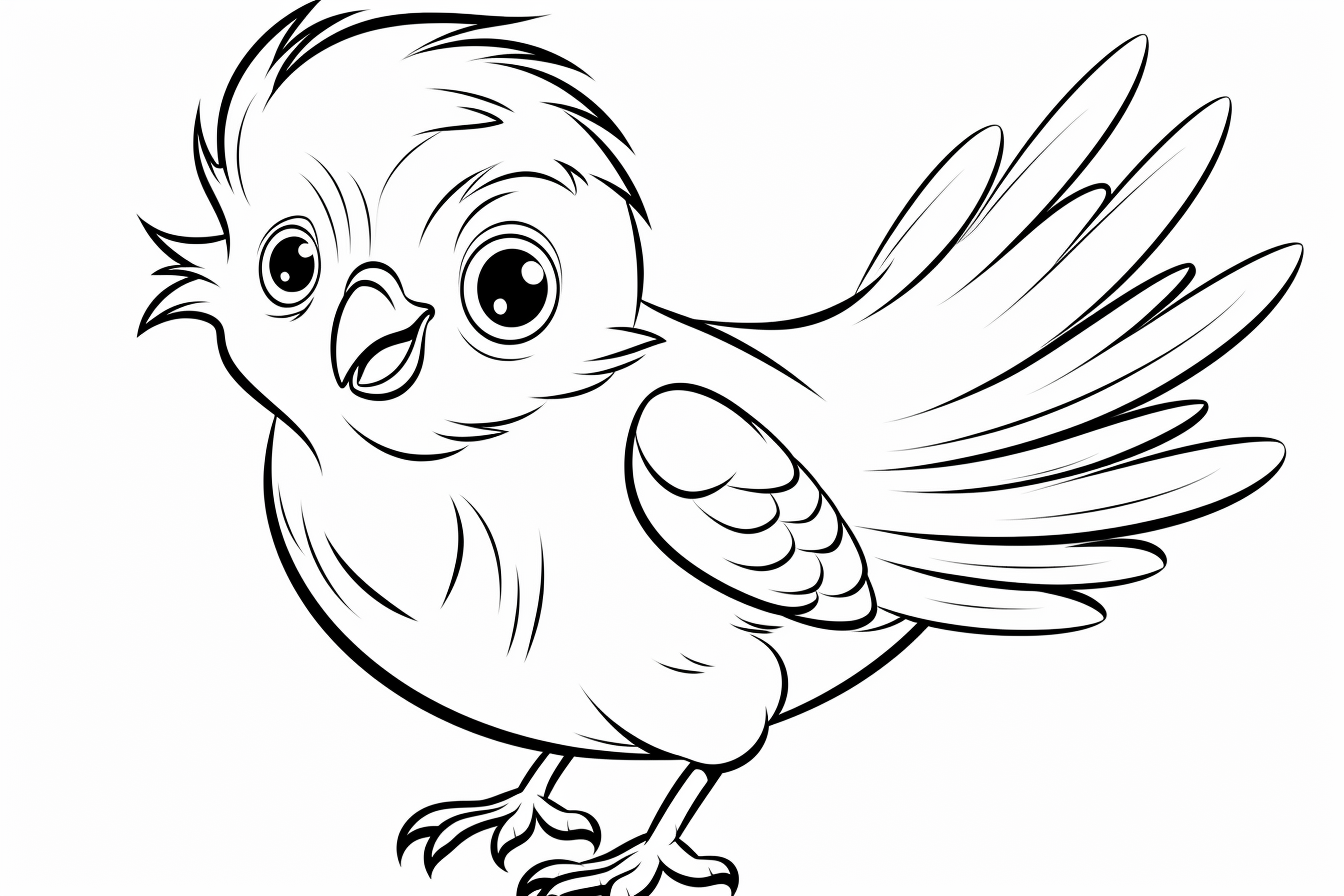
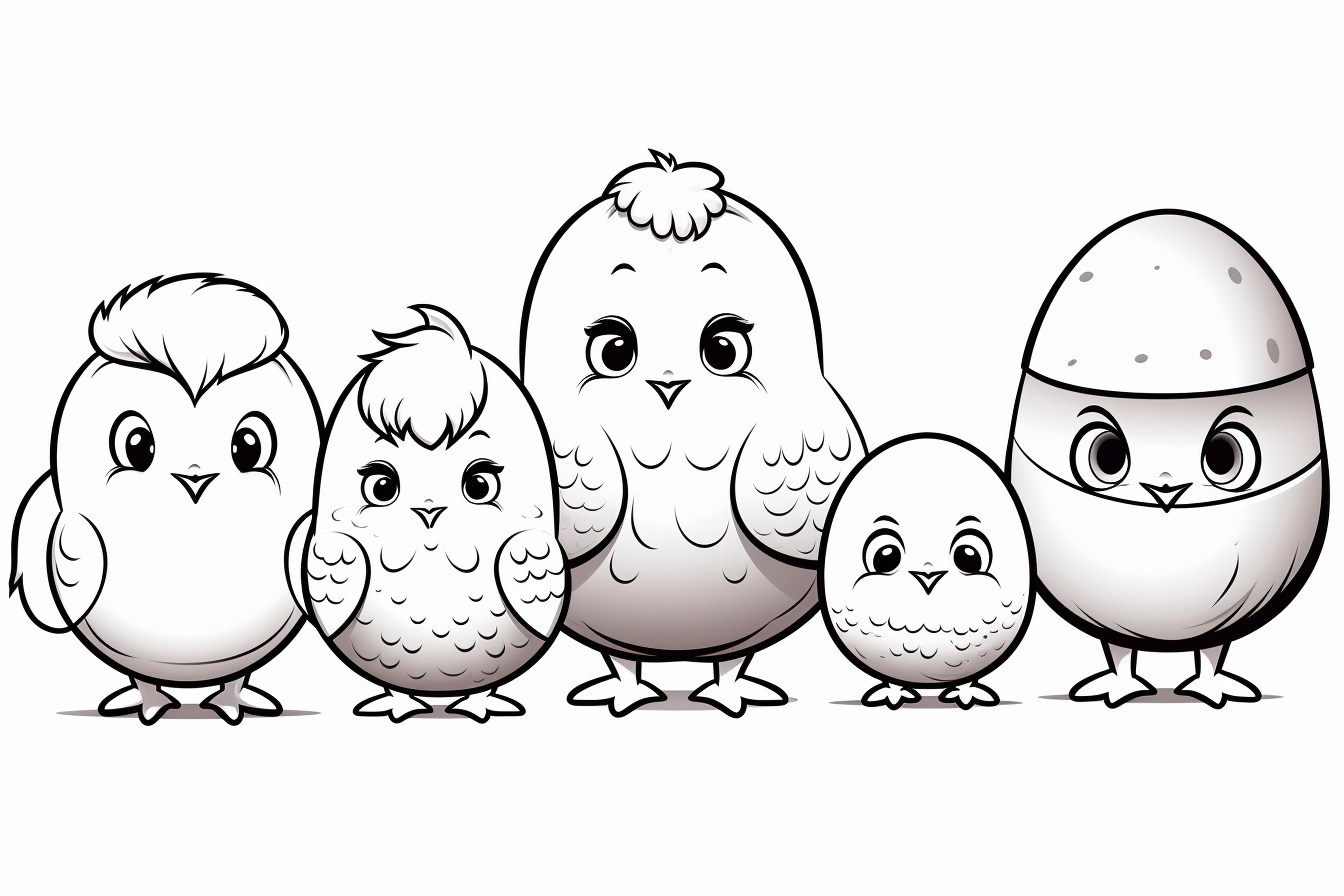
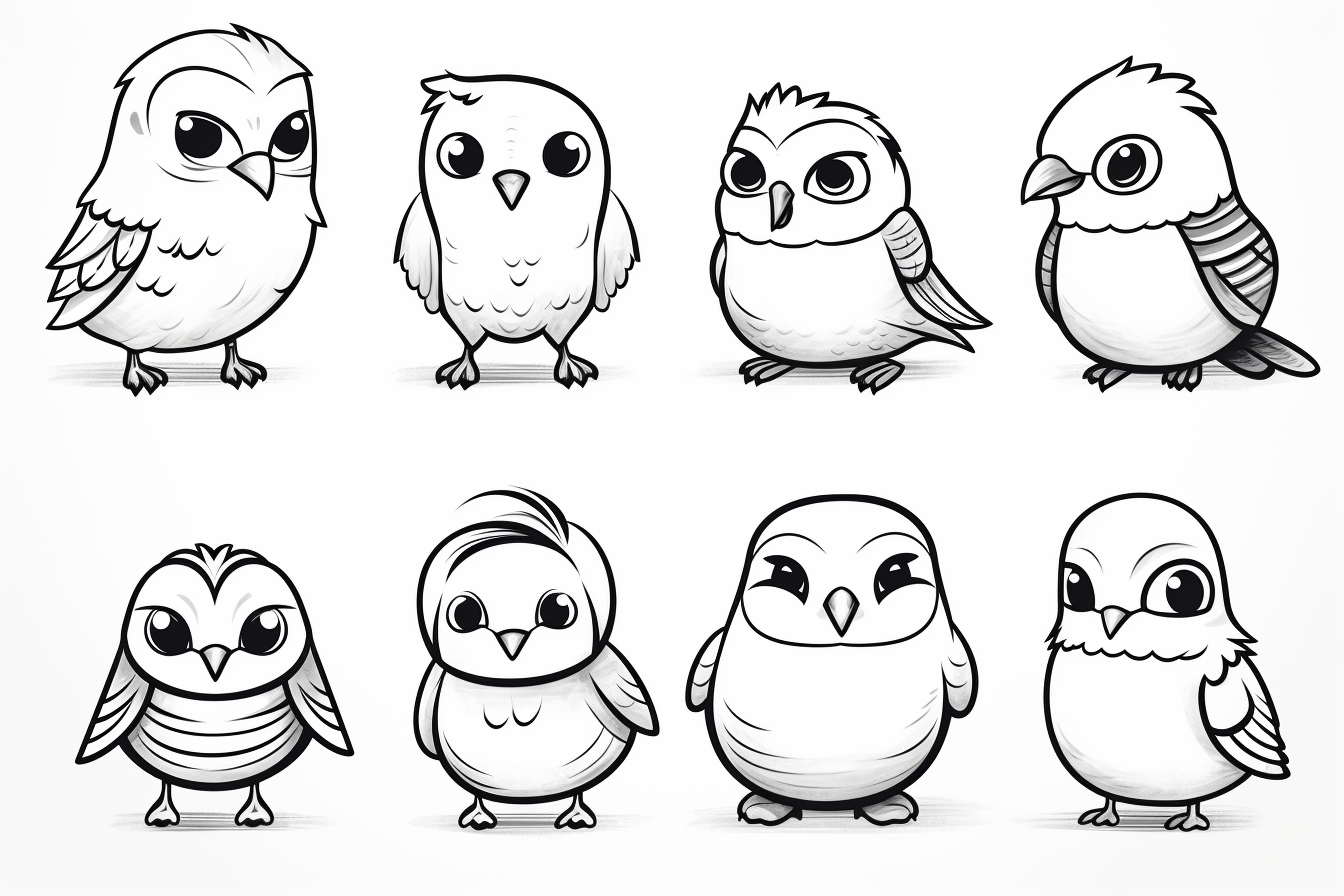
Preschool and toddler pages: broad crayons are usually the easiest tool. Let the child color the main bird first and treat branches, nests or background shapes as optional rather than something that has to be finished.
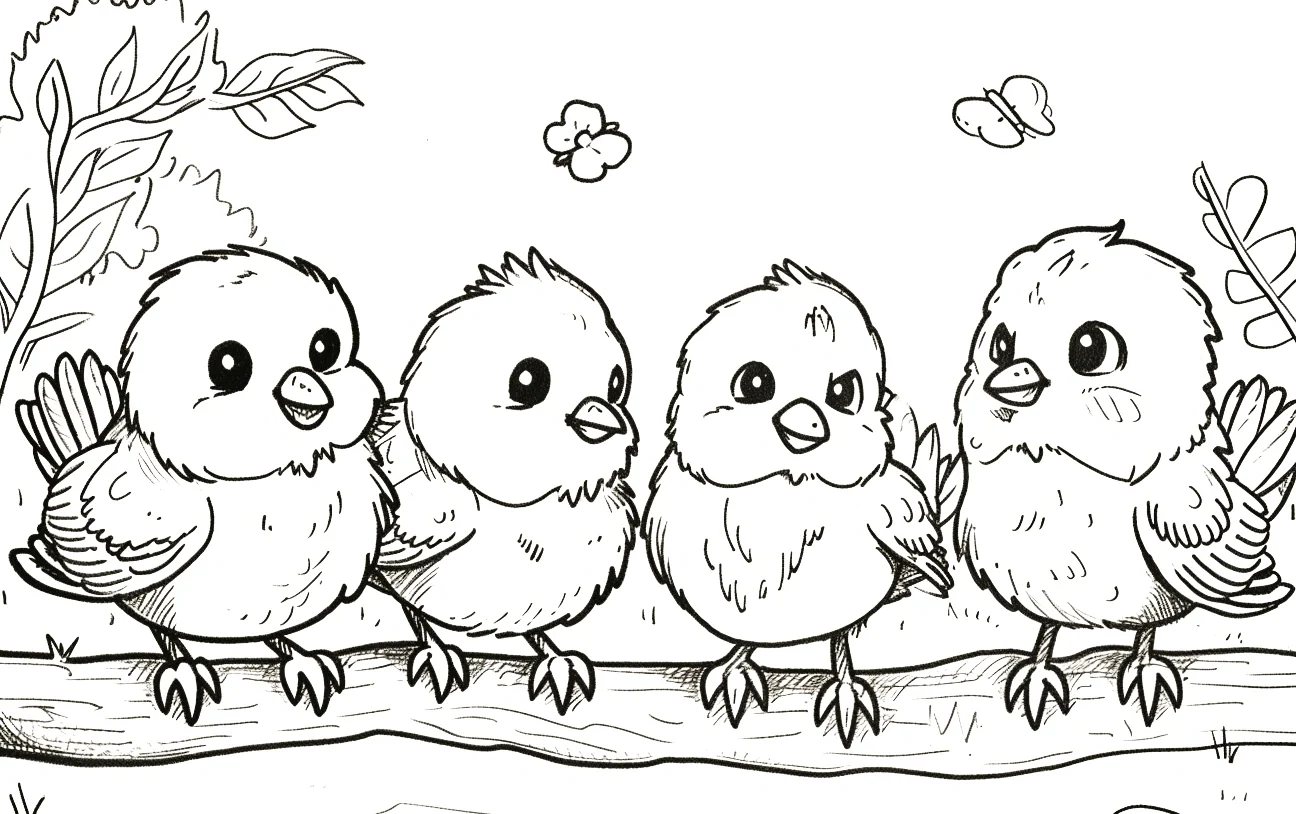
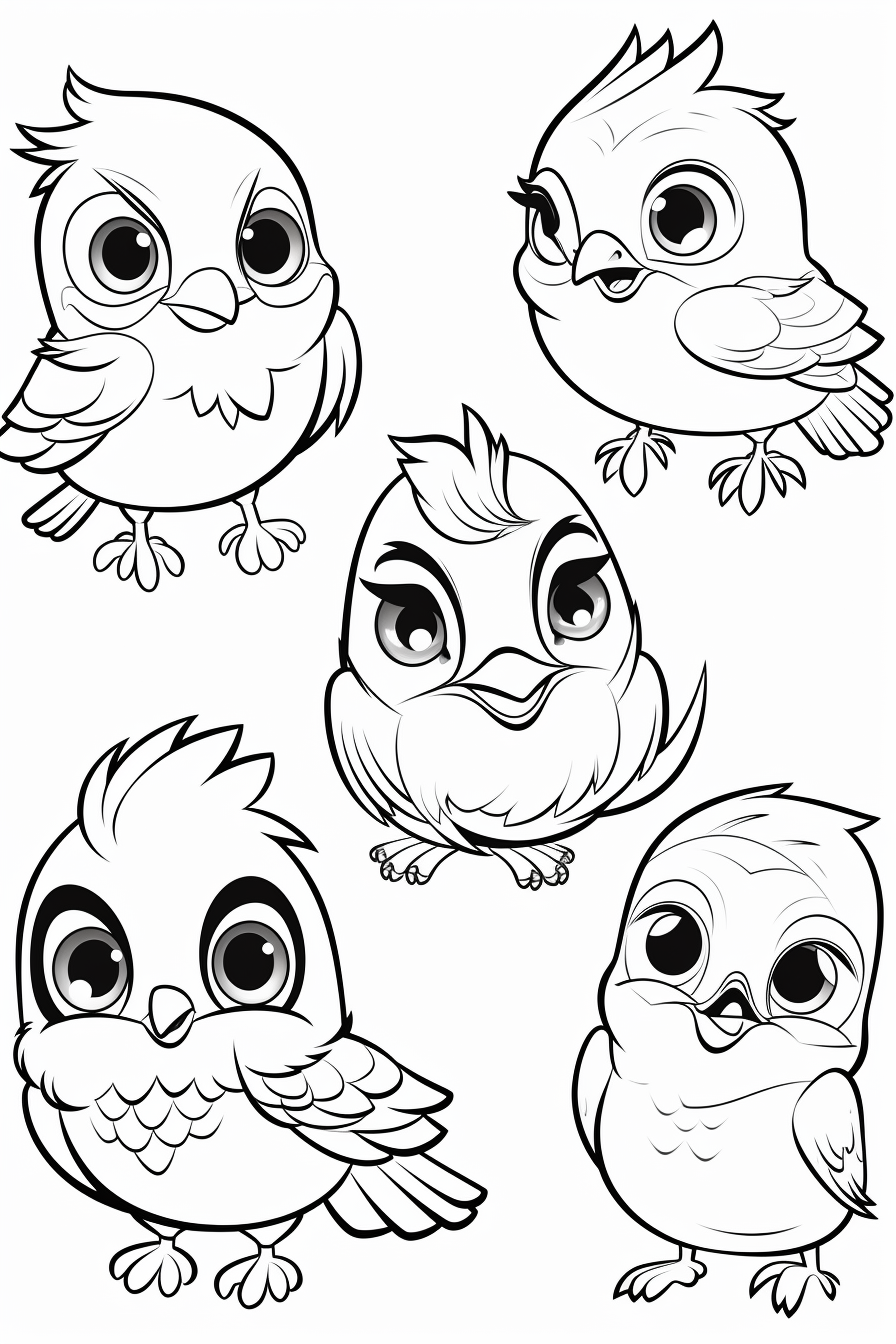
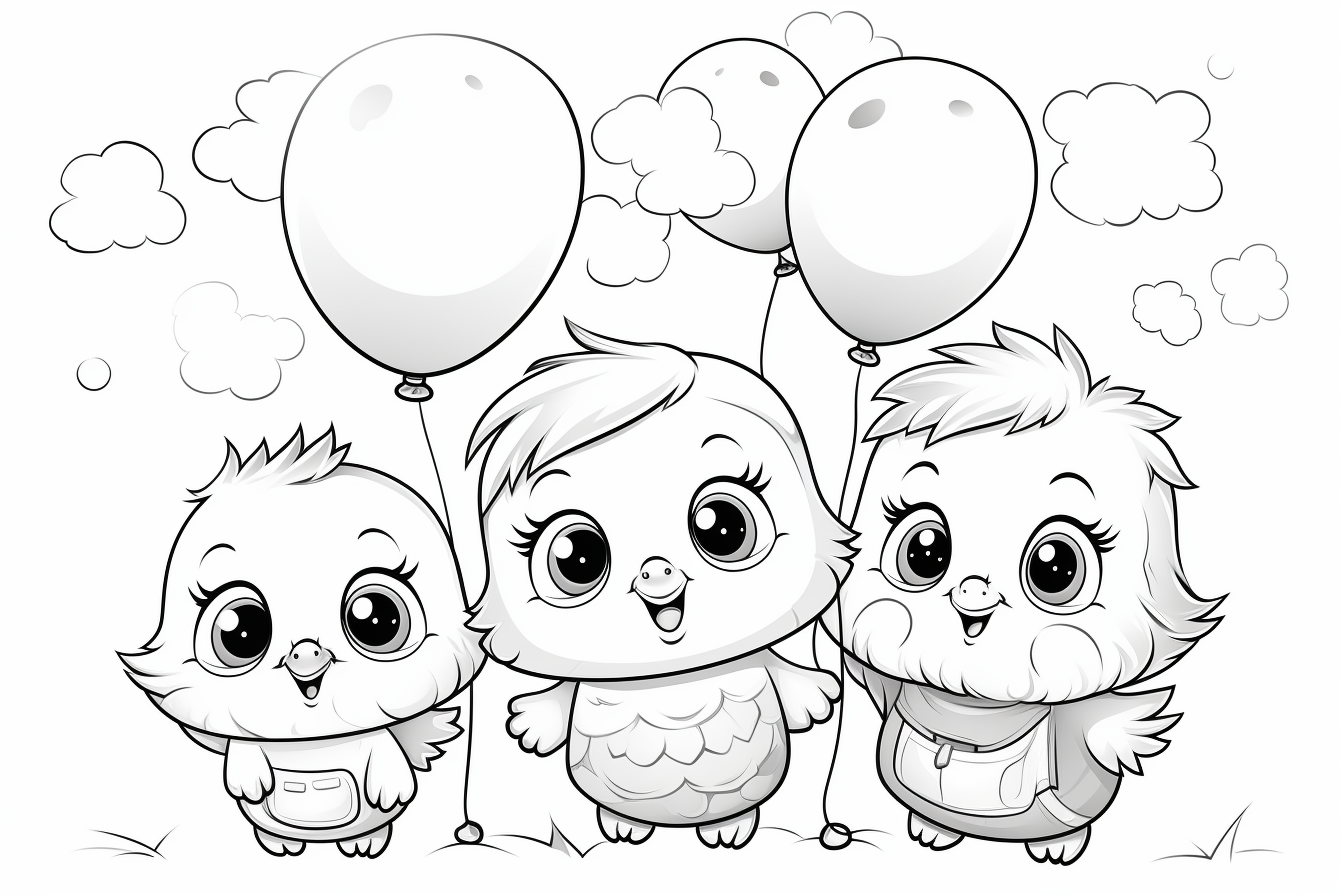
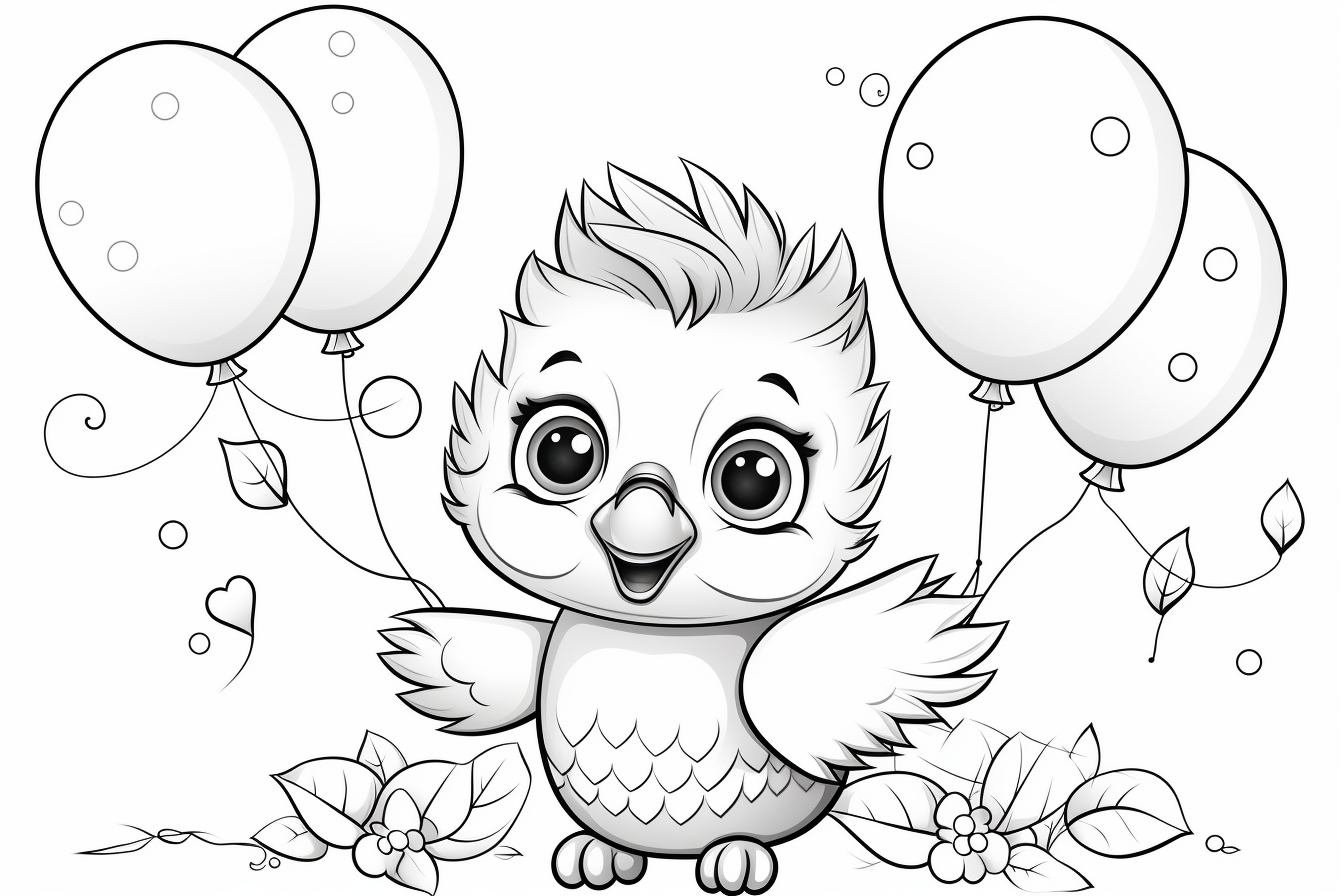
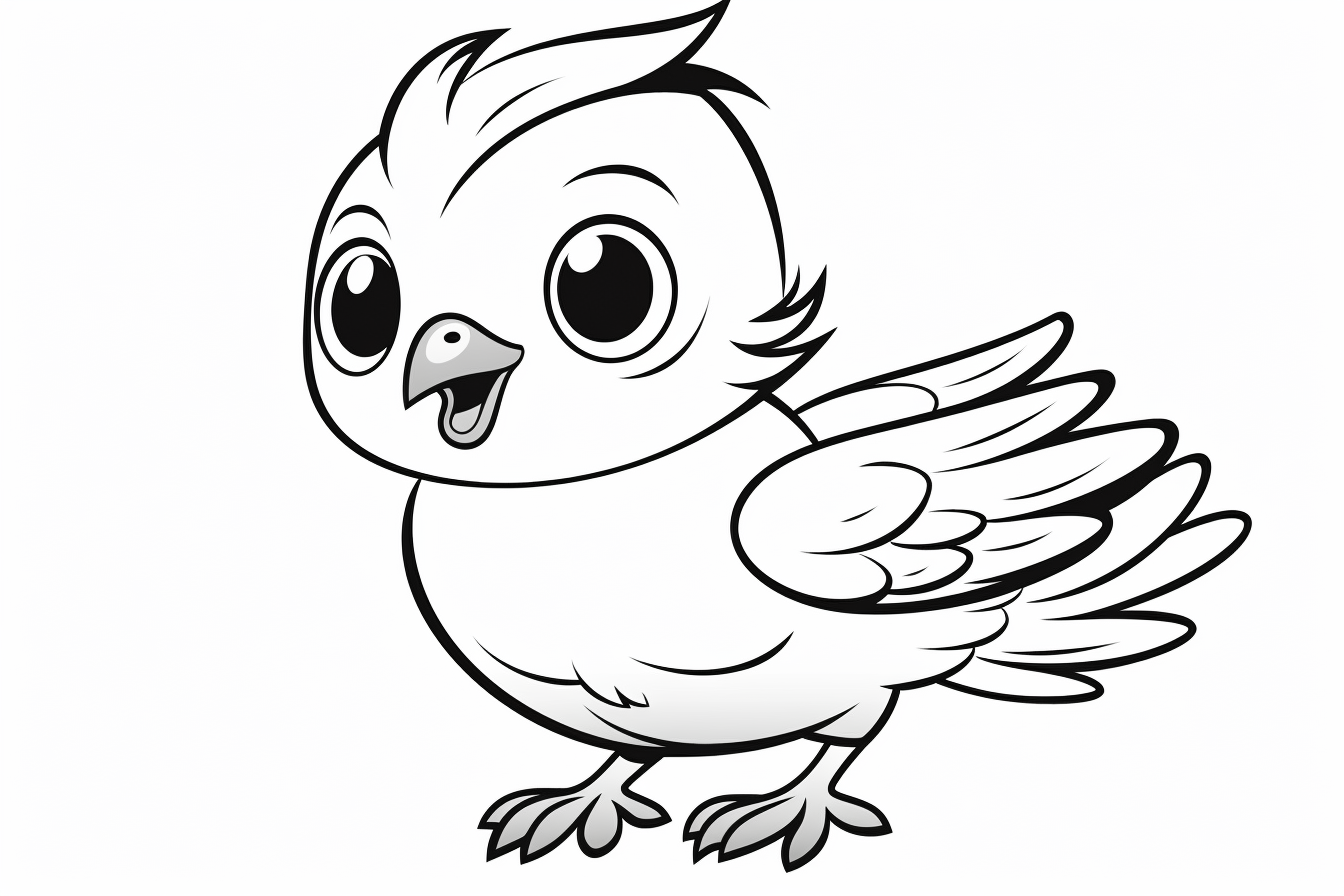
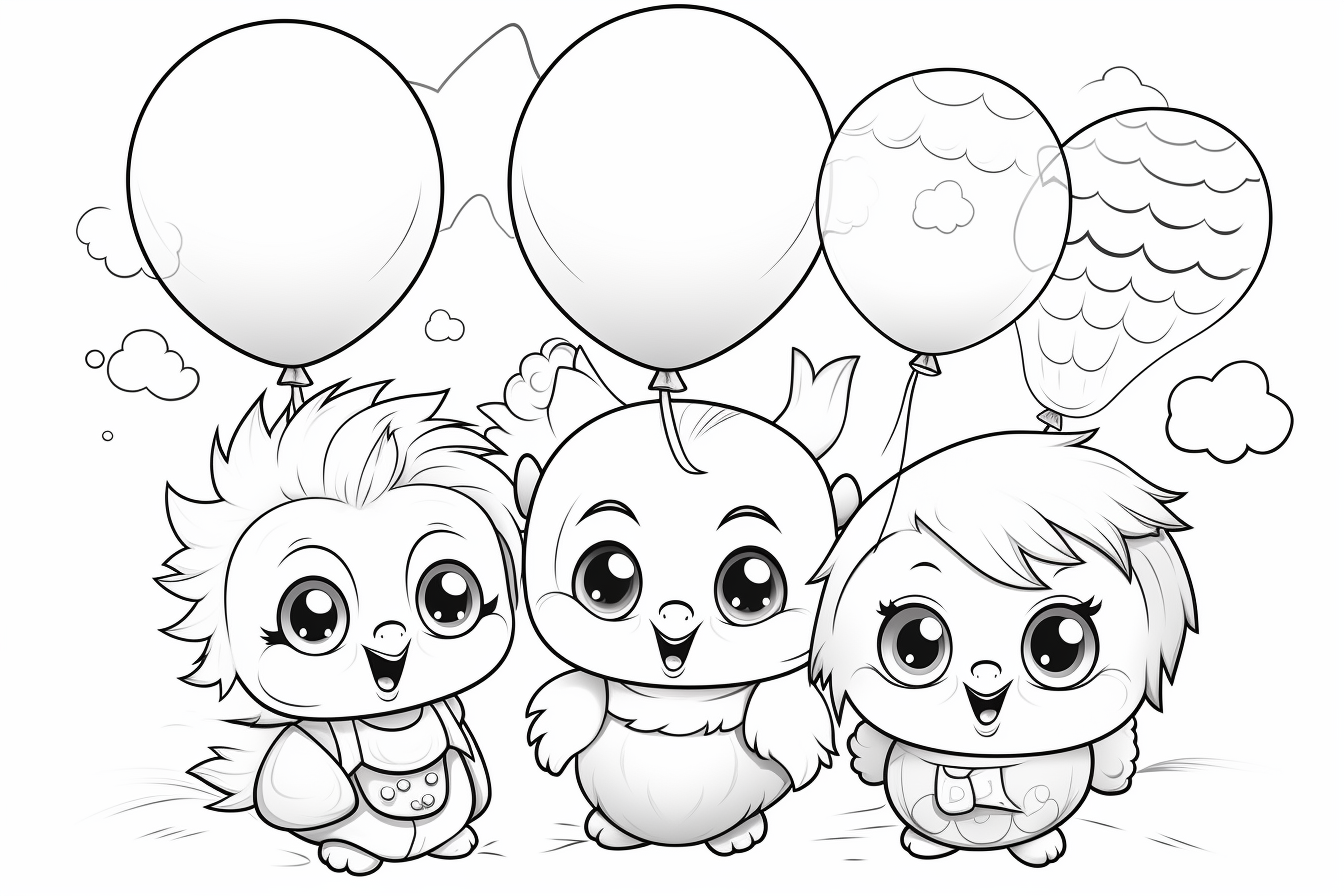
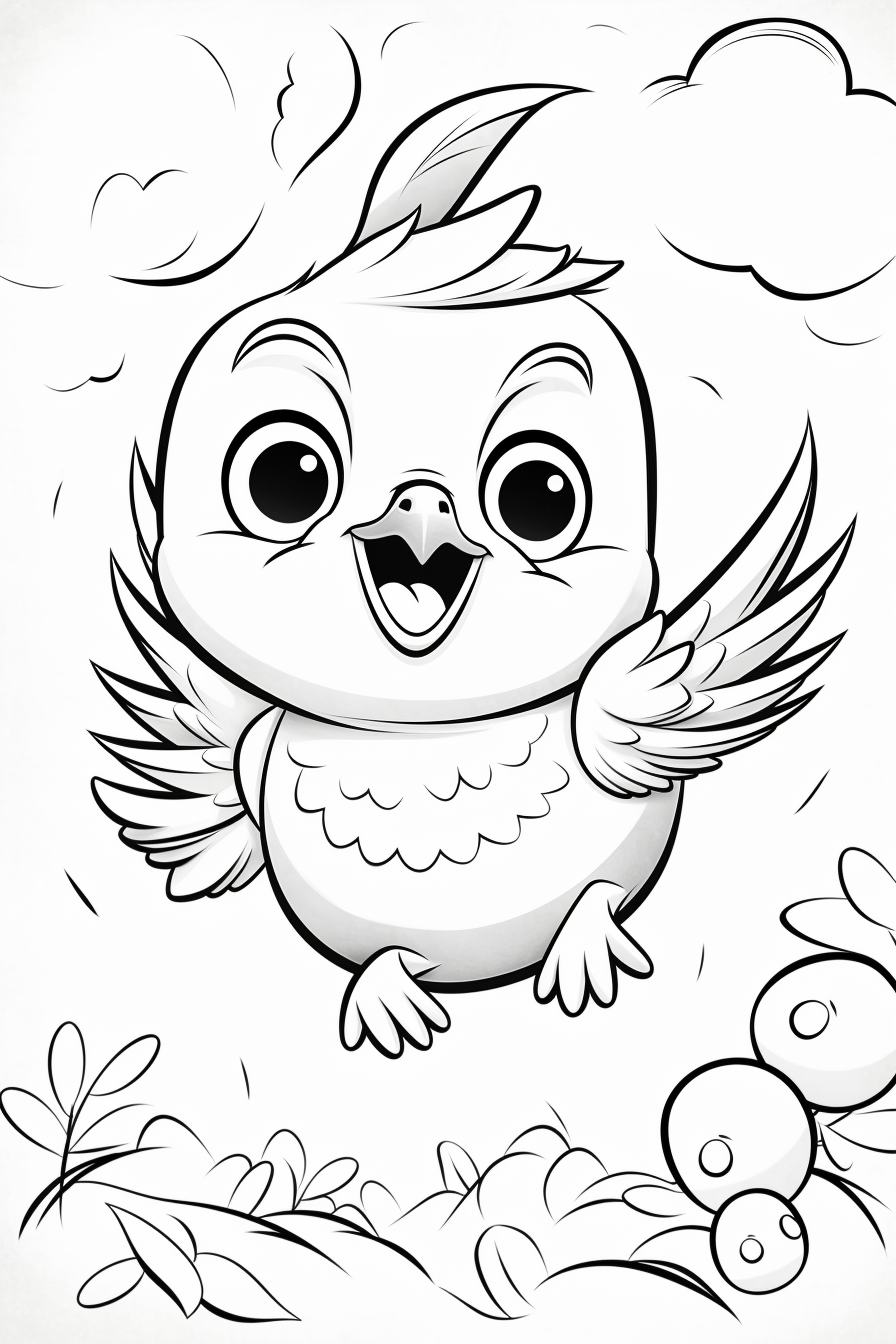
Flying bird: use a slightly darker wing value than the body to separate the pose. A pale blue or very light background can suggest sky without filling every inch of the page and competing with the bird.
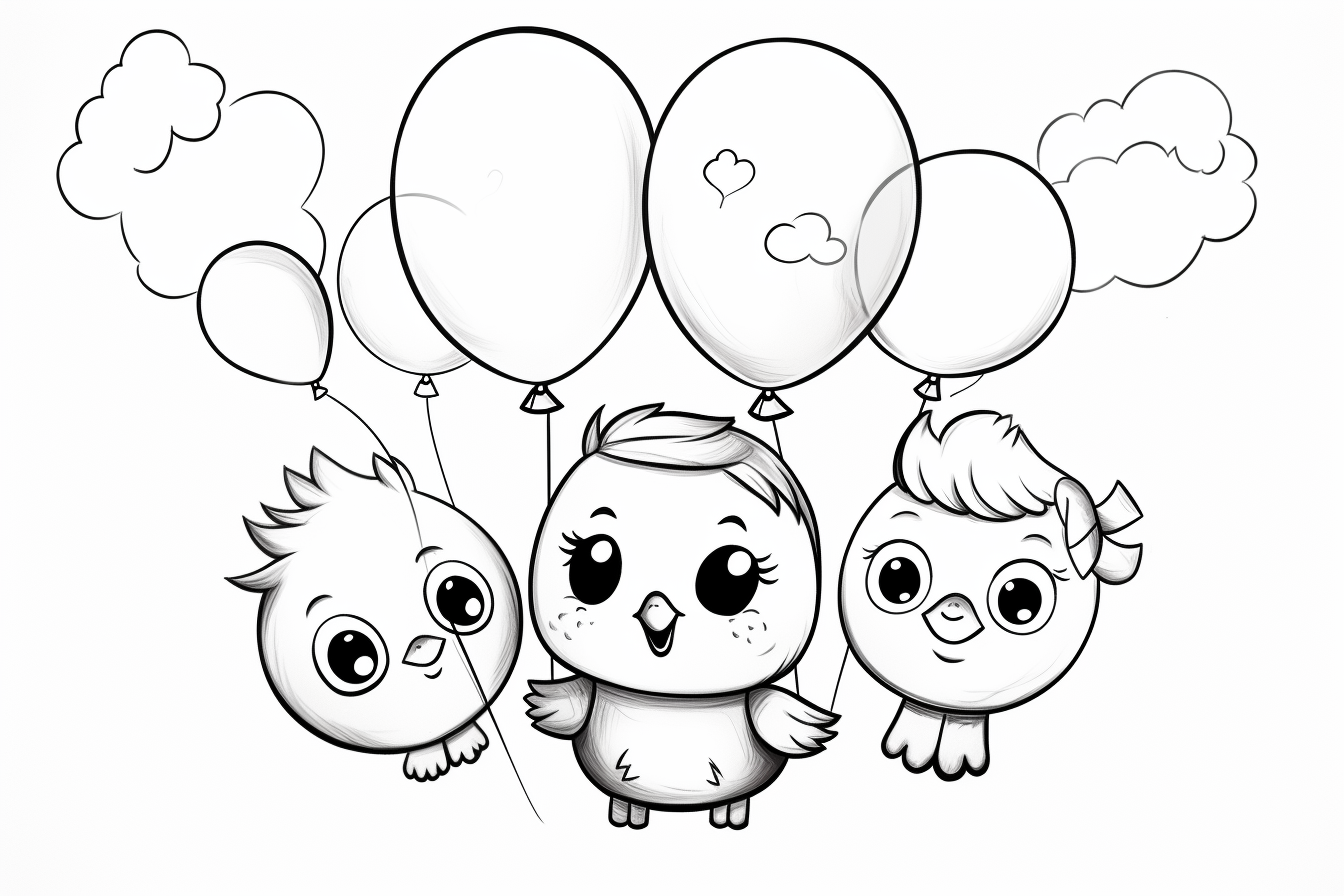
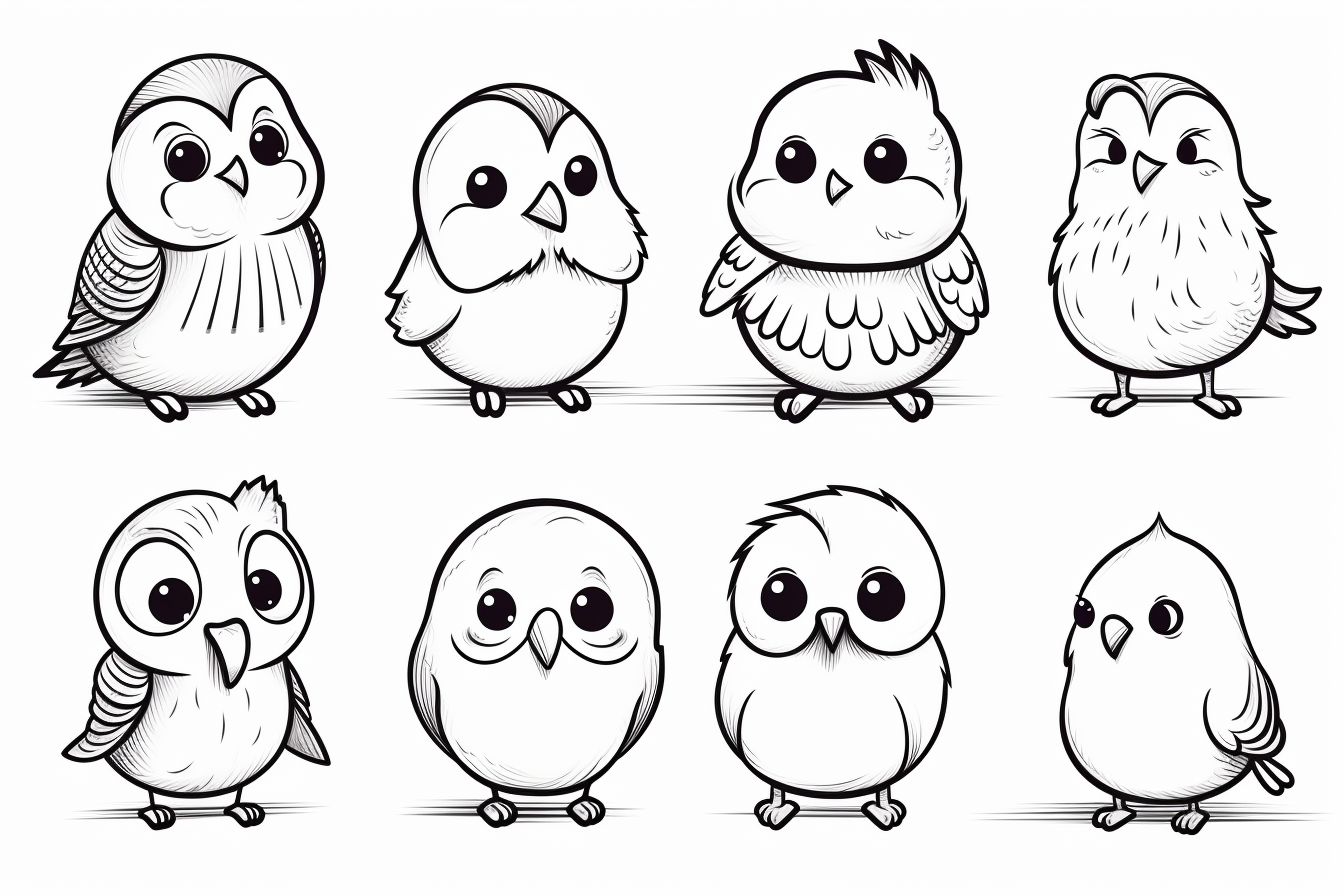
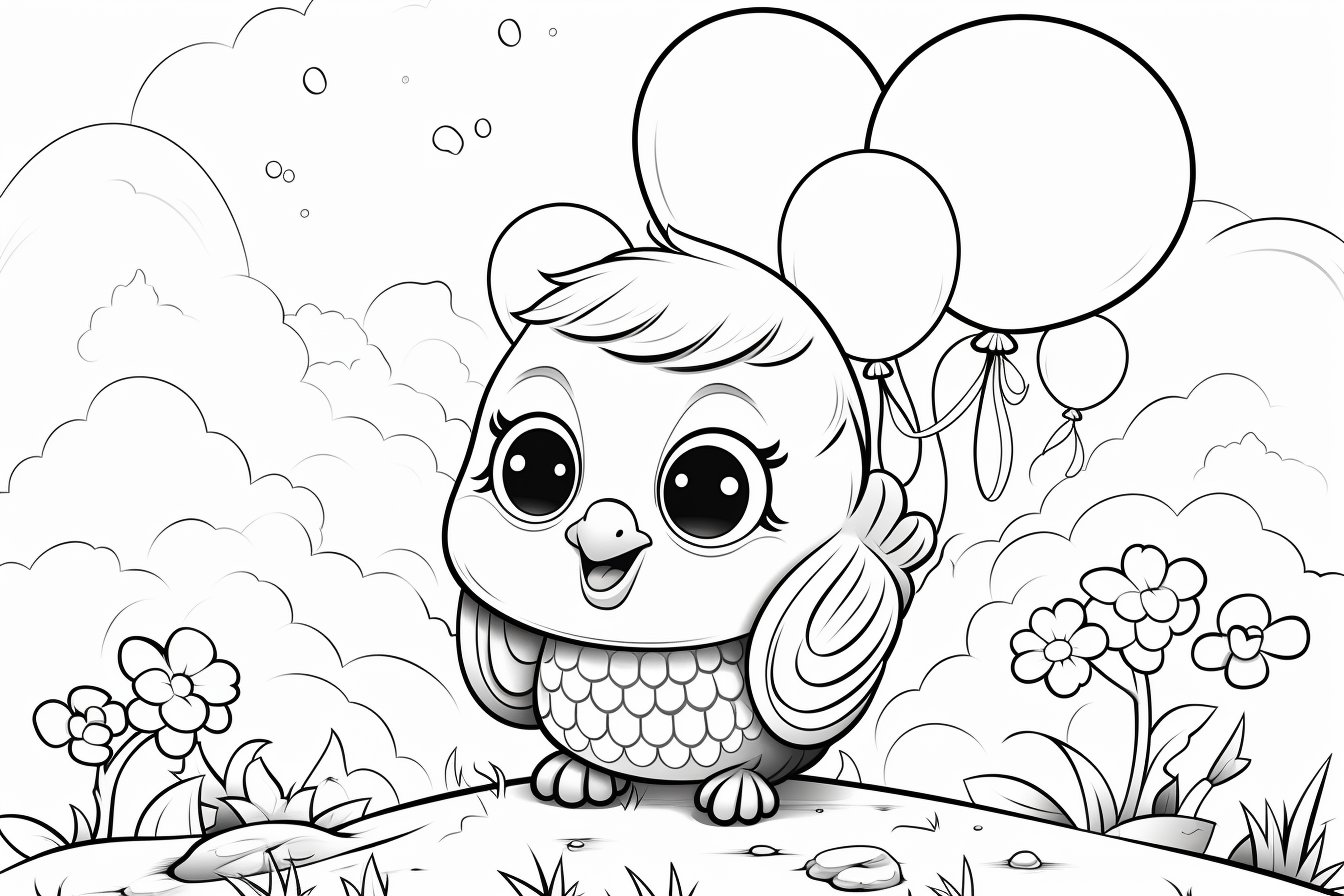
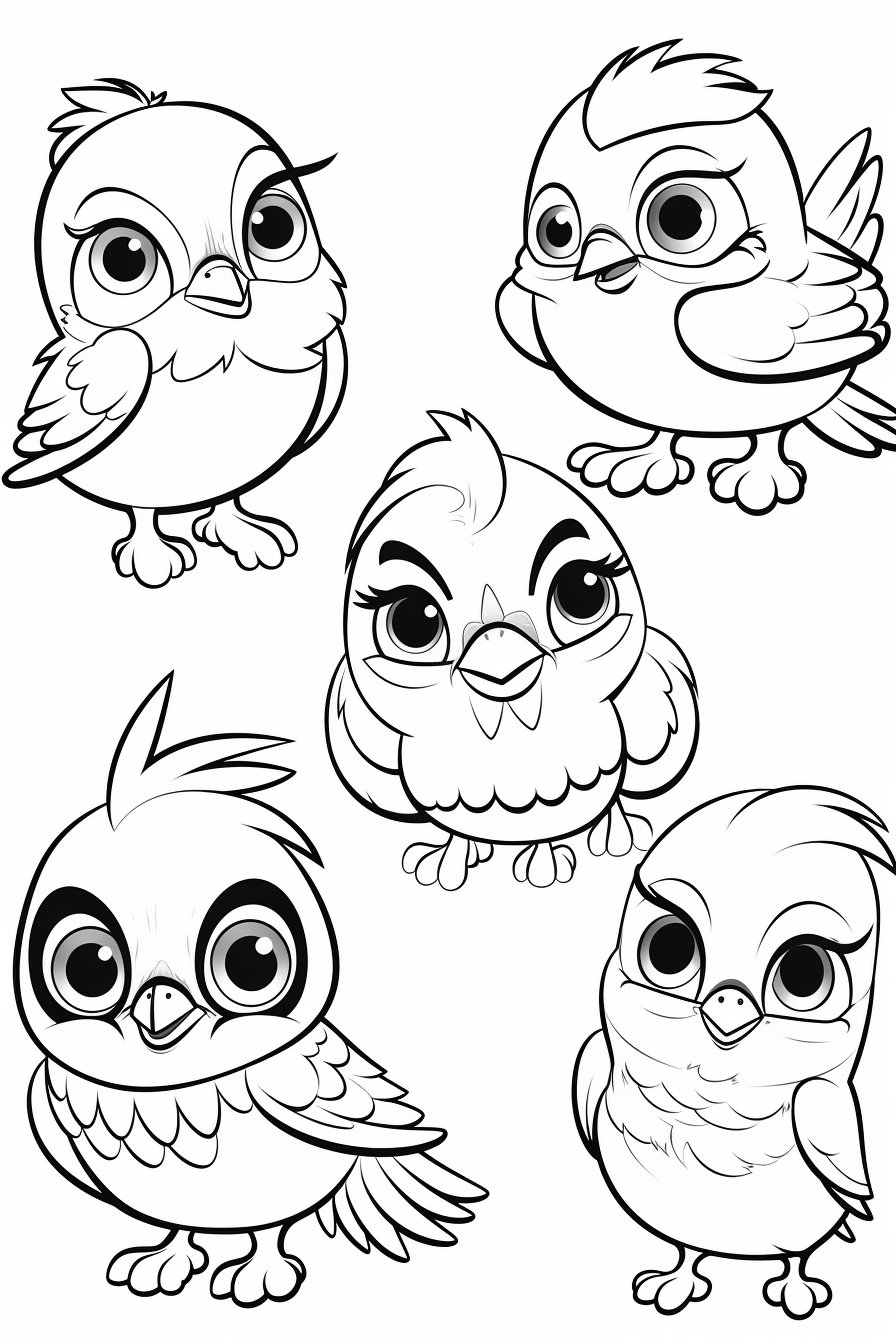
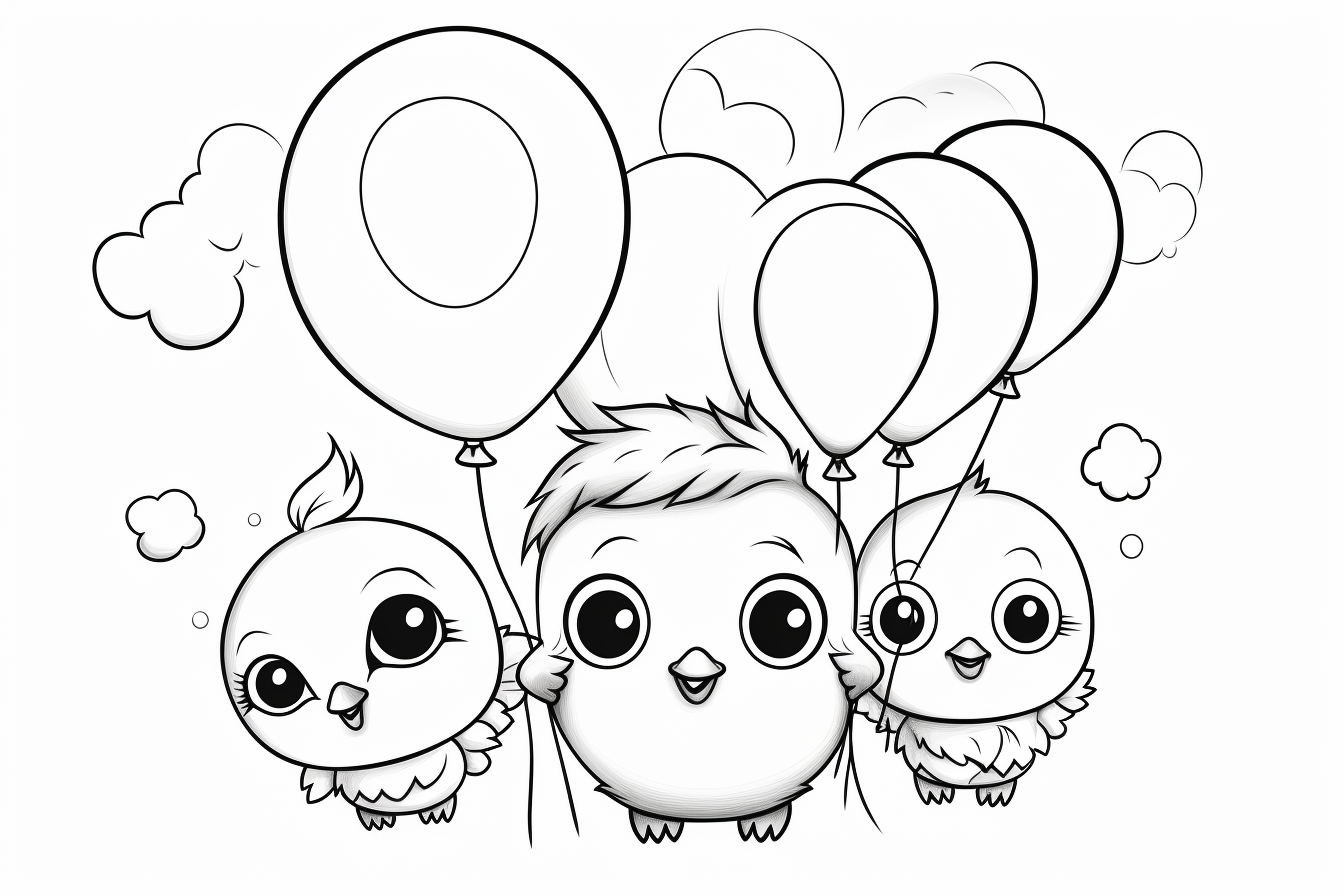
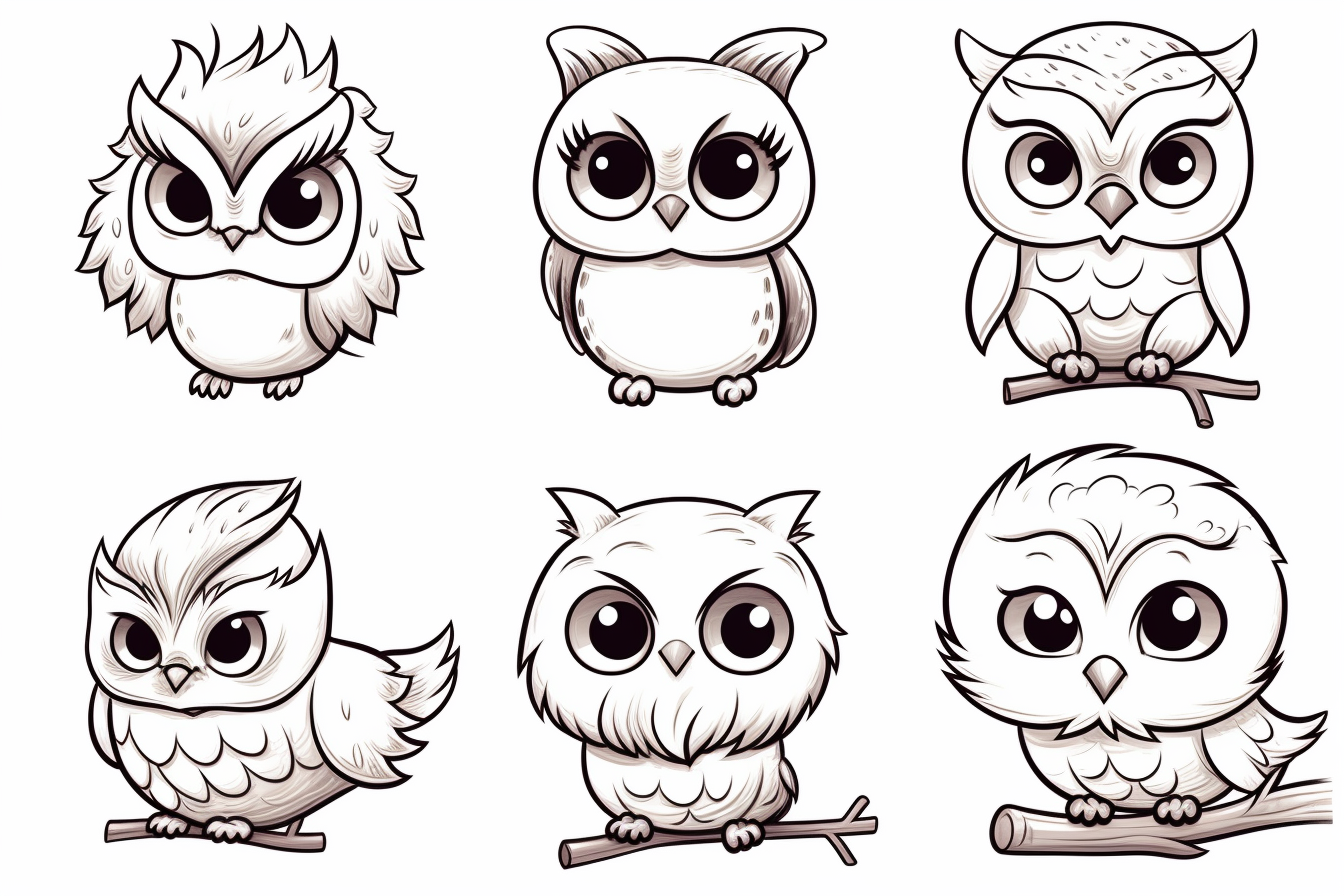
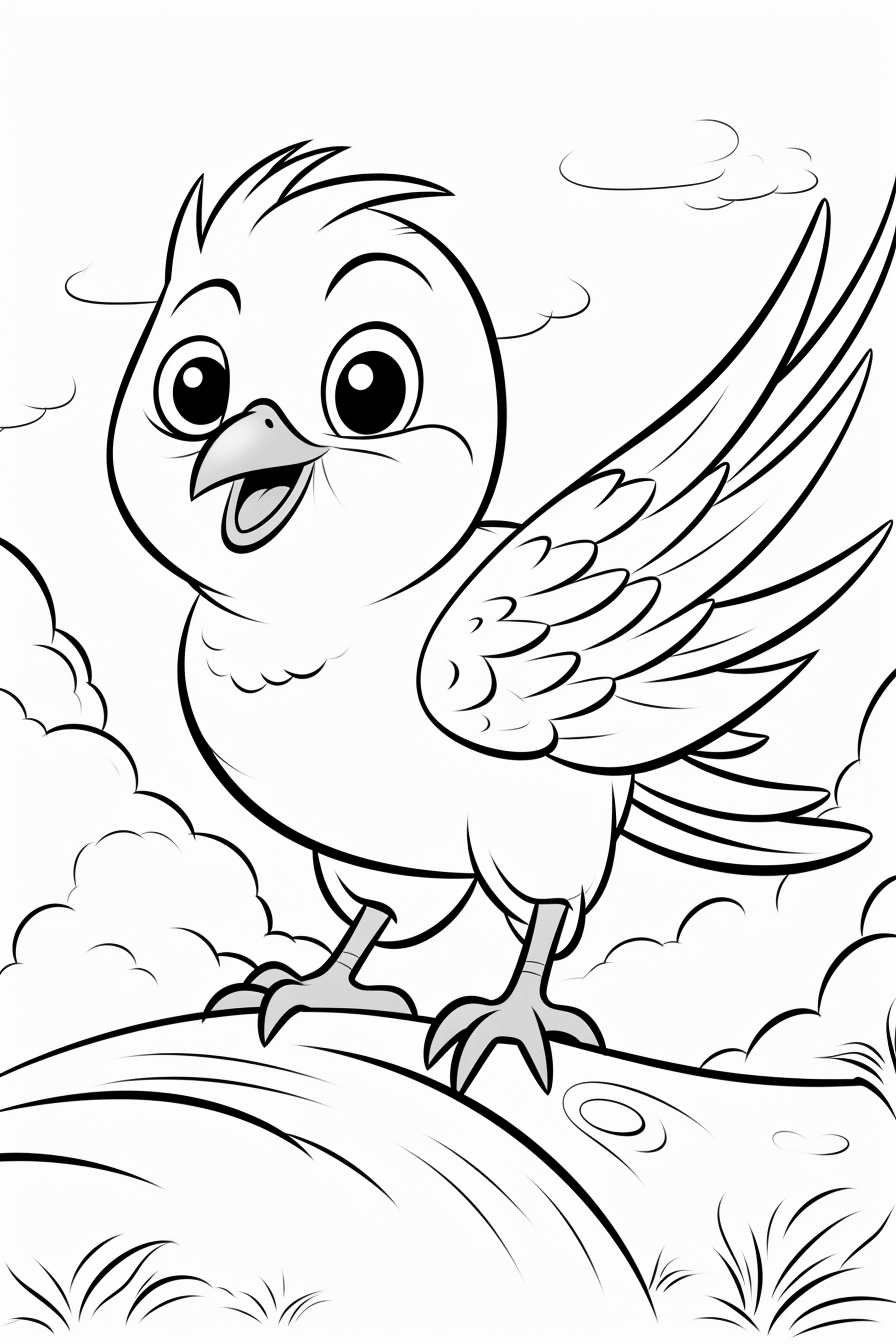
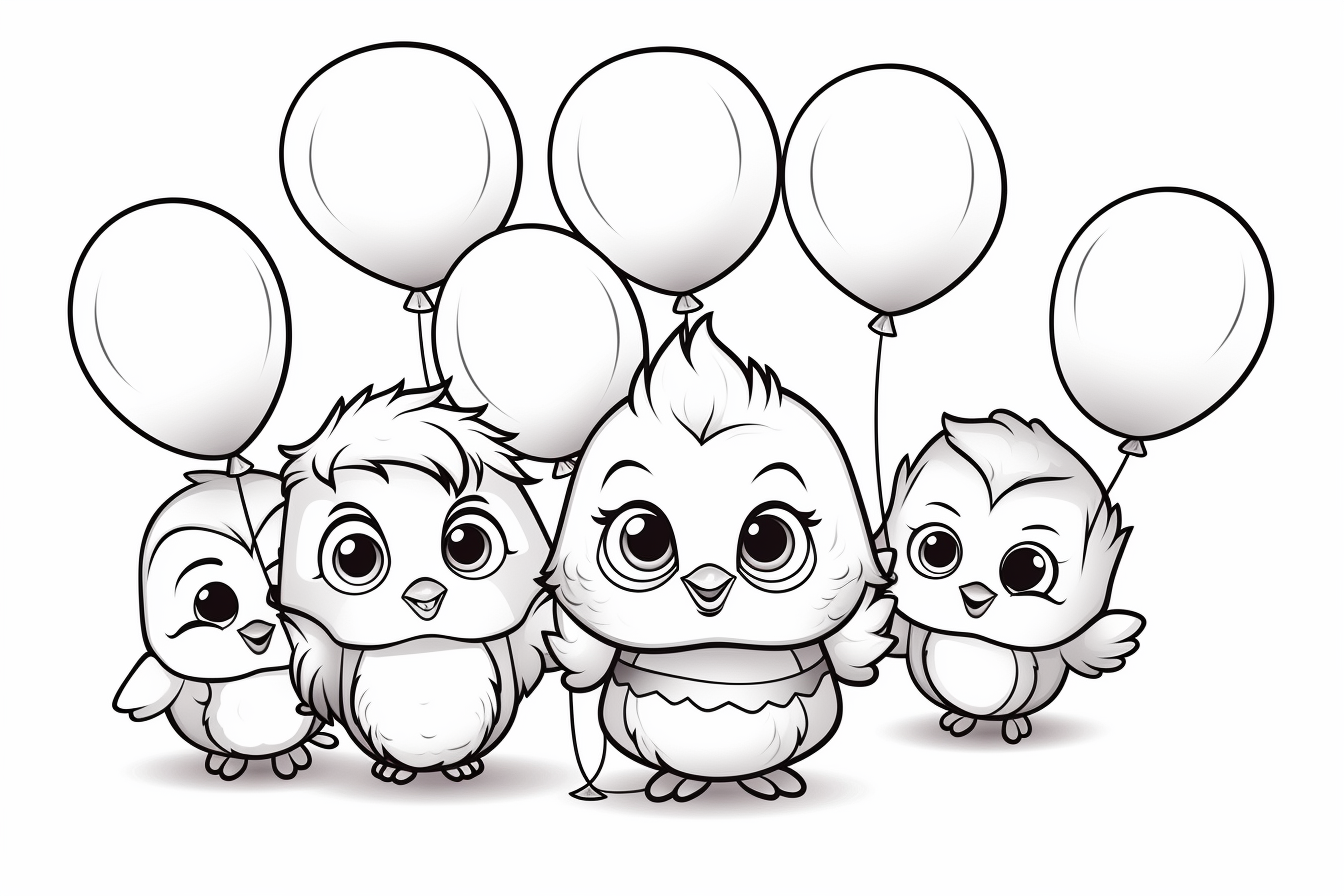
Choose this set when you want easy birds, not species study
This collection is intentionally about approachable shapes and cute styling rather than identifying exact bird species. If you want detailed parrots or more realistic animal anatomy, use the parrot coloring pages or the realistic animal collection.
A three-page practice route for cleaner coloring
If a child is ready to move beyond simply filling spaces, use three different sheets from this gallery as a small progression. Keep the goal narrow on each page instead of correcting everything at once.
- Page one — stay inside the main shapes. Pick a large, simple bird. Color the body first, then the wing, beak and feet. Ignore optional background details until the bird is finished.
- Page two — control light and dark. Use one color family for the bird, but make the underside of the wing and belly slightly darker. This introduces depth without requiring realistic feather drawing.
- Page three — separate bird from background. Choose a page with a branch, nest or flowers. Finish the bird first, then use quieter background colors so the main character still stands out.
Using the same three or four crayons or pencils on all three sheets makes progress easier to notice. The exercise is about control and contrast, not collecting more colors.
How to make a cute bird look fluffy without drawing every feather
Start with a light layer over the body. Add a slightly darker version of the same color under the wing, below the cheek and near the bottom of the belly. Instead of drawing rows of feather outlines, make a few short strokes where the wing meets the body and around the tail. Leave the forehead and upper chest lighter. That difference in value suggests soft volume while keeping the kawaii shapes clean.
For very simple birds, the eye and beak usually carry most of the expression. Color those after the body so you can judge how much contrast they need. A dark eye against an already-dark head can disappear; leaving a narrow light area around it often reads better than adding more black.
Easy bird coloring problems and quick fixes
| Problem | What to change |
|---|---|
| The bird looks flat | Add one darker shade under the wing and belly rather than shading the entire outline. |
| The face is hard to read | Keep the area around the eye lighter and make the beak a contrasting accent. |
| The page feels too busy | Finish the bird and only two or three background elements. Empty paper does not have to be filled. |
| Crayon covers small lines | Use the crayon on the large body areas, then switch to a colored pencil for feet, beaks, twigs and tiny flowers. |
| Marker bleeds through | Put scrap paper underneath and test the marker first. Use pencil for the smallest enclosed spaces. |
| Every part is equally bright | Choose one focal area—the bird—and make leaves, nests or sky softer or less saturated. |
Four simple palettes that work on kawaii birds
- Sunny: pale yellow body, warm orange beak, light brown branch, soft green leaves.
- Pastel: mint body, pale blue wing, peach beak and soft pink flowers.
- Woodland: cream chest, warm brown wing, muted orange beak and olive-green leaves.
- Cool: light blue body, deeper blue wing, yellow beak and lavender accents.
These are starting points, not rules. The easiest way to keep a small palette coherent is to repeat one color in two places—for example, use the wing blue again in a flower or a tiny background detail.
Easy bird coloring questions
Which pages should I start with for a preschooler?
Choose a sheet with one large bird, thick open areas and little scenery. Broad crayons are easier to control than fine pencils when the goal is simply filling the main shapes.
How many colors does an easy bird page need?
Three to five is plenty. One body color, a related wing color, a beak-and-feet accent and one or two background colors can produce a finished-looking page without constant tool changes.
Should the wings be darker than the body?
They do not have to be, but a small value difference helps the wing remain visible. If the body is pale blue, try a medium blue wing; if both use the same hue, press a little more firmly on the wing.
Can older kids use these simple pages?
Yes. A simple outline is useful for practicing smooth pencil layers, limited palettes or directional shading because there are fewer tiny details competing for attention.

