
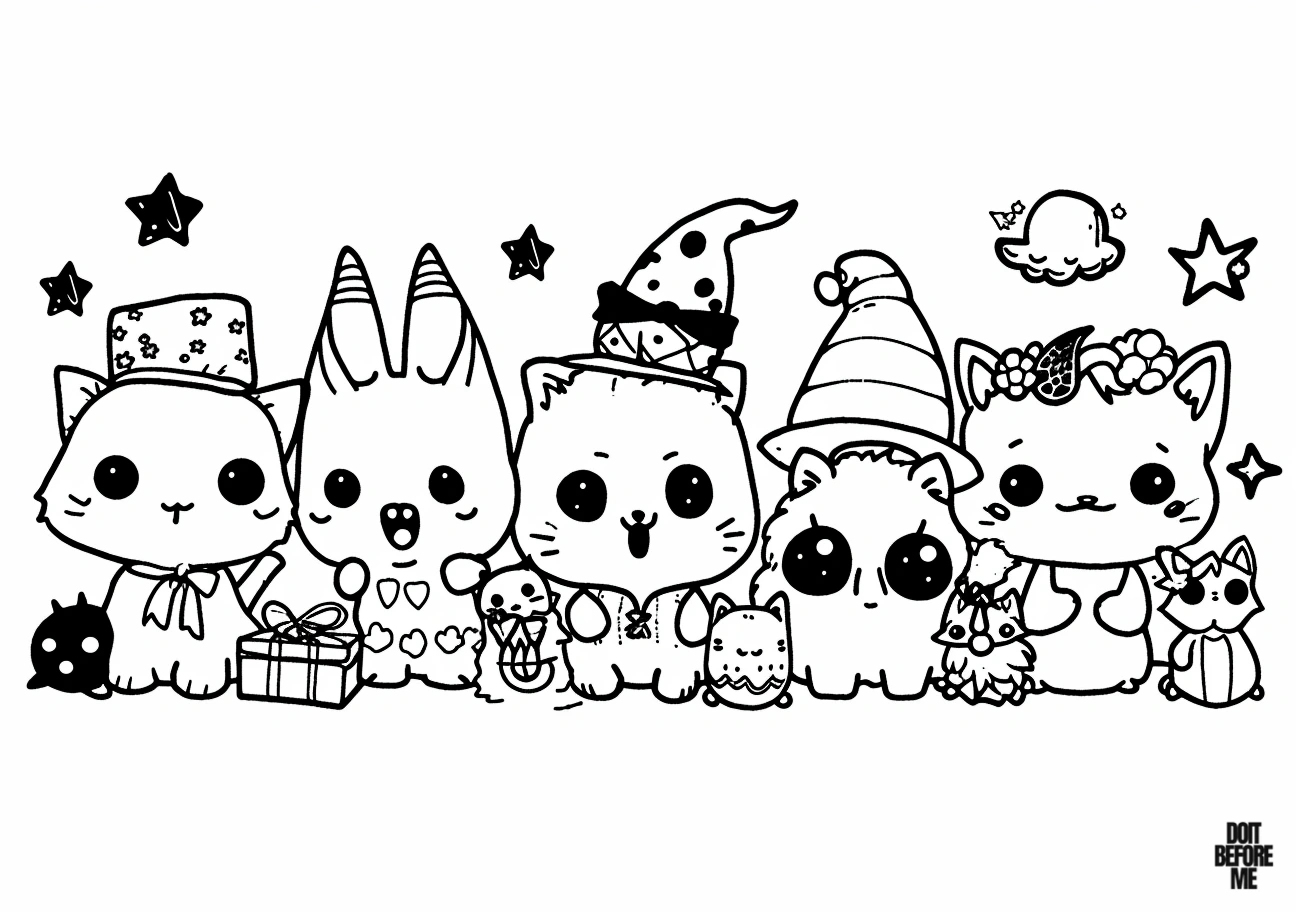
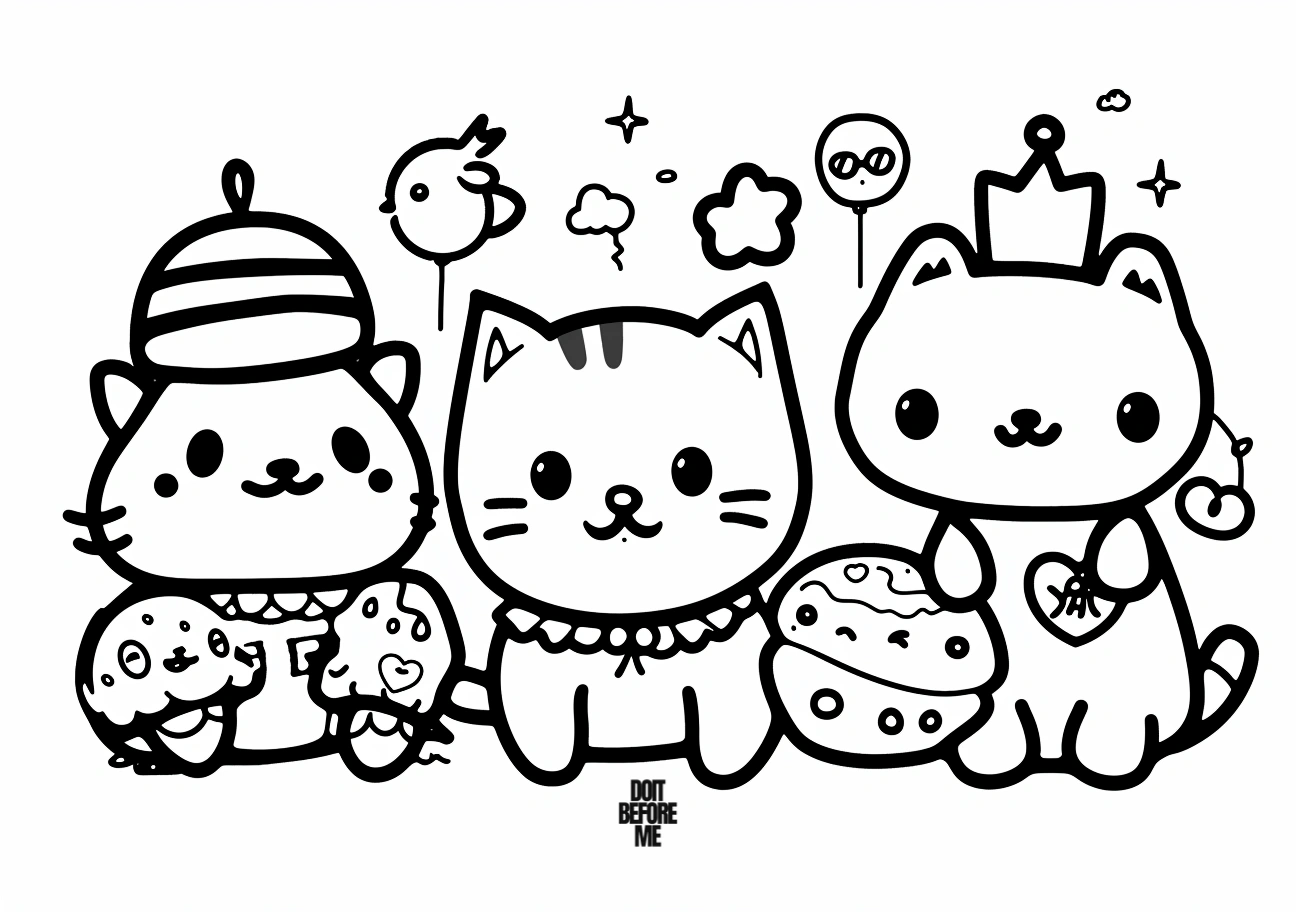
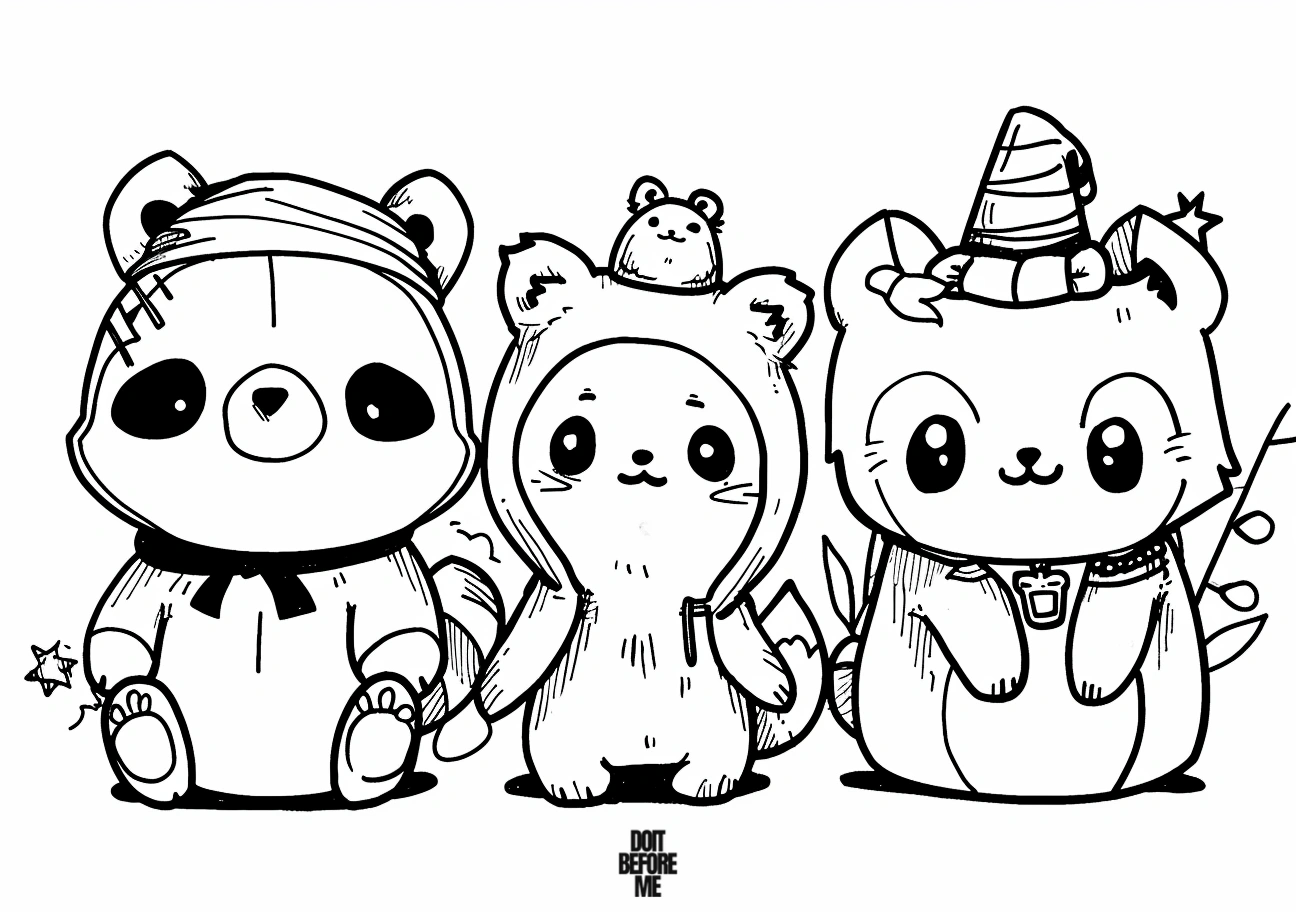
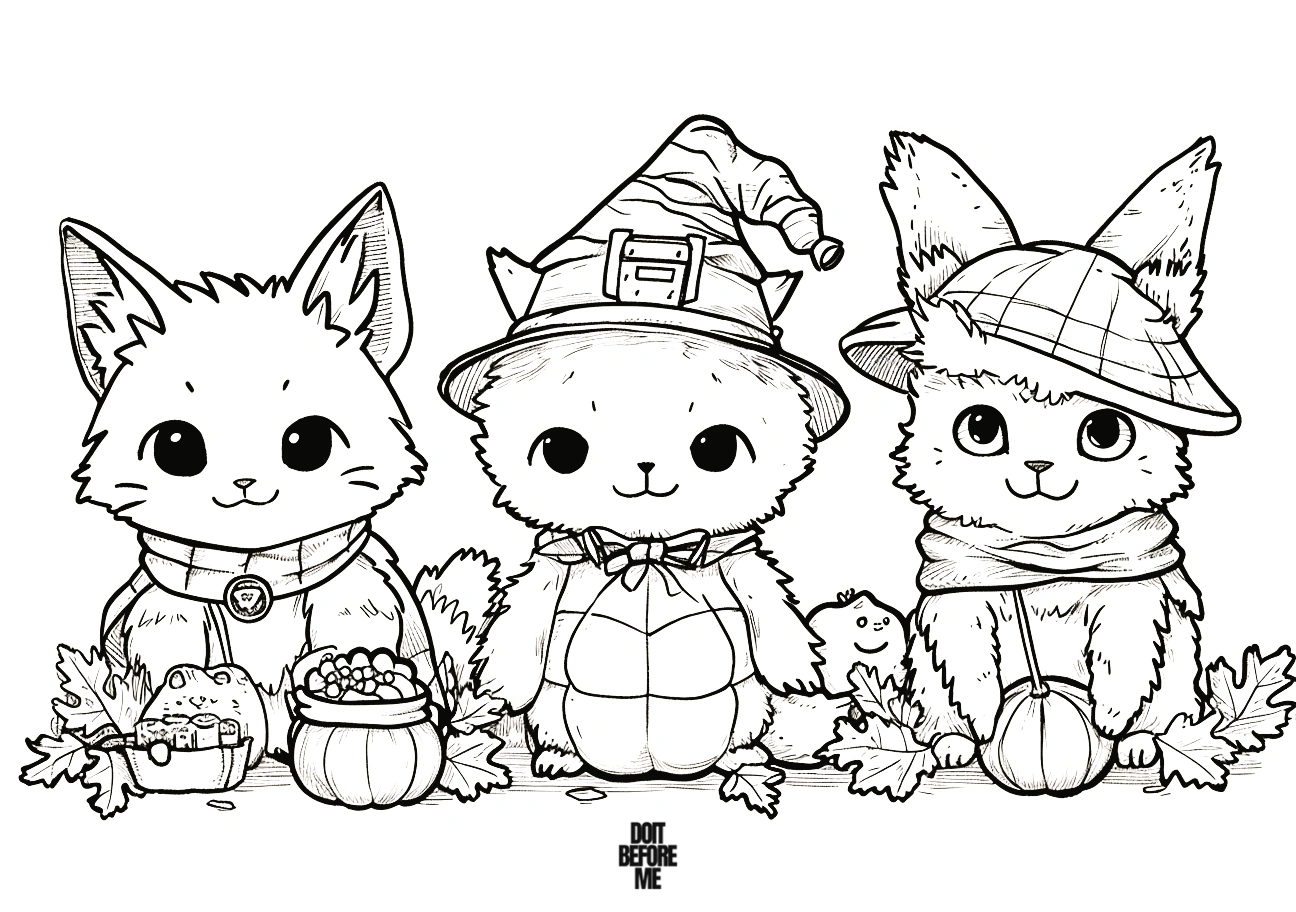
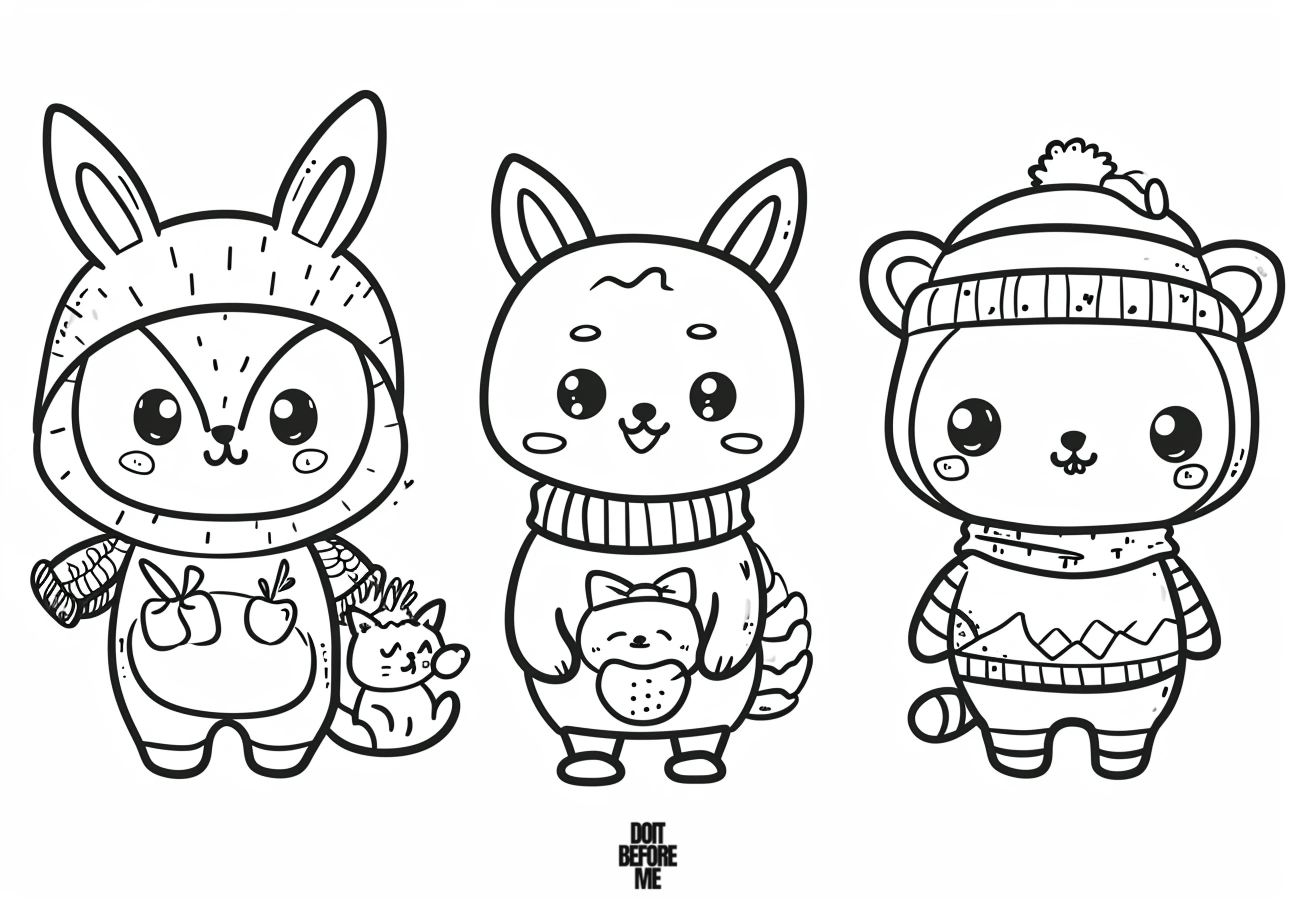
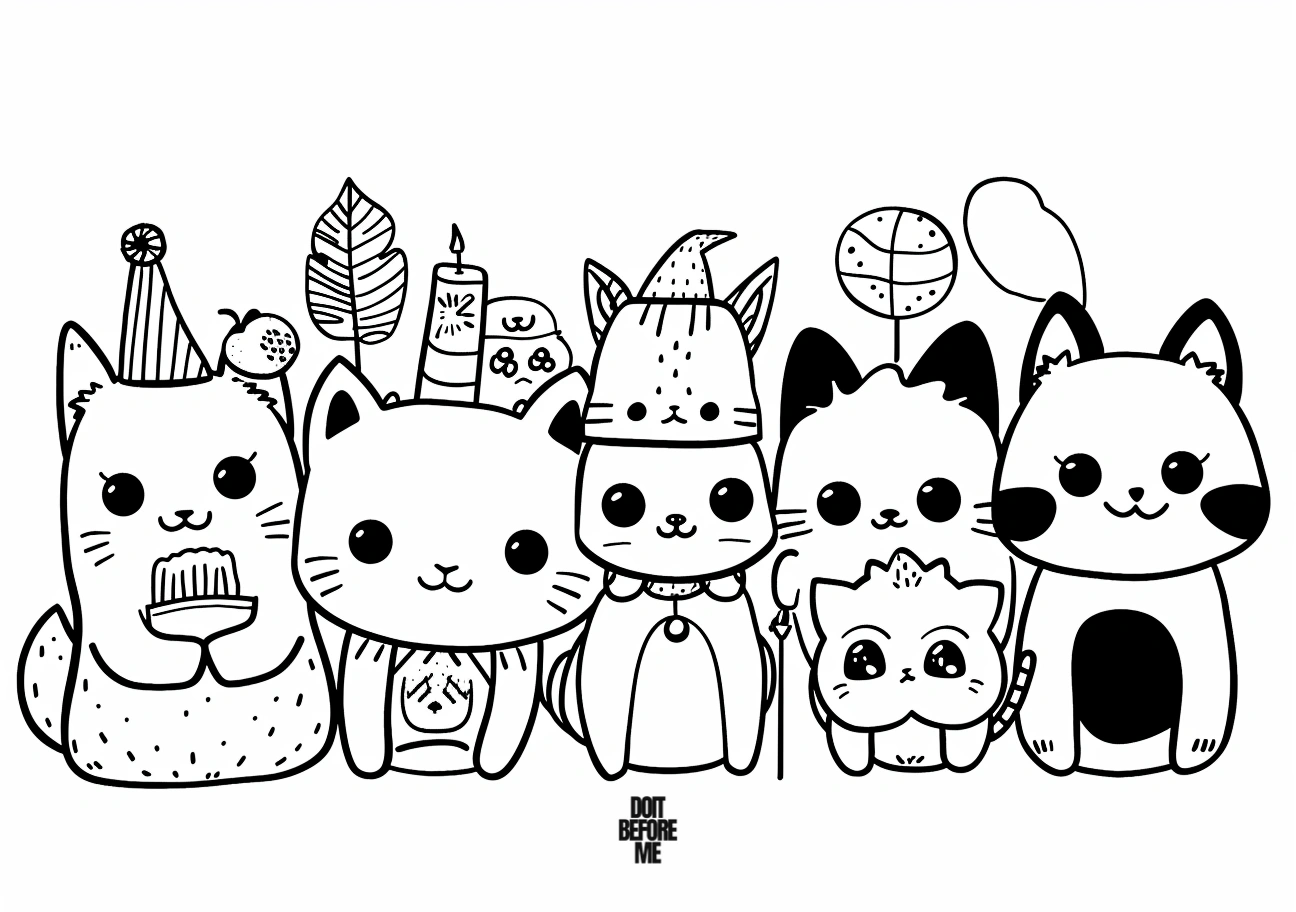
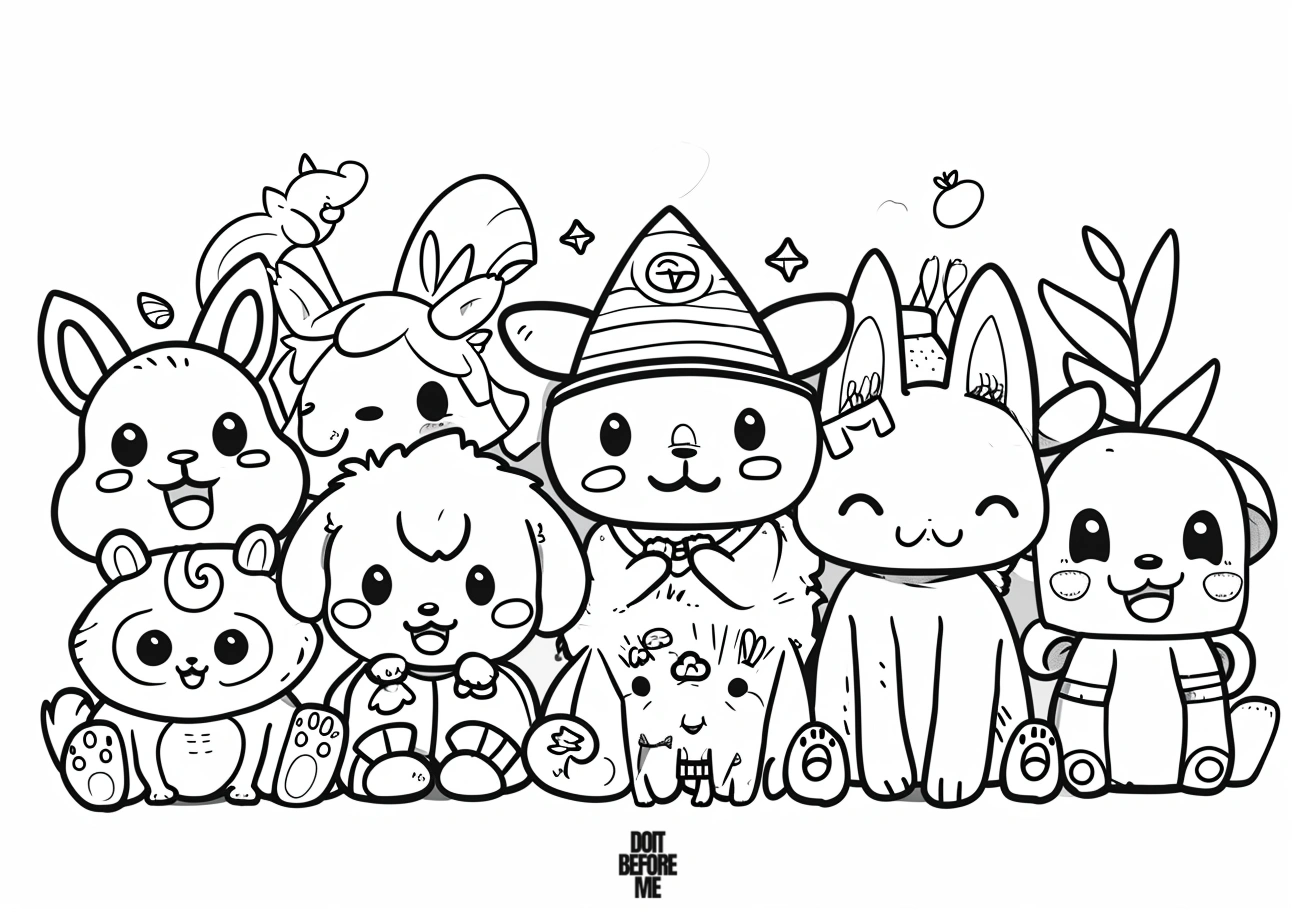
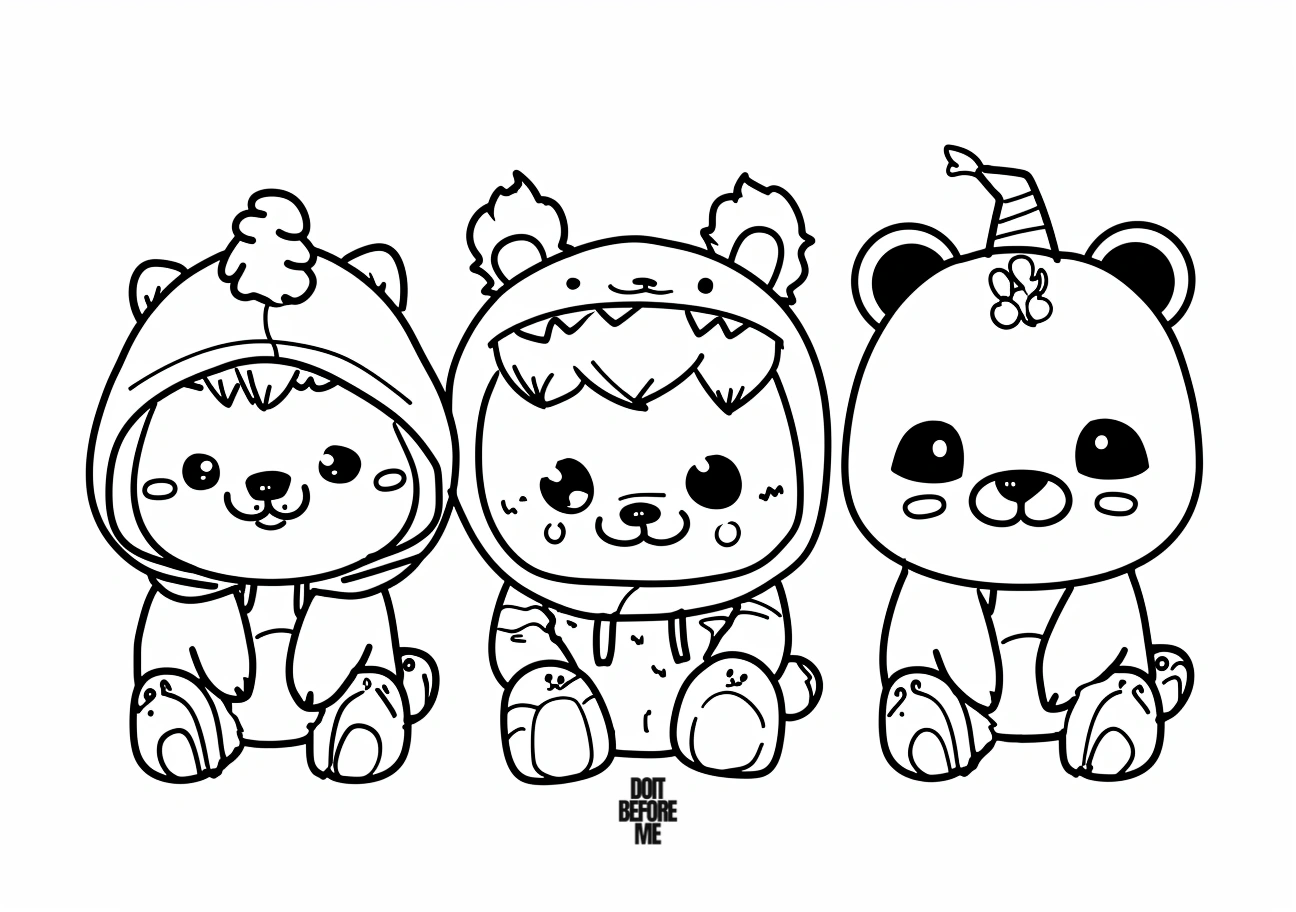
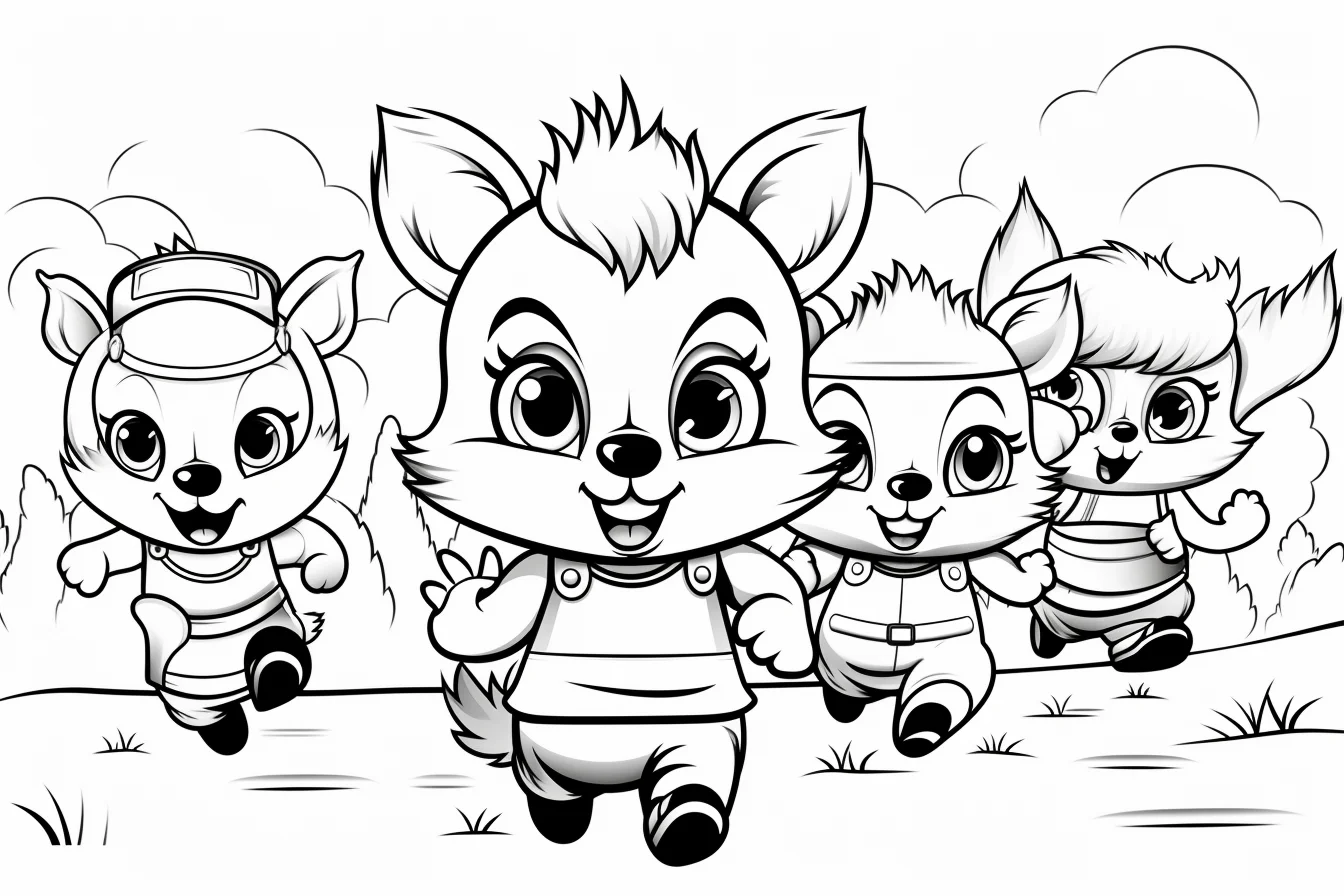
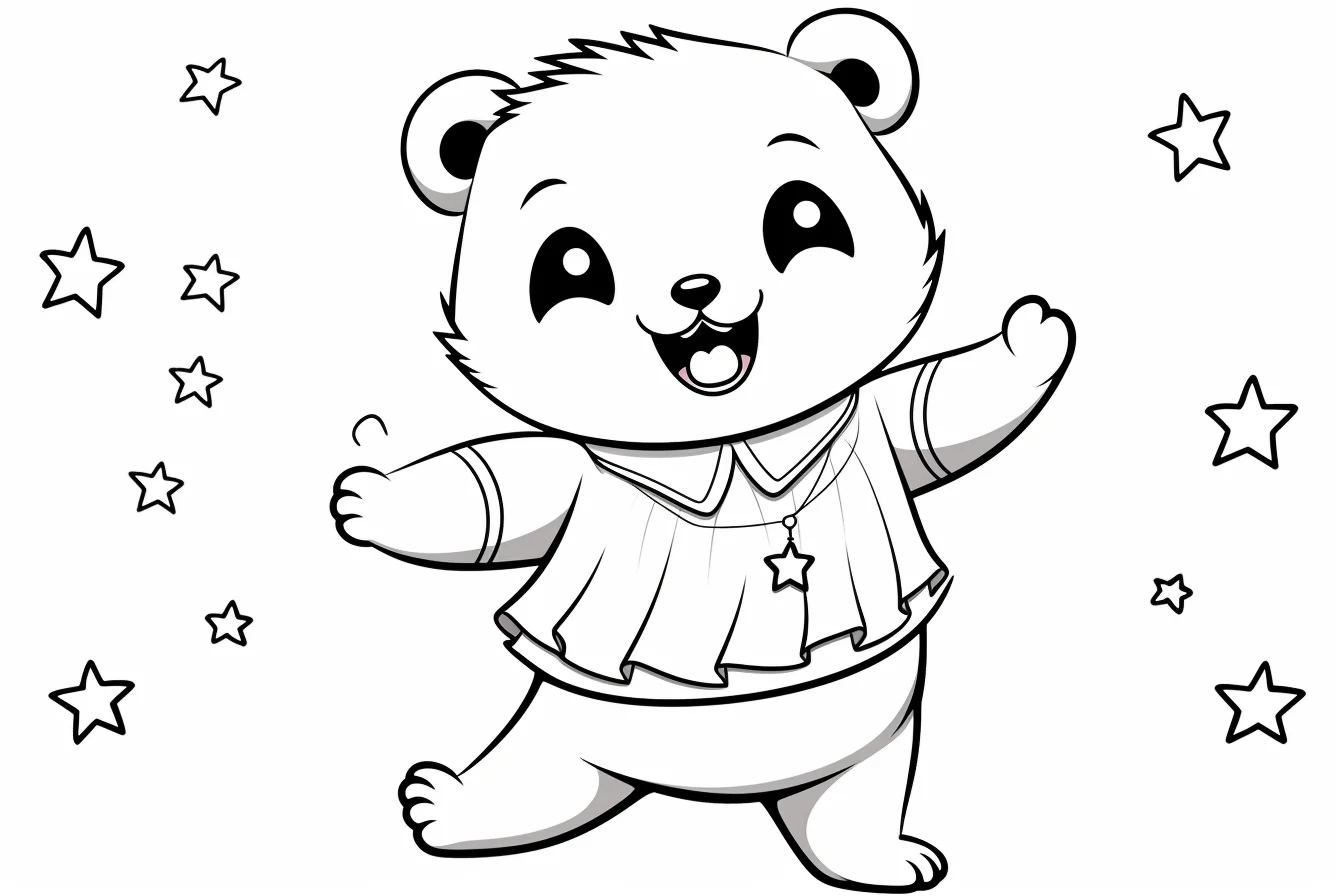
This 42-page collection starts with its most distinctive designs: cats, rabbits, bears and other cartoon animals wearing capes, crowns, jackets, witch hats and other costumes. After that, the gallery widens into simpler cute-animal groups and kawaii-style pages. Keeping those parts together makes sense because they share the same playful character style, but they are not all the same kind of page.
If you came specifically for costumes, stay near the top. If you mainly want easy cute animals, scroll past the costume section and the pages become simpler and less outfit-focused.
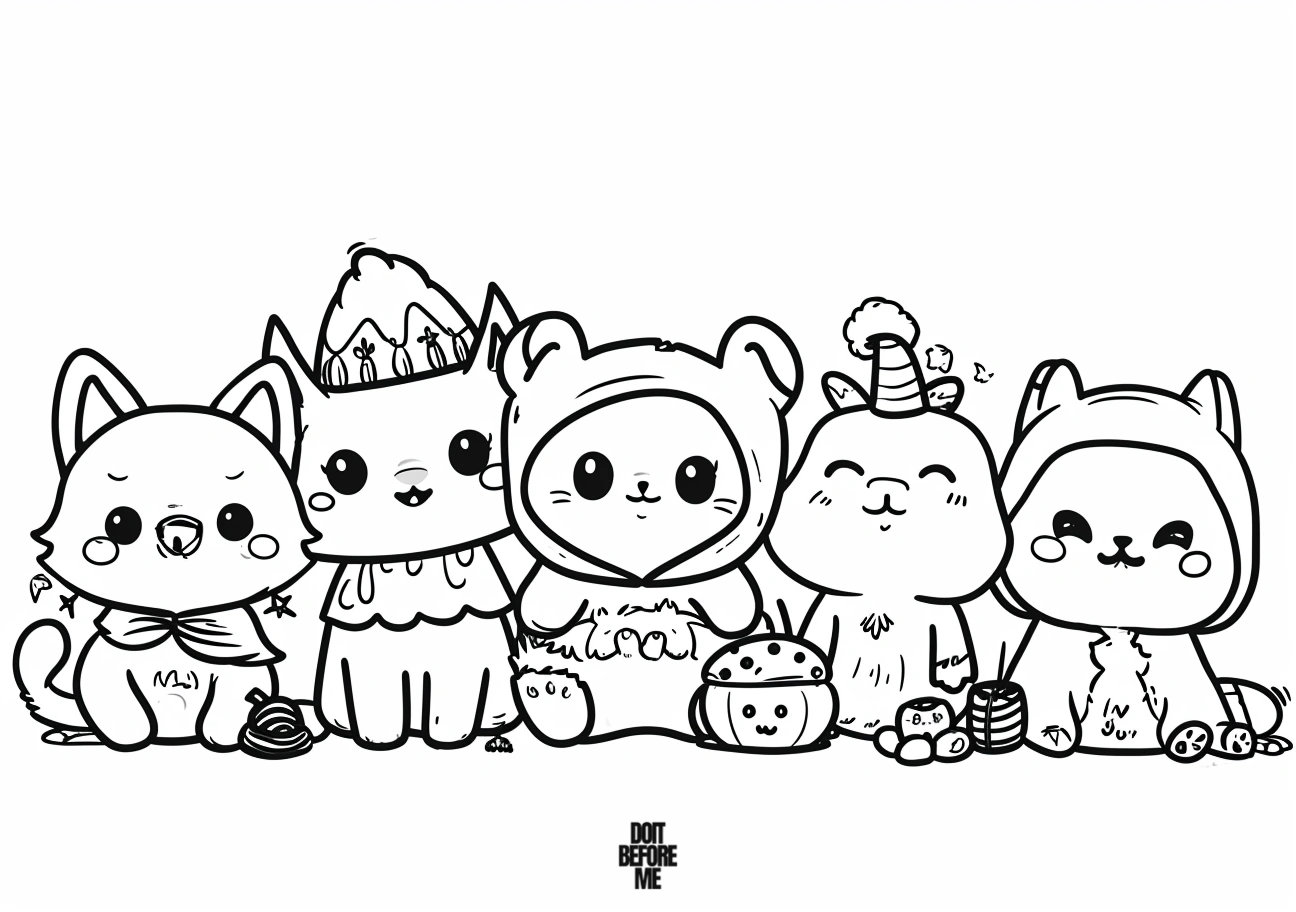
Choose the part of the collection you actually want
| If you want… | Start here | What changes |
|---|---|---|
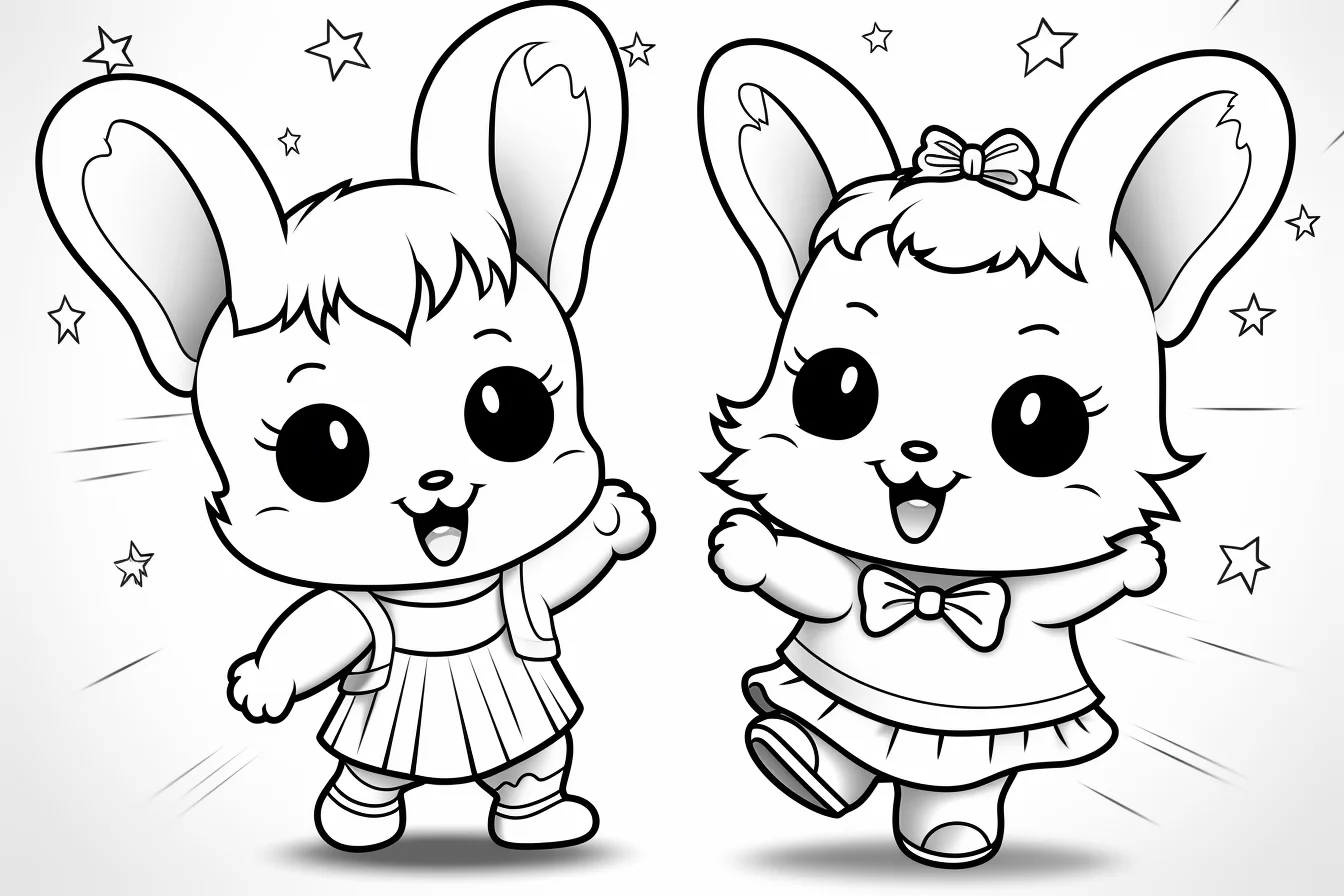
| Animals in costumes | Sheets 1–13 | Outfits, crowns, capes, Halloween details and group scenes |
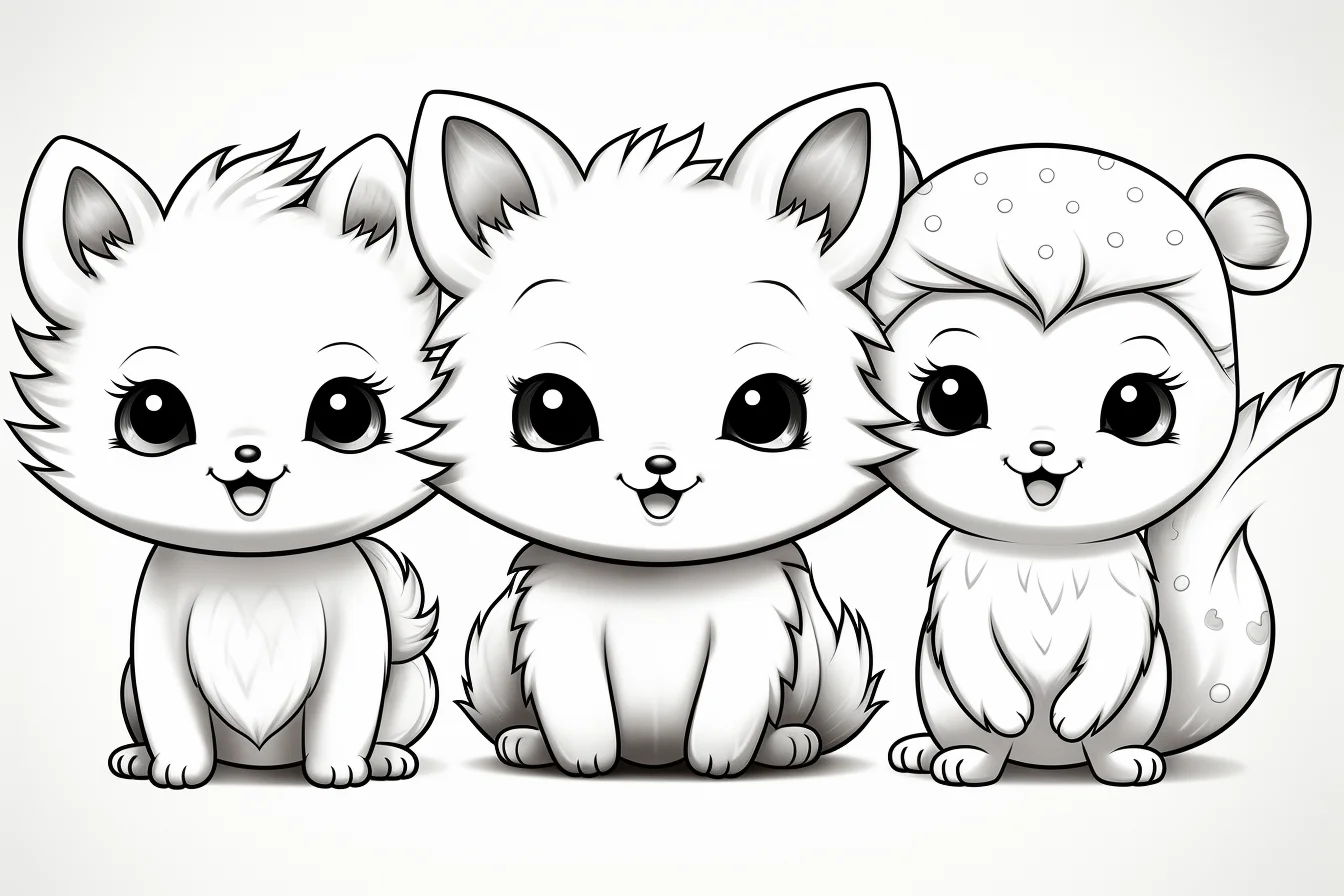
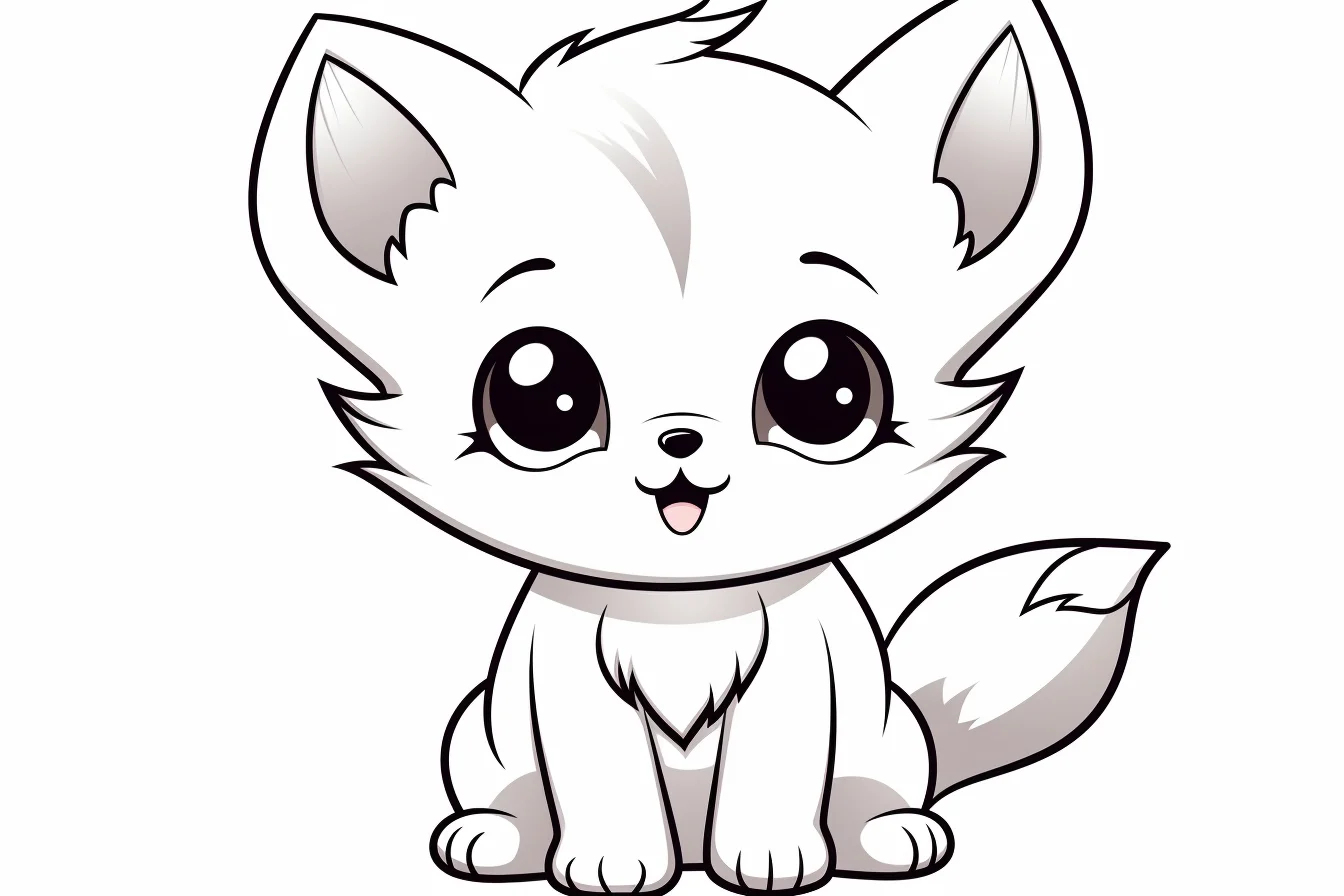
| Simple cute animal pages | Sheets 14–22 | Fewer costume details and larger open shapes |
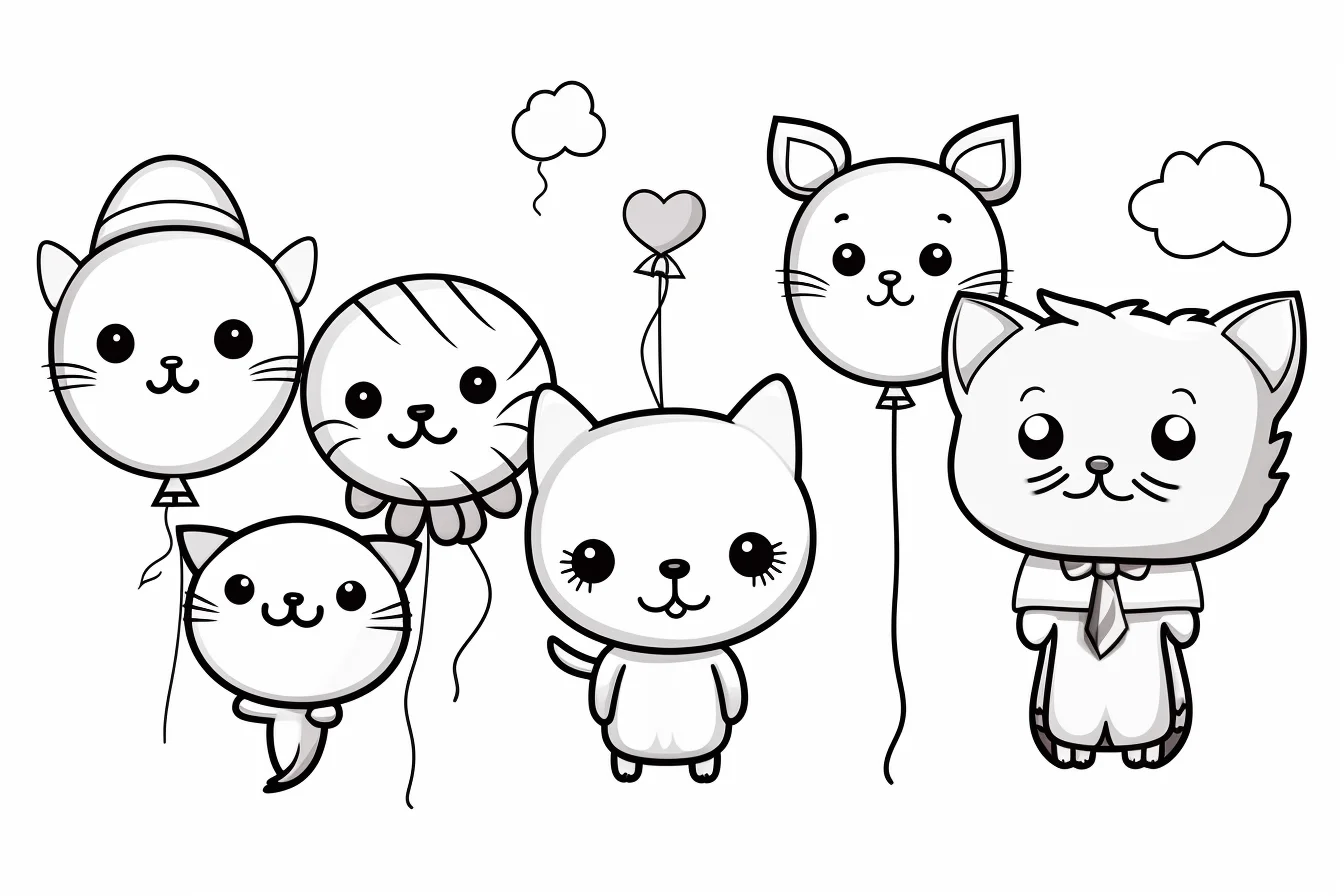
| Kawaii and mixed animal pages | Sheets 23–42 | A broader mix of cute characters and printable animal groups |
How to color the costume pages without making them too busy
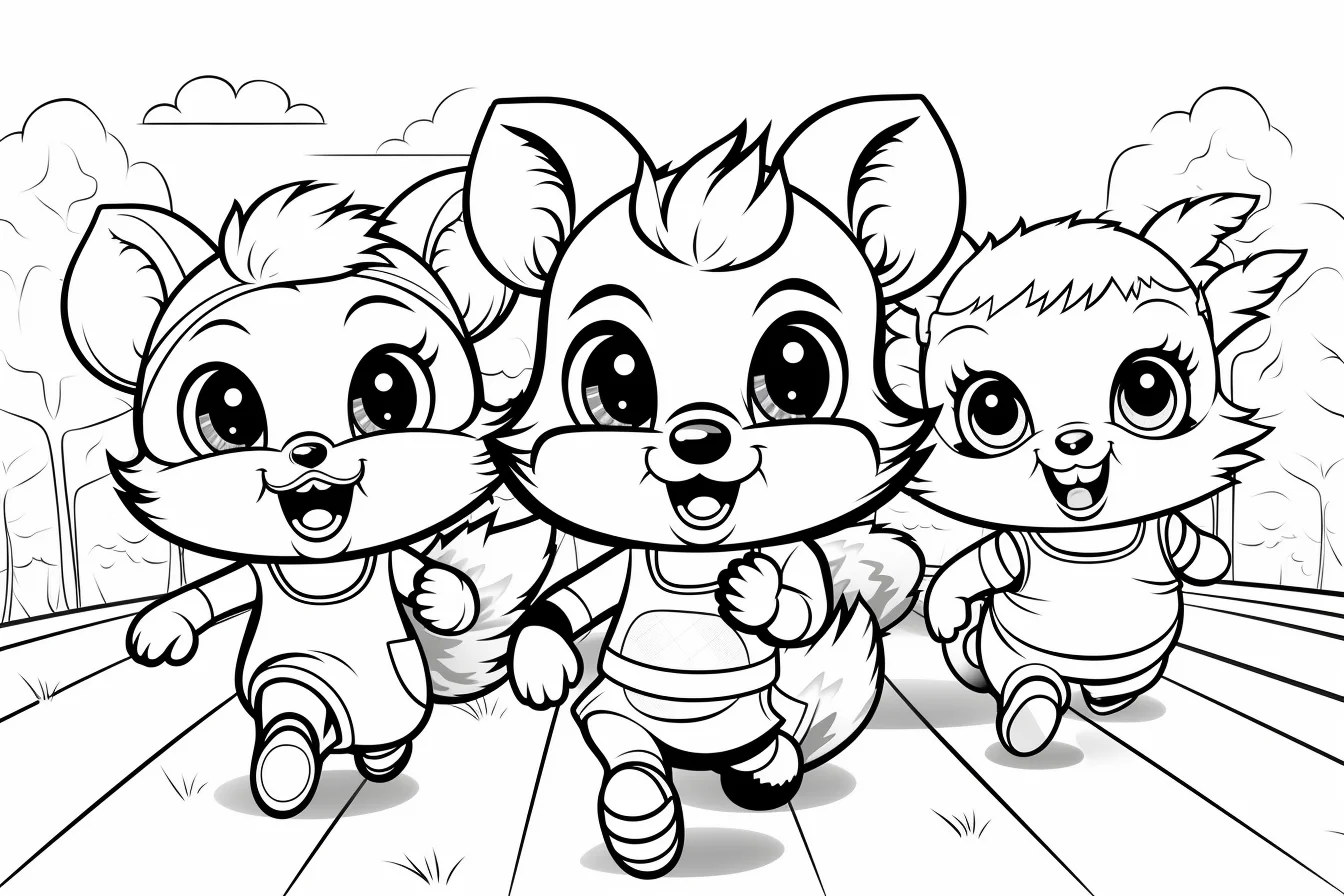
Color the animal first and the outfit second. That sounds obvious, but on a page with three or five characters it prevents fur, clothing and accessories from turning into one large patchwork. Give each animal one main body color, then repeat two or three outfit colors across the group. A shared red, blue or purple appearing on several characters makes the scene feel connected without forcing every costume to match.
For Halloween pages, black does not need to cover half the sheet. Use it as an accent on hats, capes or boots, then bring in orange, plum, dark teal or green. The lighter body colors will keep the faces readable.
A three-page practice method for better group scenes
- Page one: limit the palette. Pick three outfit colors plus one neutral before you start. Repeat them across different characters instead of inventing a new color for every hat, cape and jacket.
- Page two: separate fur from clothing. Keep neighboring fur and fabric noticeably different in value. A pale rabbit beside a pale yellow coat can disappear; a darker coat or stronger outline accent restores the edge.
- Page three: control the smallest details. Color the largest shapes first, then faces, then accessories. Leave stars, buttons, trim and tiny props until the end so they do not dictate the whole palette.
When a cute animal page is not working
| Problem | Likely cause | Try this |
|---|---|---|
| The group looks chaotic | Every character uses unrelated colors | Repeat two outfit colors on at least three characters. |
| Faces are hard to read | Dark fur, dark clothes and dark details meet | Keep the face lighter or reserve the darkest pencil for eyes and outlines. |
| Costumes blend into fur | Similar lightness values touch | Make either the clothing or body clearly darker; hue alone may not create enough separation. |
| Marker pages feel harsh | Every shape is filled at full saturation | Use markers for the main flat colors and pencils for cheeks, shadows and tiny accessories. |
| The page feels unfinished | Characters are colored but the small repeated details are ignored | Choose one accent color and repeat it on stars, buttons, bows or trim. |
| A young child loses interest | The chosen sheet has too many small costume parts | Switch to Sheets 14–22, then return to costume pages after practicing larger shapes. |
A useful test before adding another color is to look at the page from arm’s length. You should still be able to distinguish each animal’s face and body from its clothes. If those shapes merge, improve contrast before adding more detail.
Build one palette before coloring a whole group
Group pages get easier when you decide the color jobs before choosing individual colors. Use one family for fur and body colors, two or three stronger colors for clothing, and one small accent that can repeat on bows, crowns, stars or buttons. For example, cream, tan and gray animals with teal, coral and mustard outfits will usually read more clearly than seven equally bright character palettes competing on the same sheet.
Work character by character only for the body colors. After that, switch to shape by shape across the whole page: color all large jackets, then hats and capes, then small accessories. Repeating the same pencil across several characters naturally ties the group together and reduces constant color switching.
- Block the faces and bodies. Keep eyes, noses and mouths uncolored until the larger body areas are clean.
- Add the largest costume shapes. Check that each outfit is clearly lighter or darker than the fur touching it.
- Repeat one accent. Use it on three or more small details rather than introducing another new color.
- Finish facial details last. Reserve your darkest pencil or marker for eyes, noses and a few costume edges so the expressions stay readable.
If a sheet has many characters, stop after step two and view it from a distance. If the faces already separate cleanly from the costumes, the remaining details are decoration; if they do not, fix the value contrast before adding more color.
How to save and print
- Choose the sheet you want rather than printing the whole article.
- Tap or click the image to open the original full-size file, then save that file to your device.
- Print on A4 or Letter paper with “Fit to page.” Most of these images are landscape-oriented.
For very young children, the simplest group pages are easier with crayons. Costume seams, hats, tiny accessories and repeated facial details are easier with colored pencils or fine-tip markers.
If you want animals without costumes, use the cute animal coloring collection. For explicitly kawaii pages, use the kawaii coloring collection. For seasonal designs, the spider coloring pages and fall printables are more focused.
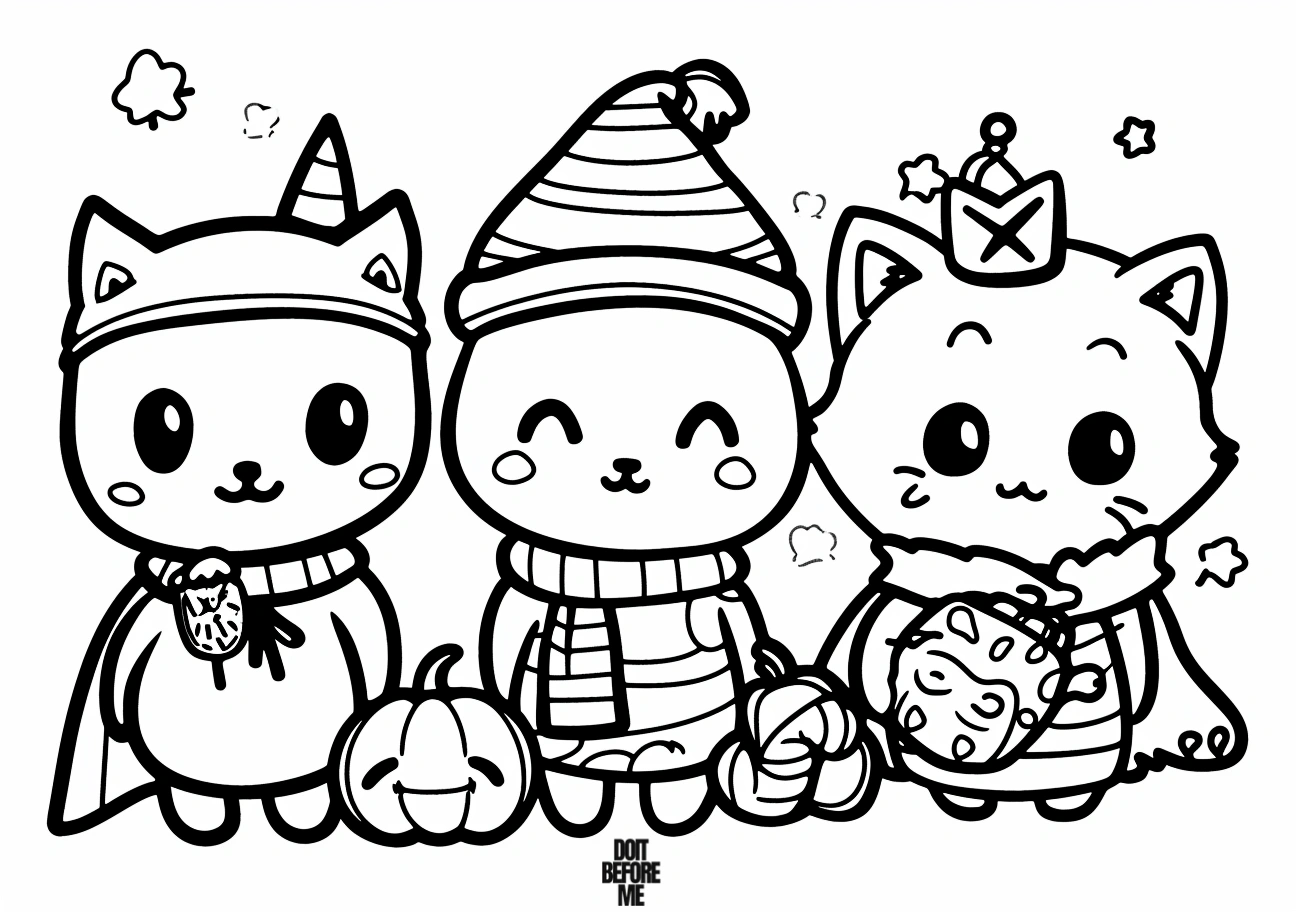
Animals in costumes — Sheets 1–13
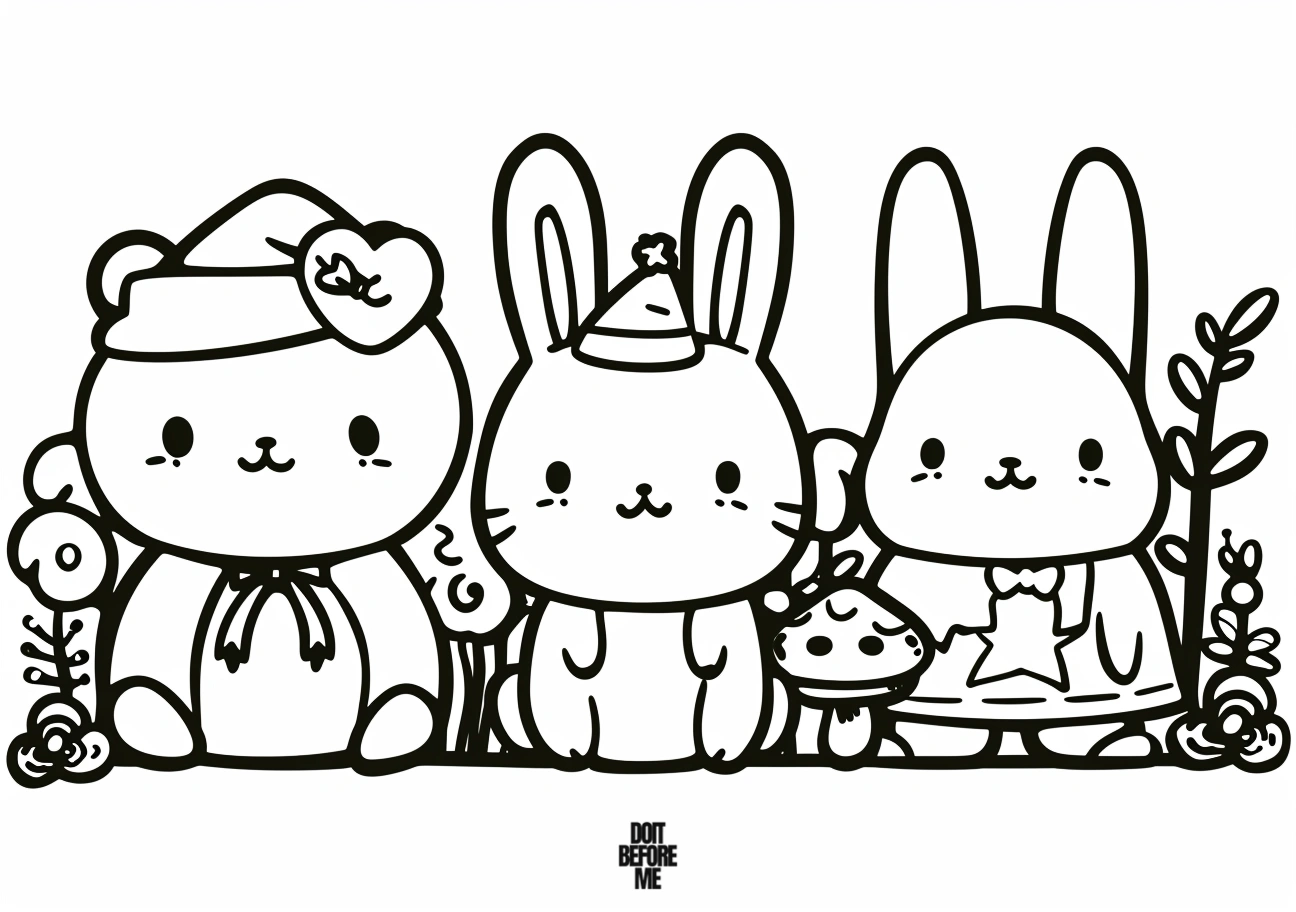
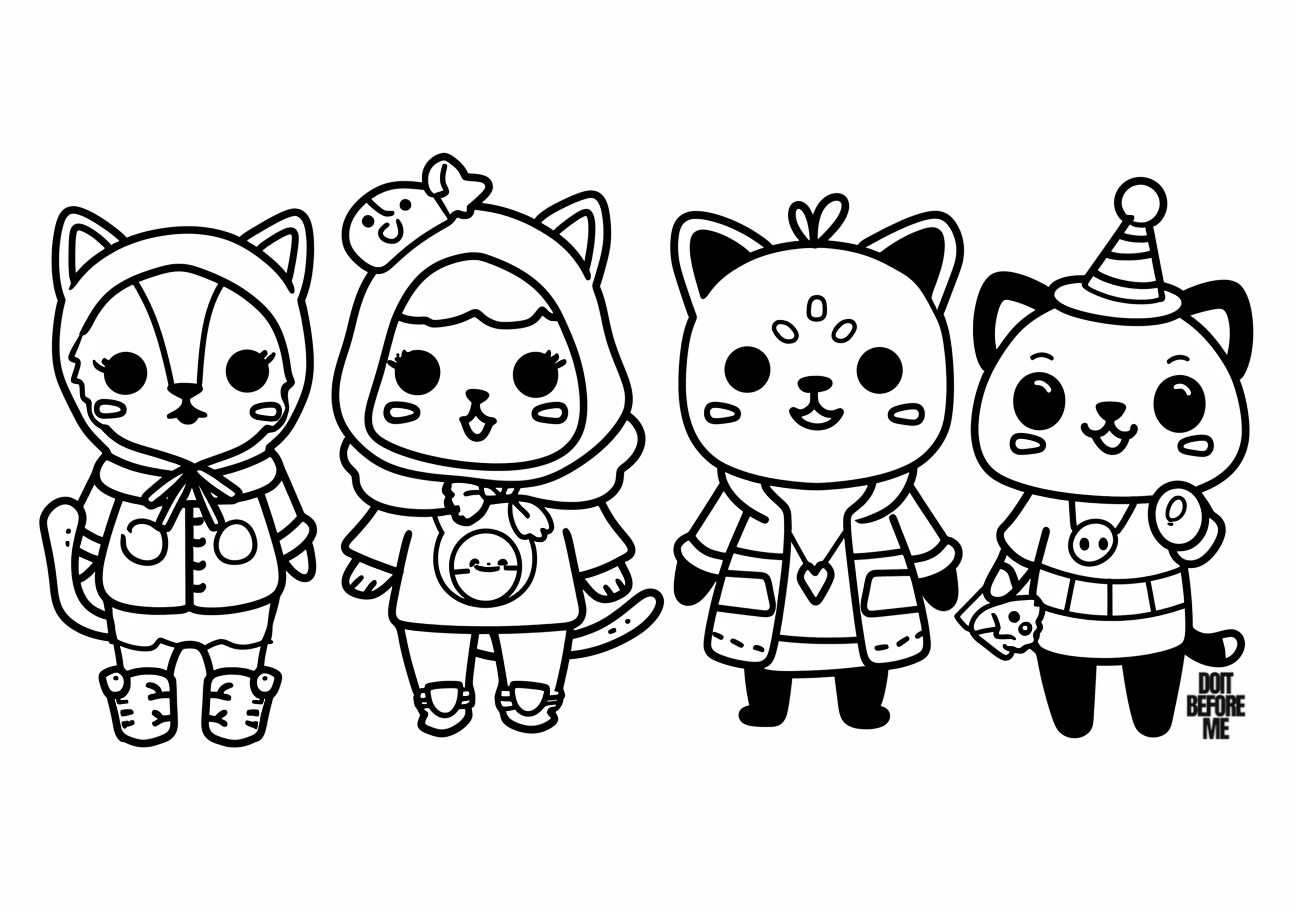
Simple cute animal pages — Sheets 14–22
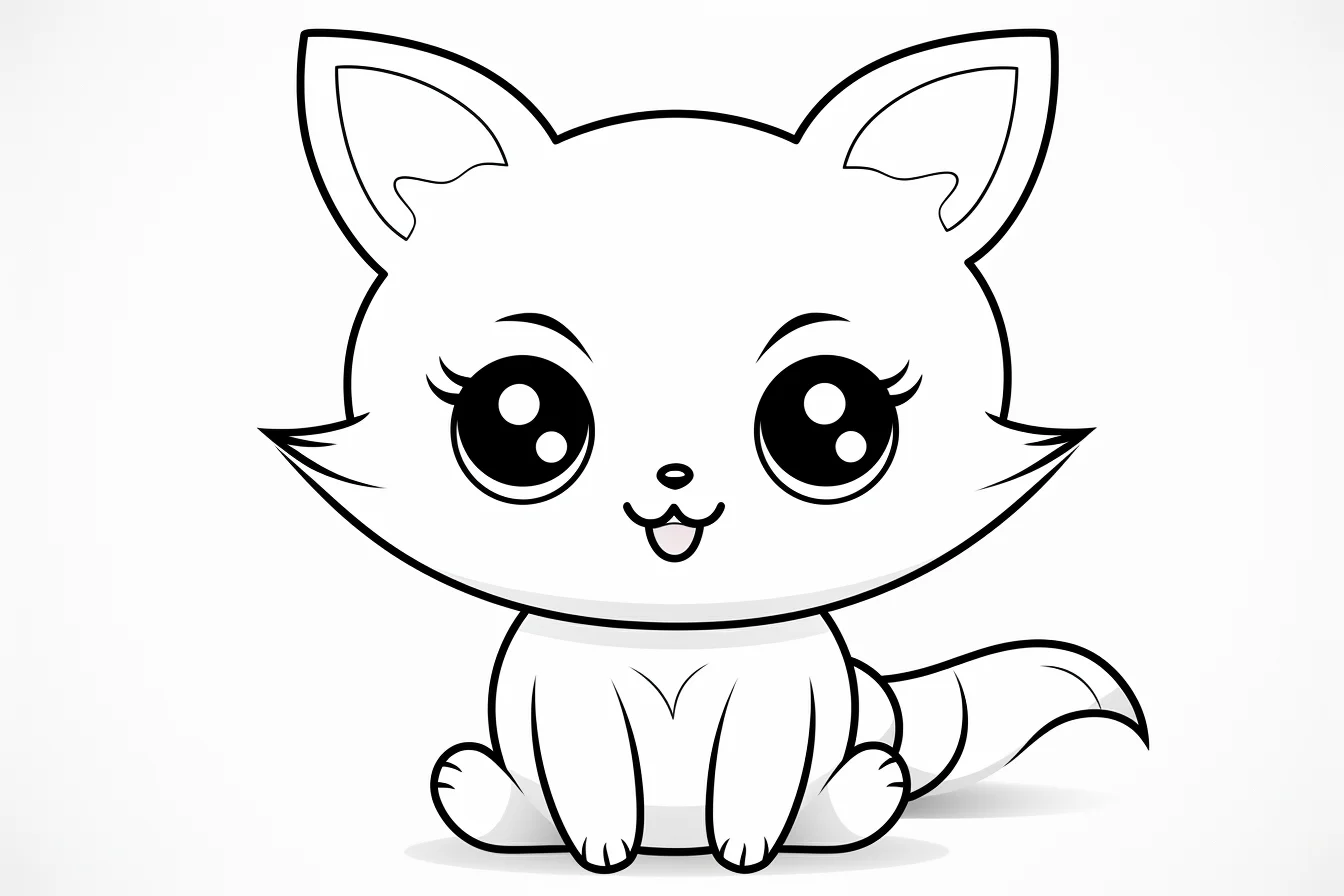
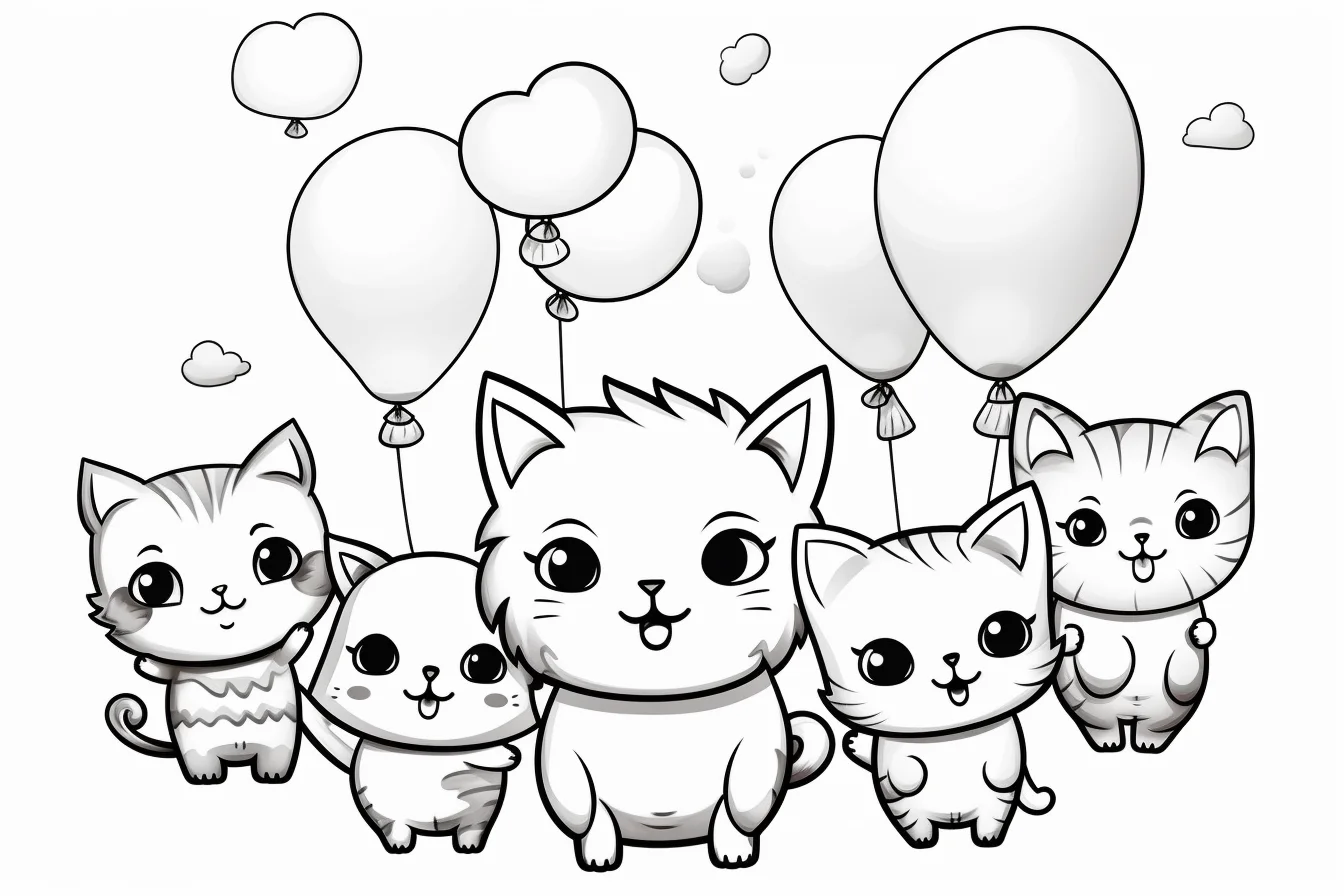
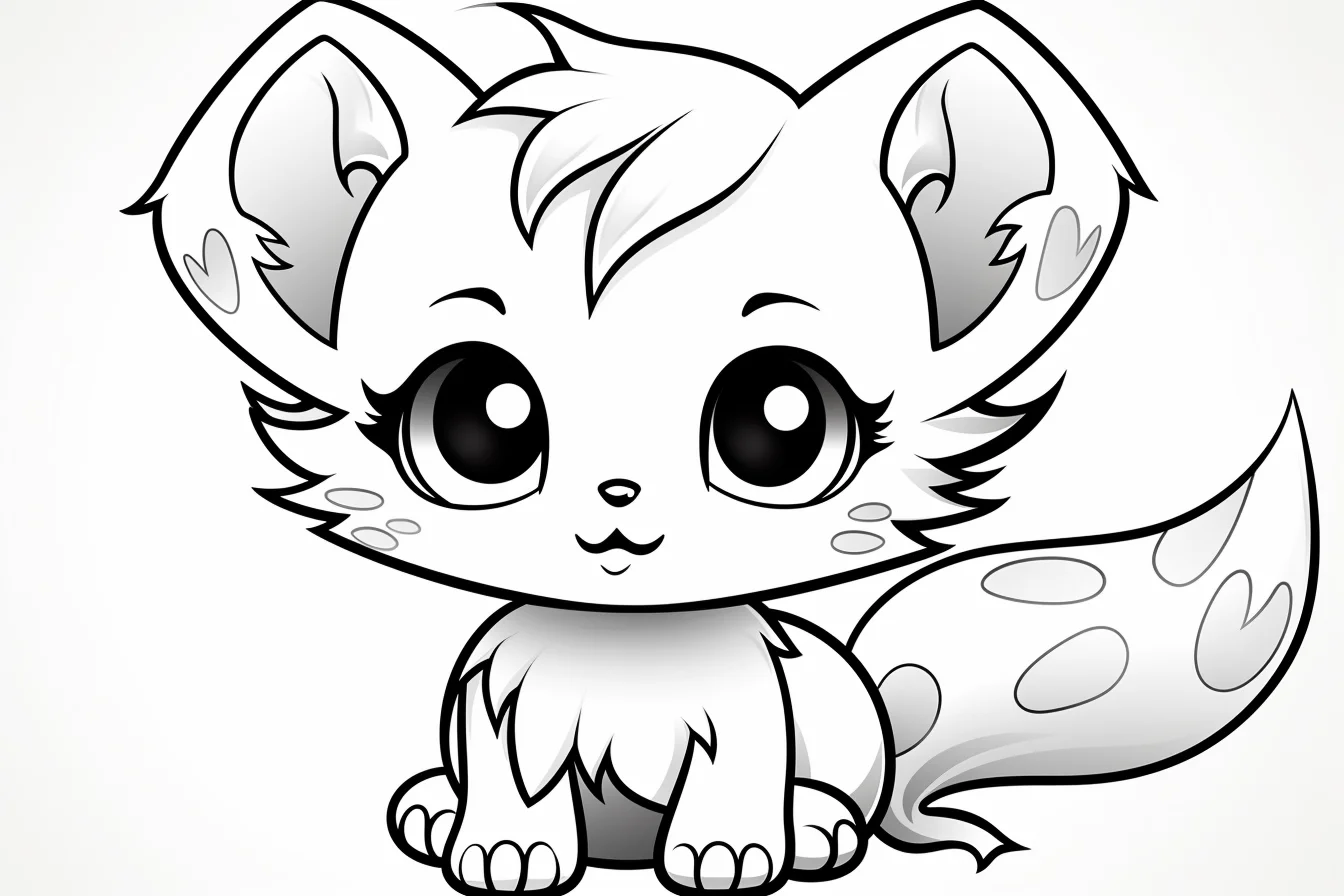
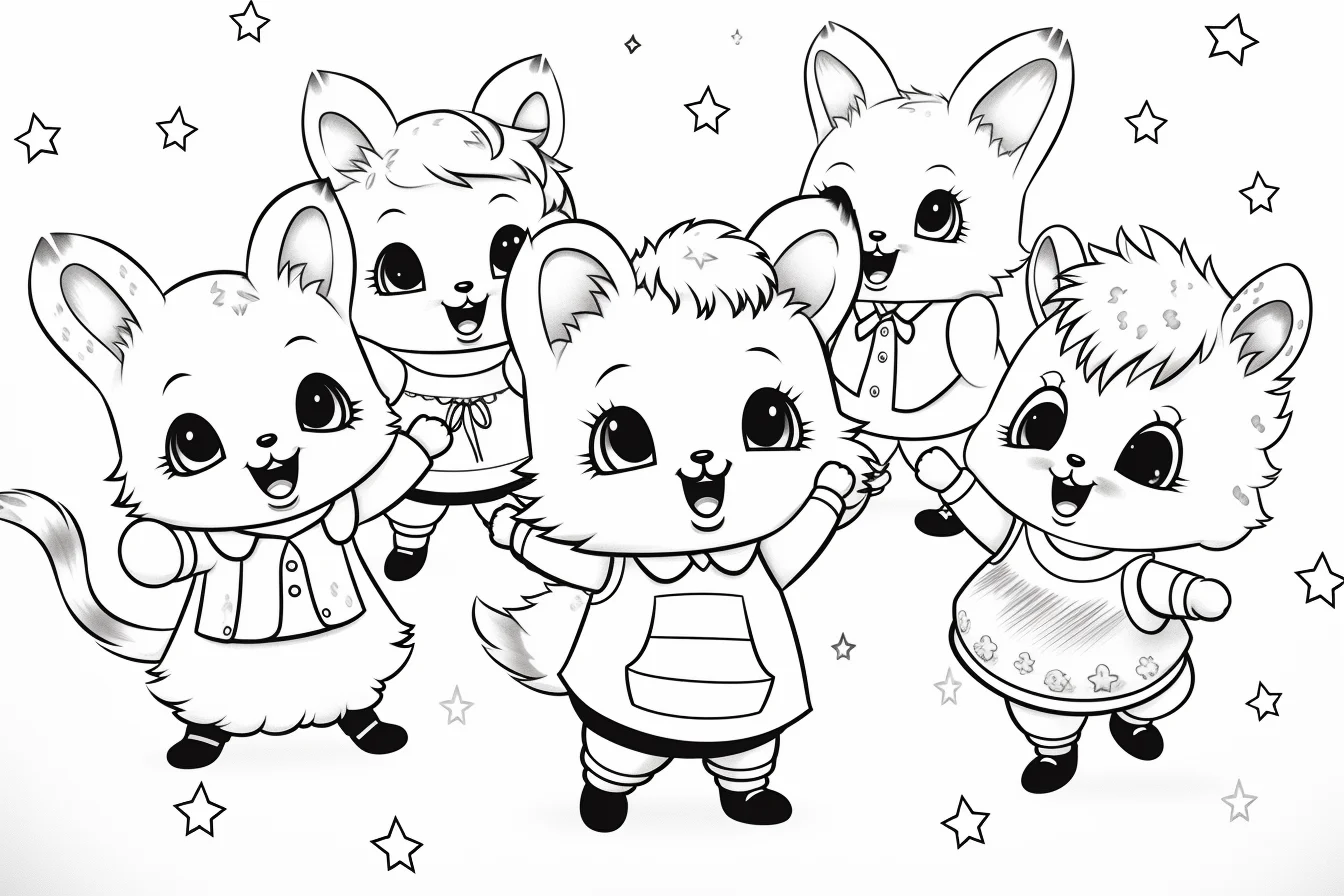
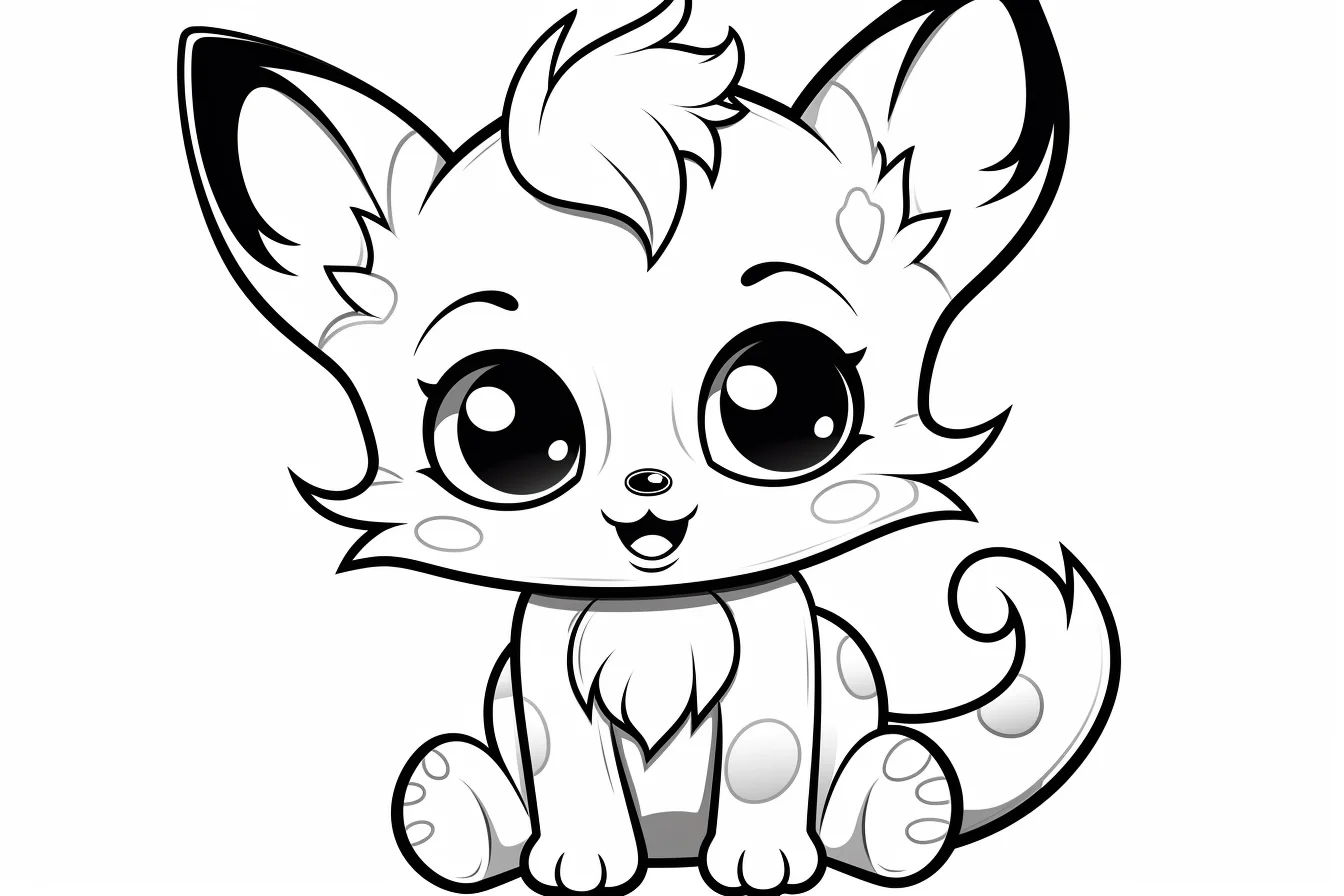
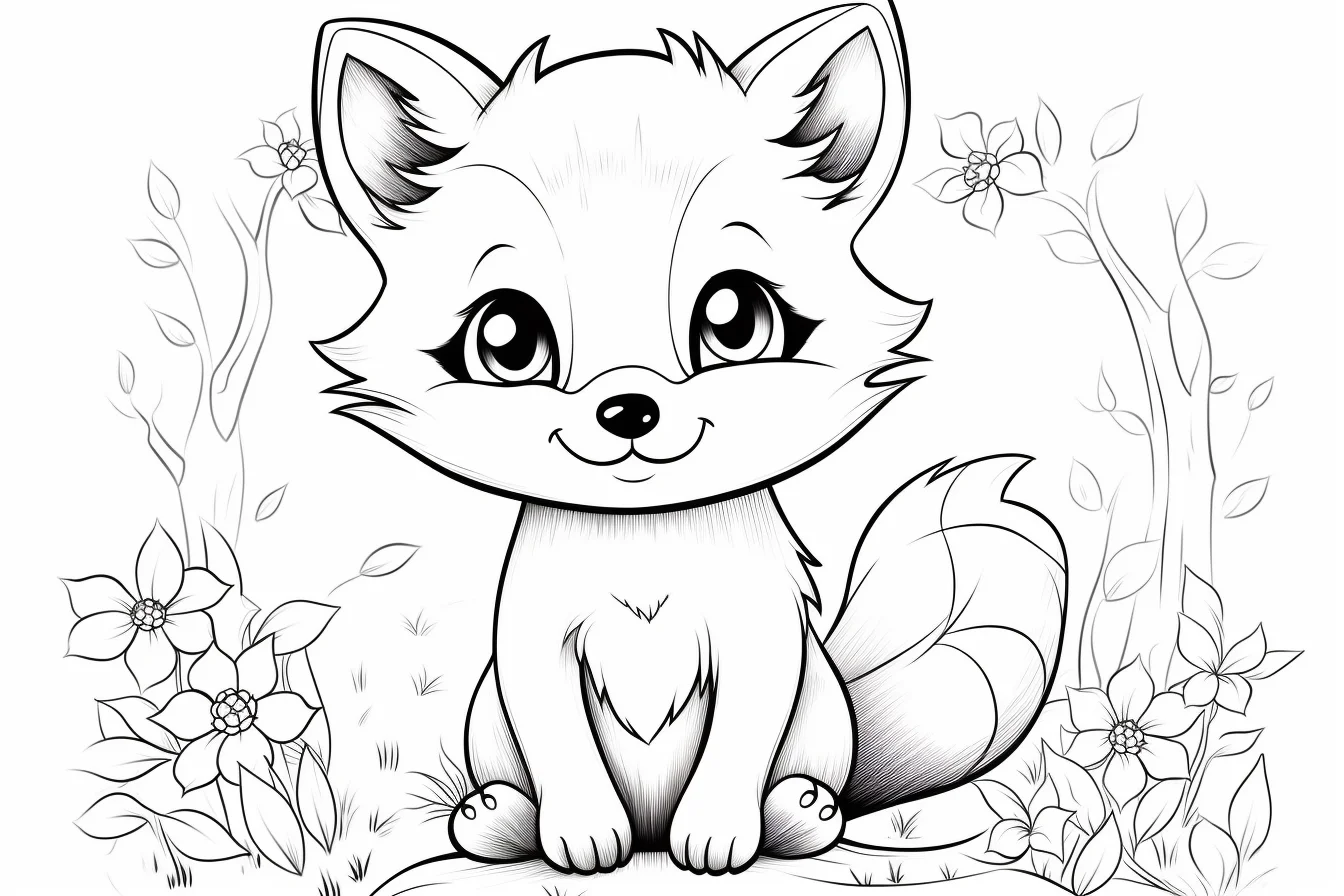
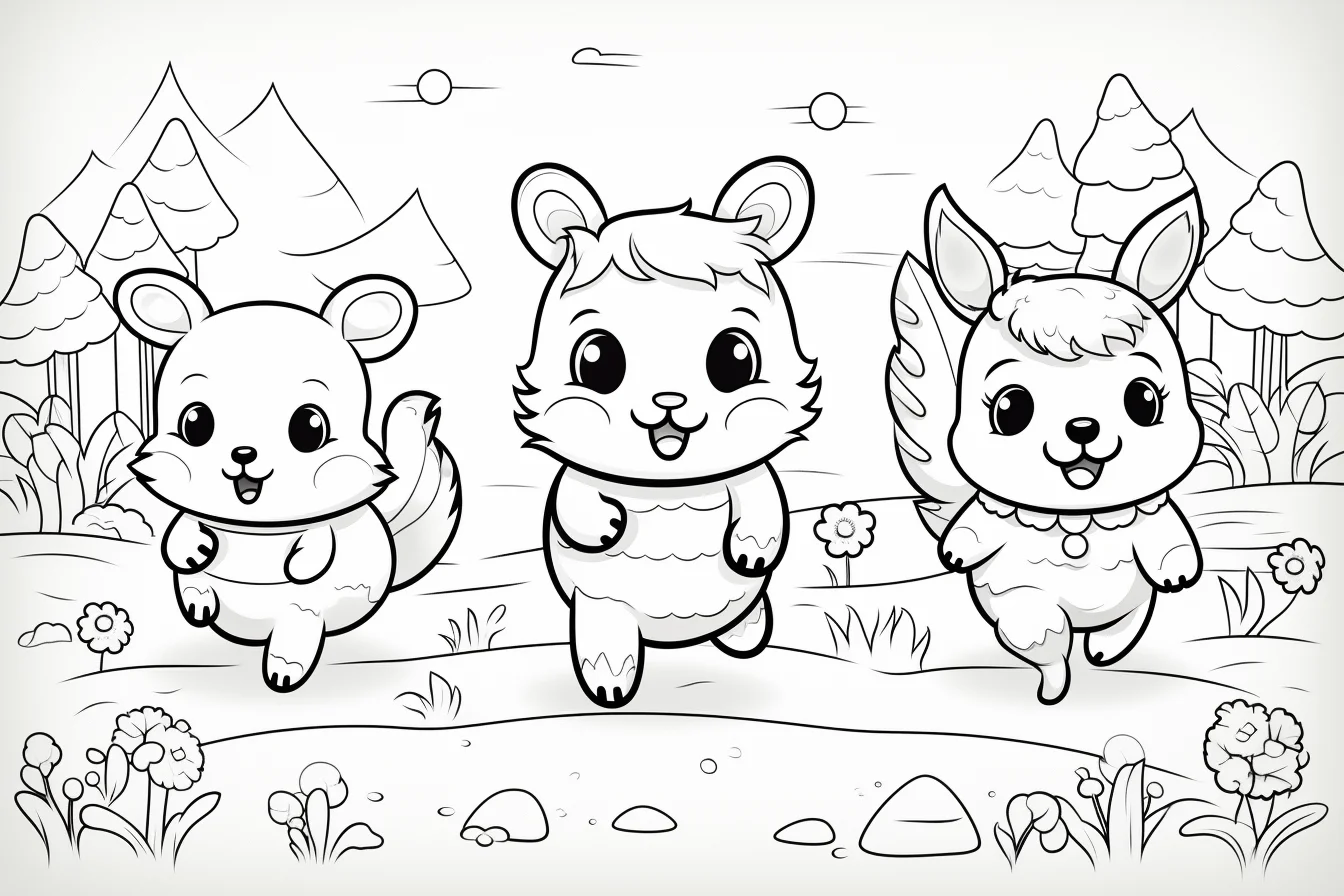
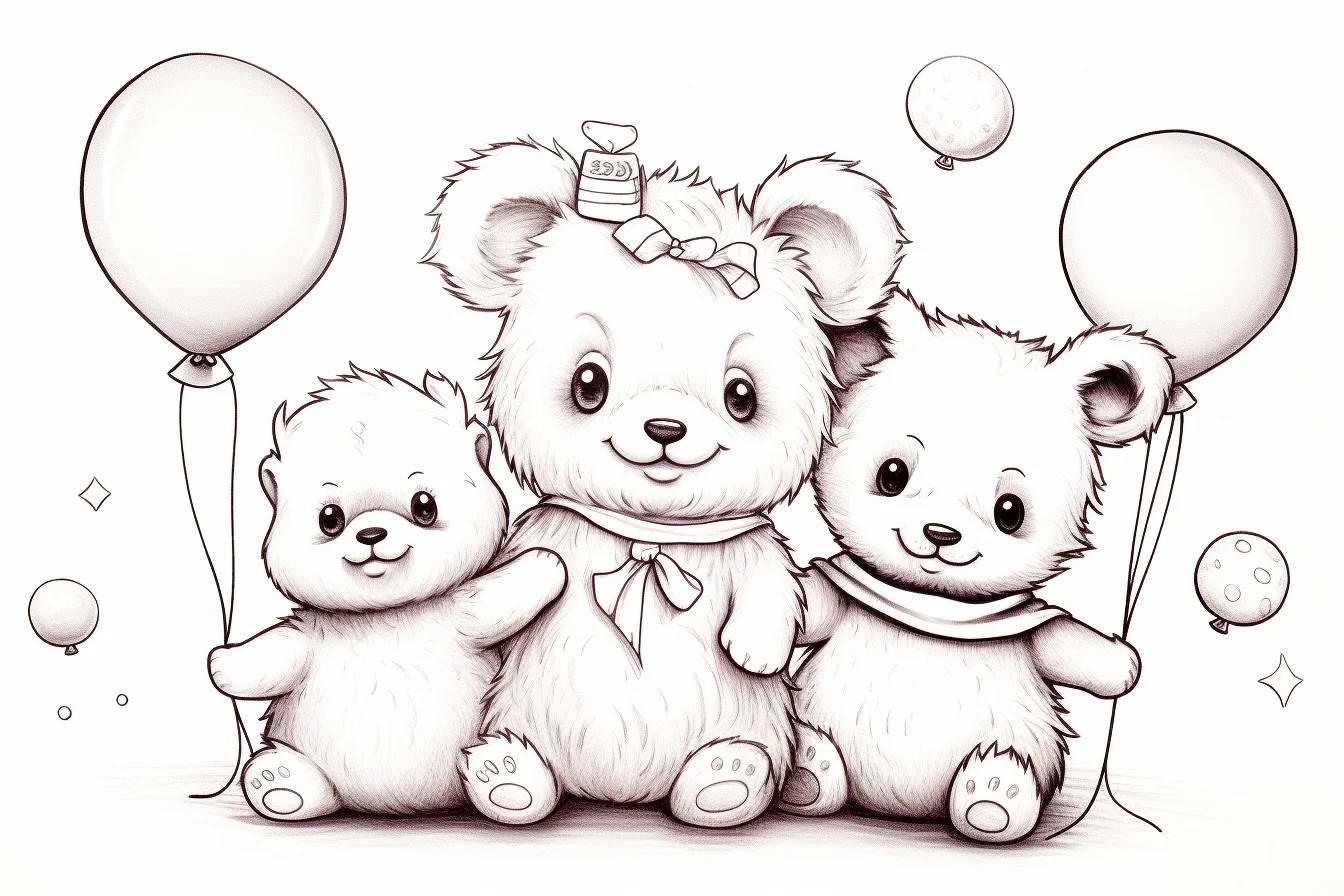
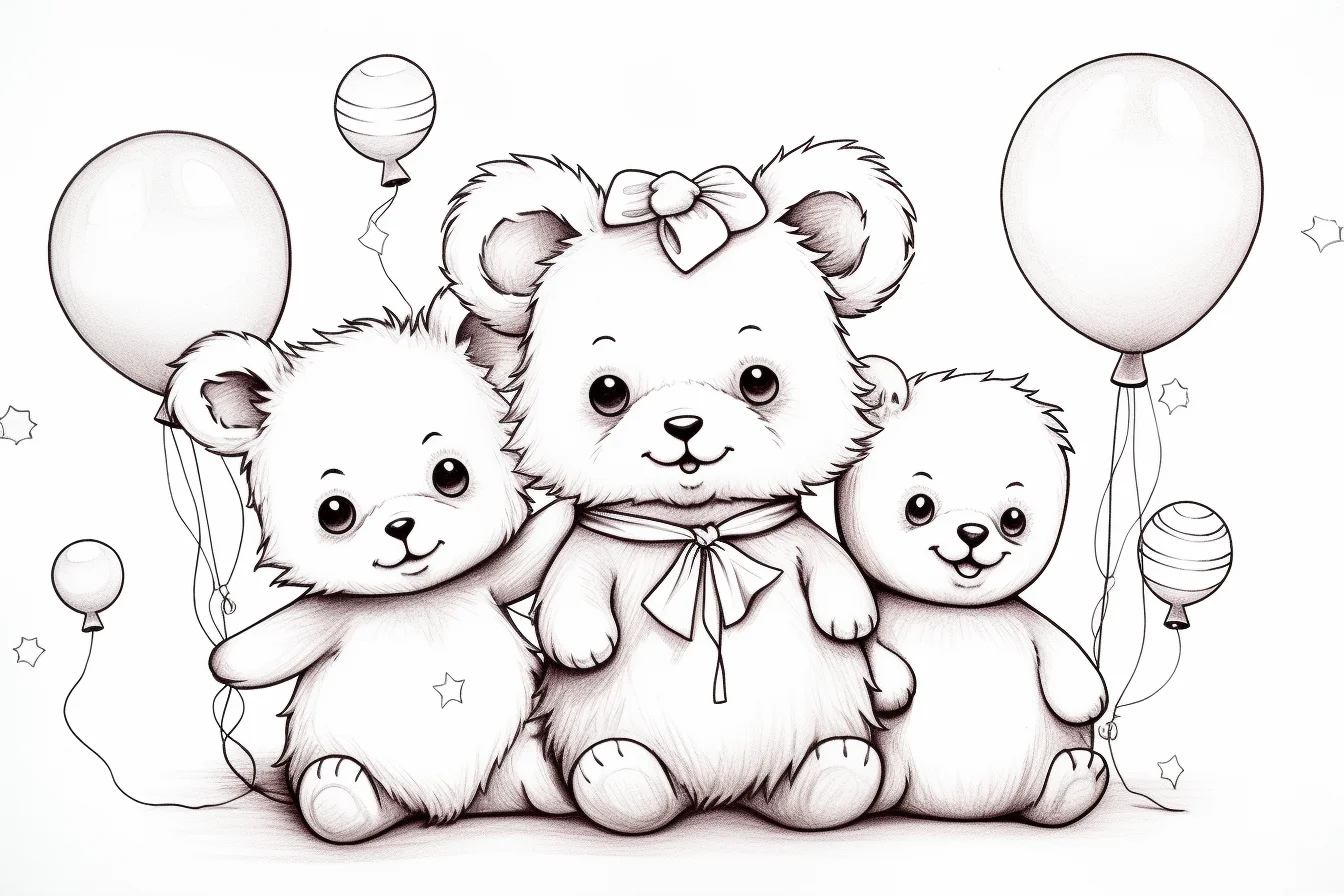
This middle group drops most of the costume theme. It is a better place to start when you want cute animals without as many hats, jackets or tiny accessories. Keep the palette simple and let the faces and body shapes do most of the work.
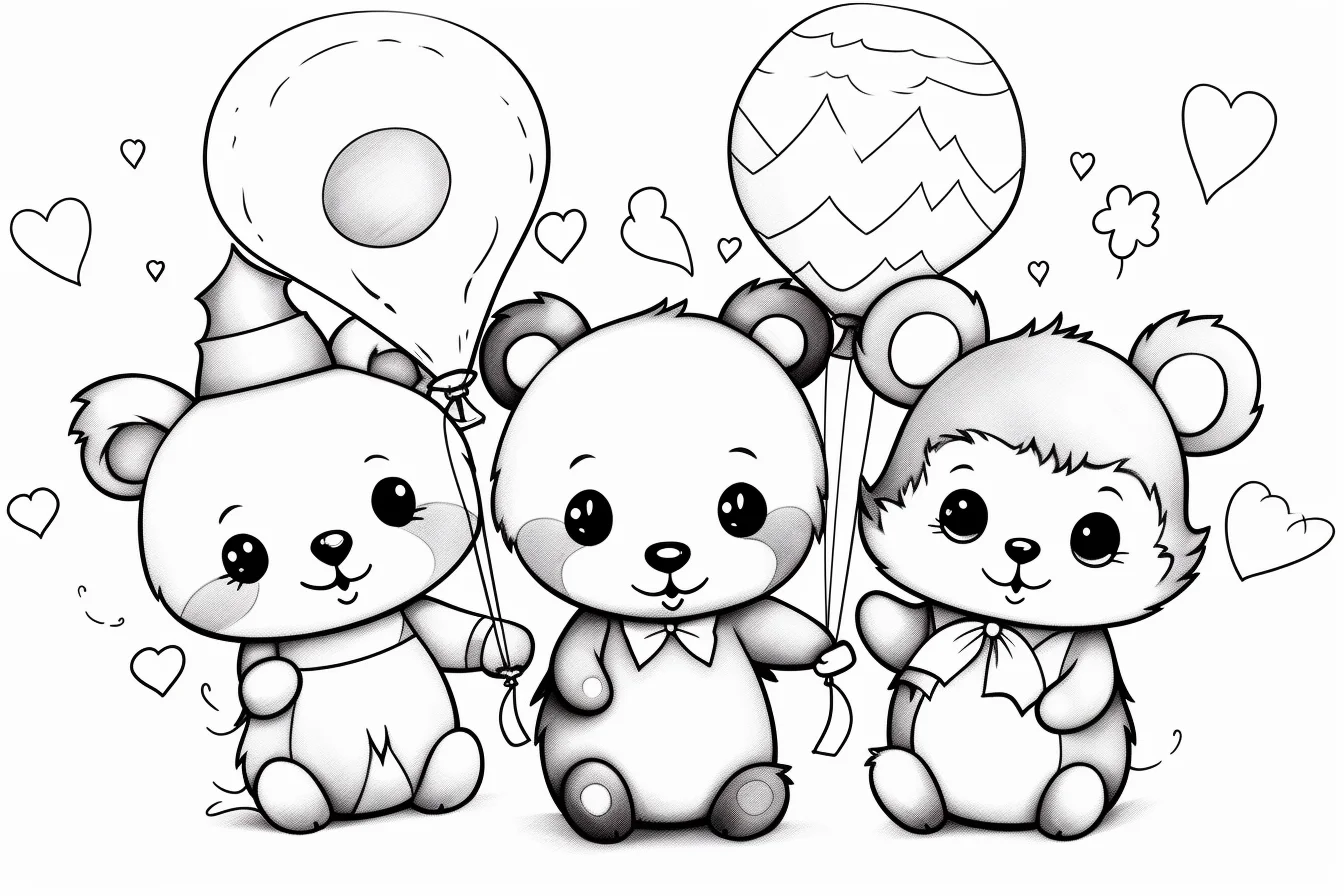
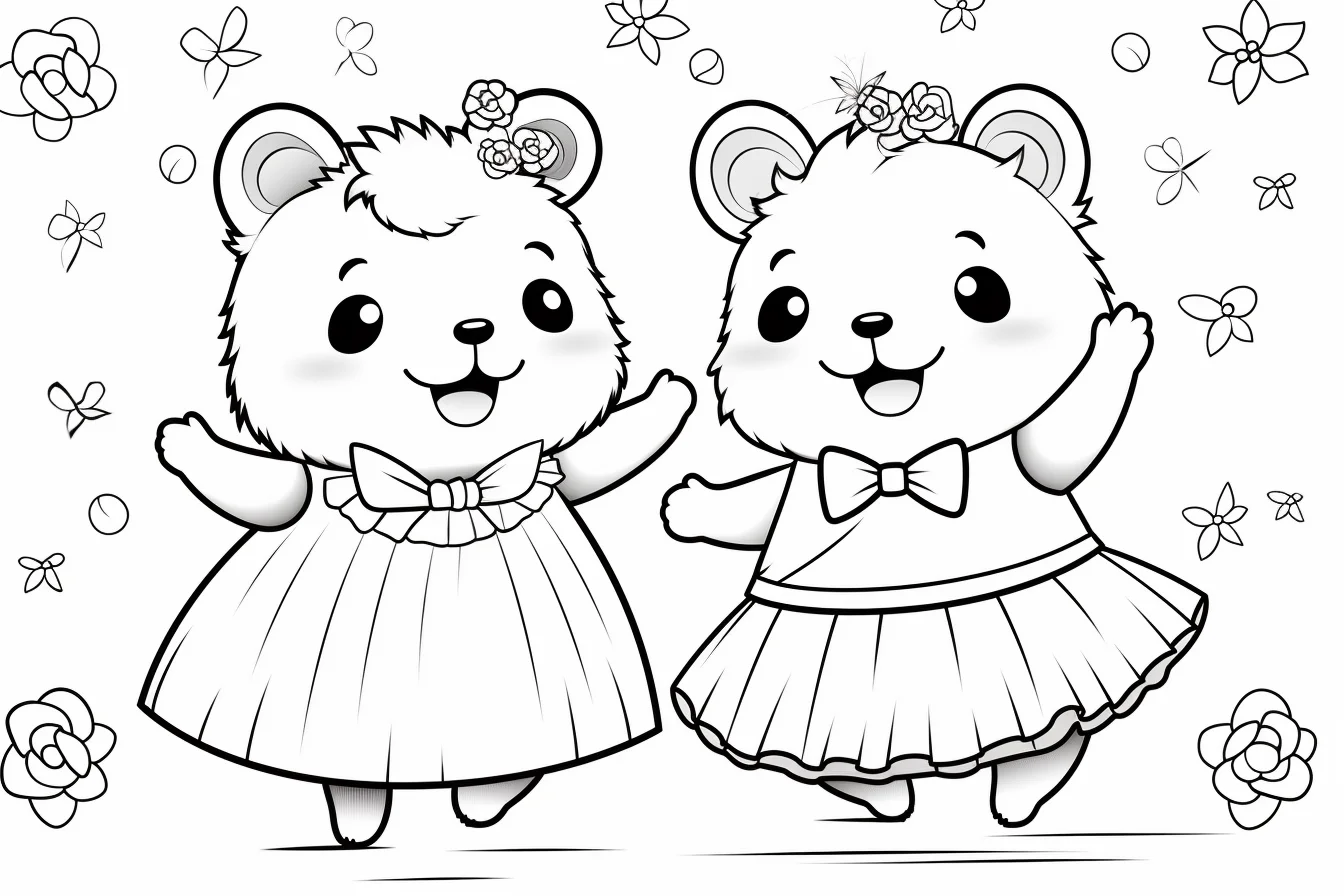
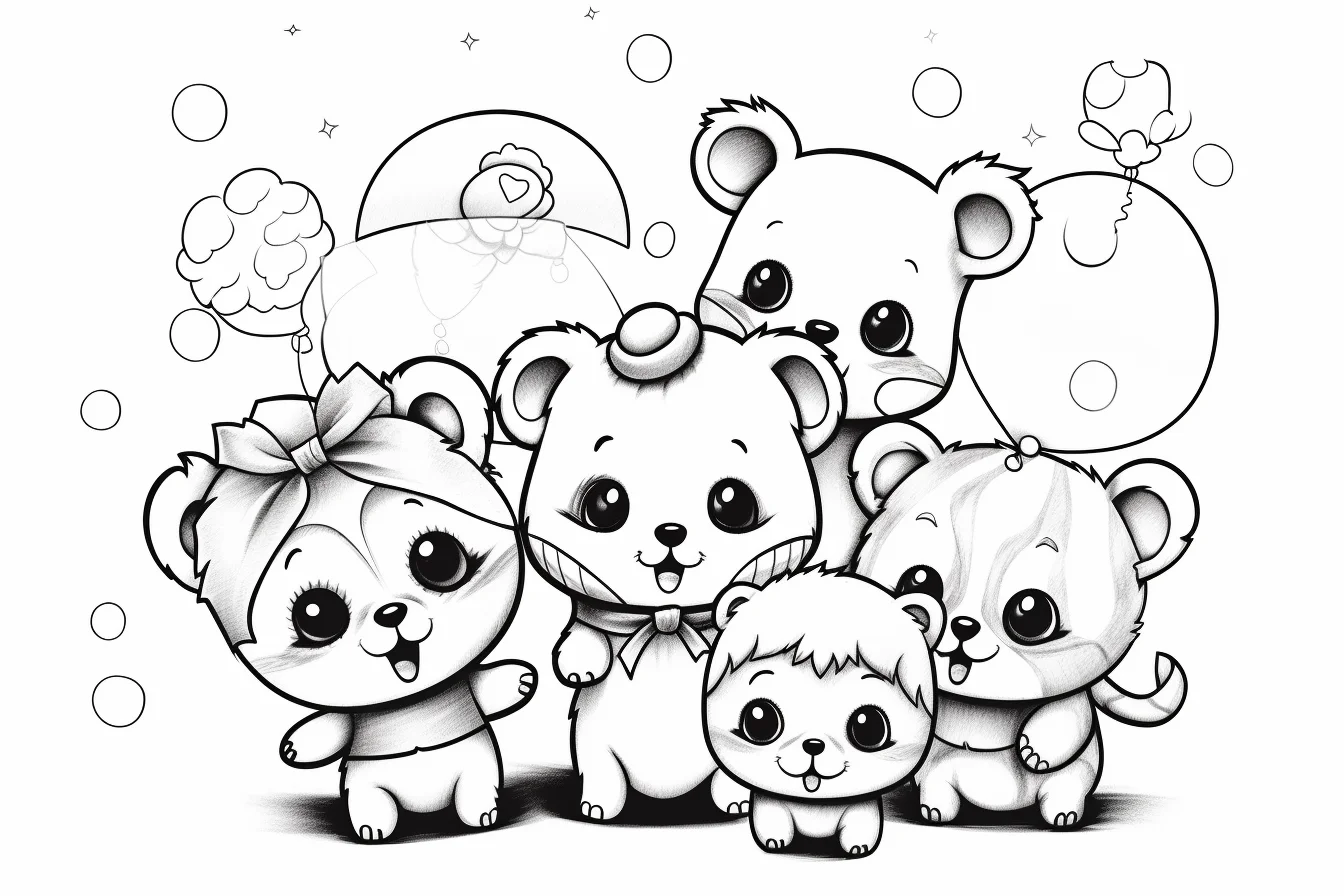
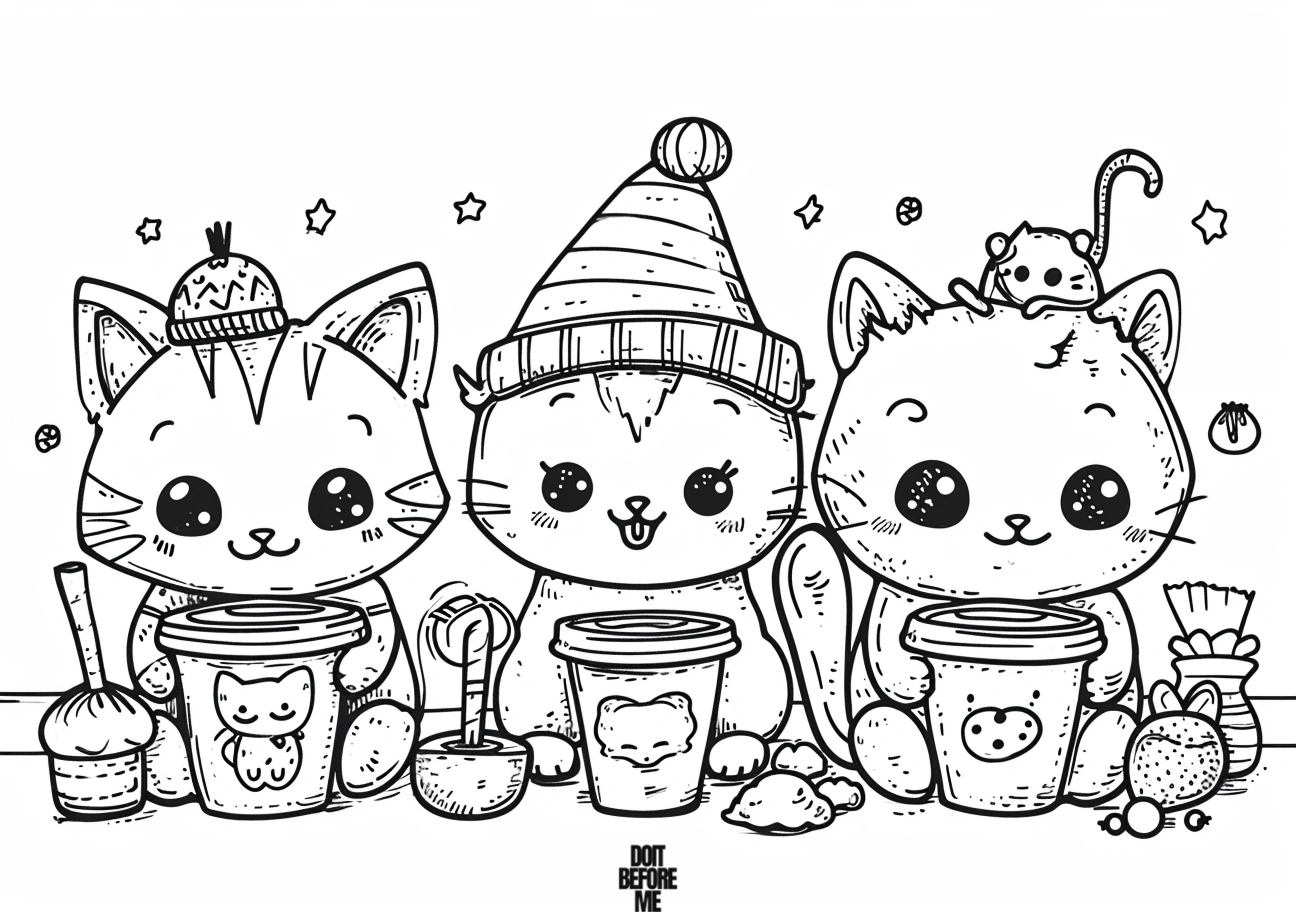
Kawaii and mixed animal pages — Sheets 23–42
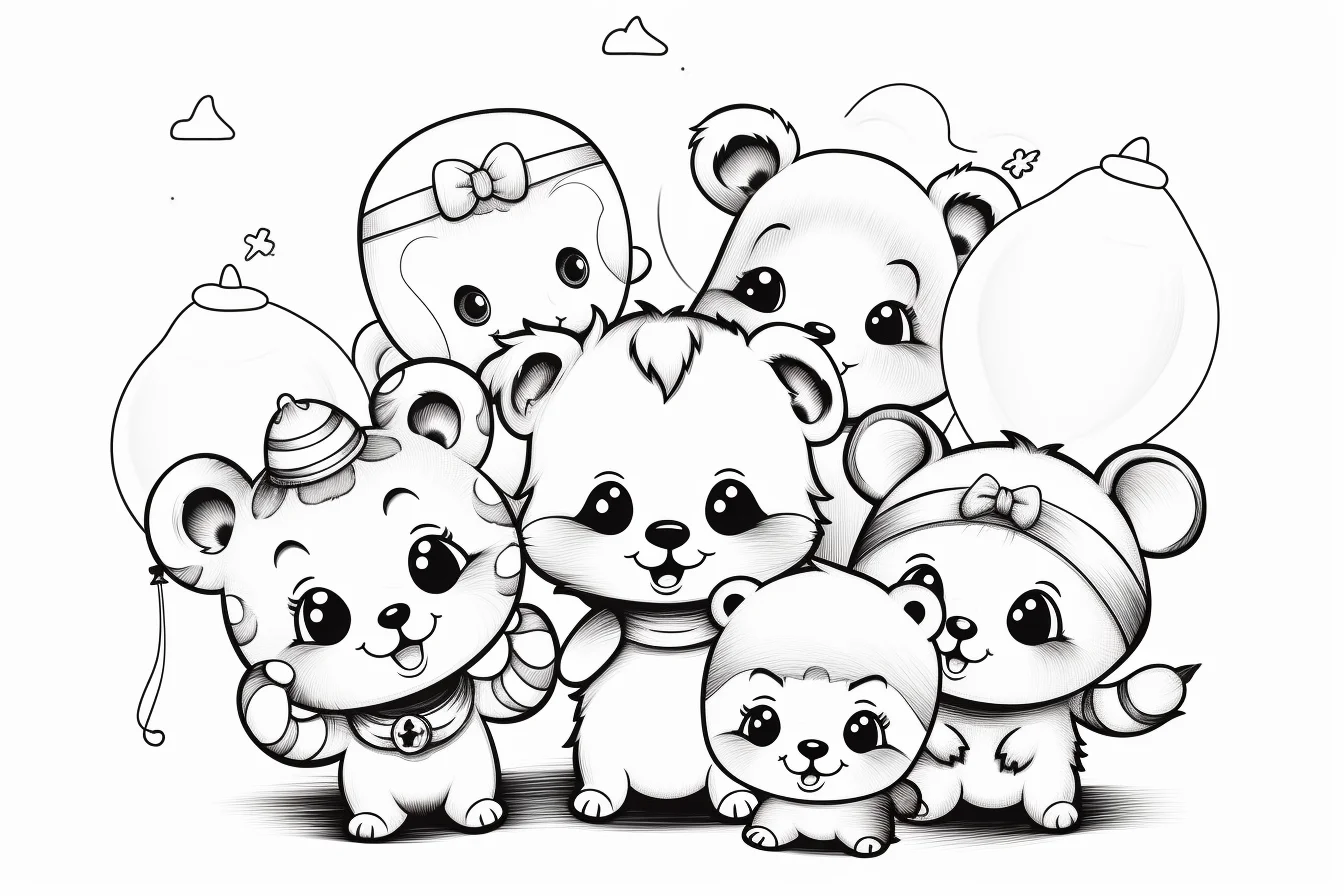
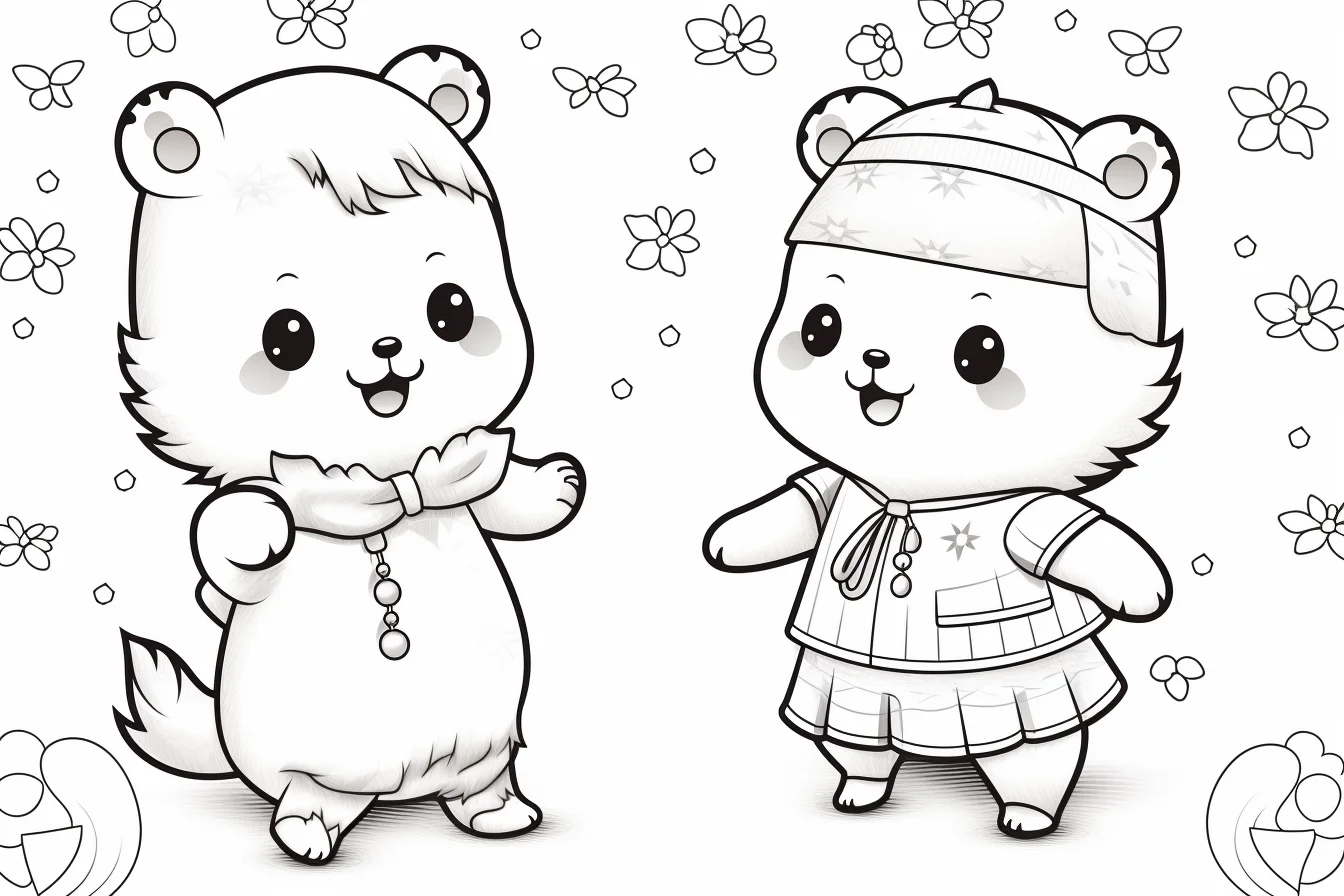
The final part is the broadest. Some sheets lean more kawaii, some are simply cute animal groups, and a few are general printable designs. Use this section when the style matters more than a particular costume or species.
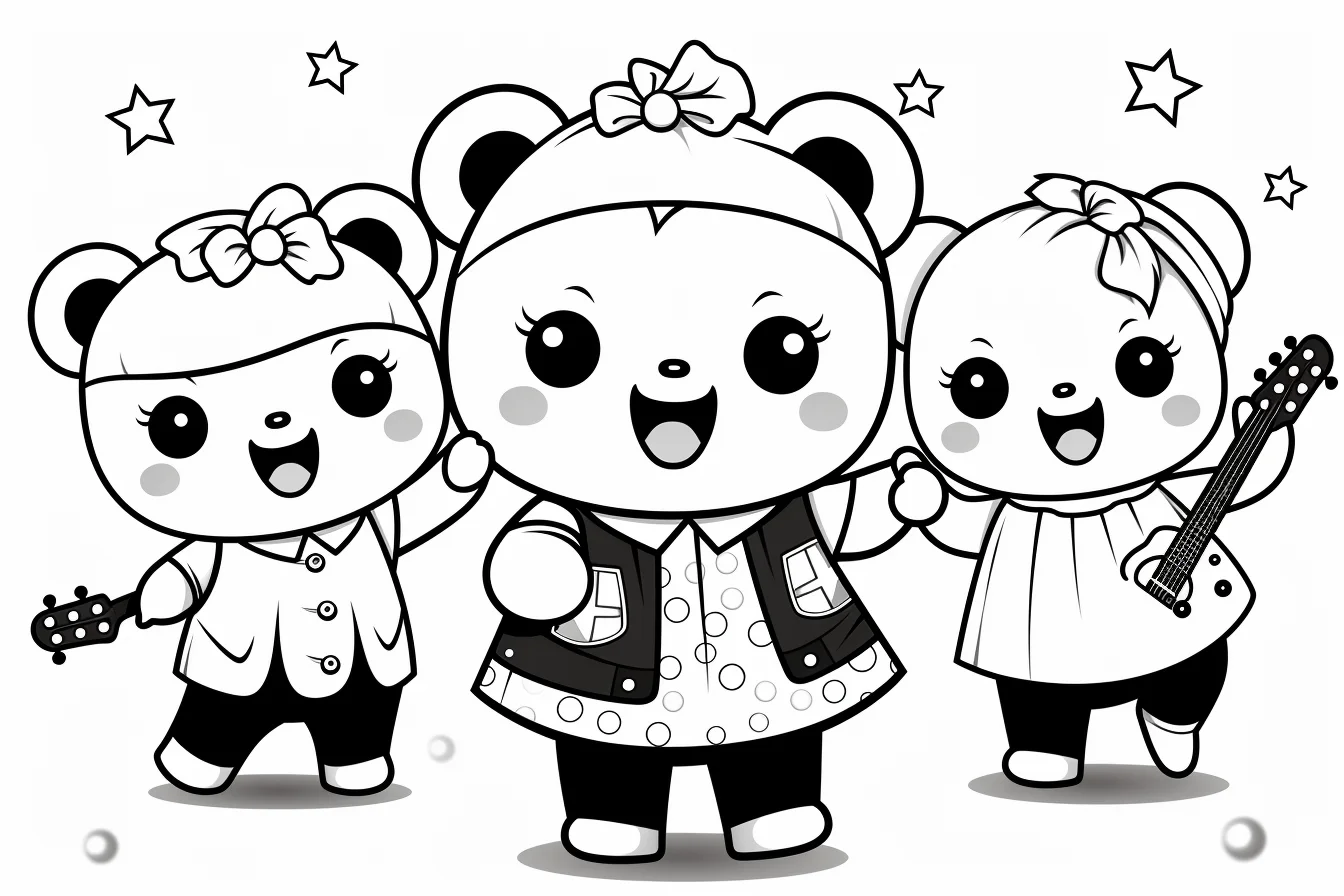
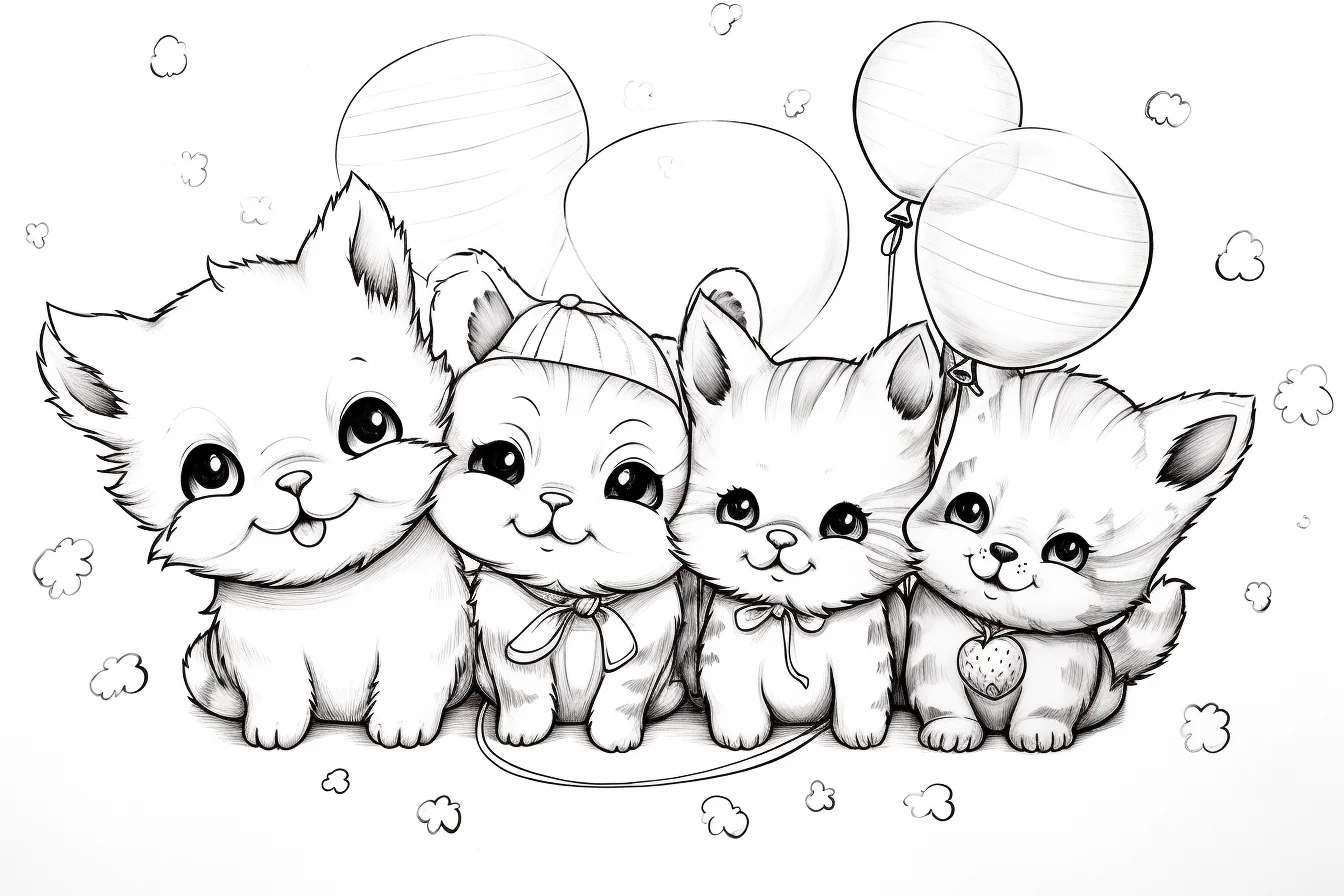
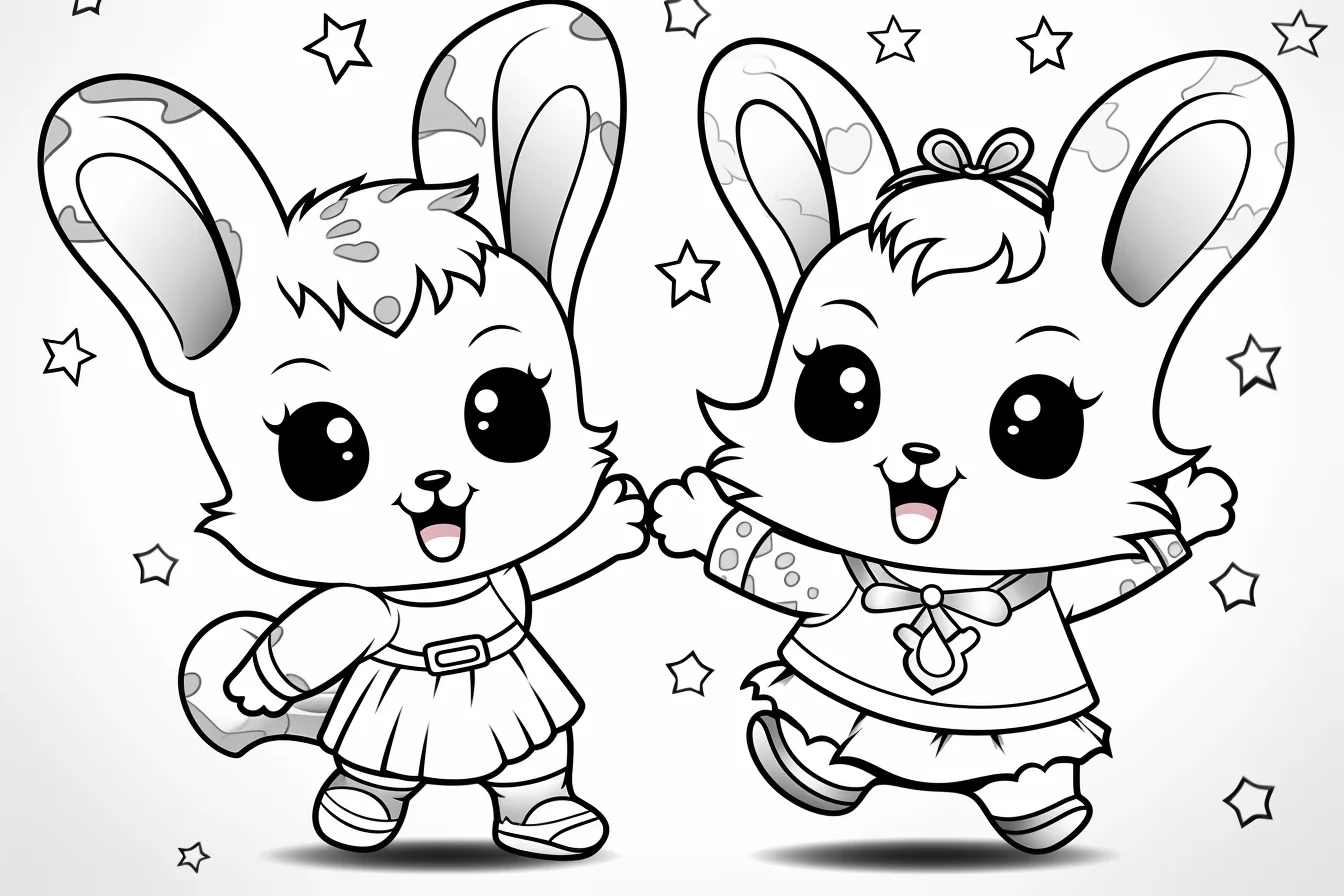
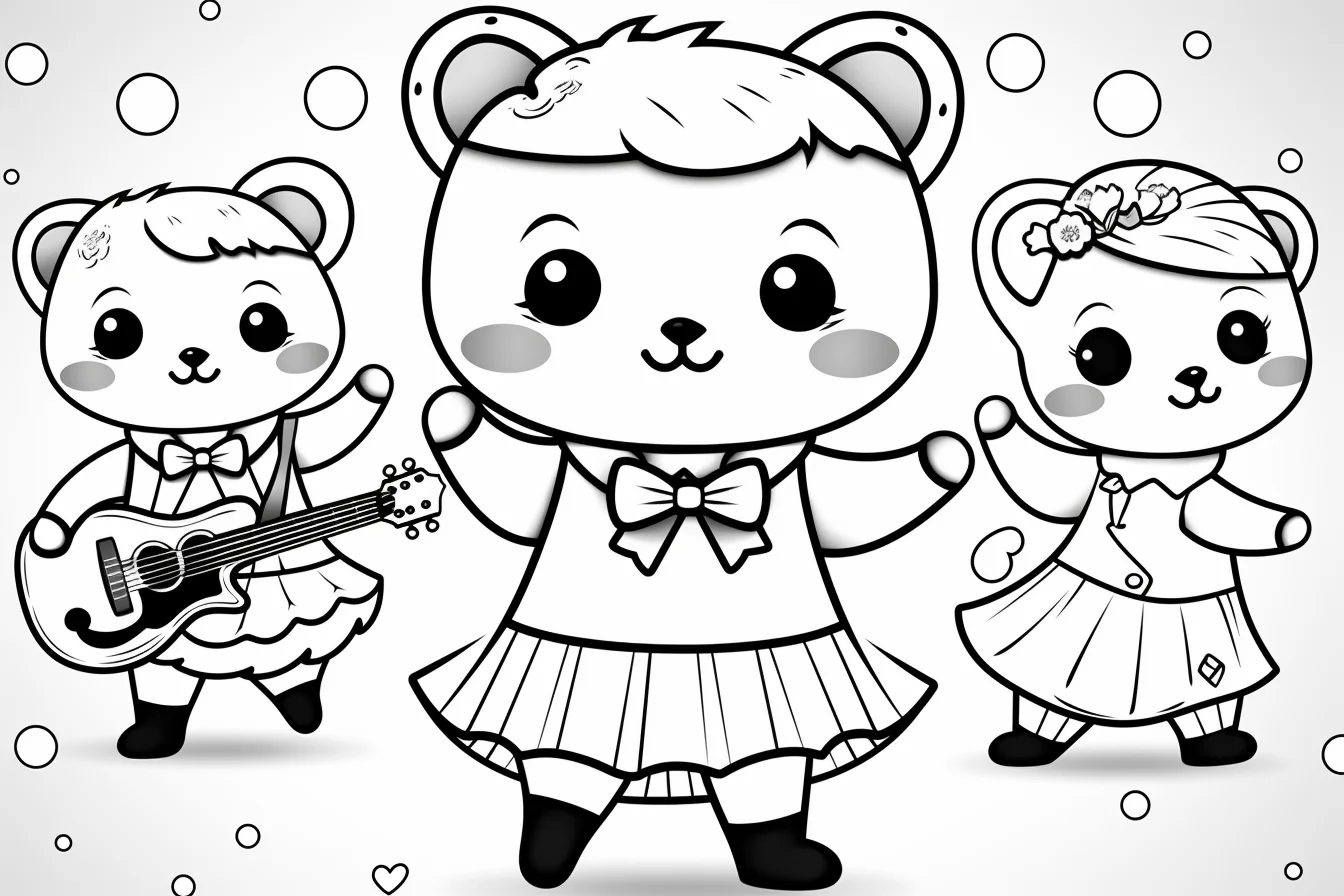
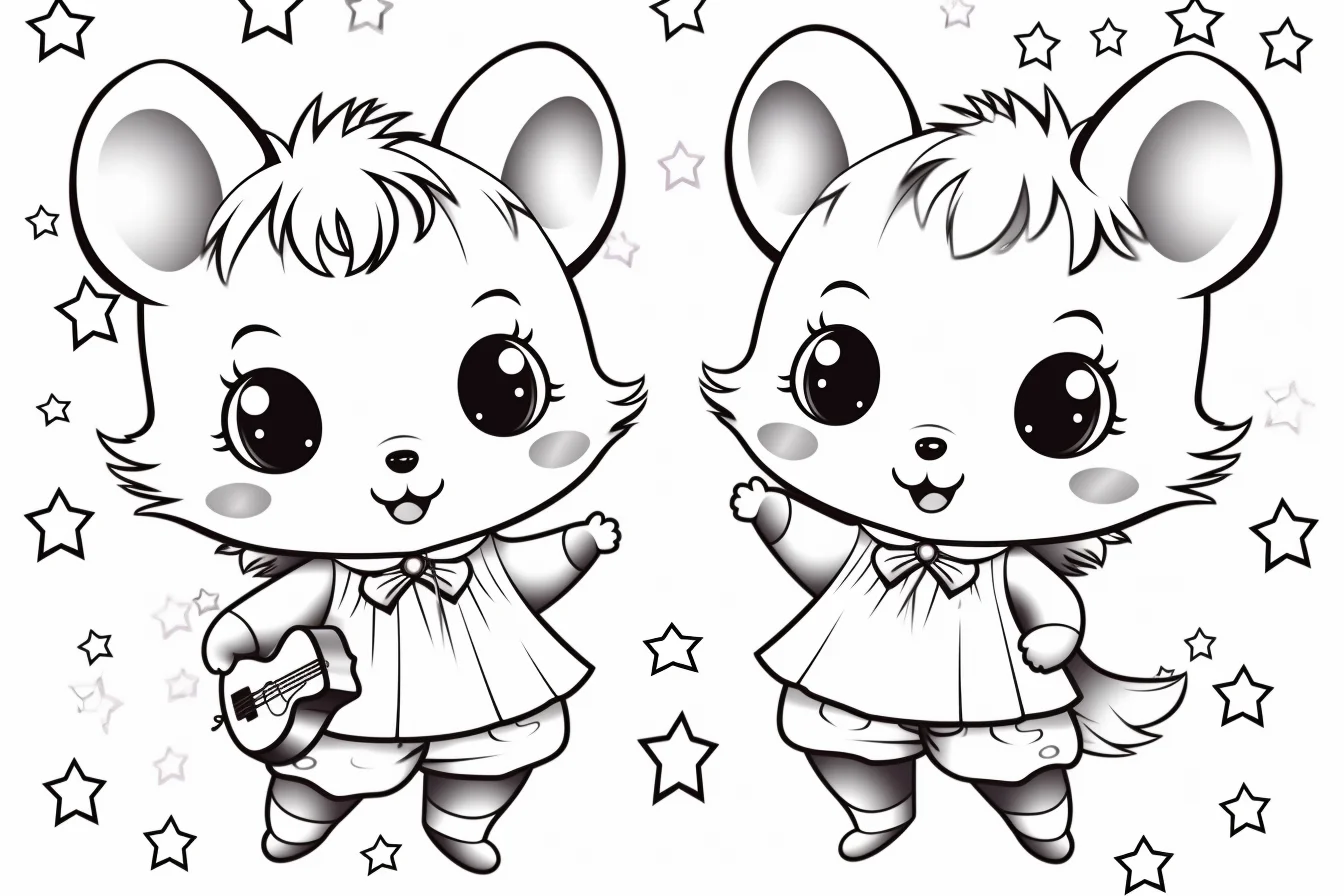
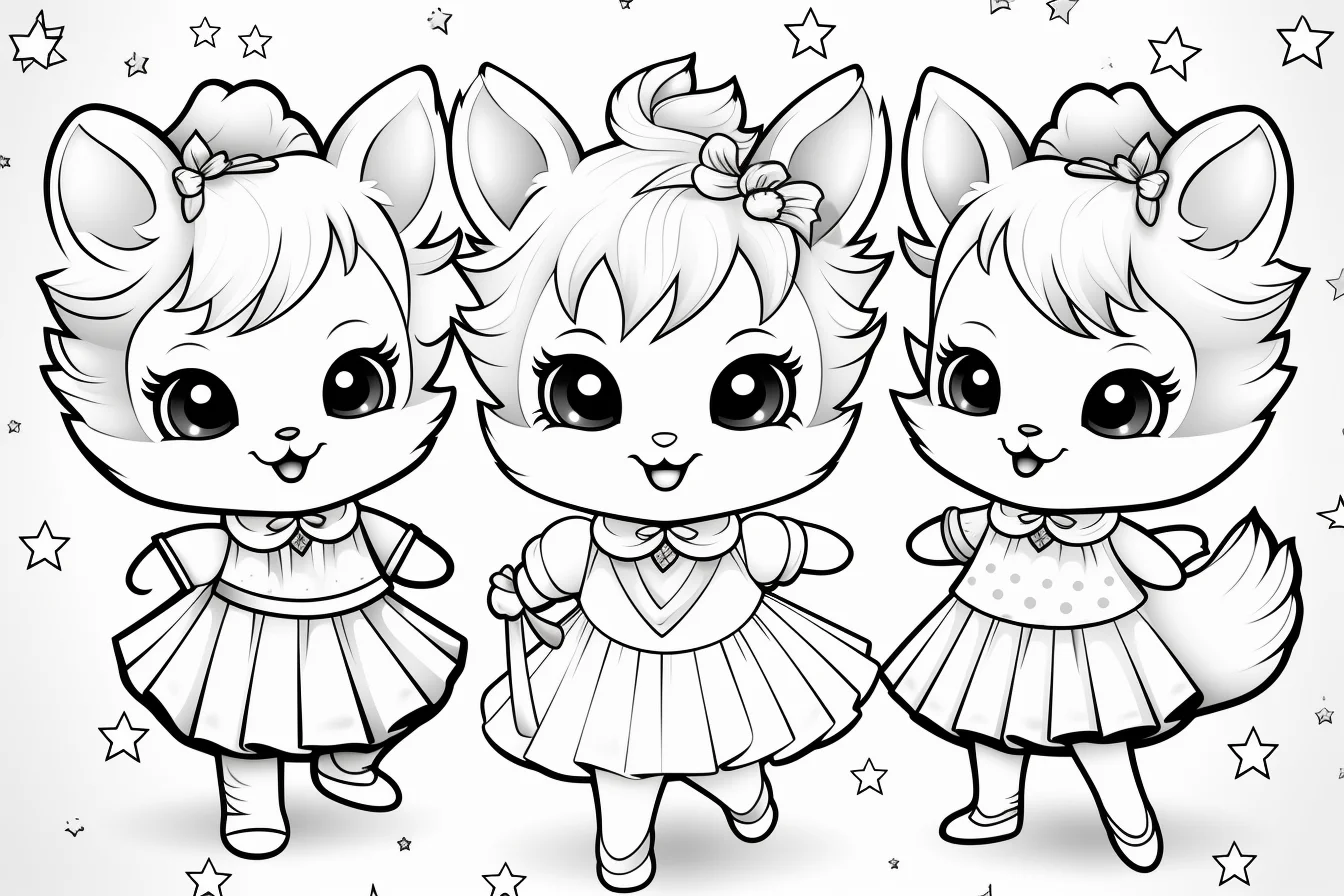
Questions about the costume and group pages
What is the easiest way to color several animals on one page?
Pick the body colors first, then reuse a small set of outfit colors across the whole group. If every hat, cape and jacket gets a completely different color, the page can become noisy very quickly. Repeating three or four colors usually makes a group scene look more intentional.
Which tools work best on the costume pages?
Colored pencils are the easiest all-purpose choice because they handle both large animal shapes and small clothing details. Fine-tip markers are useful for accessories, but broad markers can overpower eyes, paws and costume seams.
Do the Halloween animals have to be black and orange?
No. Black and orange are useful accents, not rules. Deep purple, burgundy, teal and green work just as well, especially when the animal itself is kept lighter.
Which section should I use for younger children?
Start with Sheets 14–22 or choose one of the costume sheets with only a few large characters. Pages with several outfits and tiny accessories are better when the child is comfortable working with smaller spaces.

